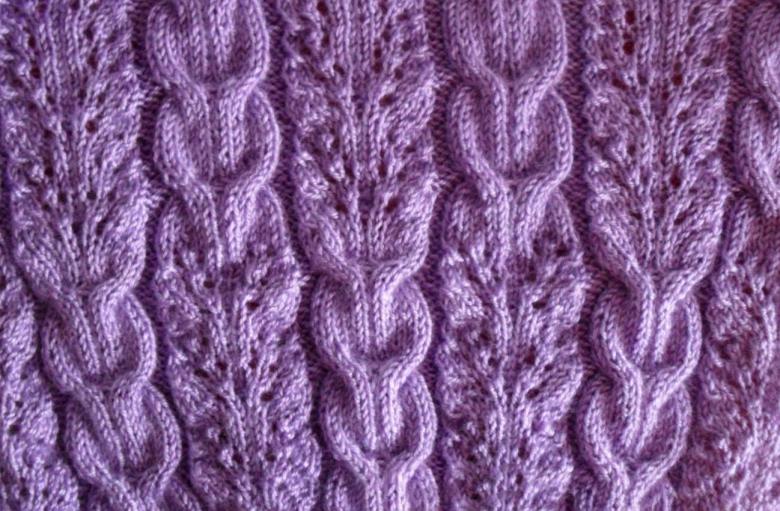
Knitted braids by Schemes of work, step by step master classes, photo examples
In the run-up to winter, knitted sweaters, insulated scarves and patterned mittens appear in the closet of every fashionista. Particularly popular are accessories connected with their own hands. Today we will learn how to knit the original "braid" pattern, which will give your new closet piece grace and style.
What models we will get acquainted with today?
We will begin our work with a study and practical lesson on knitting the pattern itself. Our goal is to put practice for beginners. Next, using the resulting pattern, we will learn how to knit the following models of accessories:
- Fashionable cashmere scarf with pattern.
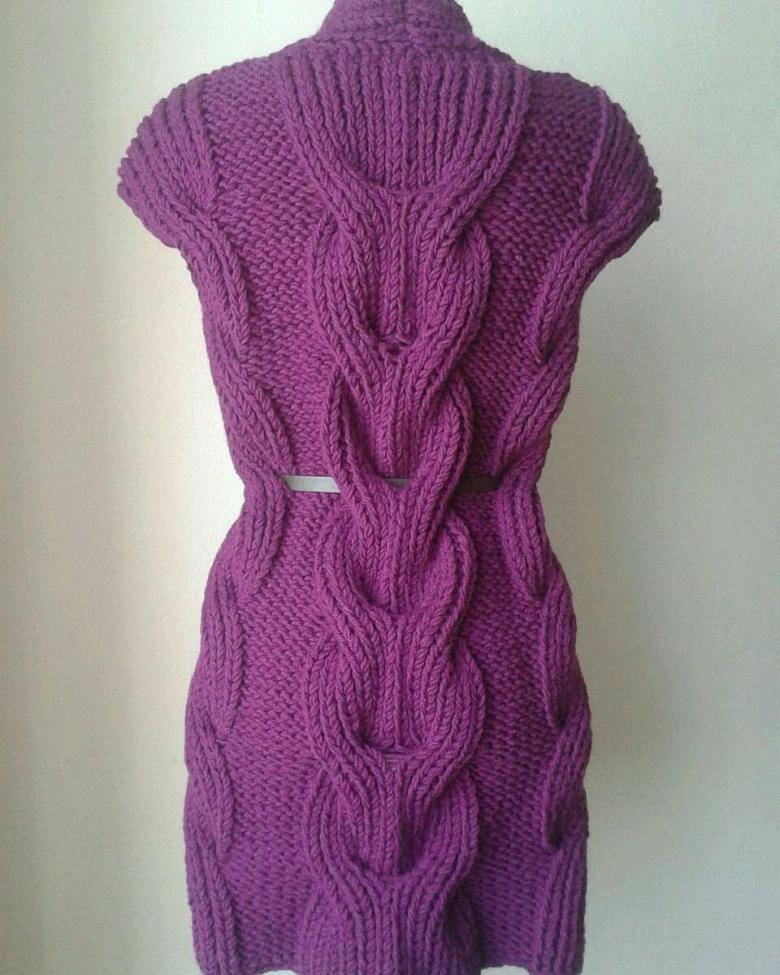
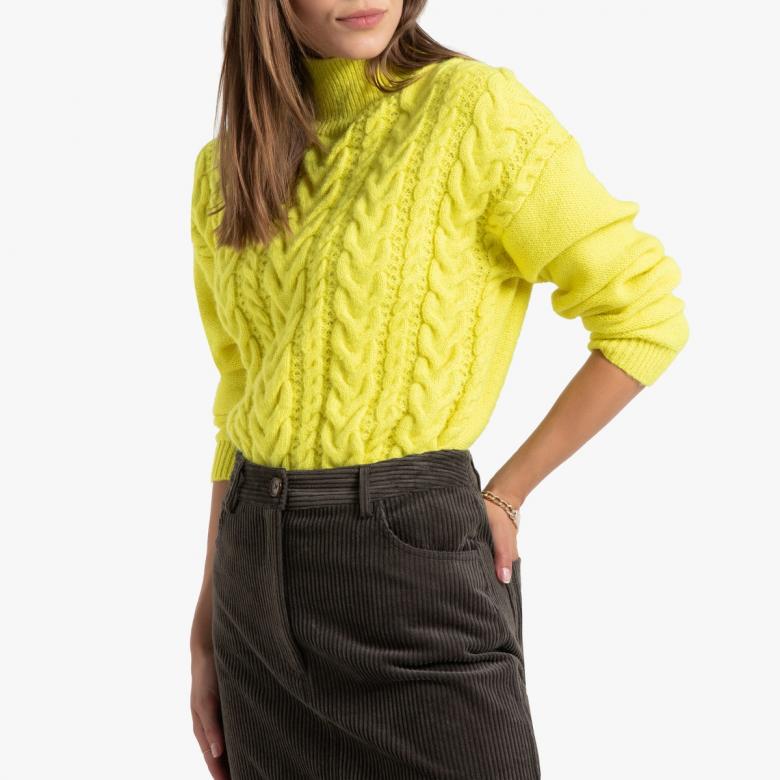
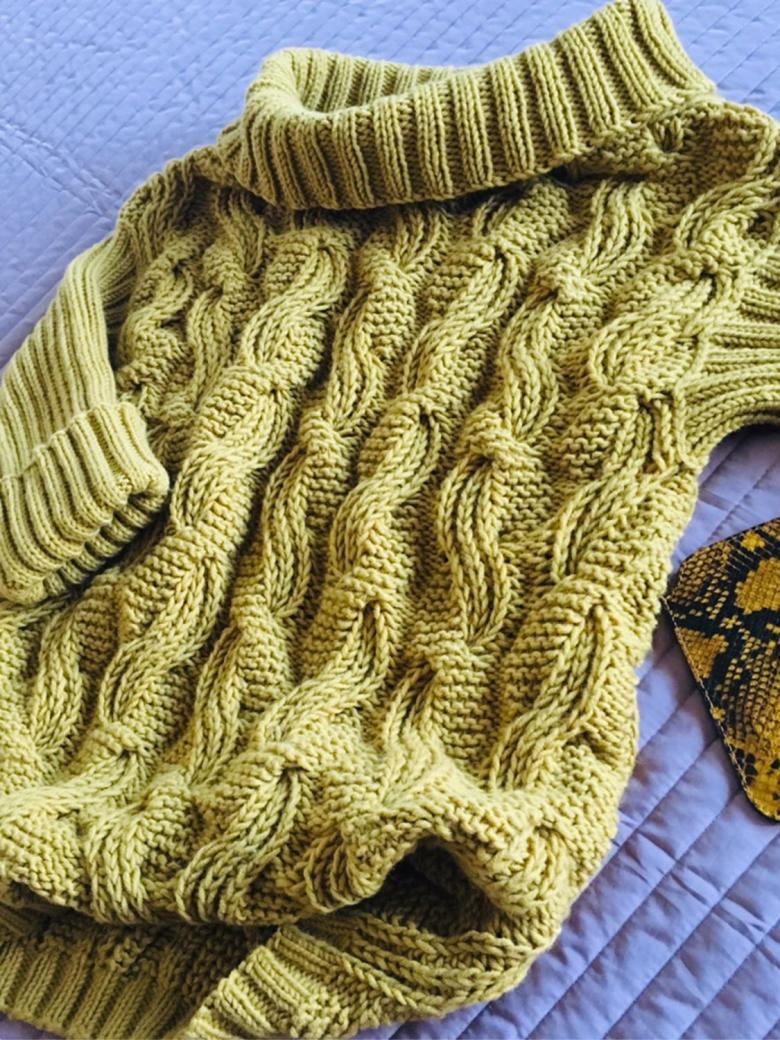
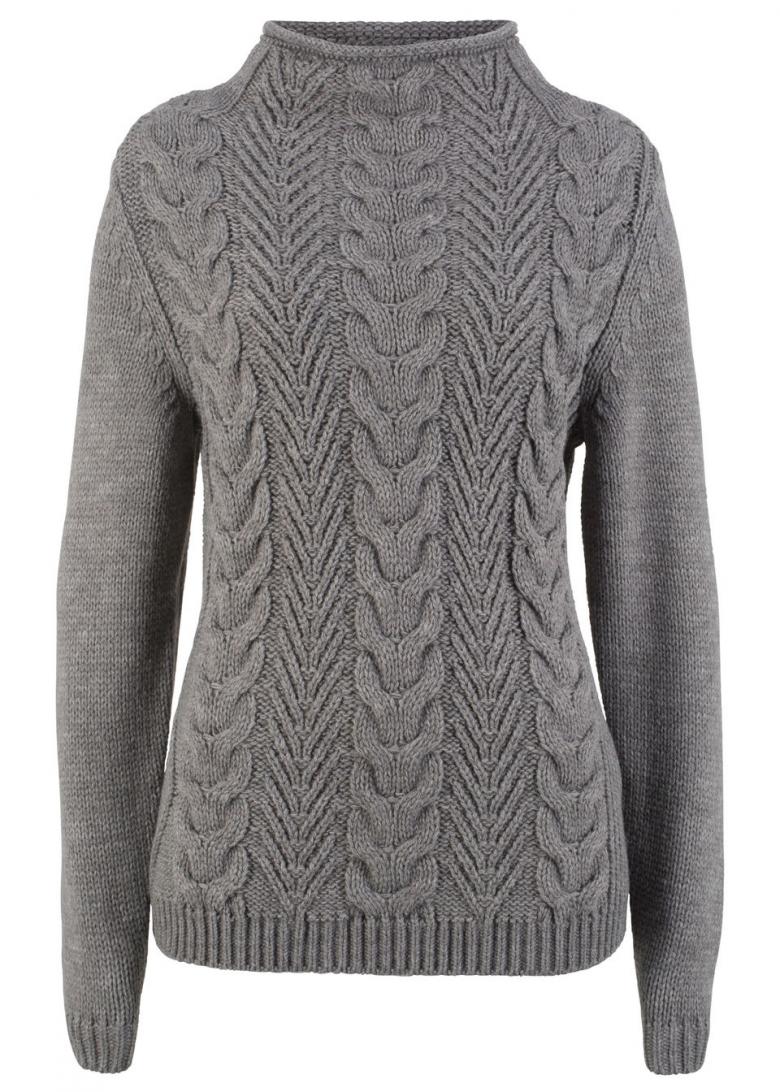
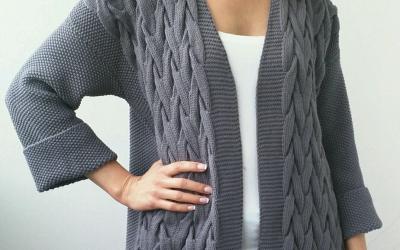
- Soft women's sweater with no collar.
- Mittens with thin braids on the back of the palm.
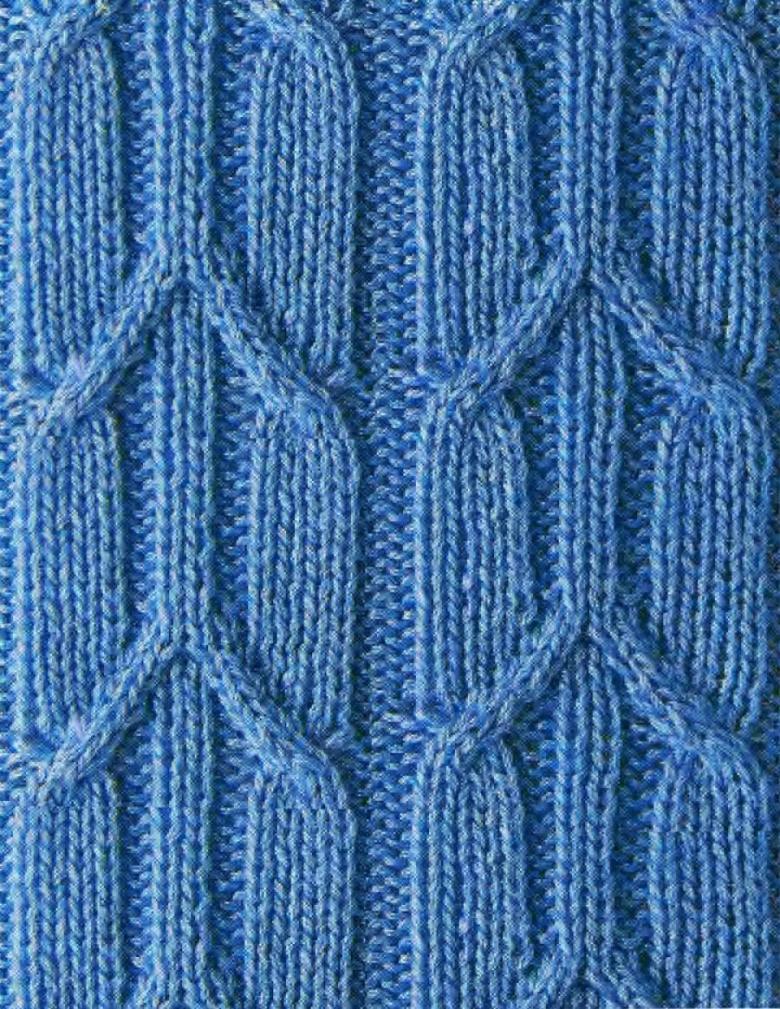
Types of yarn that would be perfect for creating winter items:
- Merino wool.
- Wool yarns with a high percentage of acrylic.
Synthetic fabrics do not retain heat very well, but creating a patterned ornament from such yarns is a pleasure.

Master classes with step-by-step instructions for masters
Our lessons are theory, fed by practical tasks and detailed recommendations. For your convenience, we offer you a series of video tutorials for beginner needleworkers, as well as stock up on patience and patterns.

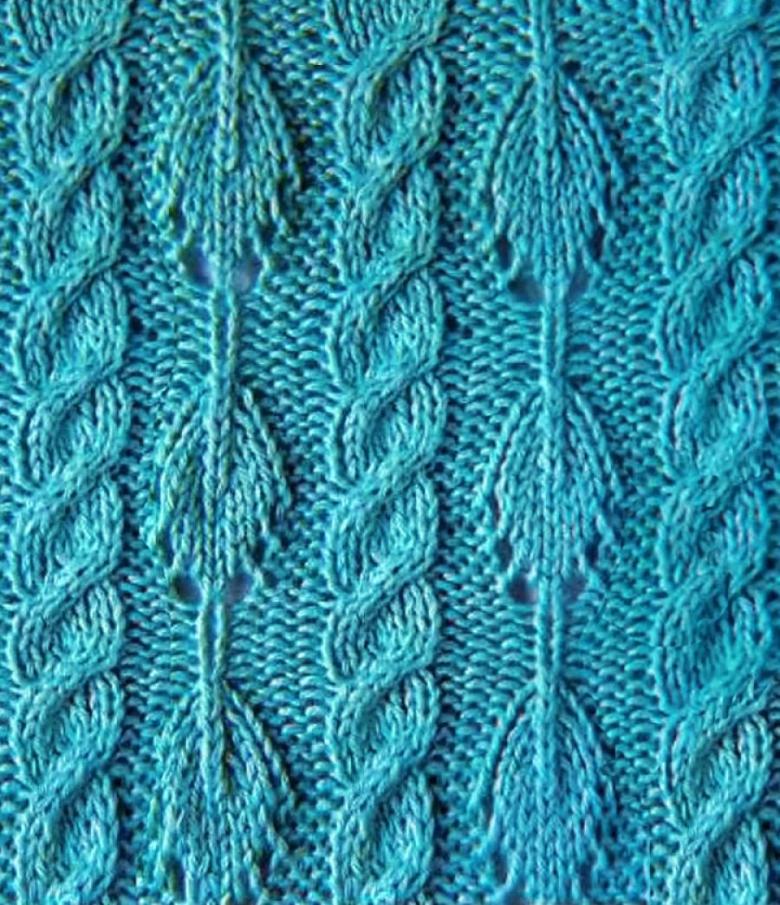
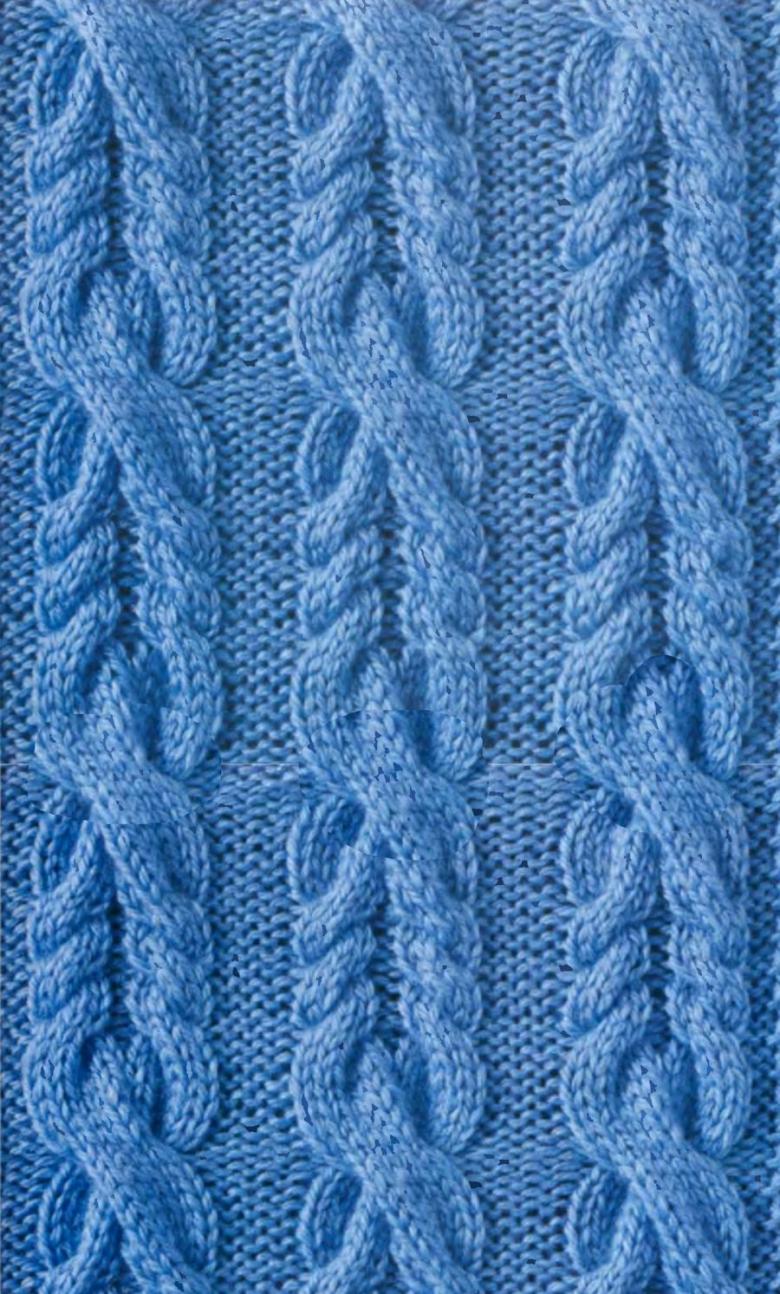
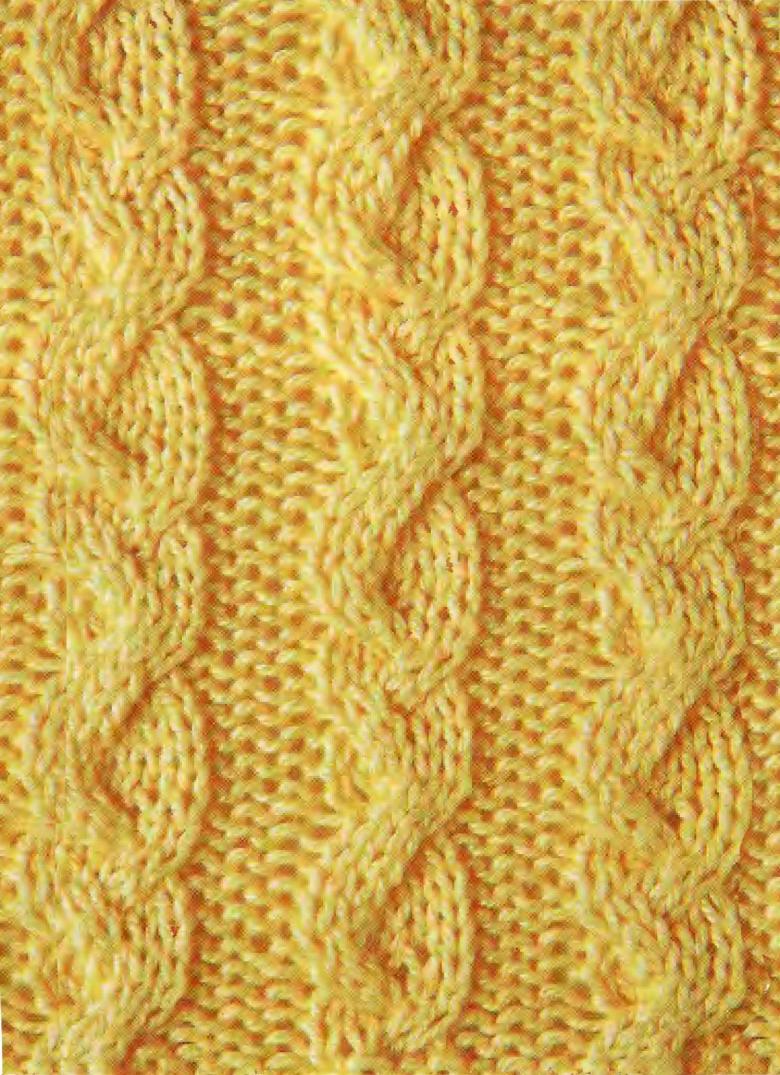
Learn to knit volumetric braid by yourself
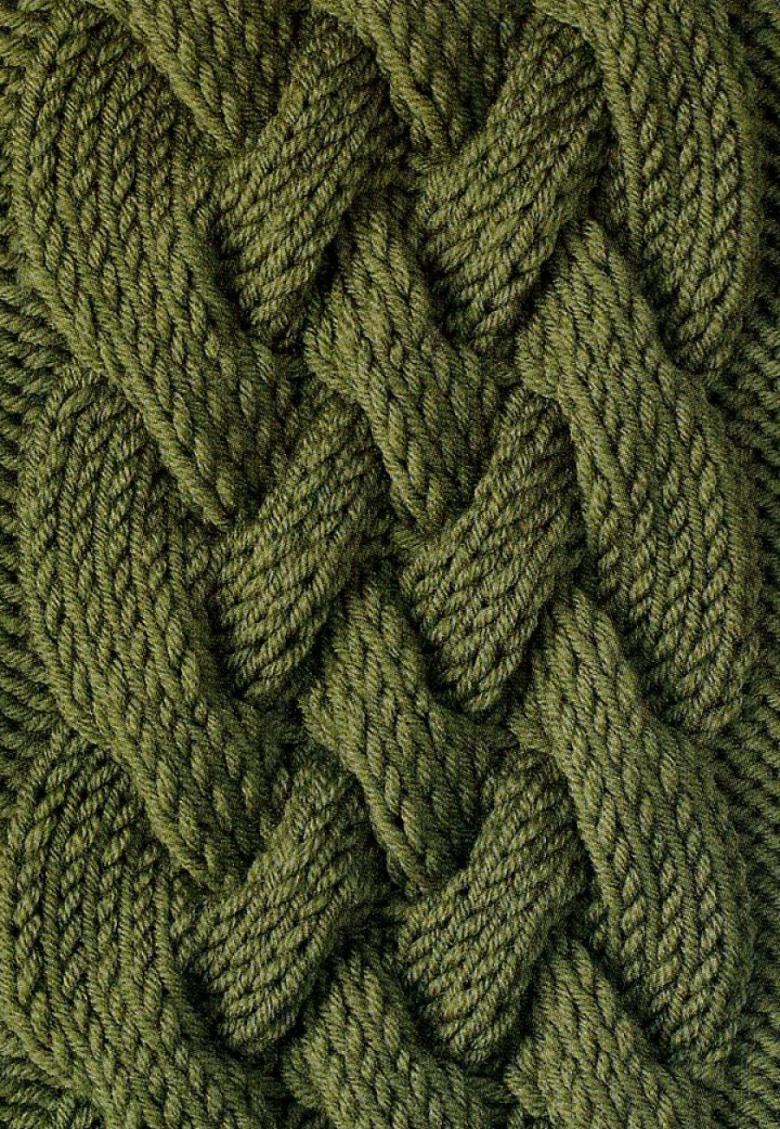
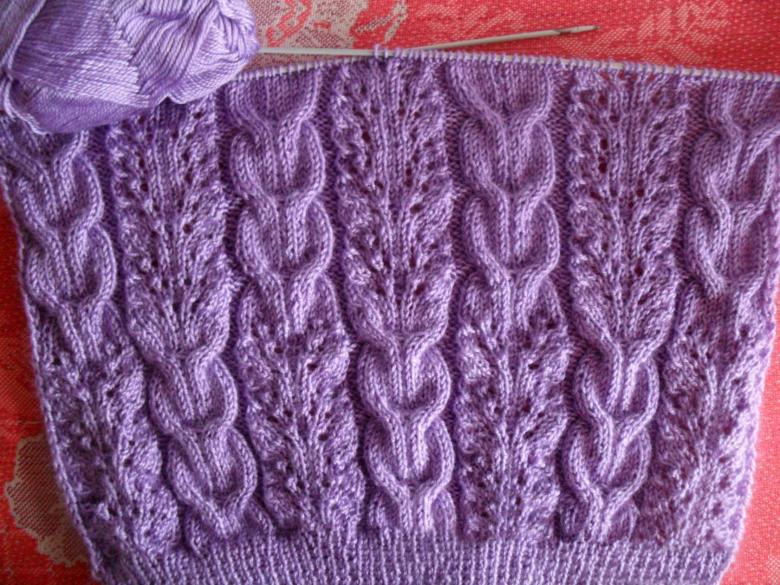
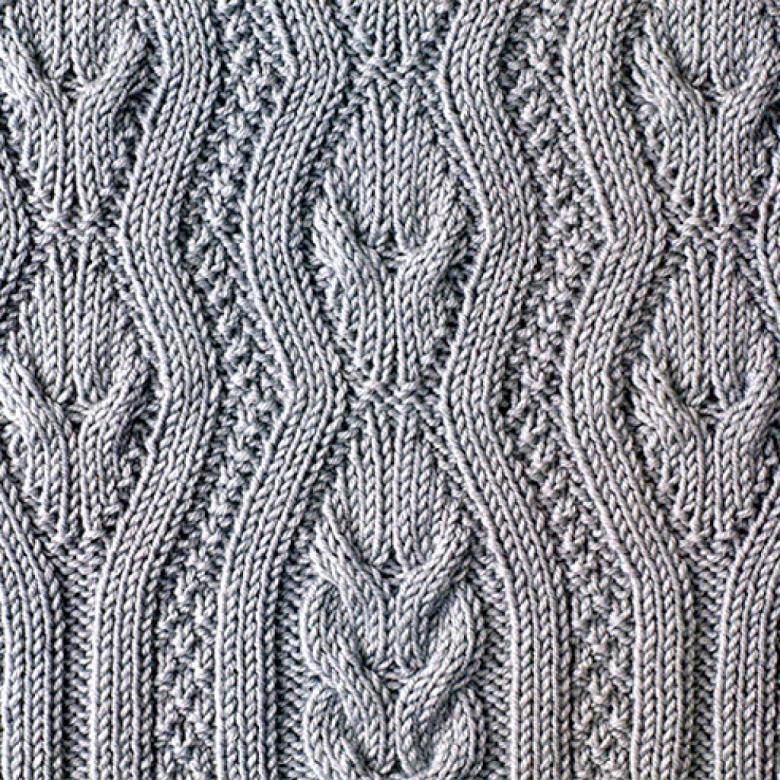
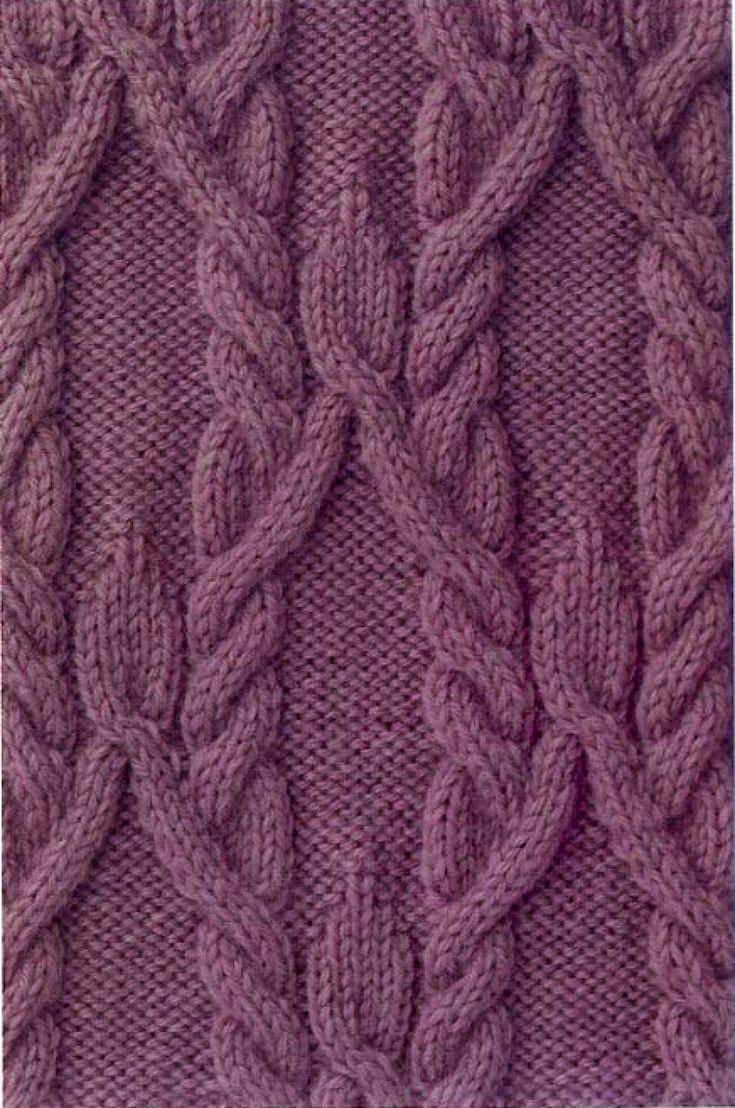
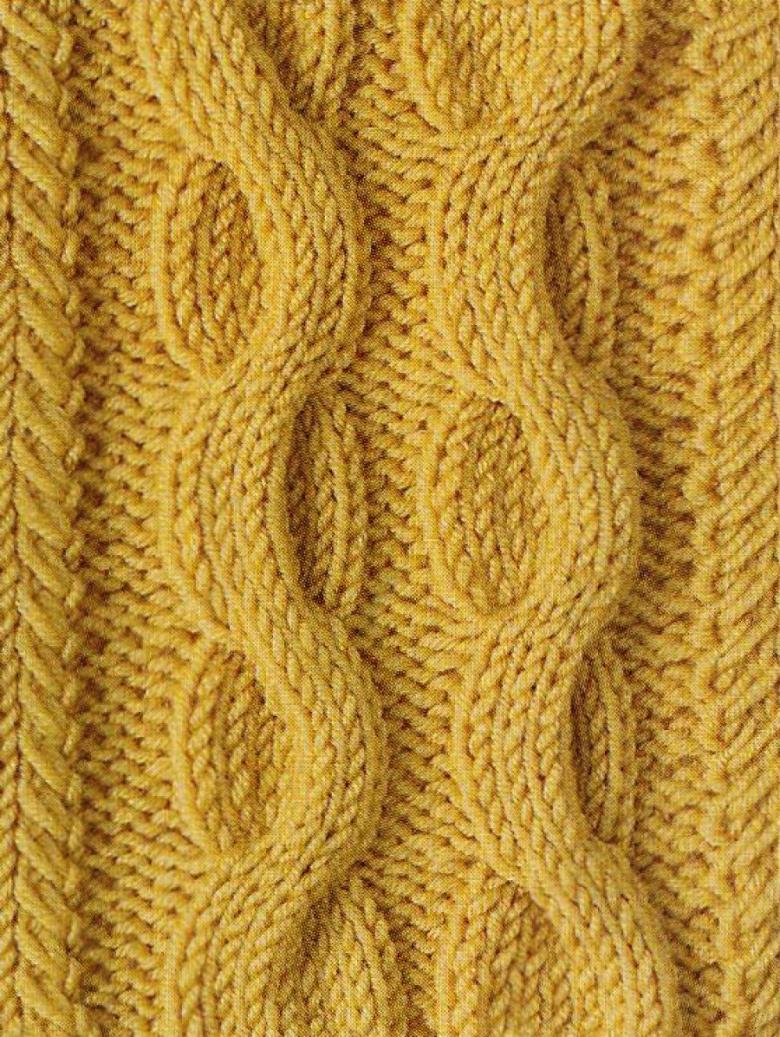
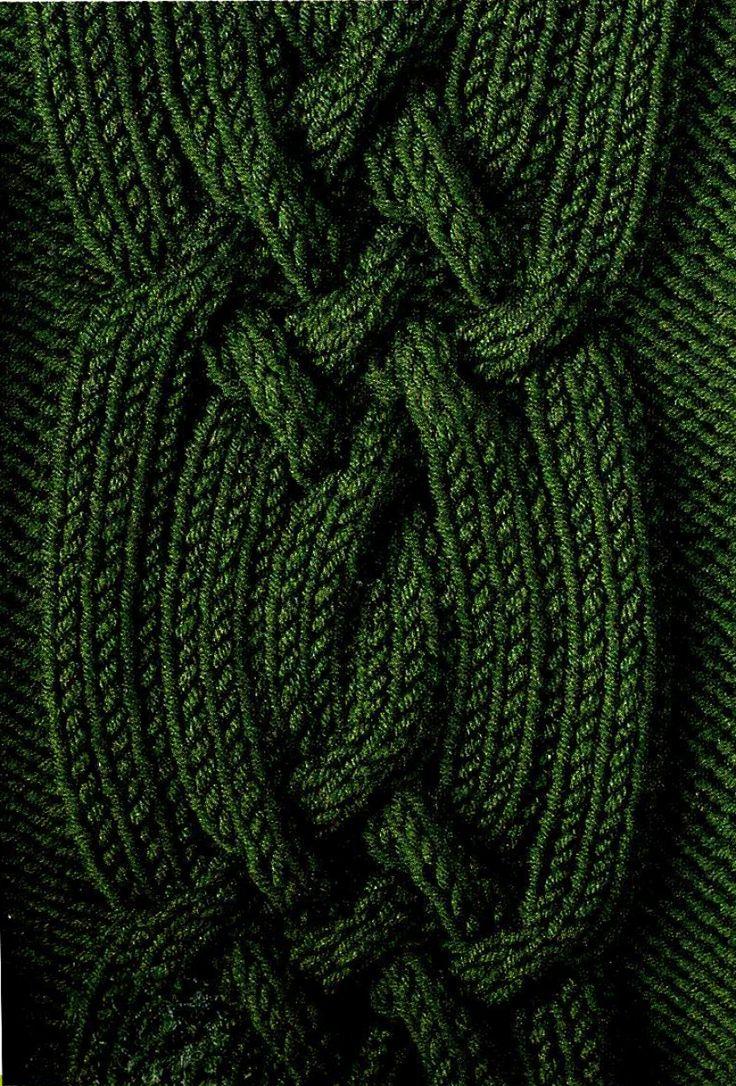
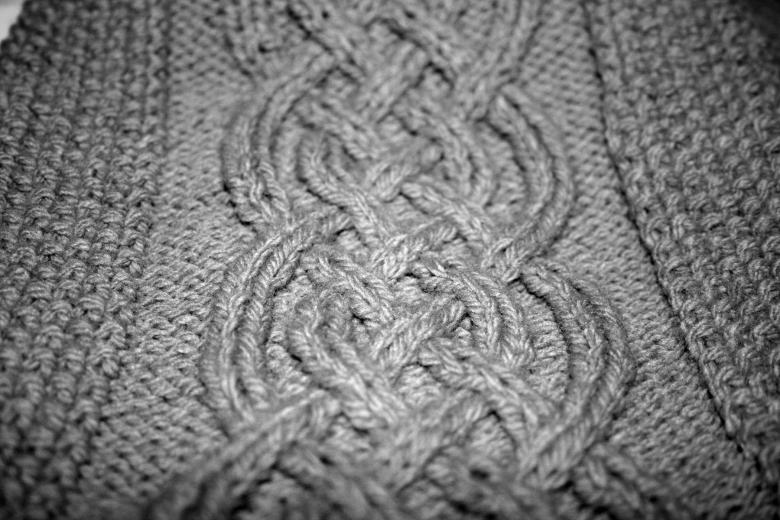
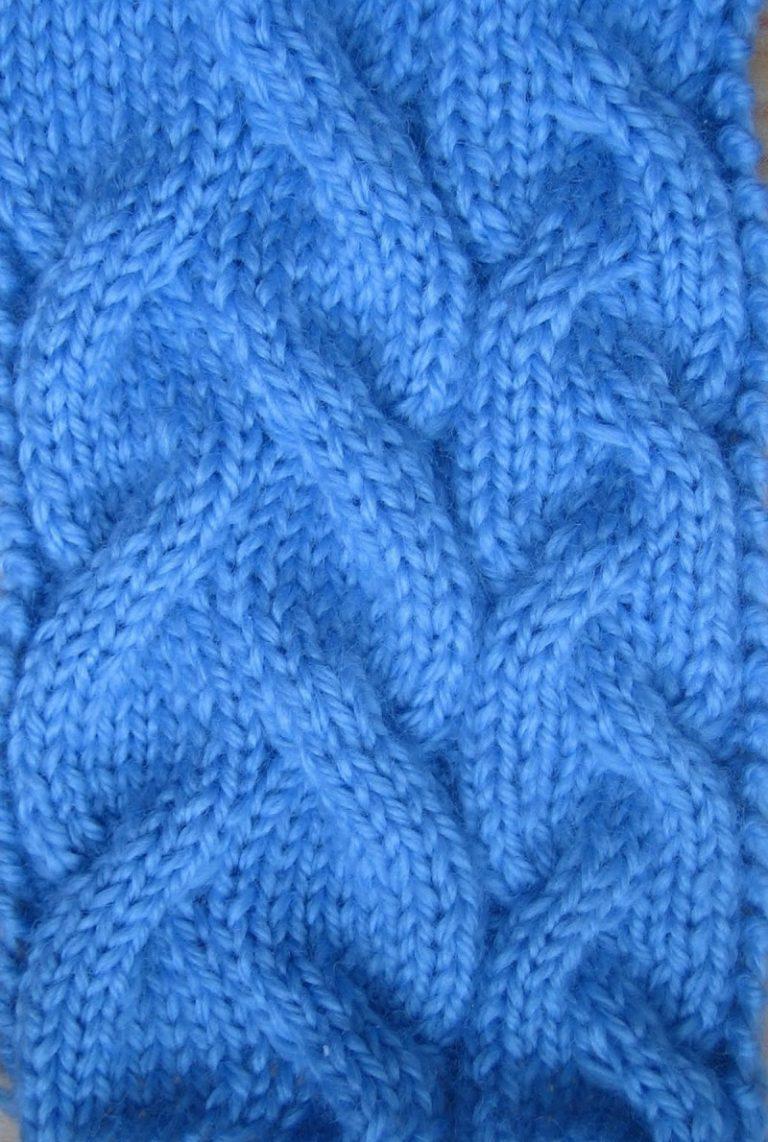
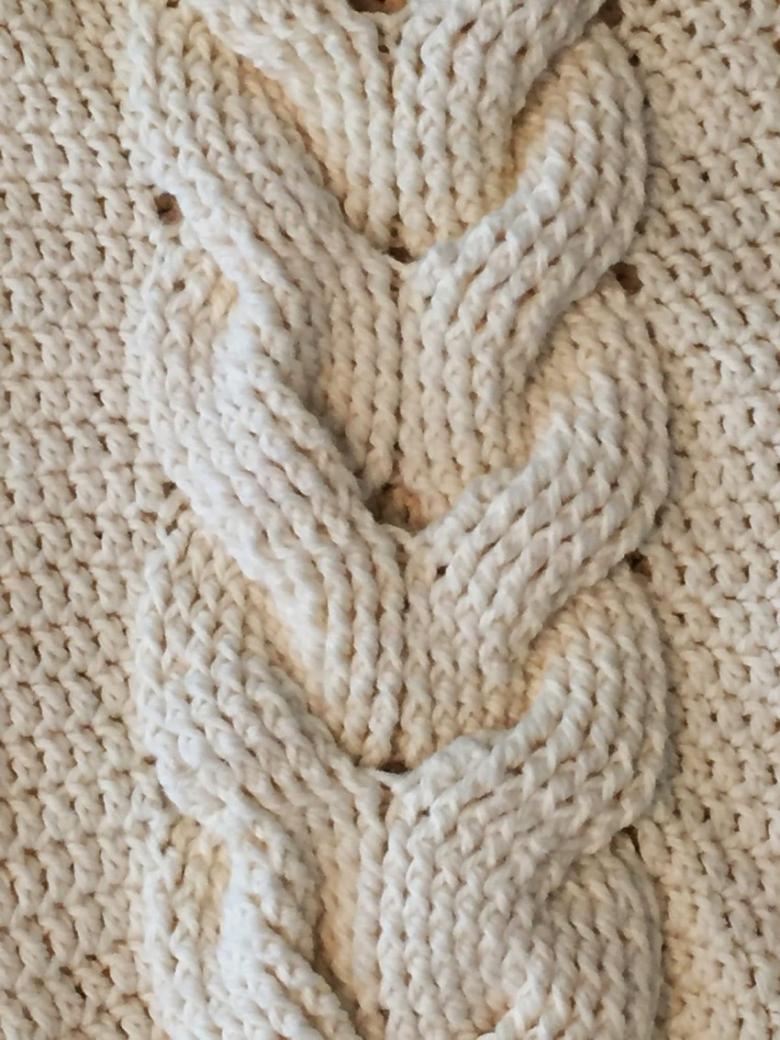
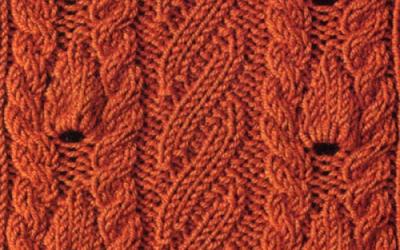
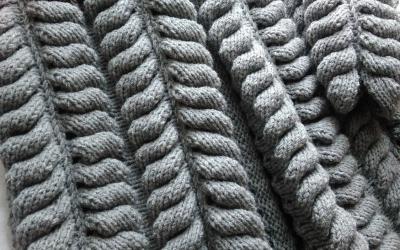
Three-dimensional braid is a great idea for making accessories for your winter closet. Such motifs are wonderfully combined with any insulated things. A strict "spikelet" of crossed parts will emphasize the style and brightness of your clothes.
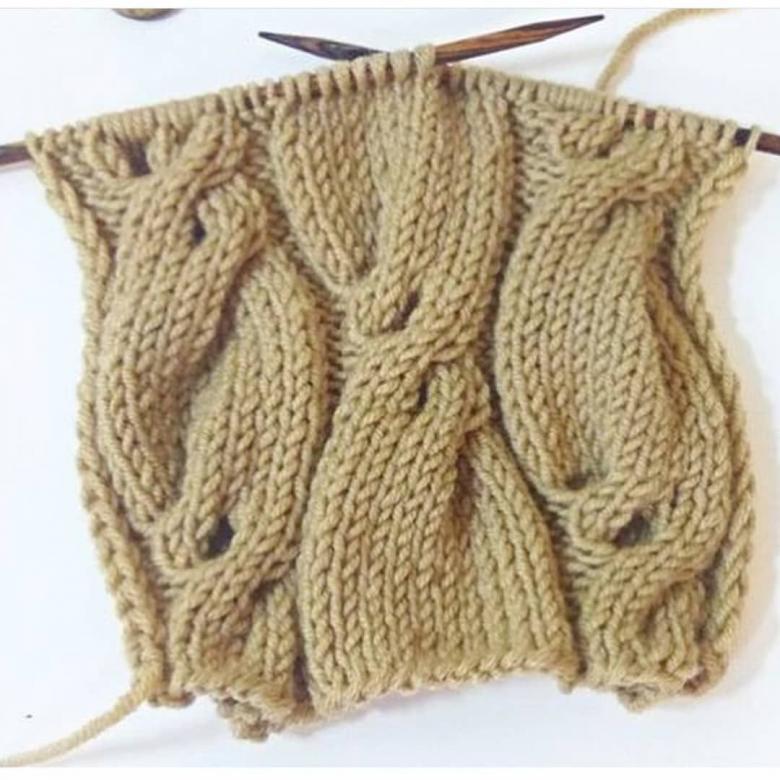
We will learn three options for creating voluminous loops.
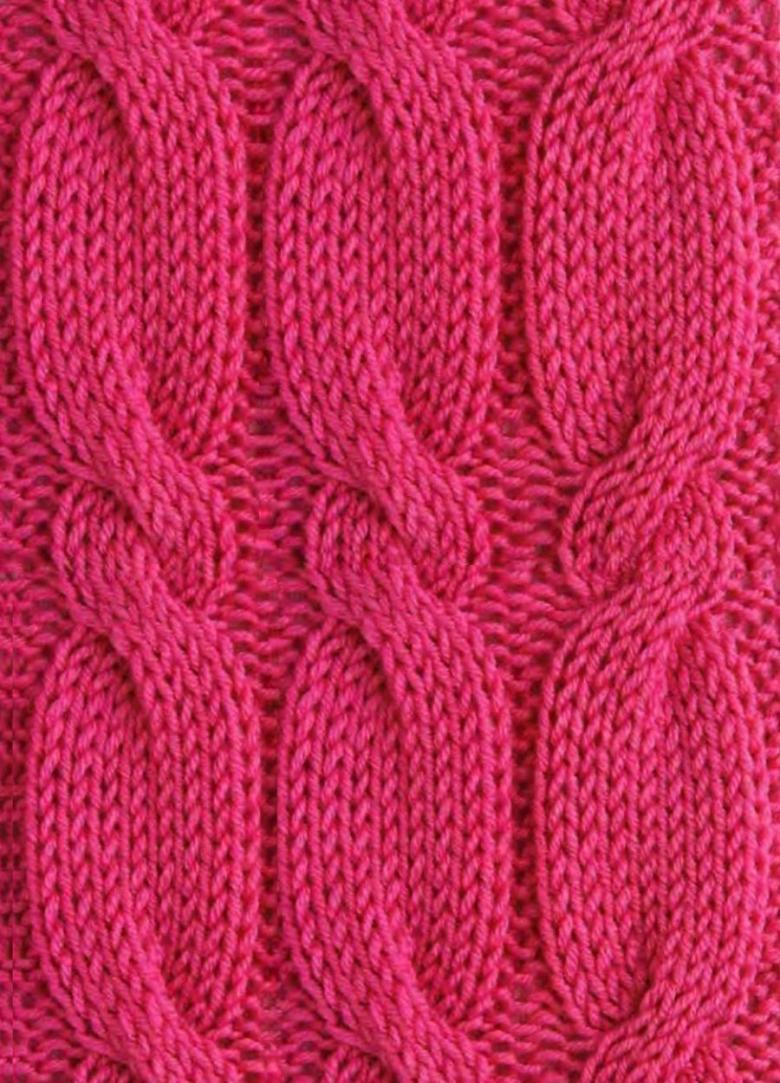
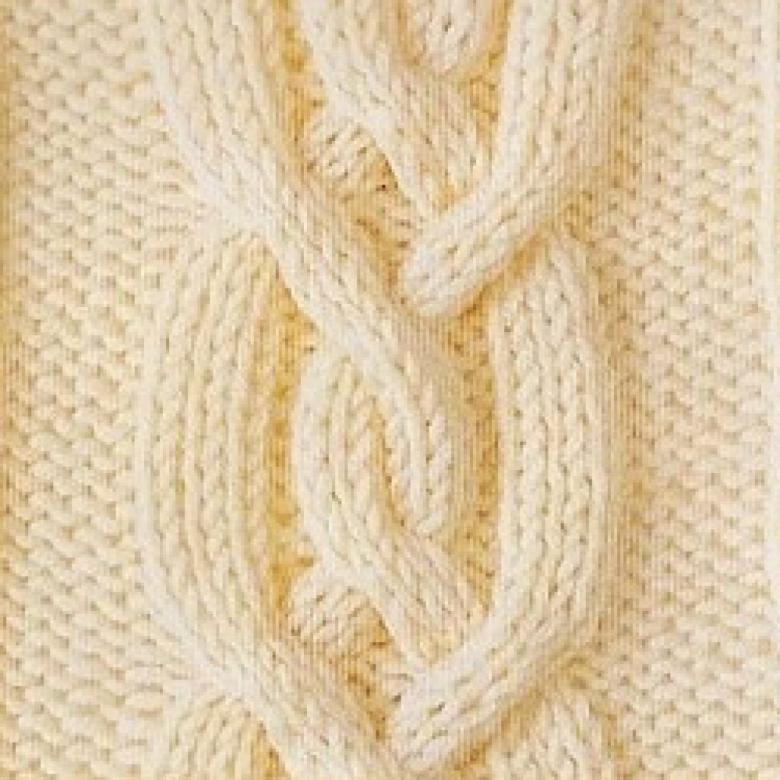
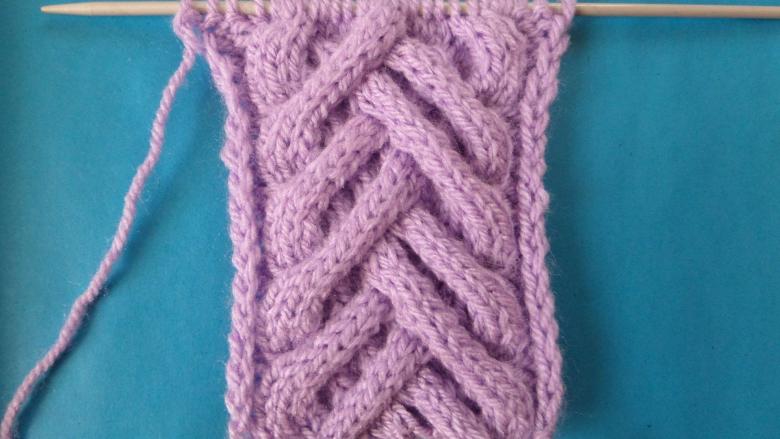
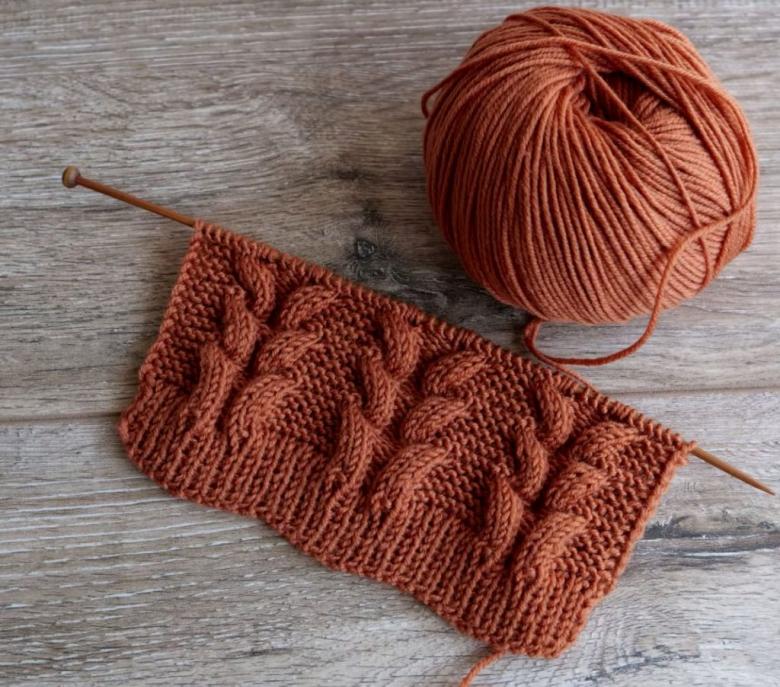
Step-by-step diagram-instruction for working on a braid of 9 loops:
- We need to dial in 17 loops on the working tool.
- Next rows:
- 1st: the cropped stitches need to be skipped, three loops on the wrong side, 9 l. p., 4 i. p.
- 2nd: the cropped stitch should also not be knitted, three l. sts, 9 i. sts, again three l. sts, and now we are going to knit the cropped stitch.
- Row 3 we start as usual: take off a stitch, three i. st. And now we start to knit the details of the braid. We need a third knitting needle, on which we will take the next three knitting parts of the row.
- Next, we knit 3 l. sts and return our removed stitches to the left side. Now we have to knit them with l. sts.
- Then go 3 l. sts, 4 i. sts.
- The 4th and 6th repeat the first row.
- The 5th copies the second row.
- 7th: proceed to the second composite part of the braid. The edge loop goes, 3 i. p., 3 l. p. Again we take off three stitches in sequence on the third additional tool. Next 3 l. p., again return the stitches back, and knit them with l. p. The remaining row is knit with the wrong stitches.
- Then systematically repeat the above-mentioned rows.
- Now we act according to the scheme obtained until the end of the product.

If you have a desire to decorate your bedroom with a new plaid or give your child a warm and fashionable hat, you can use the second option of knitting.
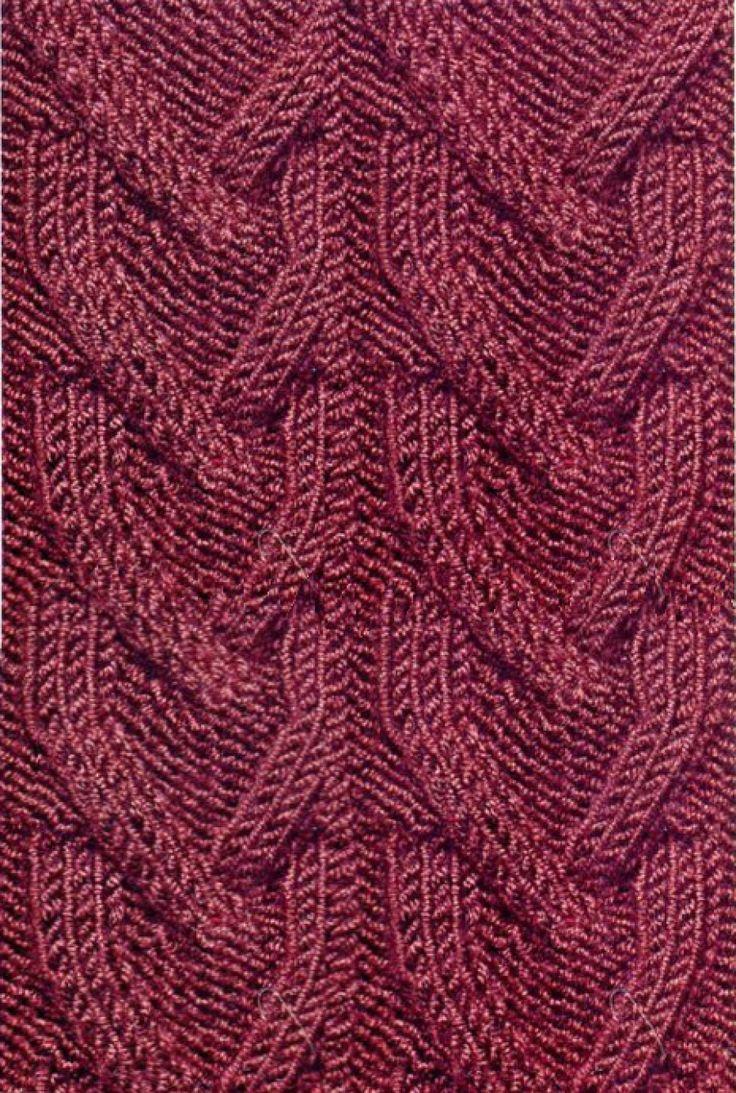
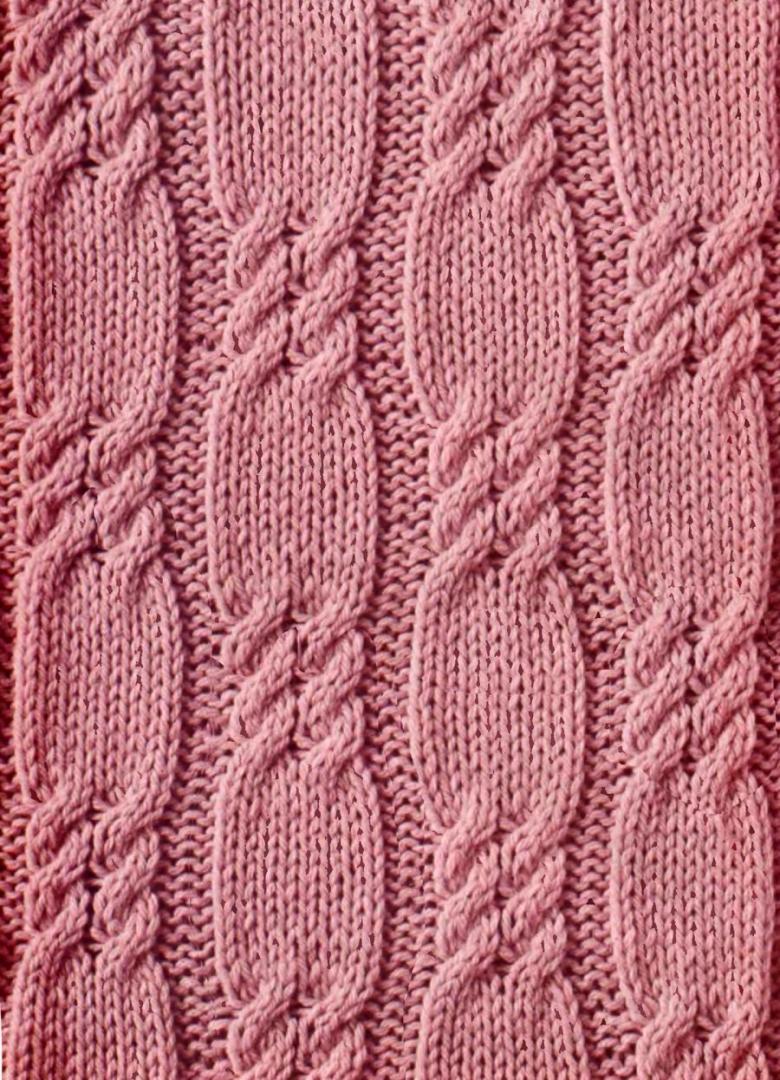
Ready-made step-by-step instructions for knitting an ornament of 12 stitches can be found and downloaded from any online service for beginner needleworkers. But even without using ready-made instructions, remember that this variation is distinguished by shifting four loops on an auxiliary needle (in the previous method, we remove 3 pieces). At the other points, the work is done according to the same plan.
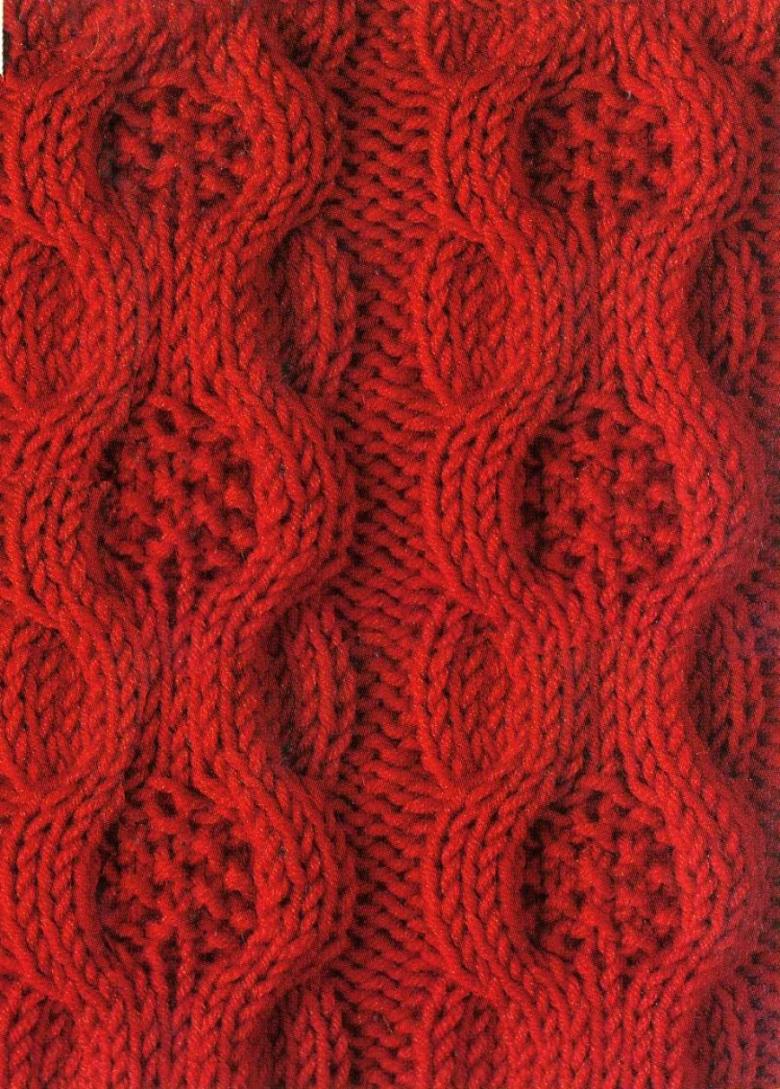
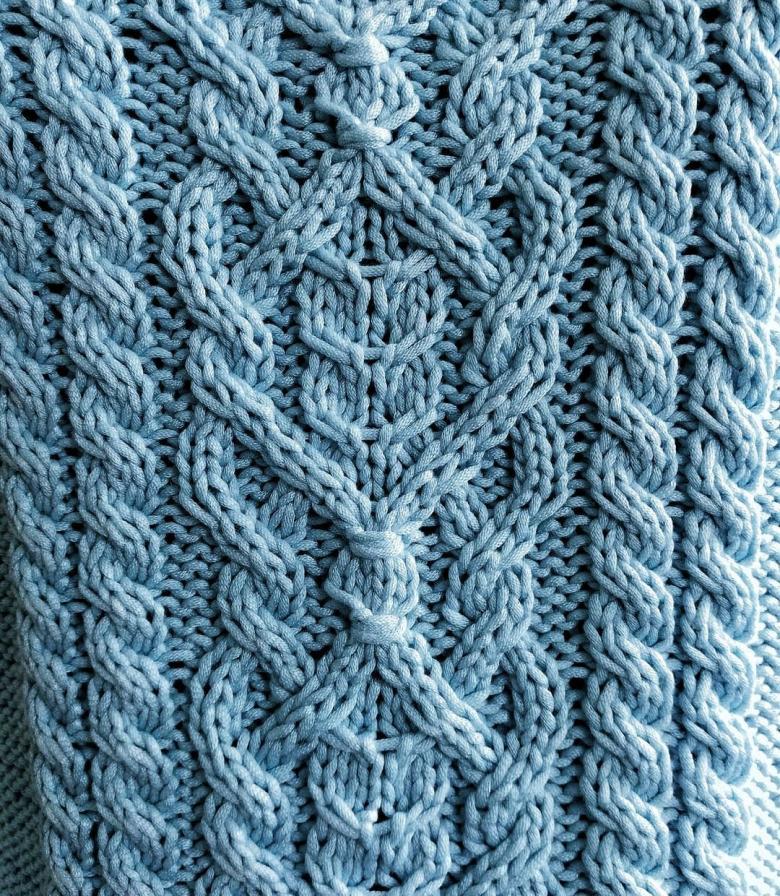
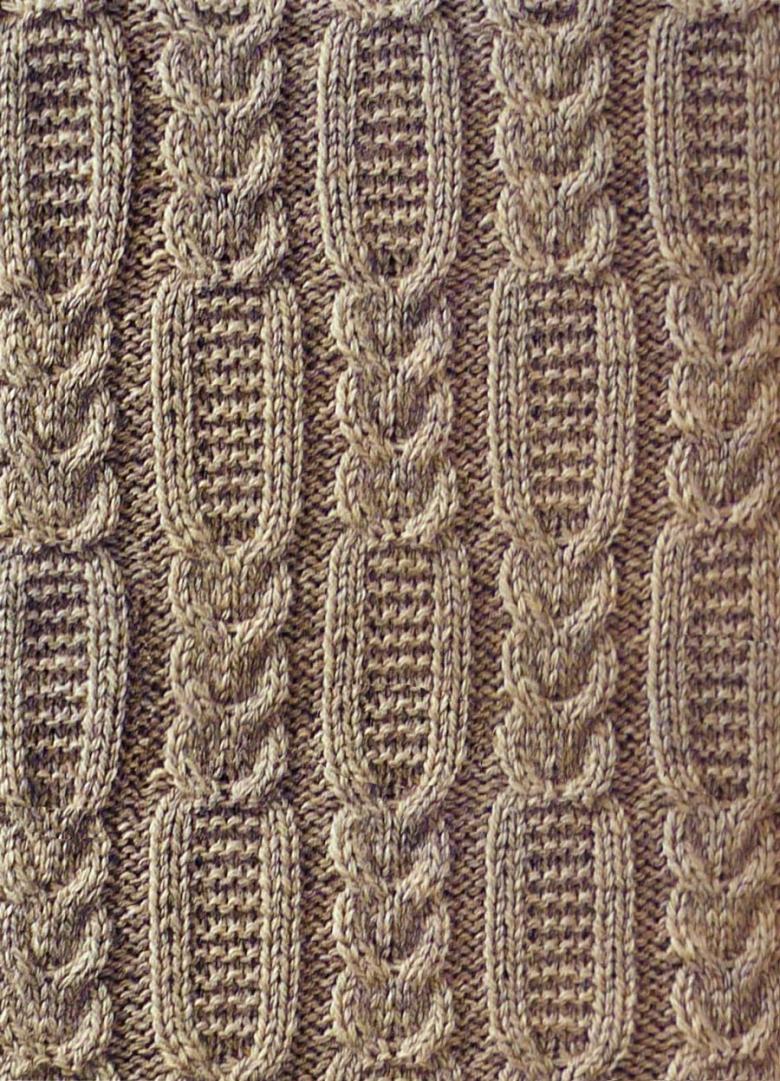
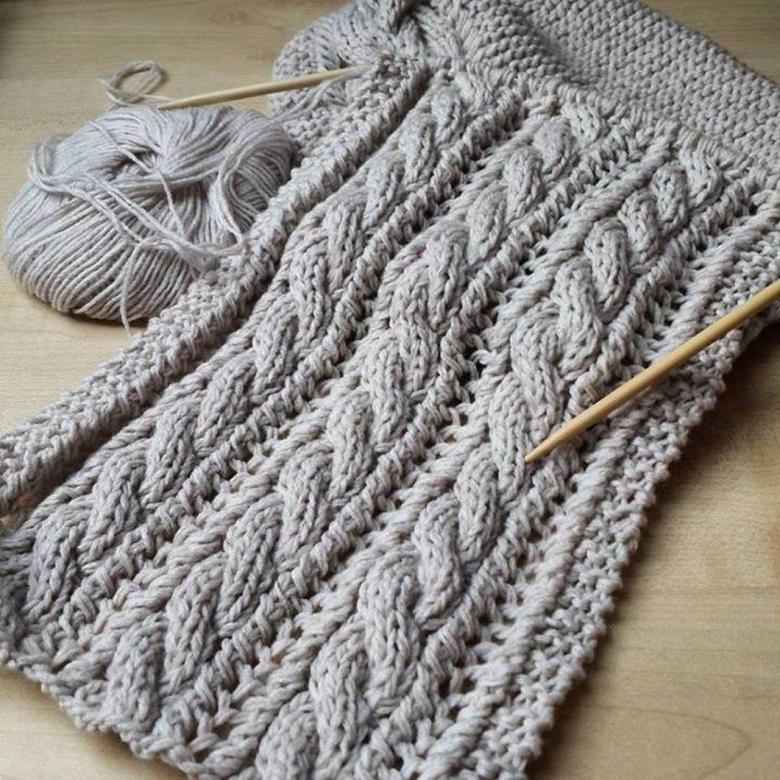
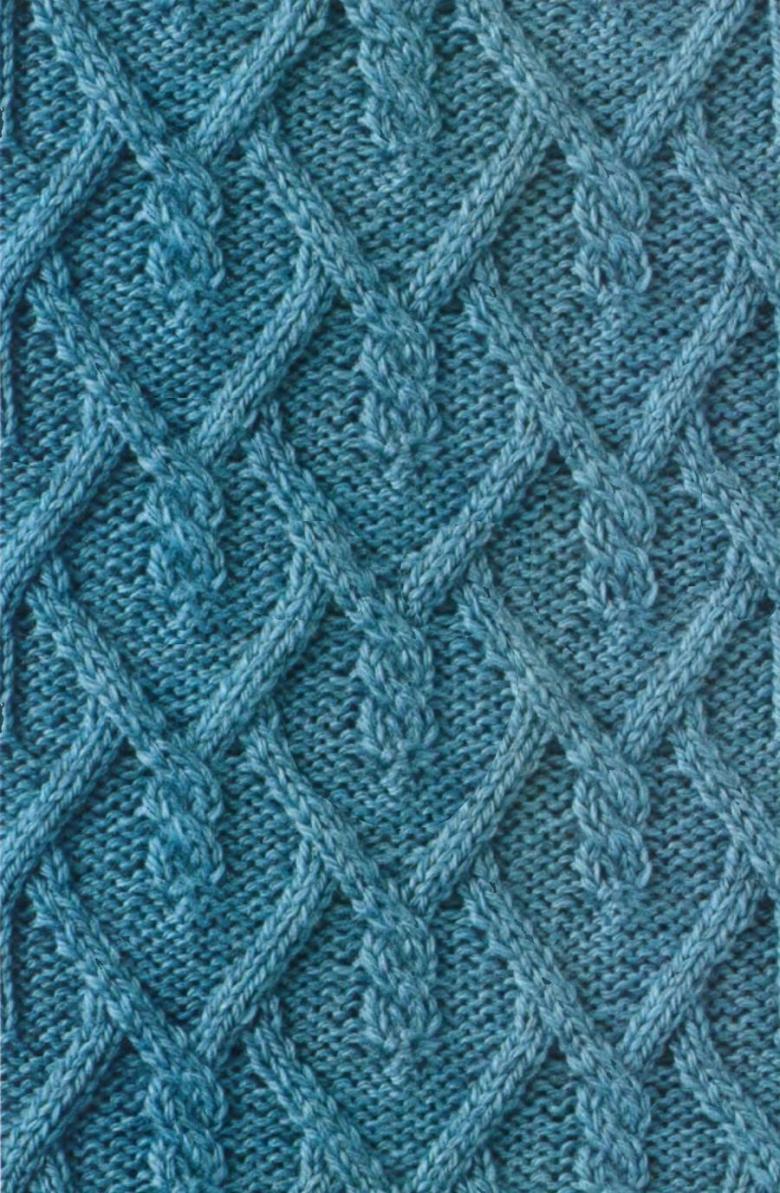
The third pattern of our pattern is a braid of 16 composite parts. The pattern is a "twisted" spike, which looks good on women's sweaters and cardigans. We will not consider in detail this method. Remember only one difference - 8 loops are transferred to the extra spokes, also in the fourth and eighth rows.
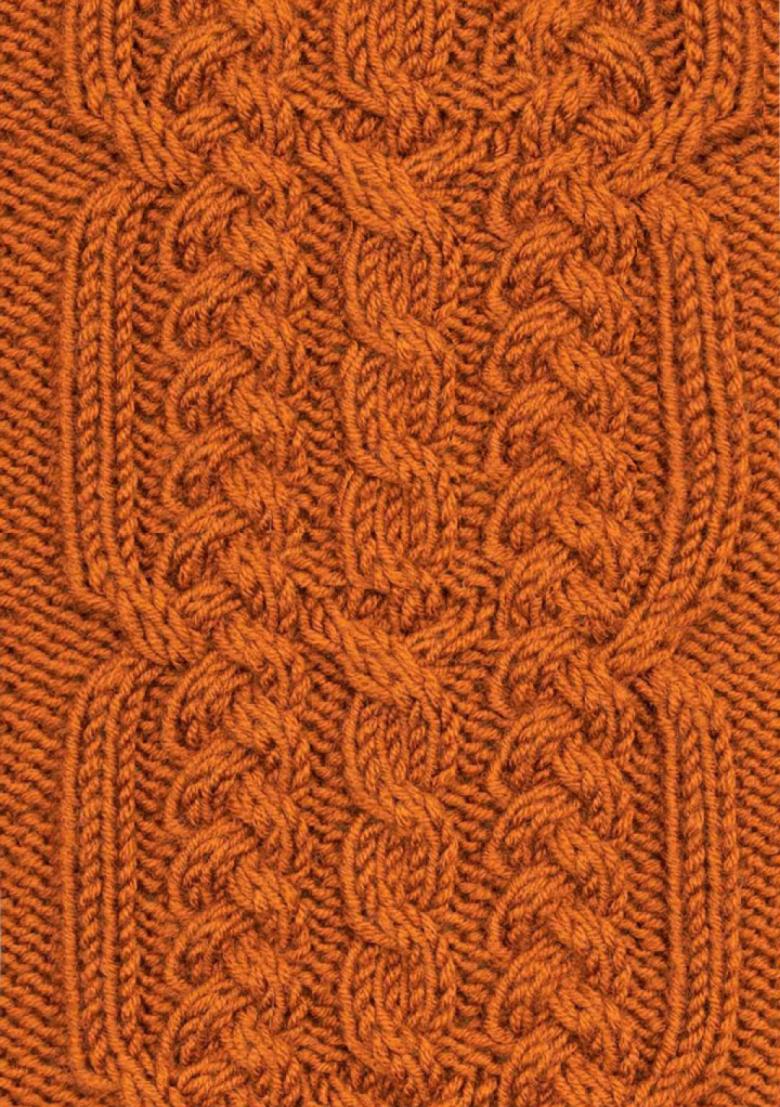
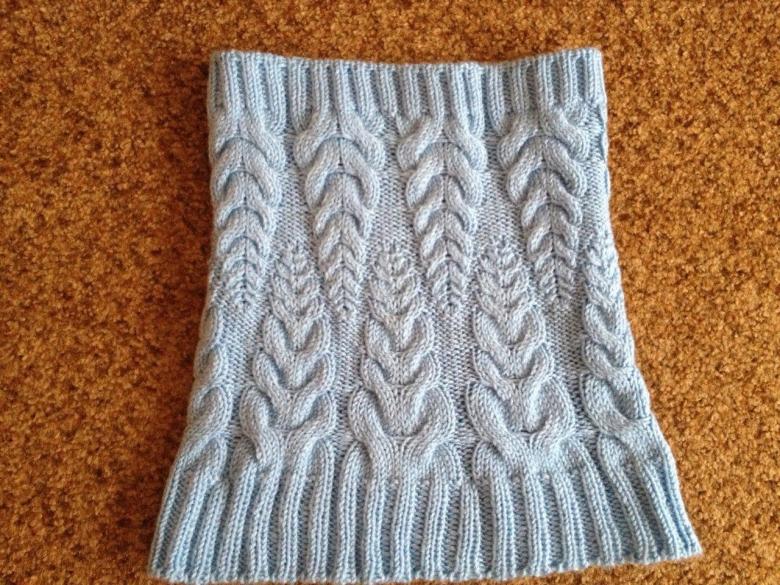
Knitting a scarf with a "double braid" pattern
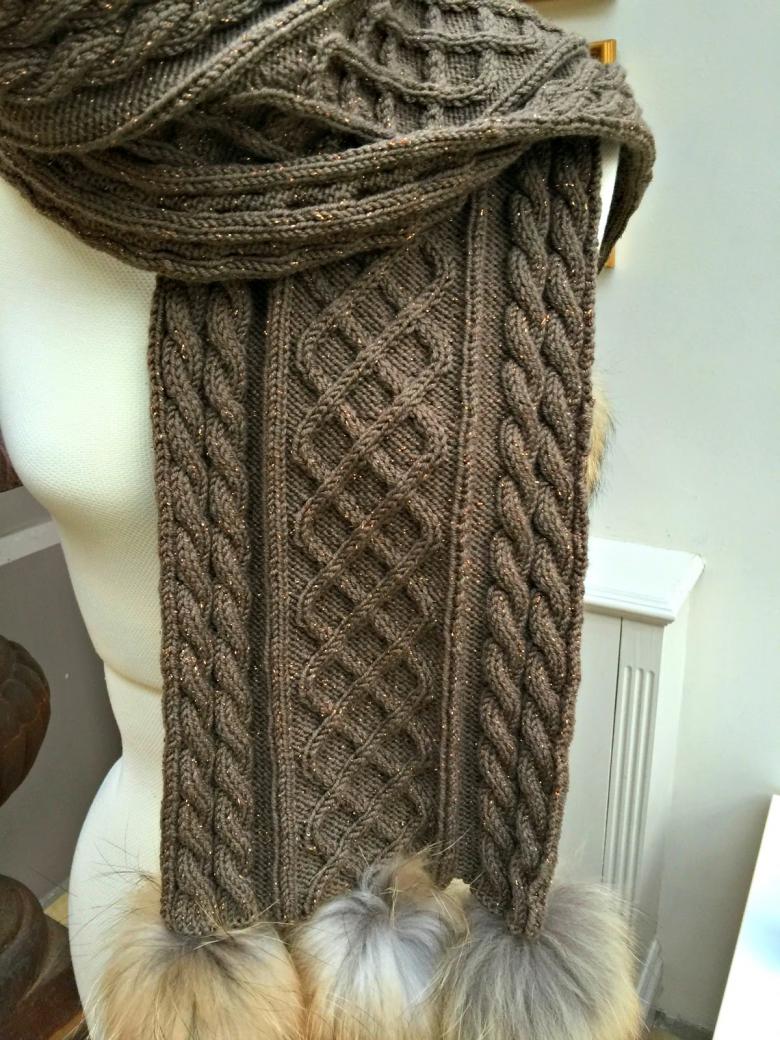
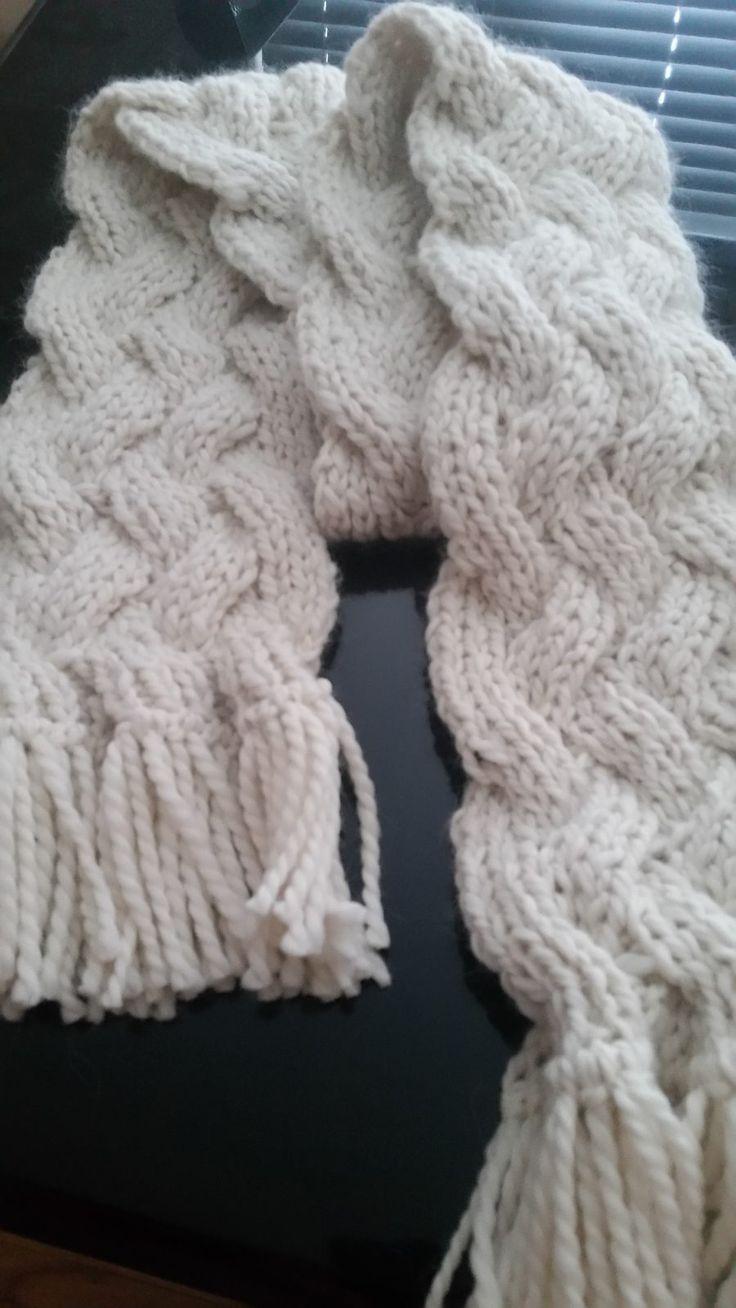
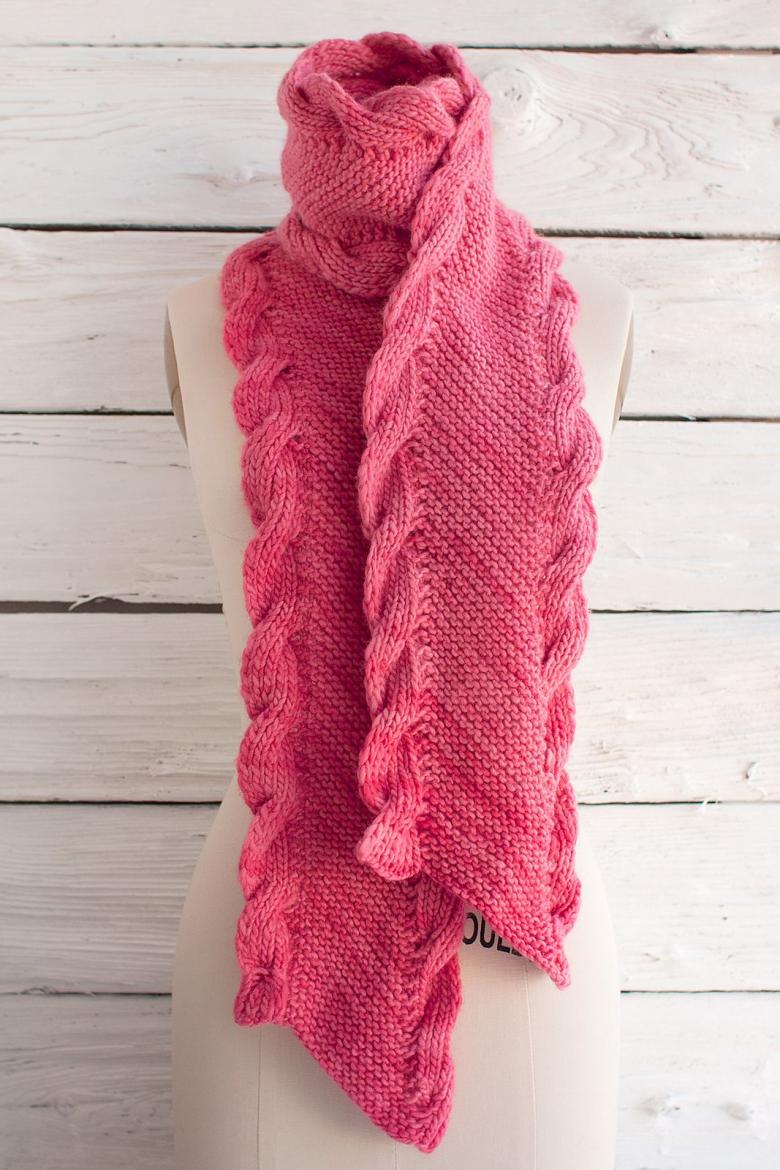
Today we have slightly changed the course of our master classes. We will try to combine theory and practice. We will take apart the step-by-step instructions and simultaneously work on the creation of the product. A woman's scarf is not only fashionable, but also a practical piece of image and closet. A soft scarf made of cashmere yarn will go well with both a coat and a long down jacket.

Step-by-step scheme-instruction for the master:
- On the main tool dial 36 loops in the usual way.
- 1st and 5th rows: three l. p., three i. p., and so on to the outermost three elements, which we need to knit together with the same thread.
- 2nd: front smoothing.
- 3rd: three l. p., three i. st., then three stitches are removed on the auxiliary tool, then three stitches are knitted again, and the removed stitches are returned. We knit these parts in the front way.
- The seventh row is knitted similarly with one difference - the loops for the braid are removed on the right side.
- Continue knitting according to the diagram until the end of the piece.
We obtained a nice soft cashmere scarf for winter walks.
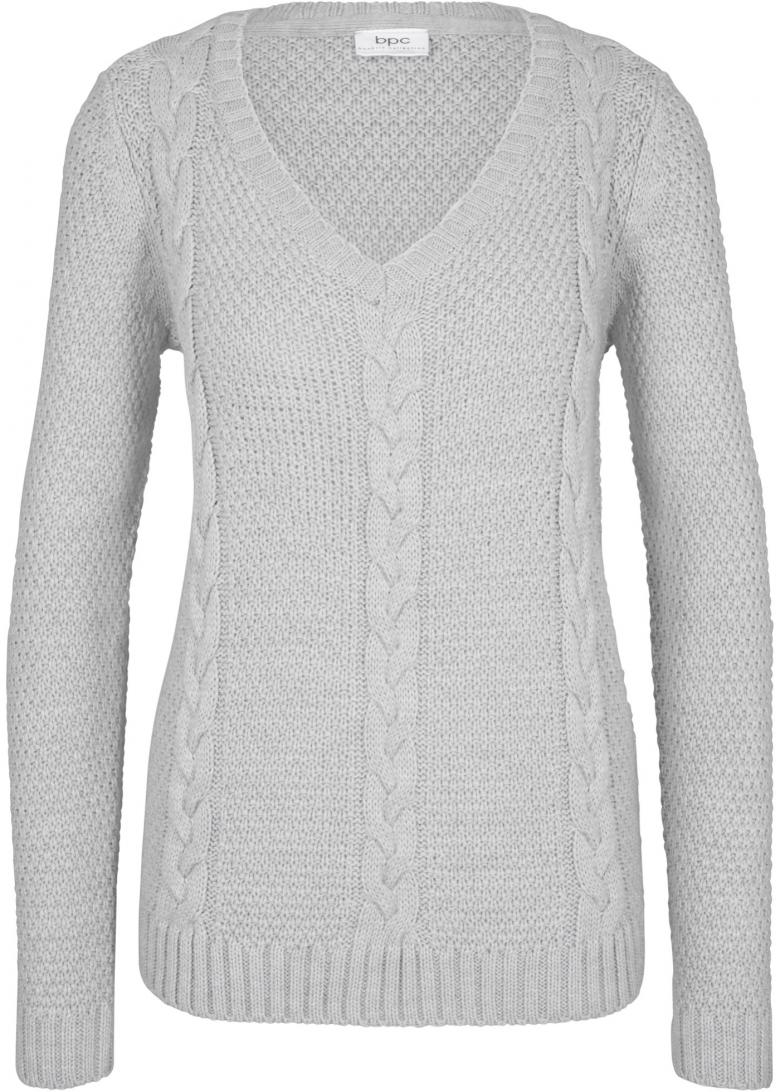
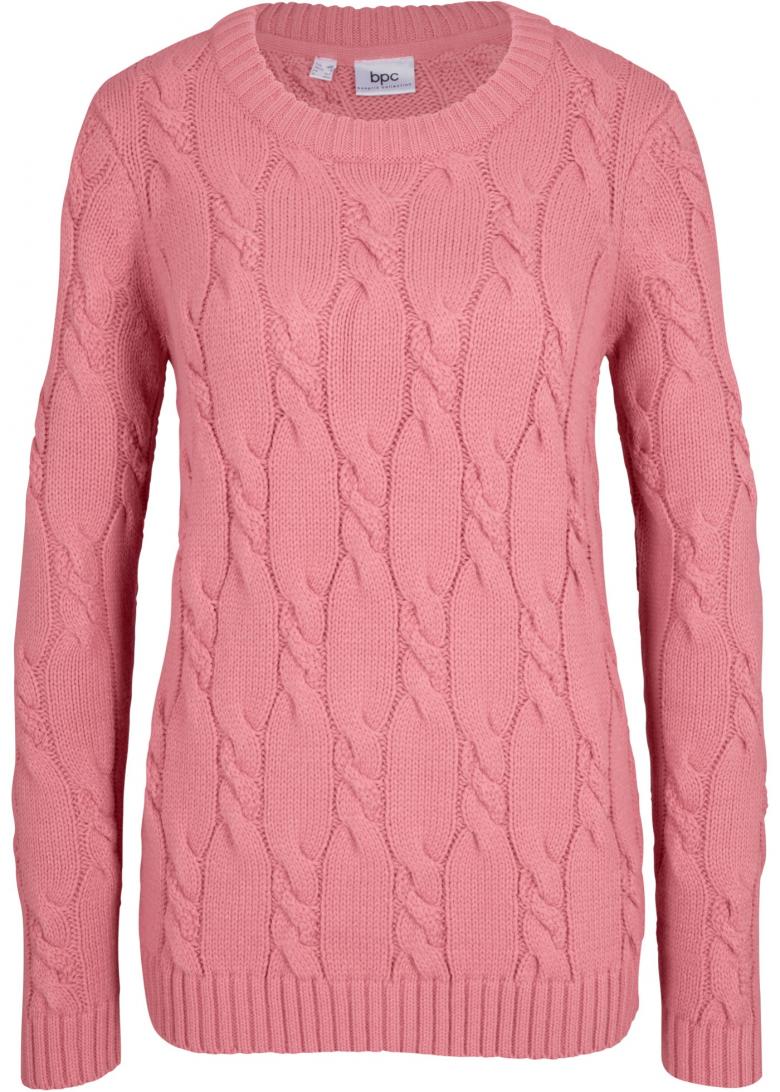
Knit a women's sweater without a collar with a braid pattern
You and I have learned the basic ways to create an original pattern. Our next task is to give you ideas on how to better apply the acquired knowledge in practice. When working on products, you can use any of the presented "braid" patterns.
Step-by-step scheme-instruction for the master:
- Let's take basic measurements: the circumference of the chest, the circumference of the neck, the height of the back, the height of the sleeve.
- According to the dimensions make patterns.
- When working with a large product it is more practical to use circular needles. On the tool dial the required number of loops.
- The beginning of the sweater knit with a rubber band with an alternation of one right and one wrong element. This method is used for 3-5 cm. Then move on to the formation of patterns.
- Alternate the usual front glaze with a pattern, arranging the elements of "braids" in equal intervals.
- When working on the product, use the studied schemes or read the video tutorials on the Internet.
- This sweater model does not involve a collar, so trim the neckline with crochet.

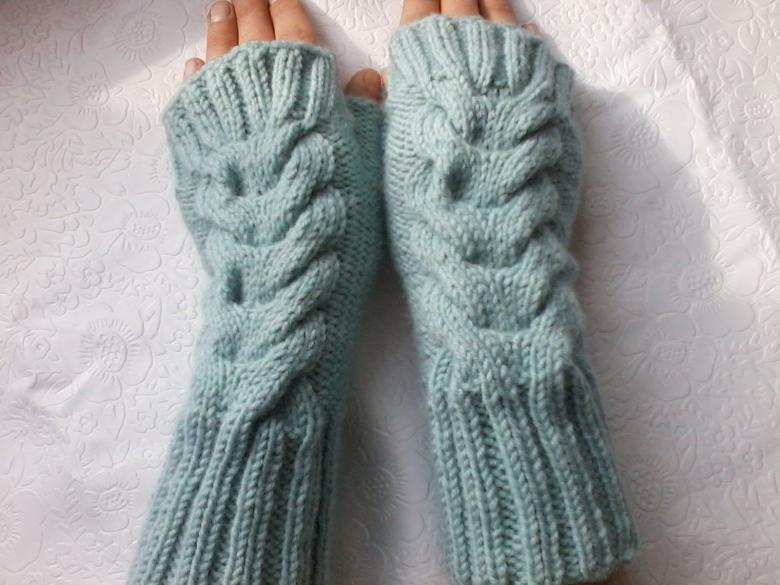
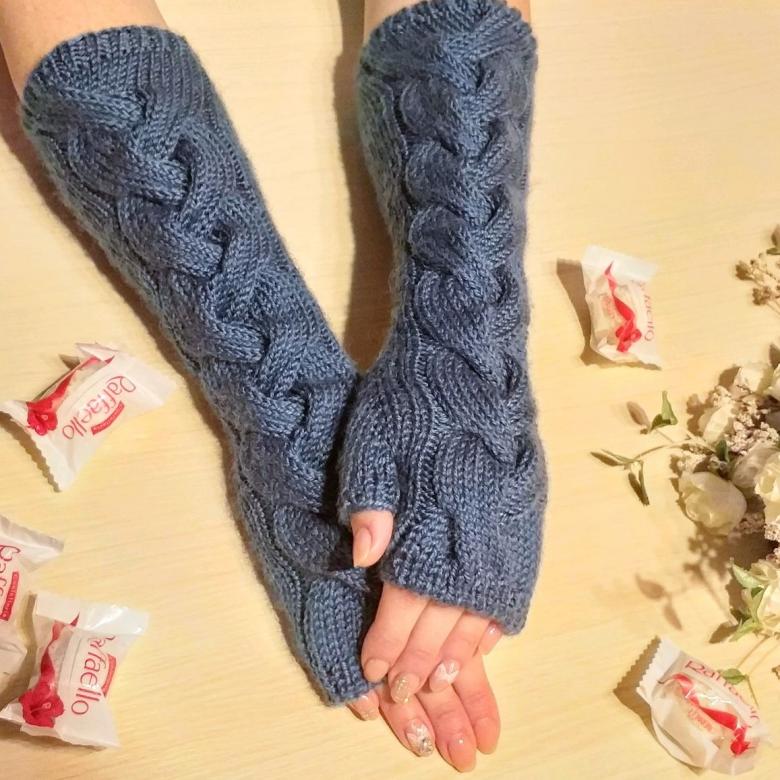
Long mittens with pattern
This model is also designed for fans of winter colds and fresh air.

A step-by-step scheme-instruction for the master:
- We make measurements of the palm.
- Dial the required number of loops. Distribute the elements equally on four spokes. We work with the fifth instrument.
- Start knitting with a rubber band with alternating of the front and back elements (1 or 2). The height of the rubber band depends on the measurements of the wrist of our model, as well as on the individual wishes of the future owner of the patterned mittens.
- Next, we work with a 2-3 cm long face-smooth stitch. The pattern is formed on the back of the mittens. Use a double "braid" in a single version. Keep in mind that we will need one more additional tool.
- Knit the pattern according to the provided scheme, alternating it with the face knitting.
- Make a wedge for the thumb (read the diagram in the previously submitted works or read the step-by-step work on the Internet). Finish the knitting by decreasing the number of loops on top of the piece.
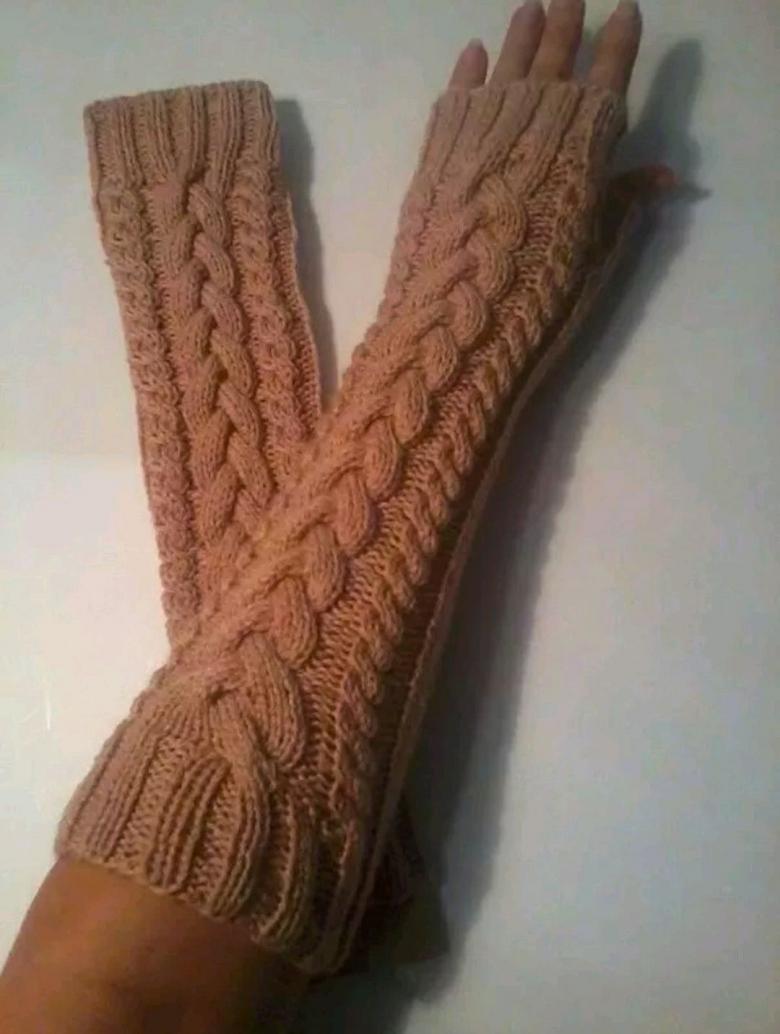
Warm mittens with exquisite pattern are ready! If you wish, you can slightly change the course of the work, and then the output will be either gloves with a nice ornament, fashionable mittens without fingers.

We have not considered all methods of creating the "braid" pattern, but we tried to study them in great detail. Study more often, learn new techniques, devote hours of your evening leisure time knitting, and, as a result, get a wonderful and exclusive model items of clothing.

