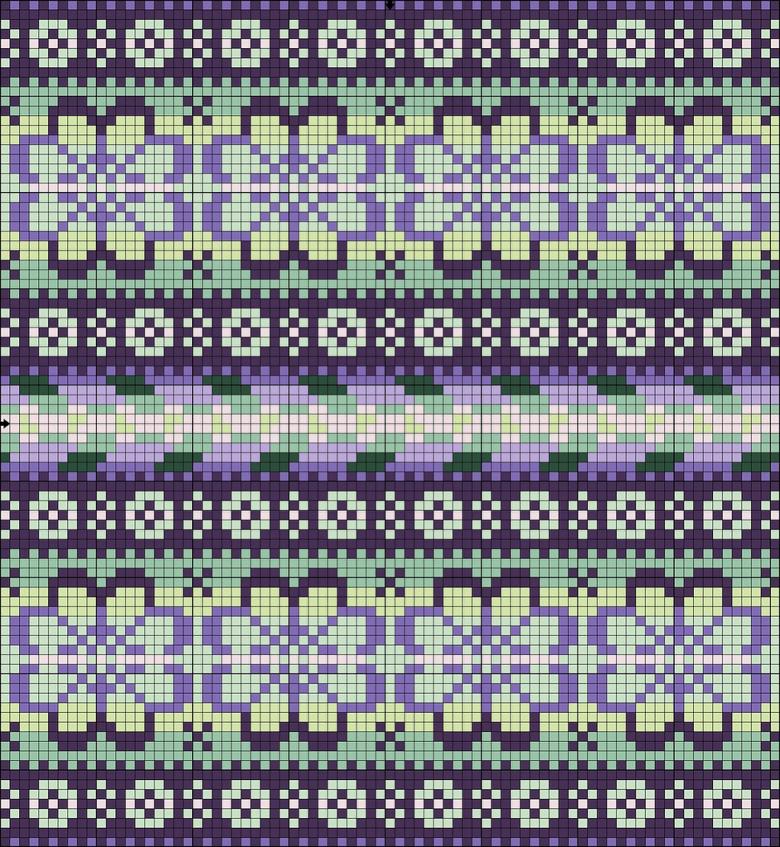
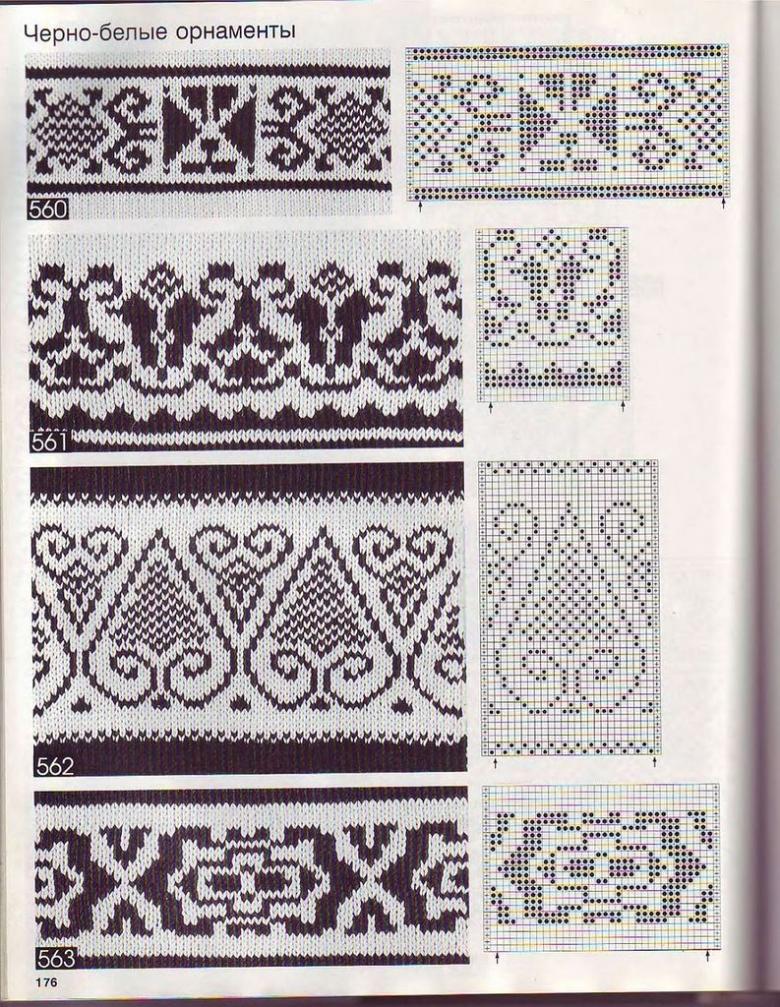
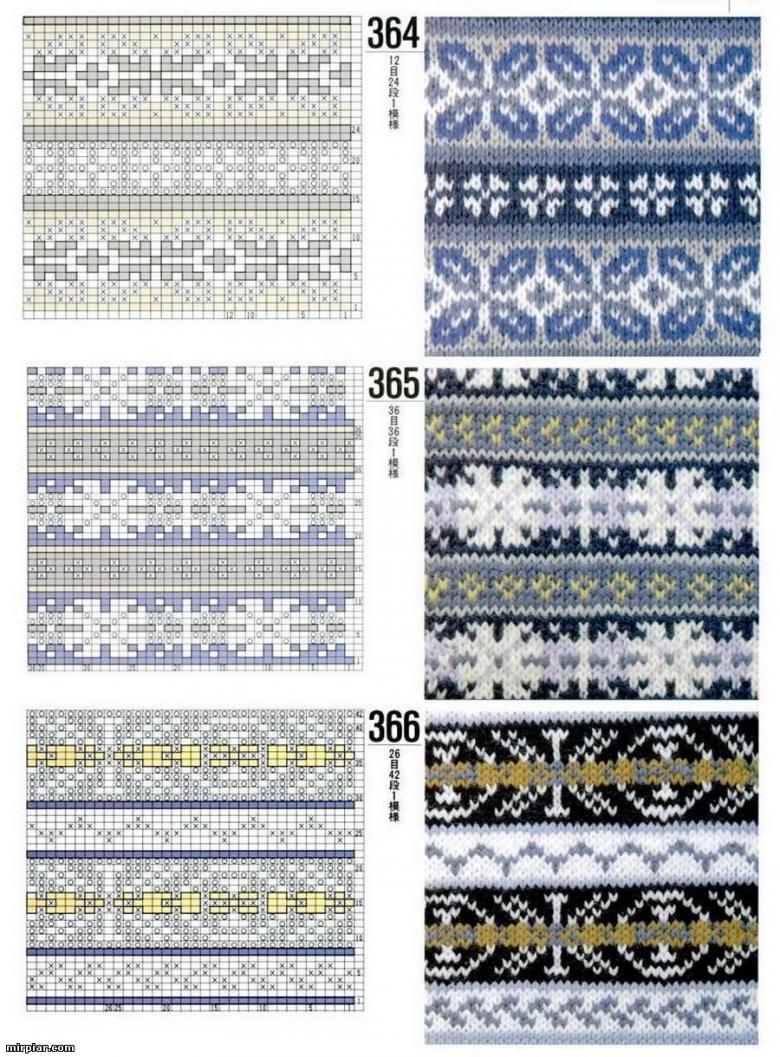
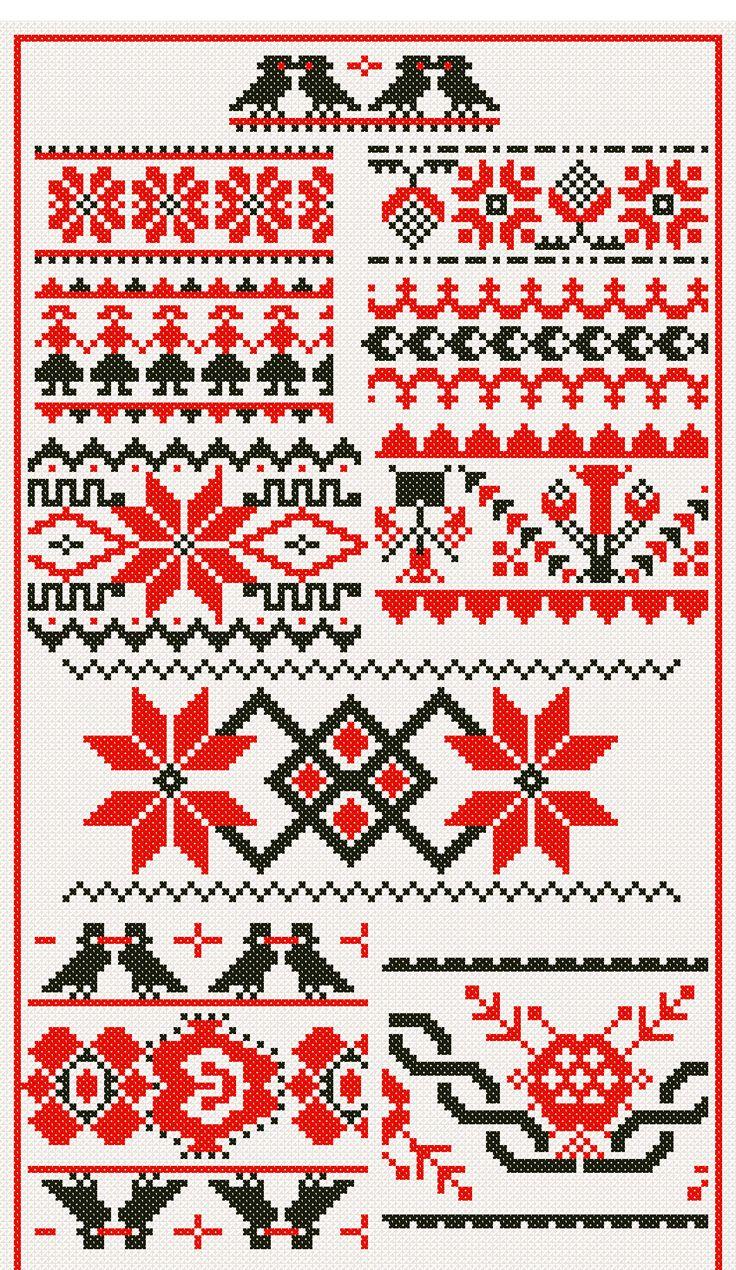
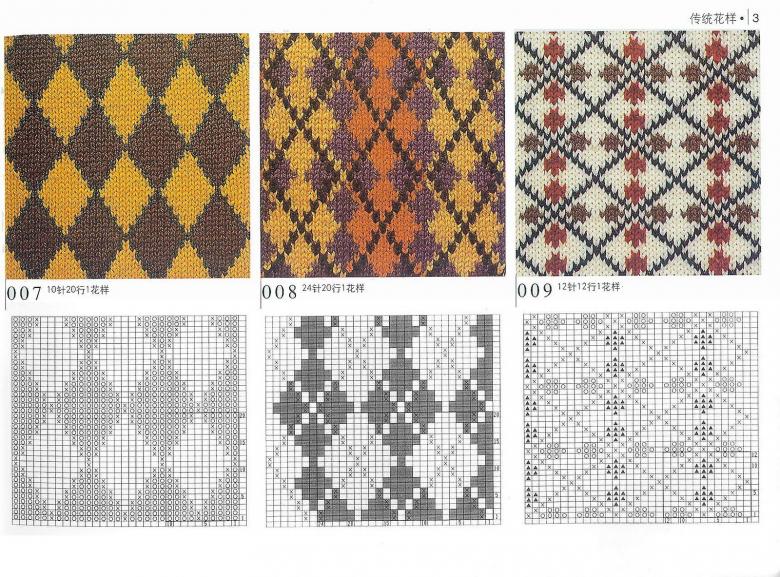
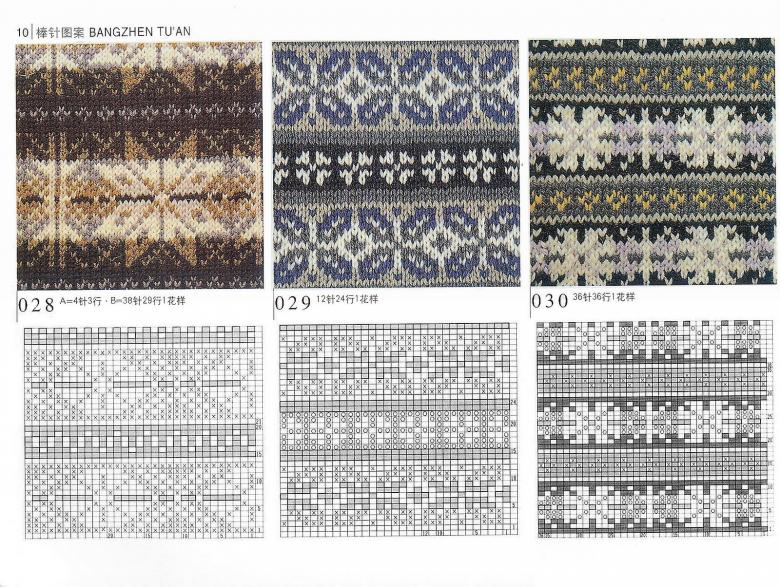
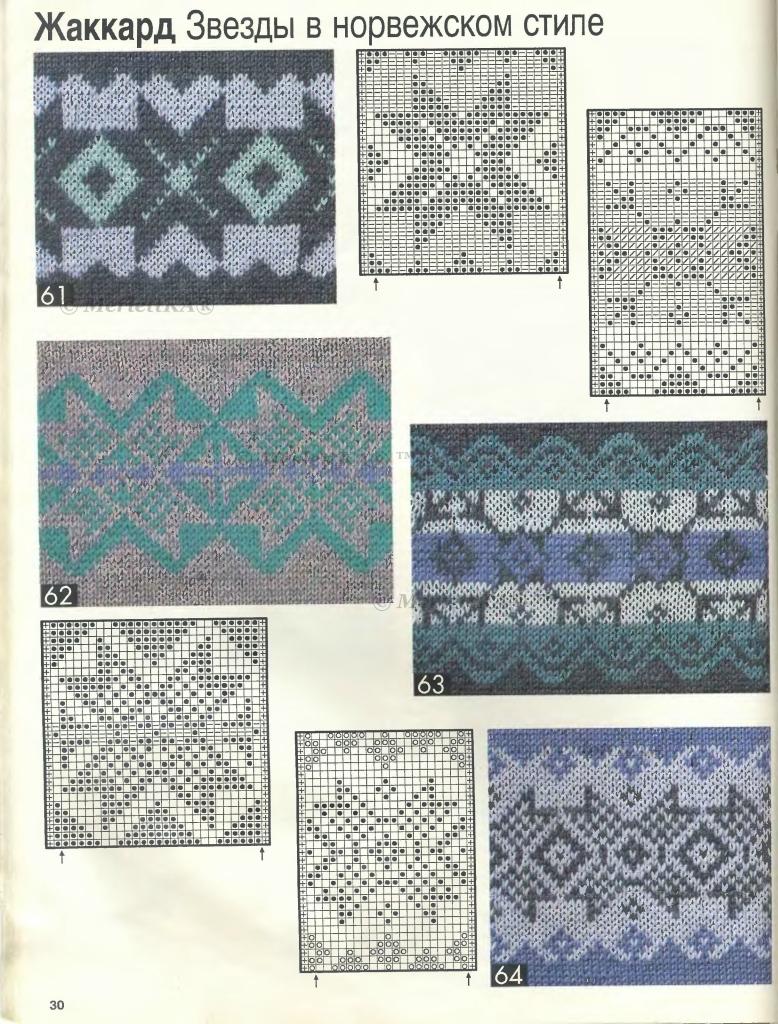
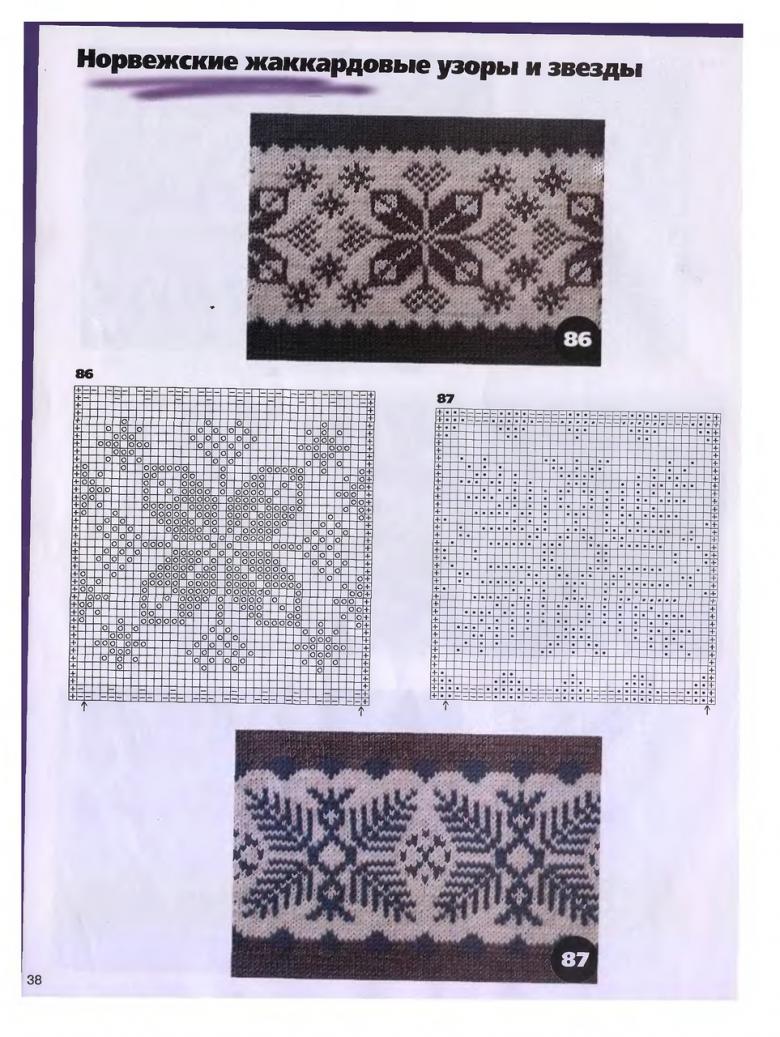
Jacquard patterns in knitting - step by step instructions for beginners.
People of the older generation rejoice: colored repeating rows are back at the peak of popularity. Fashion moves in a circle, bringing back old forgotten motifs. Today you and I will learn not only the peculiarities of jacquard pattern techniques, but we will also make a few patterns ourselves.
Norwegian Style: What is it like?
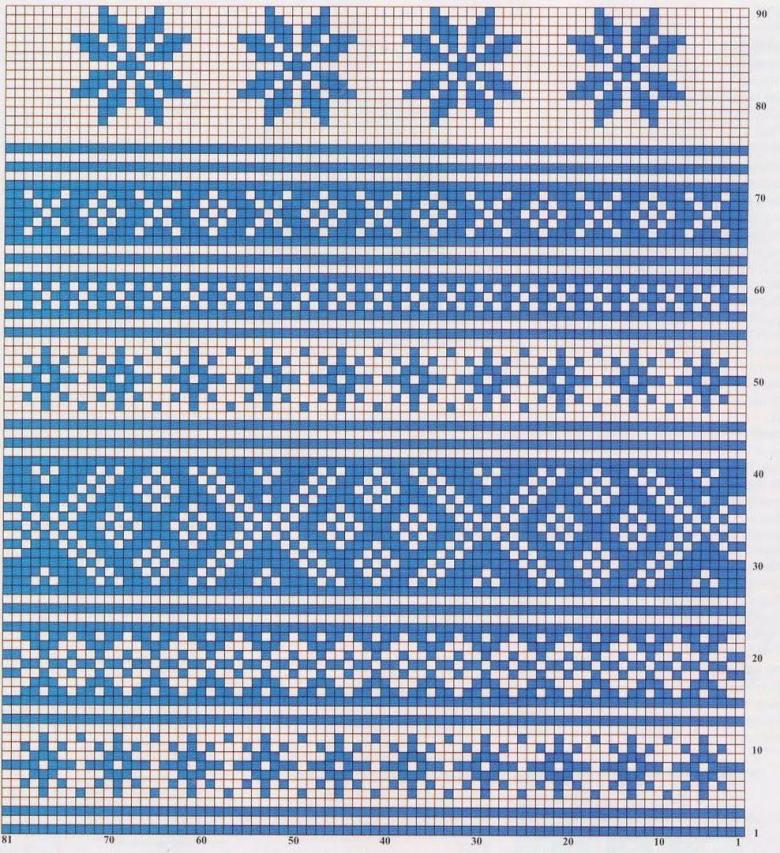
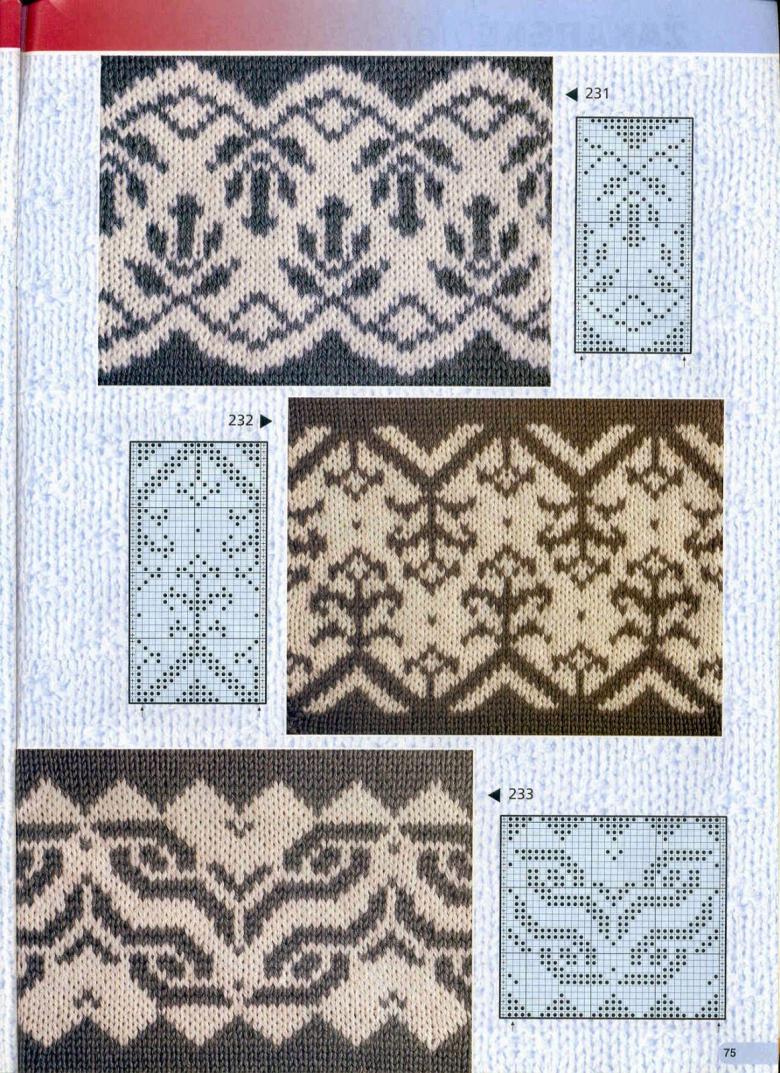
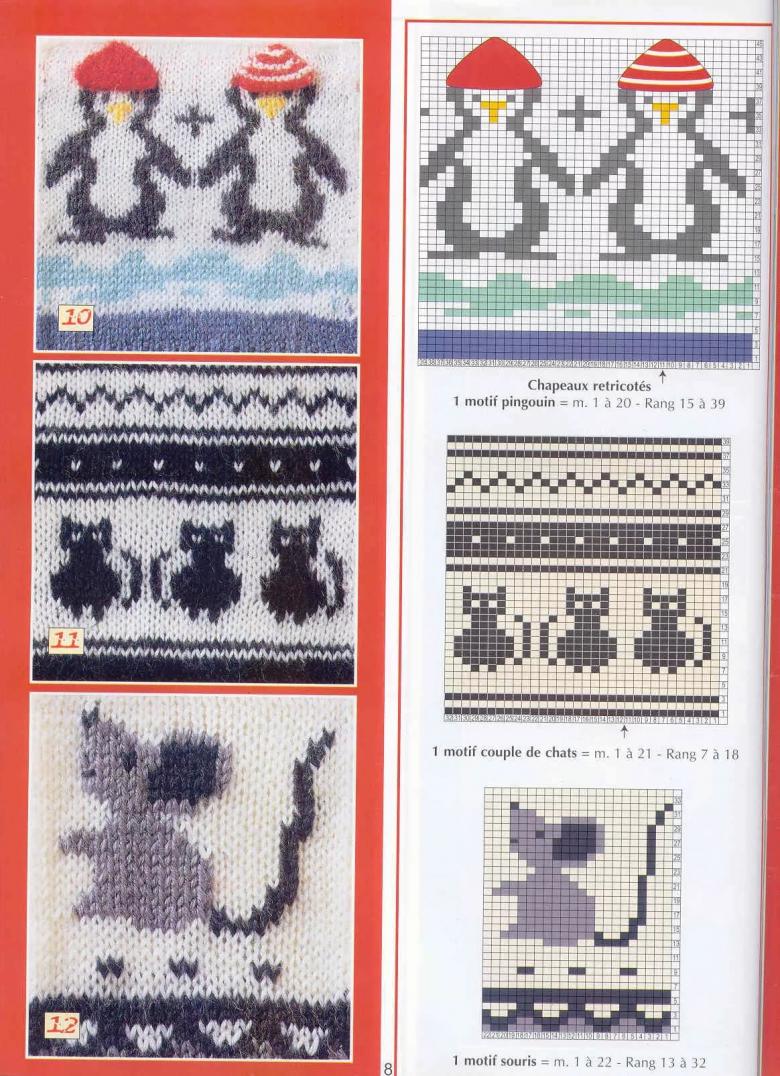
You've probably met these knits. Fashion trends brought us back the old motifs, which were immediately picked up by young stylists. Characteristic features of the pattern in this technique:
- Ornaments of two or more colors that change in the same row.
- No complicated intricate step-by-step schemes-instructions for masters.
- The most common patterns in this style are reindeer, Christmas trees, and northern ornaments.
- More often this technique is used to create winter models of clothing.

What materials we will use:
- Ordinary knitting needles.
- Semi-synthetic yarn in different colors.
- Patterns for adhering to the size range.
- Measuring tape, pencil to work with patterns.
- Crochet for those who want to complement the product openwork edging.
Models with which we have to get acquainted:
- Practice canvas: forming a zigzag.
- Pattern with a slanted course of knitting.
- Ornaments for children's products: herringbone.
- Double sided Norwegian patterns.
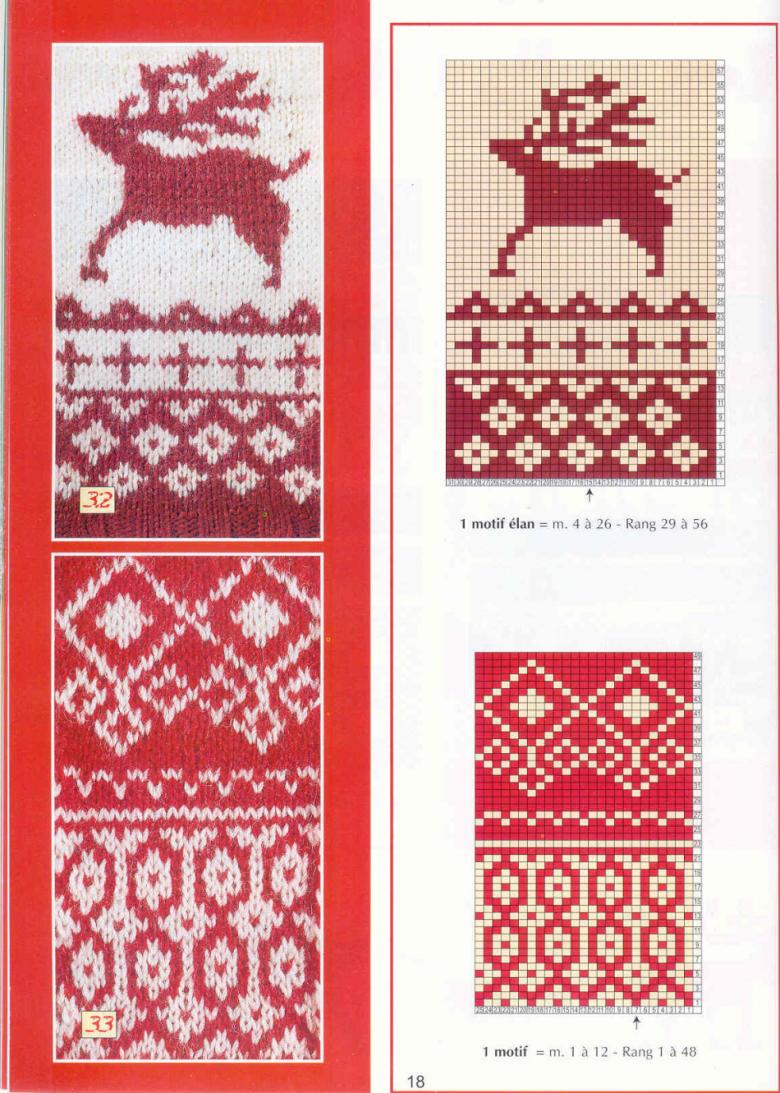
- Classic sweater with reindeer.
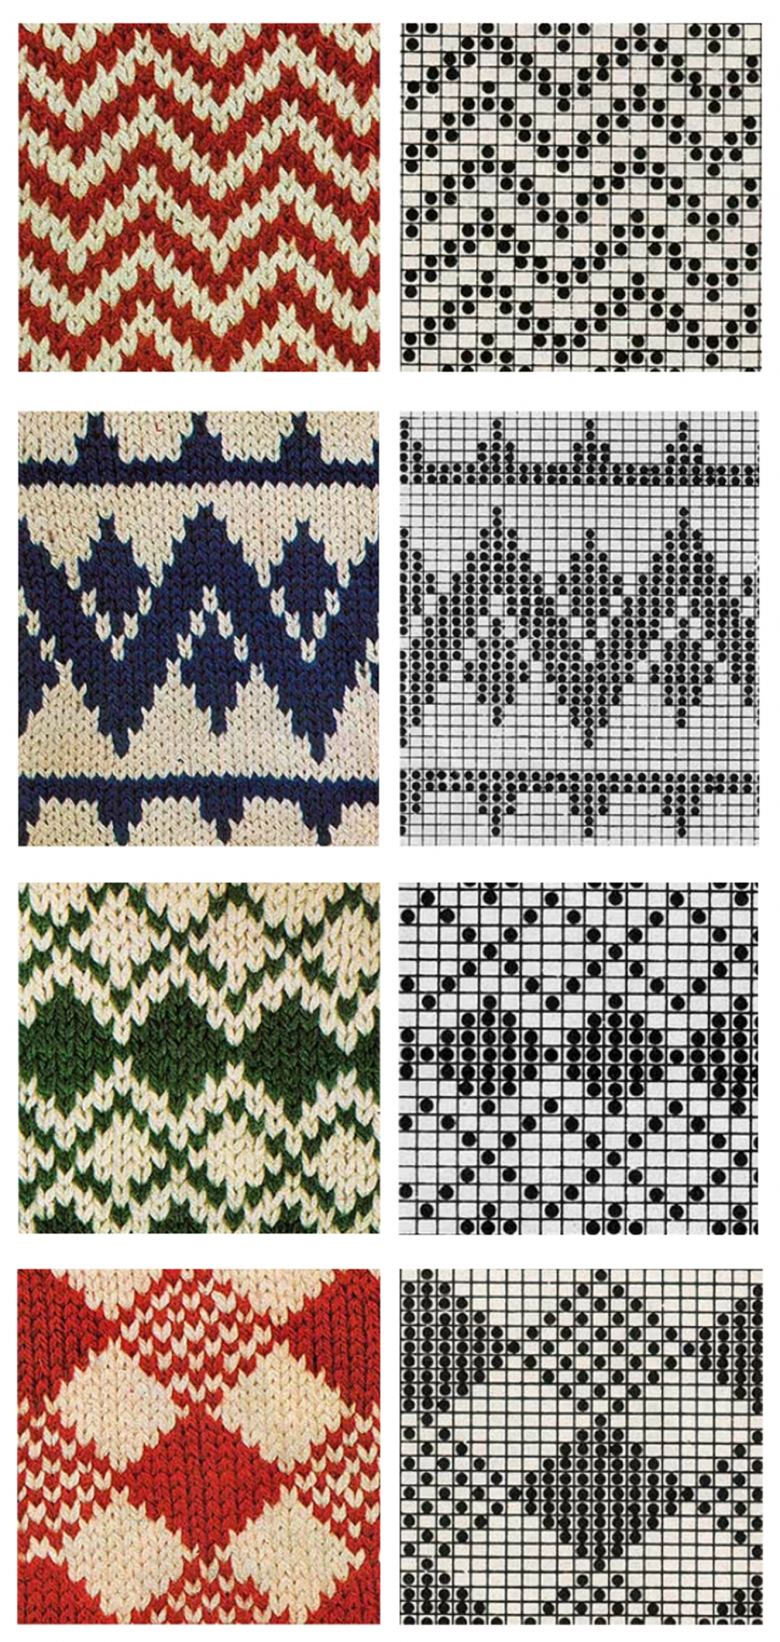
What we can knit using this technique:
- It can be a sweater or a cardigan.
- You can knit a scarf with an original ornament.
- Gaiters. Classic long socks are whimsically combined with Norwegian motifs.
- Mittens. A line of contrasting colors along the back of the palm brings its "zest" to the winter mood.
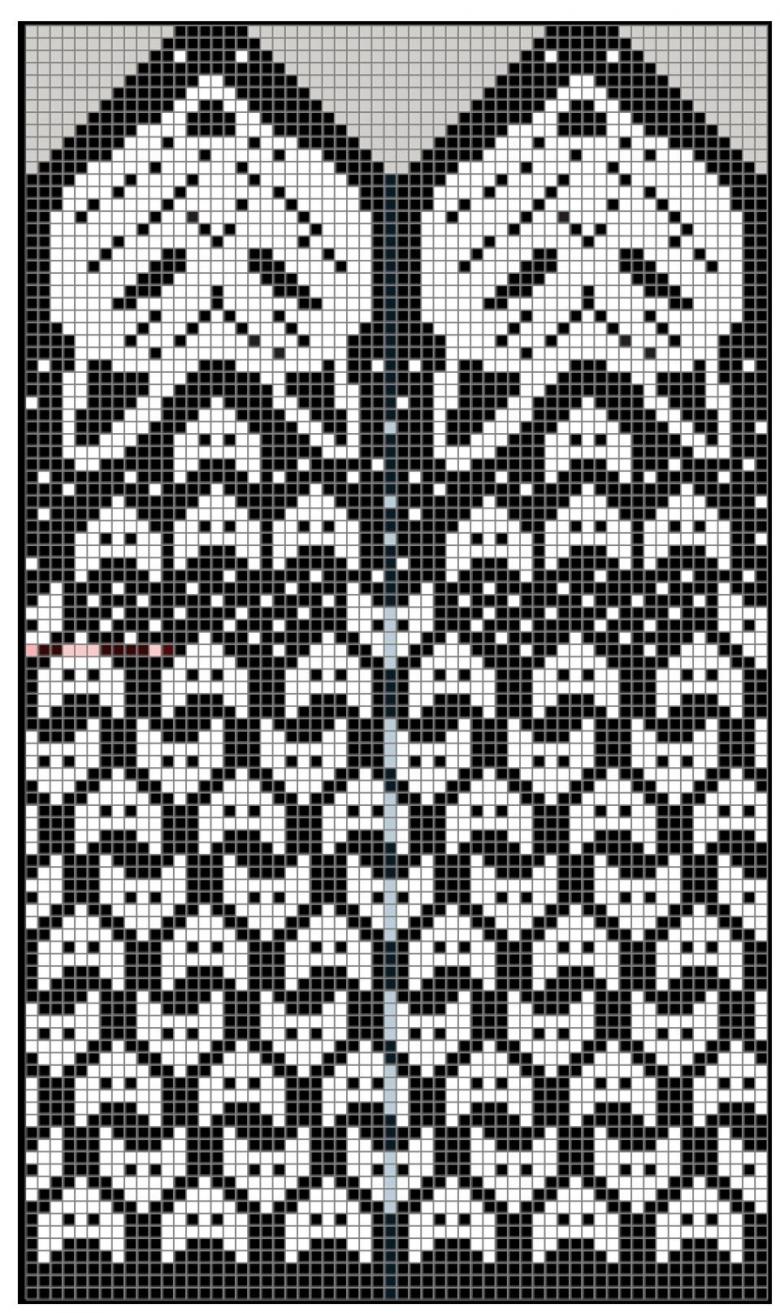
Workshops with step-by-step instructions
Working with patterns
For each model, we will need patterns, so as not to make a wrong assessment of the size of the product. We arm ourselves with a pencil and a tape measure. We make the basic measurements:
- Chest circumference.
- The length of the back.
- For the sleeves: the calculation of armhole, oaklead, sleeve height, shoulder circumference.
Transferring these values on paper. Cut out the details. Now we can start working with needles.
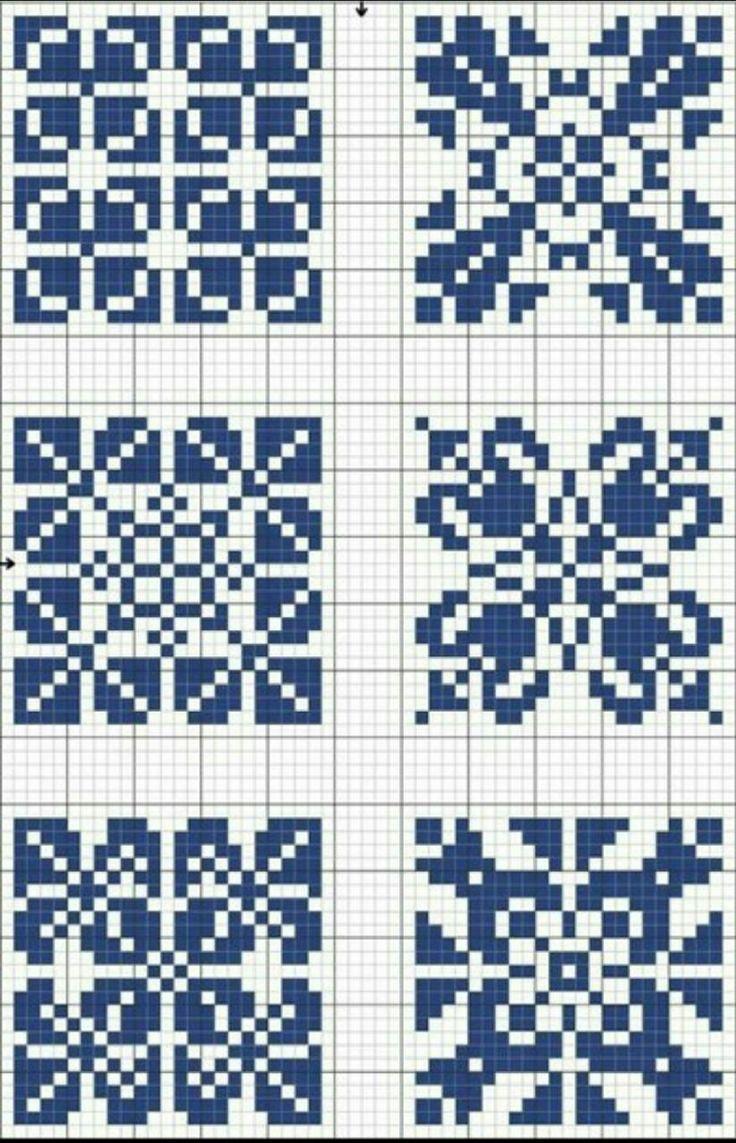
Features of the jacquard technique
To begin with, let's learn a number of rules, common for all products in the Norwegian style:
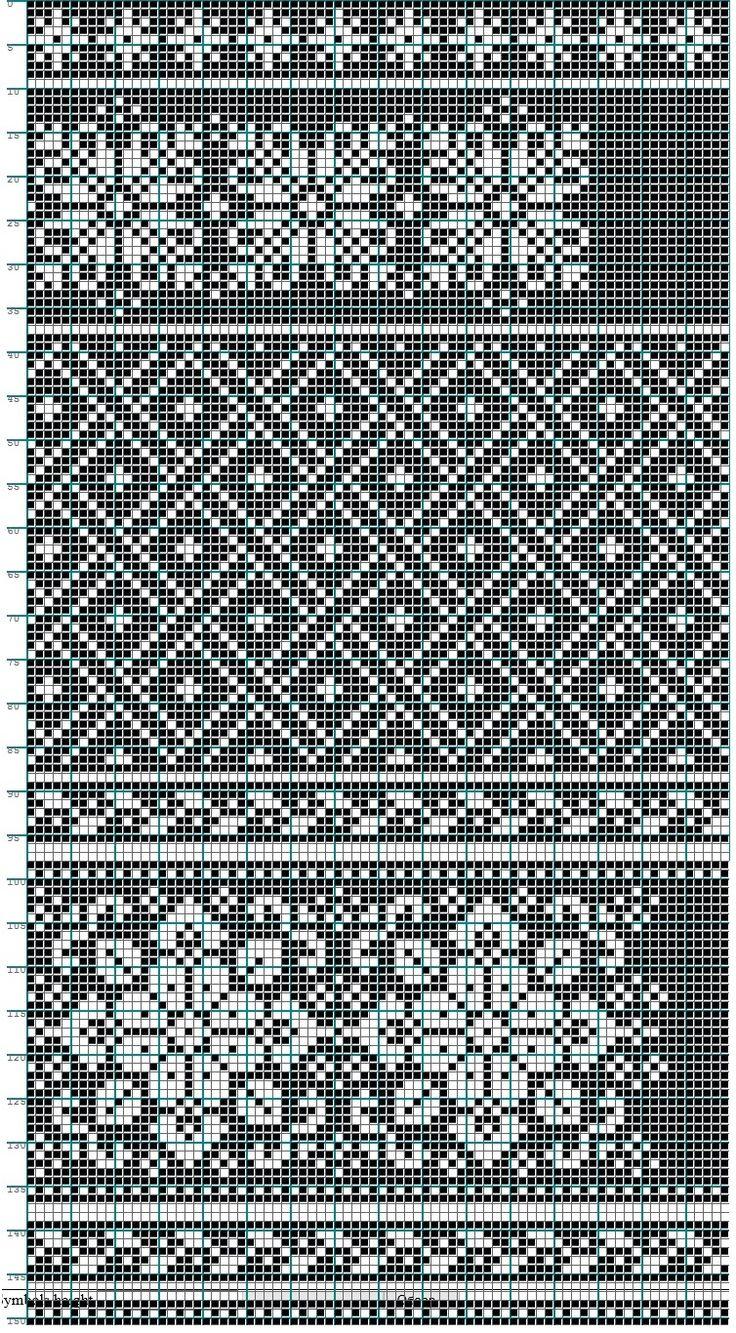
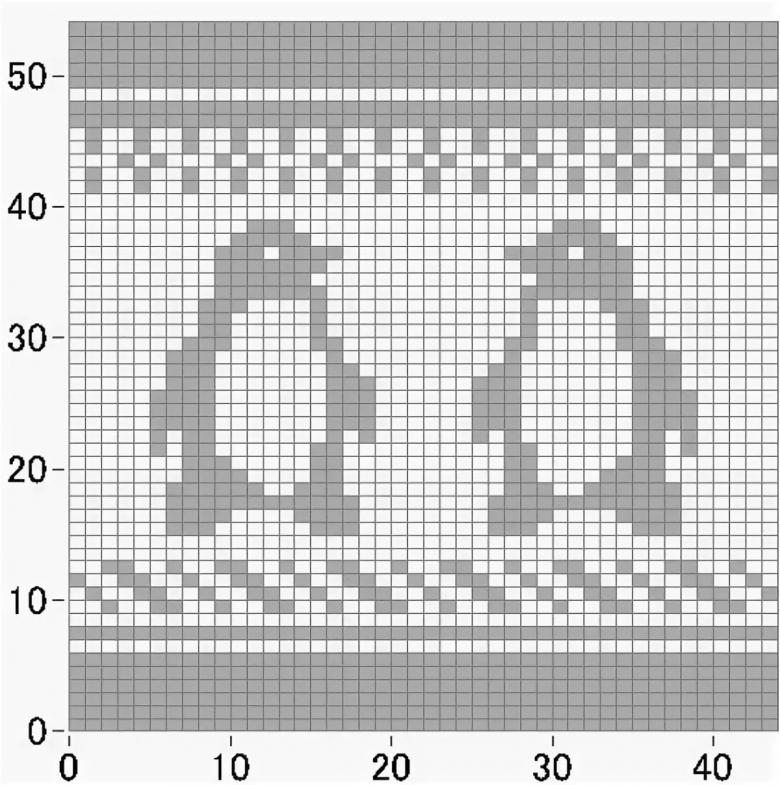
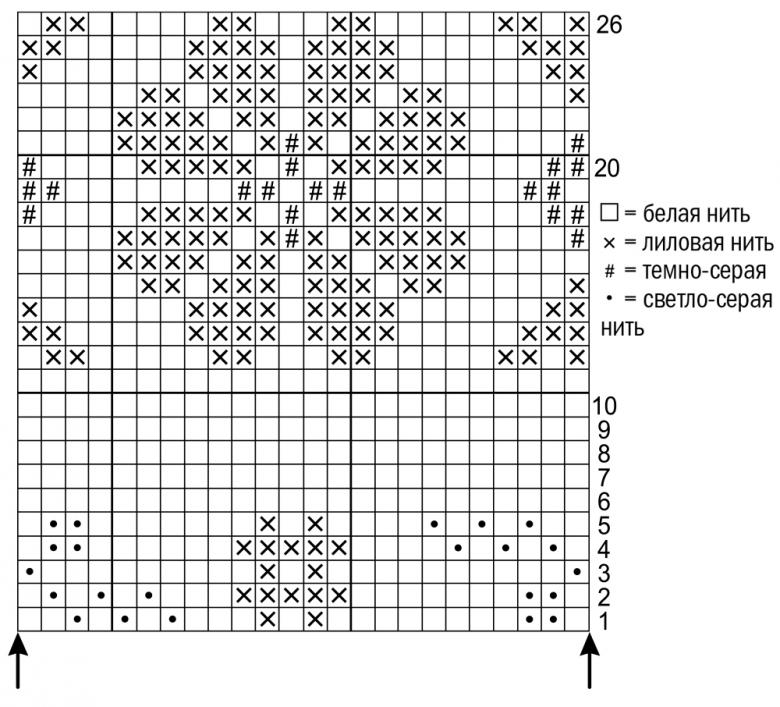
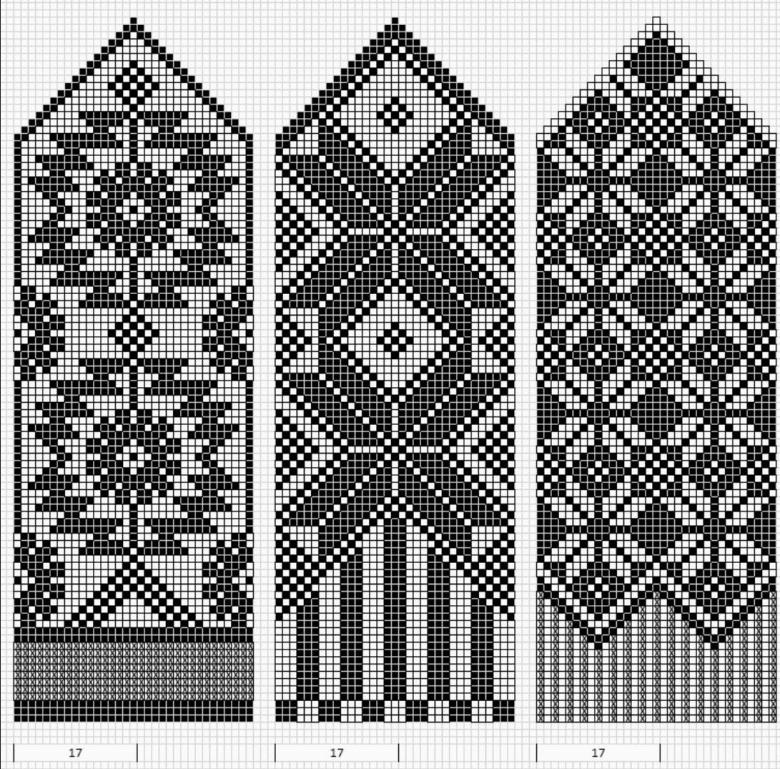
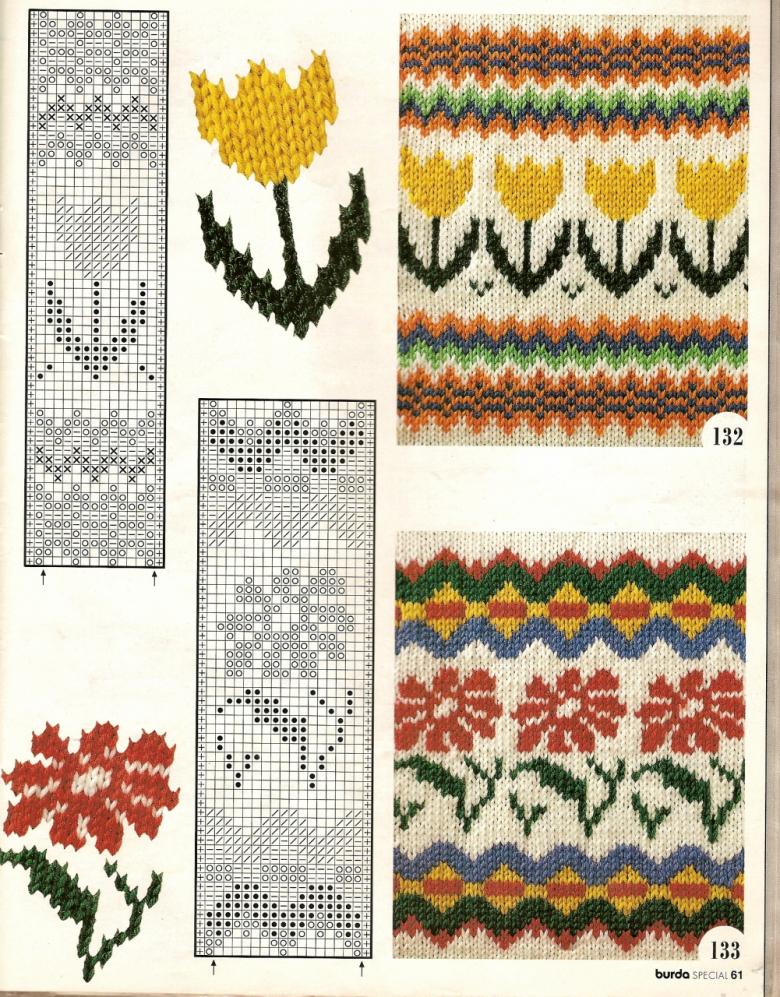
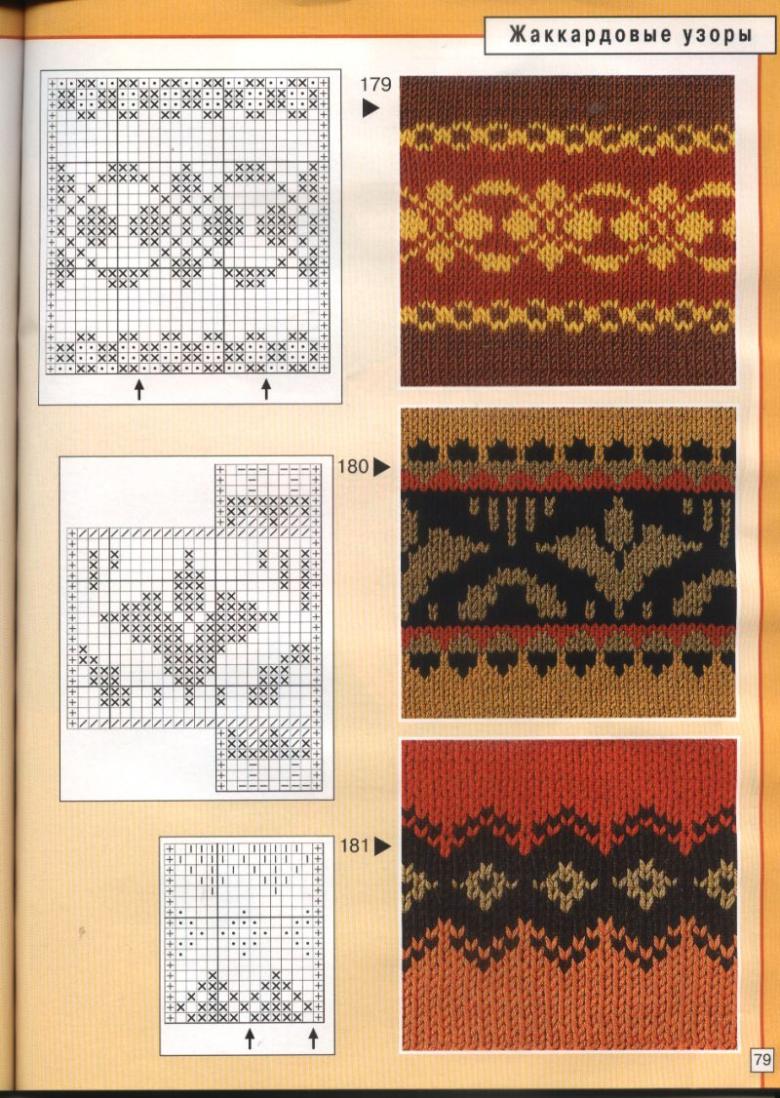
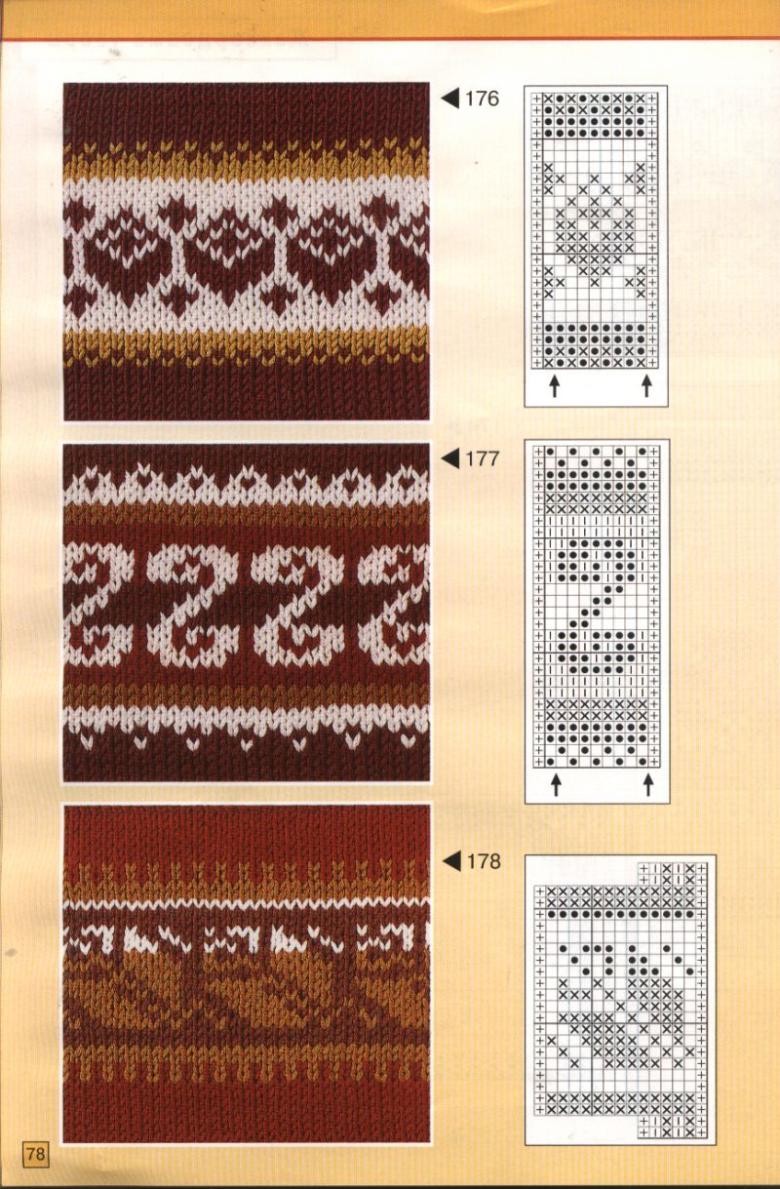
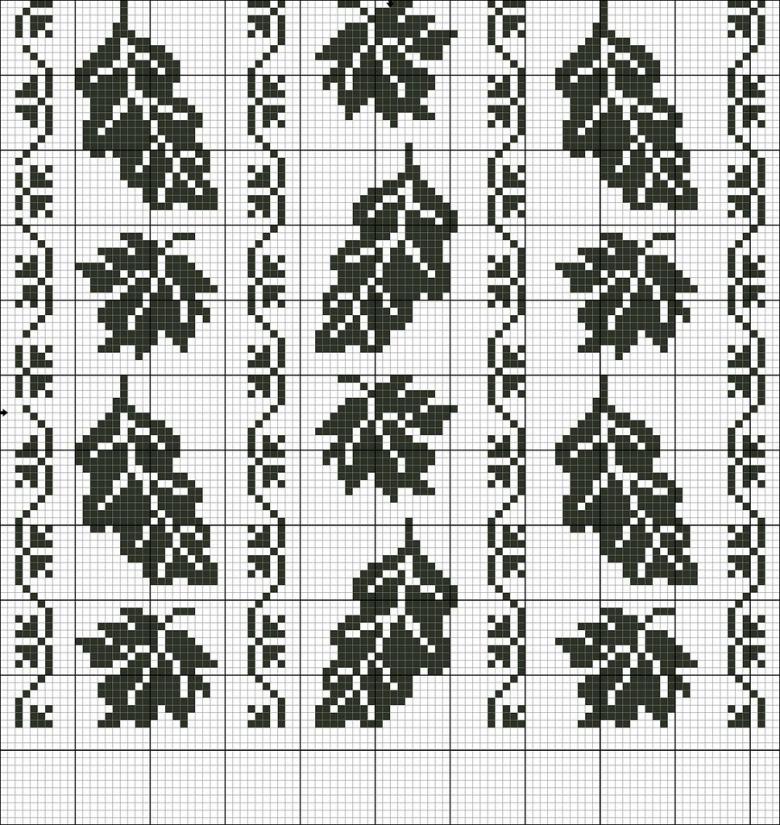
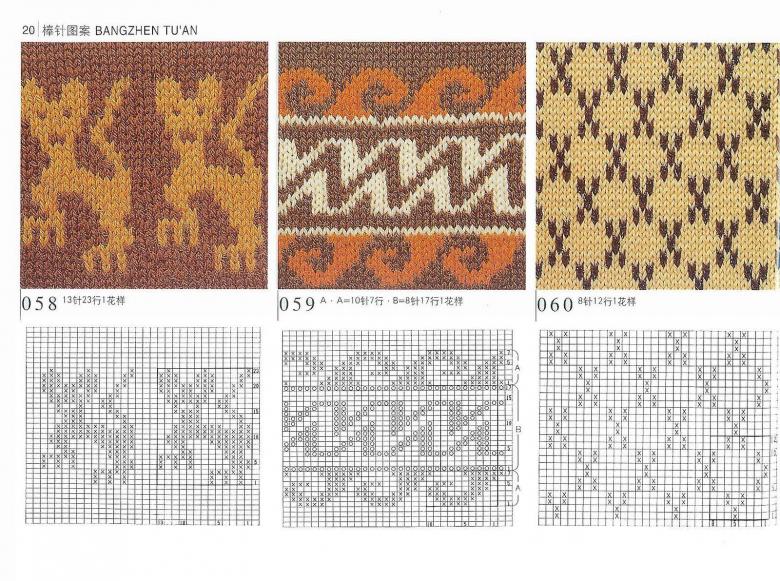
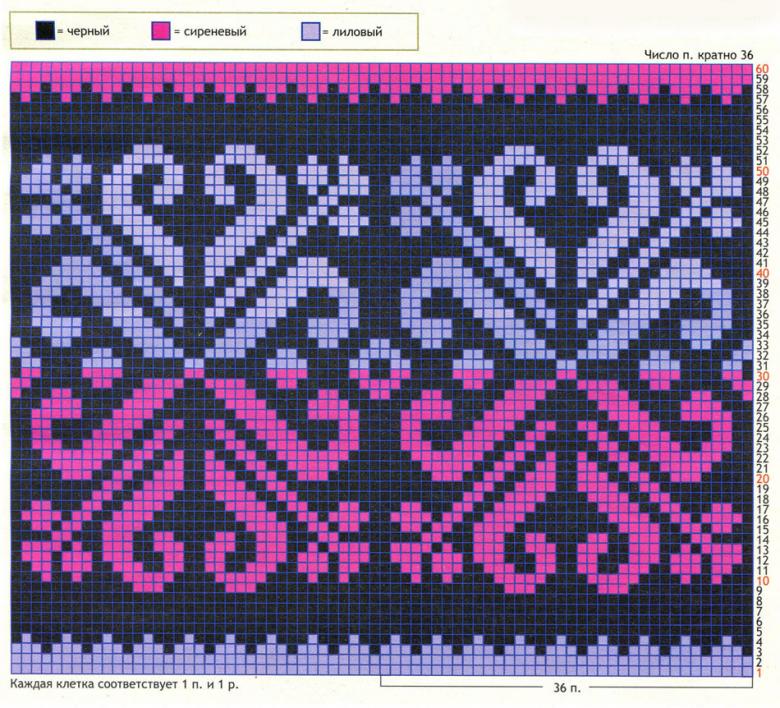
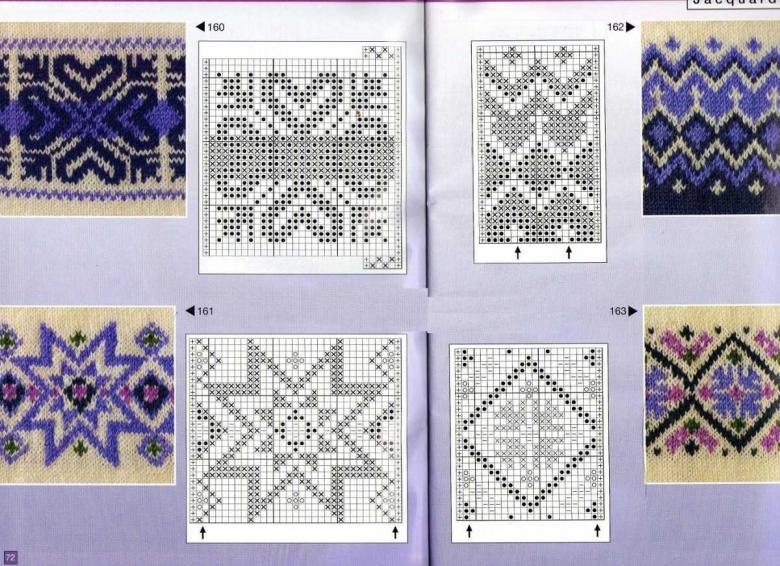
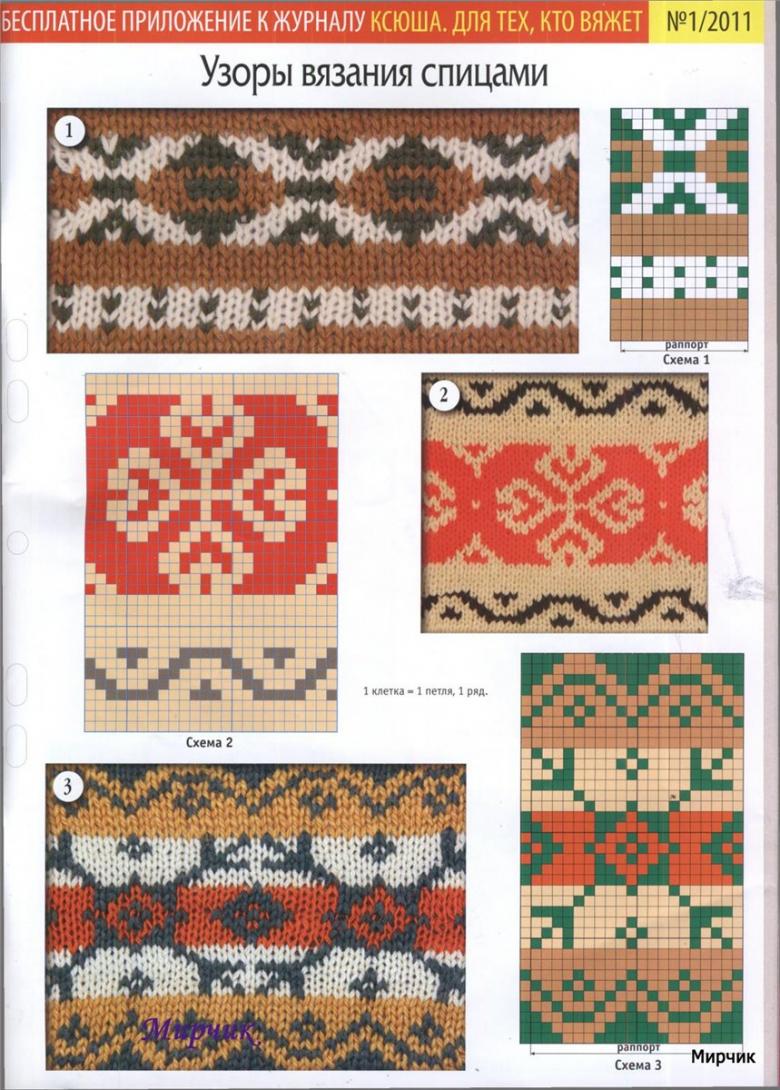
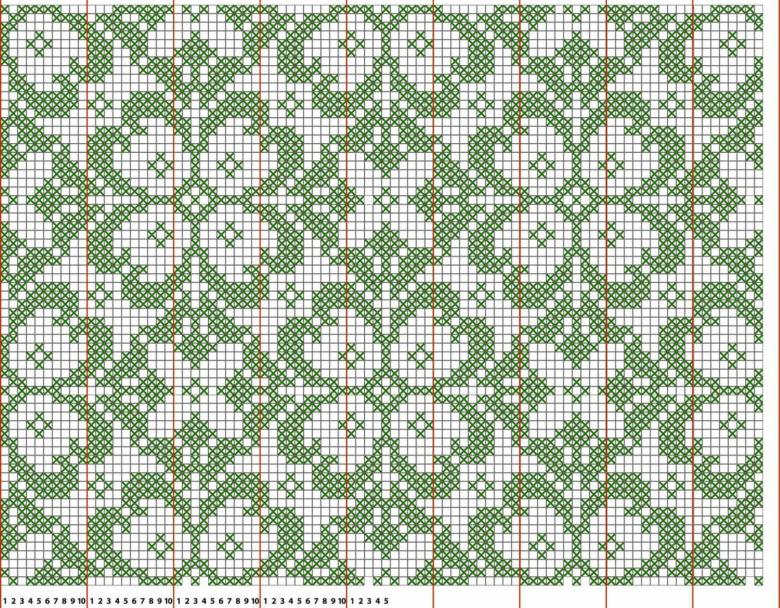
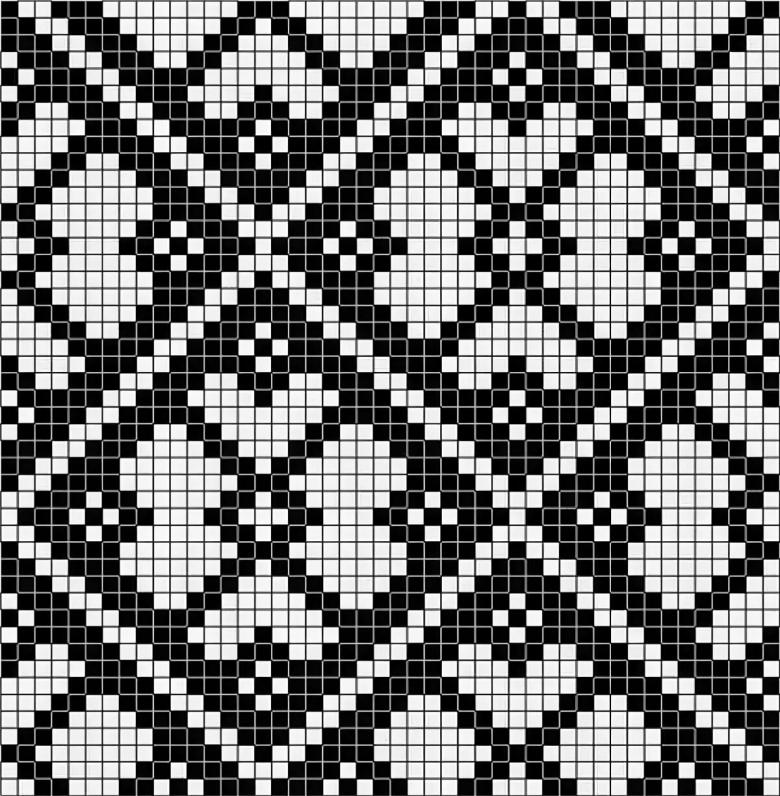
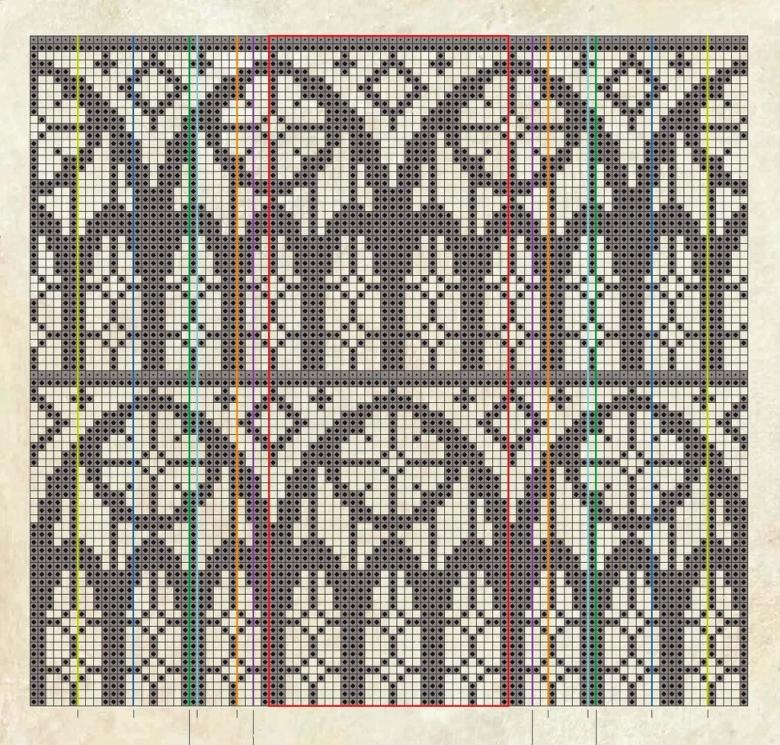
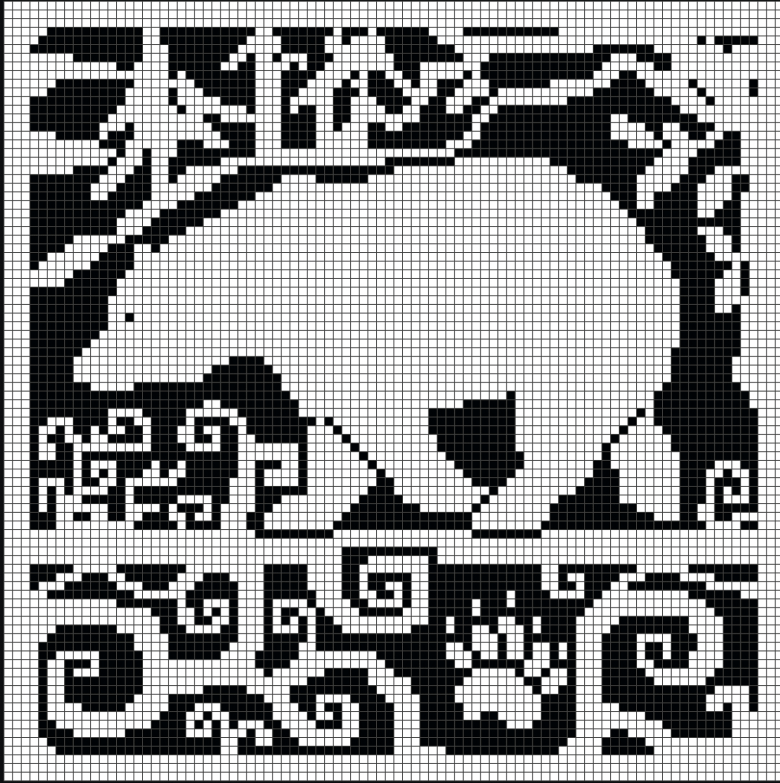
- Counting schemes are used in the work: one cell is one loop, different signs are designations of colors. Color palette is important in this knitting technique.
- Any ornaments are knitted in frontal plain.
- Edge pieces must be knitted in two colors at once.
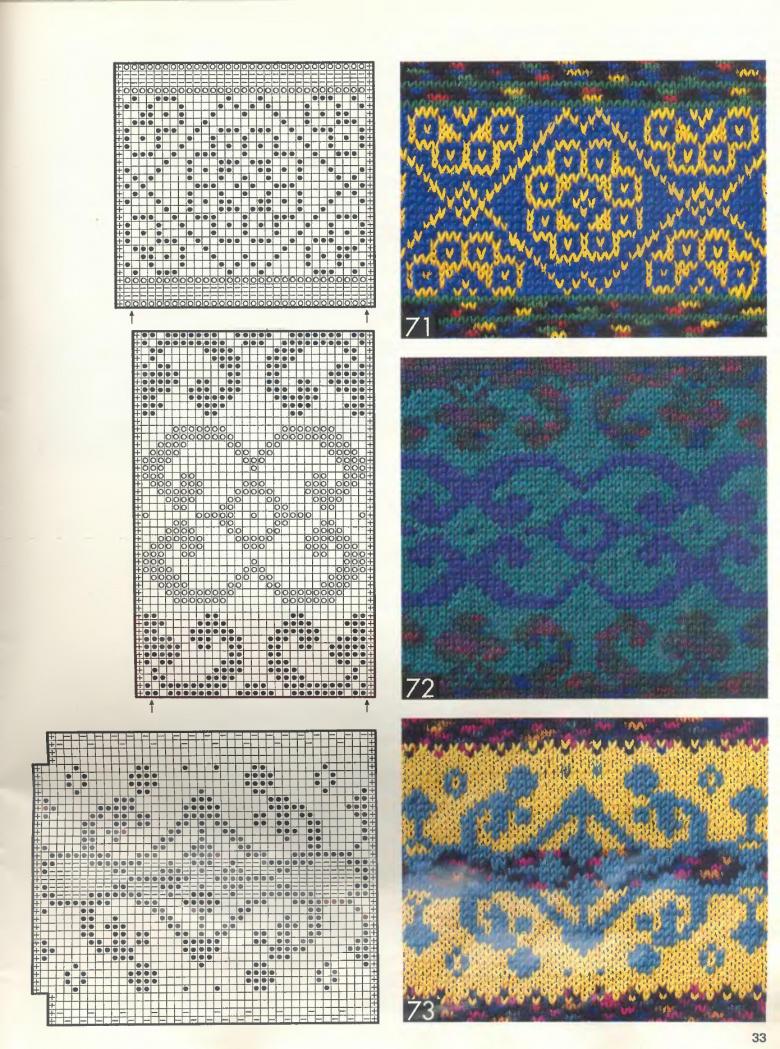
- In this technique, there are no classic instructional diagrams for working on the pieces. All schemes resemble a Japanese crossword puzzle field, where the cells indicate your actions with yarn and thread. Don't worry, you'll quickly learn a new technique.
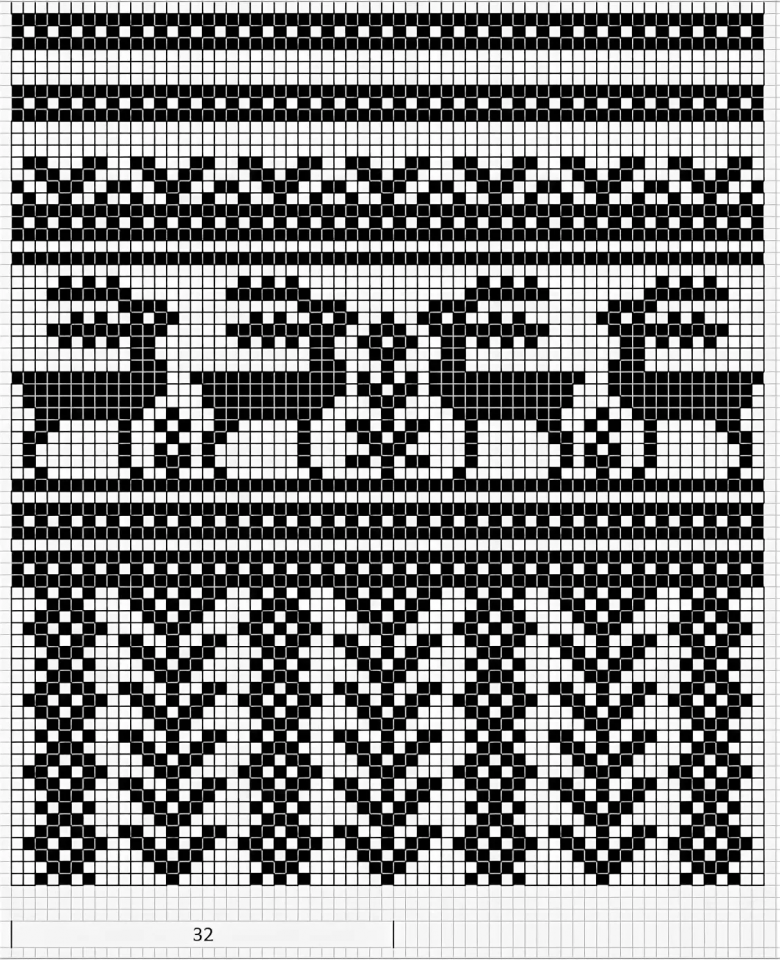
Knit a zigzag pattern
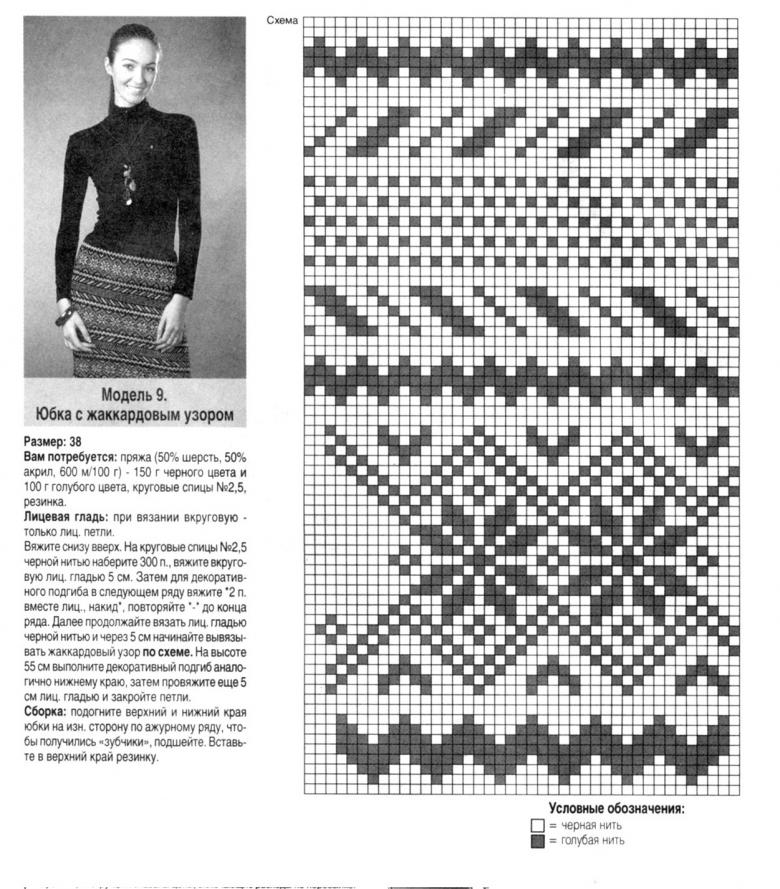
This is an example of the simplest way to create a web. Now we won't be working on any particular piece, which means we don't use patterns. The pattern assumes the presence of angular designs located around the circumference of the product (sweater, sweater, leggings, hat).

Step-by-step scheme-instruction for the master:
- On a needle we dial 21 loops and two edge elements. This scheme is indicative. In practical work, you will use those parameters and standards that will be specified in the step-by-step instructions for a particular product.
- The first row we knit in the wrong way, using the threads of green color.
- On the last knitting stitch, attach the second thread of the blue color (remember the knitting patterns that we discussed a little earlier).
- Then use the yarn threads alternately, always with two yarns for the edge element.
- The product itself is knitted with a face-smooth pattern.
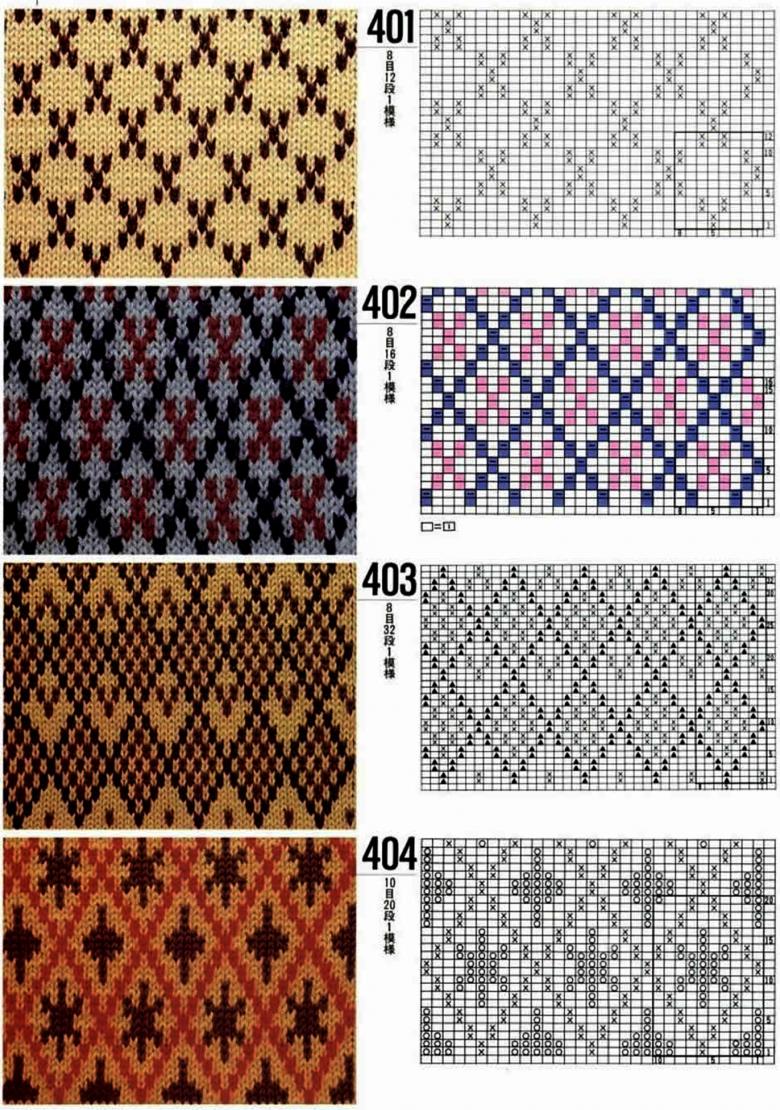
We got an amazingly beautiful pattern, distinguished by the original intent and creative idea. It is not necessary to always use the same pattern. You can come up with and implement your own ideas with great success.
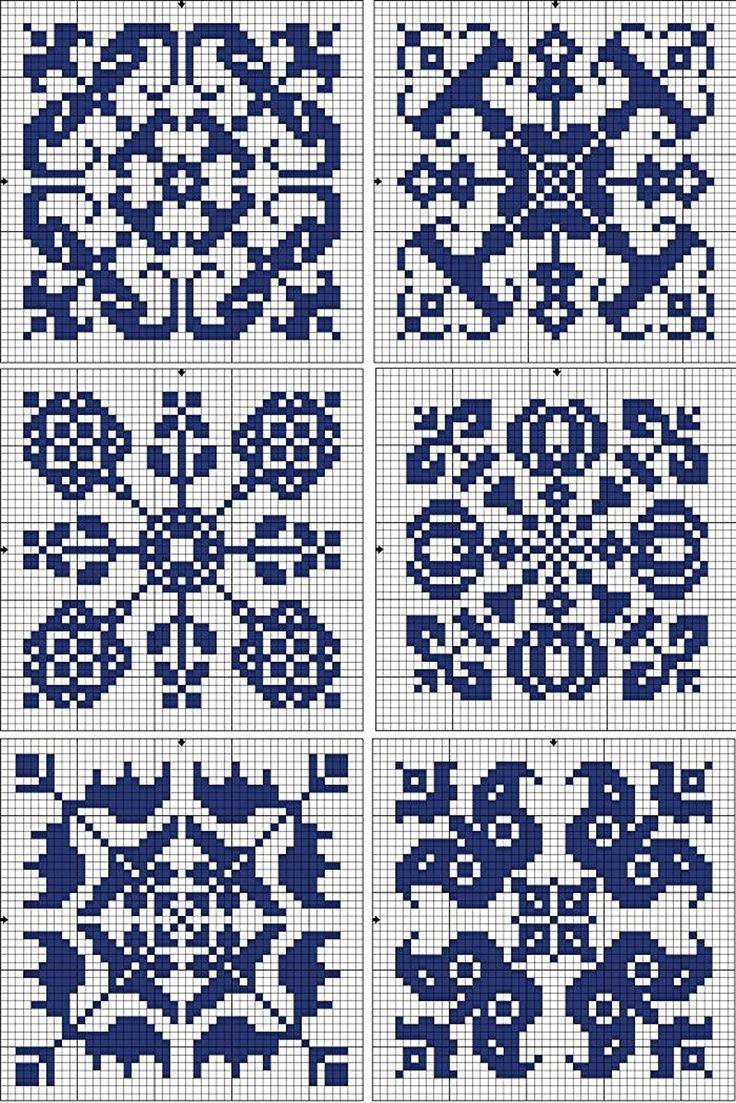
Knit a pattern of slanted loops
Step-by-step scheme-instruction for the master:
- At the beginning of the work we apply the classic way.
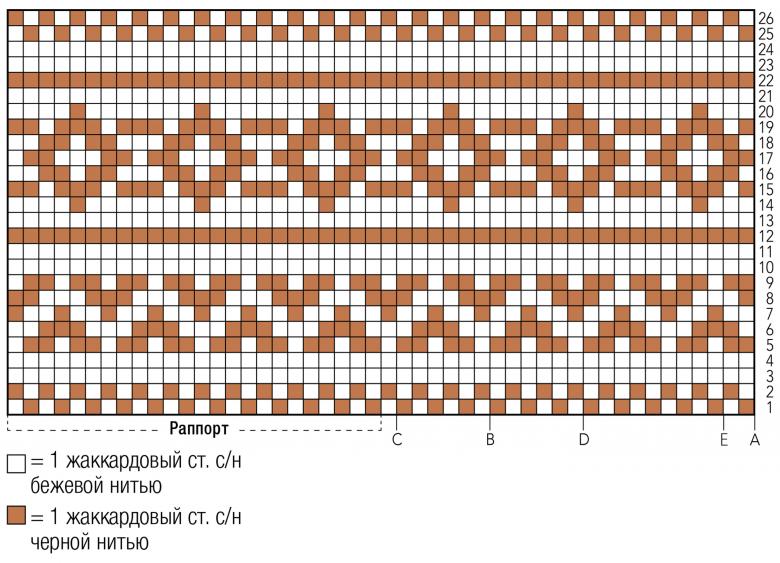
- Proceed to create an ornament. RAPPORT: check the scheme on the Internet.
- Rows for the scheme: download the pattern and move strictly according to the presented model.
- Repeat all the rows, according to the scheme, to get the desired pattern.
- The colors alternate through the two working lines.

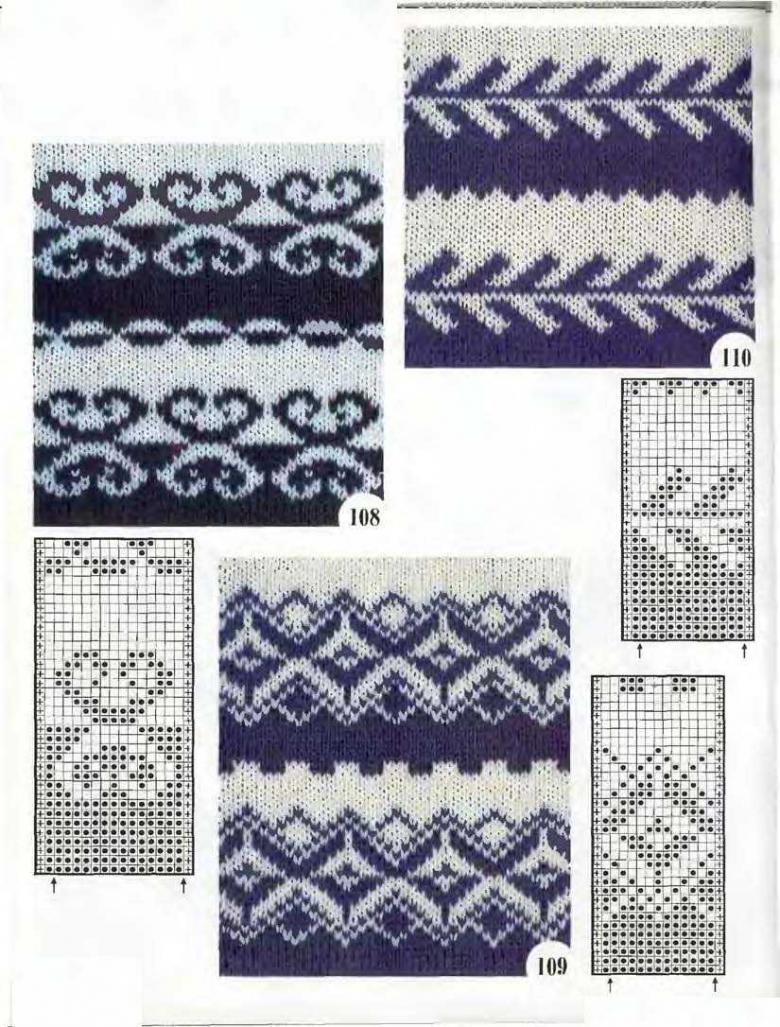
Children's openwork Christmas trees
Now we are going to practice making the simplest children's pattern - a Christmas tree. But note that we use the technique of "lazy Norwegian pattern" - the technique "without broaches".

Step-by-step scheme-instruction for the master:
- We dial 26 loops and two edge pieces.
- Work with the wrong way round, using blue yarn.
- The last stitch is left unchanged.
- Change to a yarn of the second shade.
- The first element of the row we do with a straight stitch.
- With the same color we knit the next three stitches.
- Then apply the following maneuver: we need to remove the work items and take a thread of a certain color.
- Repeat this action the required number of times, referring to the submitted scheme.
- The "herringbone" ornament has 14 loops.
- Practice creating an ornament before you start serious work on the product. Use different colors. Your main task is to understand the principle of changing yarns and alternating working loops.
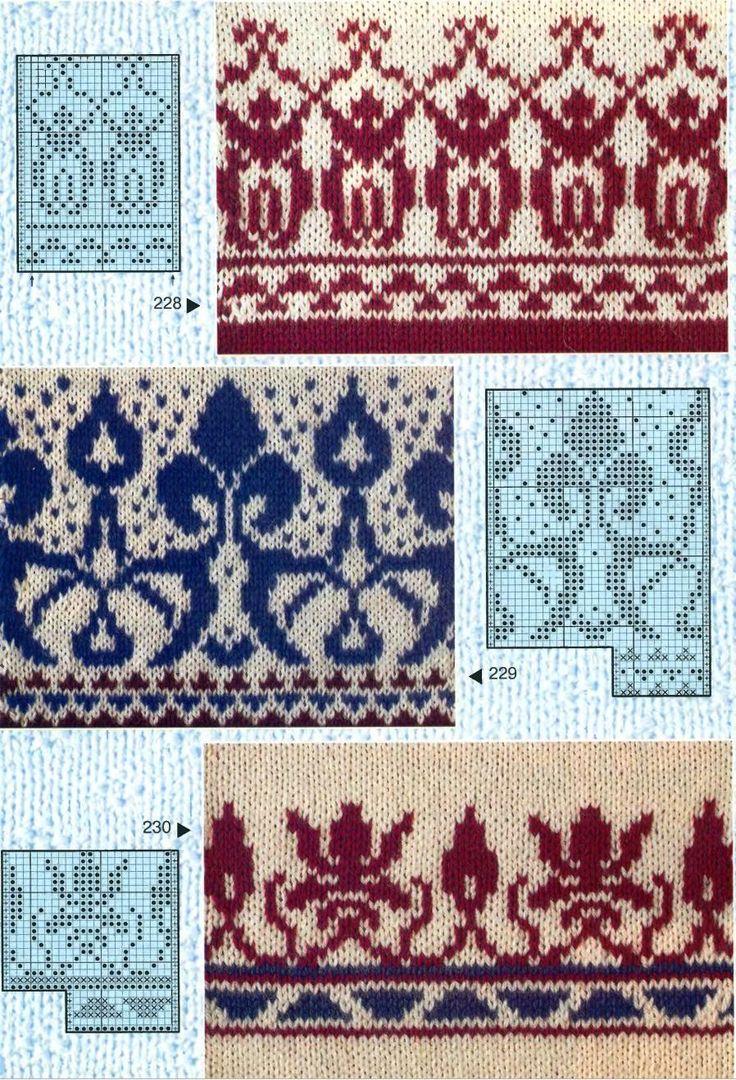
The technique for creating a double-sided pattern
This is one of the varieties of creating products without broaches. The main differences of the method:
- There is no standard broach of yarns on the wrong side.
- At the same time, the yarn threads do not remain on auxiliary loops.
- The work is done on both sides of the product, forming a double-sided pattern.
Knitting a classic sweater with reindeer
We've gotten to work on the real thing. With just a few lessons in this particular technique, you won't be able to create a masterpiece the same day. We give step-by-step instructions so that you can see the purpose of your learning. To improve your knowledge of creating an ornament, check out the Norwegian knitting tutorial videos.
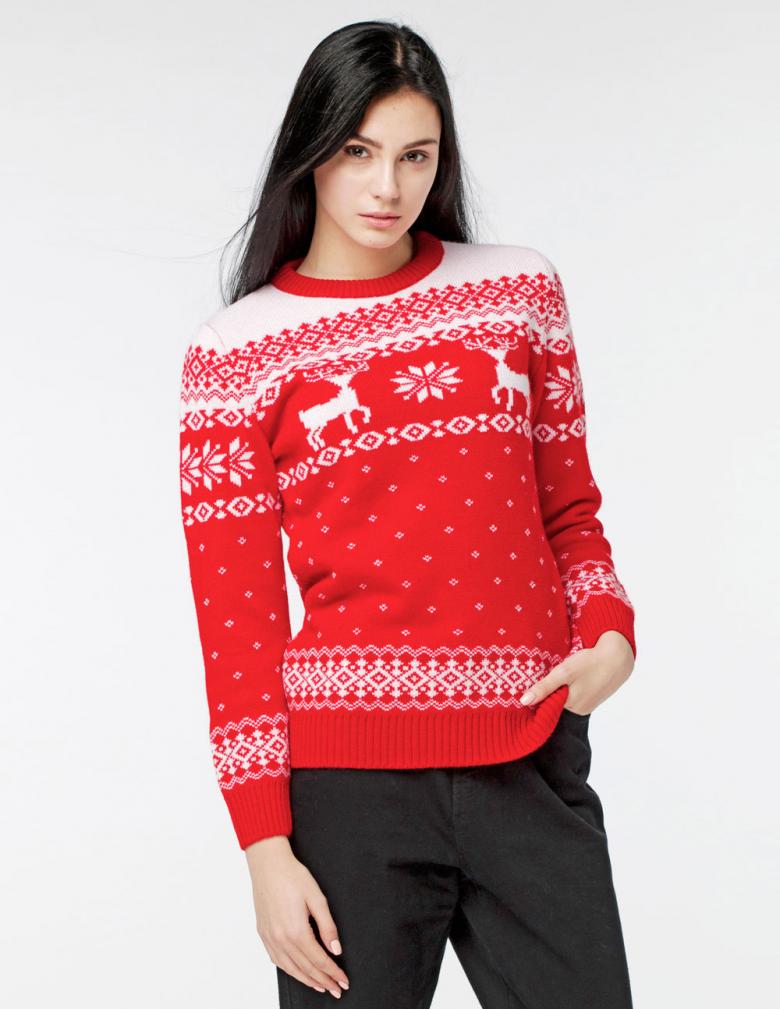
To work we will need:
- Circular knitting needles, auxiliary needles.
- Yarn of three colors.
- Ready-made patterns or a pencil and a measuring tape.
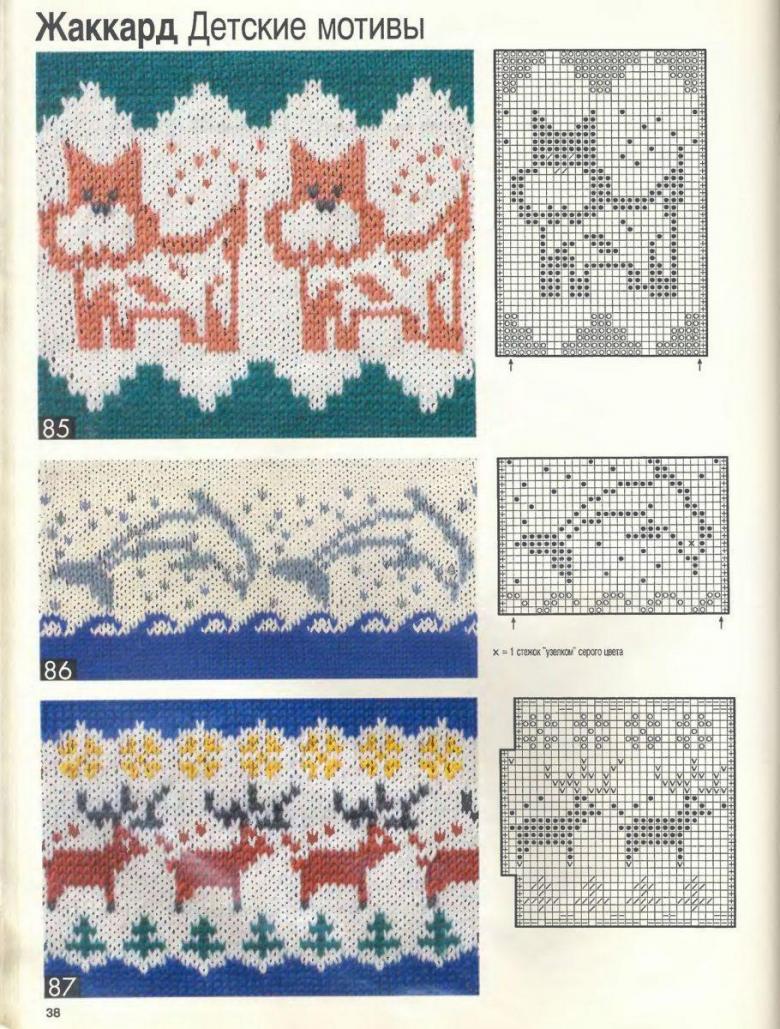
A step-by-step instructional diagram for the craftsman:
- Take the appropriate measurements and transfer the results to paper. If possible, find on the Internet ready-made patterns of the size you need.
- Begin knitting from the back and front. If you wish, you can place the ornament on the sleeves, but first learn how to work with the basics of knitting.
- Dial the necessary number of loops on circular needles (refer to the patterns).
- Knit a rubber band with a standard alternation of parts.
- Let's move on to the main work with the fabric. Outside the pattern, knit the cloth with a face-smooth pattern.
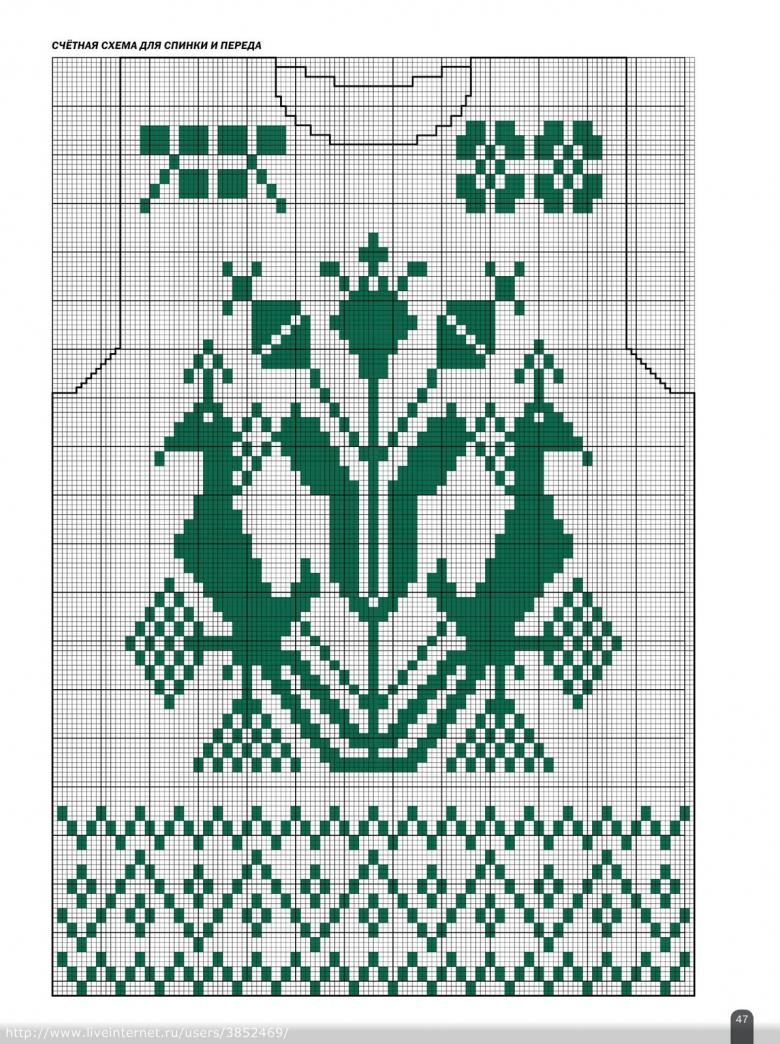
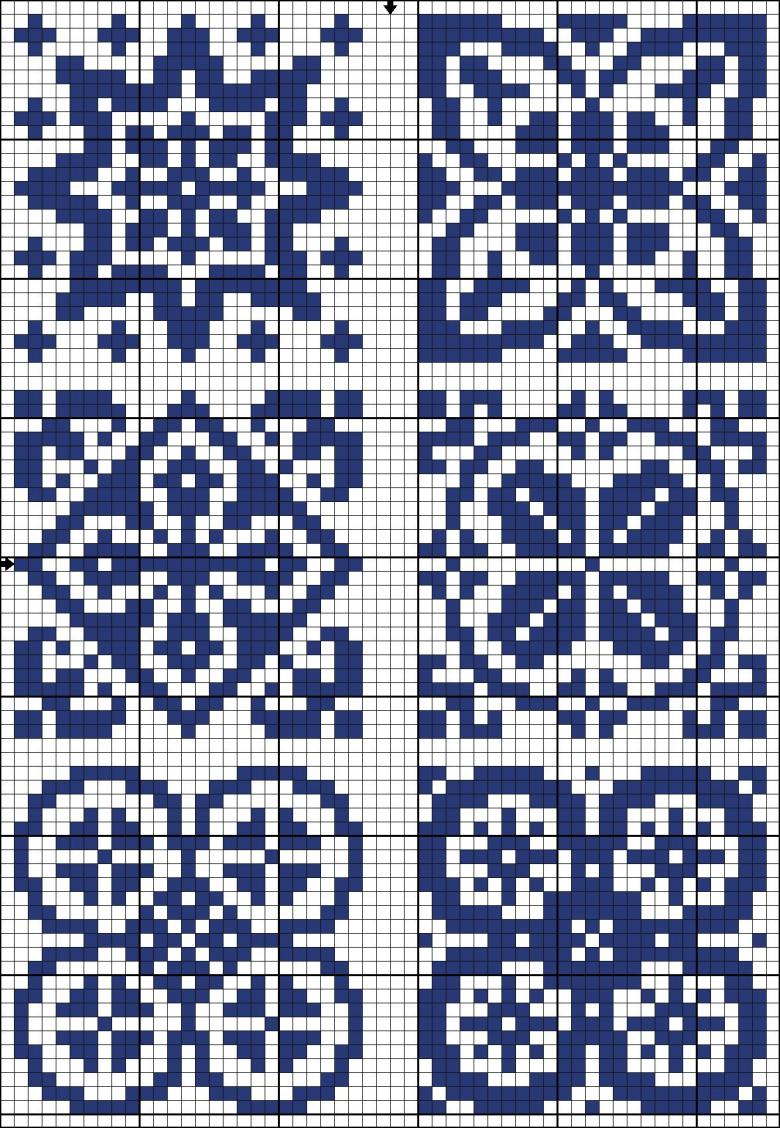
- Immediate pattern scheme. The number of loops for the pattern should be a multiple of 25.
- Download for yourself figure-scheme and lead the threads of beige yarn on the squares of the pattern.
- After shaping the back, proceed to work on the sleeve (see previous publications).
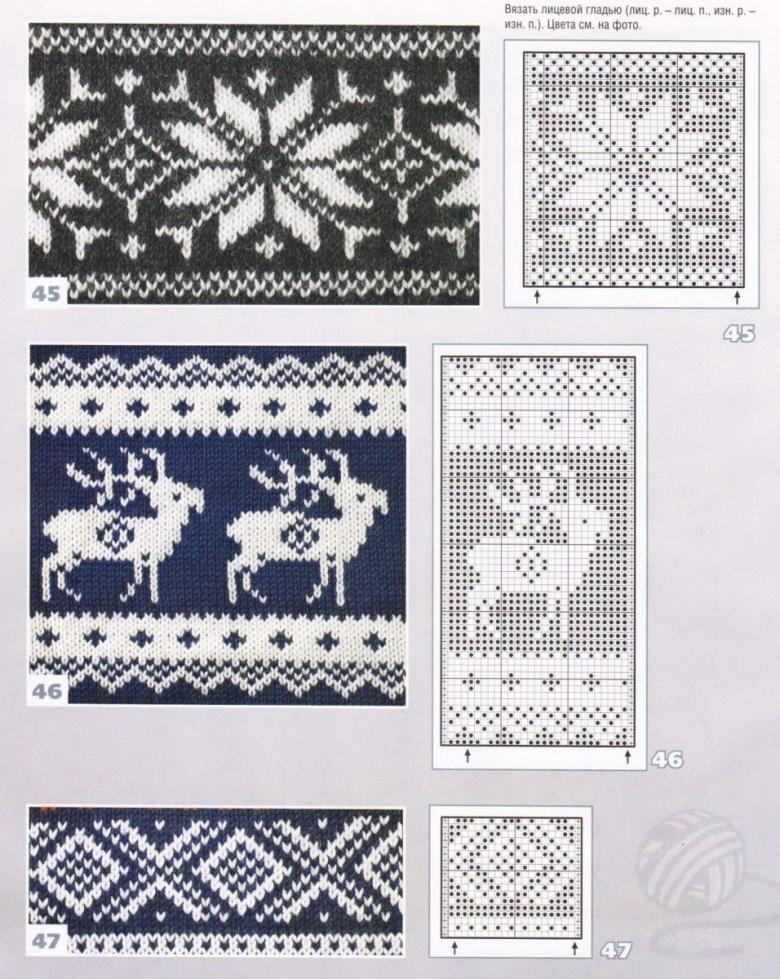
Some private patterns of the Norwegian ornament
Of course, it is impossible to look at all the existing variants of the contrasting pattern in one master class. But we have prepared a list of those patterns that were not included in our master class today:
- Polar bears.
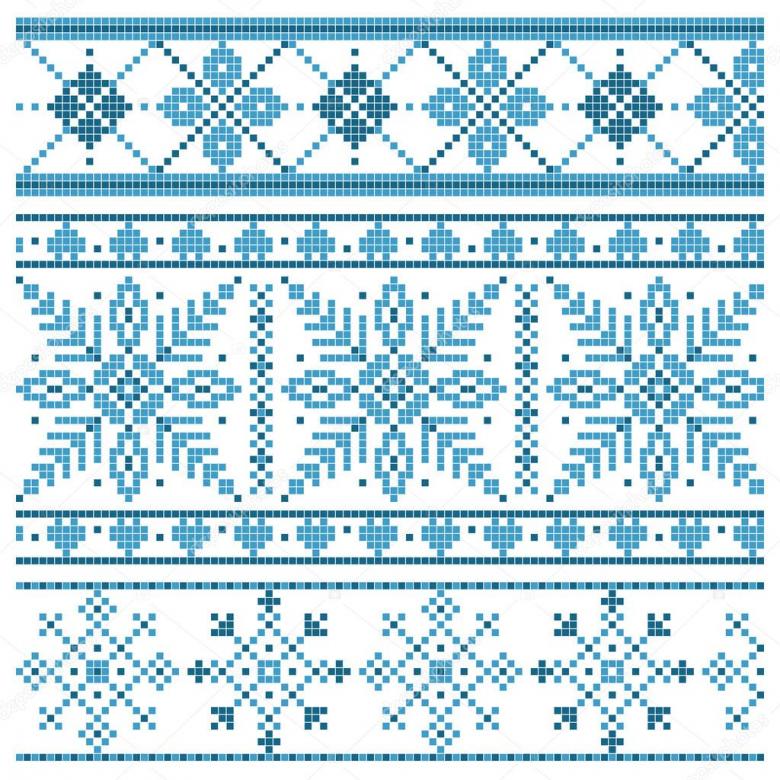
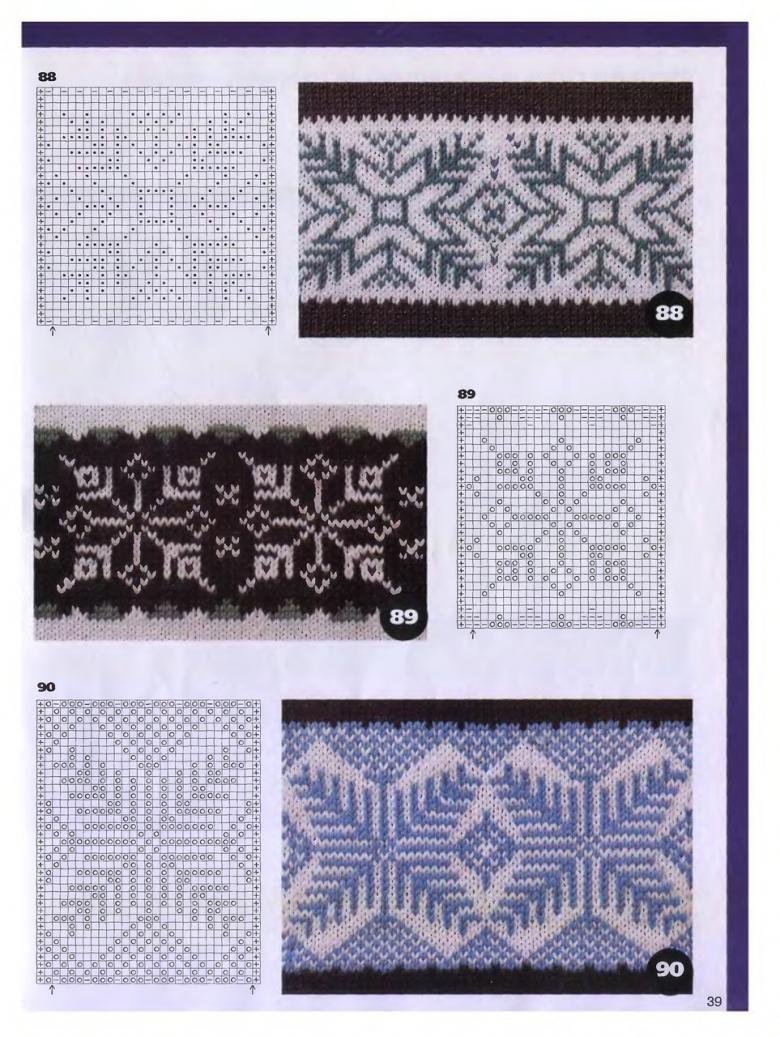
- Snowflakes of different configurations.
- Geometric shapes (rhombus, triangle).
- Asterisks and polyhedrons.
- Drawings with a symmetrical arrangement of elements and a sequential course of parts.
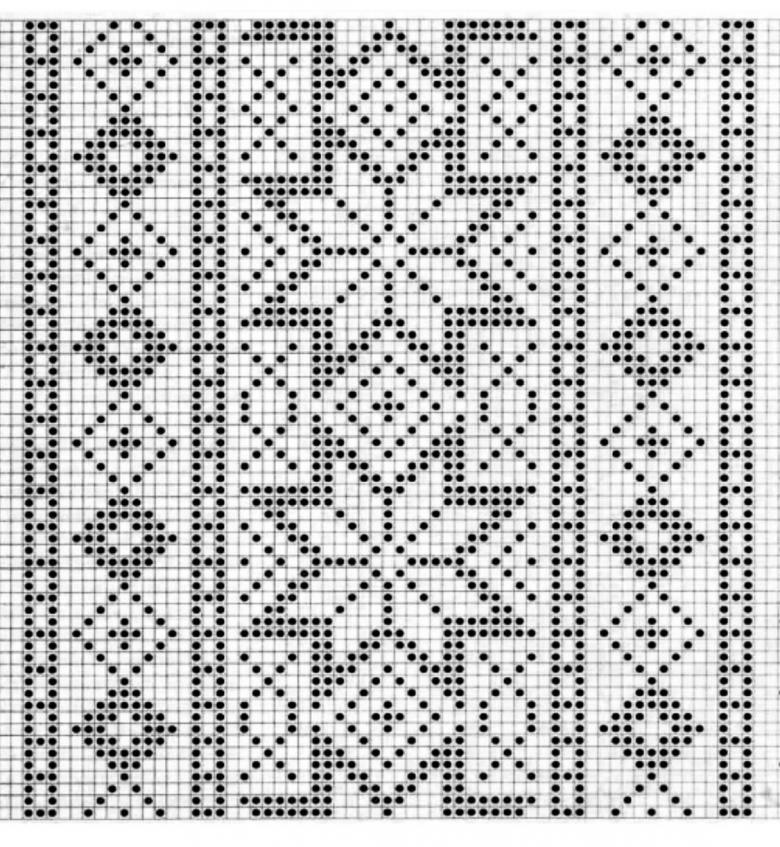
We got acquainted with the basics of jacquard ornaments and looked at some step-by-step diagrams-instructions. Here's a homework assignment for you: think of a flower scheme. Having arranged in a line such an ornament, you will receive an exclusive detail of clothes in your personal closet. If this technique interested you, then continue to work with it further. And warm jacquard pattern will warm you and your loved ones on a cold winter evening!

