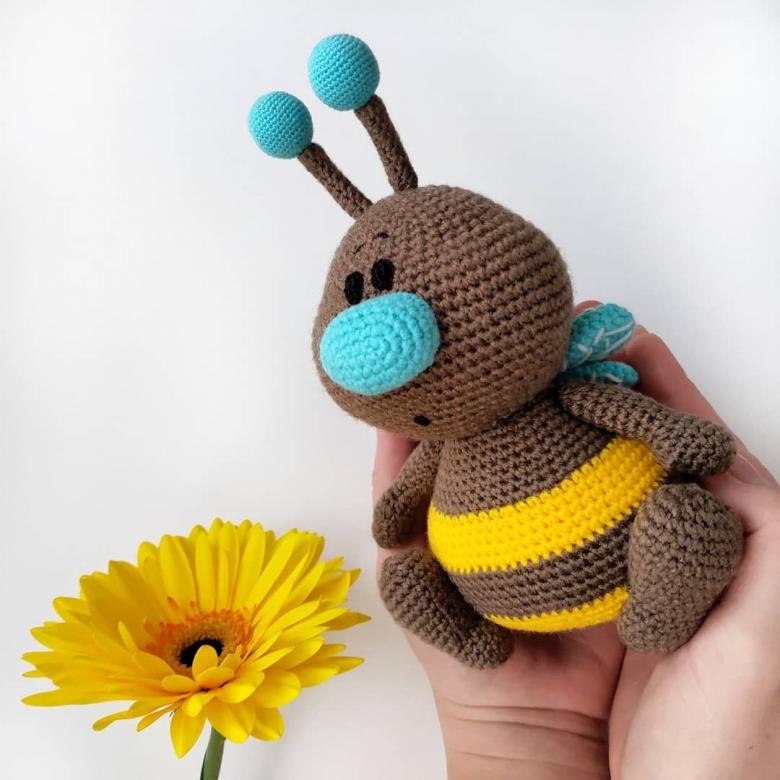
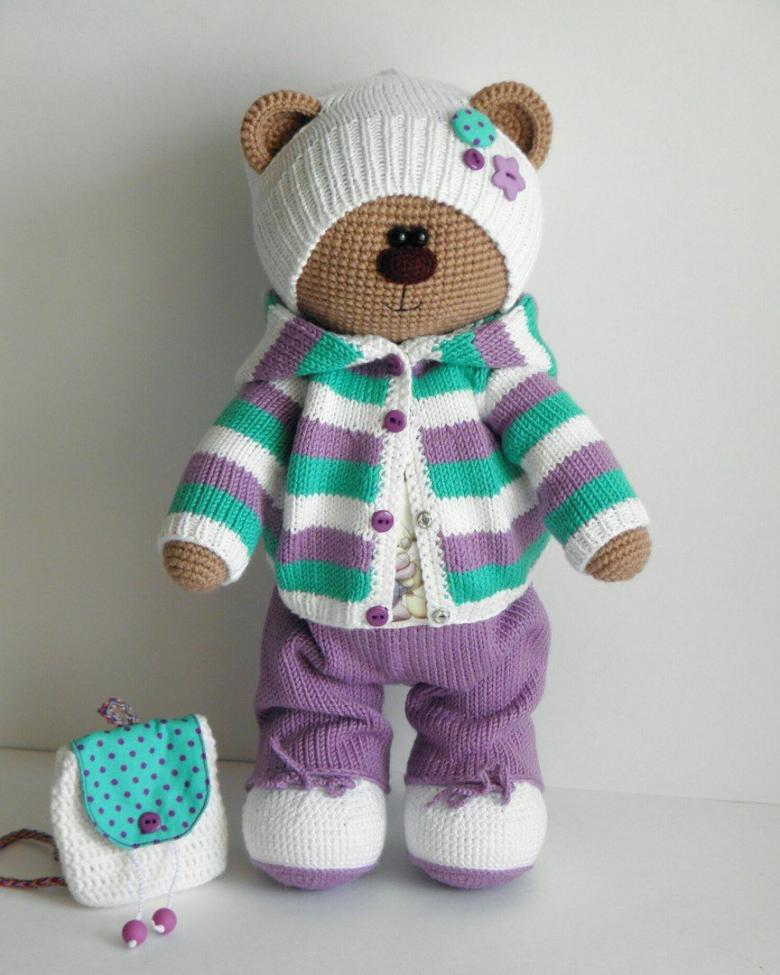
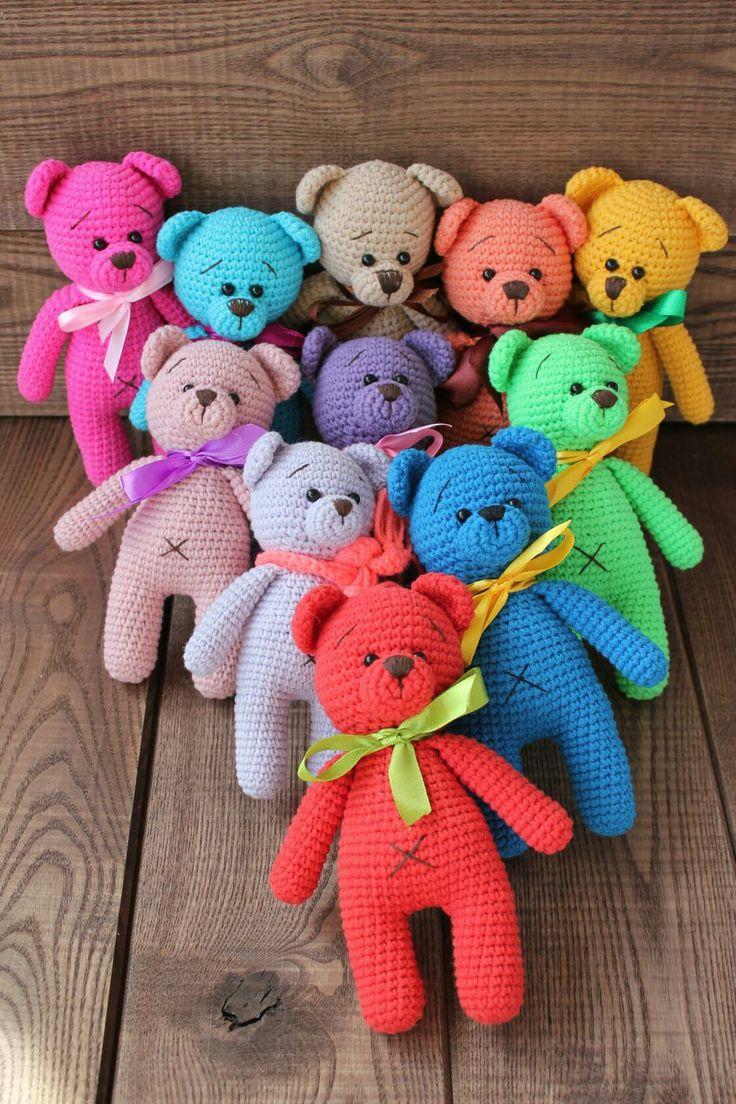
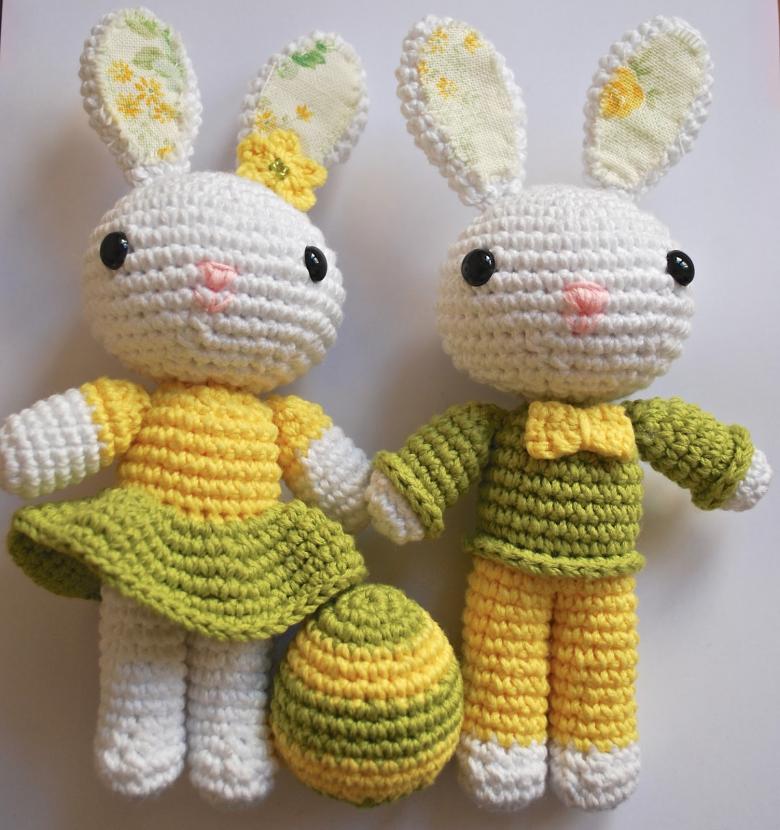
Crochet and needlework toys - detailed master class for beginners, tips, description of patterns, photo ideas
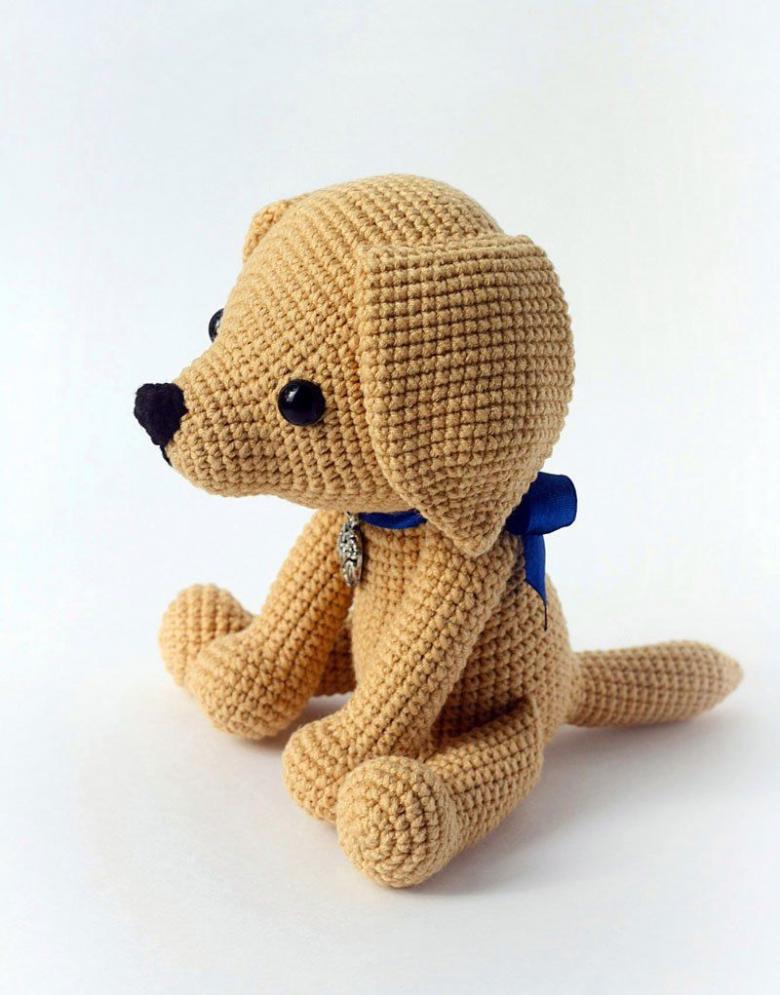
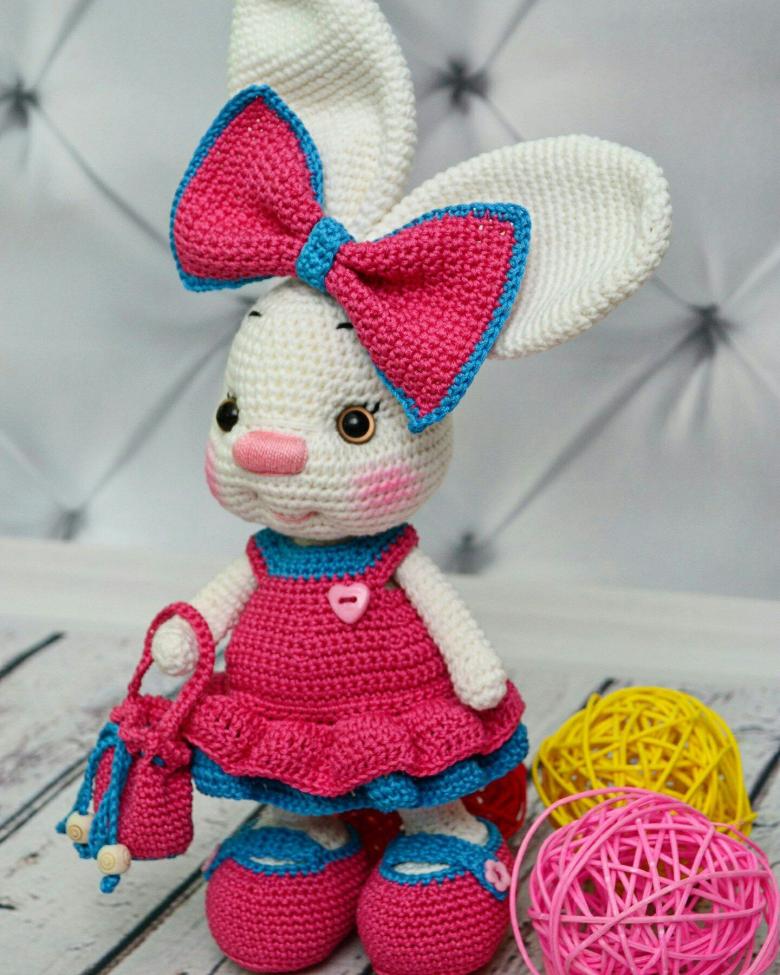
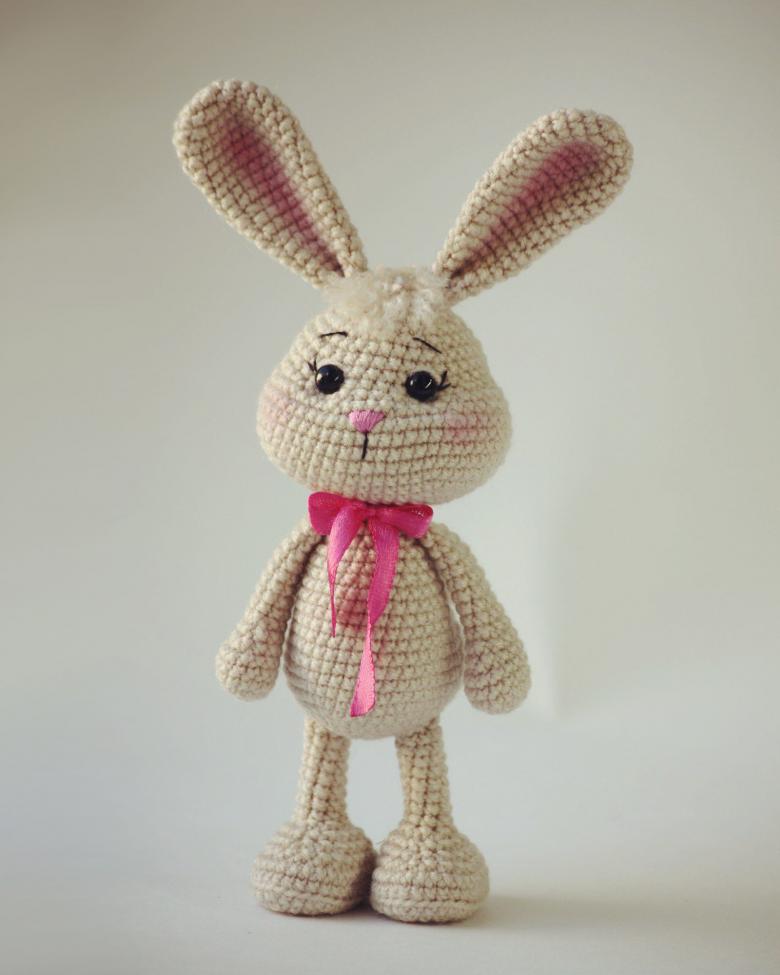
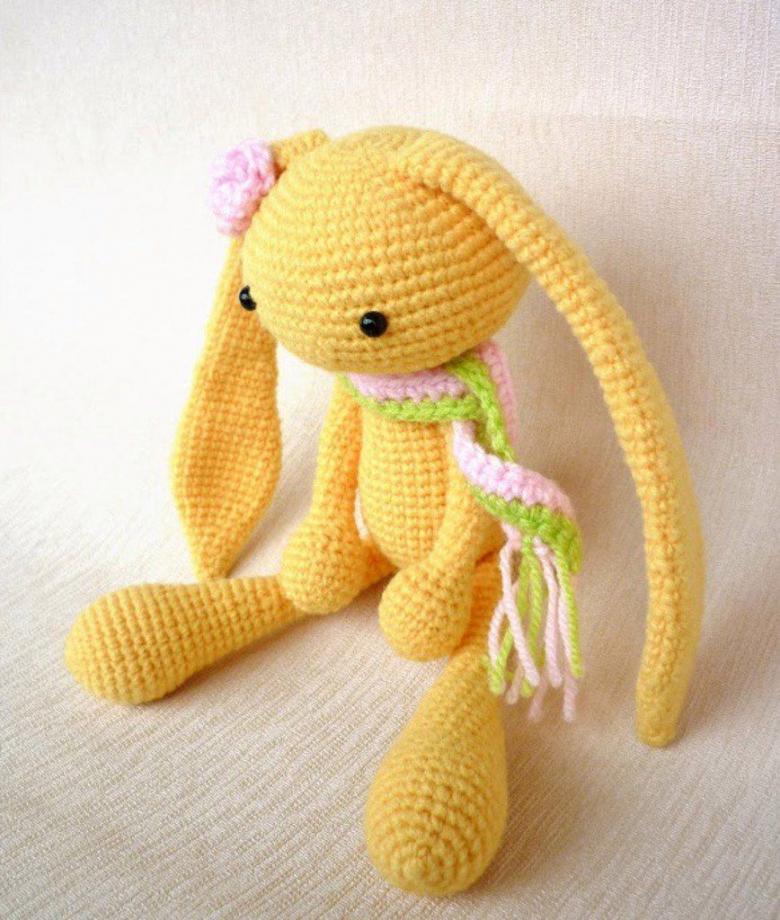
Young parents, after the birth of a baby, trying to surround him with the safest things made from natural, harmless materials. One of the main joys in the life of a child, especially a little one, is a toy. An alternative to buying, made from unknown raw materials, appear to be their own handmade knitted toys.
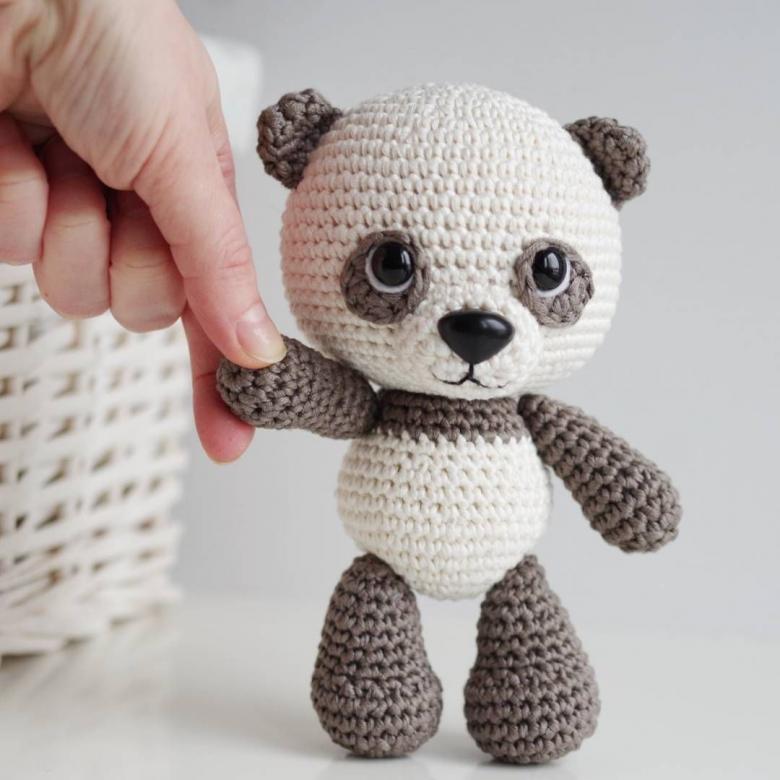
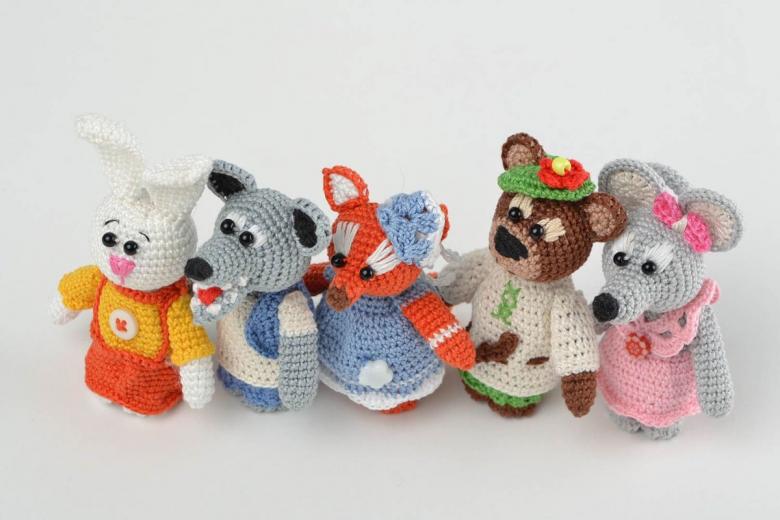
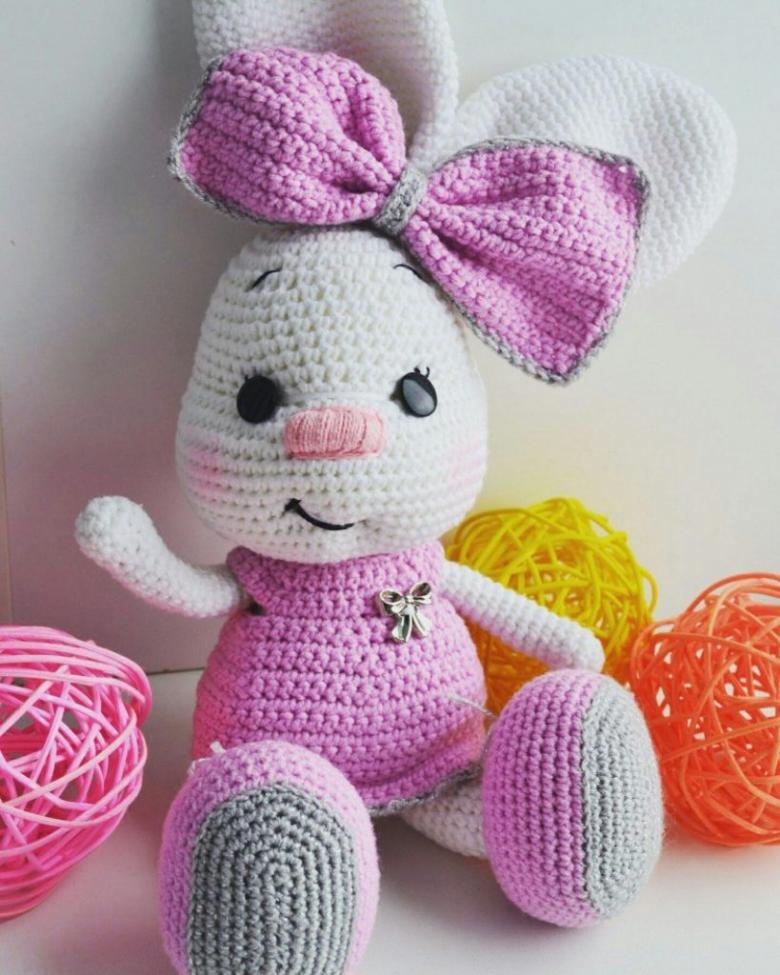
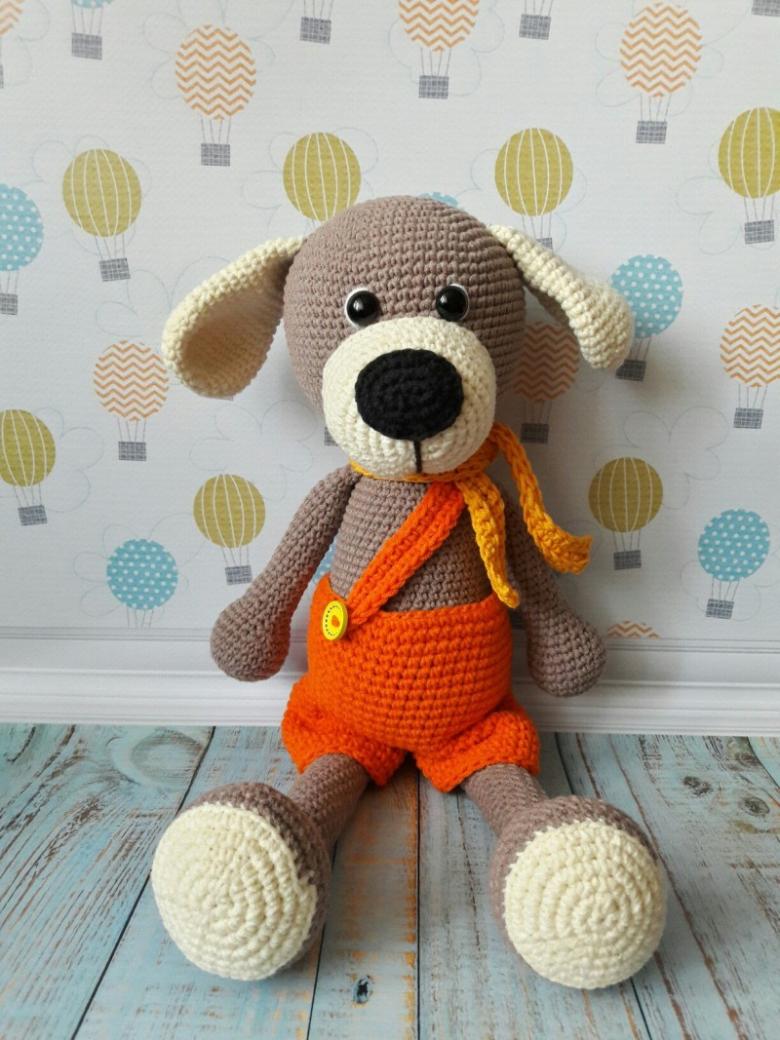
These products can create for every taste, varying the color, size and material. They are suitable not only for playing, but also will settle well on the Christmas tree as decorations. Will be good as a gift, the breadth of application depends solely on your imagination.
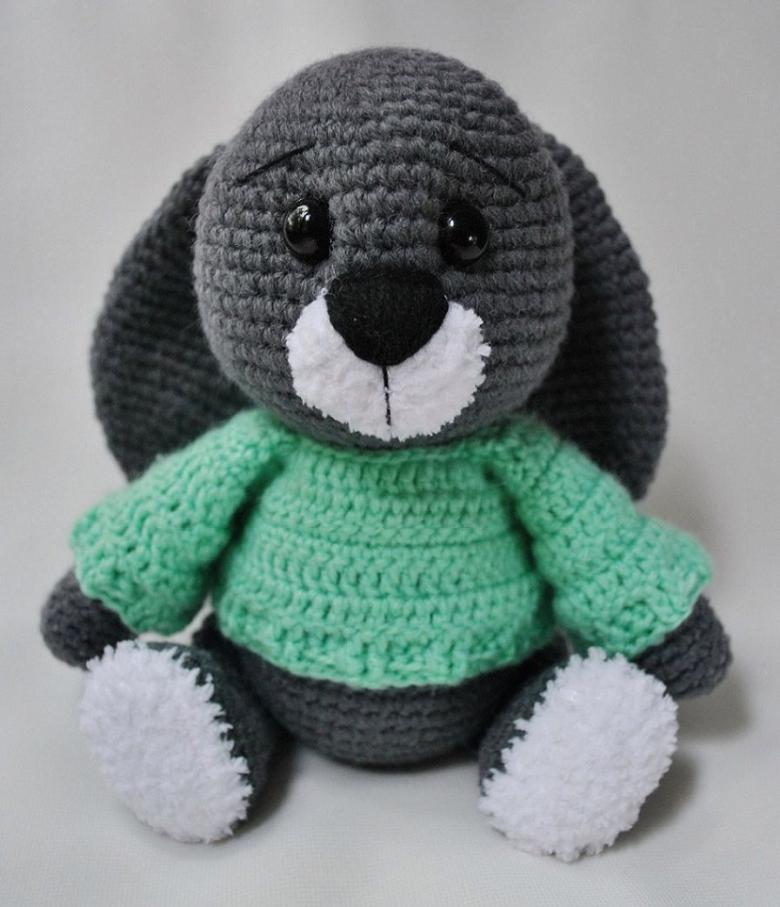
Almost any toy that came to mind, there is already in one of the sources on the Internet, it can be: a video from YouTube, an article by an experienced craftswoman, photo or picture with a scheme from a search engine.
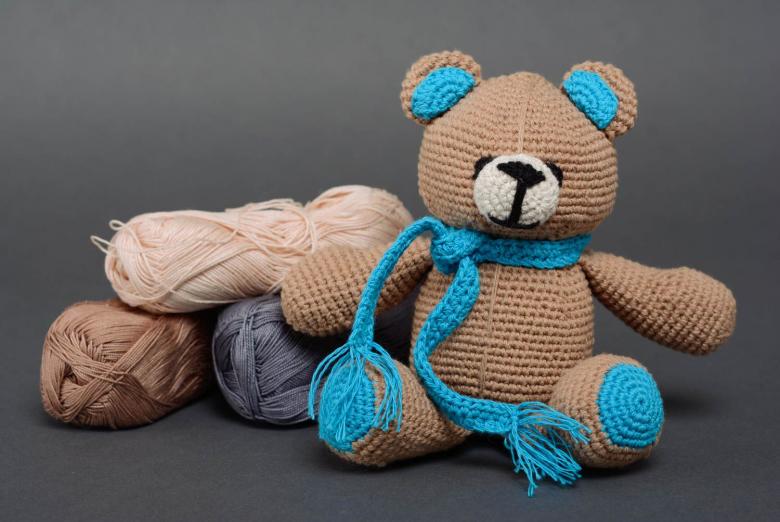
Toys knit or crochet, first try out both methods and choose the right one for you, who knows, maybe tying a couple of toys that will be your hobby, which will bring income.
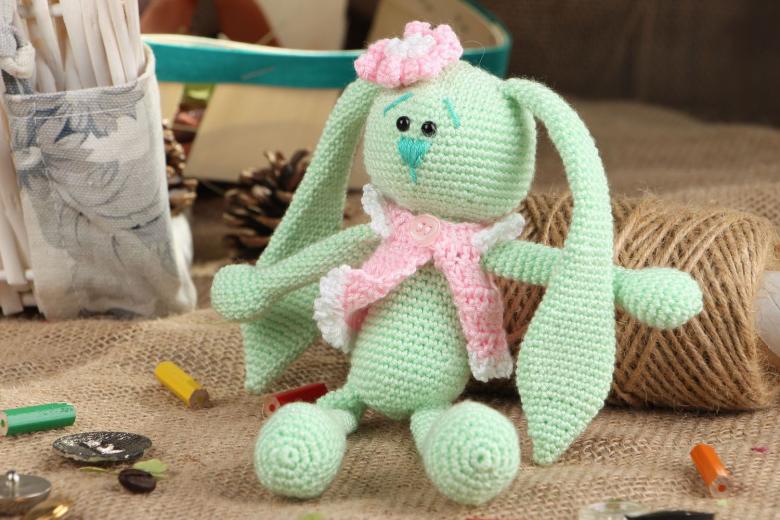
For the product to have a nice look and attract attention, needlewomen often combine the knitting technique with decorating with a variety of materials and inserts.
Tips before you start work
Consider some tips for beginners before starting to knit products:
- It is best to start knitting with 50/50 acrylic wool or pure acrylic. This material can withstand a lot of stress, because when making a toy you need to tighten the threads to fit them as tightly as possible. When you get the hang of it, start using cotton (competent craftsmen recommend mercerized), for the softest items. The yarn for one piece should have the same thickness.
- The hook is chosen according to the size of your palm, the length of your fingers and the style of work. Guided by the label of the yarn, you can see the manufacturer's suggested hook number, but for knitting toys you should choose a hook size of 1-2 less than that.
- Stuffing products is best done with environmentally friendly materials that can fill the entire volume, without leaving pits and cavities. For this purpose are well suited: hollofiber, sintepuh, polyester fiber.
- The only detail of the handicraft, which you will need to buy in the store - the eyes. The variety of eyes is quite large, so it is not difficult to find the right one for a particular piece. Usually the eyes are glued with superglue or gun glue, but there are types with a washer-leg, such eyes should be fixed at the stage of knitting. Instead of factory-made parts, it is possible to use beads, beads or your own handmade eyes.
- To obtain as a result of a beautiful toy, similar to the animal that was planned, you need a sober estimate your knitting class. Start with schemes for easy patterns, no need to try to create a complex model.
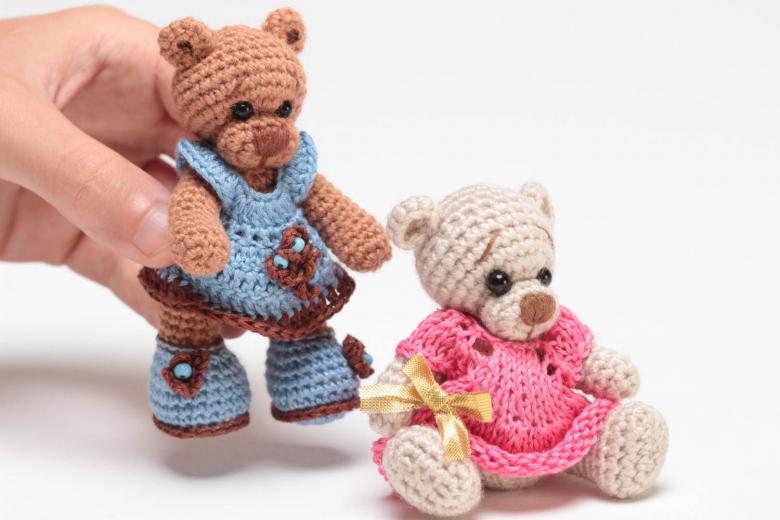
Start knitting
First, you need to choose what you want to create. Look for the model you like on the Internet and find a knitting scheme for it. Many authors advise beginners to begin mastering knitting with the model of the toy "House". This gives you experience and skills before making more complicated crafts.
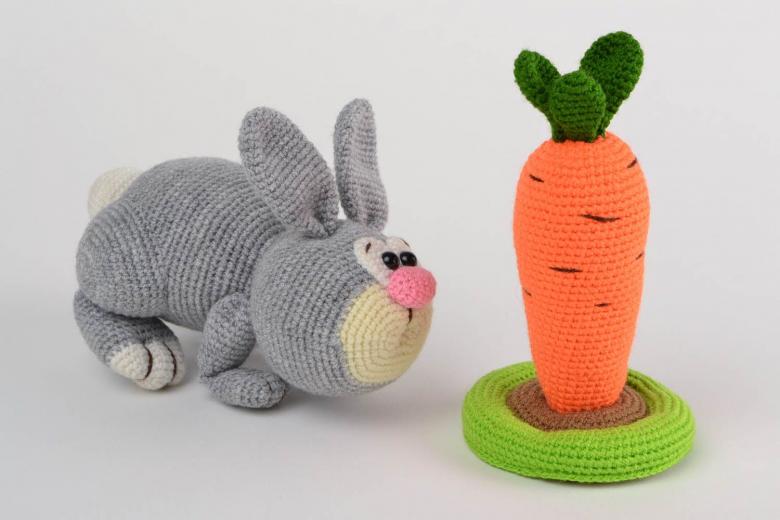
For the "House" six square pieces of the same size are knitted, they will form the sides and the roof of our toy. Next, all these parts must be sewn together, filling the product with synthetic fiber. Finishing and decorating add the necessary details: front door, windows, curtains, fence, flowers and even a watchdog.

For more complex models than "House", just remember the scheme is not possible, it is better to write it down or print out to be checked in the process.
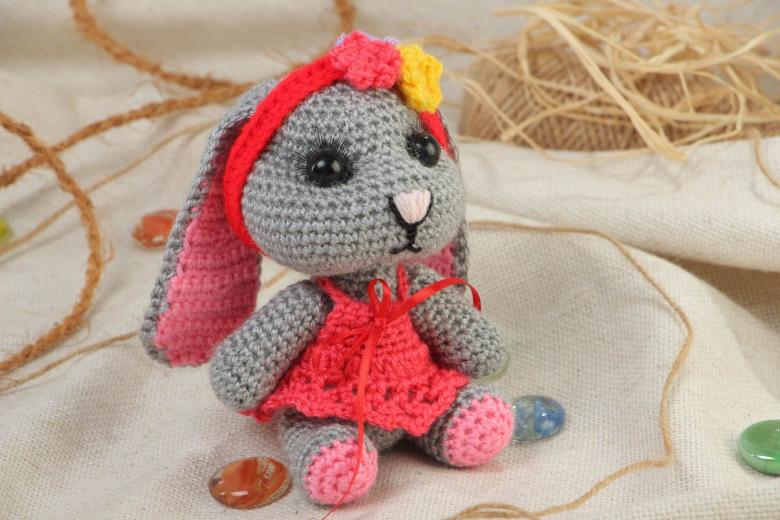
Many toys are used air loop (VP), with her beginning to knit, as well, and maybe more often used "magic ring" or amigurumi ring (CA).
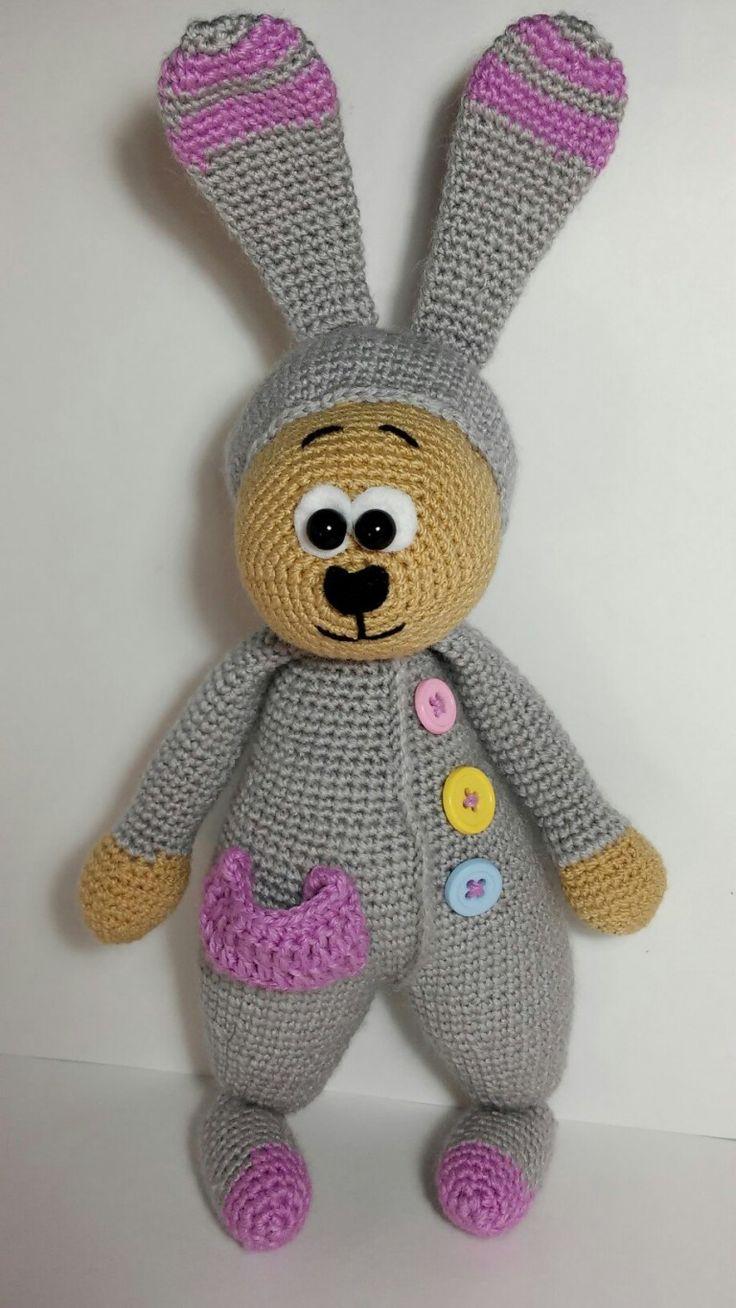
Scheme of knitted toys
That's how easy to make the first toy, then there will be simple schemes of other cute crafts.
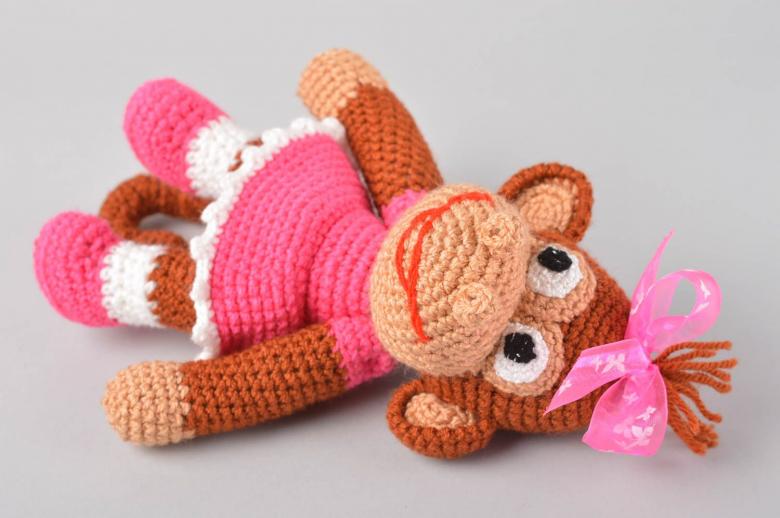
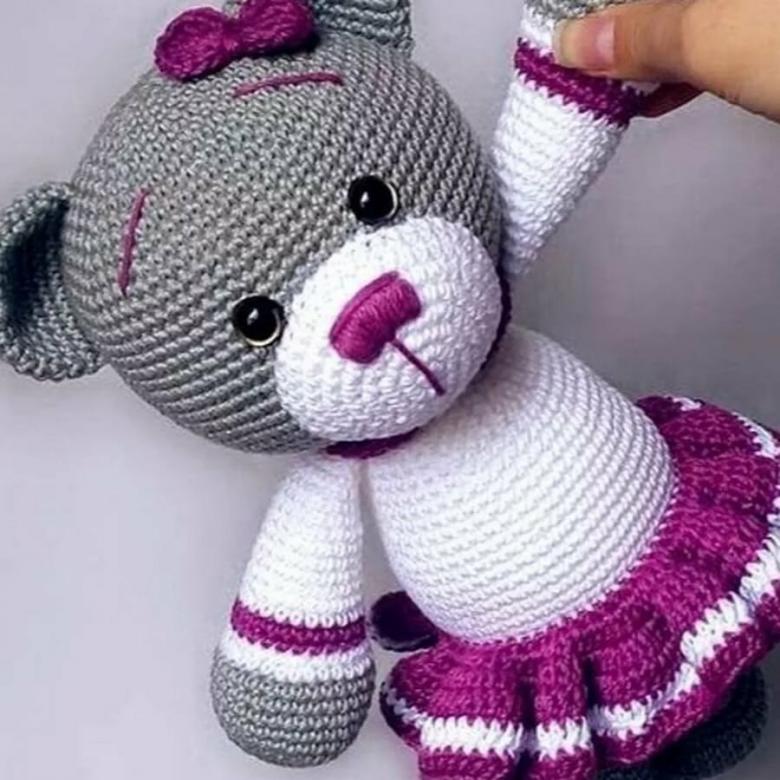
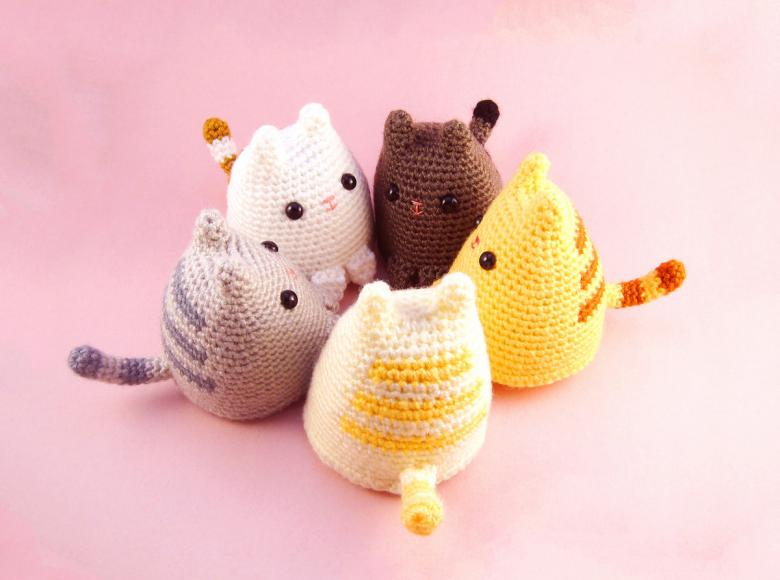
Knitted "Cats".
Cats are in trend this season, as well as the previous season, and will probably be popular for a long time to come. A knitted stuffed cat is sure to appeal to a child, becoming one of his favorite toys, especially if there is no living pet in the house.
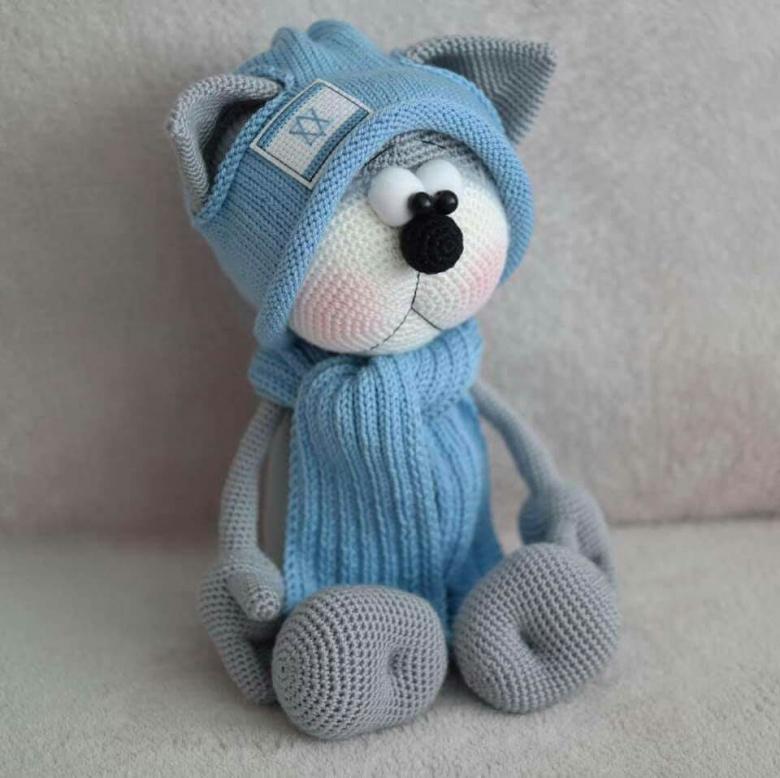
Use white and gray yarn, air filler, black thread and gray felt for trim. Also need a glue gun, or other glue, to attach the felt to the model. This scheme describes the knitting details crochet, however it can be done and scissors, but guided by other instructions.
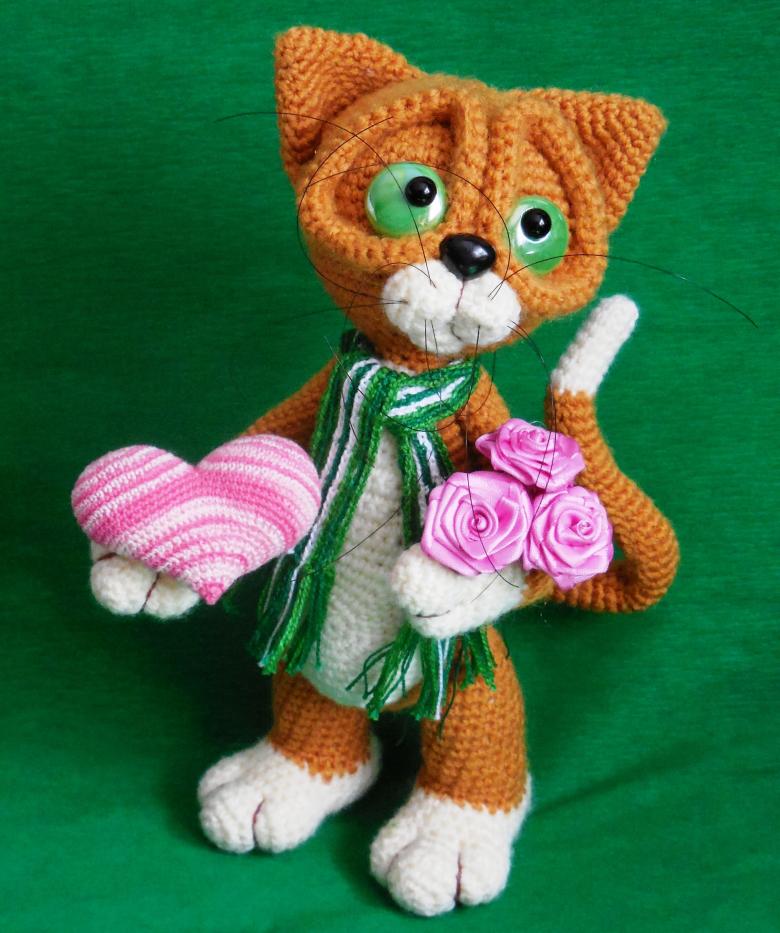
White yarn dial 6 V.P., starting with the second from the hook. 4 columns without a stitch (st.B.N.) on the back of the loops, and 3 st.B.N. in the next St.B.N. Then you should turn the product by typing 5 st.B.N. in the front walls of the loops.
- Next: one st B.N., Addition 6 times (P.R. - which means that in one loop we are doing two columns).
- 2 ST.B.N., P.R. * 6.
- In R's 4 and 5. - 24 st.b.n. Let's embroider the eyes.
- 2 ST.B.N., U.B. * 6.
- 1 ST.B.N., OO.B. * 6. Next stuff the head with filler.
- U.B. * 6. When the stitch is closed, the thread must be hidden.
Paws cat perform gray yarn: amigrami ring of 5 B.P., P.R. + 1 ST.B.N. + P.R. + 1 ST.B.N. + P.R. In 3, 4 and 5 R. = 8 ST B.N.
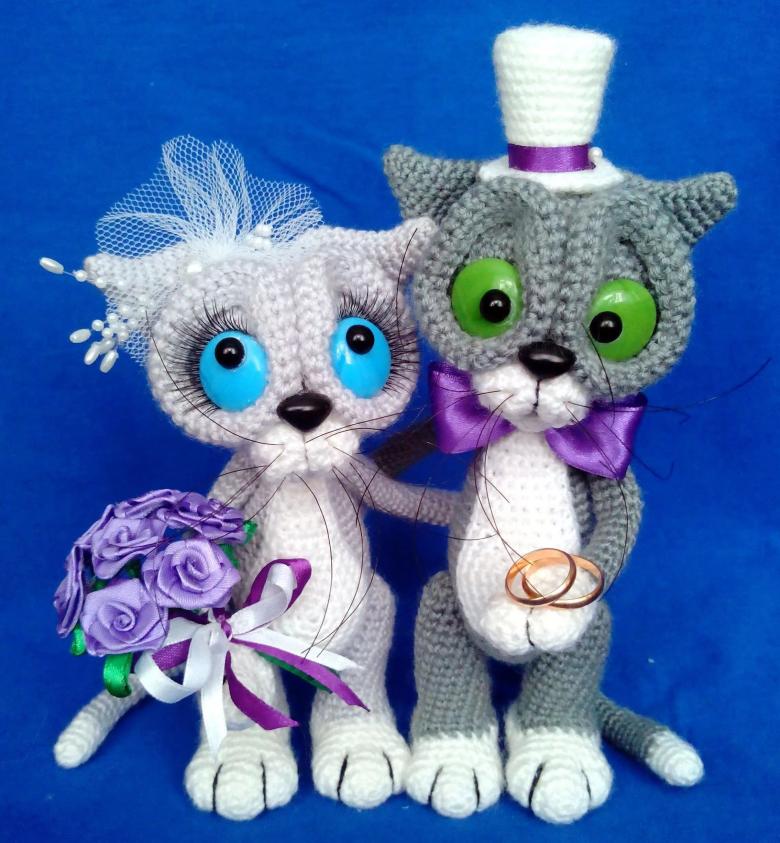
From the back leg start knitting with white yarn: 4 ST.B.N. on the front section + 5 V.P. Next 4 ST.B.N., also in the front of the legs. In this way create a circular row of thirty-four loops:
- 2 - 3 P.: 34 ST. B.N.
- O.B., 14 ST.B.N., O.B., 16 ST.B.N.
- 2 ST B.N. + U.B. - 8 times. (U.B. is a reduction where two columns together).
- 24 ST.B.N.
- 2 ST.B.N. + U.B. - 6. It's time to fill in the body.
- 1 ST B.N. + U.B. - 6.
- U.B. 6 times.
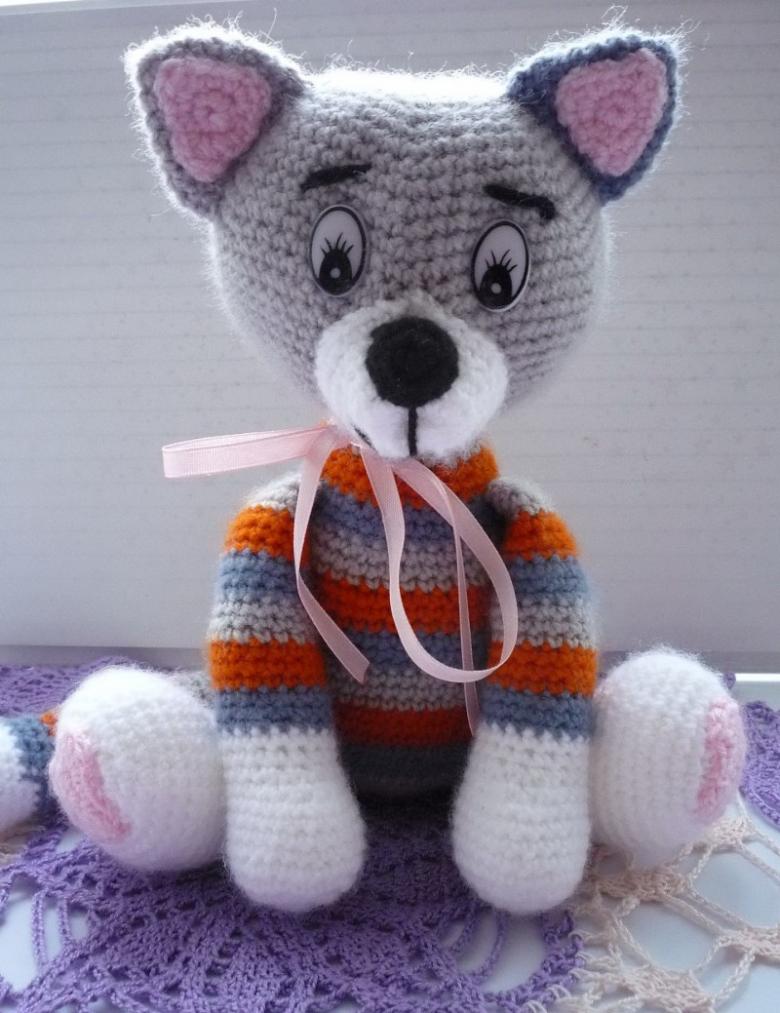
Ears knit gray yarn: 3 st.b.n. in the ring amigurumi, 2 st.b.n. in each st.b.n. The same we do and the tail: 5 GP in the ring, from second to tenth row 5 st.b.n.
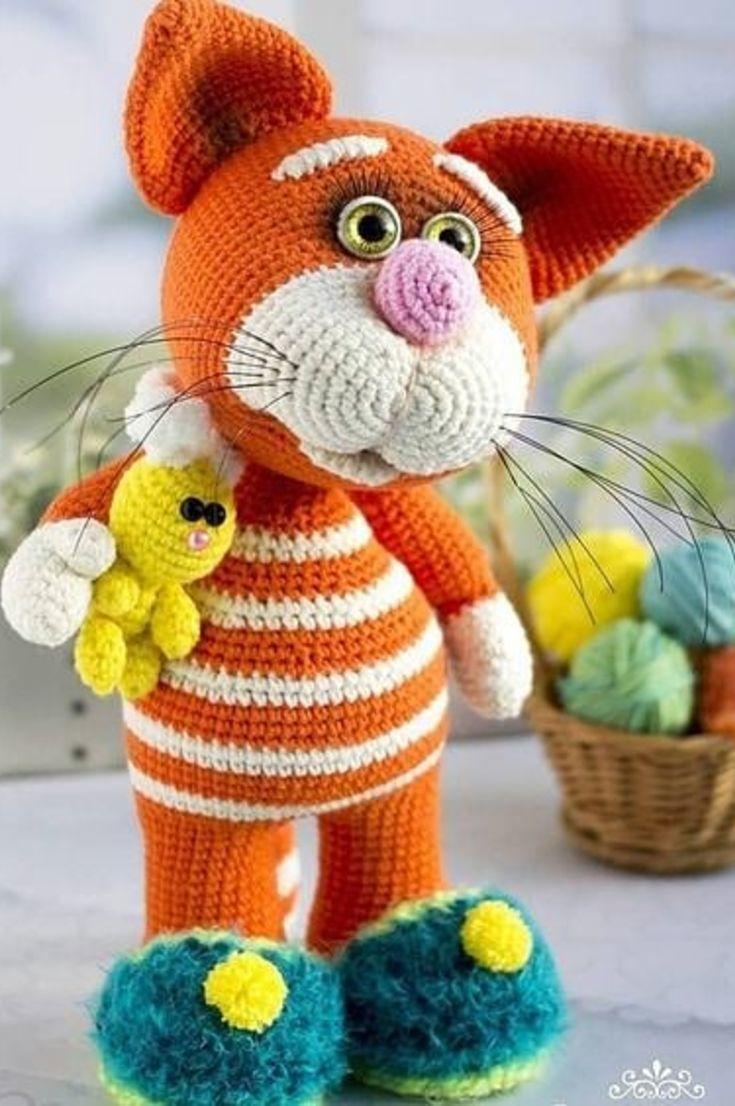
It's time to assemble our kitten: first we sew the tail to the body and ears to the head, then we attach the head to the body. We decorate the face with felt details with embroidered nose and mouth. This uncomplicated model actually looks very beautiful, and will please many kids.

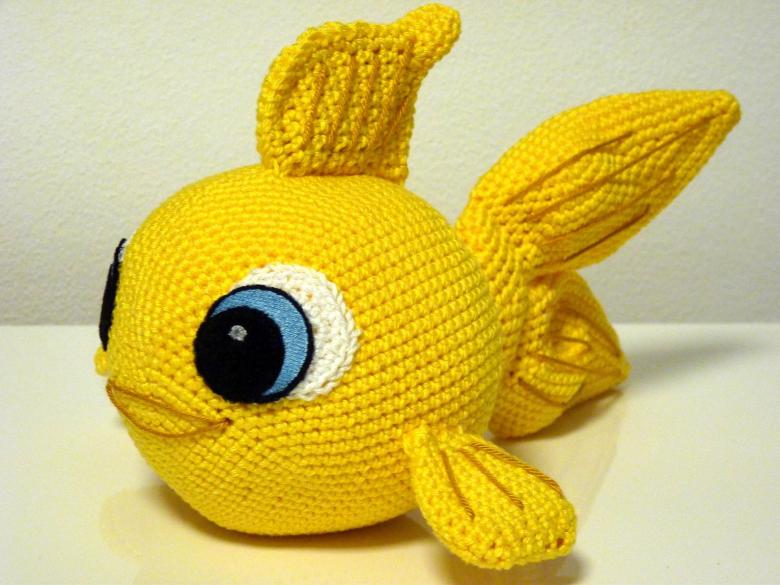
"Goldfish"
For a toy measuring 14x20 centimeters, use black, yellow and red yarn and a needle number four. Knit with front smoothness, which uses: the obverse, as well as the back loops and rows.
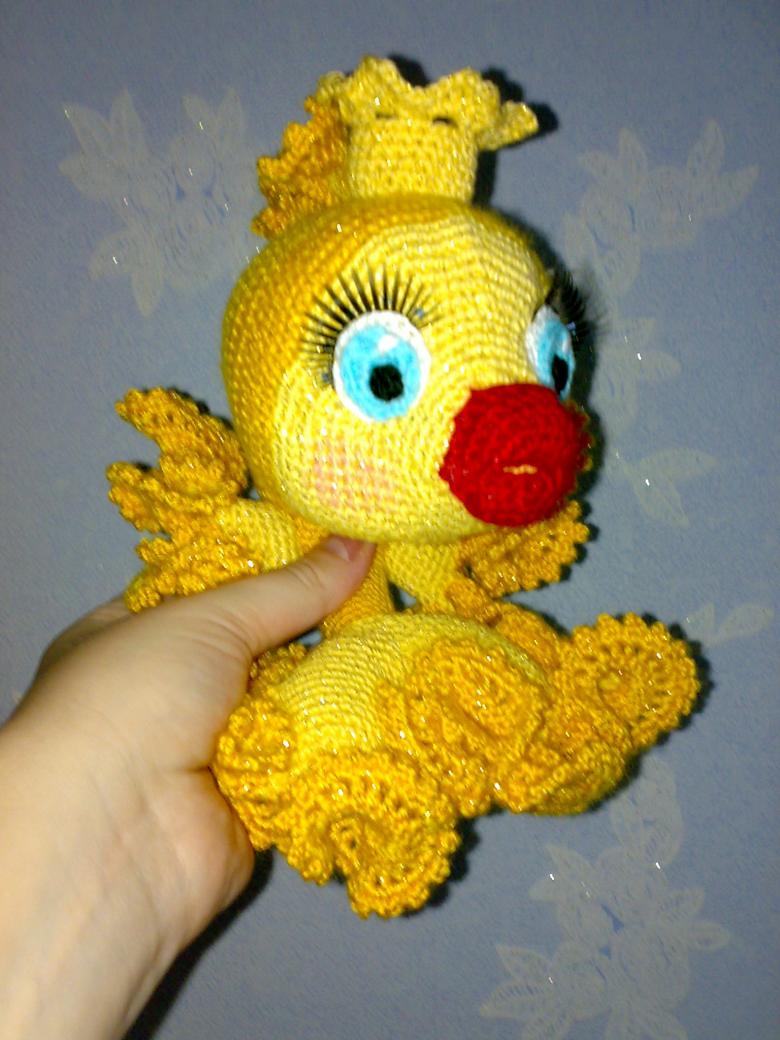
With yellow yarn, we knit the torso, typing five front stitches in the first row on the spokes. The second and the rest of the even numbered rows we will knit on the right side, adding 1 stitch on each side, getting 25 stitches on one spokes.
- Row 18: back row, straight knit.
- 19 - 23: red yarn.
- 24 - 27: black yarn. Repeat twice in p 19, 27.
- 45 - 48: do the same as 19, 23 p. After, the yarn is cut. We get four red, three yellow stripes (7 strips = 32 rows). On a needle twenty-five loops.
- 49 - 50: 4 stitches closed at the beginning of each row.
- 51 - 52: close 3 sts.
- 53 - 54: close 2 sts each. On a needle 7 loops.
- 55-56: knit with a straight stitch.
- 57: Close all stitches in one row.
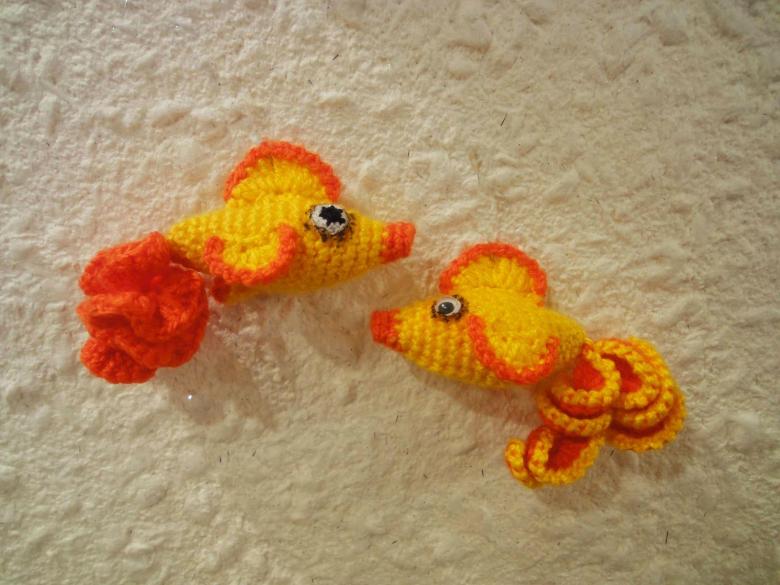
For the tail you need 15 stitches on the spokes.
- 1 - 2 row: knit with a straight stitch.
- In the third, as well as the odd numbered rows add one stitch on all sides. There are 31 stitches on the needle.
- 18 - 20, 22 - 24 rows: Perform with a straight stitch.
- 21, 25: Add one stitch on each side (35 stitches on the back).
- 27 - 28: close the fourth stitch at the beginning of the row.
- 29 - 32: Hide the third stitch at the beginning of the row.
- 33 - 34: close 2nd stitch. There are 11 stitches on the needle.
- 35: close all stitches in one row.
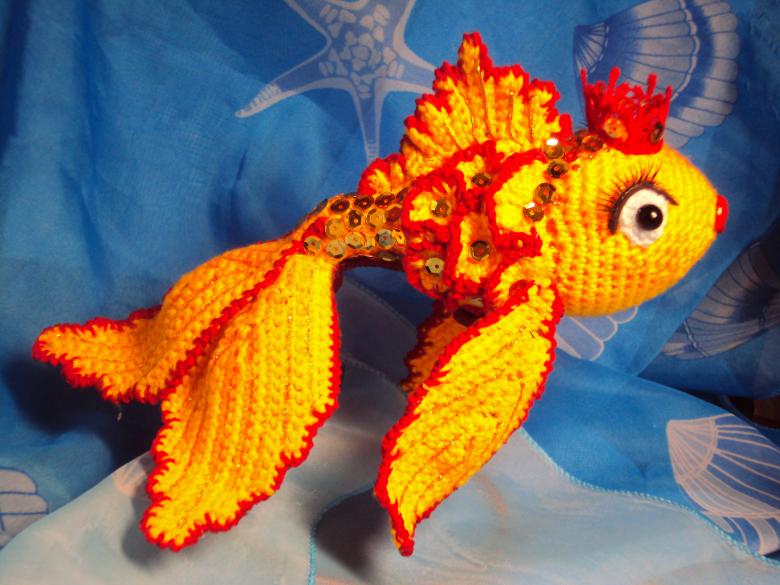
Fin on the back made of red yarn, for which we gain 8 loops on the spokes.
- 1 - 2 rows: perform with a straight stitch.
- In the third and other odd rows add one stitch on one side, getting 16 loops on the back.
- Rows 18 through 20, and 22 through 24 are knit with a straight stitch.
- 21, 25: add one stitch on all sides, making 18 stitches on the spokes.
- First row 19 closes 4 stitches, first rows 21 and 23 closes 3 stitches, and first row 25 closes 2 stitches.
- 26: stitches to the back, 6 stitches on each spit.
- 27: close all stitches in one row.
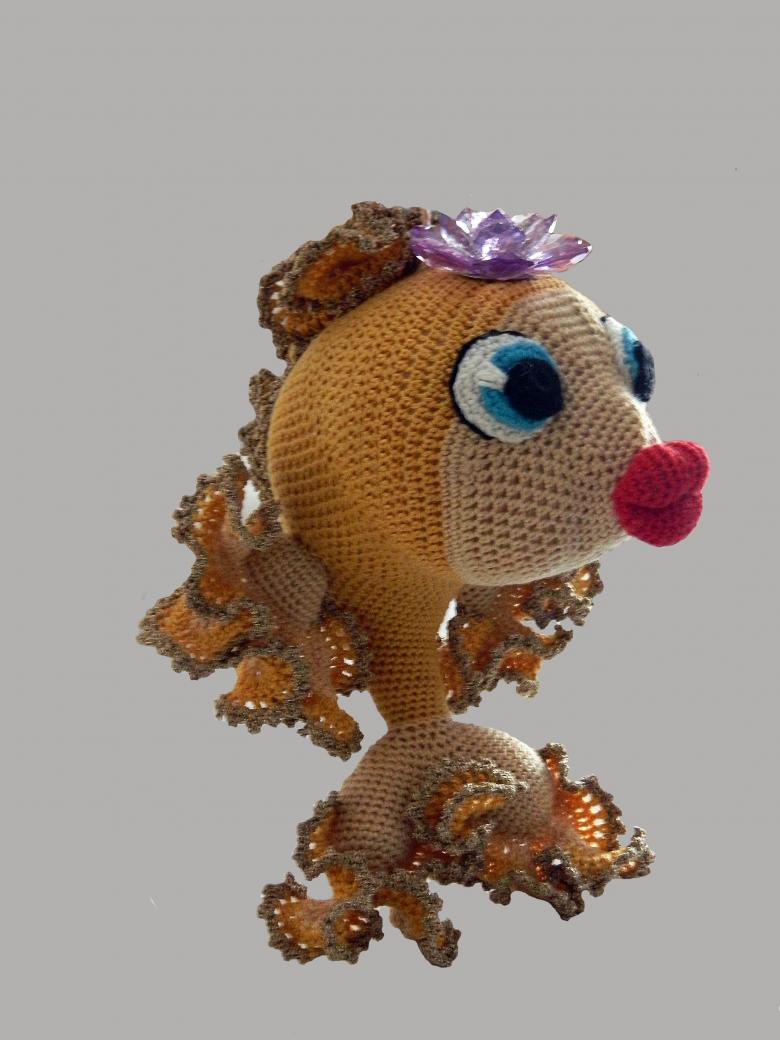
When knitting the bottom fin red yarn on the spokes for twelve loops.
- 1 row: front stitches.
- In the second and other even-numbered rows remove one stitch on all sides, getting 4 loops on the spokes.
- 9: Remove one stitch. There are 3 stitches on the back.
- 10: close all stitches in one row.
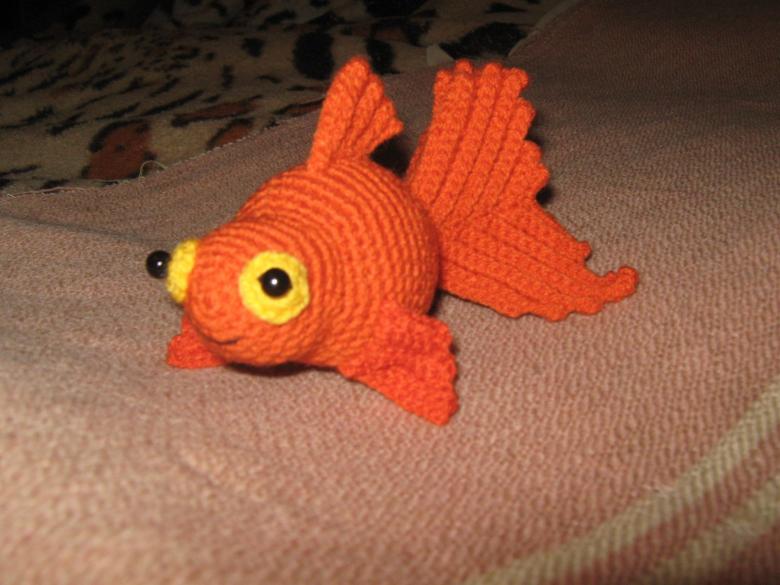
Assemble the fish as follows: one part of the body is sewn to a tail, fins. Other parts of the body are sewn together, folding the front side in the middle. Leave a distance of about three centimeters for stuffing with filler, then sew completely. Fix the eyes last.
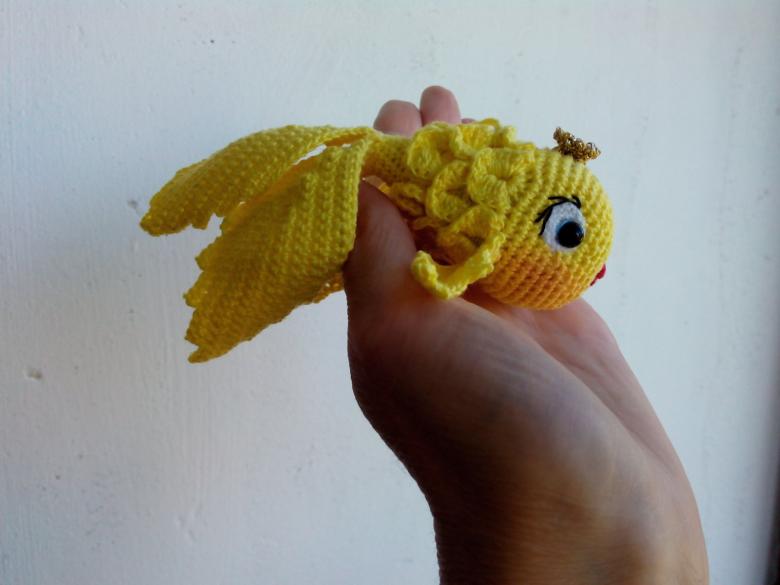
As you have understood, accurately following the recommendations set out in the scheme of knitting crafts of your choice, whether it is a kitten, mouse, ball or fish, to make a colorful and environmentally friendly gift to your child or loved ones will not be difficult.

