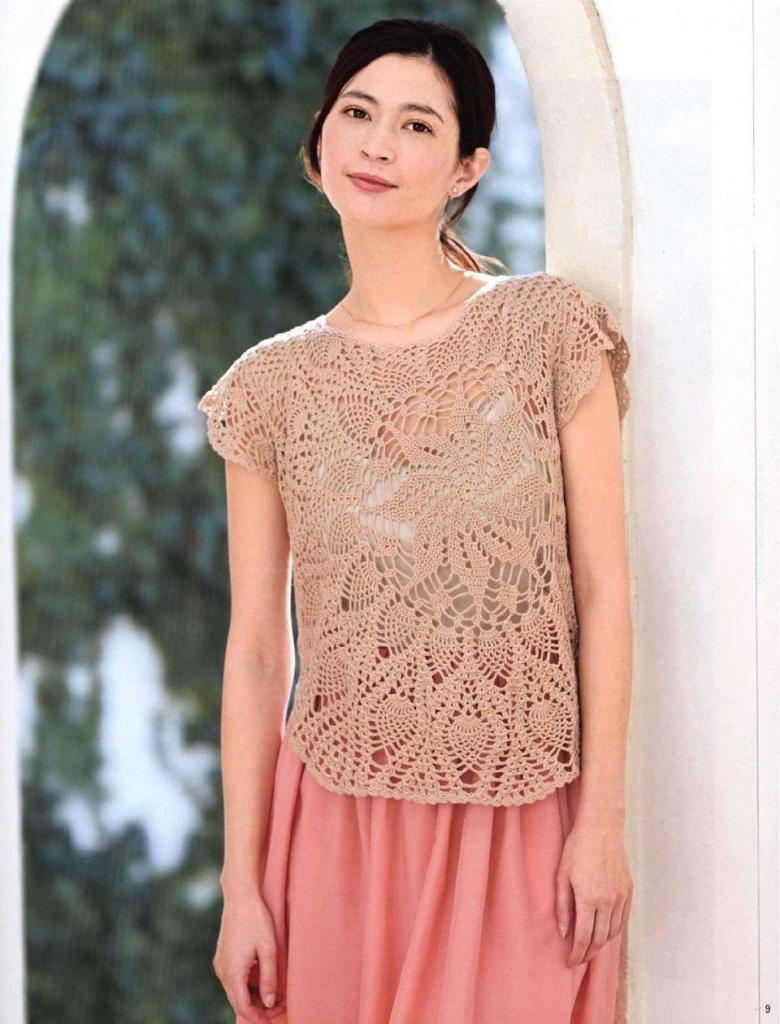
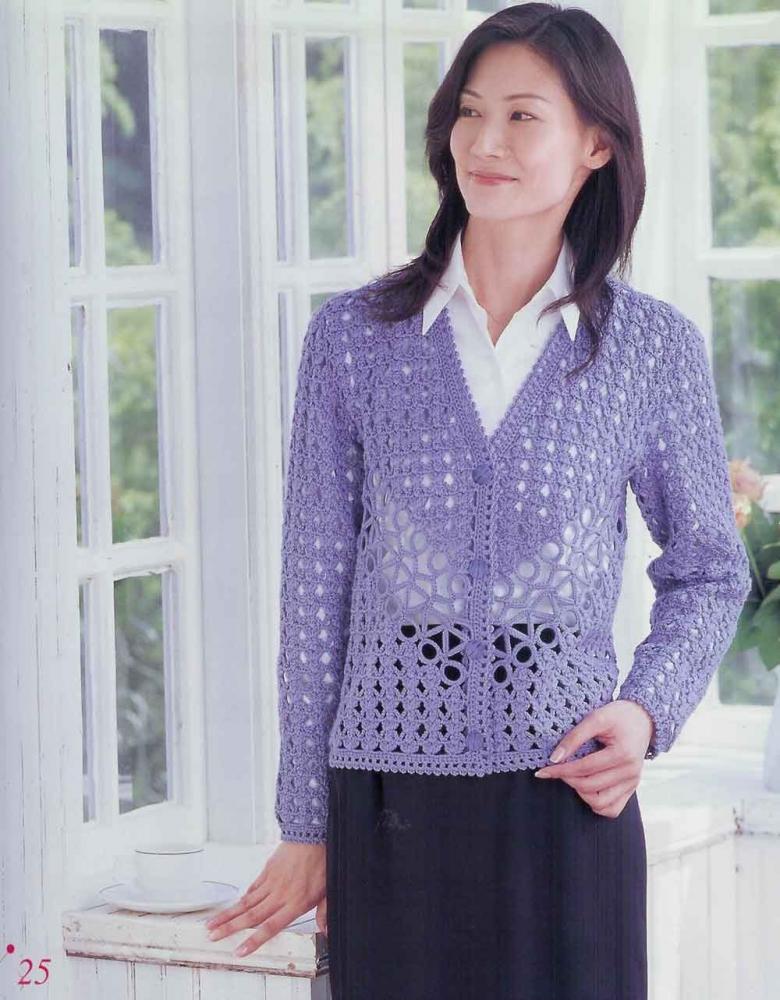
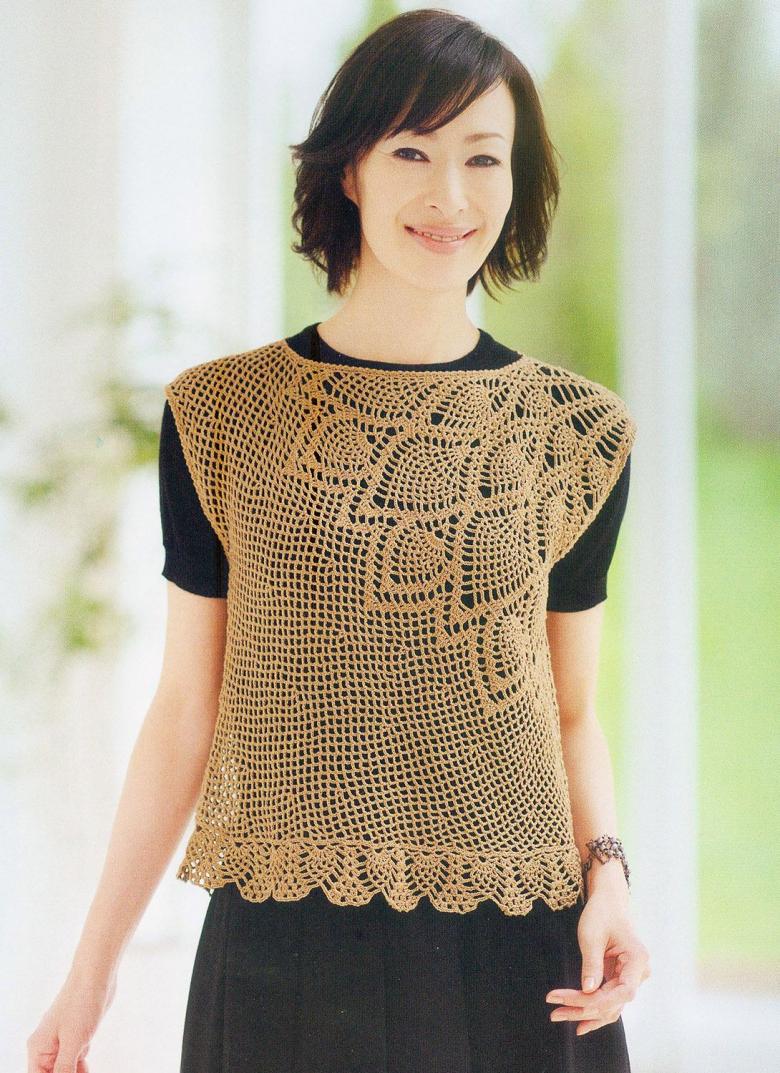
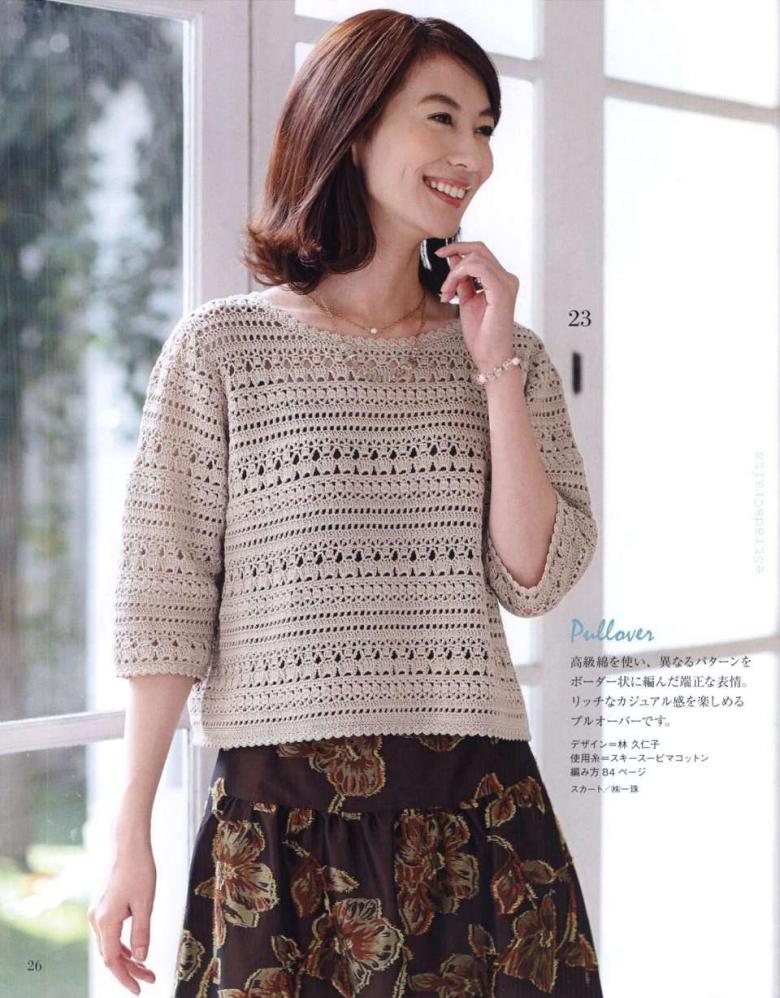
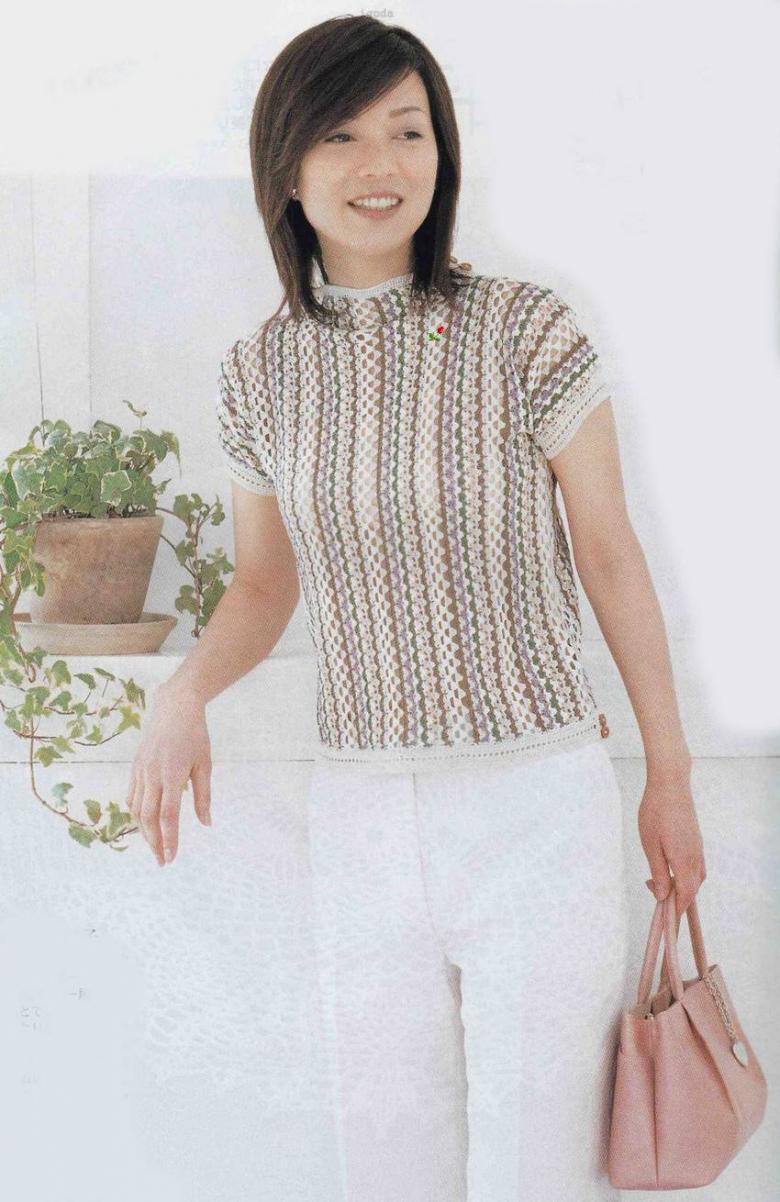
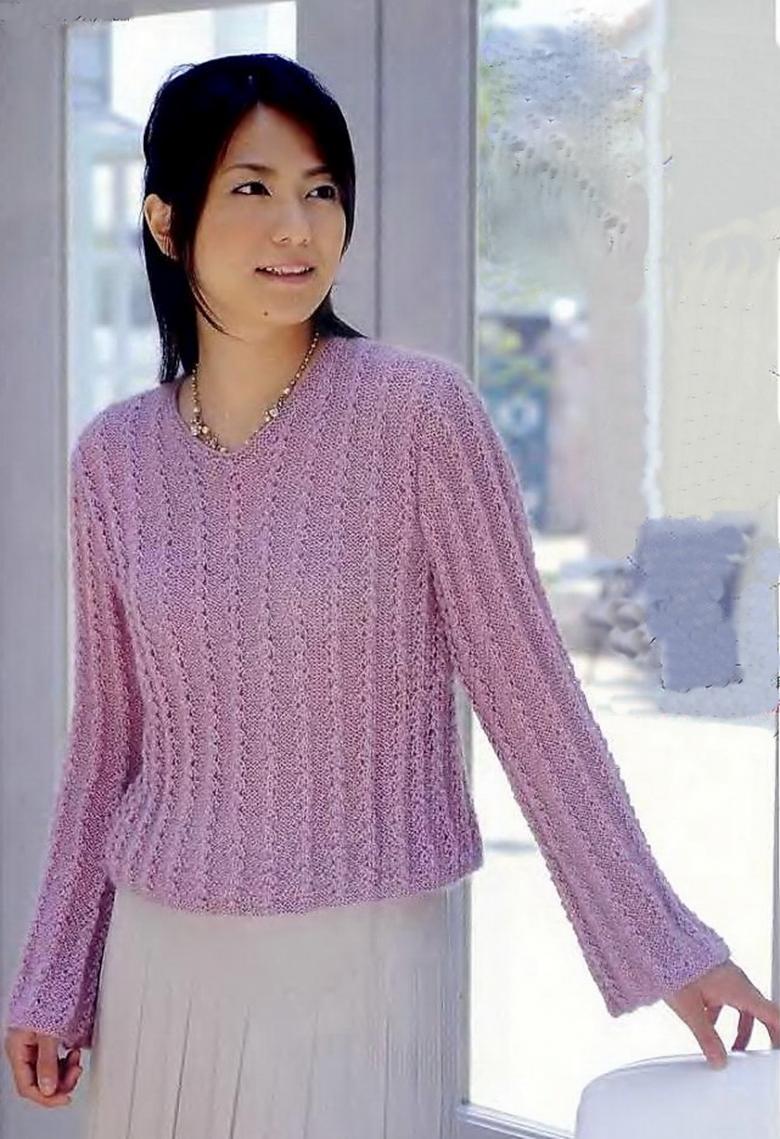
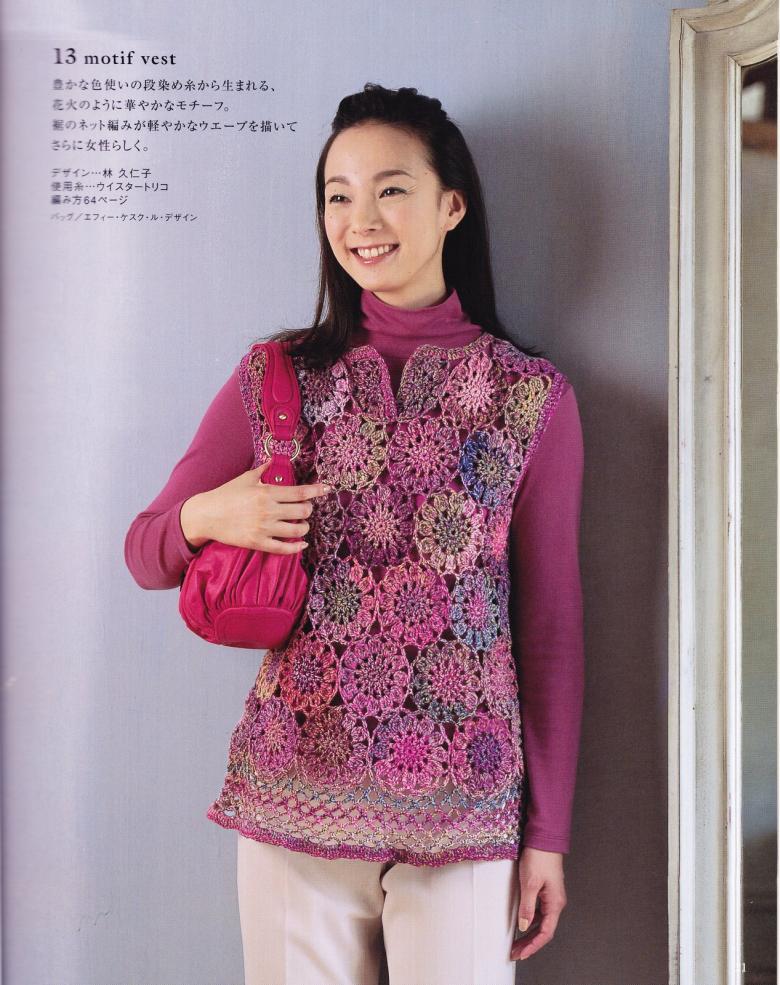
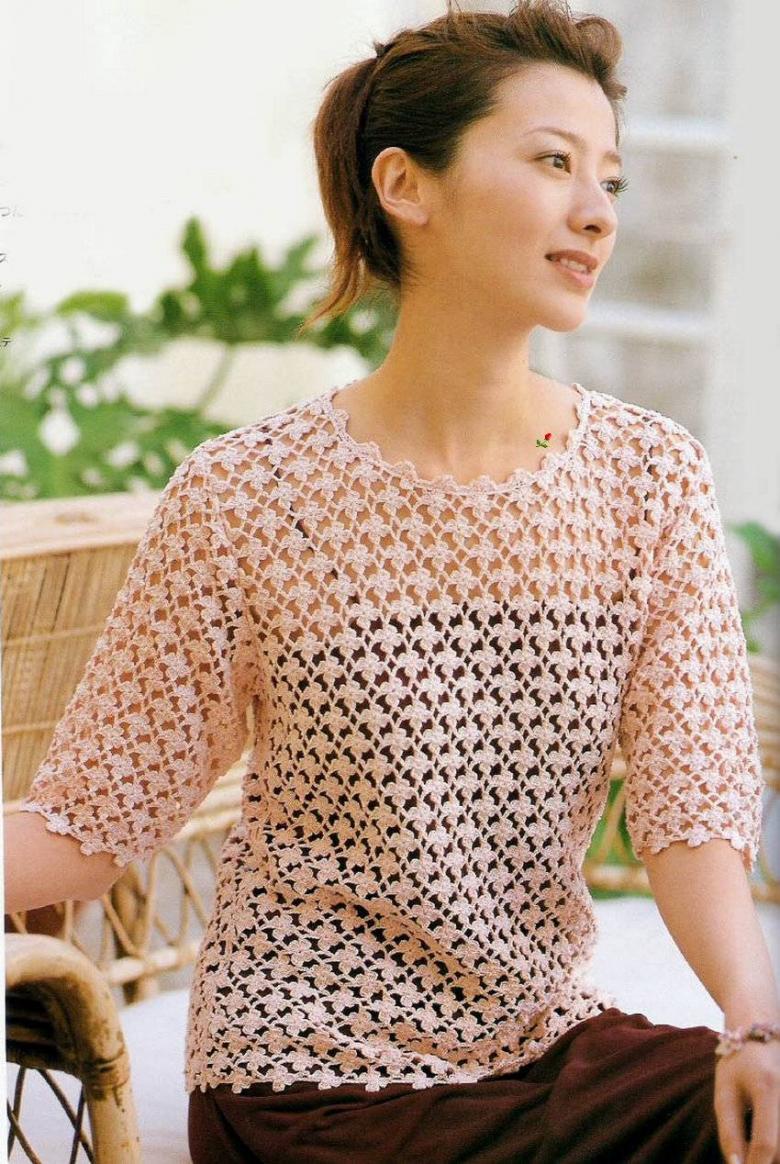
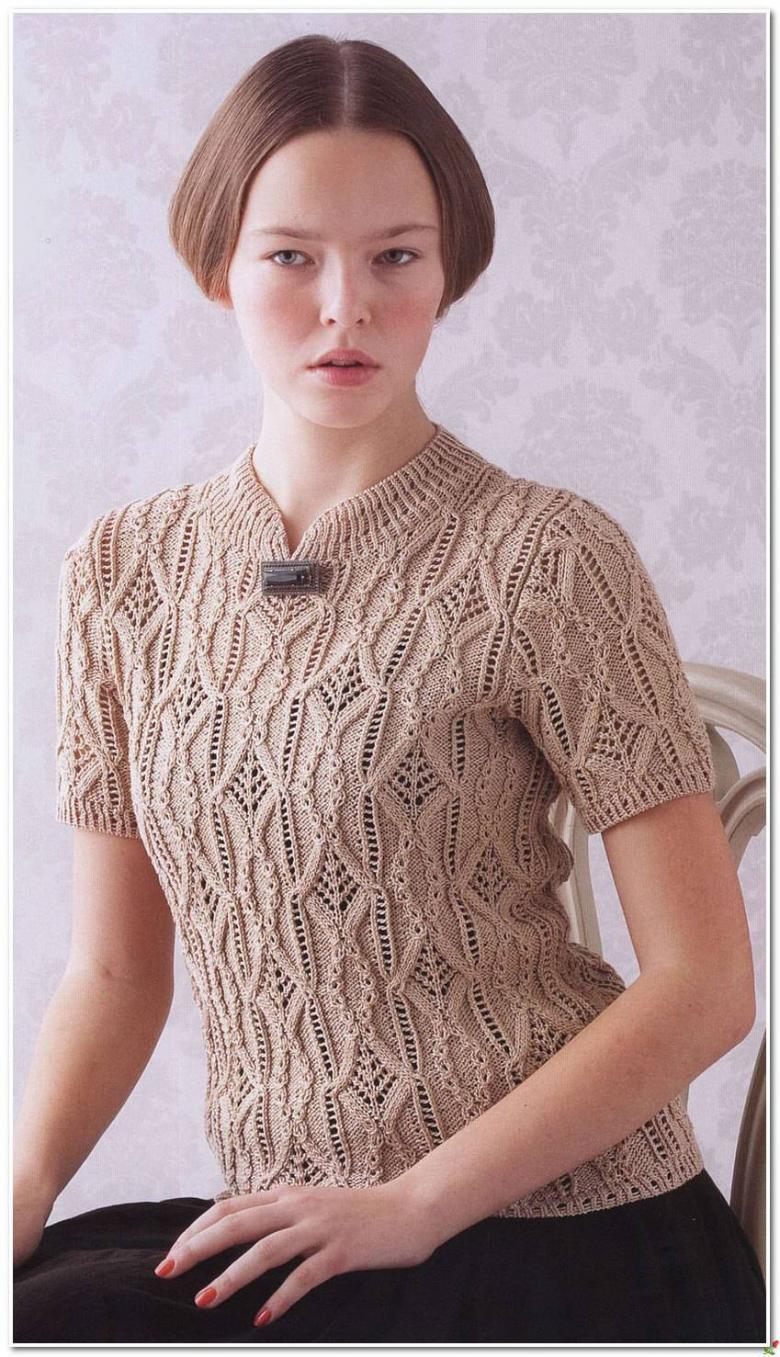
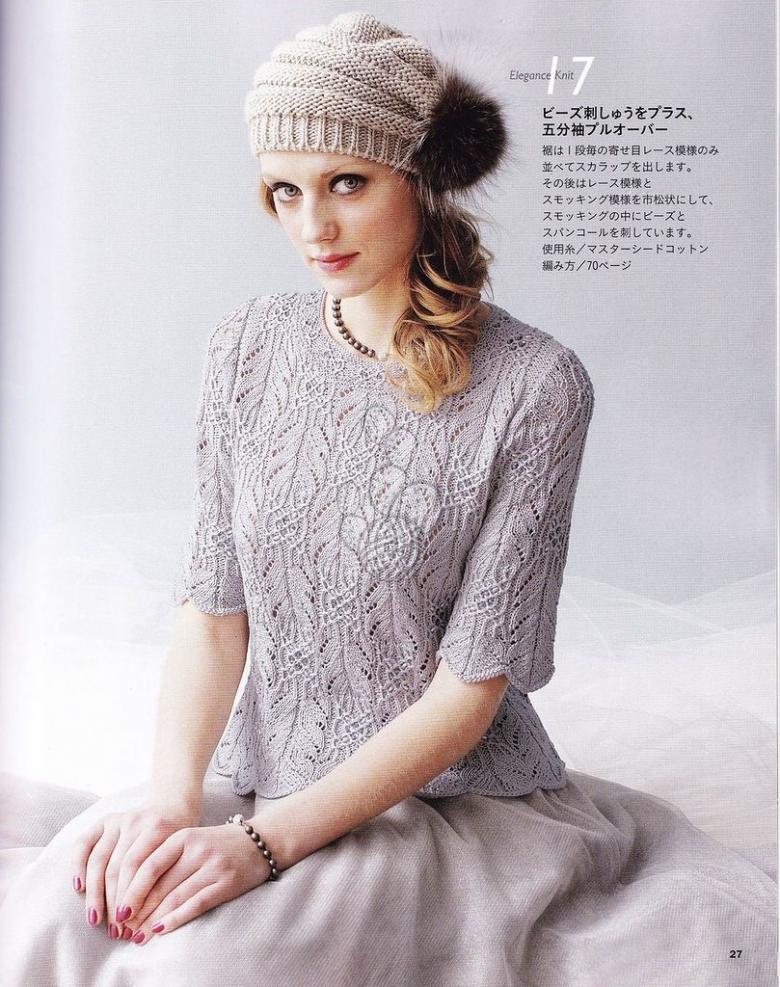
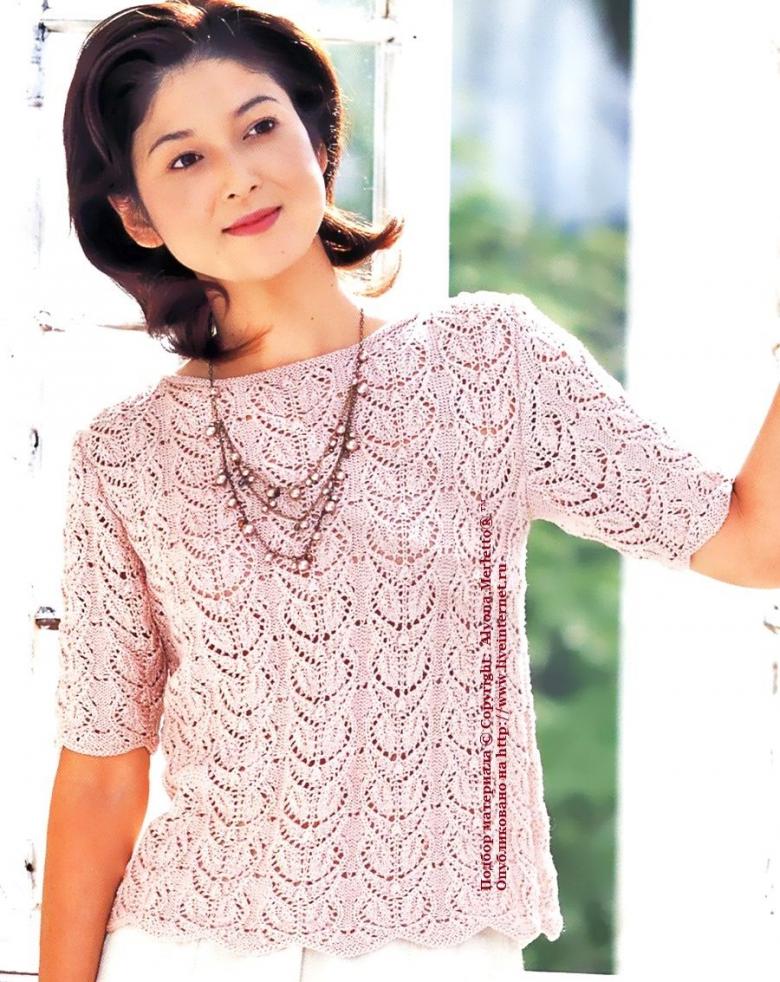
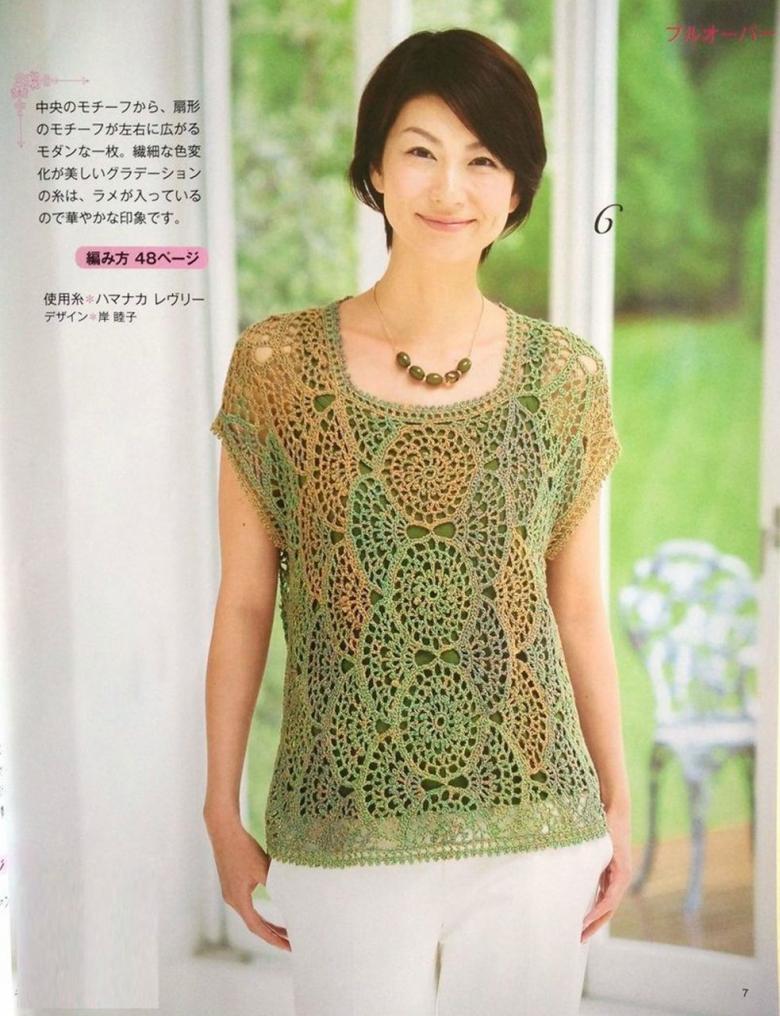
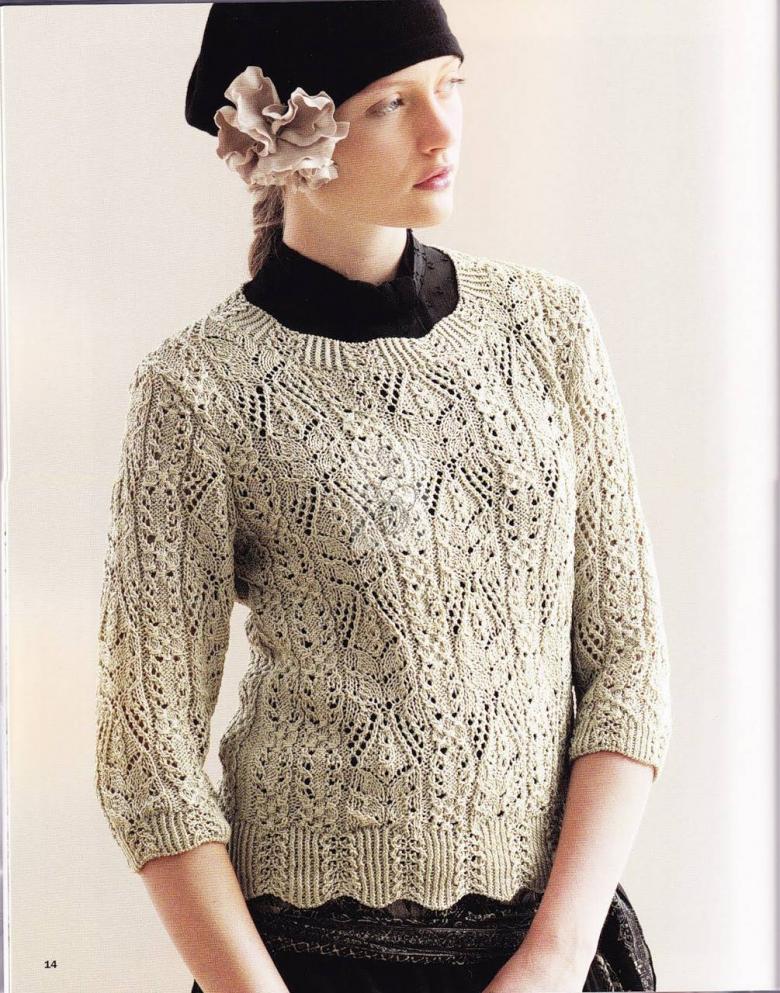
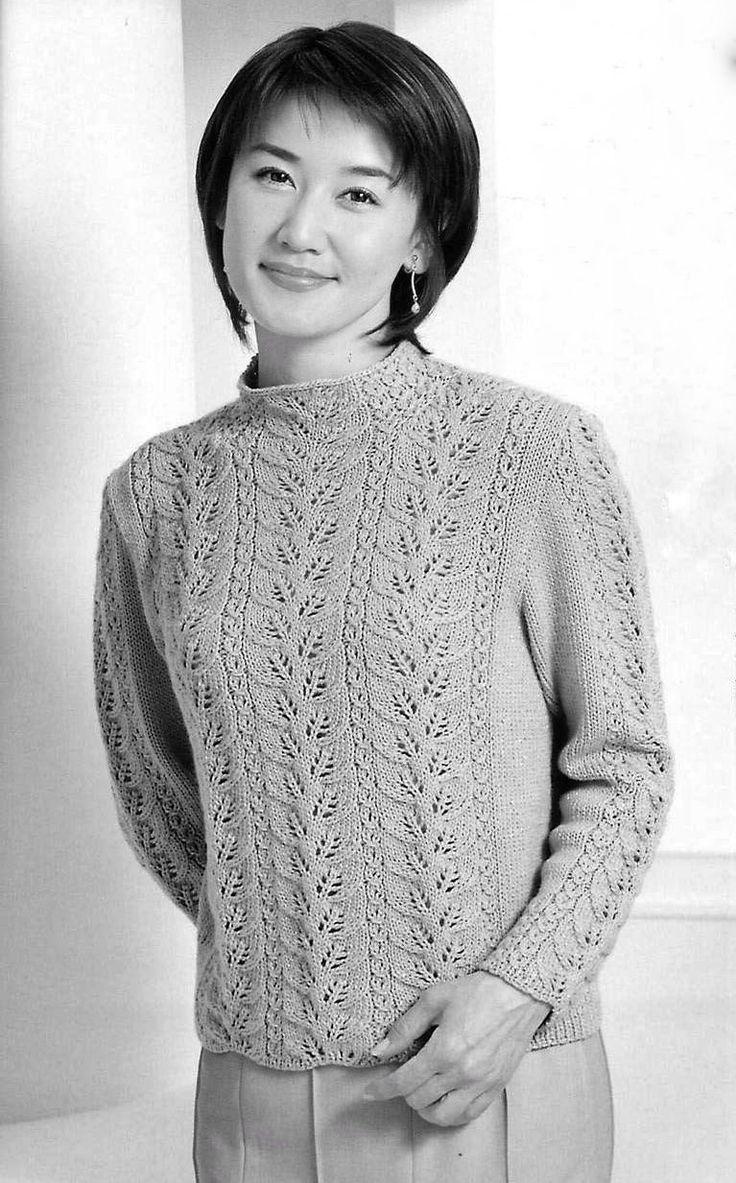
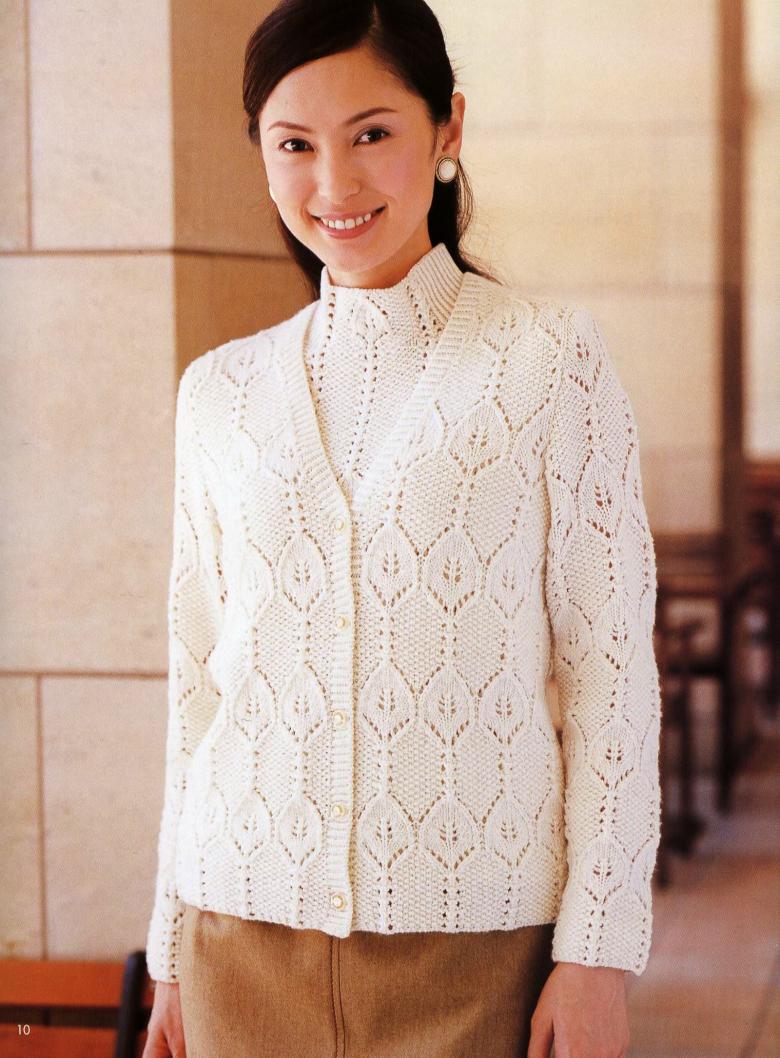
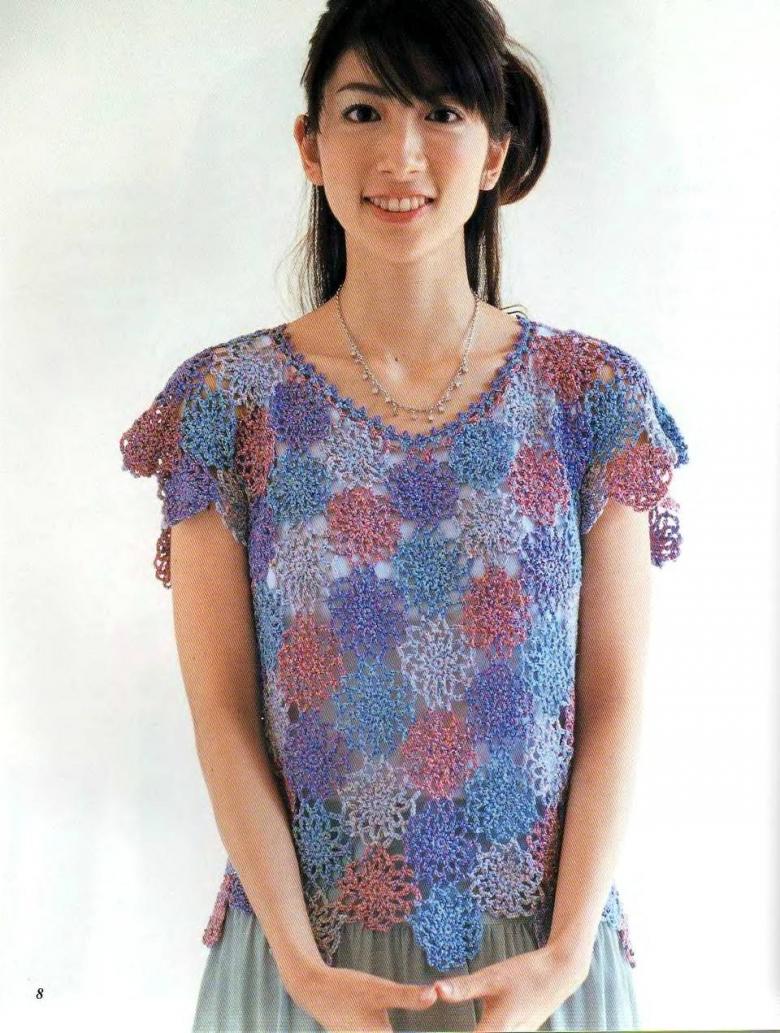
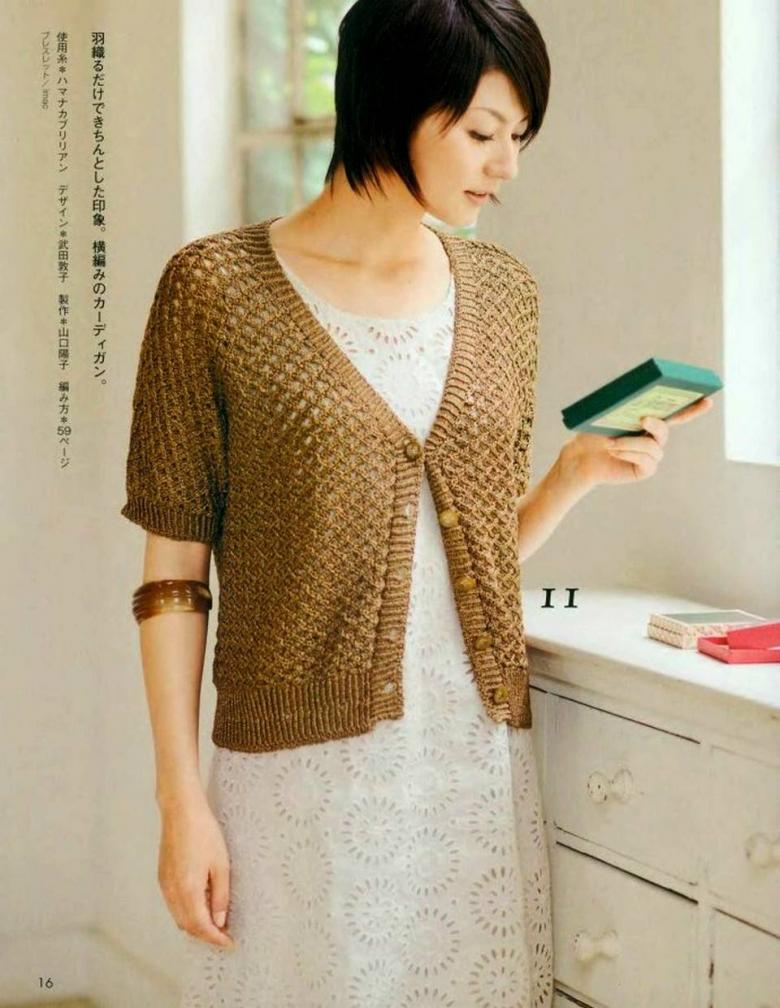
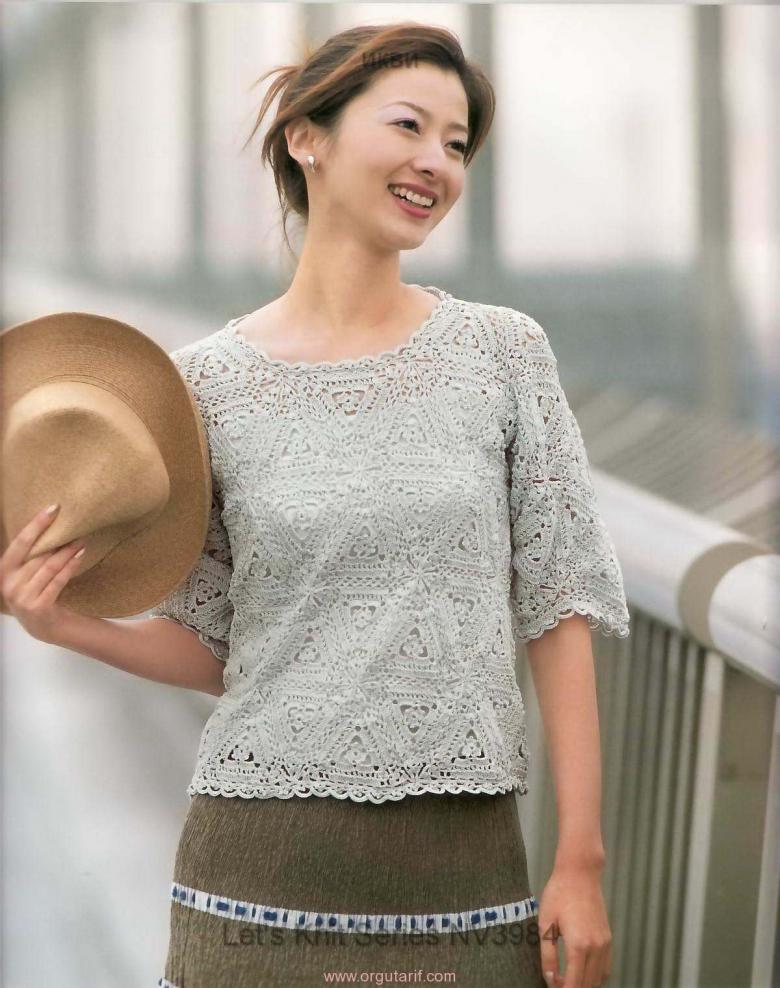
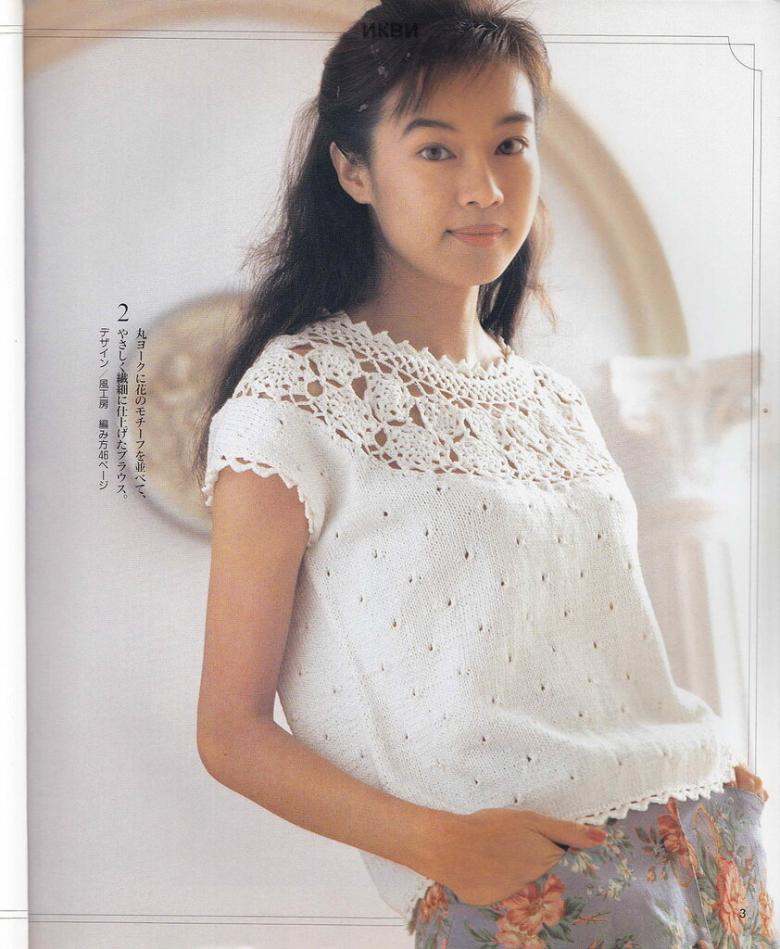
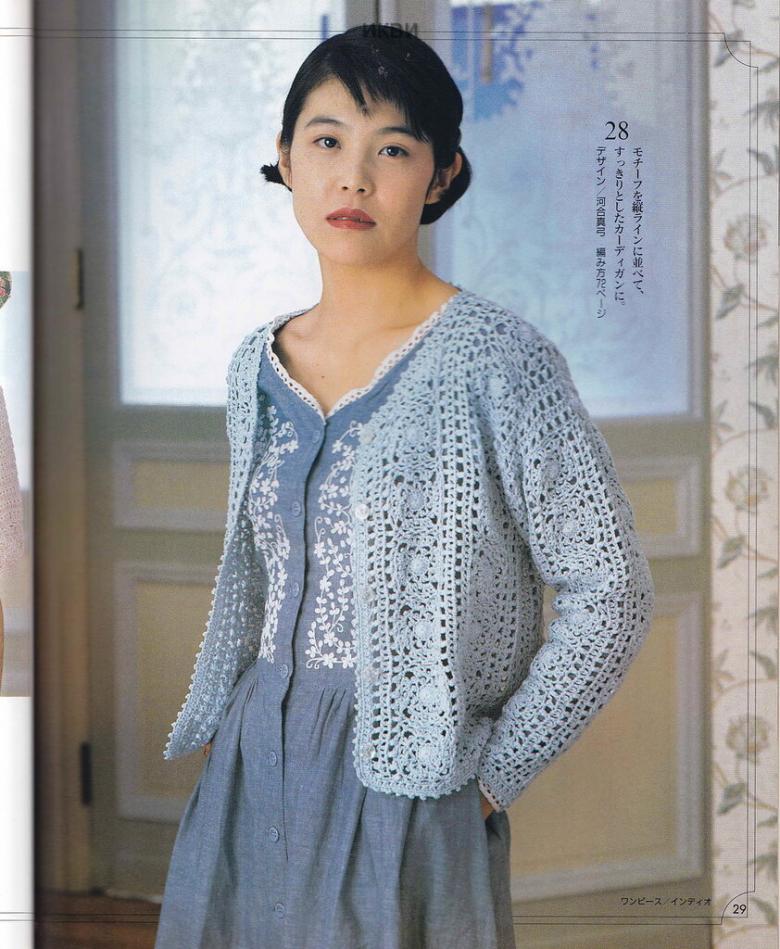
Japanese knitting needlework and crochet - the basics of technique, step by step descriptions of the scheme, practical tips
Our needlewomen, novice masters, as well as lovers of creative work in search of new techniques, studying the literature, writing out packs of magazines and trawling the expanses of the Internet.

We decided to help them in their labors, and introduce them to a very young direction in needlework - Japanese knitting. So, today we're learning a new method together.
Learn the basics of Japanese knitting
What is this trend, and where did it come from in the medium of needlework? We will try to answer briefly, but definitely. The first work in the style of Japanese knitting was done on a machine, and was characterized by delicate patterns, intricate pattern and elegant cut of the products. Today in the fashion world there are many other ways to create pieces: "bobbins", "bouffes", panels of arahns. And you and I will get acquainted with this fashion trend, trying to pay great attention to both details and step-by-step schemes for masters.

What does a beginner need to know?
There are several nuances in working with this way:
- Size range. The Japanese size system does not coincide with the universally recognized European one, so before you start, download yourself a correspondence table for your convenience.
- Yarn thickness. The knitting pattern, as well as the look of the piece afterward, will depend on the thickness of the yarn. For the selection of yarn also download for yourself a table.
- Step by step diagrams. You can come across patterns for work, both European and Japanese. Don't worry, all the sellers of needlework stores have long been used to such situations, and will be happy to pick up a familiar pattern for you.
Basic concepts and elements in Japanese knitting
Now let's introduce you to the basic elements of our new method:
- The front and back loops remain unchanged.
- The front crossed stitch. This is the same front stitch, but with the thread from the wrong bottom stitch.
- A reverse crossed stitch is the exact opposite situation.
- The hook is a standard European element. It is performed according to the adopted scheme.

Also in the technique under consideration applies a number of subtleties that the needlewoman should be able to perform:
- To knit two front loops with a slant.
- Tie two, but already the wrong buttonholes with a slope.
- Knit three front pieces with a center loop, with the creation of a slant, and without the creation of a slant.
- Knit 4 elements into one common stitch.
- Reverse situation: knit 3, 4 or 5 elements from 1 stitch.
- Learn to add stitches from the top and bottom rows, both right and left.
To fully master these techniques, you need constant practice, but with the use of theoretical knowledge. Read video tutorials on the basics of Japanese knitting techniques, and feel free to start creating your first product.
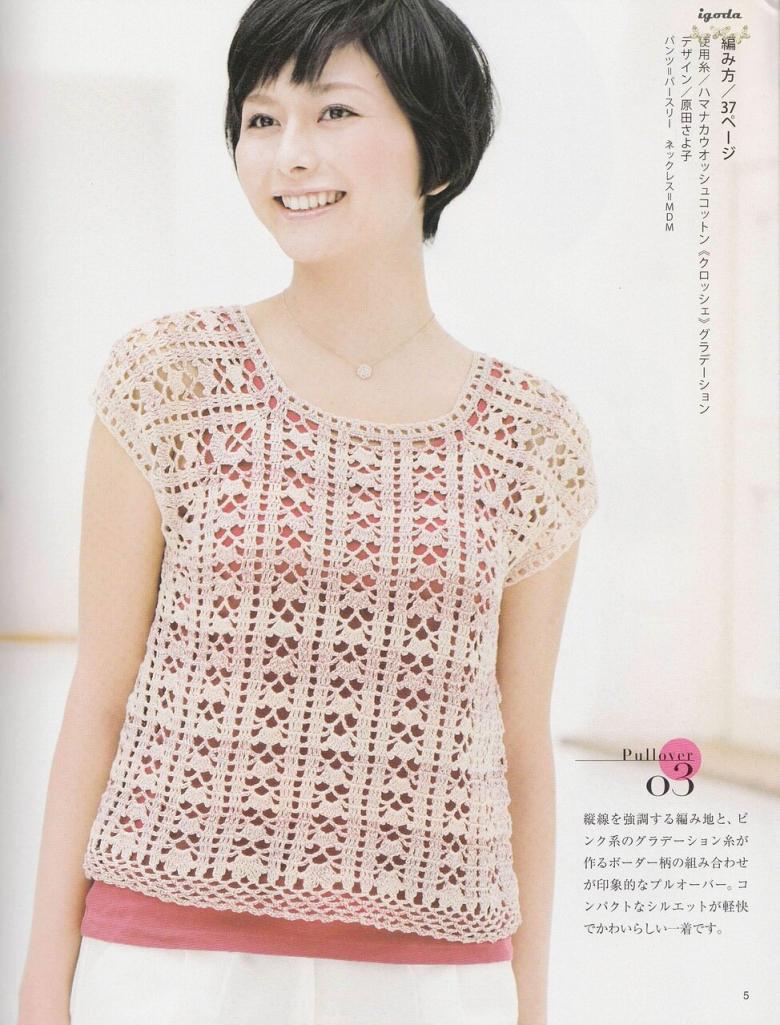
And, of course, the Japanese knitting patterns deserve special attention, such as:
- Pinecone and its half pattern.
- Braids with crossed stitches.
- Amigurumi.
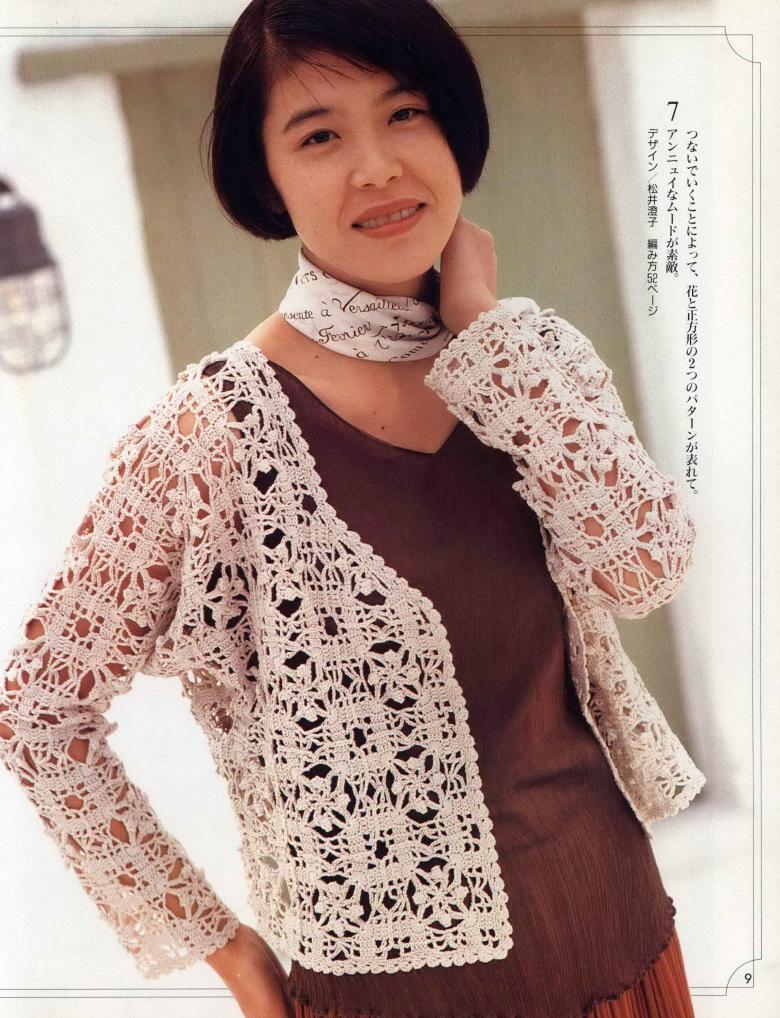
Step-by-step schemes-instructions for work
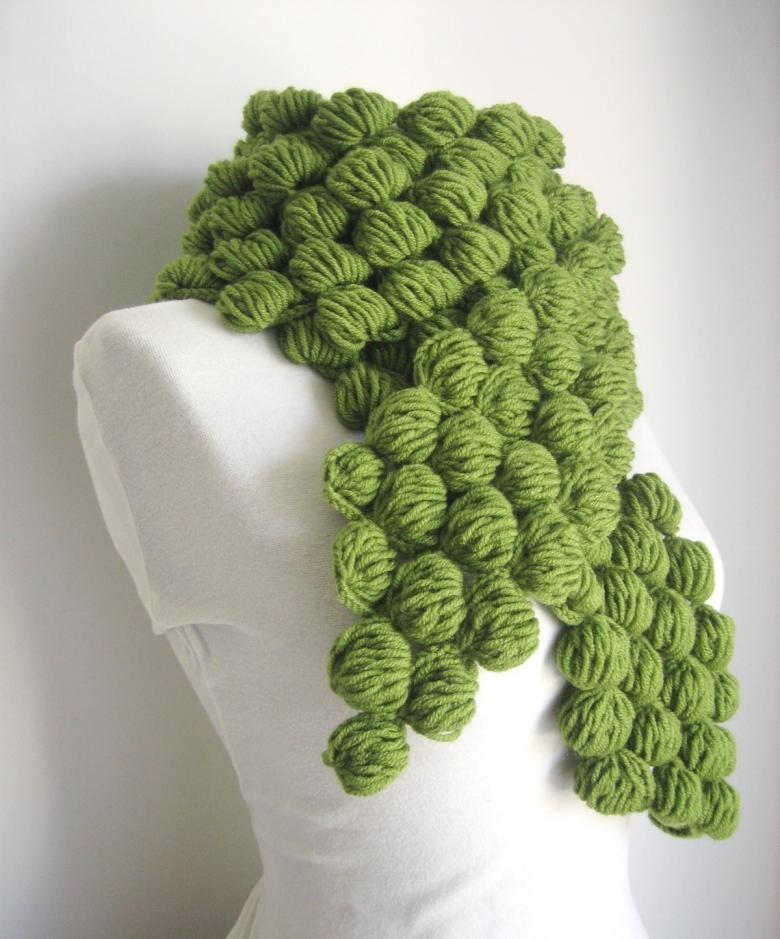
Knit a scarf with a "bobbin" pattern
This accessory we will create, armed with spokes, yarn and video tutorials for those who have difficulties in the process of work.
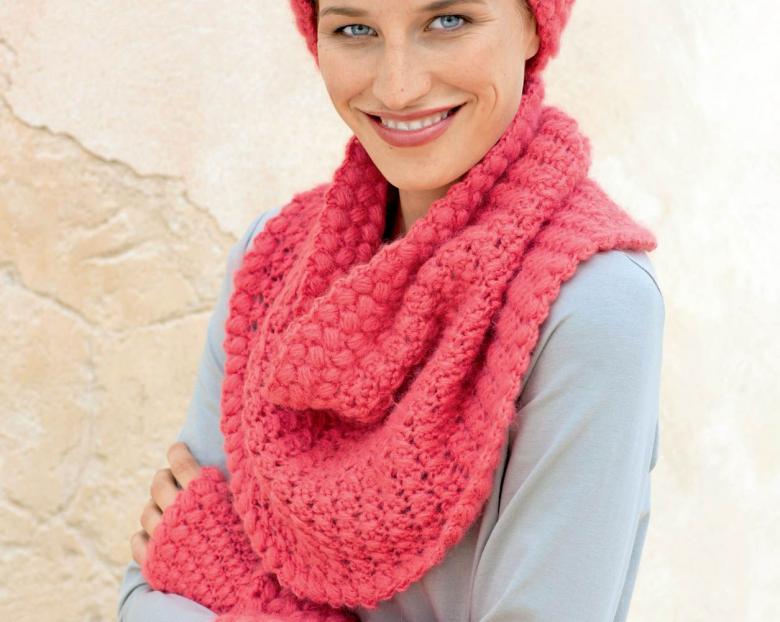
Step-by-step scheme for the master:
- On two spokes, folded together, dial the usual loops (the number of elements depends on what width of the product you prefer).
- Remove one needle and use it as a working needle.
- Go through 5 to 8 cm of the front smoothness.
- Now we start to create a bobbin pattern. We will place them in 2 pieces across the width of the product, about every 5-8 cm (10-16 rows).
- We begin knitting the pattern with the knitting of 1 right stitch of 5 liters.
- Let's knit a new row of our pattern (the usual working rows we are not touching, now we are engaged only in a set of the pattern). So dial 4 rows.
- Next we need to do the reverse step: from 5 elements to form a 1 front stitch.
- Now we continue to knit a regular row, using the "collected" loop as a row.
- We repeat the patterns throughout the fabric, as calculated.
- At the end of the knitting, we tie off the yarn and close the row.
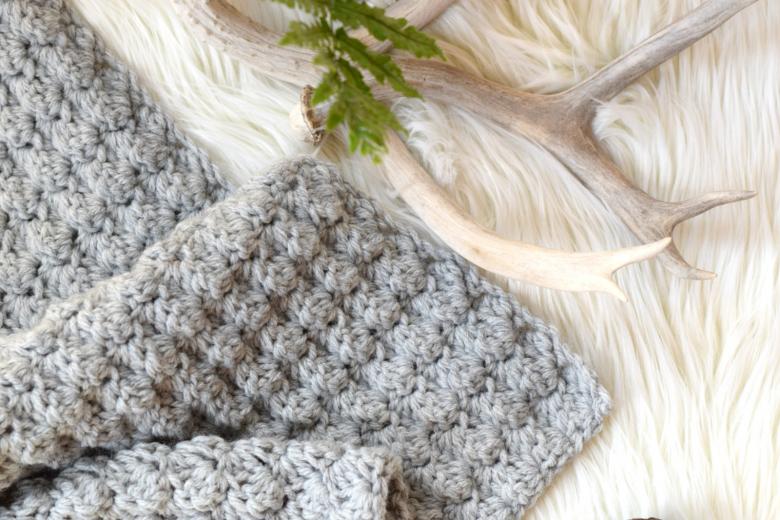
Your amazingly thin and exquisite scarf is ready. Wear it with pleasure!
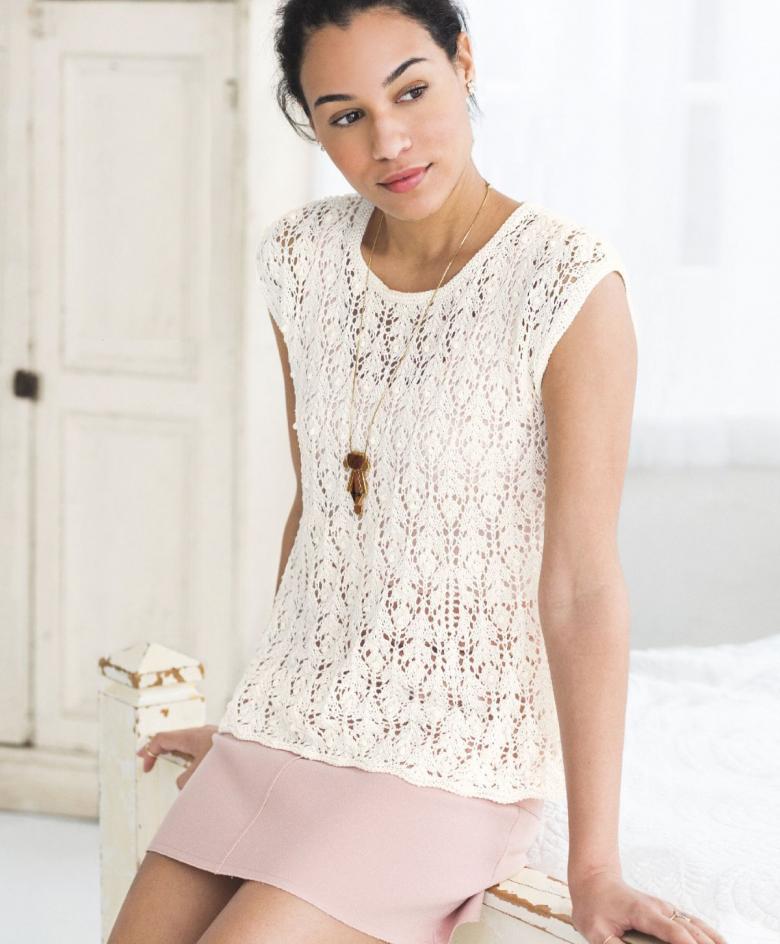
Summer top with a ½ louche pattern
As in the previous case, we work with ordinary needles.
Step by step instructions for the needlewoman:
- Have ready-made instructions or video tutorials to make your work easier.
- Take measurements: waist circumference, height of the sleeve neckline, collar neckline.
- According to these data we make patterns for our product.
- On pins to gather the required number of loops (refer to the patterns).
- The product is knitted with a rubber band with the alternation of 1 right and 1 wrong stitch for the height of 4 cm.
- Transition to the usual front glaze. Knit another 2-3 cm.
- Let's move on to the design of the pattern. Before knitting the next stitch, we go down to the row below and grab a stitch. From it we need to knit three new elements.
- Unlike the "bobbin" pattern, we use these new elements in the knitting of the regular rows, but we use the backstitch in them.
- The height of the pattern is only 3 rows, in the last of which we gather 3 loops into one.
- We arrange the pattern on the fabric of the top as we like.
- Then we knit according to the pattern and our patterns. The edges of the sleeves and the collar are additionally crocheted.
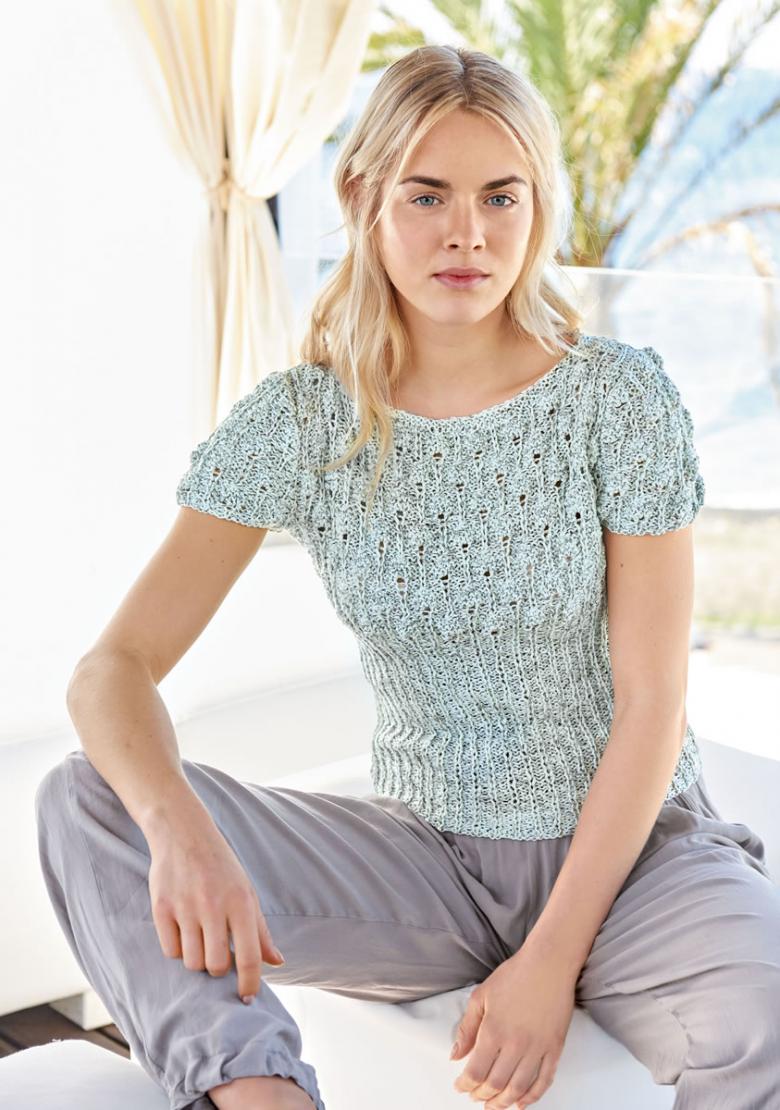
Bright and lightweight top with an original pattern will be a great gift for the summer season.
Knit a hippo toy in amigurumi style
Unlike the other schemes considered, this one is different working tool. To create our hippo, we use a crochet hook.
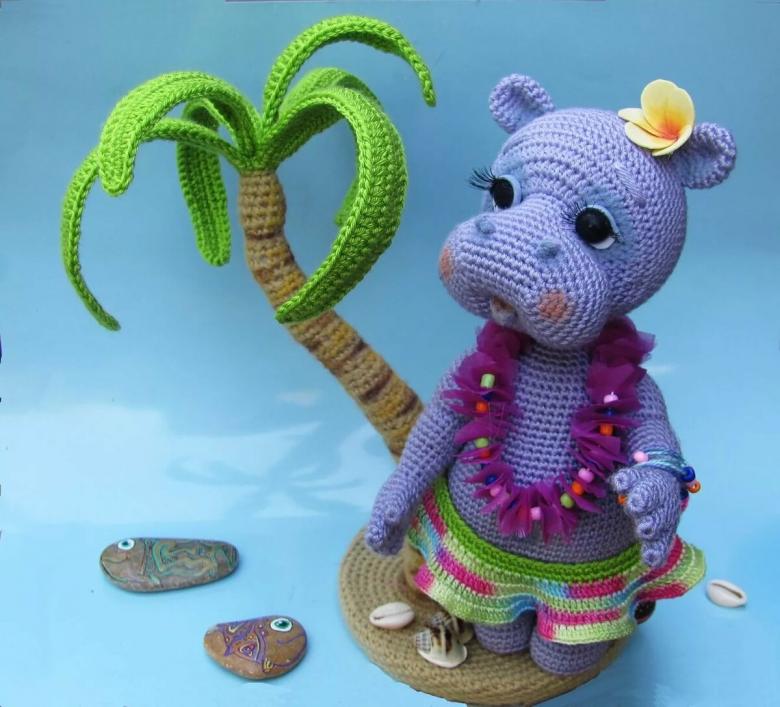
Step by step scheme for the master:
- Knit the head. Dial 6 v. p. and 1 n. p. of the lift. We knit 12 rows. Next, for 8 rows, we reduce the number of loops in the working row to make a muzzle of the animal. We cut the yarn, closing the last element of the row. Now we tie the yarn thread to the beginning of the row, namely to the air loop, and just knit in a circle.
- Let's knit the torso. Dial 7 v. p. and 1 n. p. of lifting. The whole piece is built on a circular knit.
- Create the ears. 6 sts and 1 n. p. of lifting we are going to hook. Knit in a circle for 4 rows. Remember that we need two ears for our hippo.
- We are left to make the hands, which also need two pieces. We start the row as in all previous parts. Circular knitting for 10 rows.
- All parts are connected, blanks for the ears should first be folded in half. And from the yarn to form an additional tail.
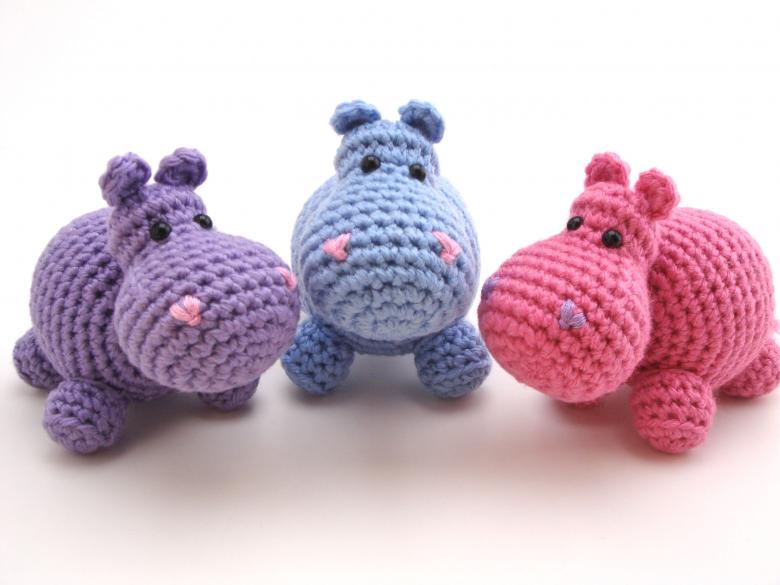
The classic soft toy by amigurumi method is ready.
Today, we have not only explored the basic concepts and elements that are used in the technique of Japanese knitting, but also got acquainted with the two simplest schemes of creating models. This technique is still unfamiliar to us, but we will not stop there. New models, unique patterns and amazing accessories in your closet - and all with our own hands!


