How to knit a cardigan - practical tips and detailed descriptions of the knitting scheme
Cold weather makes us think about updating our winter closet. Warm and cozy cardigan will protect your back and legs from biting wind and morning frosts. Today we will get acquainted with the techniques of knitting new original models of insulated cardigans.
General rules for working with knitted cardigans
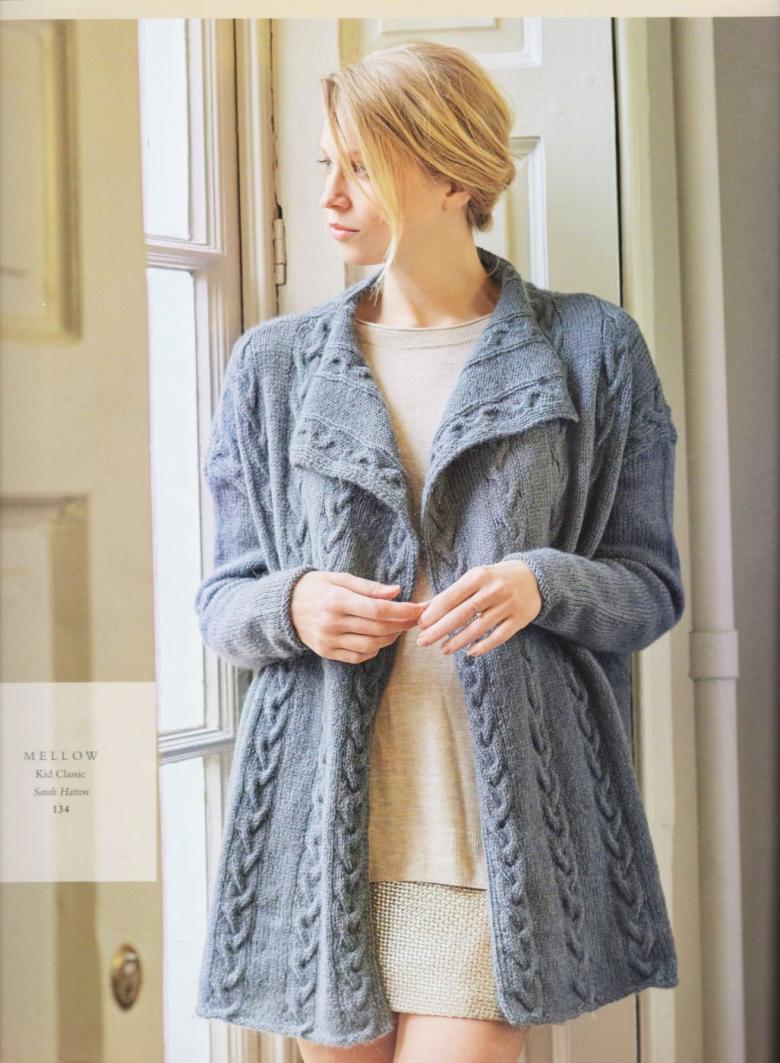
To date, there is a huge choice of models and variants of long knitted women's cardigans: with a hood, developing floors, on the sash. But there are a number of rules that are common to work on all models.

What we need to do before we start:
- Select the model we are interested in.
- Download a detailed diagram from the Internet.
- Make the appropriate measurements: chest circumference, waist circumference, back height, length of the product.
- Calculate the armhole, the depth of the trim.
- Make patterns from the measurements or download ready-made templates with the appropriate size range.
- Choose the right yarn, depending on the seasonal variations of the finished accessory. For the winter model is best suited yarns with natural fibers (wool), which perfectly retain heat and retain the flow of cold air. Absolutely the opposite is the situation with products for spring and fall versions. In stores, choose a yarn with a high percentage of acrylic or mohair. Such products are easy enough to work with, and also retain better during processing (washing, cleaning).
- Before you start working on the product, practice your practical skills. Work through the chosen scheme on a training cloth, and only then proceed to create the details of the cardigan.
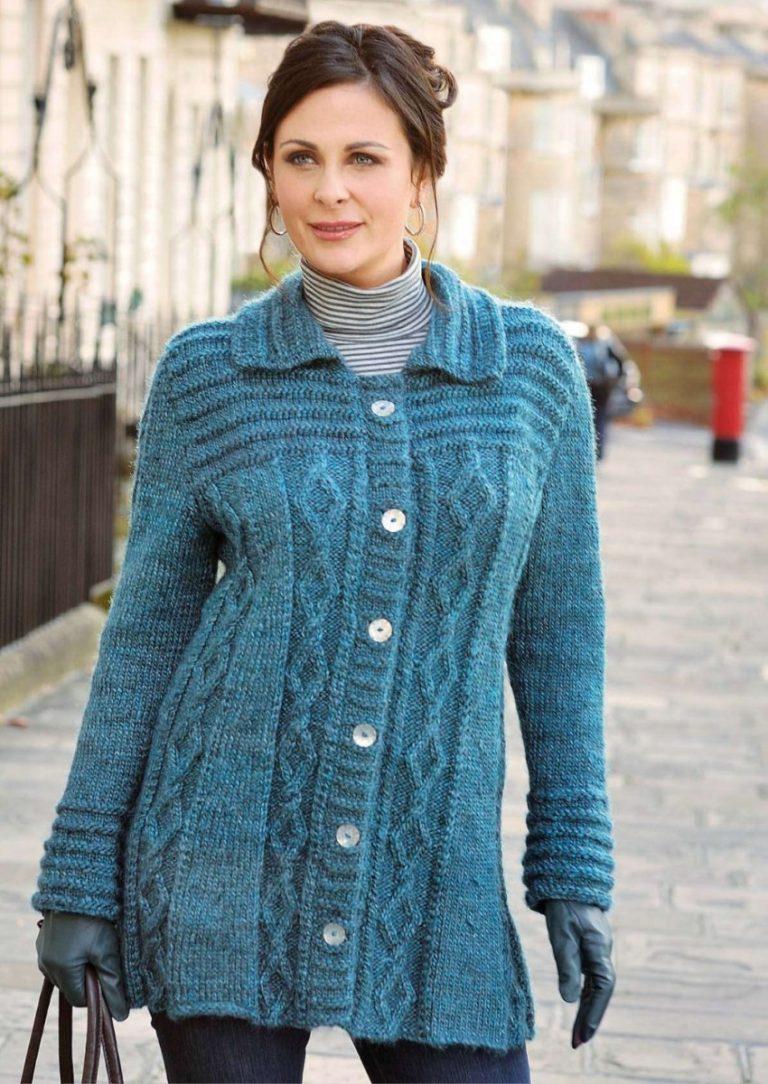
What models of cardigan exist today?
We have selected for you the most complete list of original variations of warm cardigans:
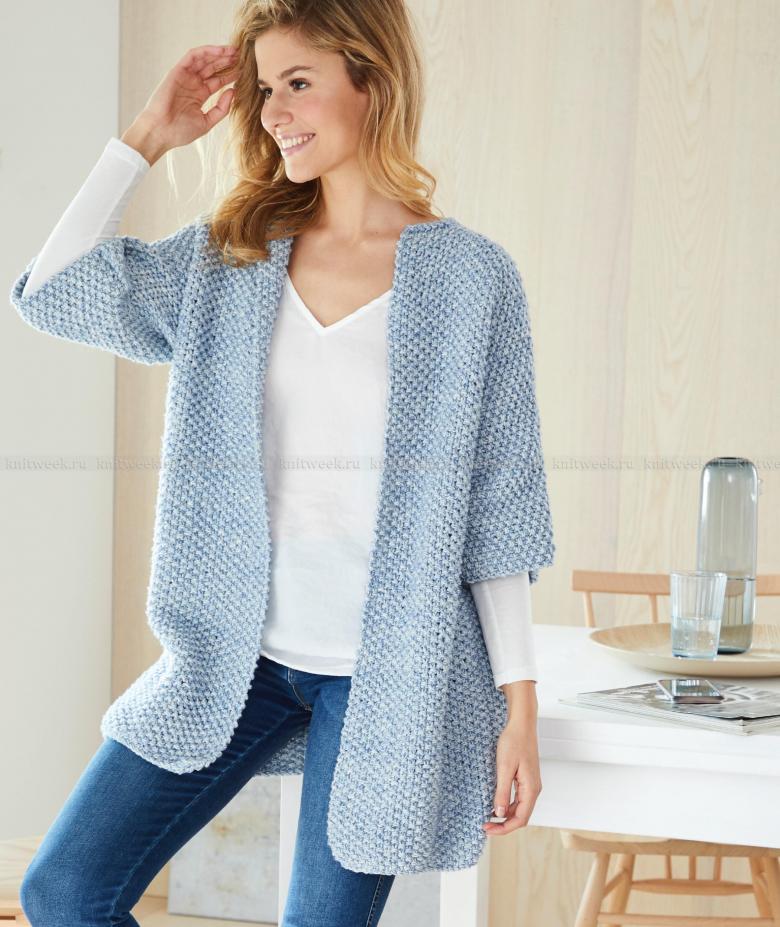
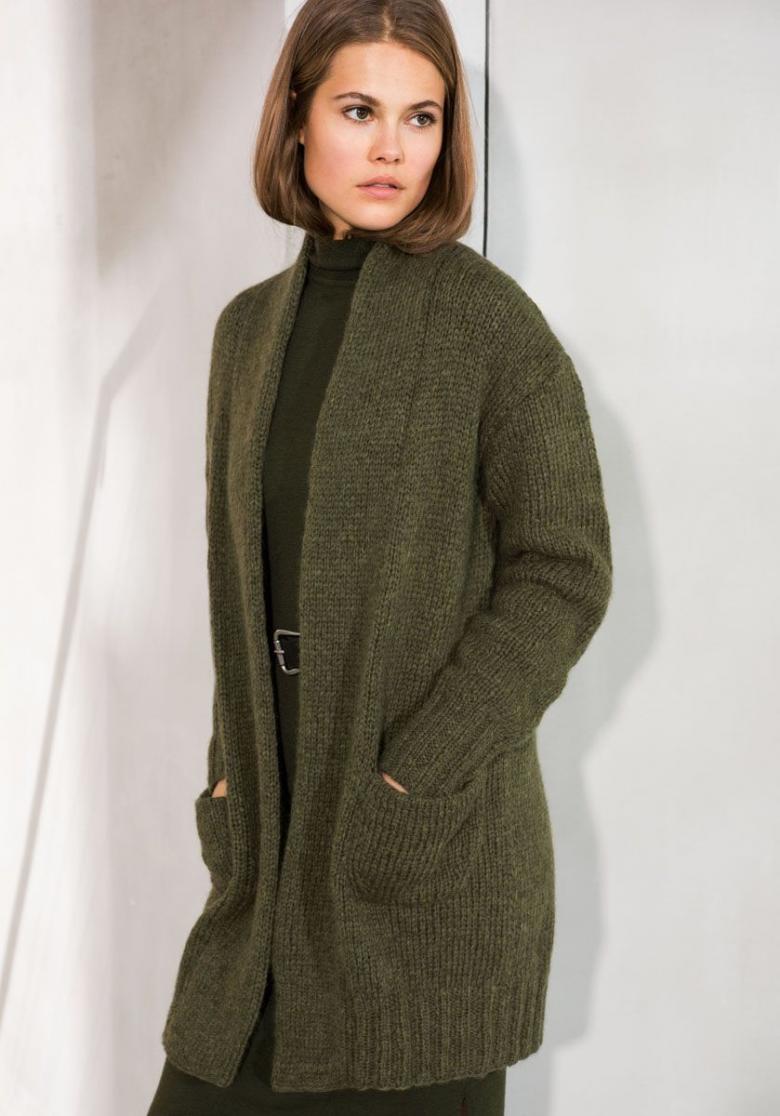
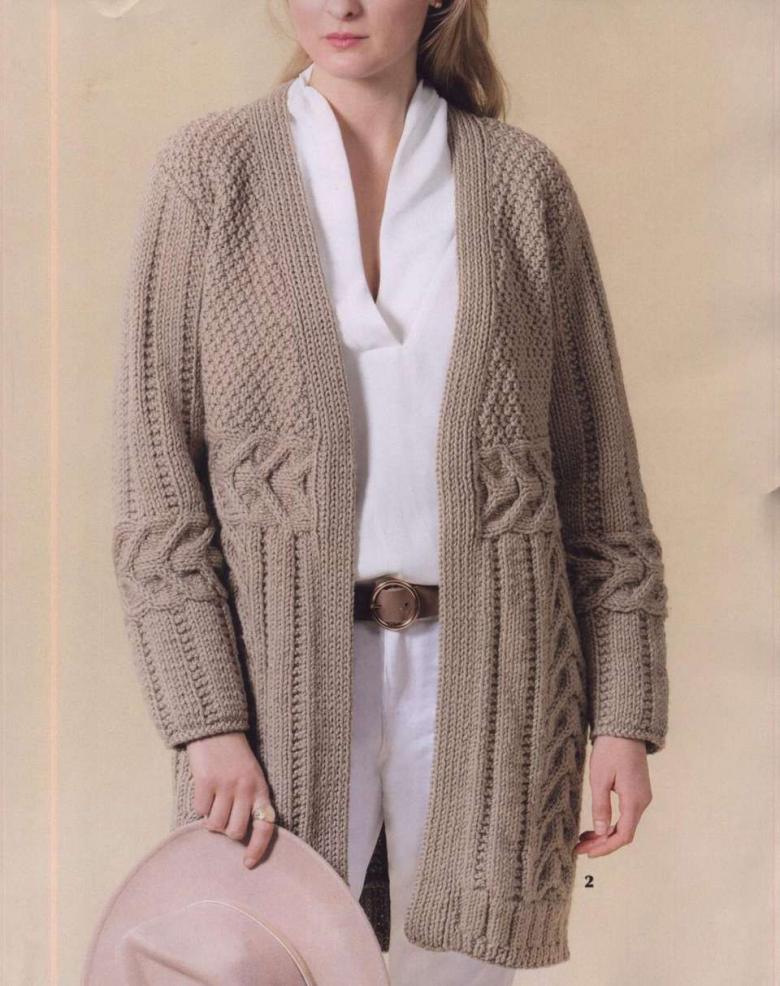
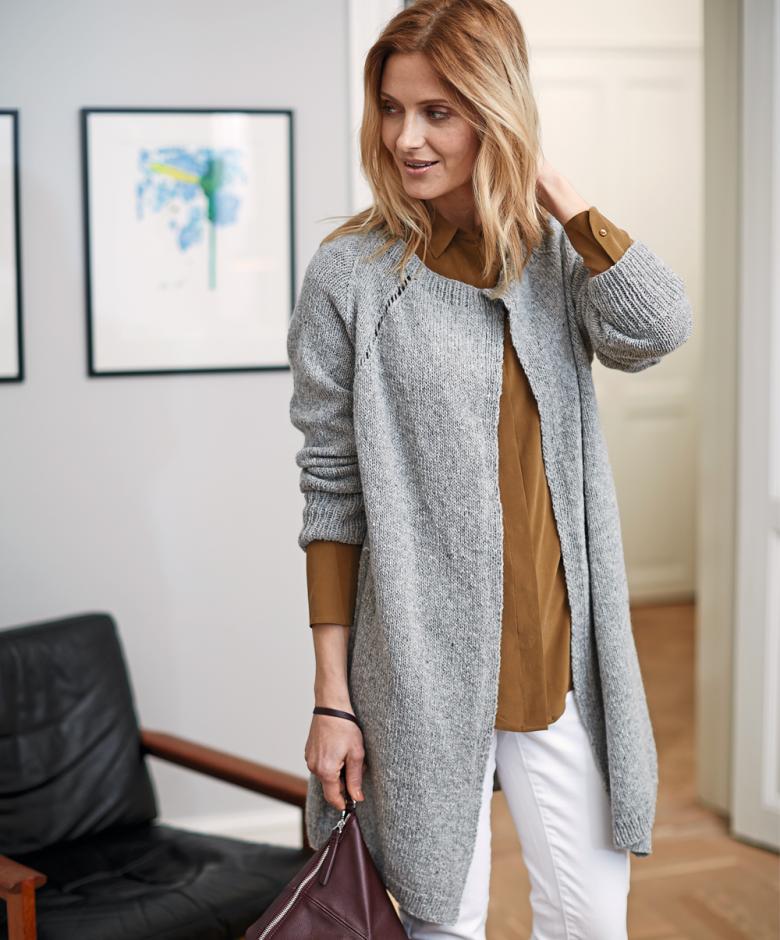
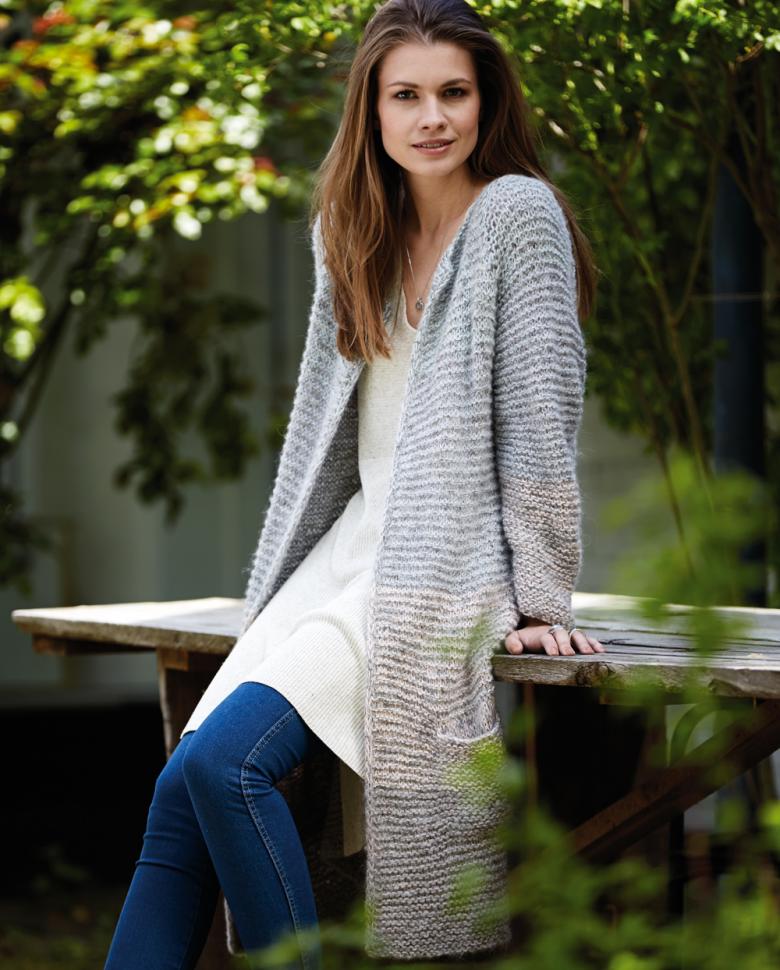
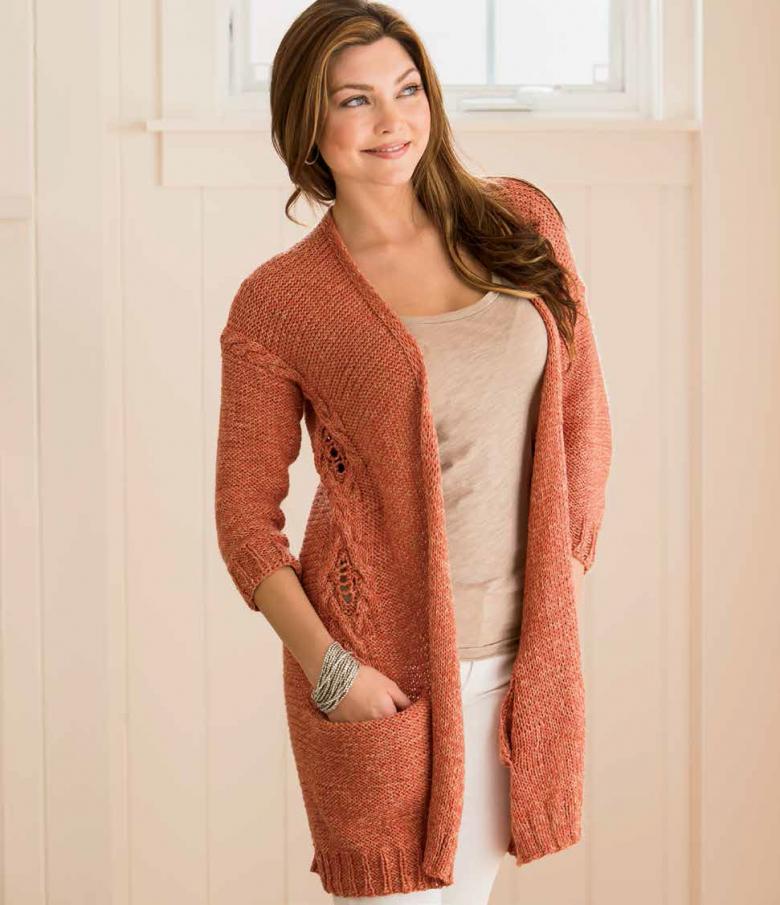
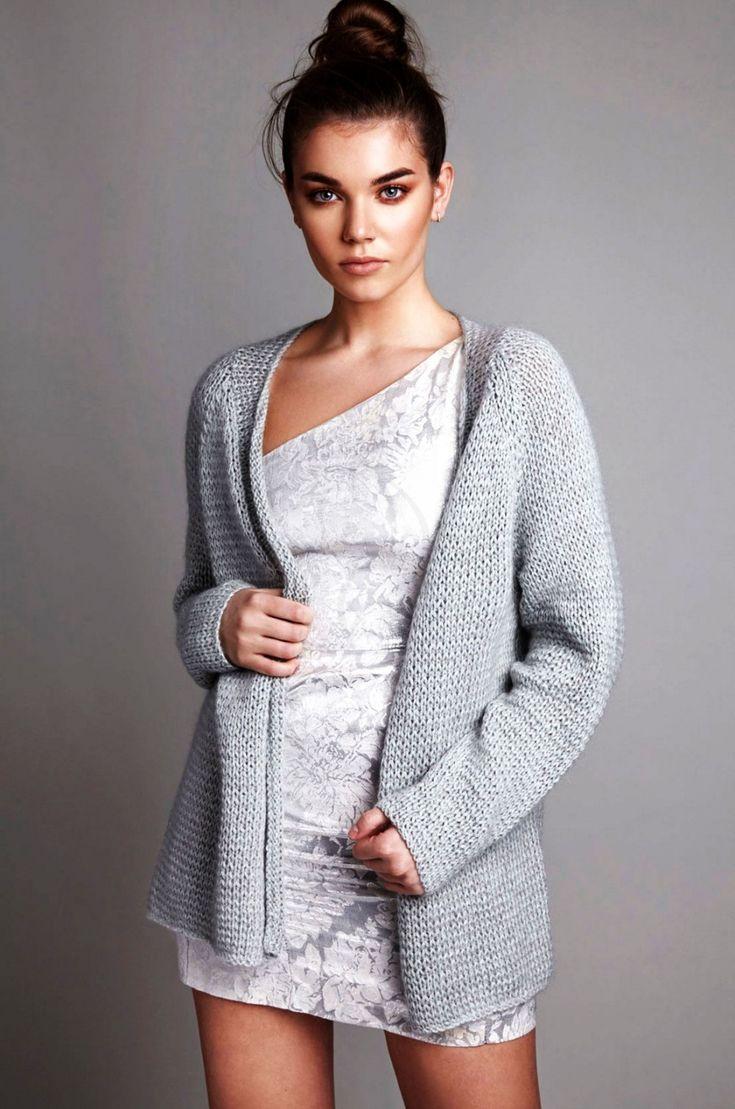
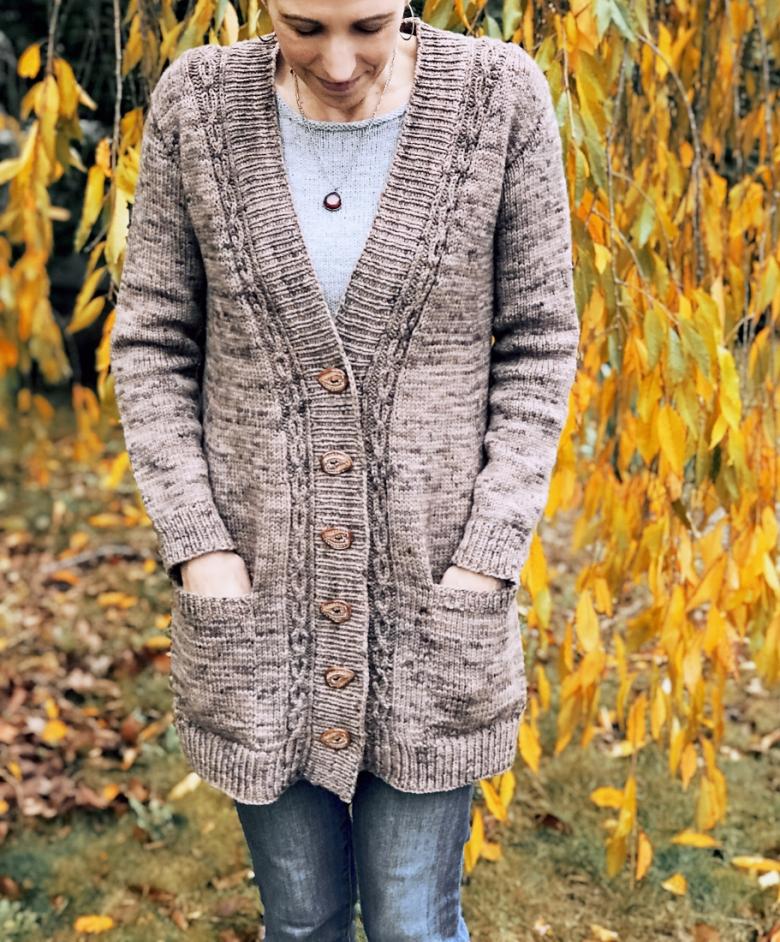
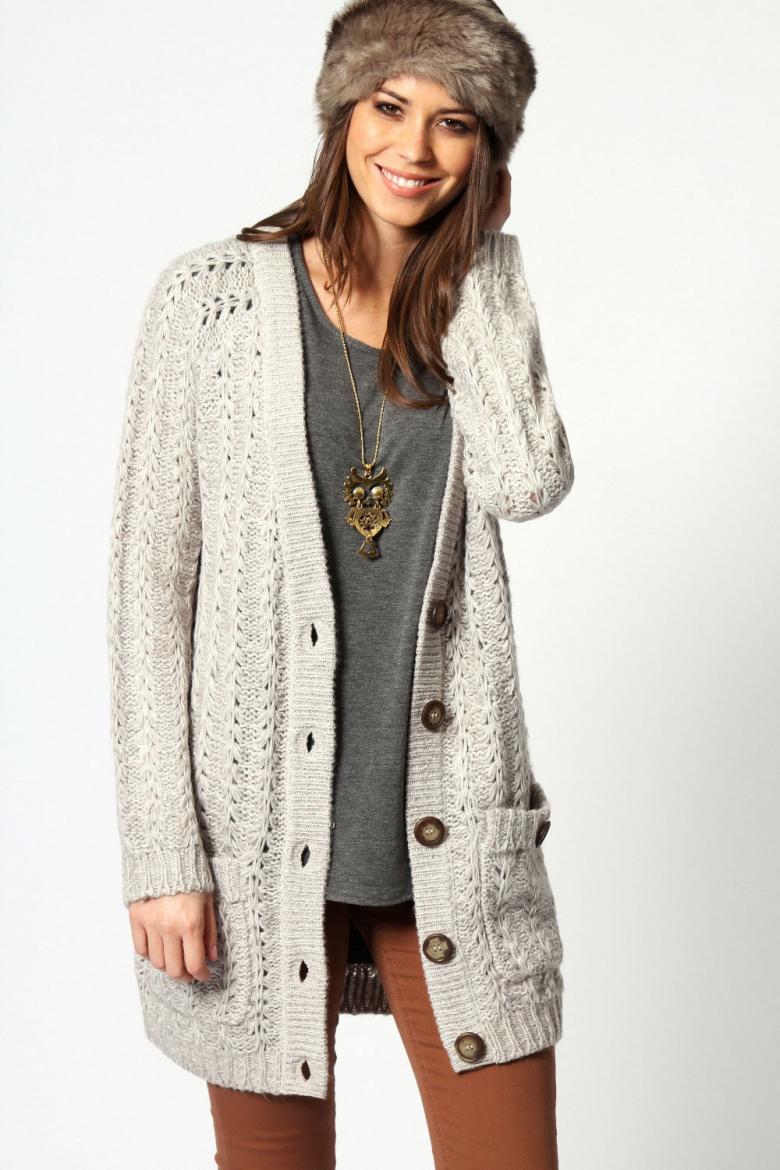
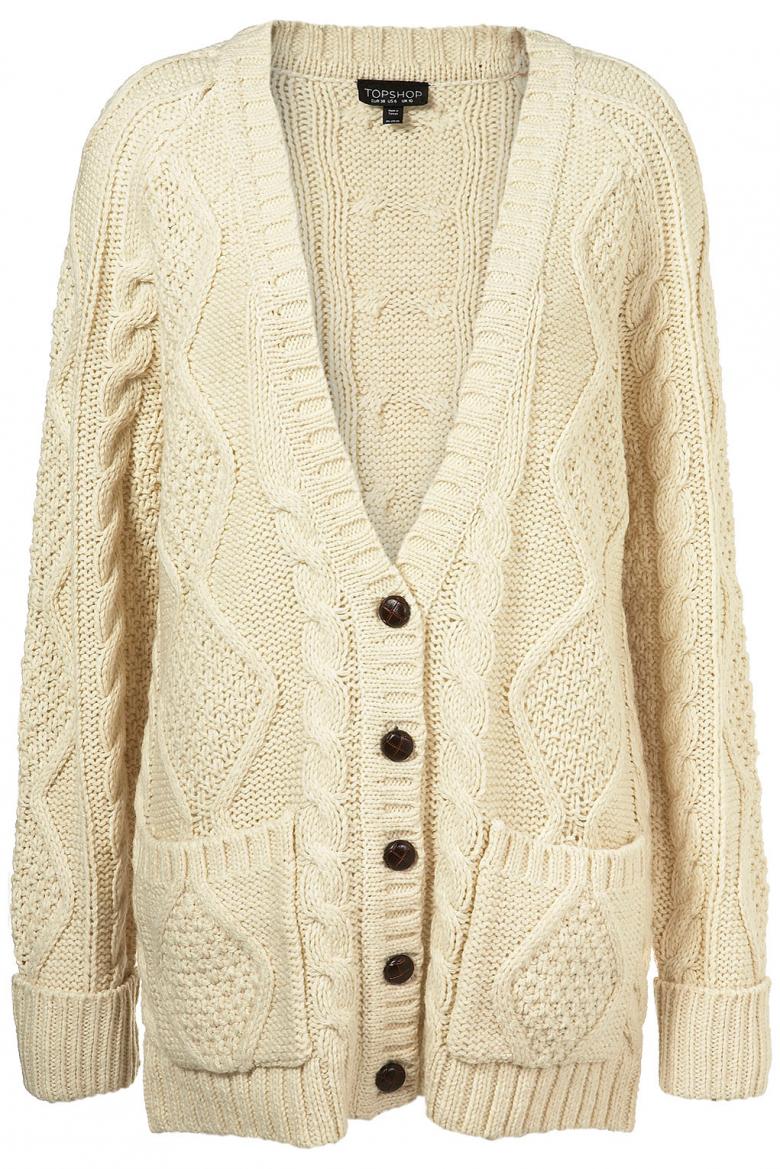
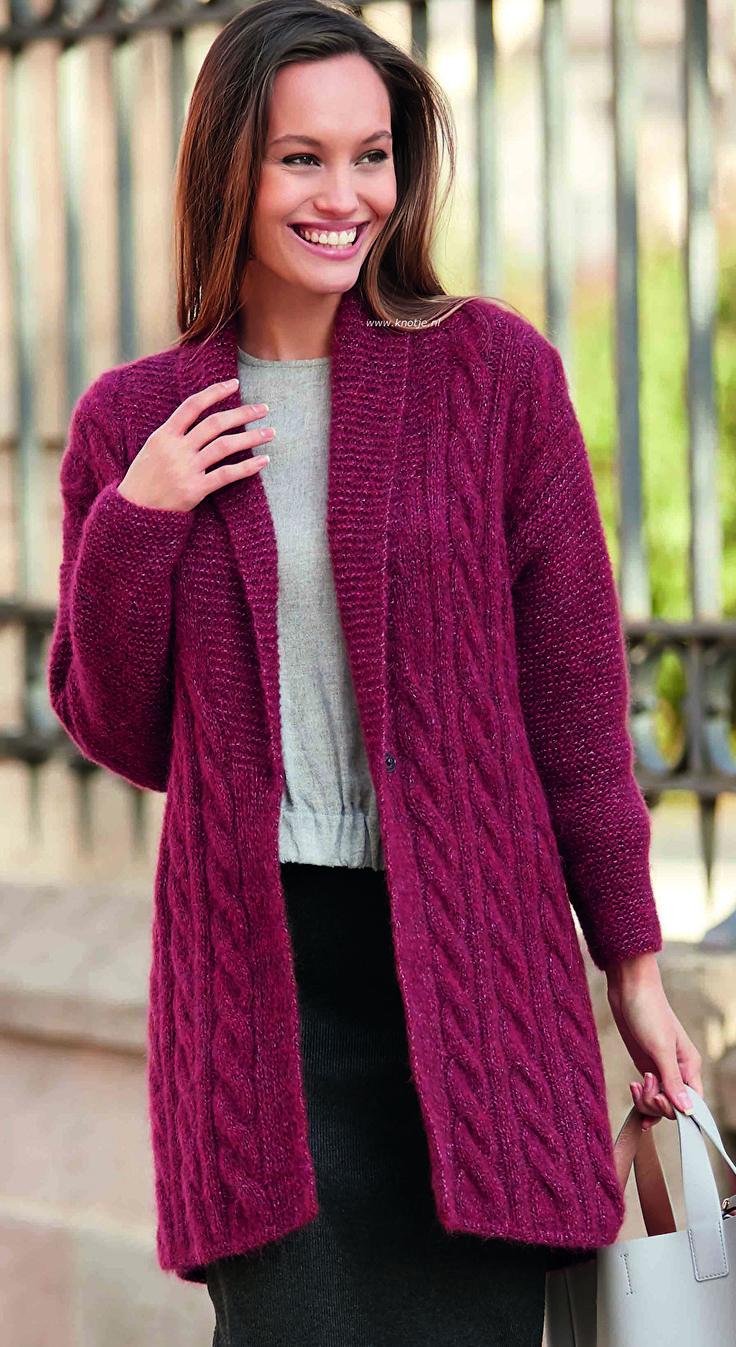
- Straight silhouette without collar. This model is knitted as standard up to the middle of the thigh, has long sleeves and a V-neck.
- Cardigan "in the floor". This variation is great for stylish business women, but not practical in real life.
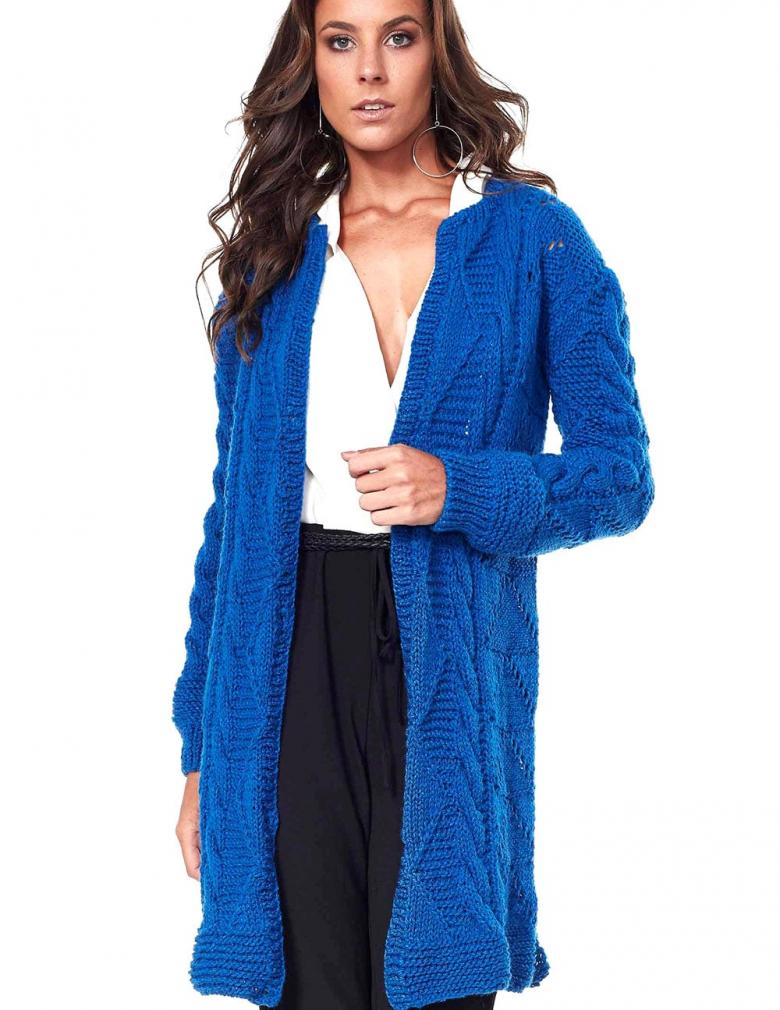
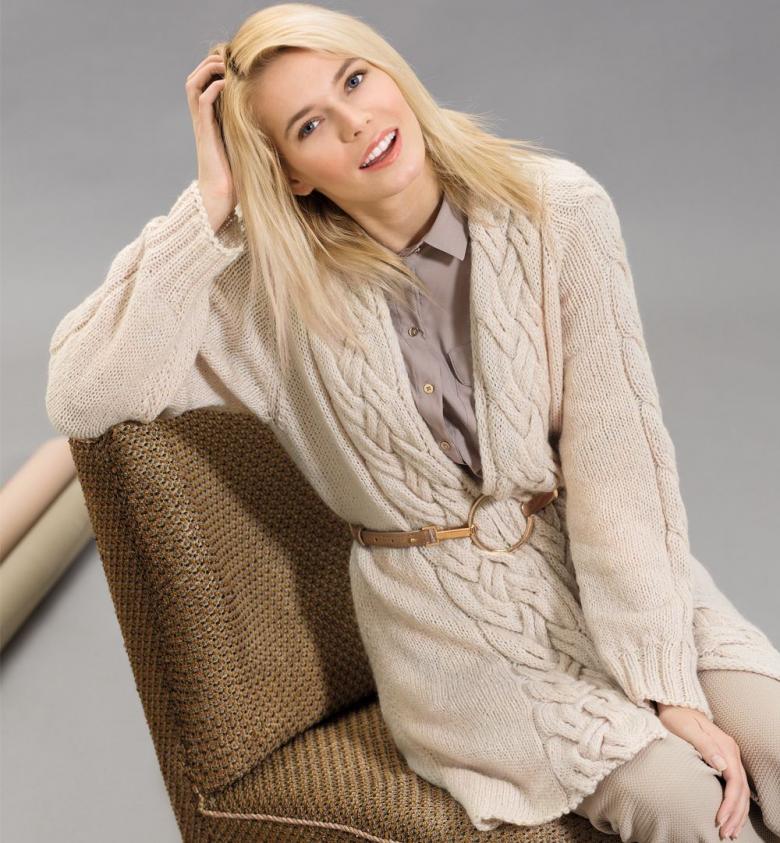
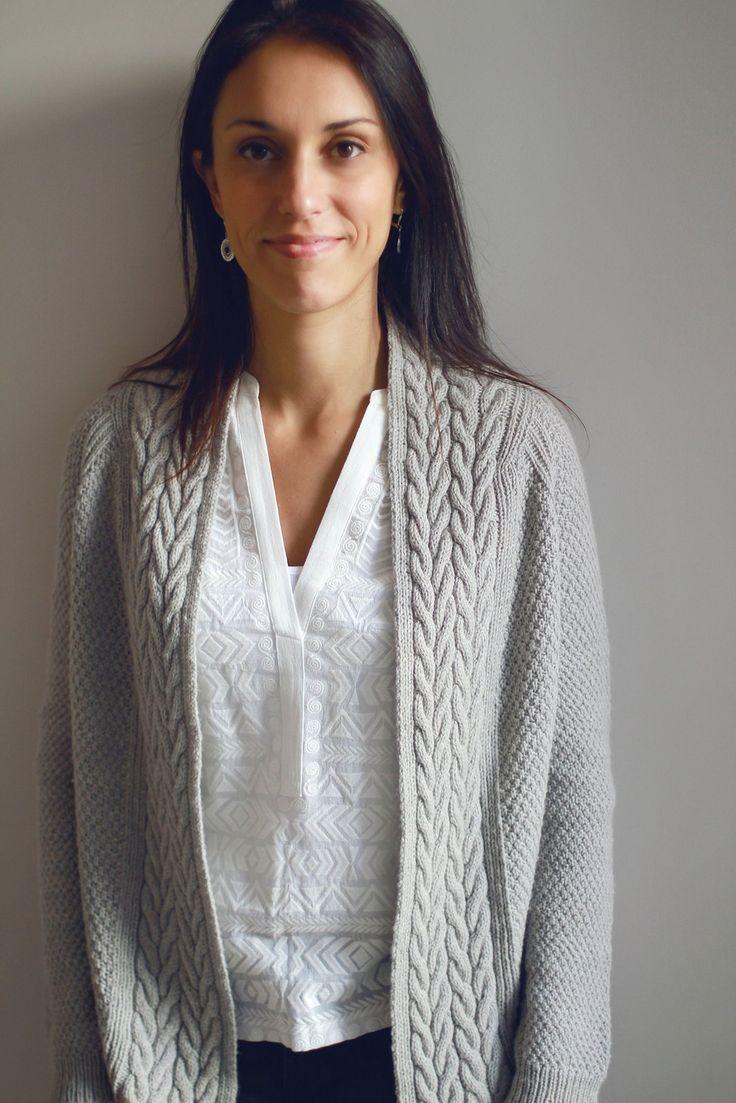
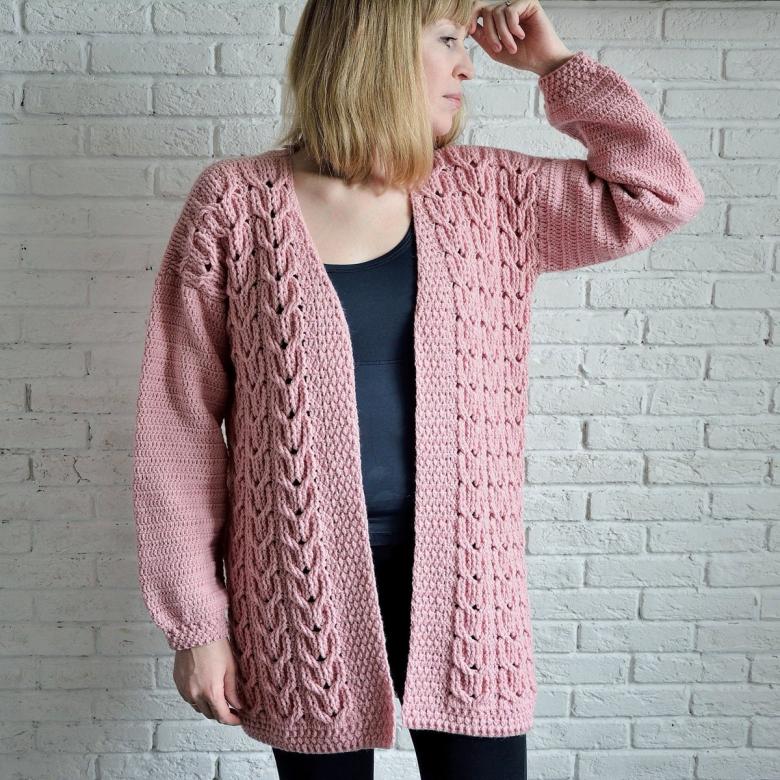
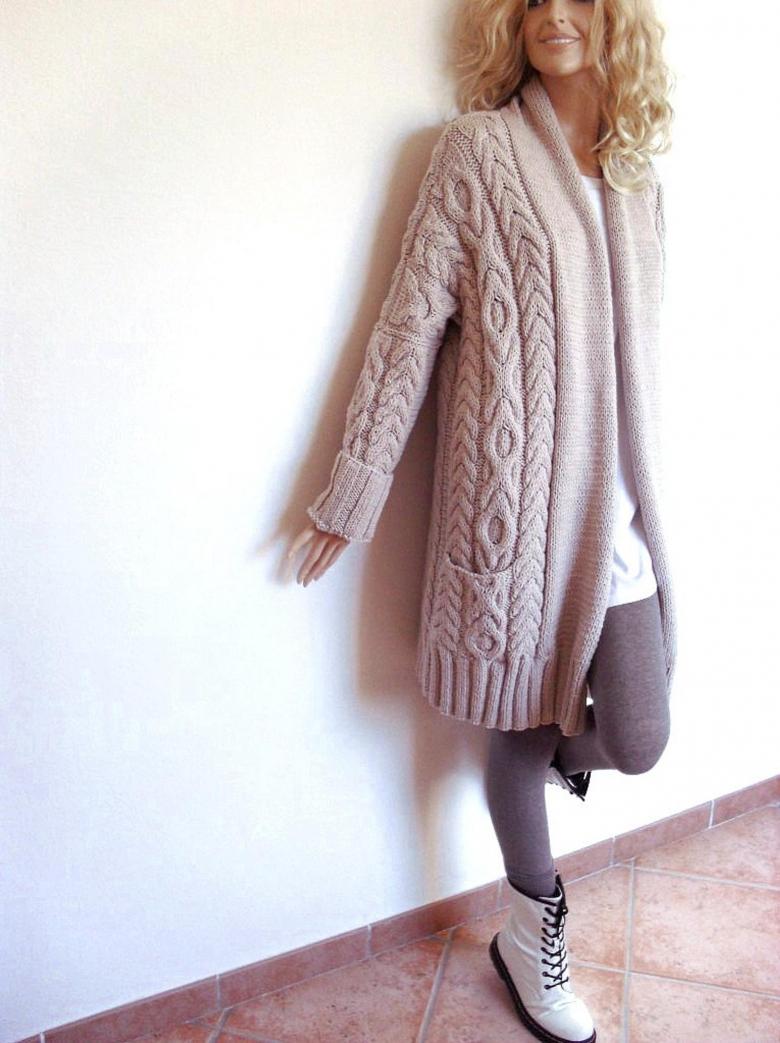
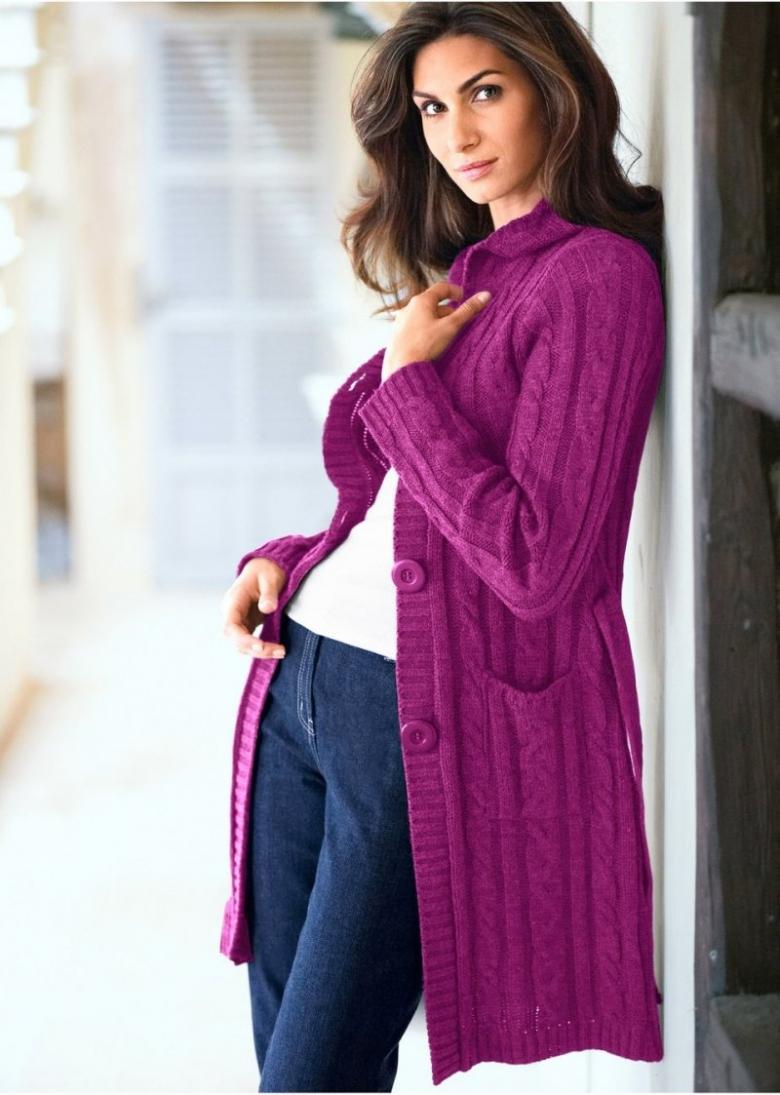
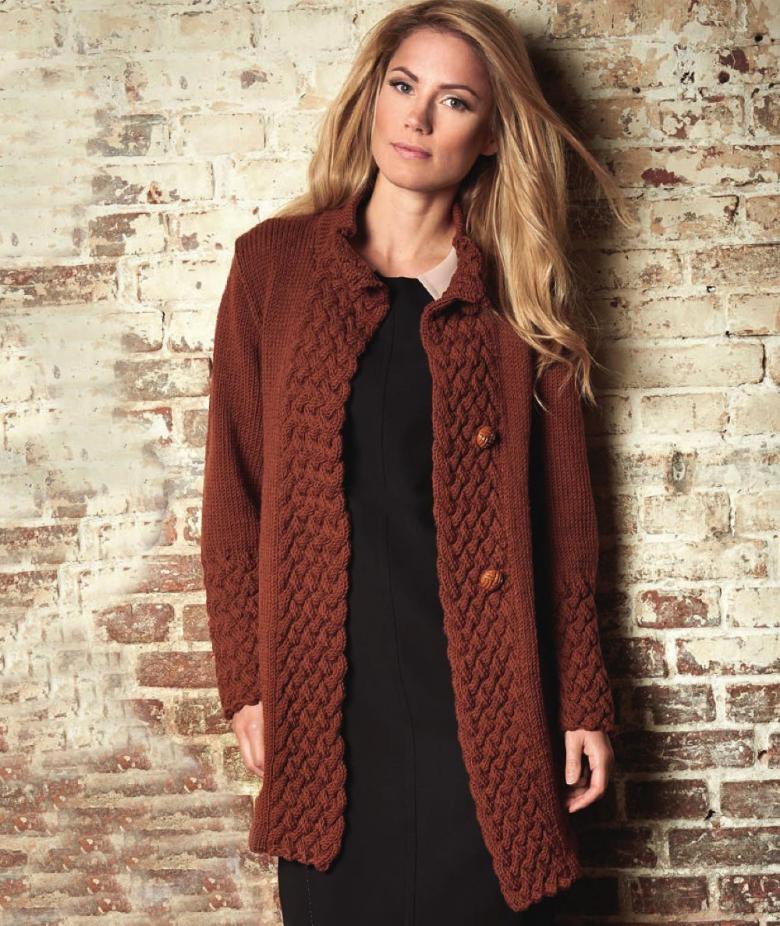
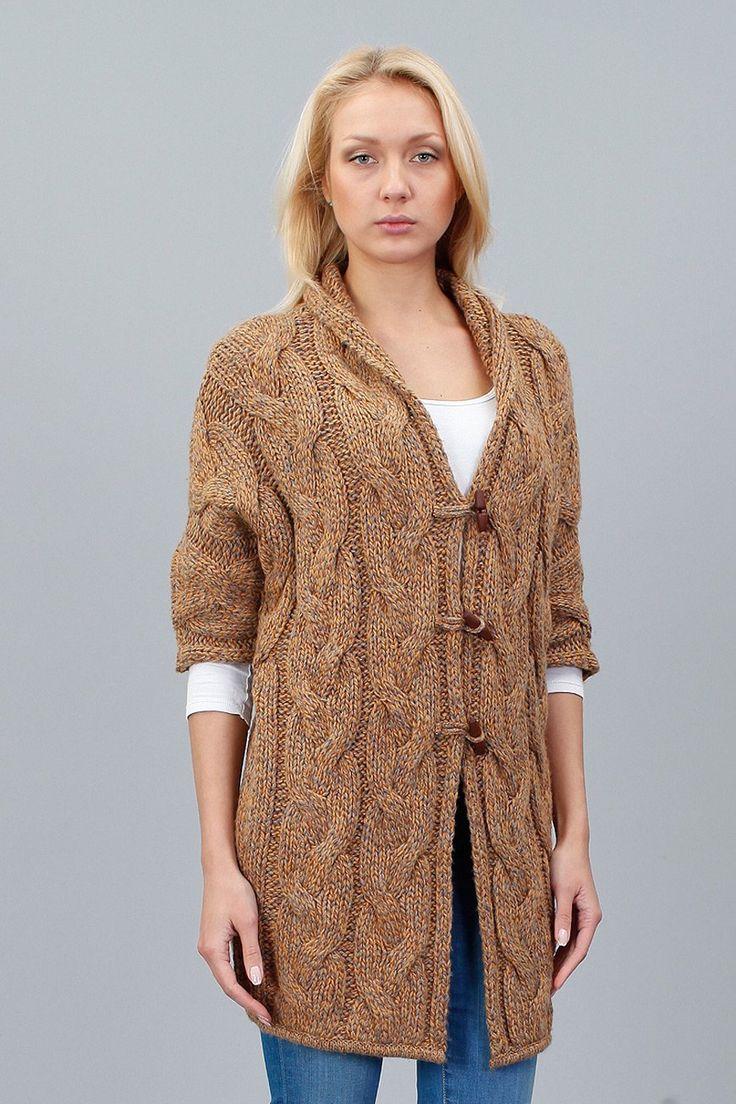
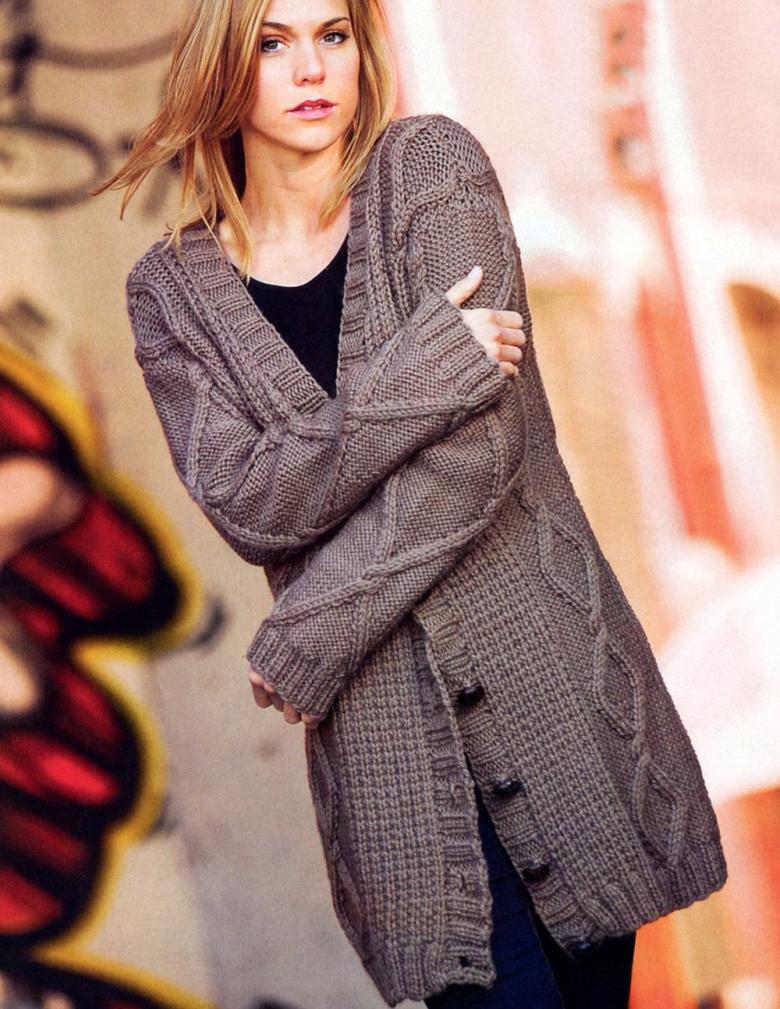
- Model with the ornament "volumetric braids". It has no buttons, for practicality sometimes knit a patterned belt.
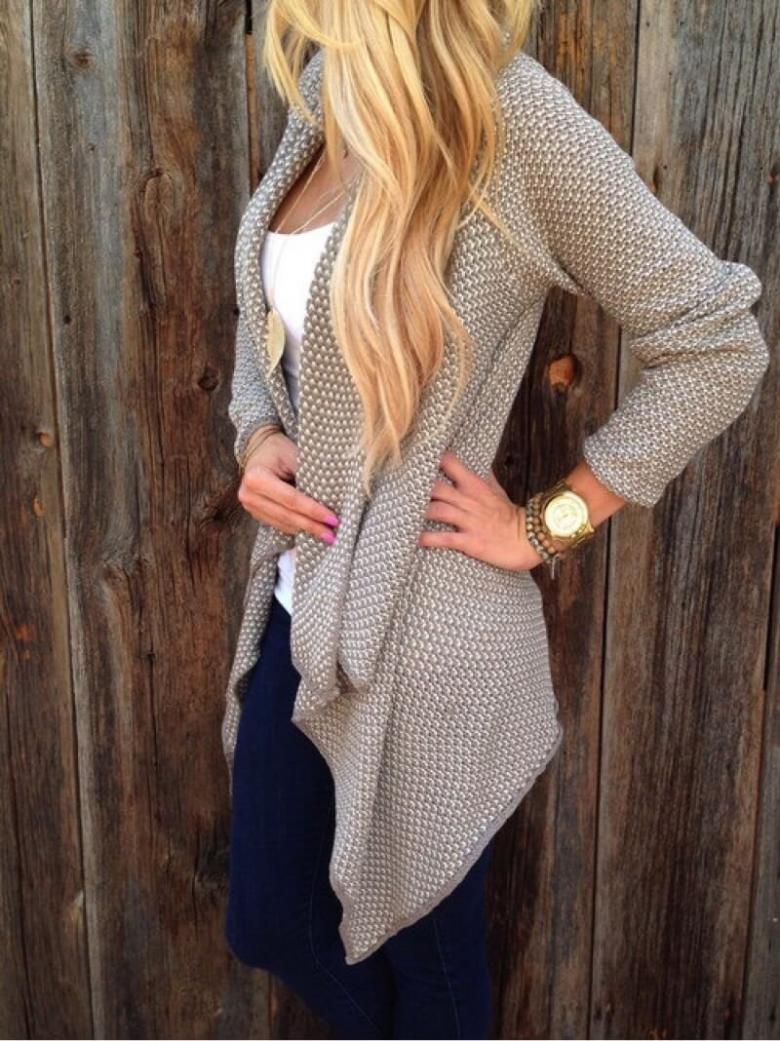
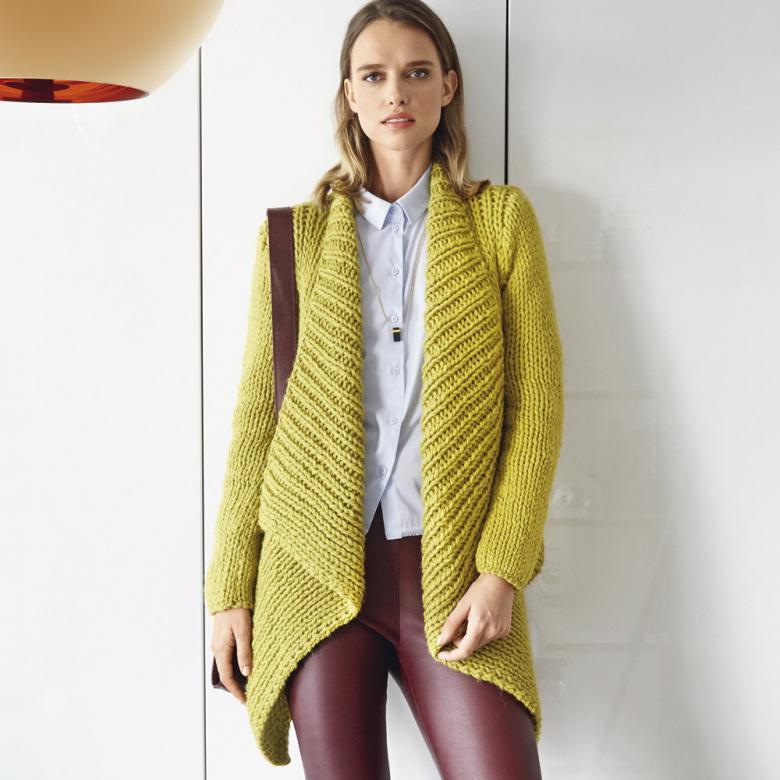
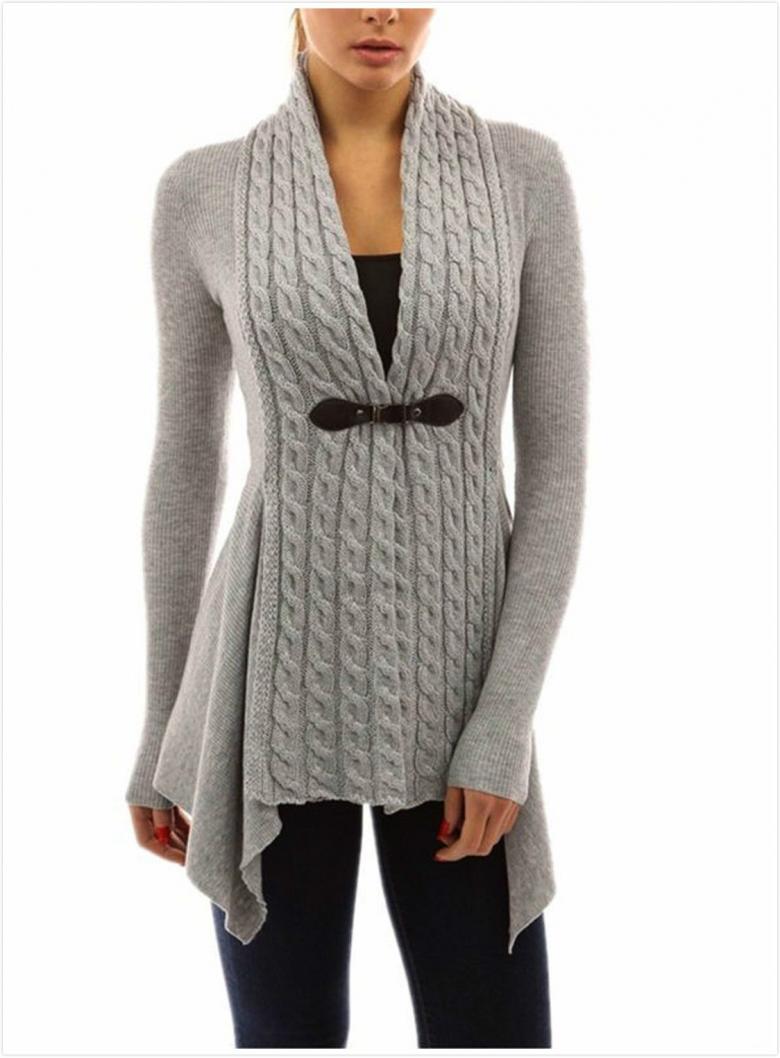
- Cardigan with a slanted bottom. The original beveled line of the hem favorably emphasizes a woman's legs and heel.
- Poncho. Also representative of the series of insulated capes. Of the pluses: does not require work with the sleeve (the calculation of the armhole and the depth of the oclet is not necessary), as the classic version of the sleeve is absent.
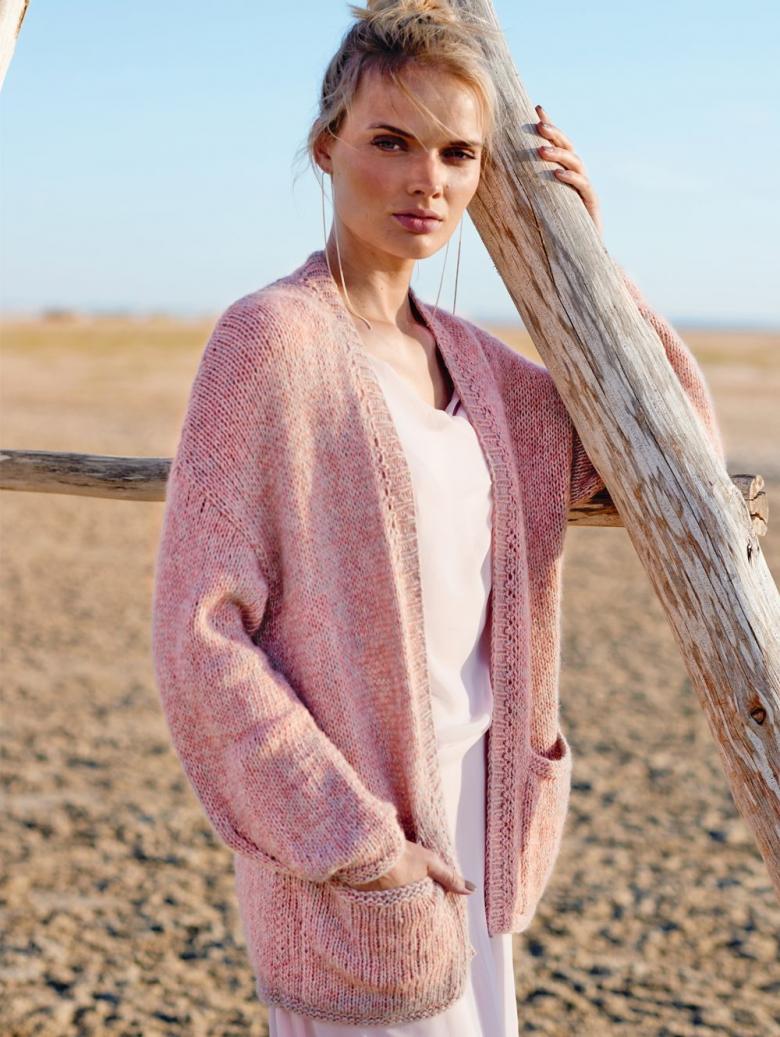
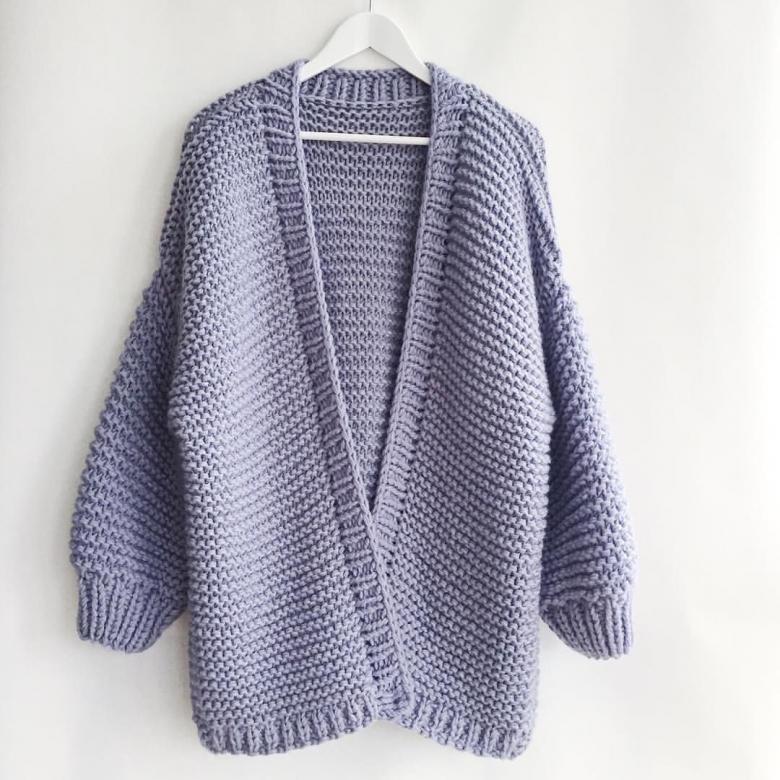
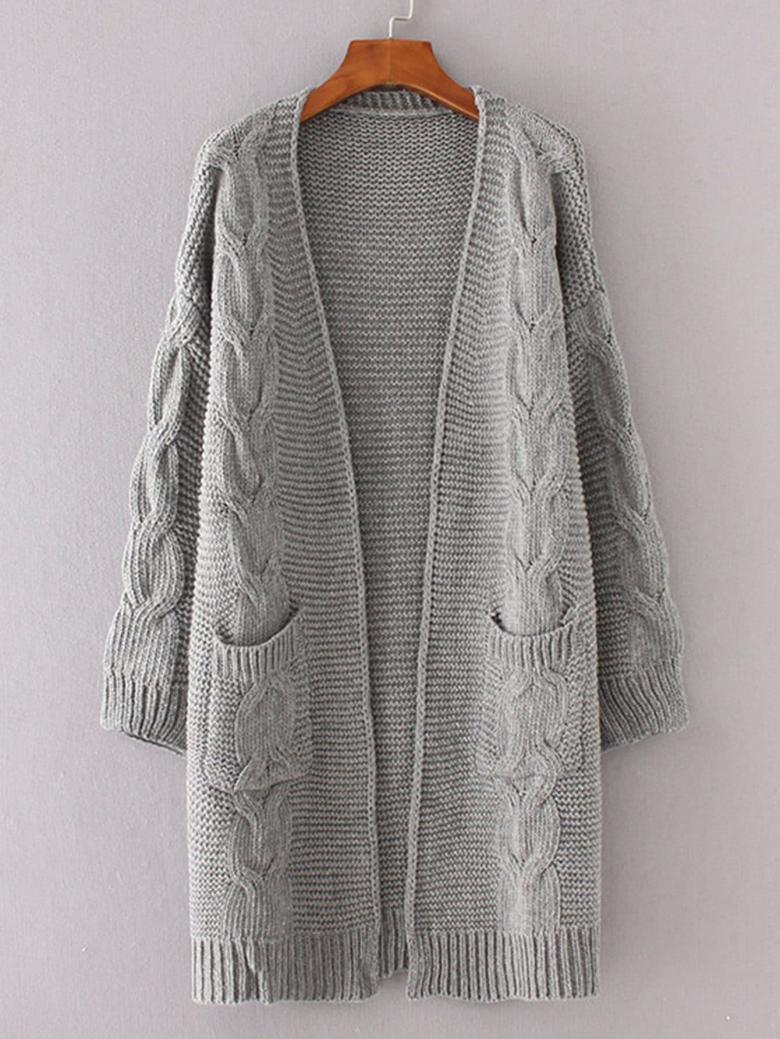
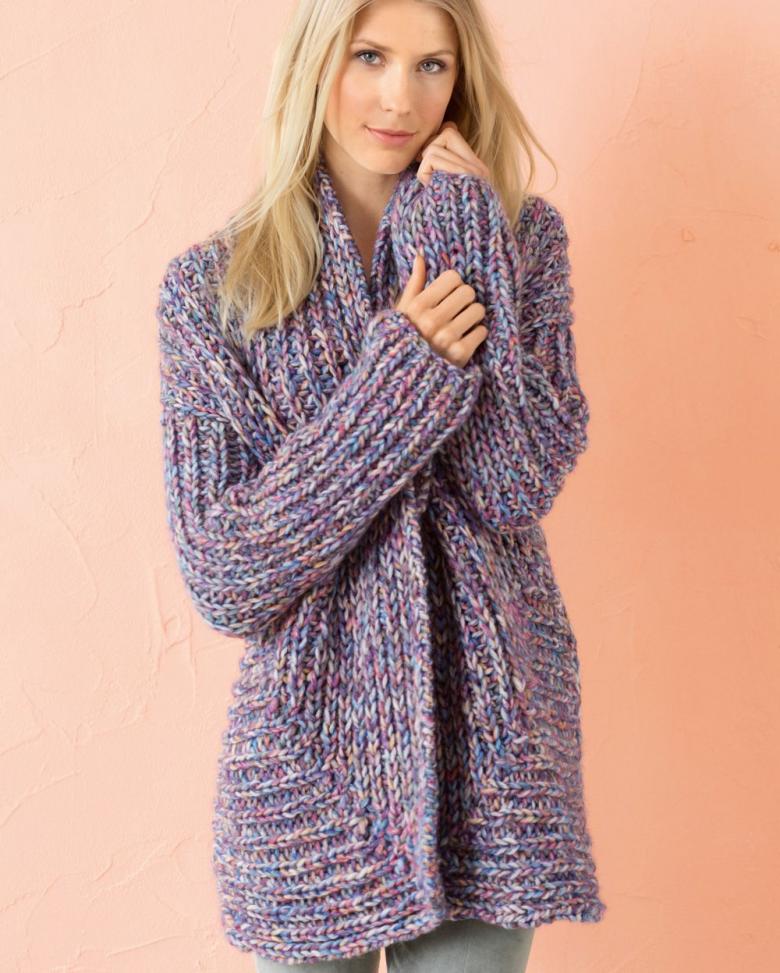
- Silhouette "cocoon. The model line is represented by wide rounded products with deep pockets, a belt instead of buttons and an excellent warm fabric.
- Cardigans "Chanel". The model is complex, but we consider it so that any beginner can decide on the choice of the product.
- Style Lalo. A new author's direction in creating cardigans. Finished products are distinguished by large volume patterns and length up to the middle of the shin.
Of course, we will not study all the models step by step today. Our task is to teach you the skills of practical work with the presented schemes-instructions.

Master classes with step-by-step instructions
Knit a light mohair cardigan
To work we will need:
- Knitting needles.
- Mohair yarn.
- Patterns.
- Knitting needle to connect the parts.
- Decorative buttons.
- Thread with a large needle to create slits.
- Hook for edging the edges of the product.

Step-by-step schematic instructions for the master:
- We begin the work with the creation of the back. Dial on working needles the required number of loops (the size range depends on the pattern). The model should begin with knitting a rubber band (alternating 1 right and one wrong stitch), the height of which is 5-7 cm.
- Work with ornaments. Two rows are performed in a straight line, the next line of only the seamless elements, the fourth row we alternate the right and wrong stitch.
- Repeat the above scheme up to ¾ of the back height. Next, begin to form the armhole, gradually increasing the number of closed loops in the row.
- Continue knitting the back for another 20 cm, and then close the row.
- With the front of the product work, as always, by halves. Dial in the necessary number of loops and work with a rubber band for 5-7 cm.
- For ¾ of the length of the side panel work the main pattern (see paragraphs above). Next, form the armhole. 10 cm before the end of the work proceed to form the neck, removing the loops according to the scheme.
- Knit the second shelf.
- Making the sleeves requires detailed attention of the needlewoman: our product will have beveled sleeves. Knitting is carried out as a single fabric, which will then join at the seam.
- Let's get the right number of loops on the needles, 4-5 cm work with a rubber band.
- In every fifth row, increase the number of elements by one. This is how we get a beveled edge. At the level of 44-45 cm of knitting, we form the roll, consistently reducing the loops.
- Now we need to join the parts. Work with a knitting needle on the wrong side of the cardigan.
- We leave the slots for the buttons while knitting the shelf. Now our task is to trim the edges of the cutouts to prevent the threads from diverging. Using a thick needle and colored thread (preferably use strong thread), sweep a thick layer around the edges of the openings.
- On the other half we sew on the buttons.
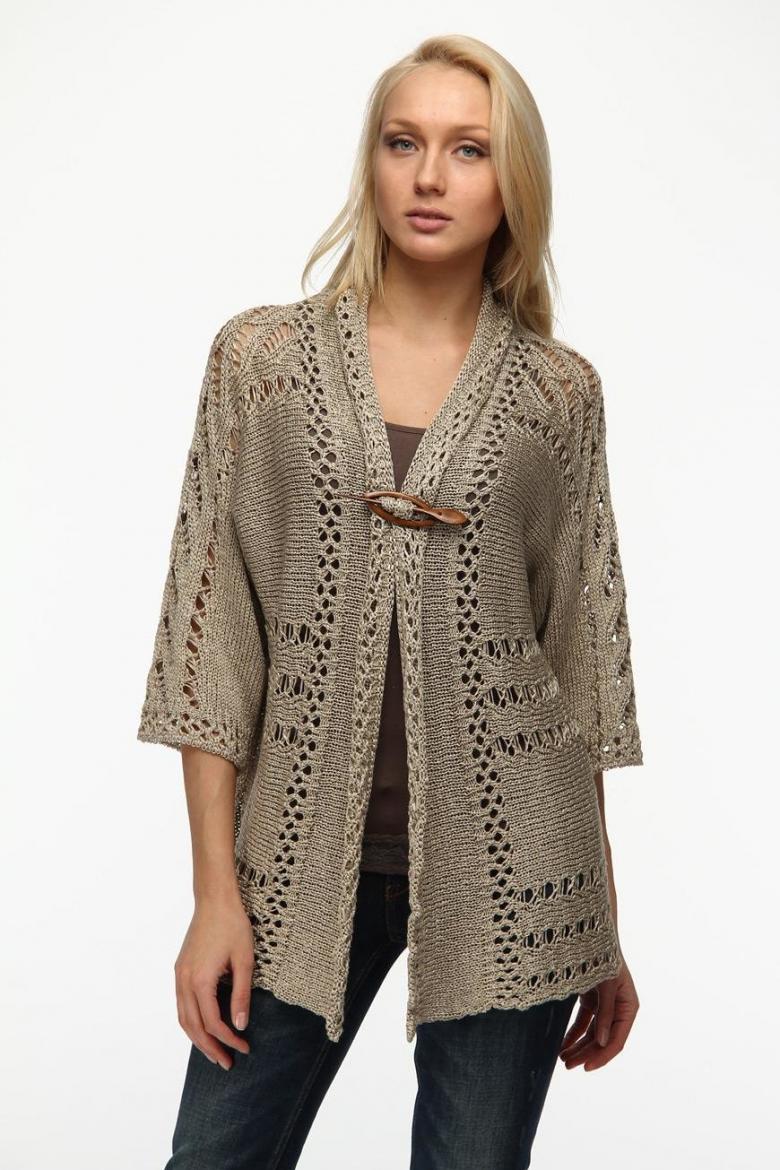
- It remains to make the edging, and here we need a hook. To frame the edges of our cardigan, we pull the thread from under the loop of the last row and crochet with no stitches. You get a loose "lace" pattern.
- If you wish, you can additionally knit a belt to the finished accessory. Use openwork knitting or plain front glazing, decorate the product with beads, rhinestones, buttons.
We are acquainted with the most simple model of knitted cardigan. Our further work will be built on the same principle, but with a description of the main differences: the schemes of ornaments, the creation of decor, and the formation of model variations.
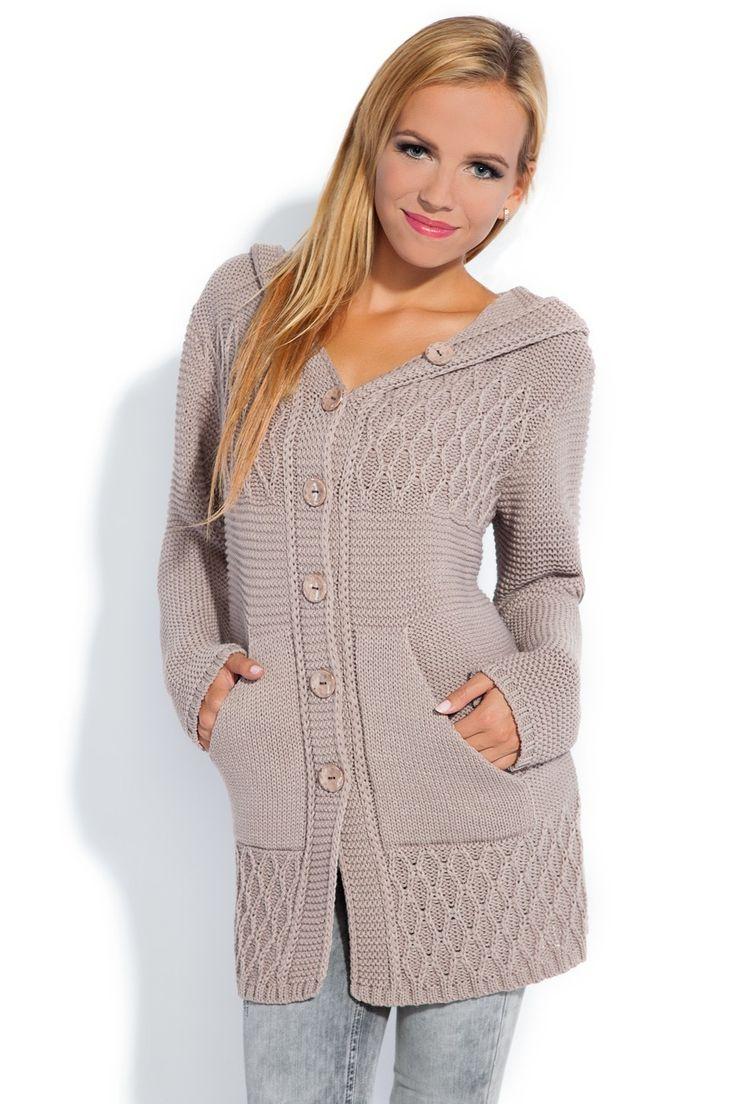
Hooded cardigan: cellular ornament
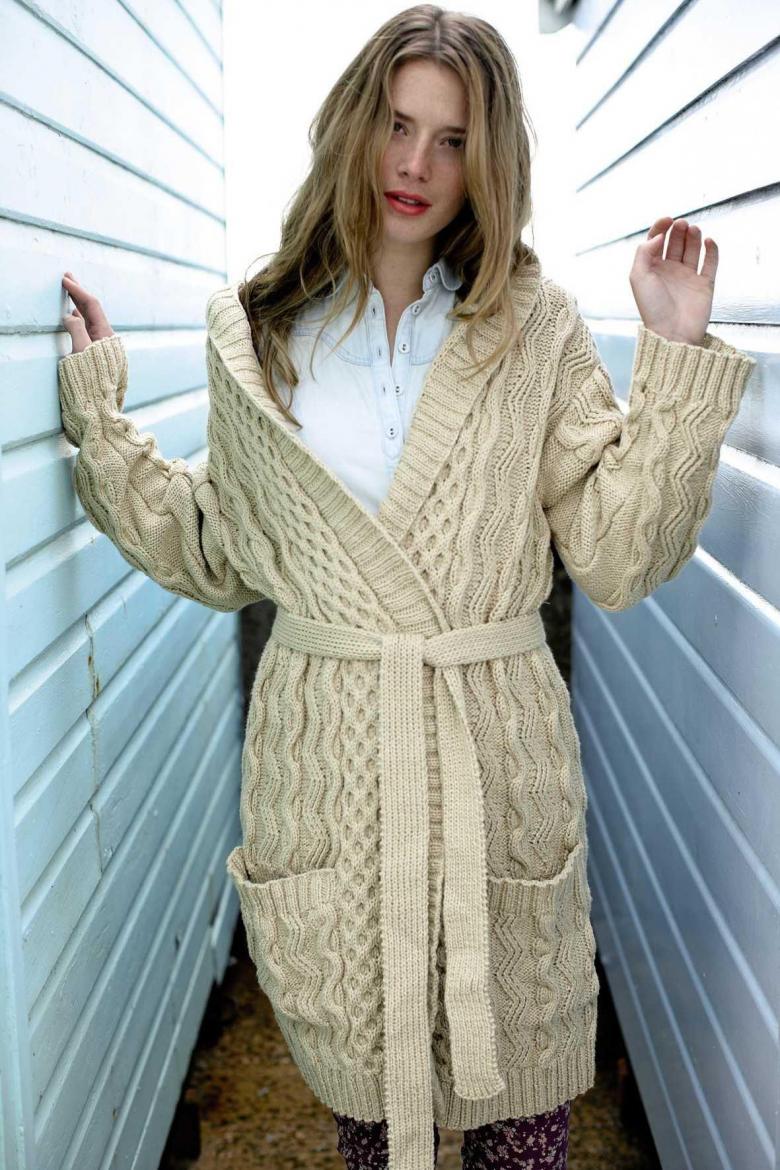
The original model of the knitted cape. The back floor of the product reaches the middle of the shin, protecting the legs and lower back from the wind. And the "honeycomb" ornament gives the cardigan unique bright motifs.
To work we will need the same set of materials as in the previous version. The only exception - we need a pattern for the hood.

Step-by-step scheme-instruction for the master:
- Prepare the patterns for further work. In addition, download the template for the hood, which should have a lot of free space and a falling edge.
- Work with the back and the other details. The principle is the same, but the scheme for the ornament "honeycomb" is different.
- To create a pattern after the rubber band go strictly according to the scheme. The first row we knit, alternating two front stitches and one castellation. The next line of knitting: the knit and the second stitch knit with the same thread, and the next element is removed.
- Next work: 1 l. p., take off the hook, 2 l. p., take off the hook again, 1 l. p.
- Repeat the pattern scheme, alternating rows according to the plan presented.
- Connect the parts of the cardigan on the wrong side of the product.
- Now we need to knit the hood. It is knitted, as you may have noticed, after the assembly. Apply the principle of stitching from the neck.
- According to the ready-made patterns dial the proper number of loops from the neck (for this model does not apply the edging of the top edge).
- The first row we go with the wrong stitches.
- In the next line six elements - these are the front loops. Now turn the work around 180 degrees and work the backstitching to the first two pieces of the row.
- Repeat the entire sequence, forming the curve of the hood. To make the placket, work the two outermost loops on both sides only with a handkerchief knit.
- To frame the edge of the hood, you can now use a trim with a hook.
Today we got acquainted with the process of creating an insulated cape or cardigan. Now you have not only the general rules of working with patterns, but also different variations and patterns. Work with love and inspiration, and then everything will work out for you!

