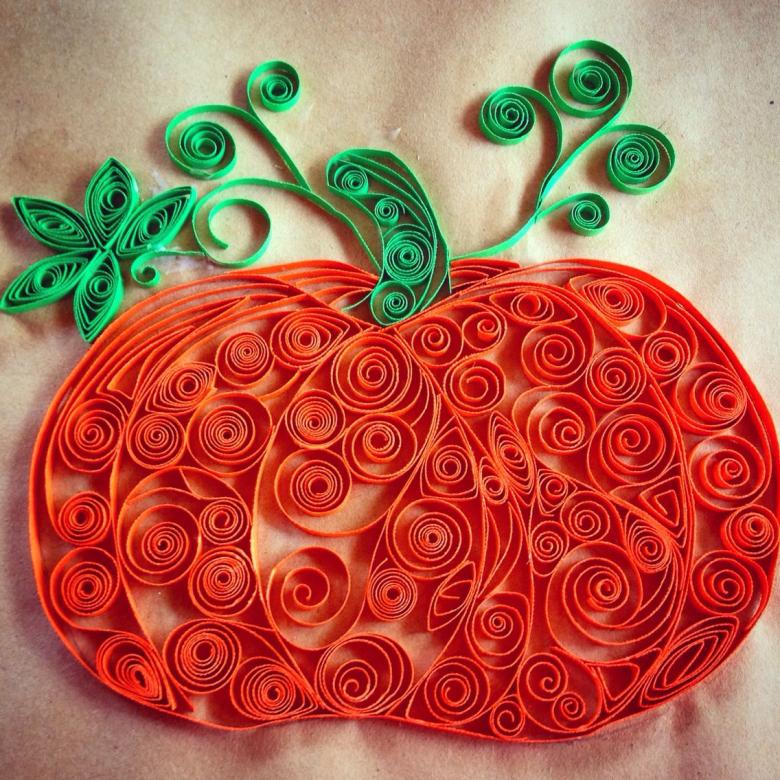
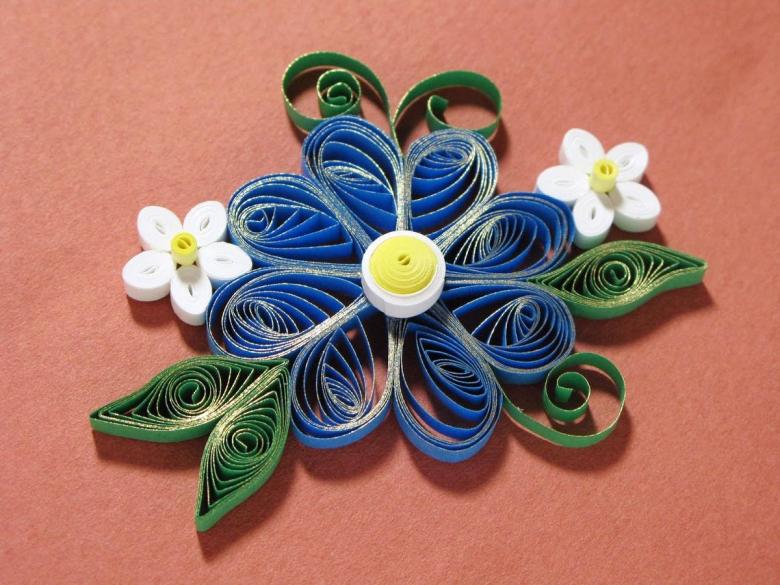
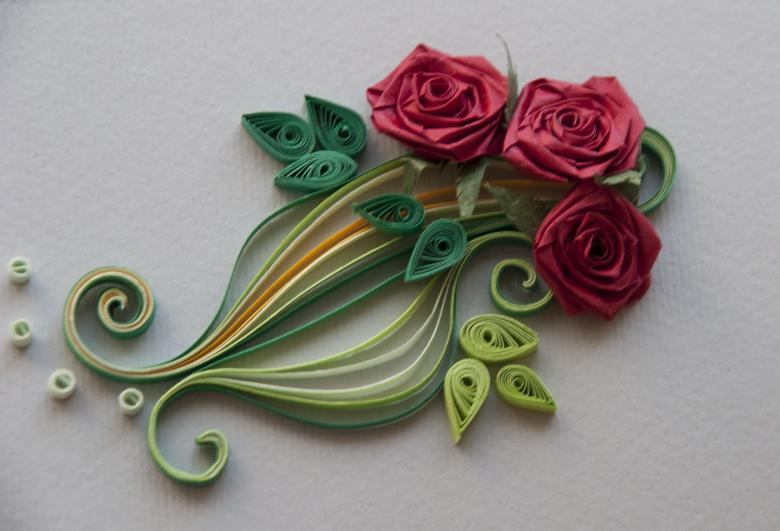
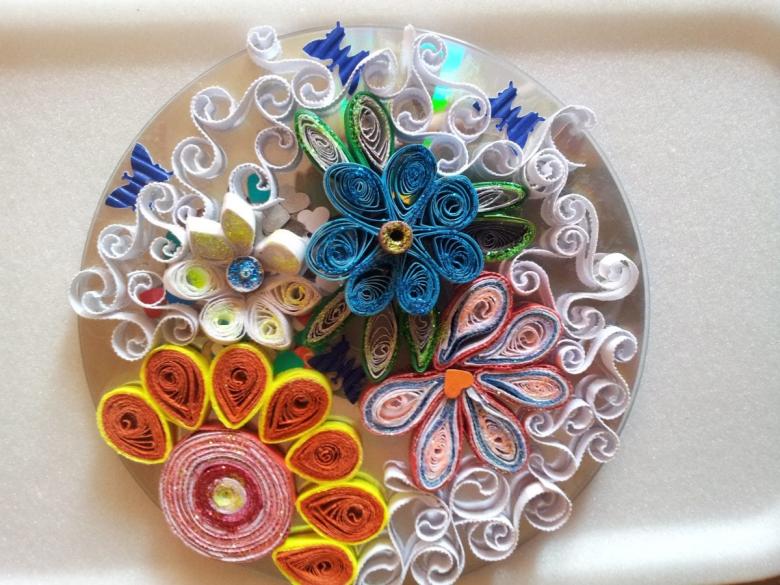
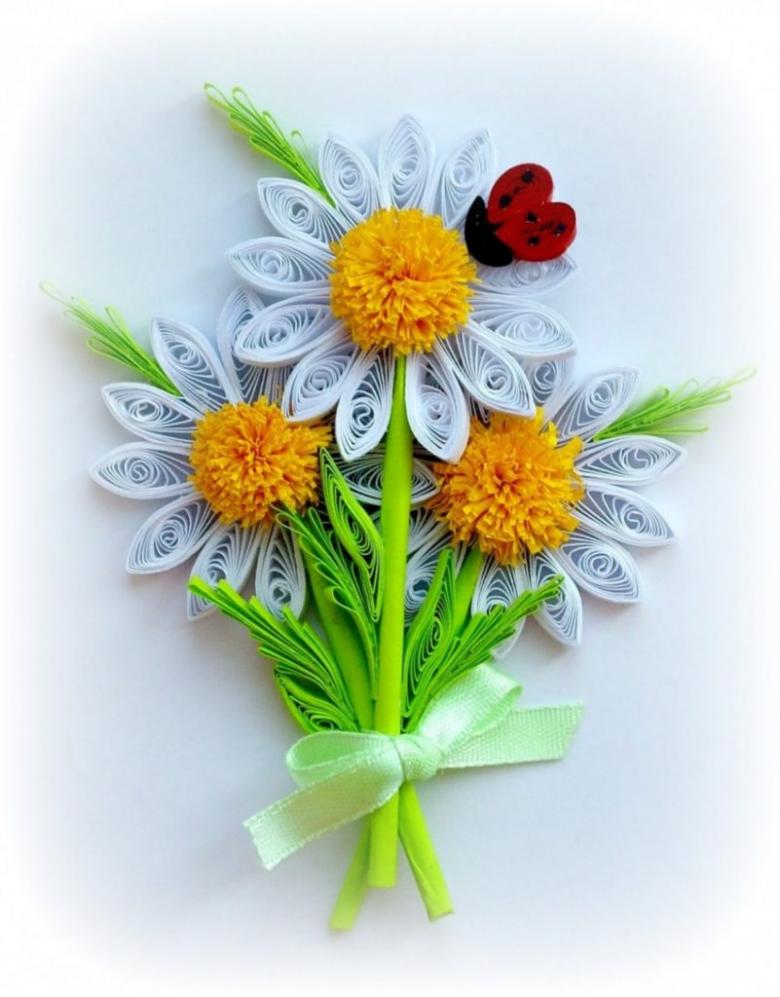
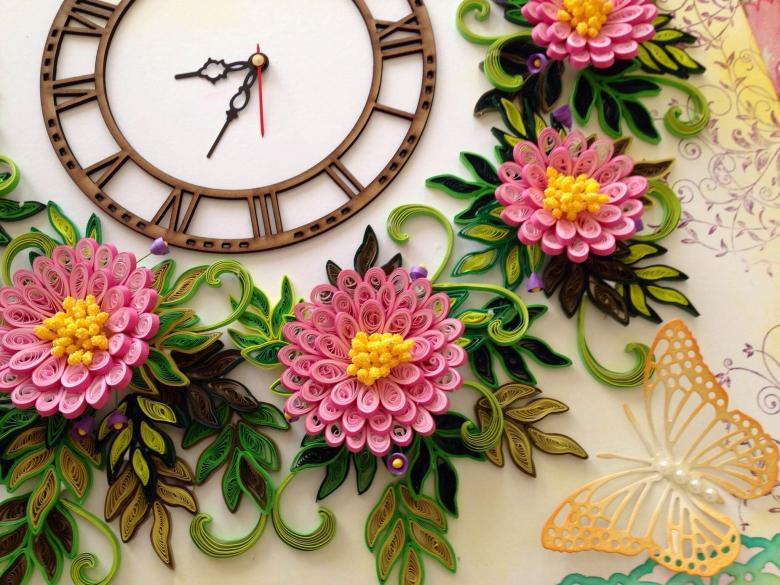
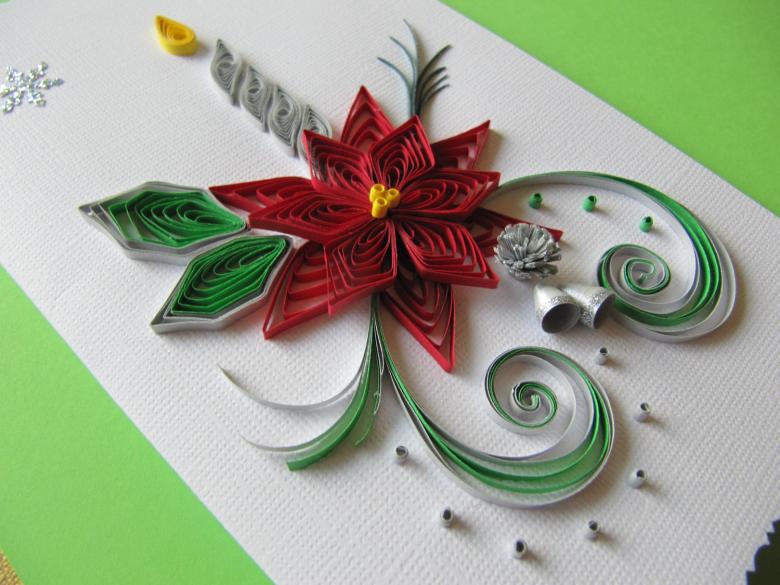
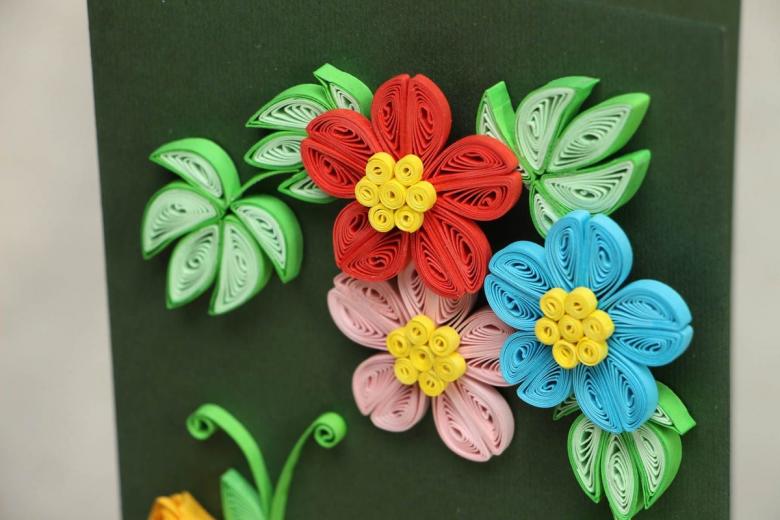
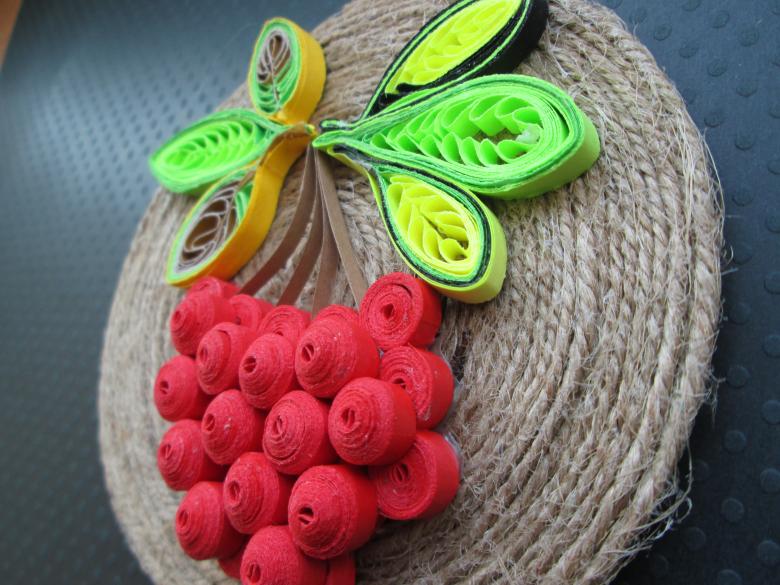
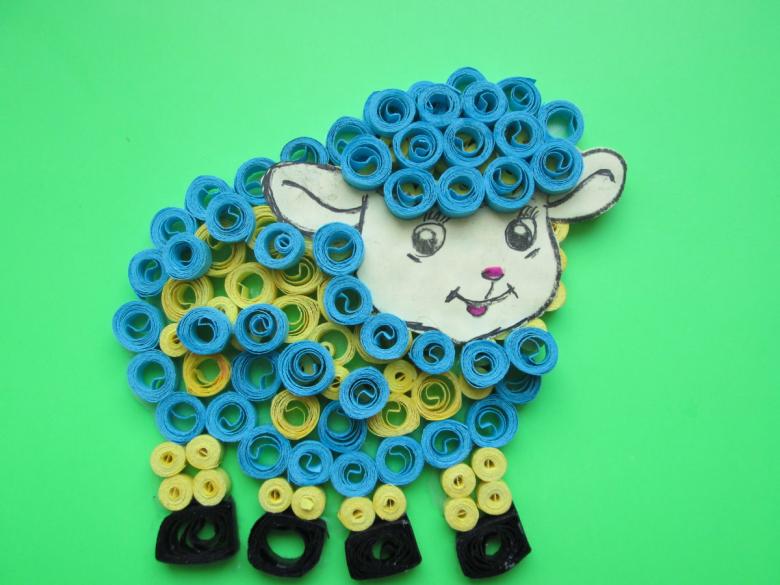
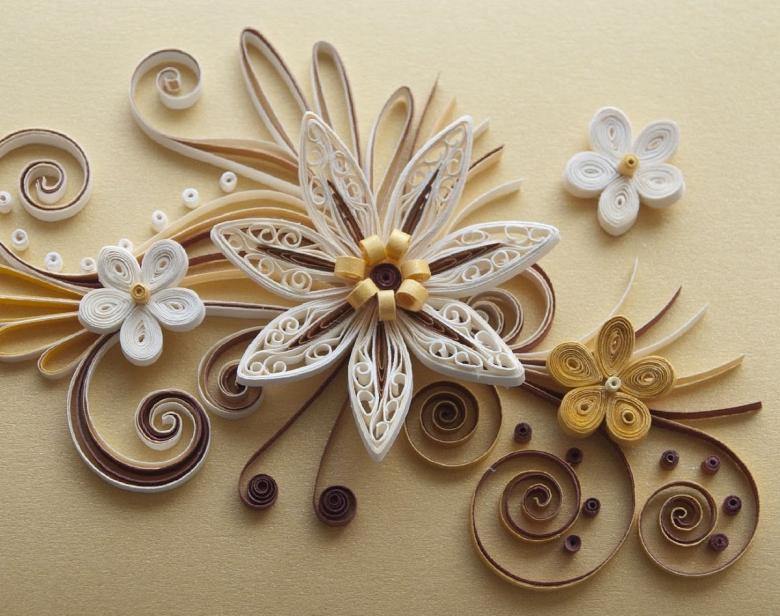
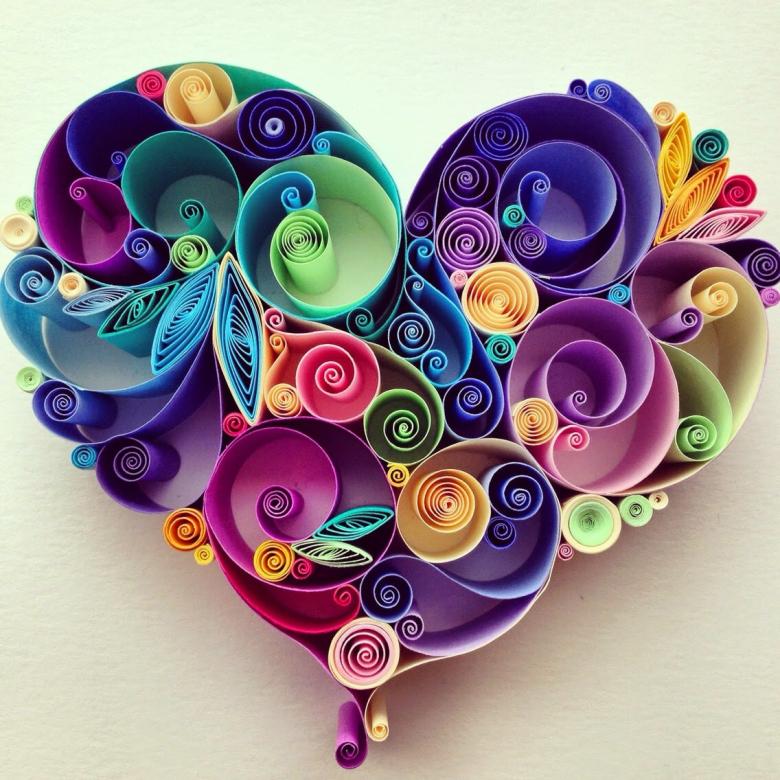
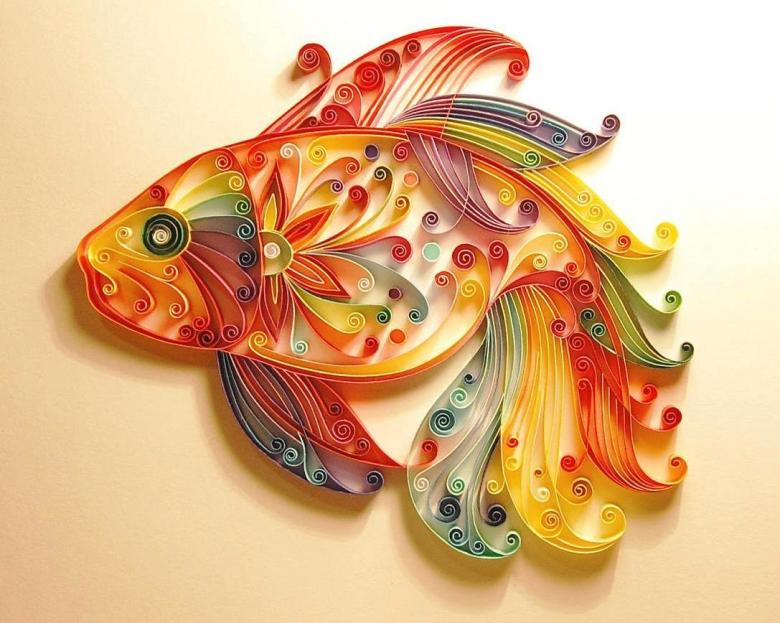
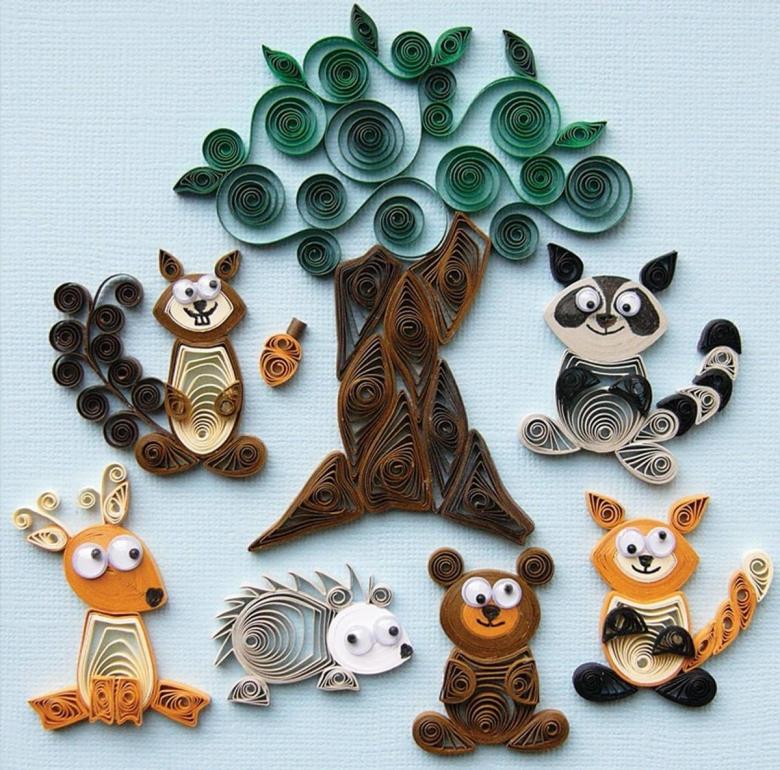
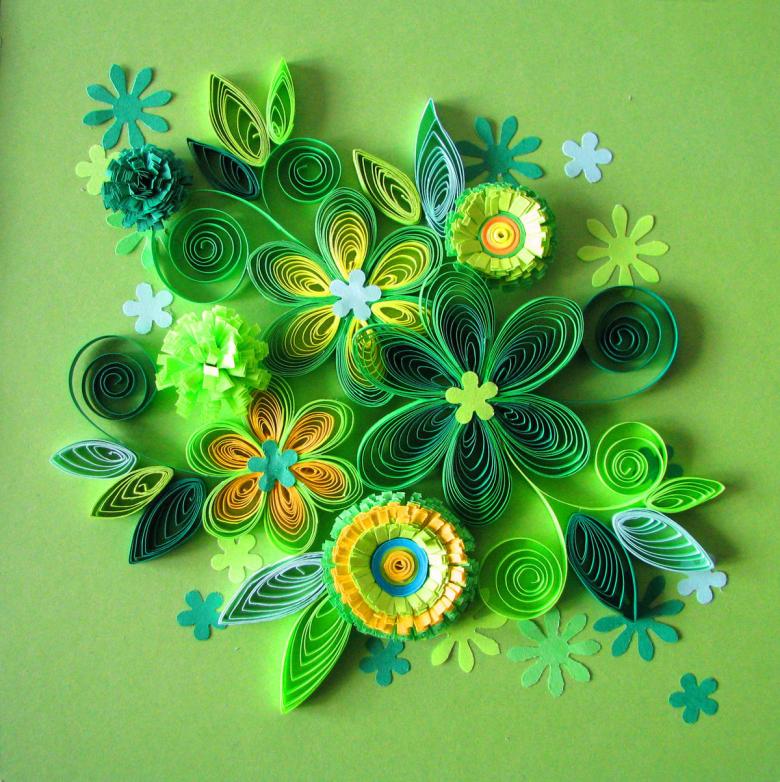
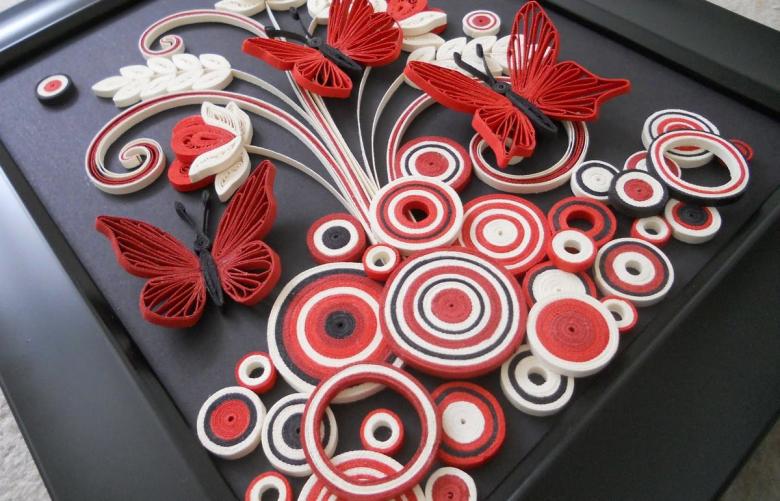
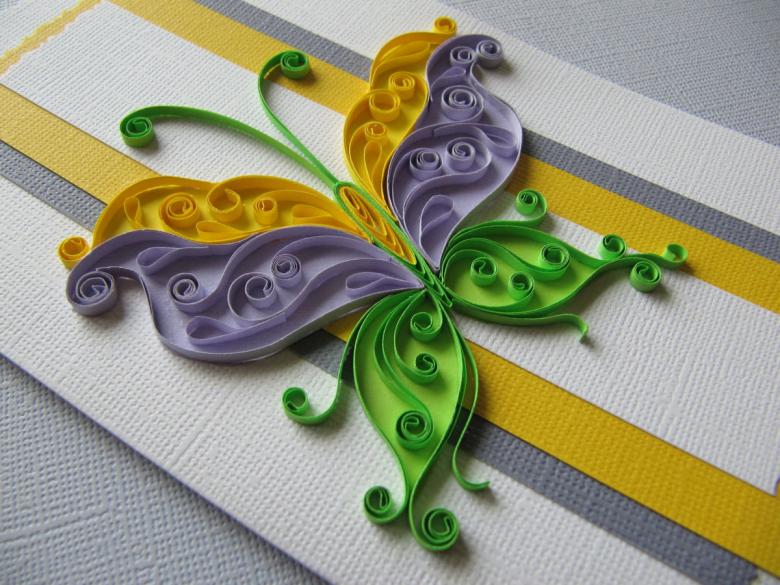
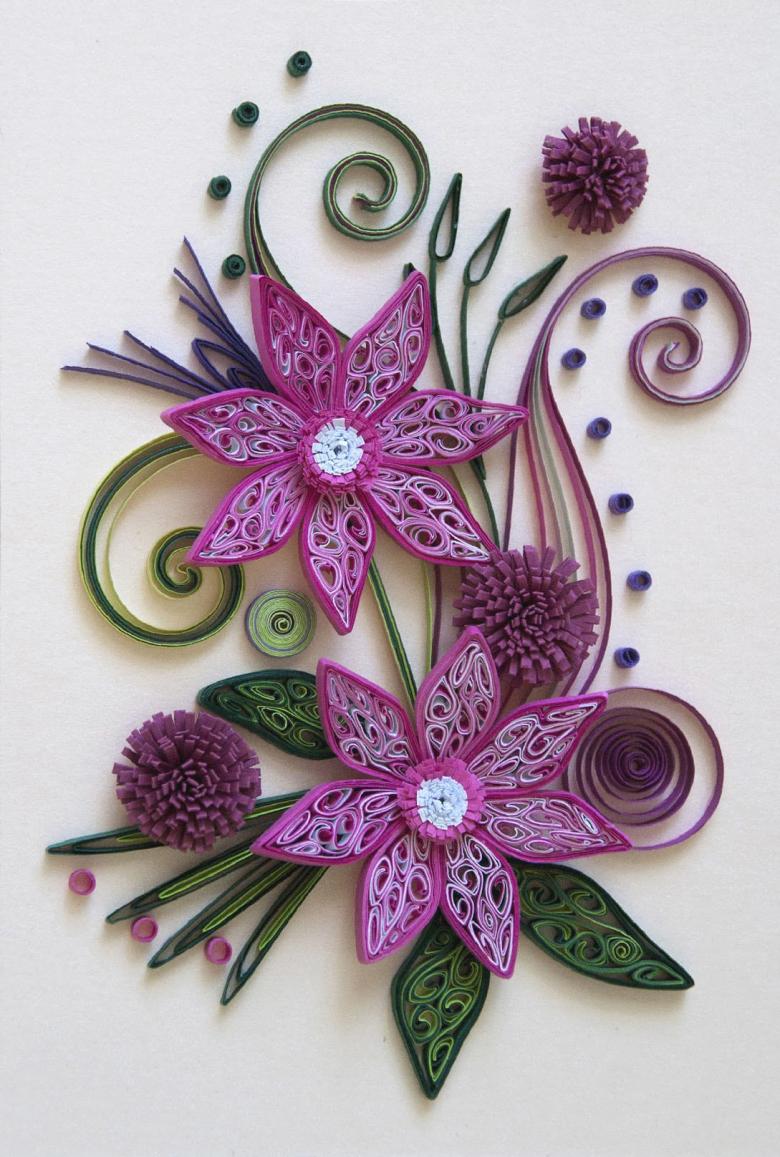
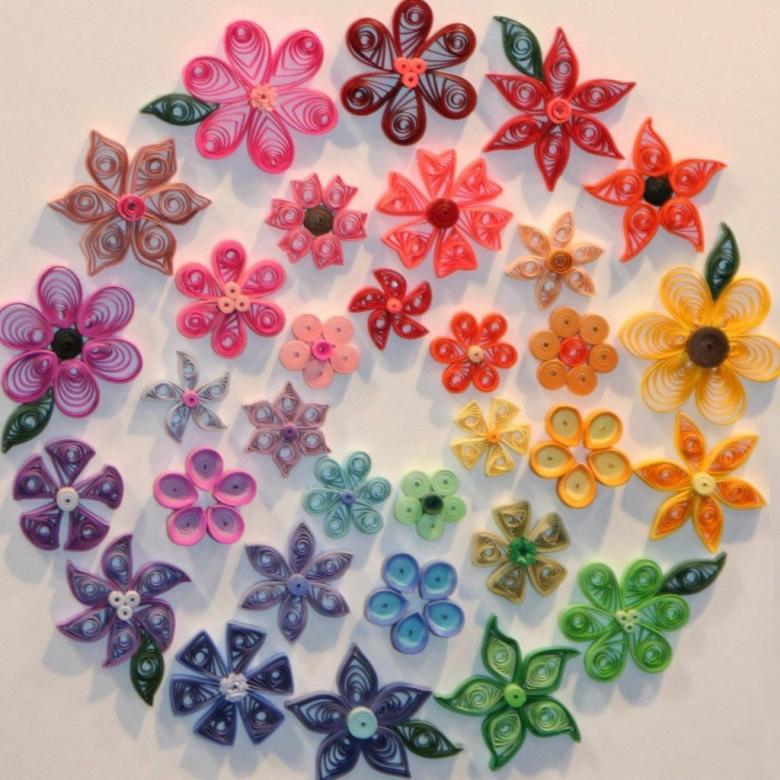
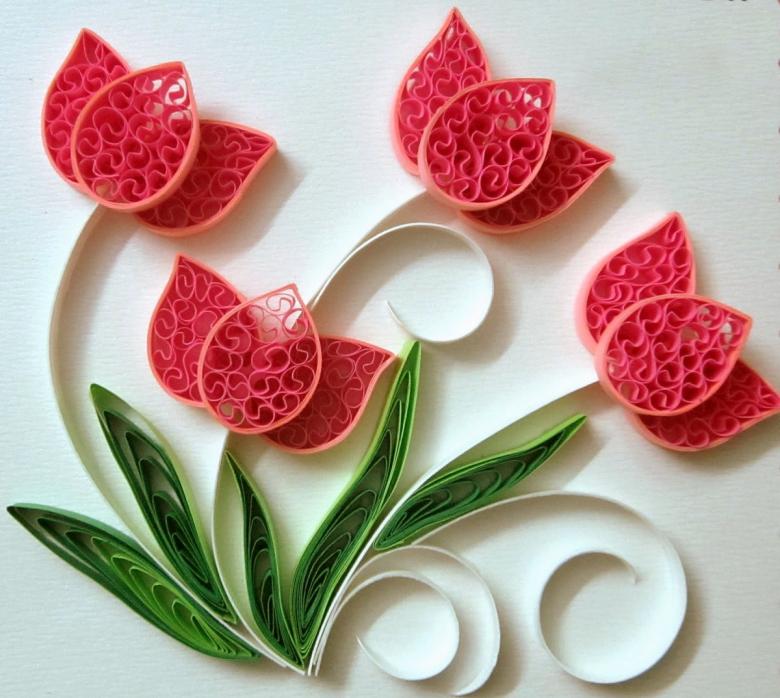
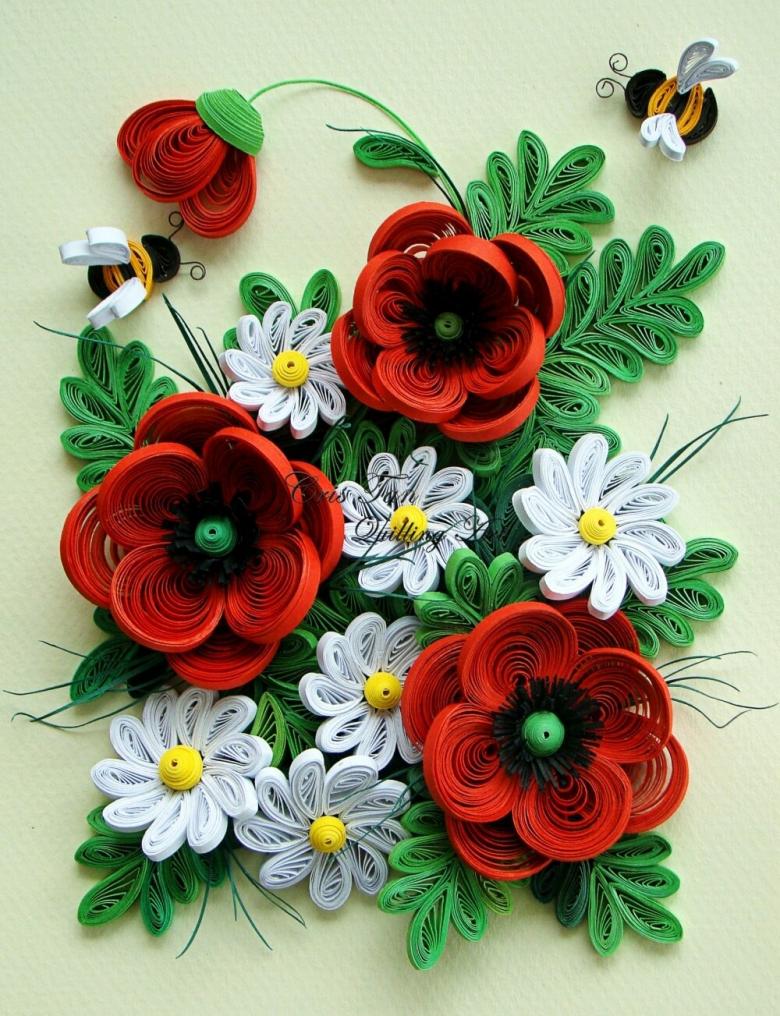
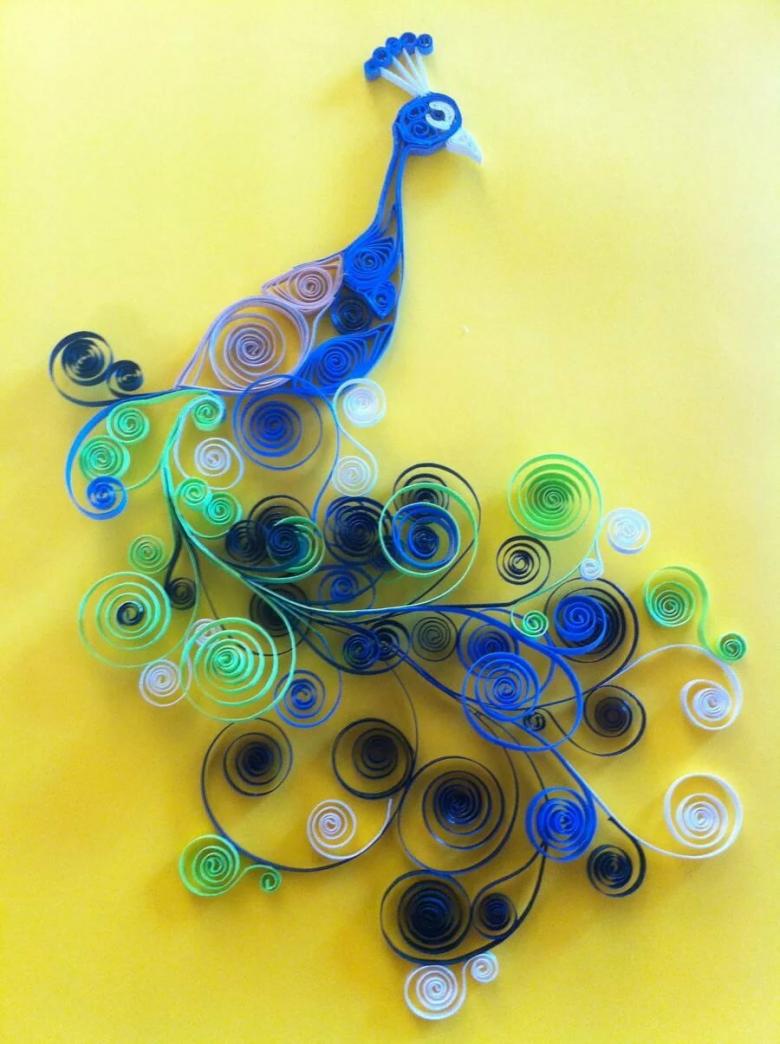
Quilling crafts with their own hands - features of the technique, tips, master classes and photo examples
Light hands, patience and incredible assiduity - the basic elements of quilling. The art of paper twisting can be taught to everyone who is endowed with the above qualities.
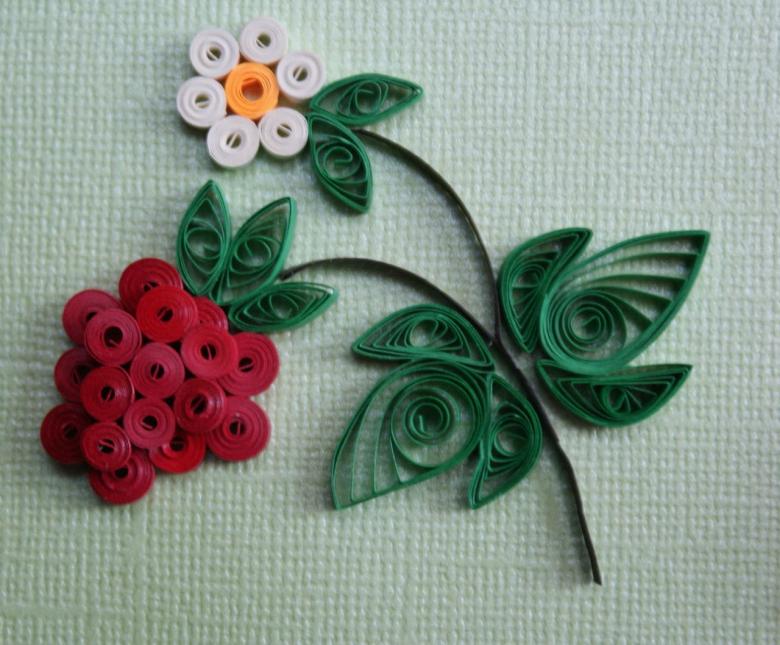
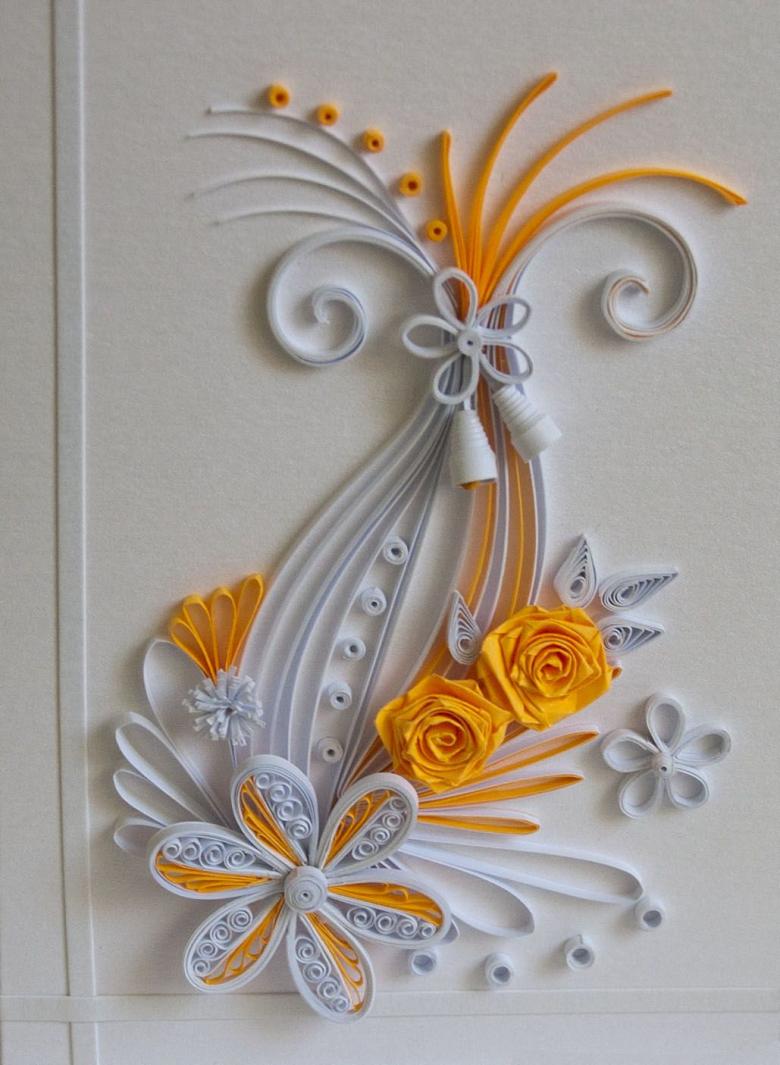
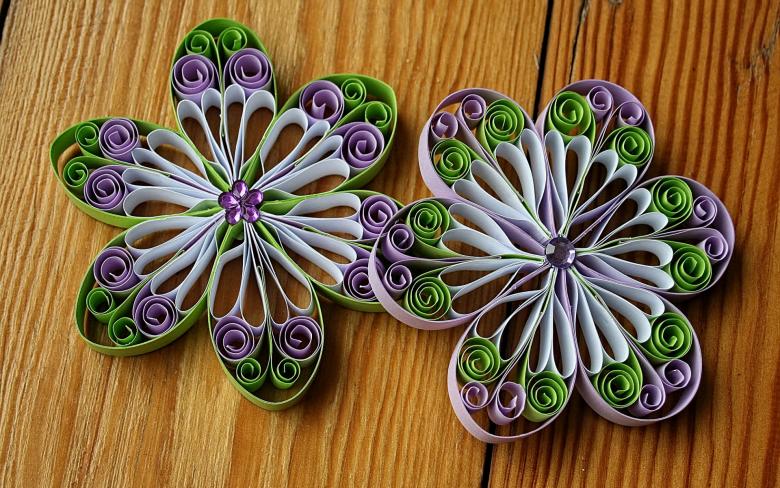
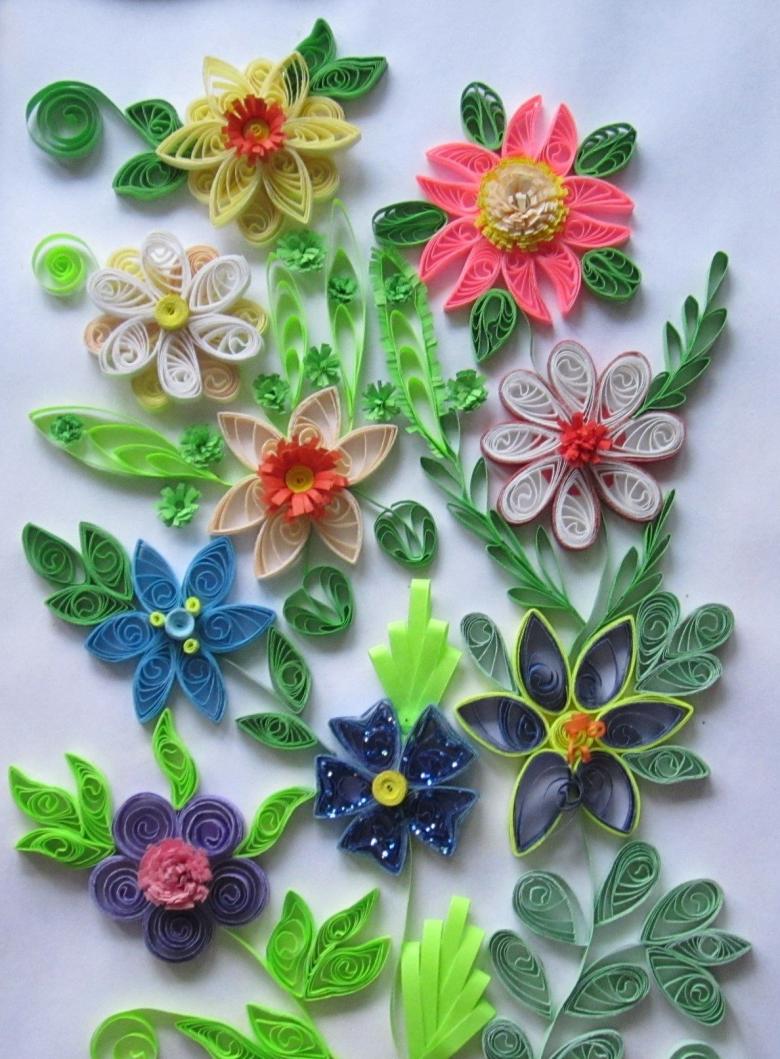
The resulting work is endowed with lightness and harmony, because it is not for nothing that quilling means "bird's feather" in English. What tools are needed for work, what subtleties you need to know when choosing paper and what products you can make with your own hands using paper twisting, you will learn in our article.
The origins of papermaking
It is believed that the origins of paper twisting go back to the monks of the 14th and 15th centuries. They spun gilded scraps of paper onto bird feathers. Hence the translation of quilling, "bird's feather."
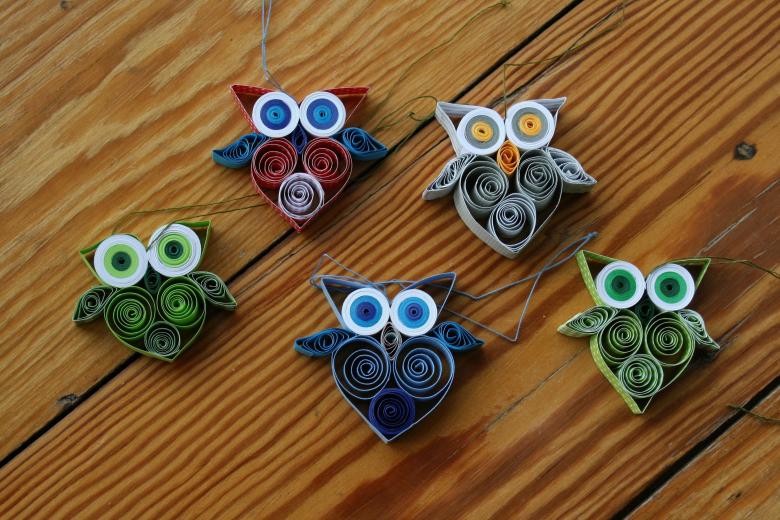
In the 15th-16th century, quilling was considered an art, but in the 19th century, paper twisting acquired the status of a ladies' craft. Girls from high society fell in love with this activity. He gravitated to it, and Princess Elizabeth of England. Her work is kept as an exhibit in a museum in London.
In our country the art of quilling came only in the 20th century.
Advantages of quilling
The activity of paper twisting is suitable for all people, regardless of age. Children and adults can create unique products.
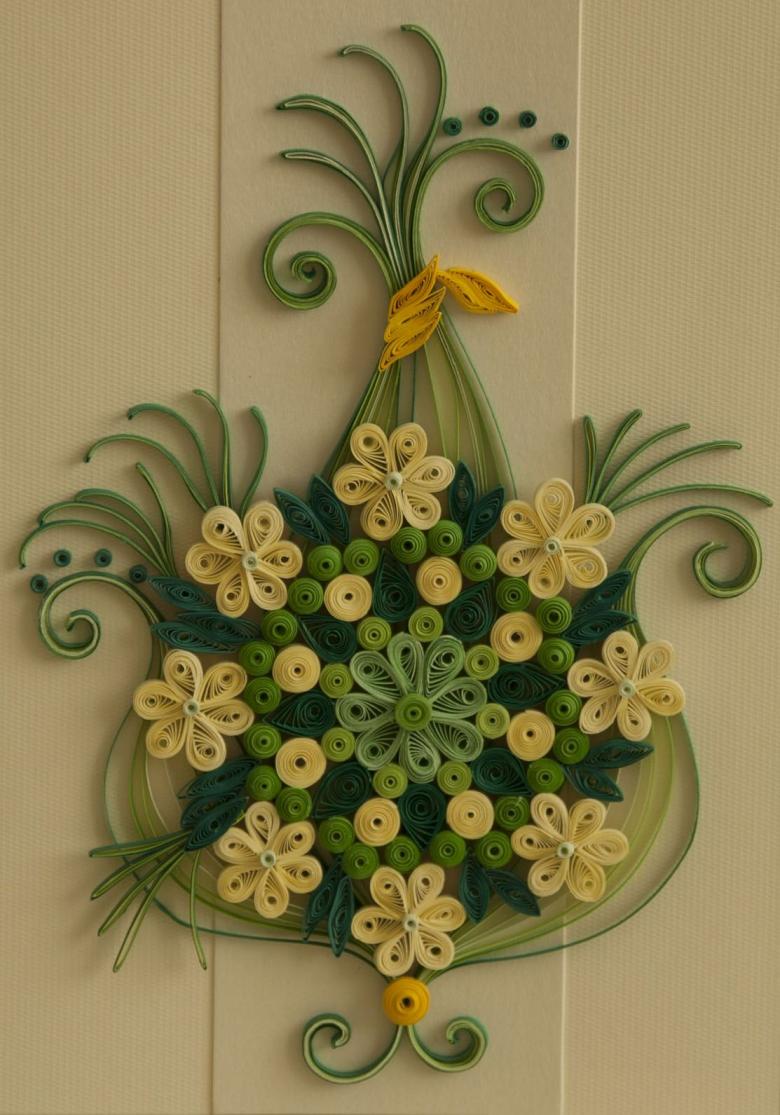
Paper twisting affects the development of fine motor skills and imagination. In the process, neatness, dexterity and diligence are fostered. Spatial thinking develops at a rapid pace when the child is enthusiastic about the work. The main important aspects of child development are involved in creating work with the help of quilling, and therefore gives great pleasure, both to young and adult children, when creating a special and unique handicraft.

Adults find other pluses in the art of quilling. The created works fit perfectly into the sophisticated design of the room. Also, experts have noted that the process of work impressively soothes the psyche, and thus is an anti-stress action.
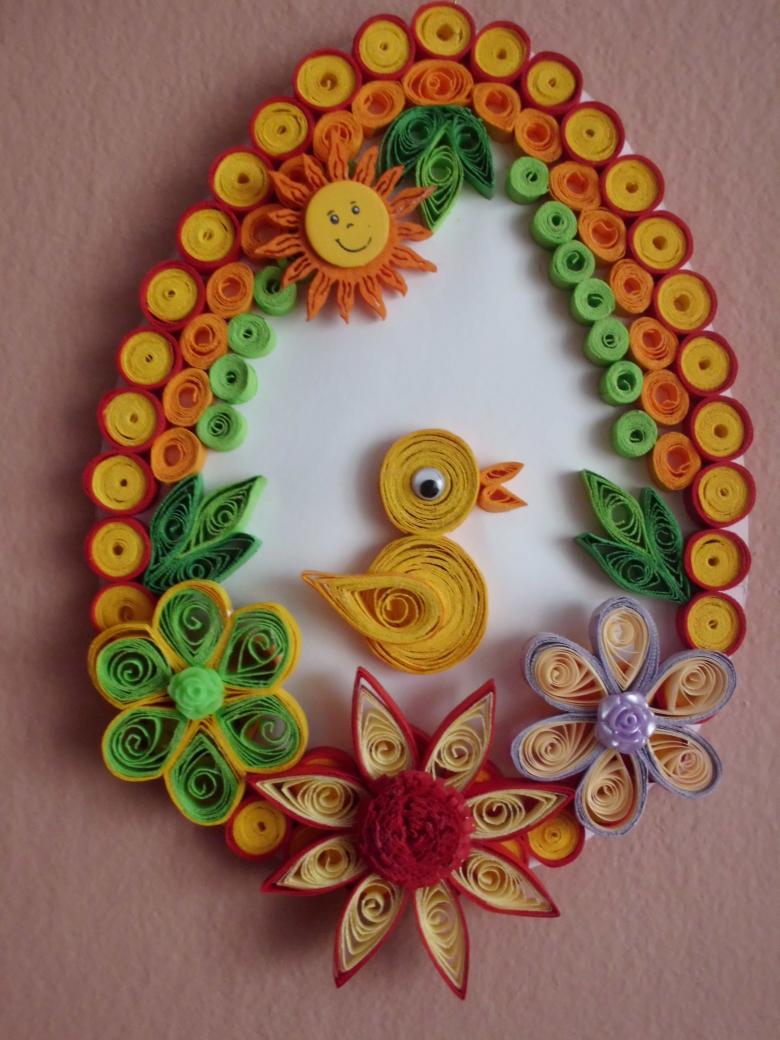
Materials used in quilling are affordable to everyone. Anyone can buy a quilling set in specialty stores and start practicing the art of paper twisting. Due to the availability of materials and clear schemes of action, the work turns out really interesting and unusual.
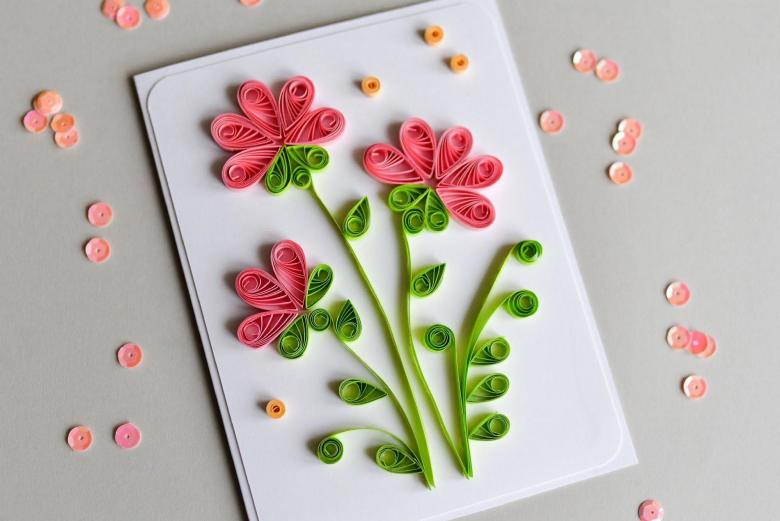
Quilling techniques
Experienced craftsmen can easily cope with each quilling technique. Those who encounter paper twisting for the first time, it is better to perform any technique by photo, which shows a step-by-step instruction.
- Hasting is a technique used as an additional decoration. The essence of the technique is that the panel is laid out in the form of a mosaic, the basis should be flat.
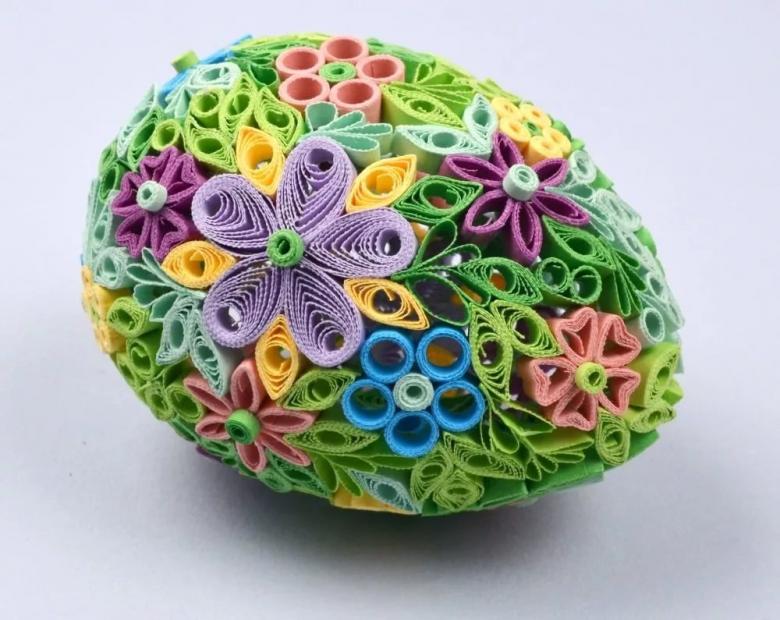
- Volumetric technique - a technique that allows you to create three-dimensional products, on the basis of elementary parts.
- Goffroquilling - corrugated cardboard is used in the process. With its help, three-dimensional figures are created.
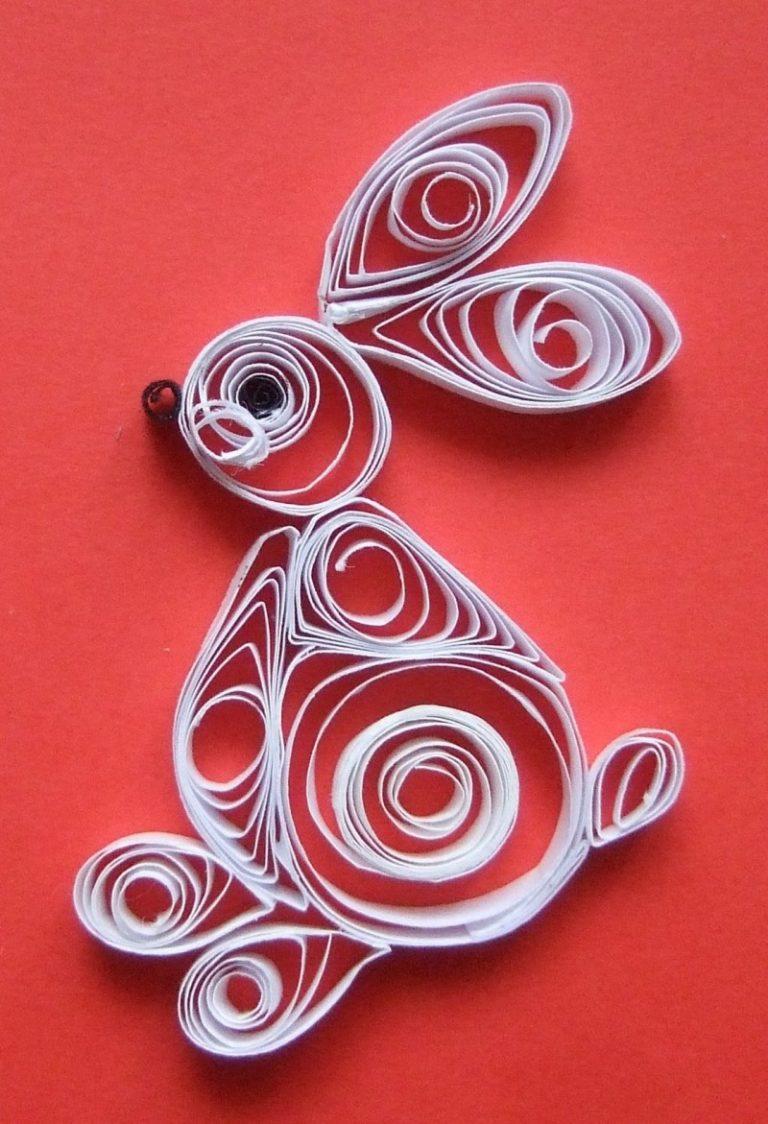
- Contour quilling - a technique that uses paper crafts that outline the product. Ribbons in this technique are not closed, and bent and fastened to the plane.
- Looped quilling is a technology that requires the use of a comb. Such a tool creates openwork loops.
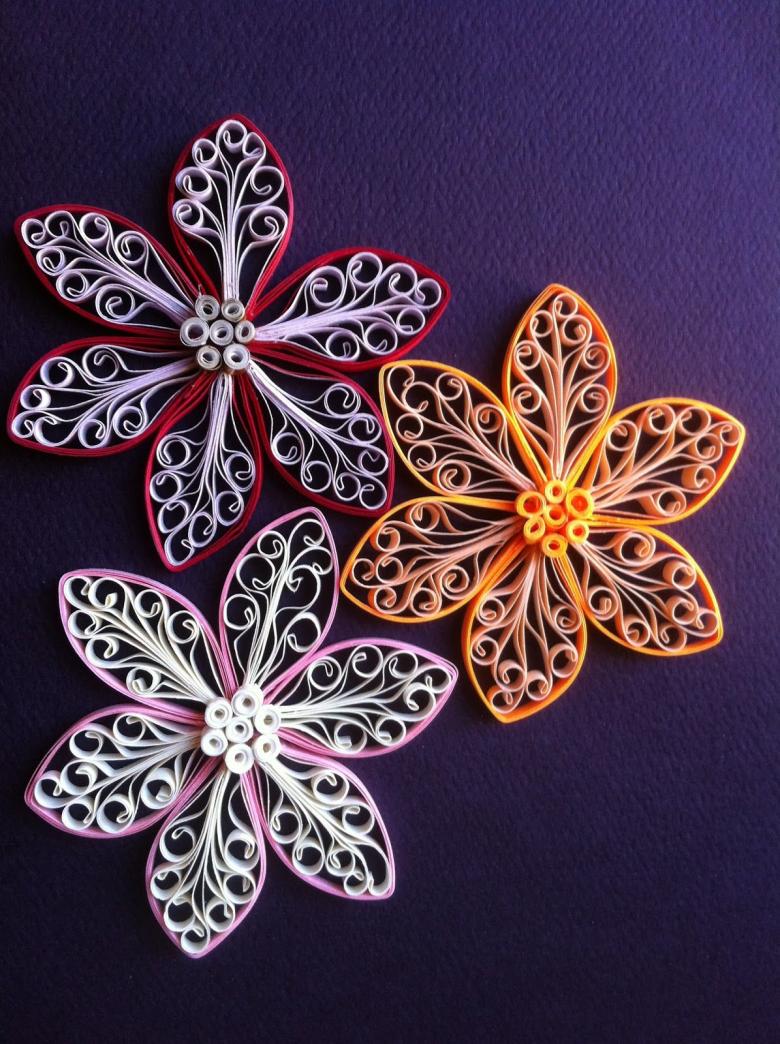
Materials and tools for quilling
Ready-made kits for quilling are sold. Experienced craftsmen buy the necessary things individually or use improvised means. You should start by preparing the proper material.
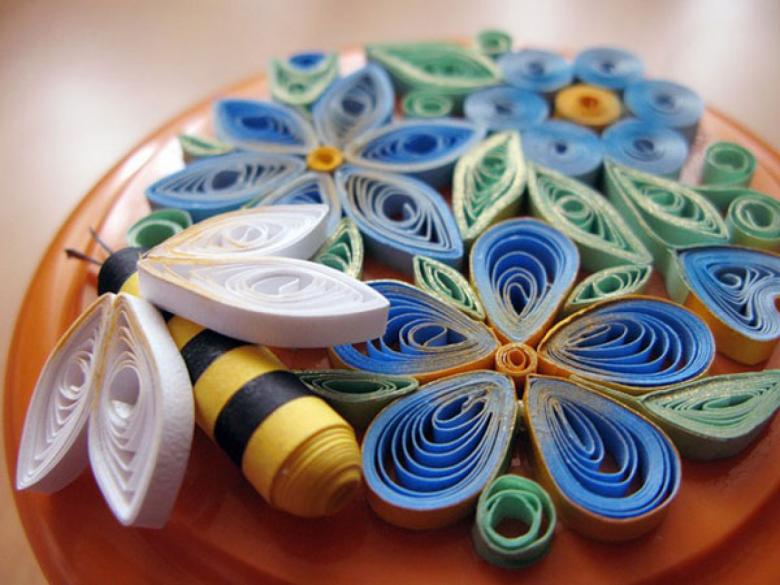
Paper
The basis for the work of quilling are strips of paper from 0.3 to 1.5 cm. The material with high quality affects the result of the work. Usually masters use paper with a standard density of 120-140 mg/m2.
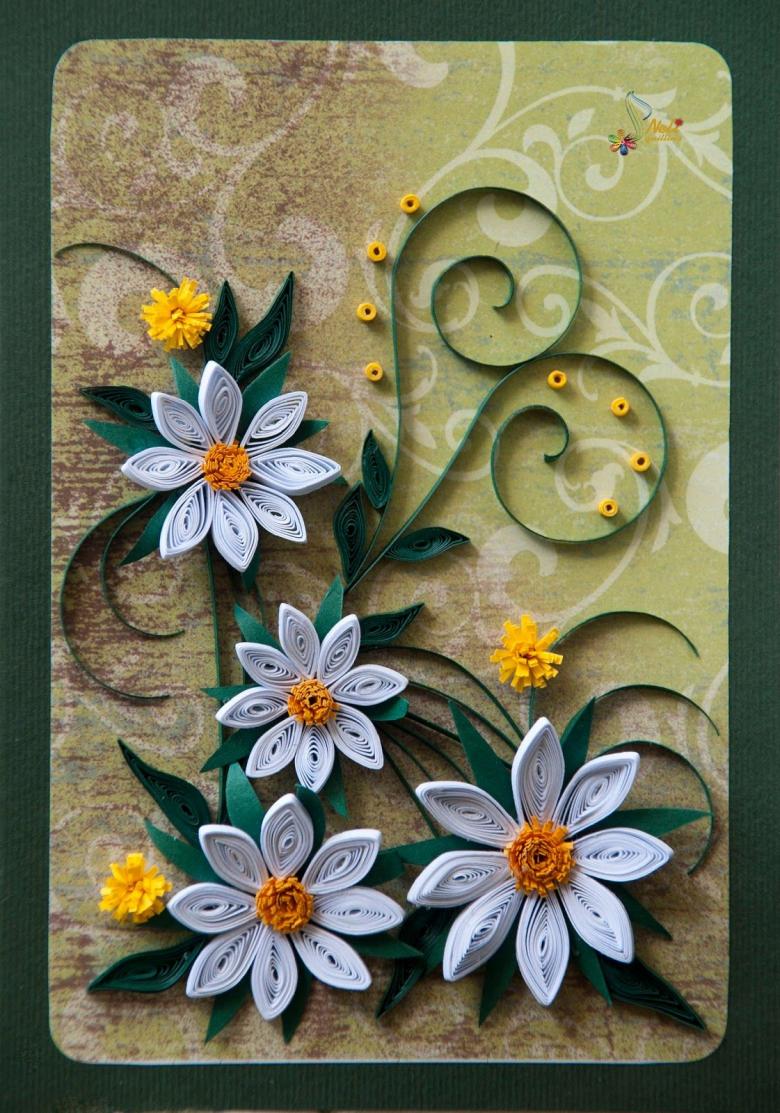
The basic material is provided in finished form in lengths of 30 or 60 cm. Ready-made kits contain strips of different colors, but the same length.
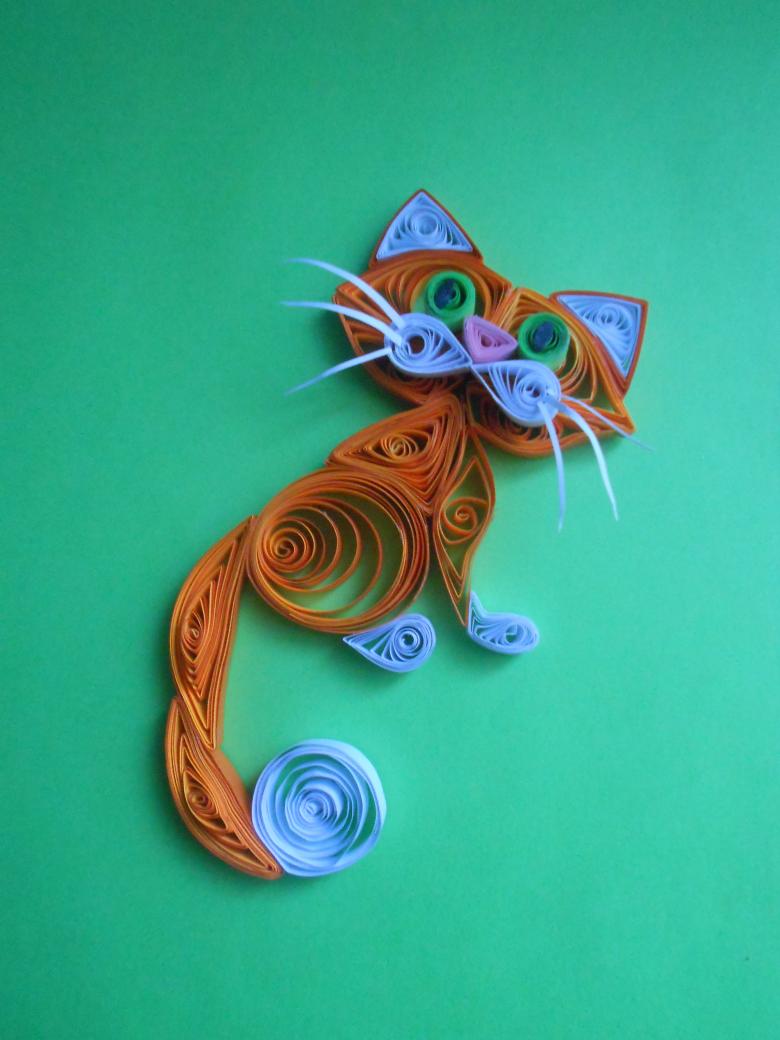
Masters who are just beginning their journey in the art of quilling, mostly use office paper. It is attractive for its affordability, color range and the ability to make a huge number of strips.
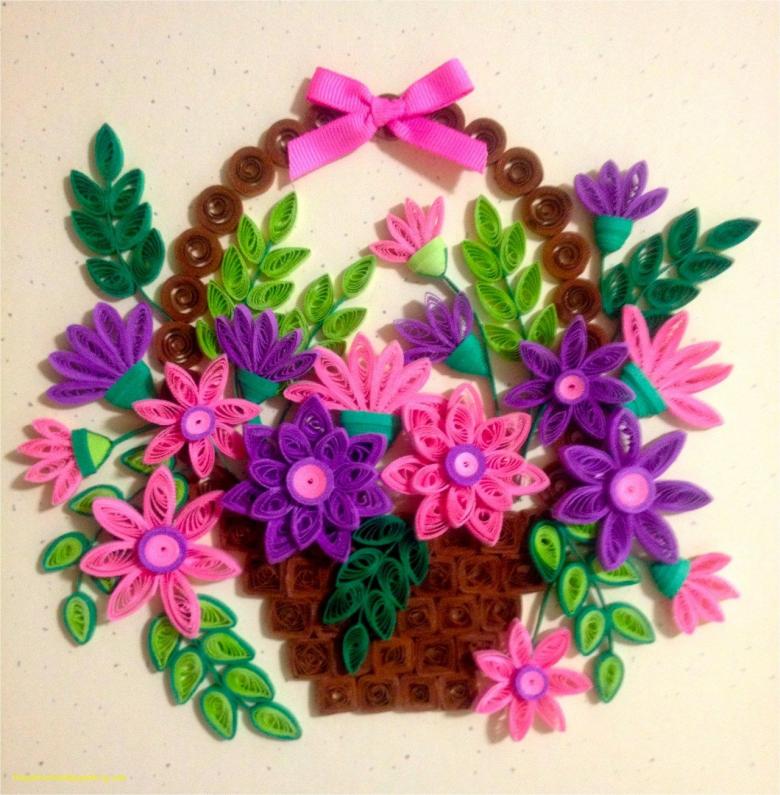
It is necessary to cut the paper with a special knife for stationery. Accelerate the process of creating strips is possible by stapling several sheets with a paper clip.
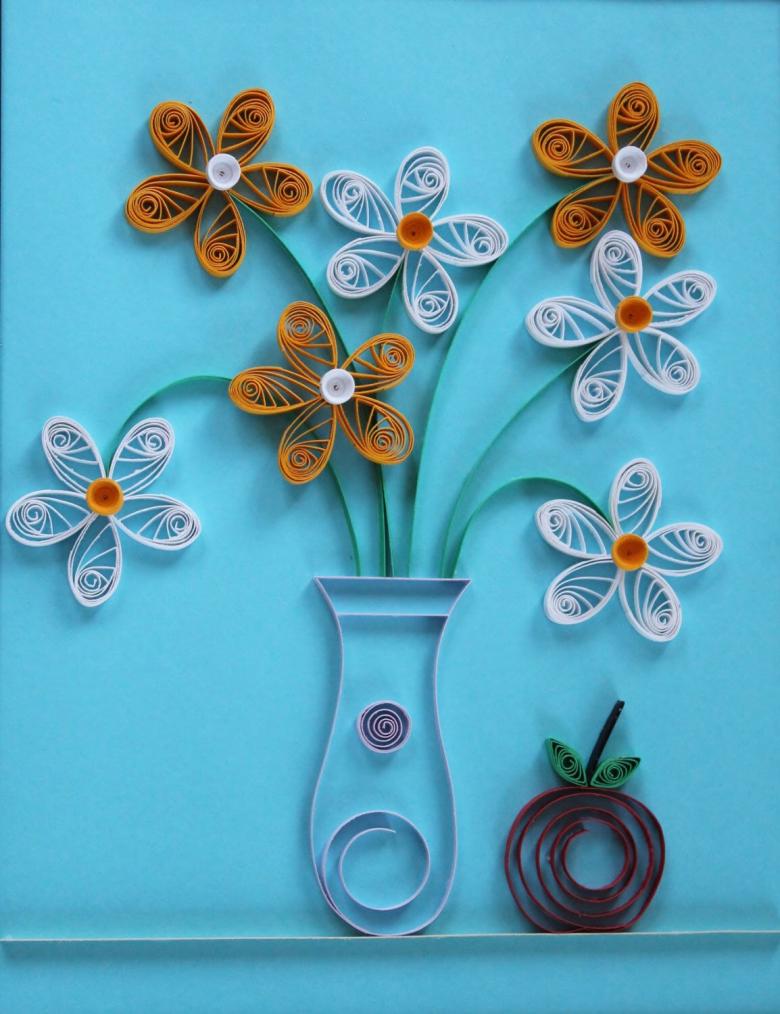
Tools
The paper is curled using a metal rod inserted into a sturdy handle.
The tool from a European manufacturer, which has a split end, is most suitable for beginners. The essence of the work of this device is that the paper is inserted between the teeth and twisted into a roll.
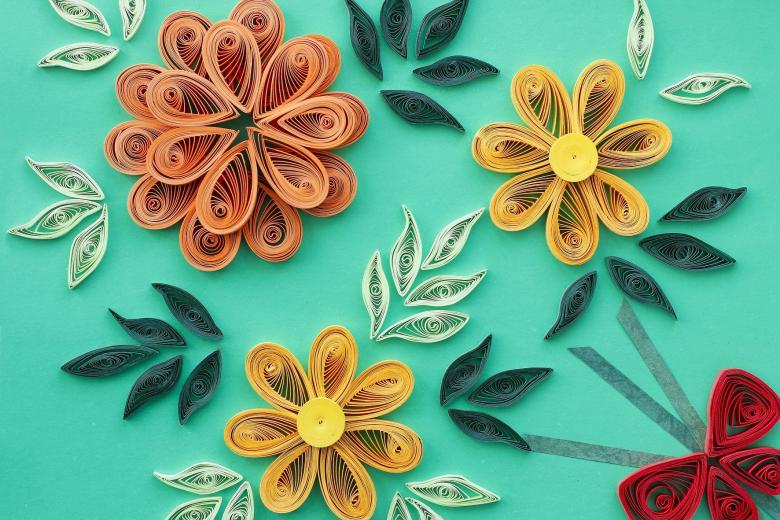
Other necessary tools of paper curling
The basic tools for paper twisting are not enough. A set of additional tools is needed to make a unique work:
- PVA glue. It is convenient to use a package with a thin spout, if there is no such, then use in addition a thin brush;
- Stencils are useful for creating identical elements;
- It is convenient to take small parts with tweezers with sharp ends;
- It is necessary to have scissors of different kinds at hand;
- Large compositions are fixed with English pins;
- Styrofoam or a sheet of cork is necessary for modeling the composition;
- Metal ruler;
- A stationery knife.

Ways to create basic forms of quilling
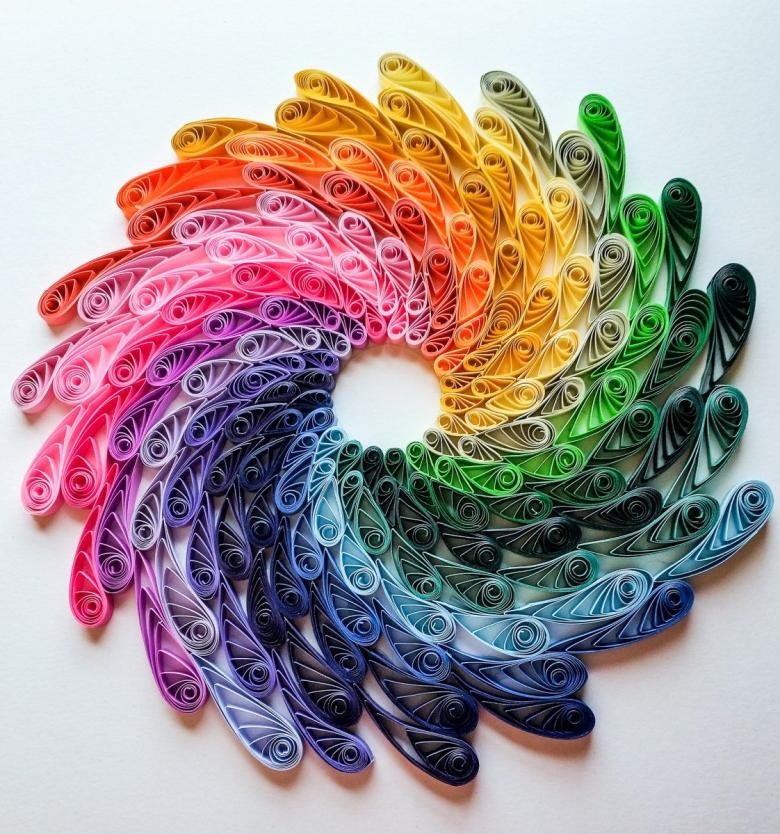
Small elements are the components of quilling products. They in turn are divided into closed and open forms. The schemes shown in the photo can be found on the Internet, as well as a video with a master class.
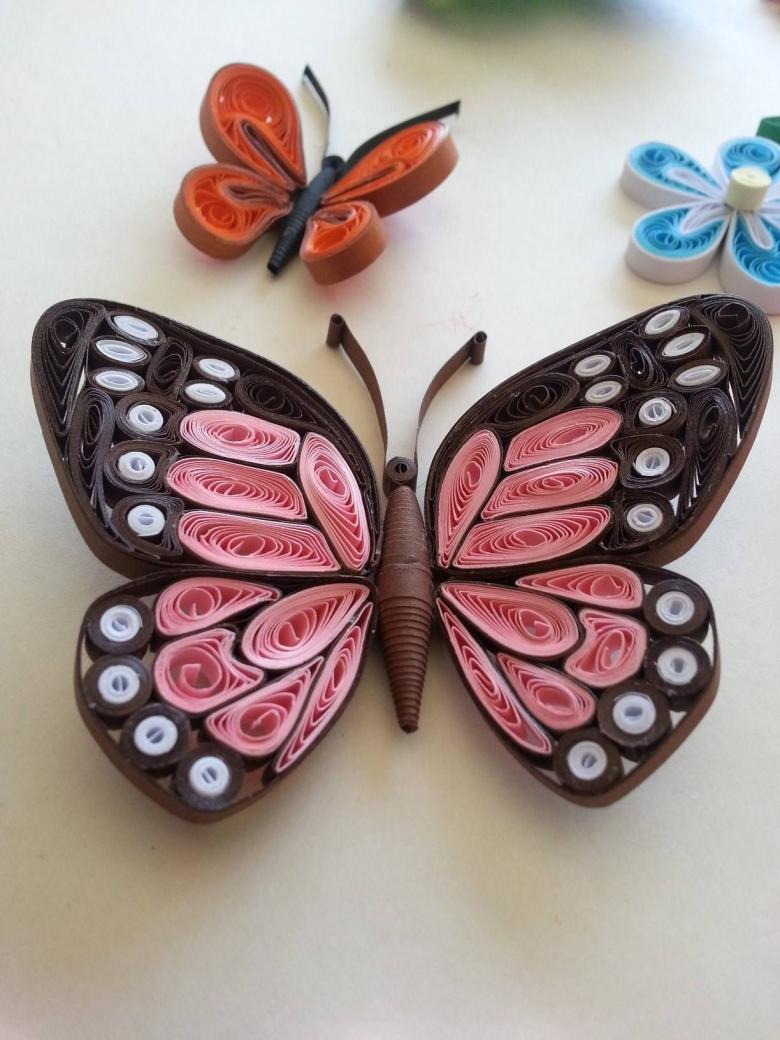
Closed forms
Tight roll. The tight roll is the basic figure that makes up all the others. To create it, it is enough to wind the paper on the tool until it is tight. In the process of twisting, the paper must be supported with your hands to avoid bulges.

The remaining tip of the tape is glued to the grid.
- Bagel. A spiral is made, the end of which is not glued, but removed from the tool and gently untwisted. Inside there is a hole.
- Bagel with a spiral. Technique of execution of the previous element, but inside there is a light disentangled spiral.
- Oval. Made from ready-made bagel. After the ends of the ribbon are secured, the bagel is shaped into an oval with the help of hands.
- A loose roll is a tight roll removed from the instrument and unrolled to the desired size.
- Drop. The central zone of the spiral is able to move, from which you can create the image of a droplet.
- Curved drop - the technique of performing the previous element, but the central zone is shifted to the side, giving the element a curve.
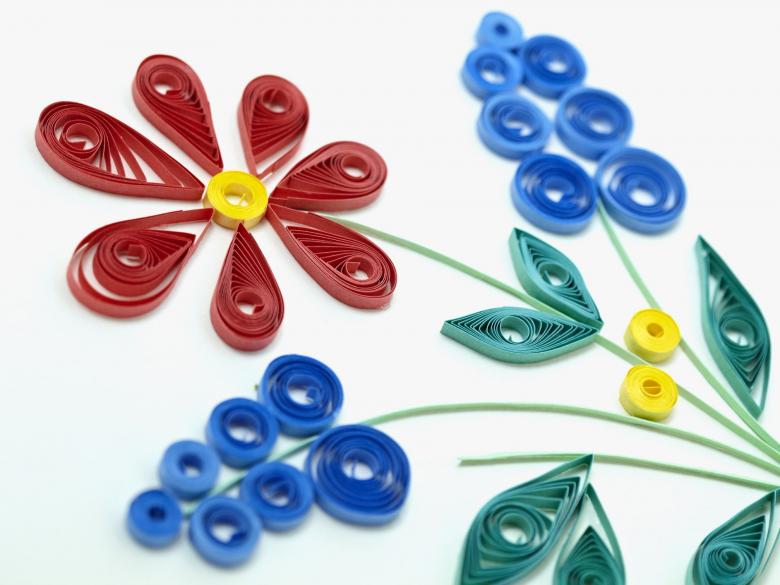
- Petal - this is the same droplet, but a clip is made on the rounded side.
- Eye - is created with a free roll, which is clamped on both sides.
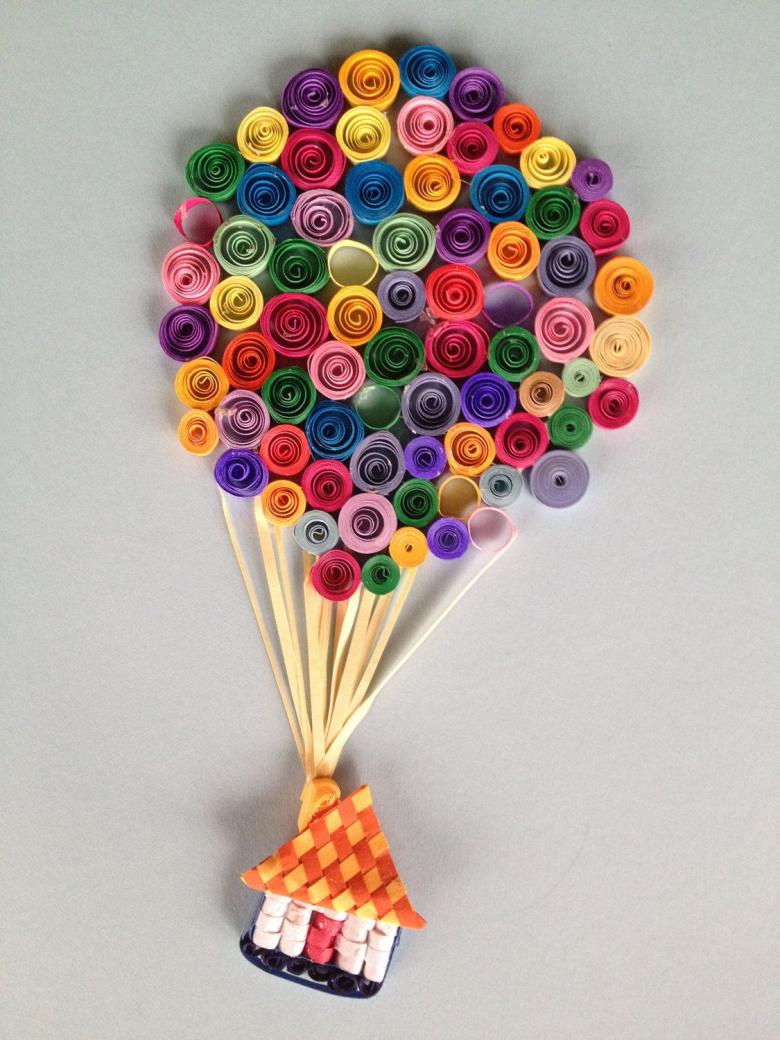
Open elements
The essence of the elements of the open type is that the ends of the ribbon are not subjected to fastening.
- Curl - a strip twisted into a tight roll, after which it unravels.
- S-element - a figure with two curls twisted into tight rolls and looking in different directions.
- S-element - the technology of the last element, but the twisting must be done in one direction.
- V-element - the paper is curved in halves, and tight rolls are twisted into the outside of the element.
- Heart - the technology is similar to the previous one, but the curls, wrapped inside, touching.
- Twig - a strip of paper is bent in any shape, the ends are twisted to one side.
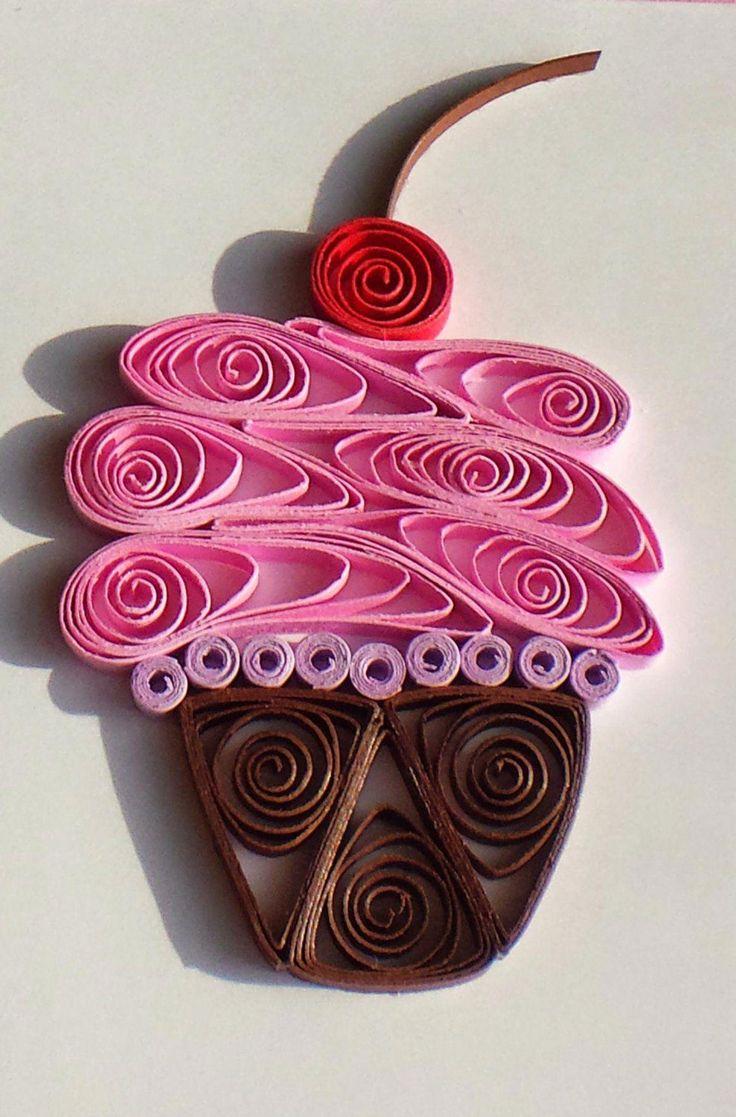
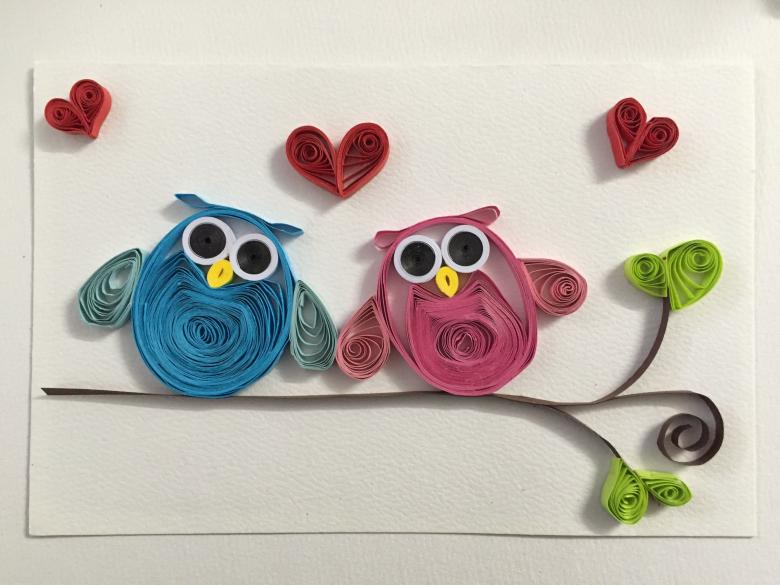
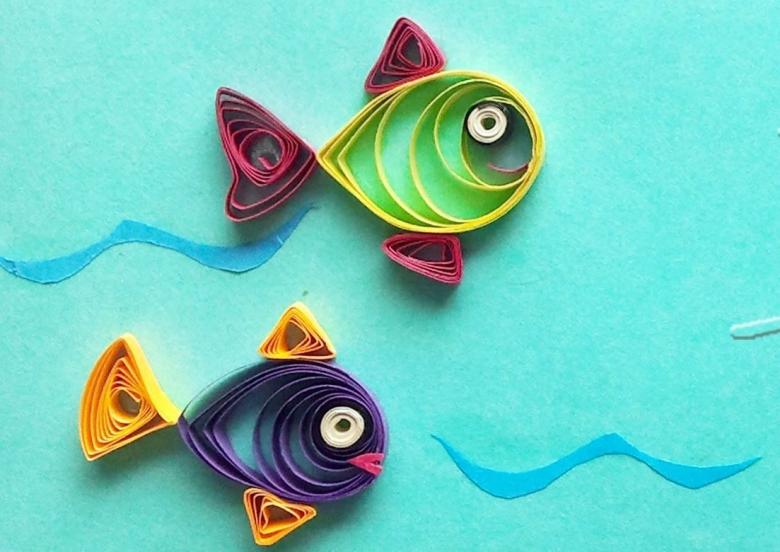
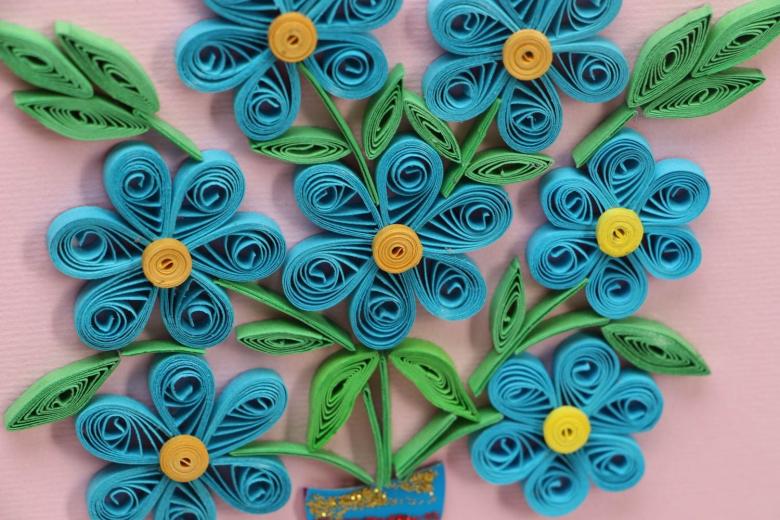
The art of quilling requires a lot of patience. In the process of creating a paper product, the author fills himself with harmony, art. Each work is unique and there is no similar to it, even if the idea is based on a scheme by several masters. Flower, painting, postcard - the imagination to work with paper can be limitless.

