How to draw a pigtail: tips for beginners and peculiarities of drawing
The young artist's parents should definitely have a lesson in which he will learn the technique of drawing hair, arranged in a plait. Step-by-step drawing with a pencil will help the girl learn to draw a variety of hairstyles for princesses, without using stencils. The drawing will be as natural and natural as possible.
Preparing for the lesson
In order for the braid in the hairstyle to turn out natural and natural, you will need to prepare tools and materials for the lesson:
- paper for drawing with a medium surface grain;
- a simple hard pencil;
- A set of colored pencils;
- eraser;
- ruler.
There are different techniques for drawing hair:
- pencil;
- charcoal;
- pastel crayons;
- paints.
Each material recreates hair texture in its own way. The young artist should start mastering with the simplest tools - pencils.
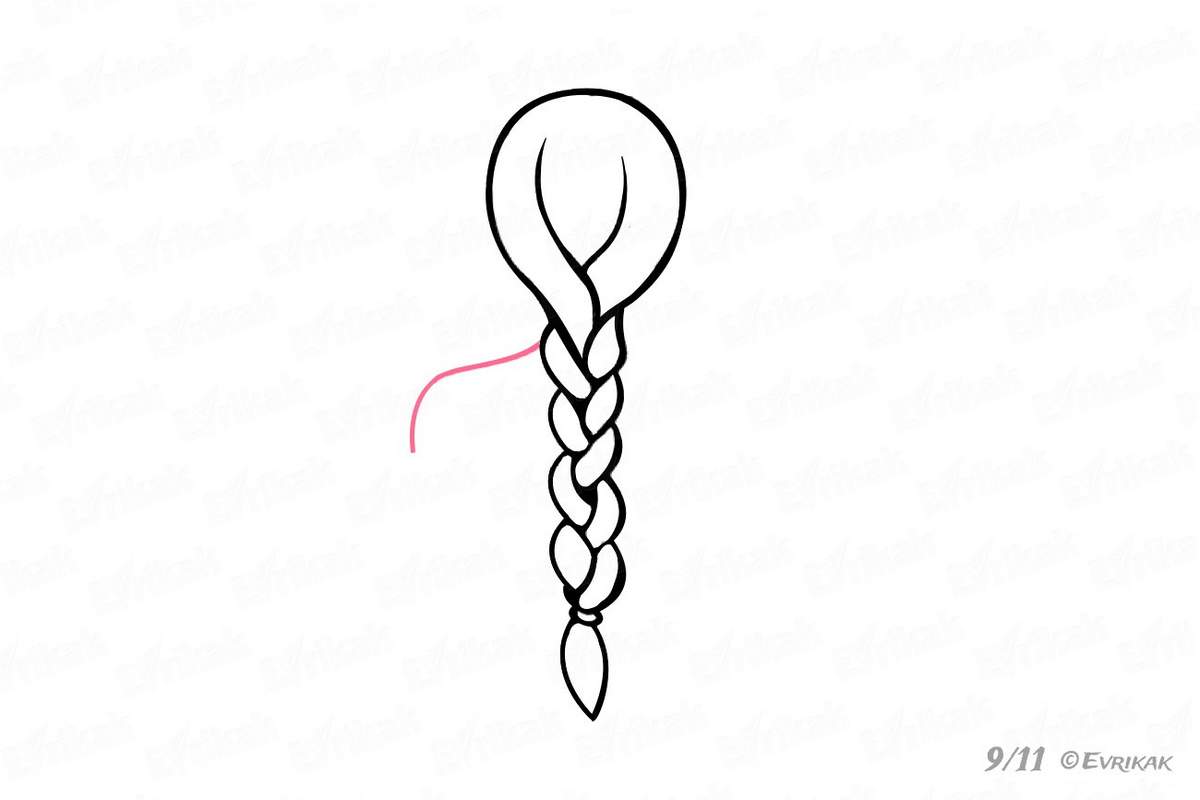
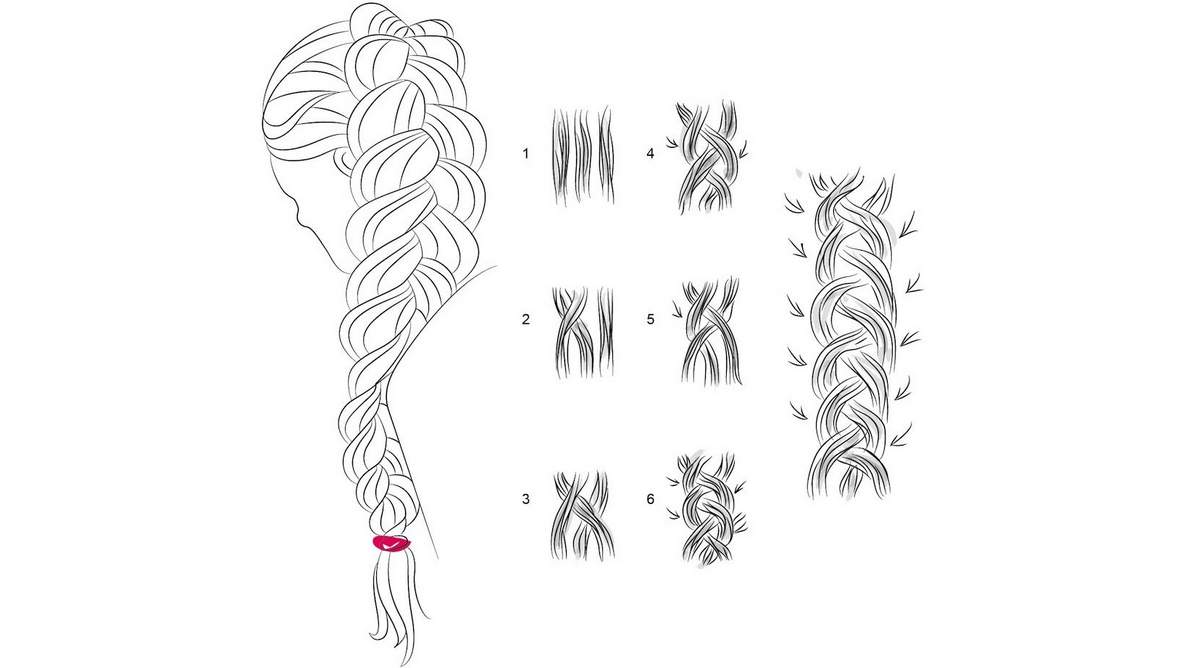
Tip! Before drawing a portrait of a girl with braids, you should first learn how to draw hair braided in plaits. It is necessary to start with mastering simple ways. Below is the simplest technique for drawing braids:

- First you need to make a layout for such a hairstyle, on which then it will be simple to draw the braid. The marking includes three lines. First, you need to draw a straight line of the desired length, and on its sides one parallel line, which will have to taper to the end of the central segment.
- Along the straight line draw a zigzag with teeth of equal height.
- On the created sketch, draw squares with equal squares.
- Start drawing the strands braided into a braid on the squares. Start at the base and go down to the tip.
- Erase all auxiliary lines.
- Draw around the braid with a bold outline and create the texture of braided hair with long strokes inside each strand.
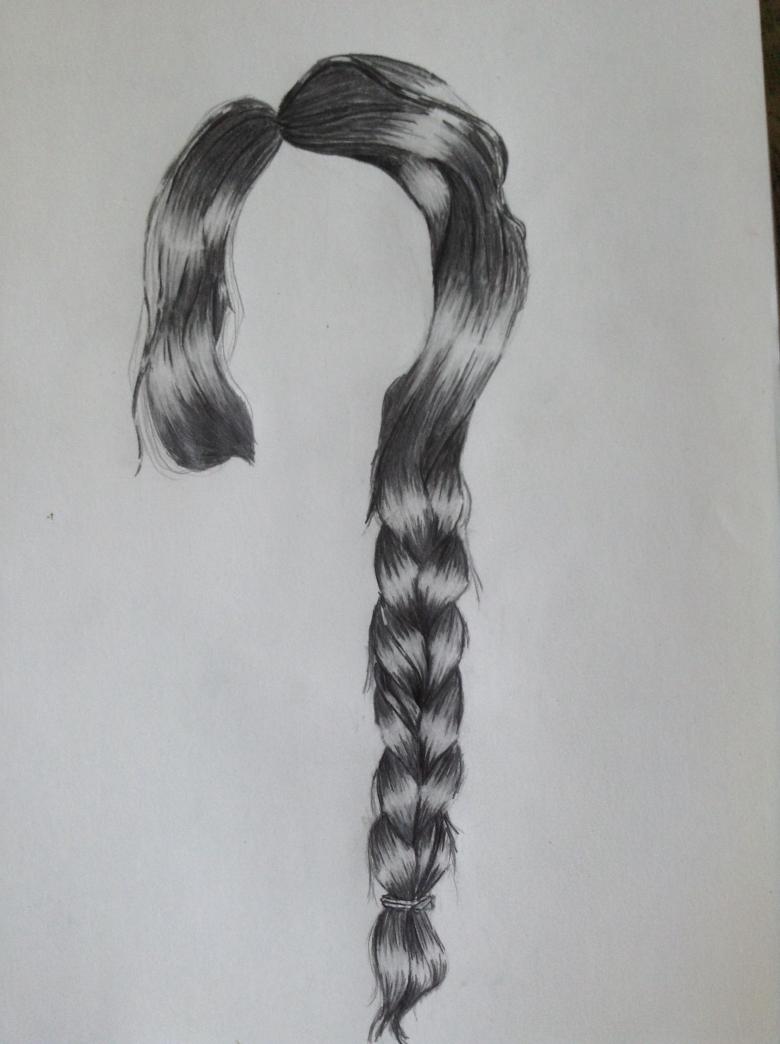
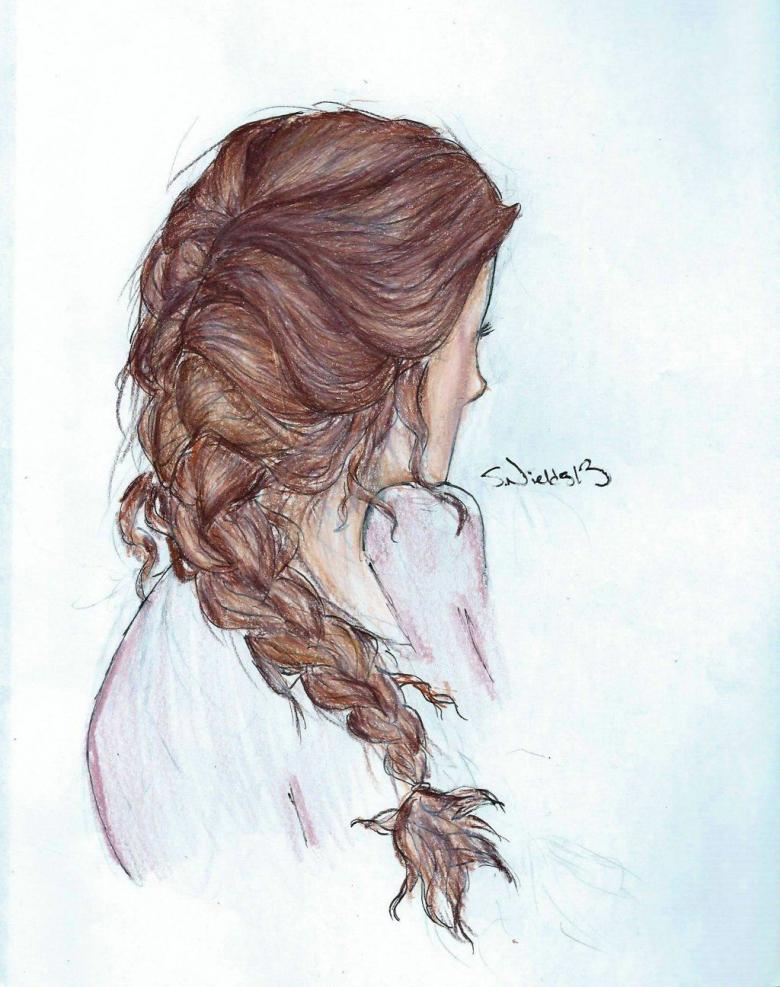
Careful tracing should start from the place where the braiding begins. It is not terrible if the strands are not very straight. So the picture will be more realistic, because a person can not create the reality of braiding hair equally straight strands.

To make the braid look real, you need to add a few loose hairs along its length, and make the tip wavy.
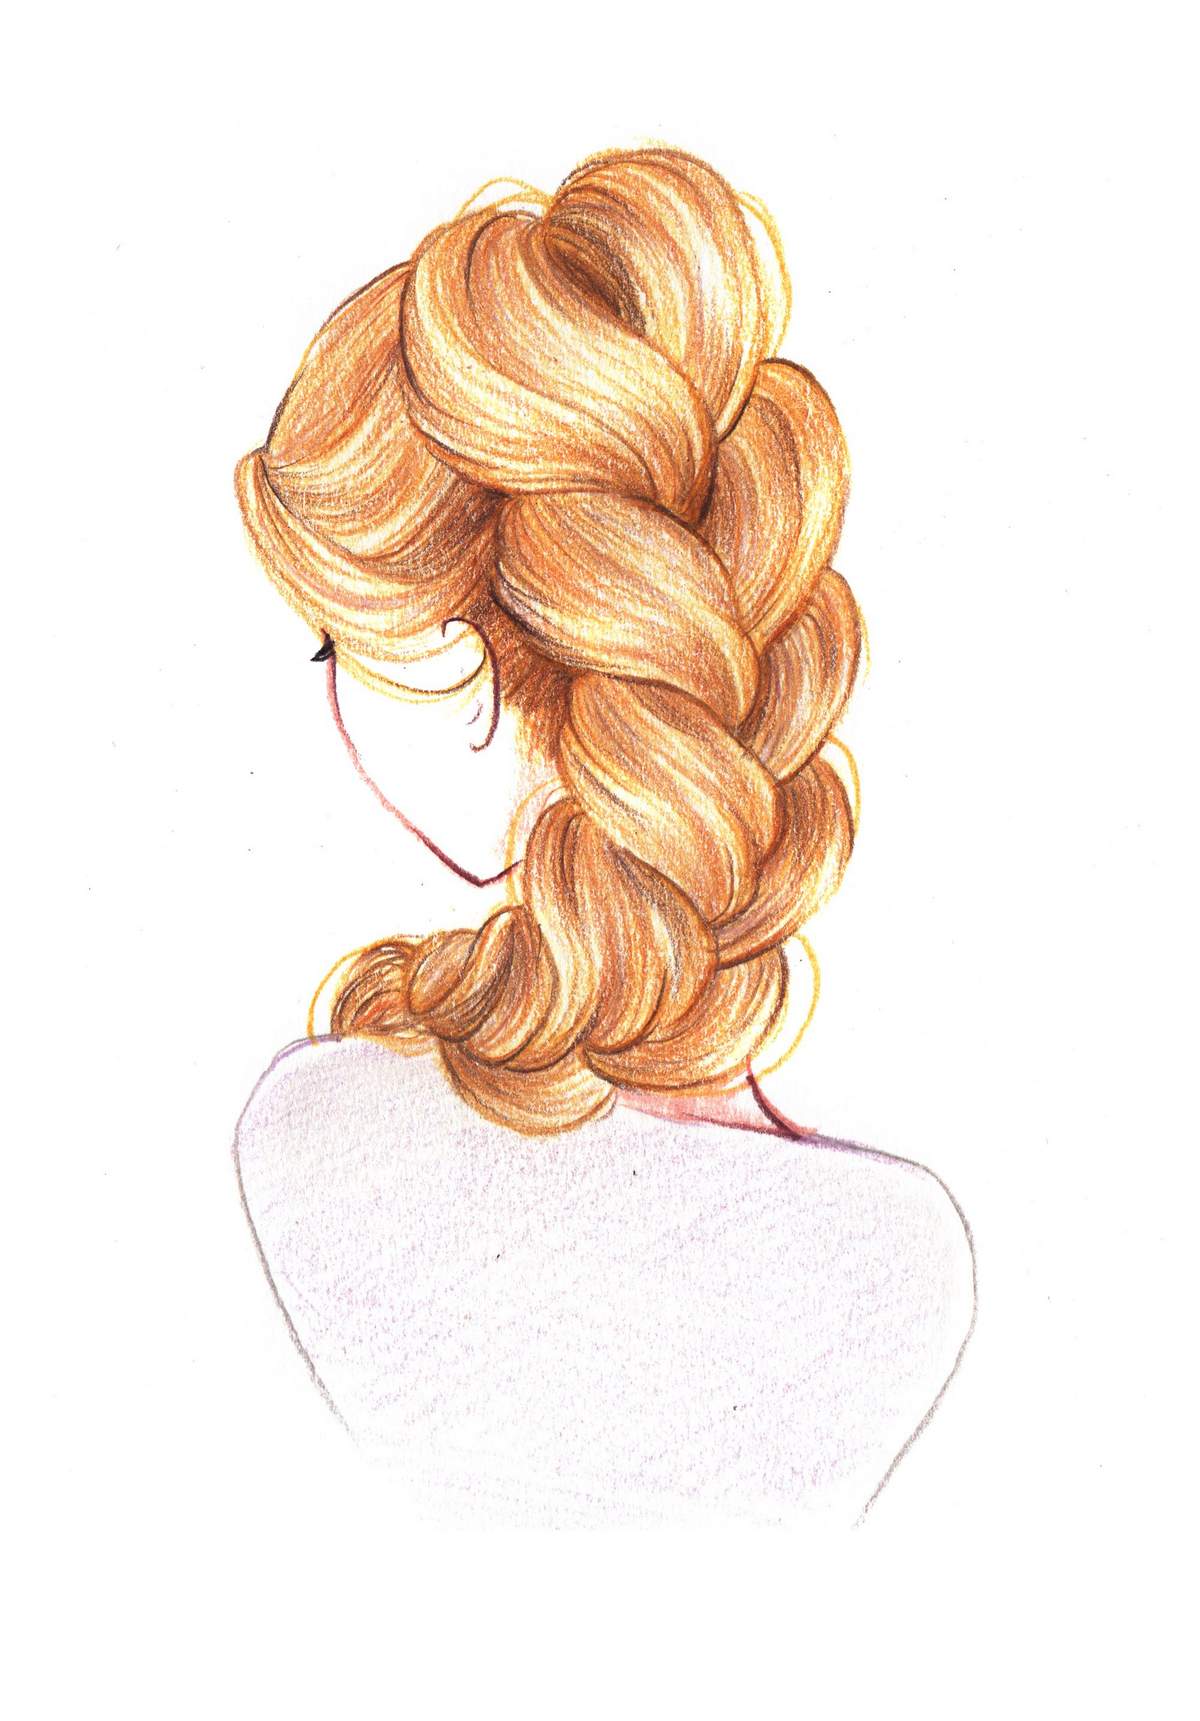
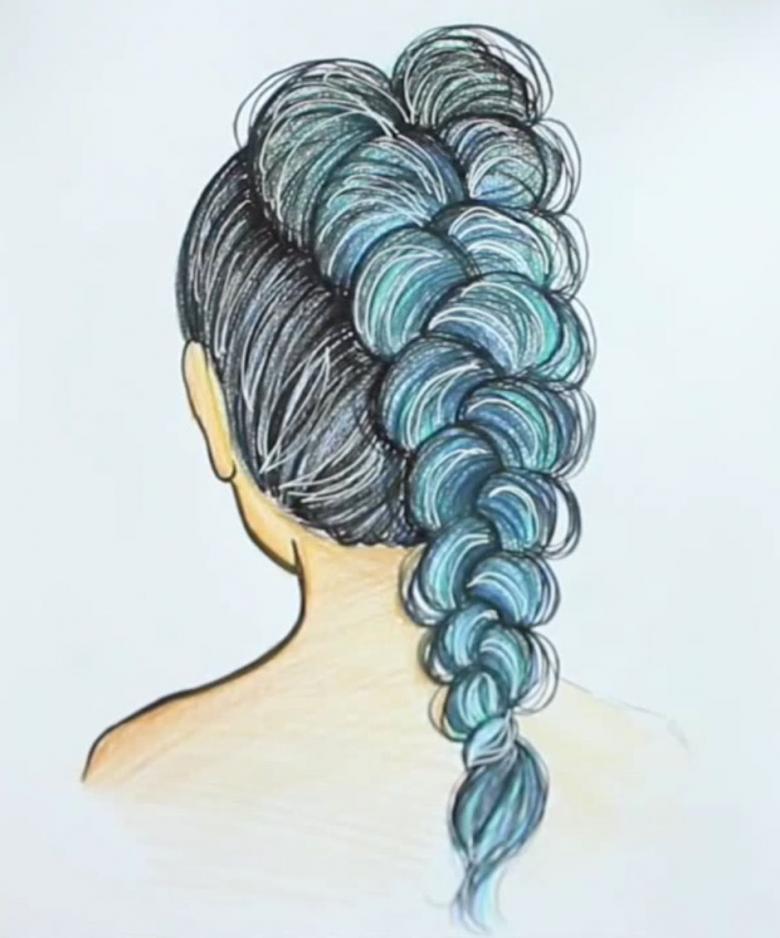
Shadow and highlights can be used to express the volume of the braid and the shiny structure of the hair. For this purpose, the strands lying below are obscured, and the upper ones remain light. At the end of the braid you can draw a bow, a ribbon or an elastic band.
That's all, the braid is ready. Even an inexperienced and very young artist will master such a simple technique with the use of squares.

Different techniques for drawing braids in pencil
You can devote a separate lesson to drawing plaits, during which a child should be shown how to draw plaits. Simple instructions will help to build up the lesson correctly:
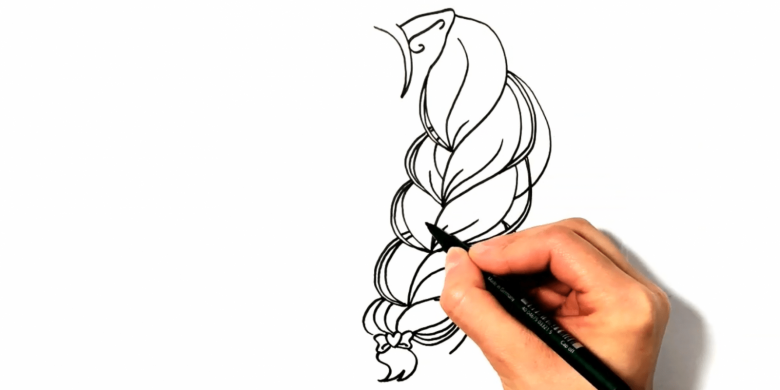
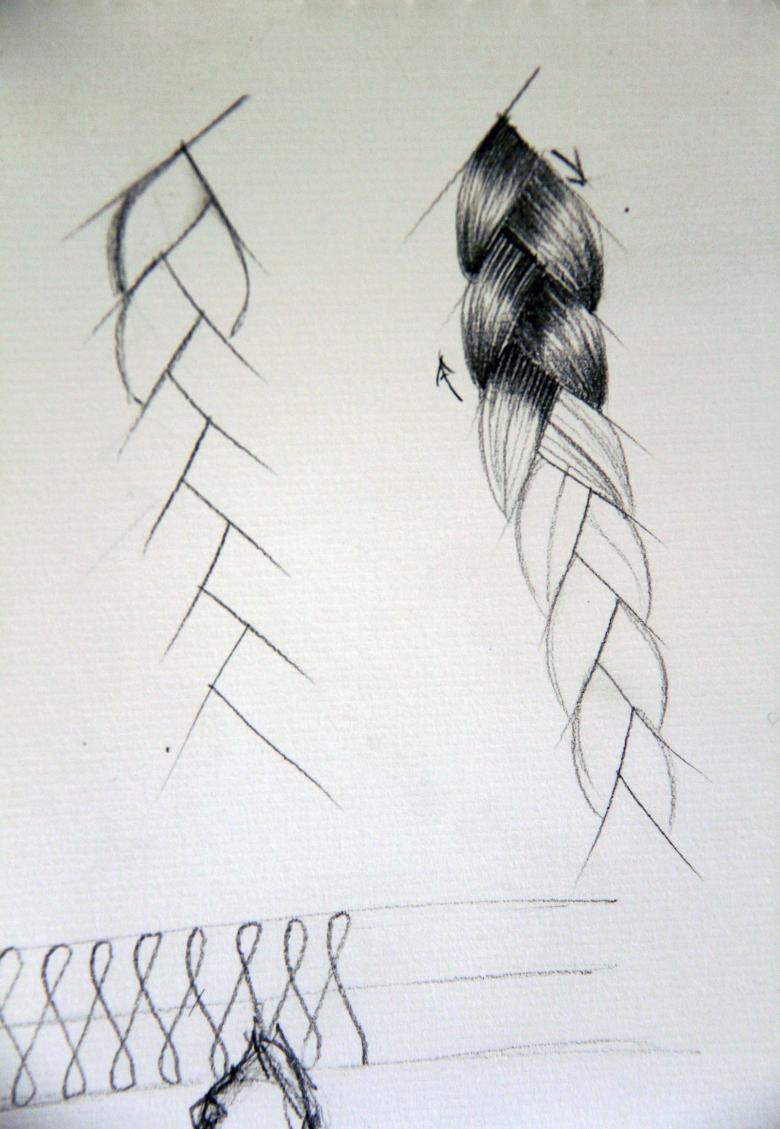
- You should start by creating the outline of the braid, in which the pattern of braiding the strands will be created. To do this, you need to draw two slightly curved lines on the sheet, which taper to the bottom.
- Inside the created space, you should use oblique lines to outline the braiding pattern, going from bottom to top. The first line inside the diagram of the braid is drawn at an angle of 45 degrees. The next line should be in relation to it perpendicularly, at an angle of 90 degrees. So gradually filled the entire space between the two lines from bottom to top.
- Then from top to bottom all the strands are drawn. Corners should be rounded, giving the weave a natural look. All segments of the pattern should have a drop-shaped shape.
- At the bottom make a tip, in the plait with strokes to indicate the hair. The braid is ready.
Here is another simple way to draw braids.
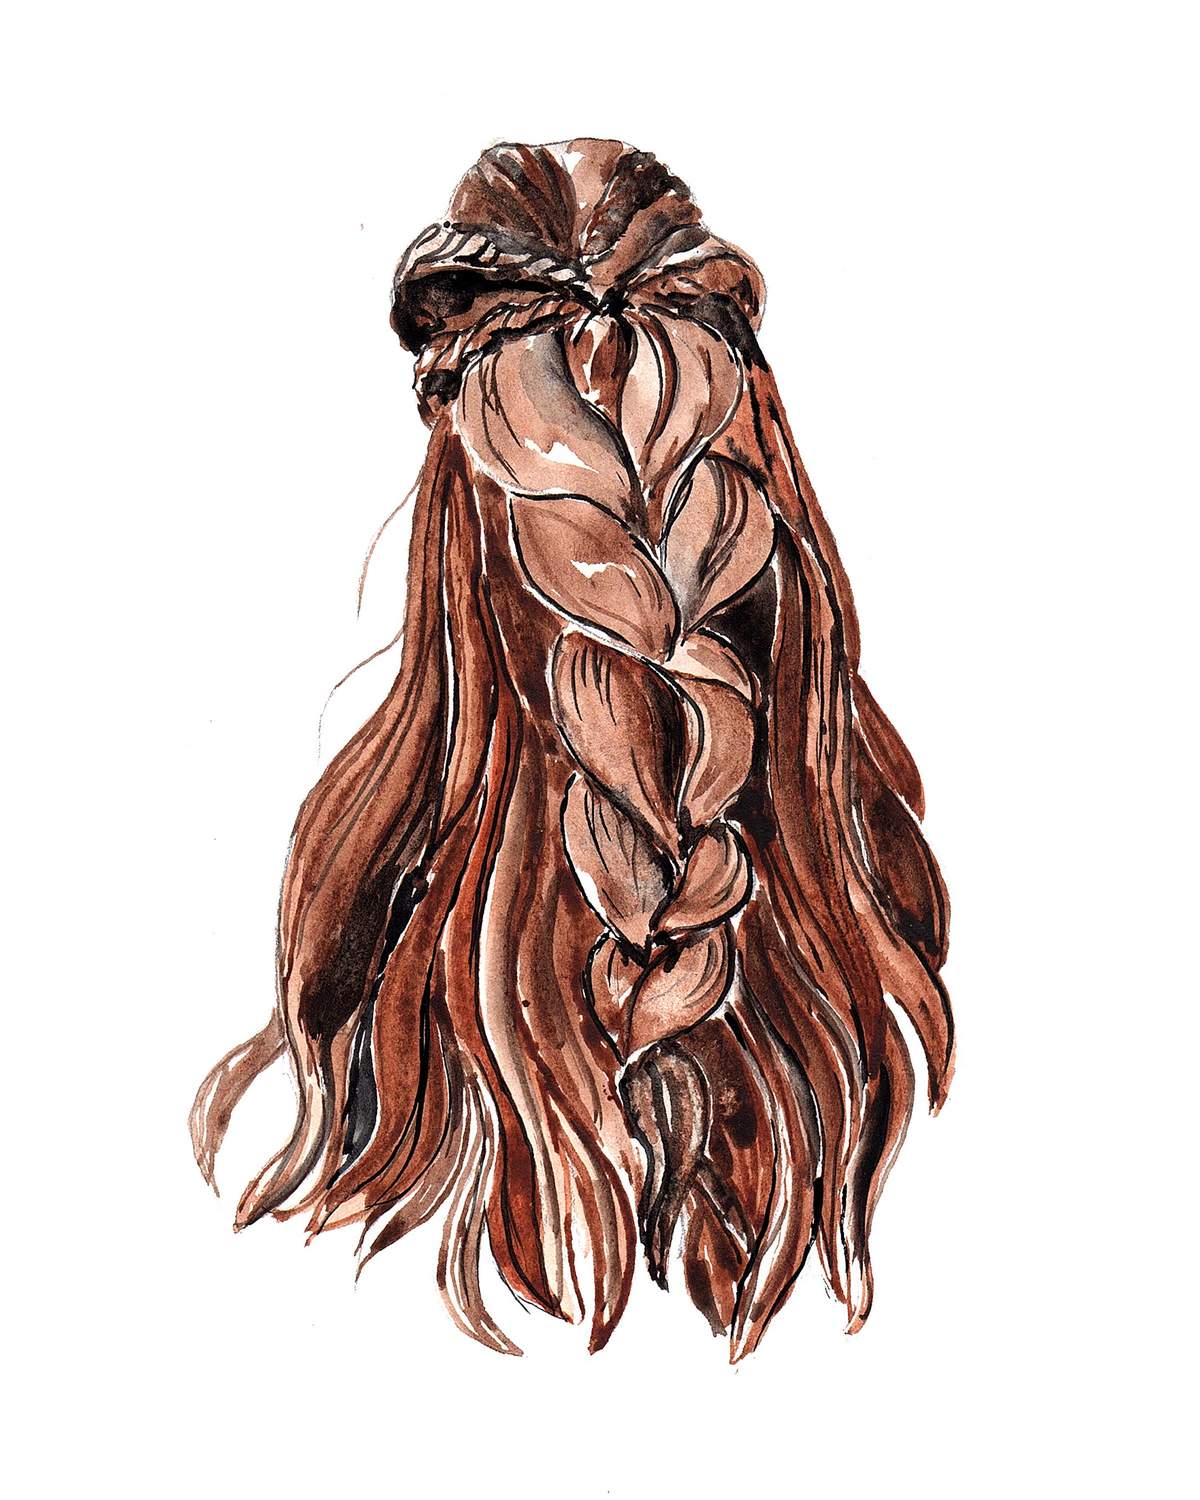
Technique for drawing spikelets
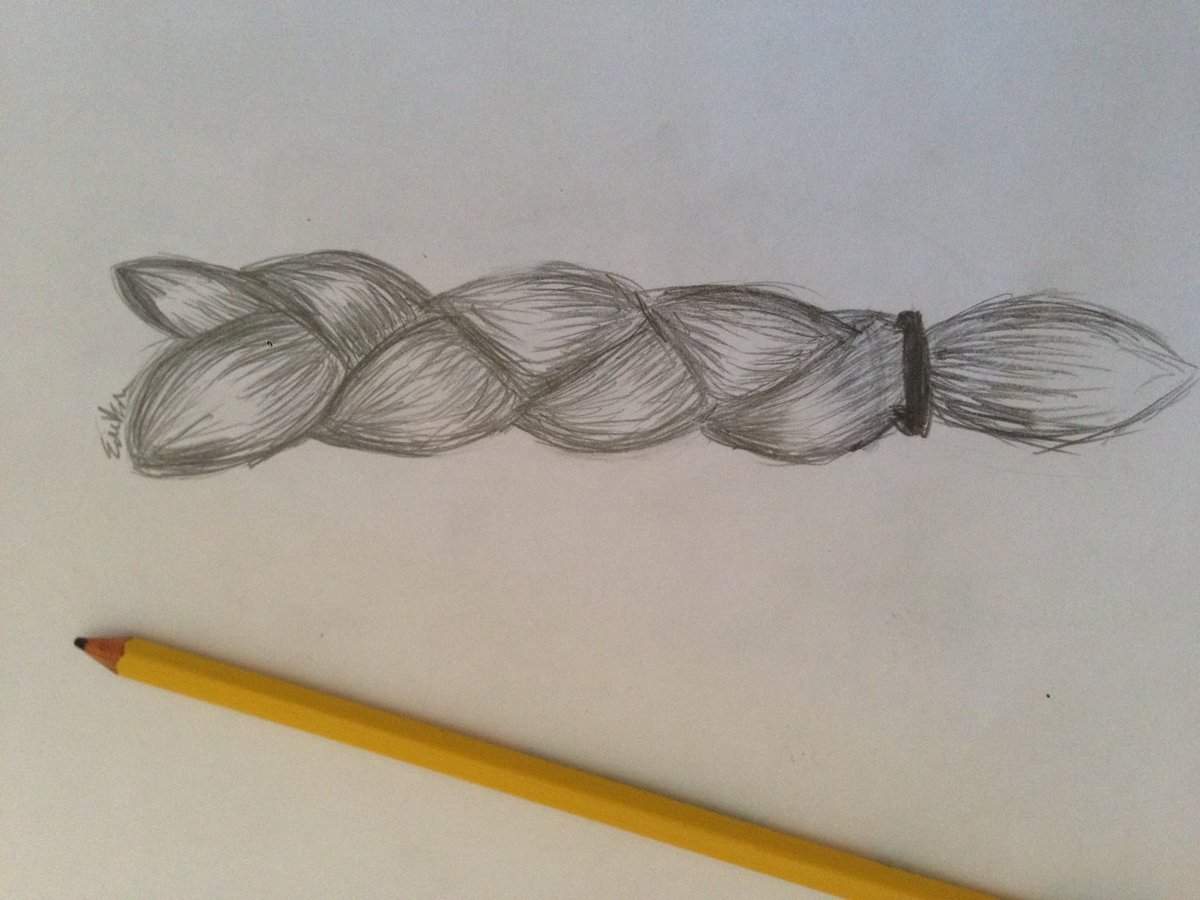
A more complex way of drawing braids, based on the marking of a single twisted line. To master it, you must first learn how to draw segments in the shape of droplets or grains of spikelets. Step by step drawing is as follows:
- An arbitrary wavy line is drawn.
- Along it, grains are drawn, as in an ear of wheat with smoothly rounded corners. Draw such segments on each side of the line. Segments should decrease as you go down.
- Along the contour, you need to create more rounded braid shapes to make the braid look like a natural one.
At the end, draw a tassel of strands. The braid is ready.
Braid in rhombic drawing technique
For a child to get a hand and understand how you can draw a braid in different techniques, you should create images of braids side by side on the same sheet. Looking at the previous version, the young artist will look and understand what features this or that technique has, and then will use it to create a braid or hairstyle of the desired type.
Important! When the artist's eye sees the results drawn, the child will more quickly understand how different techniques are used and what results they produce.

To create a rhombic braid, the following steps need to be carried out step by step:
- Draw a squiggly line on a sheet of paper.
- Using the line as the basis, draw a chain of rhombics on it, using the axis to create symmetrical rhombic segments.
- From the bottom draw a tail in the form of tassels.
- Draw the sharp corners of the rhombics along the entire length of the pigtail with smooth strokes.
Instead of using rhombuses, you can use drop segments, which are drawn along the drawn line. It will be easier to start with drop-shaped segments for children who are experienced in drawing. Beginning artists are better off using rhombuses for the base, which are then rounded off along the entire length of the braid with smooth strokes.

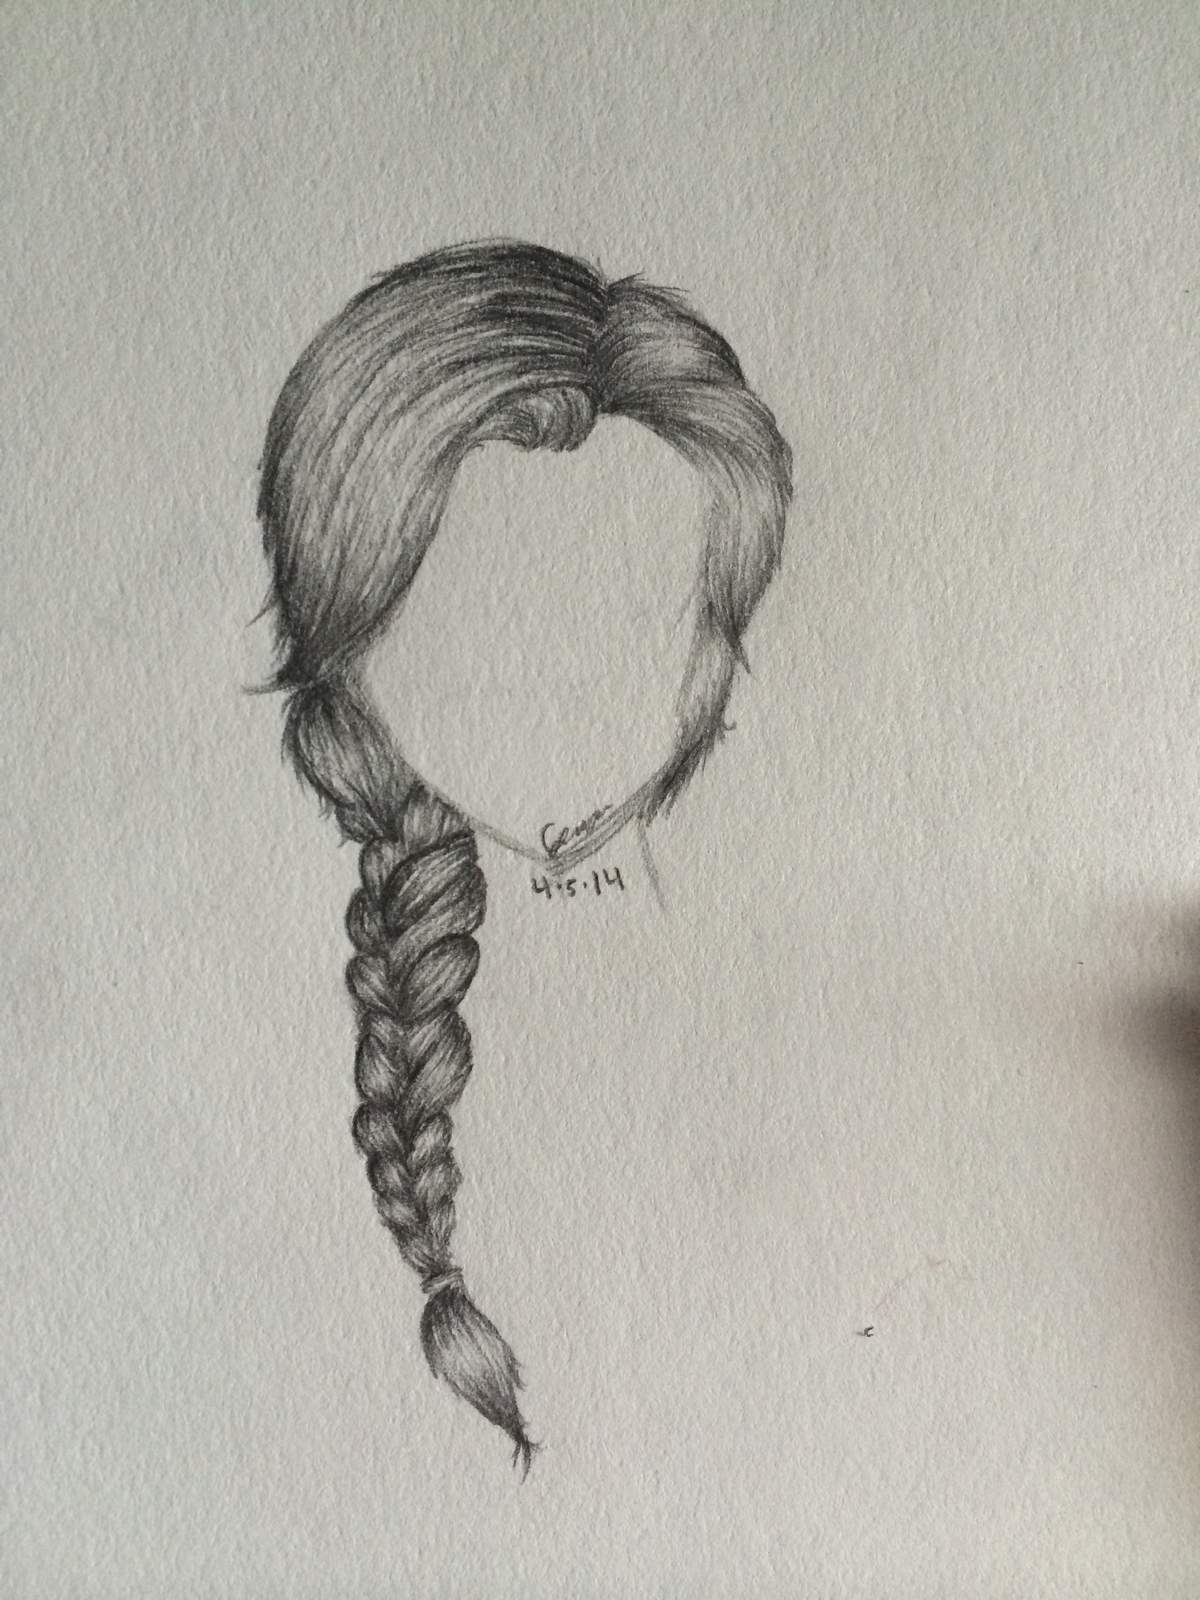
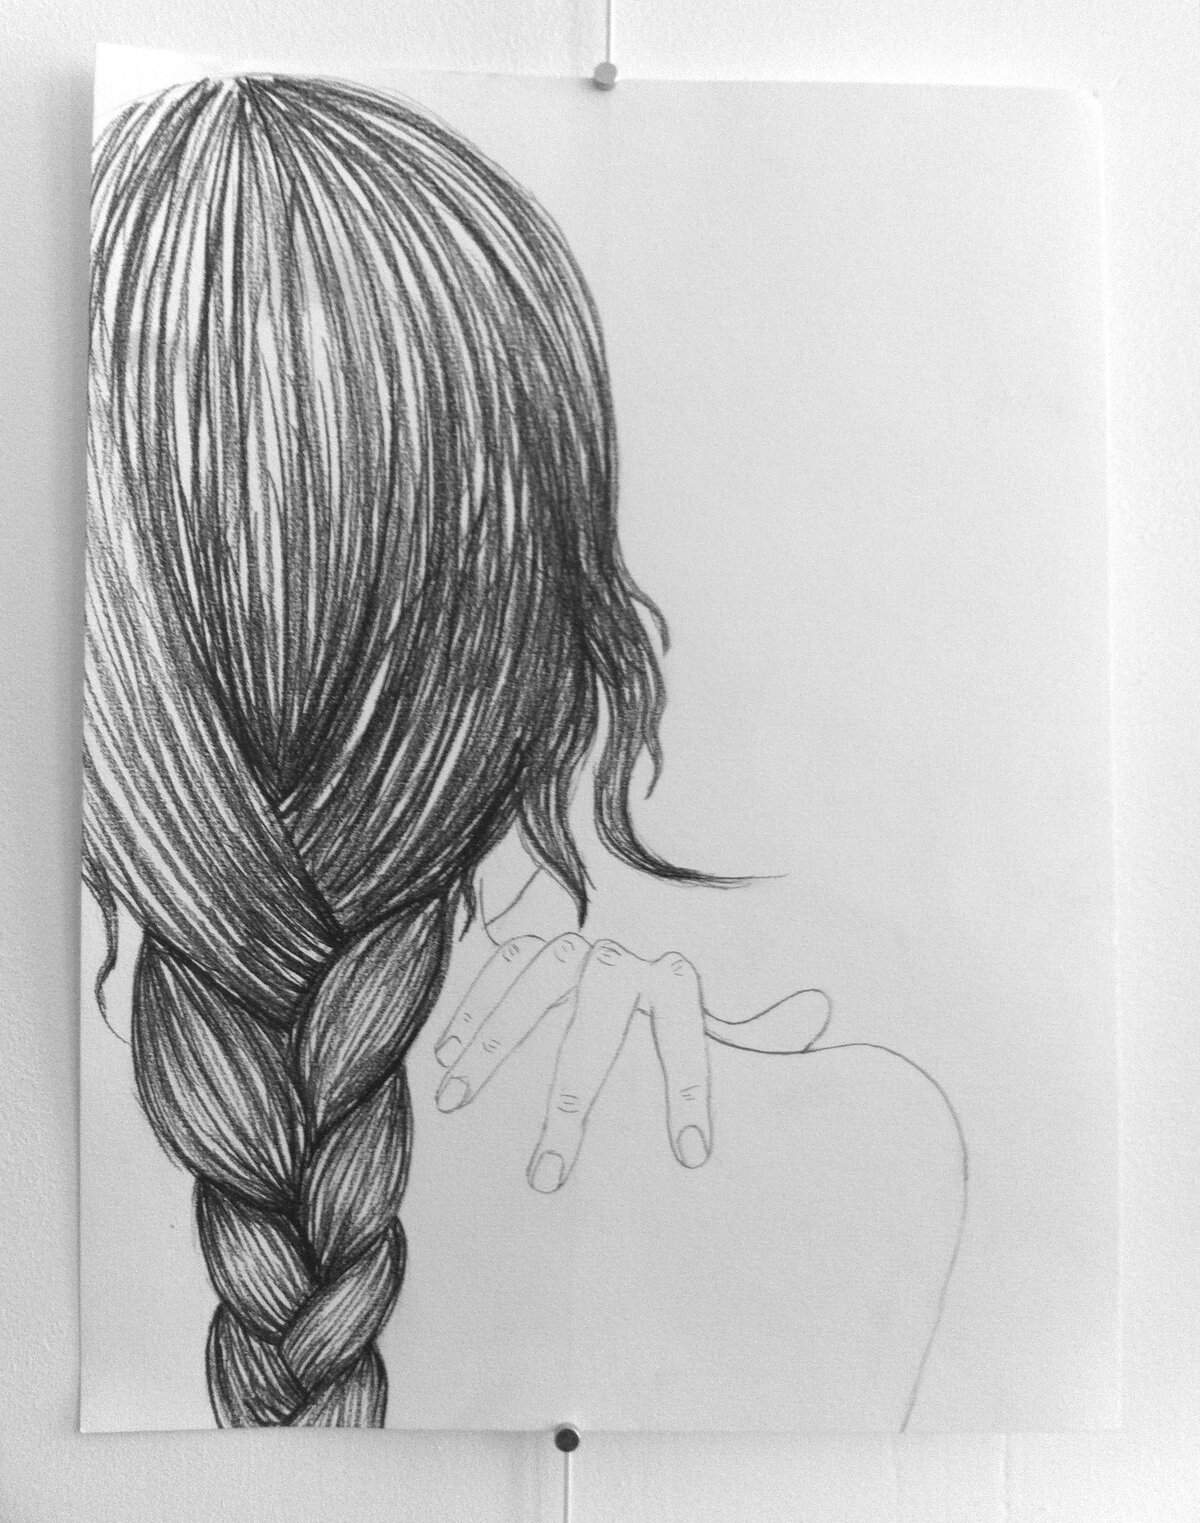
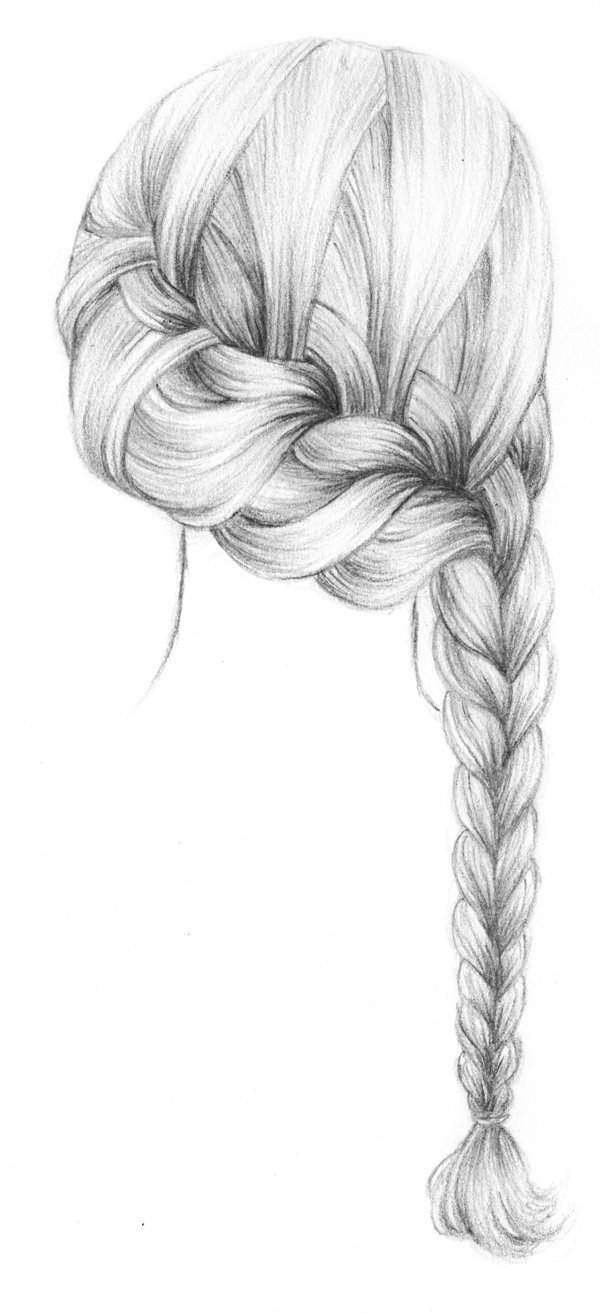
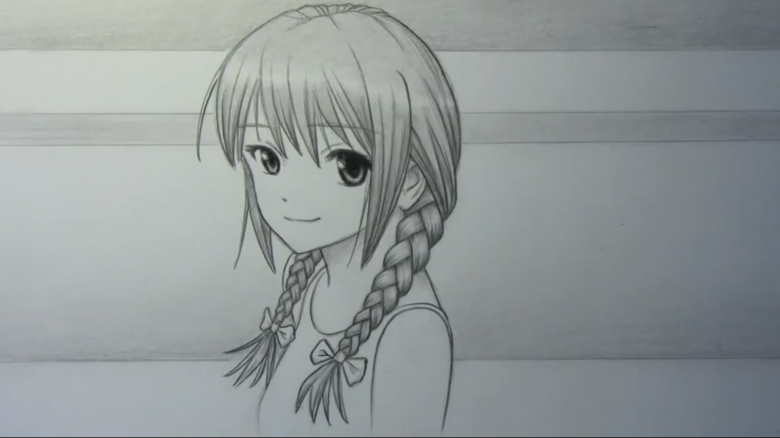
After that, to consolidate the result, you can draw a face with plaits to consolidate the acquired skills.

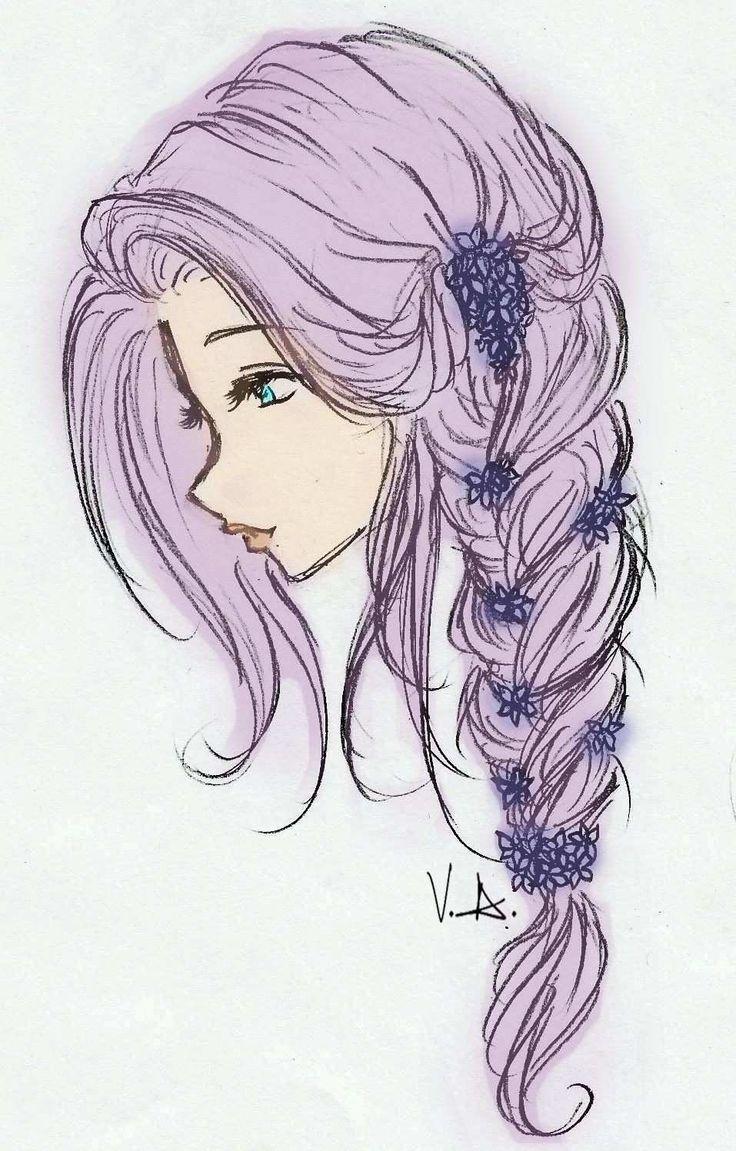
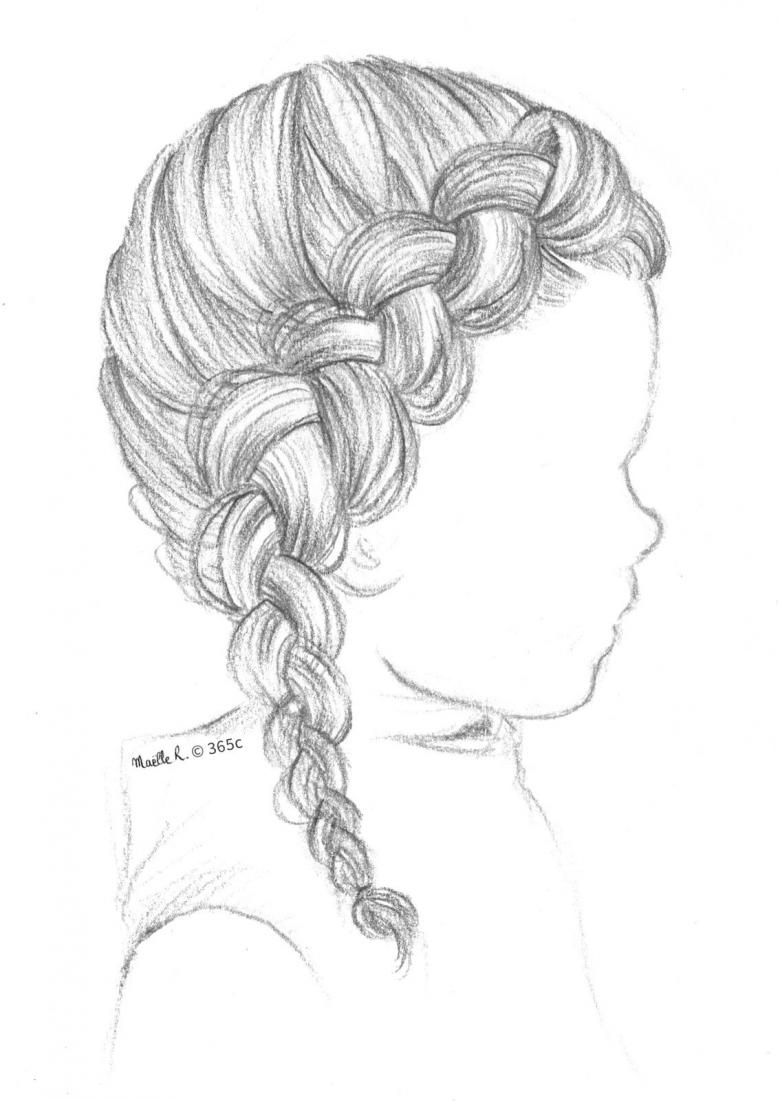
To draw a girl's head with braids, it is necessary to draw an oval, tapering to the bottom. It is not even necessary for a child to draw a face. In this lesson, all attention should be paid to the process of drawing the braids. Having created a schematic sketch of the girl's head, it is necessary to draw a curved line on two or on one side, on which the plaits are then traced.
The child should at this stage learn to draw the braid as a continuation of the hair, correctly shaping the hairstyle and the braid as its organic part. After the lesson on drawing braids, you can have a lesson on drawing a girl's head with braids.
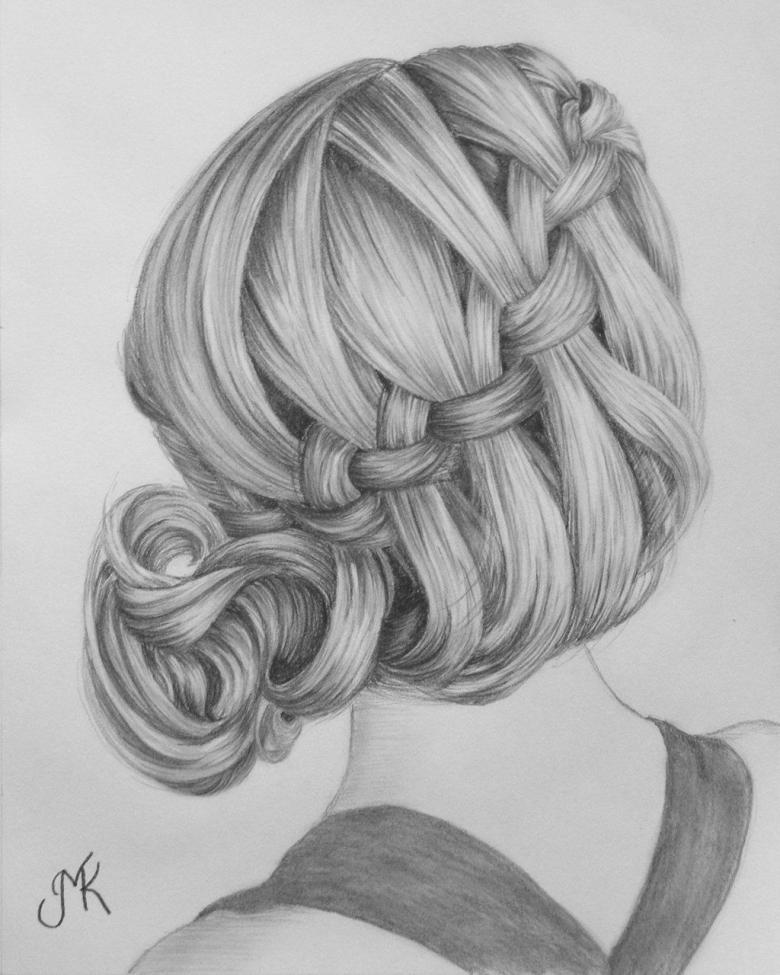
Photo examples and ideas for drawing braids