Knitting harnesses in knitting and crochet - a detailed description of the process, tips, photo examples
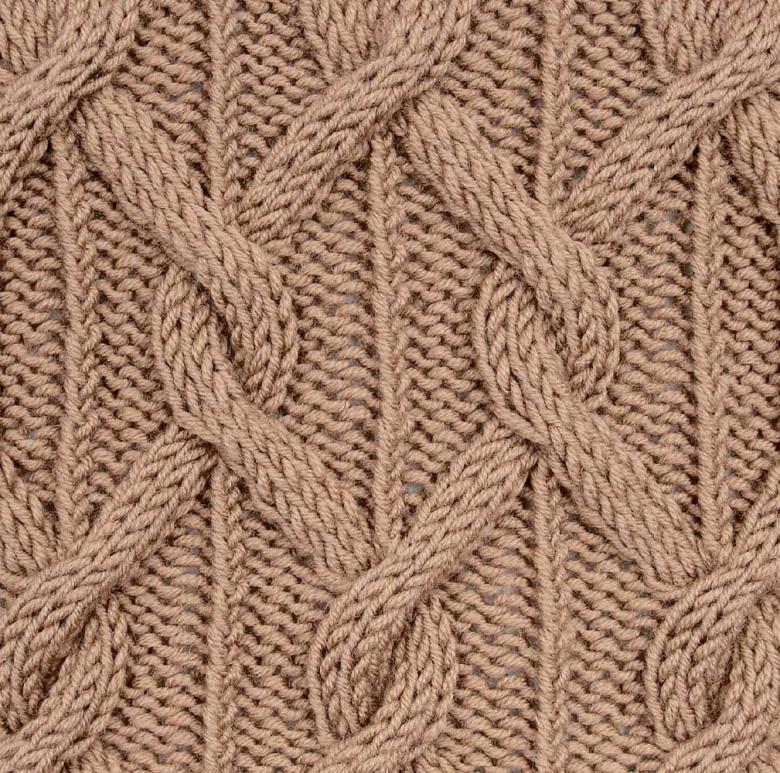
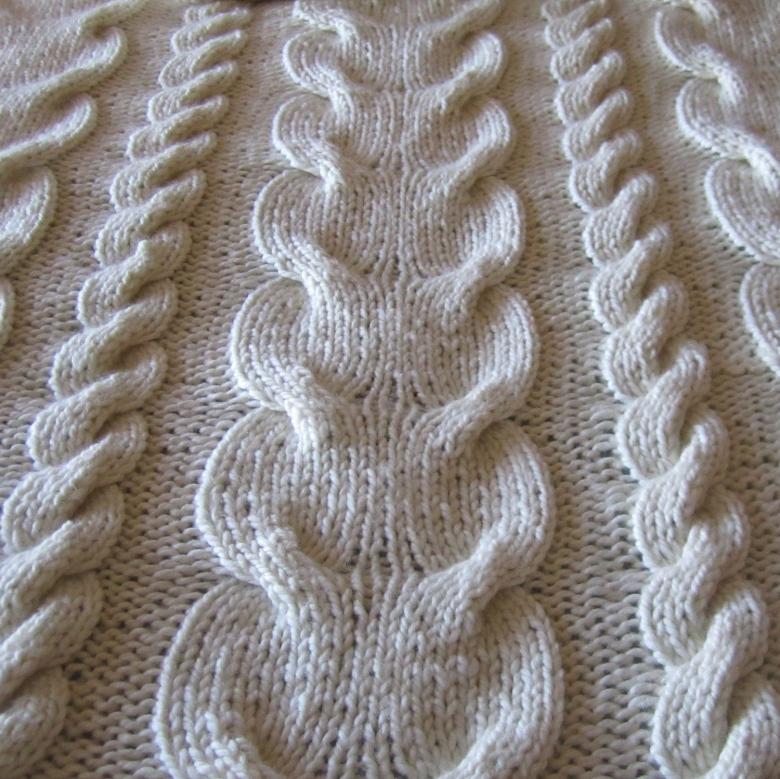
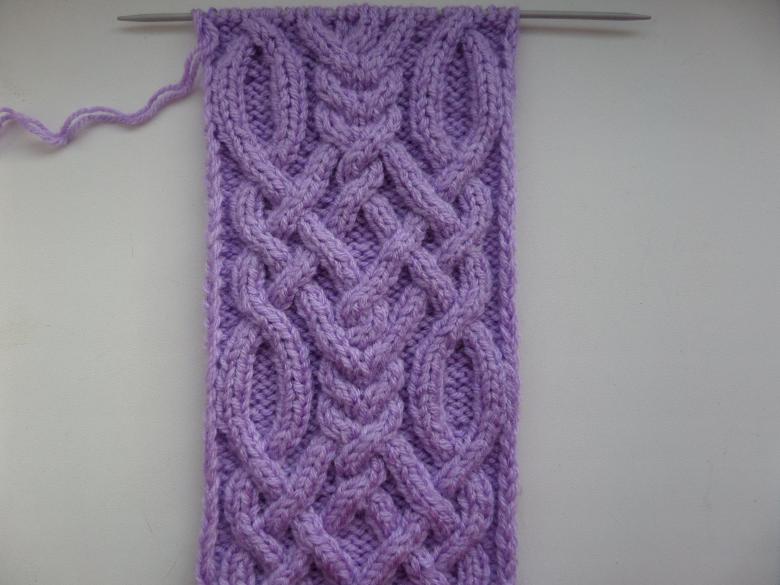
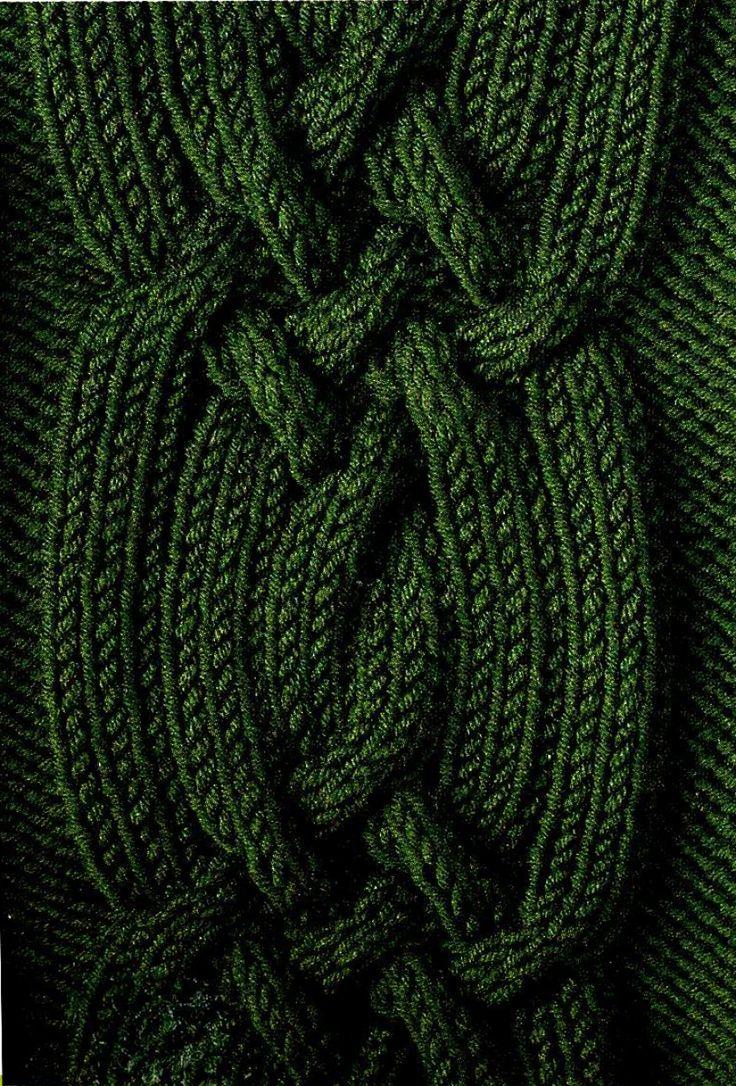
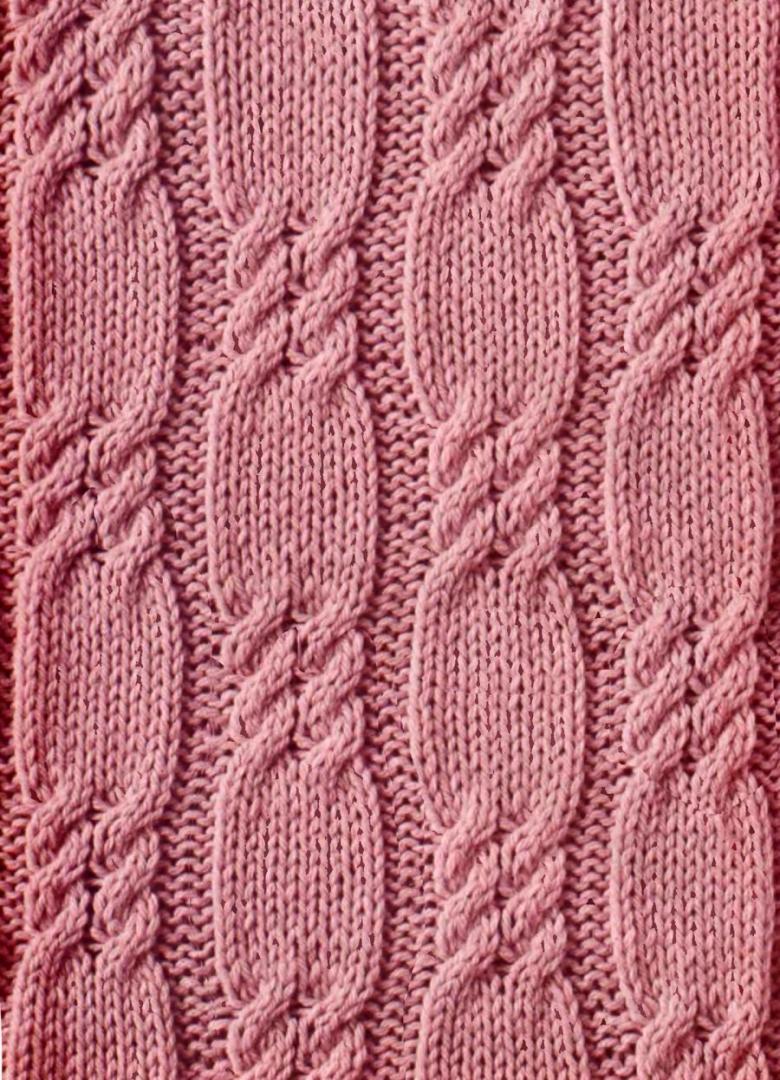
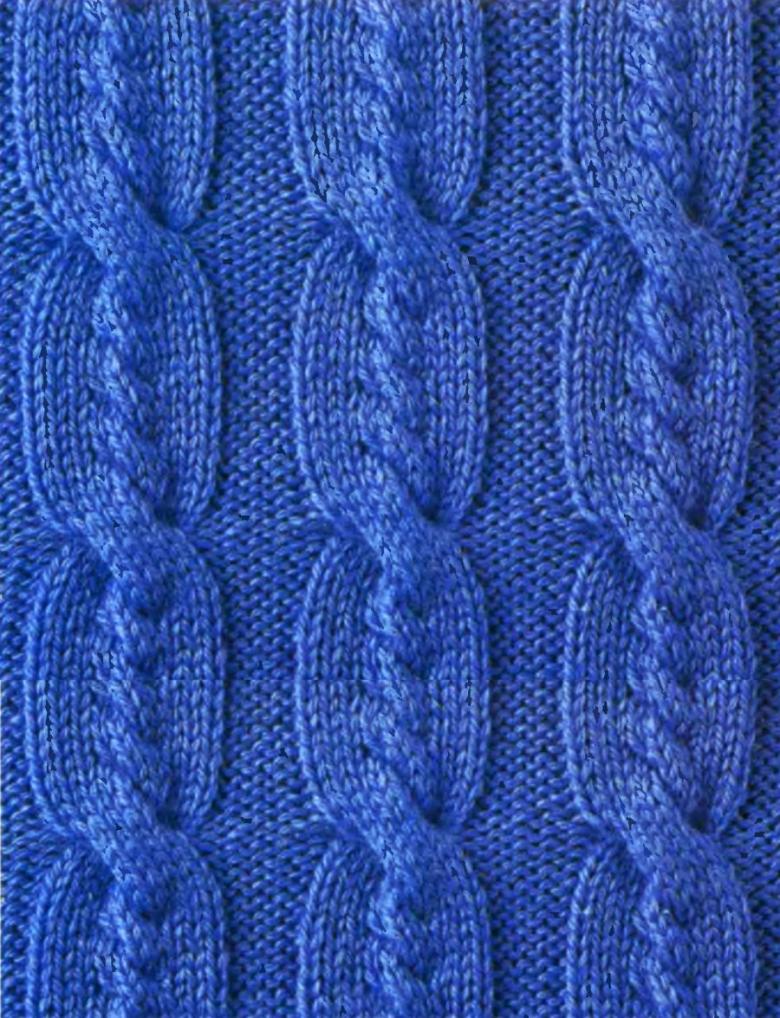
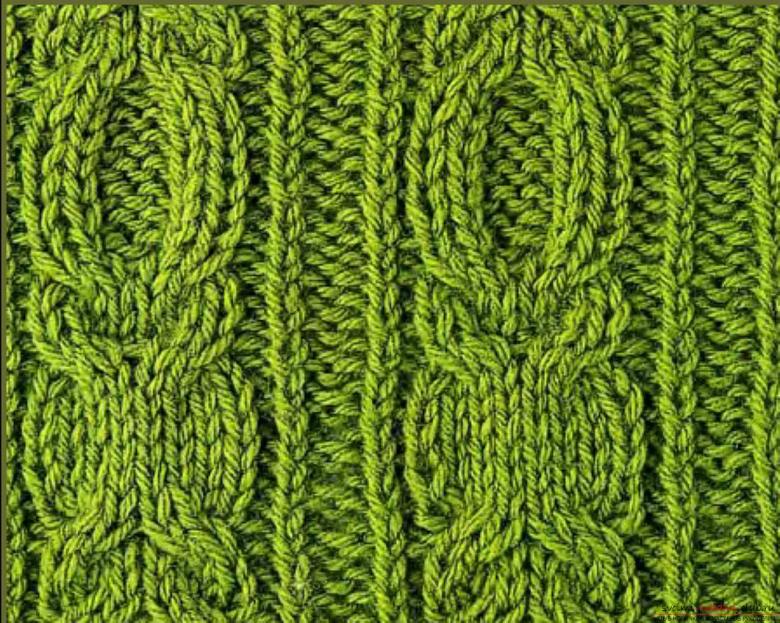
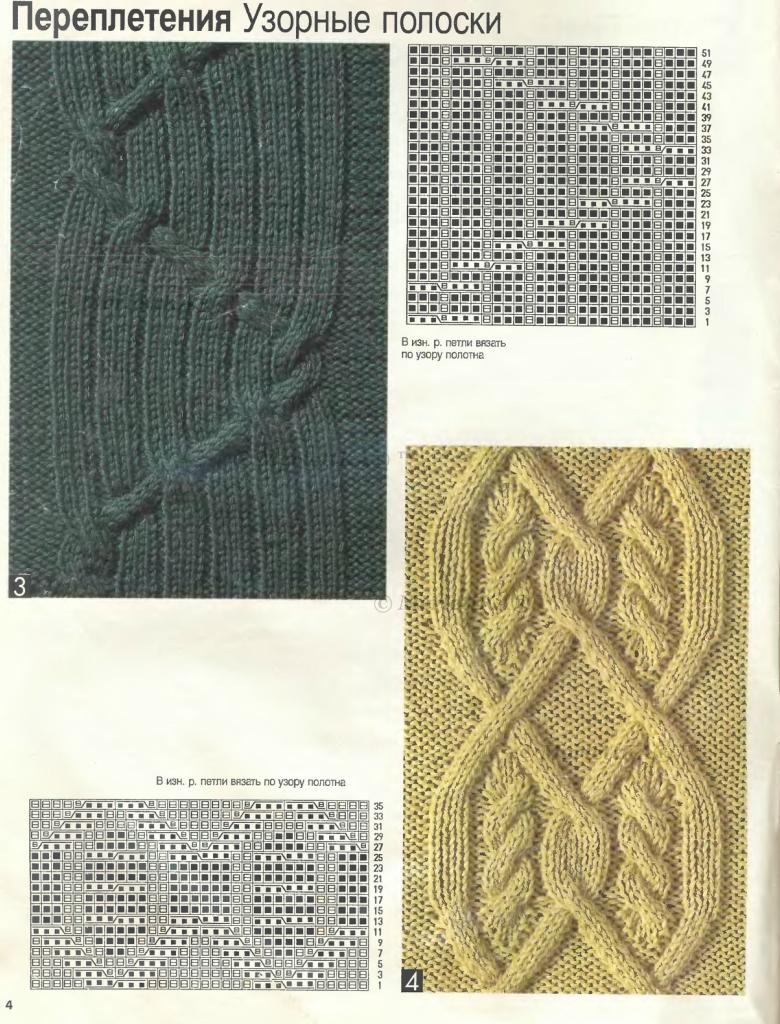
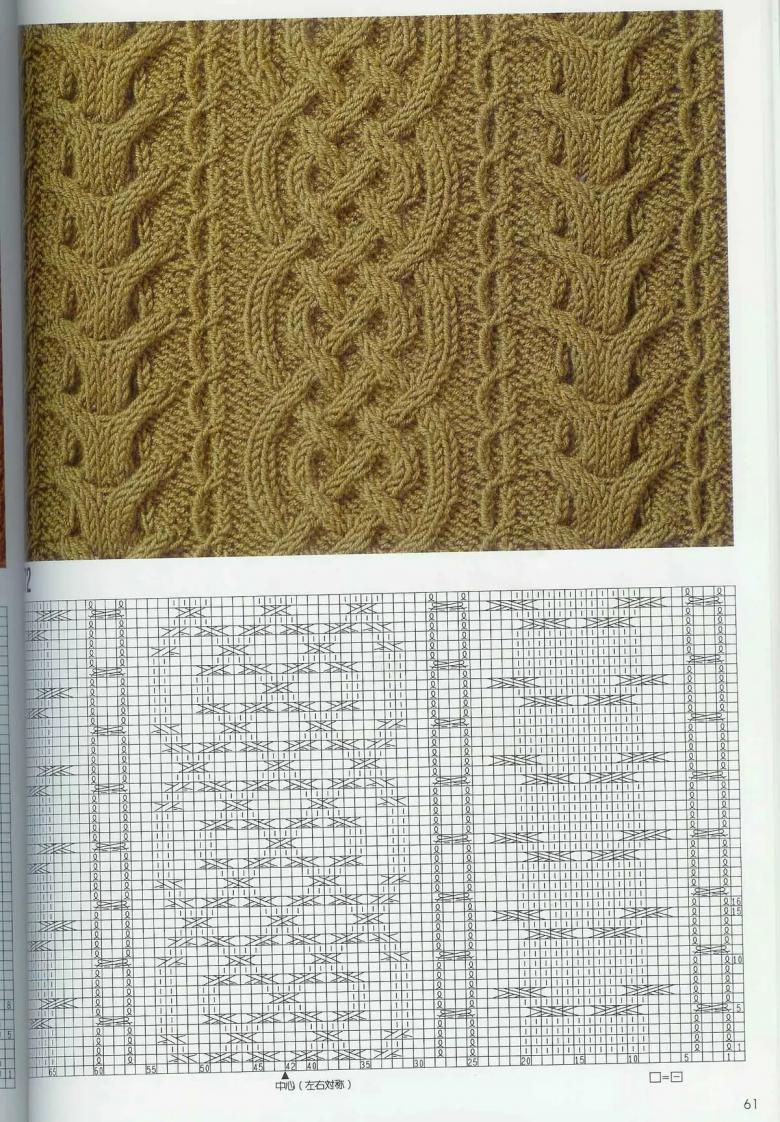
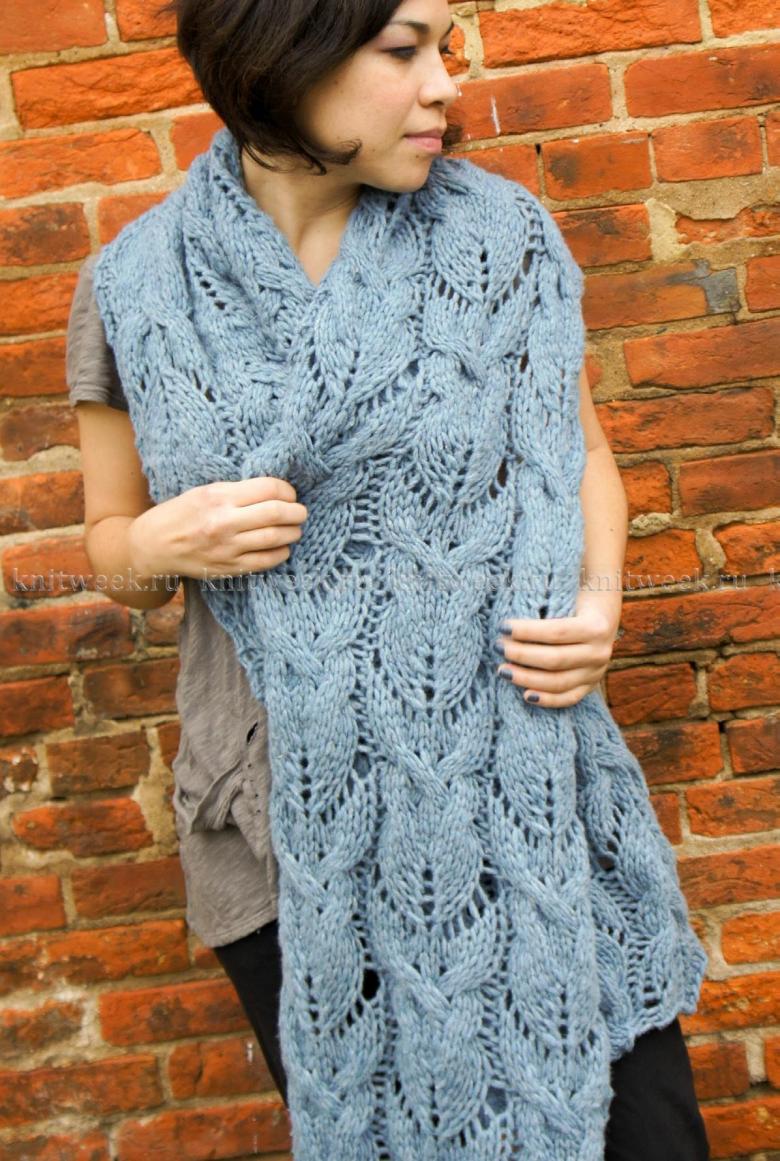
Knitted things look very spectacular, especially if unusual patterns, such as harnesses, were used in the process. They have a large volume of the pattern. The pattern is knitted, due to the fact that the loops are moved to the side on the right or left.
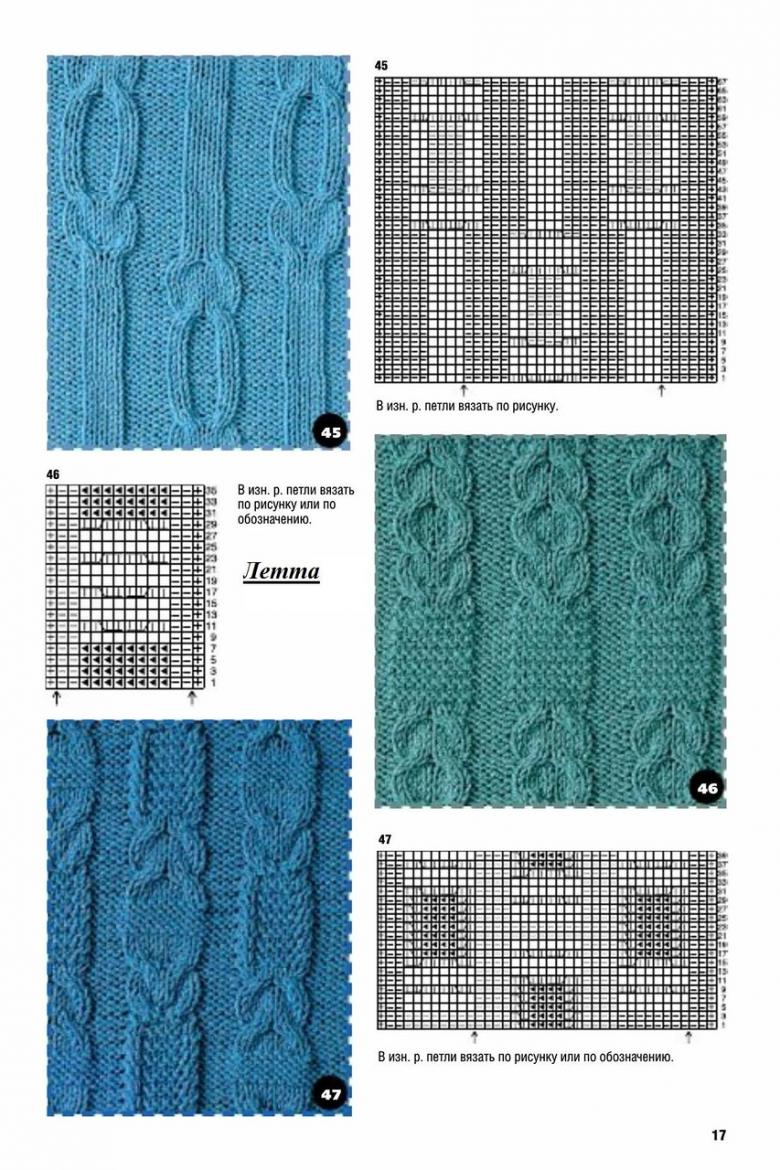
Knitting harnesses is not a difficult process, the main thing is to learn how to move the loops correctly. With the help of the master class and the description in the article, even a novice needleworker can cope with the harness.
Beginner Tips
There are no special difficulties in creating knitting harnesses, it is enough to devote some time to studying the types of loops to create a pattern. You will also need a considerable amount of patience, perseverance. For knitting need to get needles, pins. As additional materials will be useful tools in the form of:
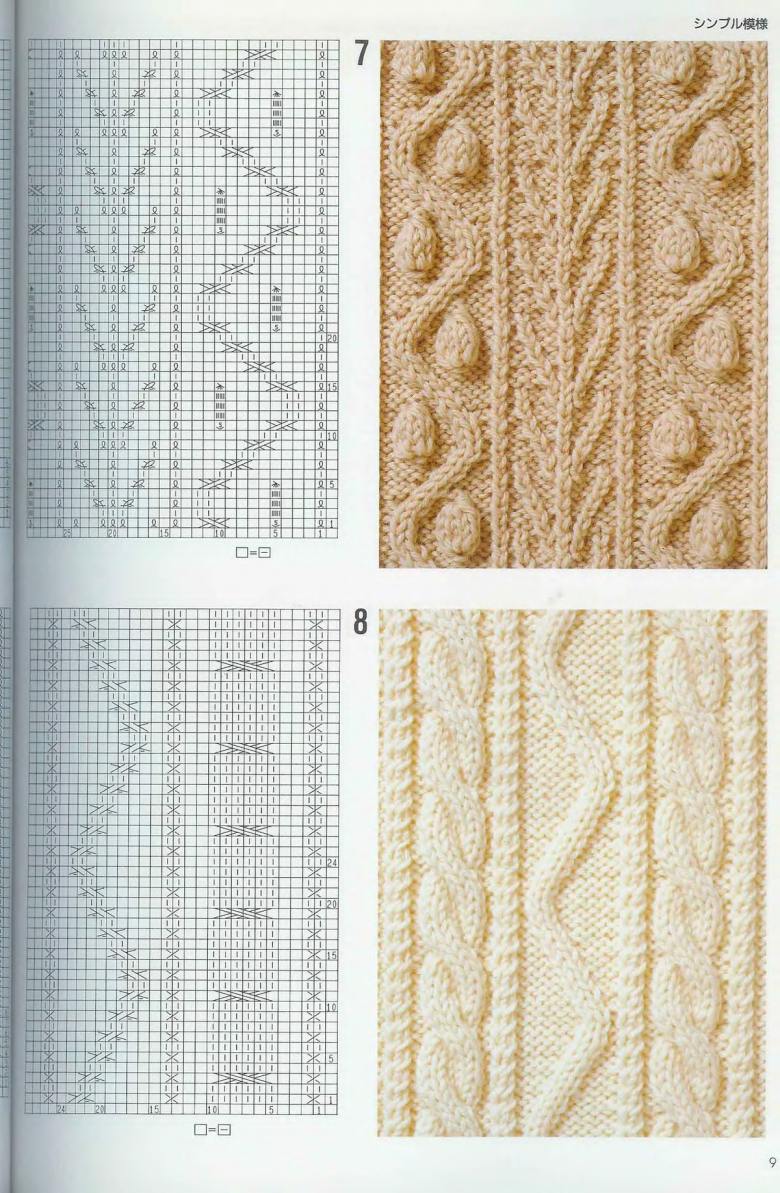
- A special needle. It is slightly bent in the place where the center is located. Such a needle will be needed not only when knitting a harness, but also a braid.
- The size of the auxiliary tool should be smaller than the main tool. This will add neatness to the pattern.
- In the absence of a special device, you can use a knitting pin.
Recommendations:
- To knit a particular width of flagellum will require thread suitable for the size of the pattern that has been chosen. For example, a wide pattern requires a thick and fluffy thread. For a thin pattern, take cotton.
- The pattern can affect the width of the fabric, this must be taken into account when purchasing the thread, counting the loops.
- The pattern has only two directions, correct it with an auxiliary needle. In the case of location of the braid behind, it give the direction to the right side, in front - to the left side.
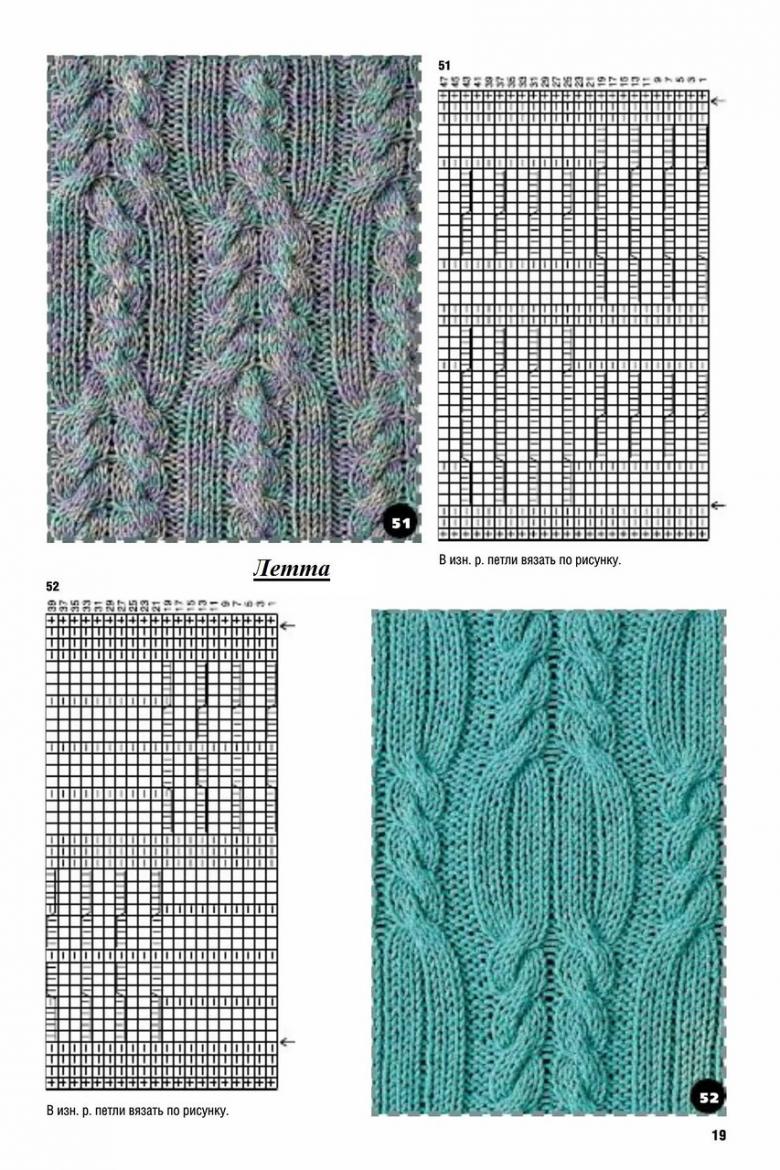
Knitting a simple braid
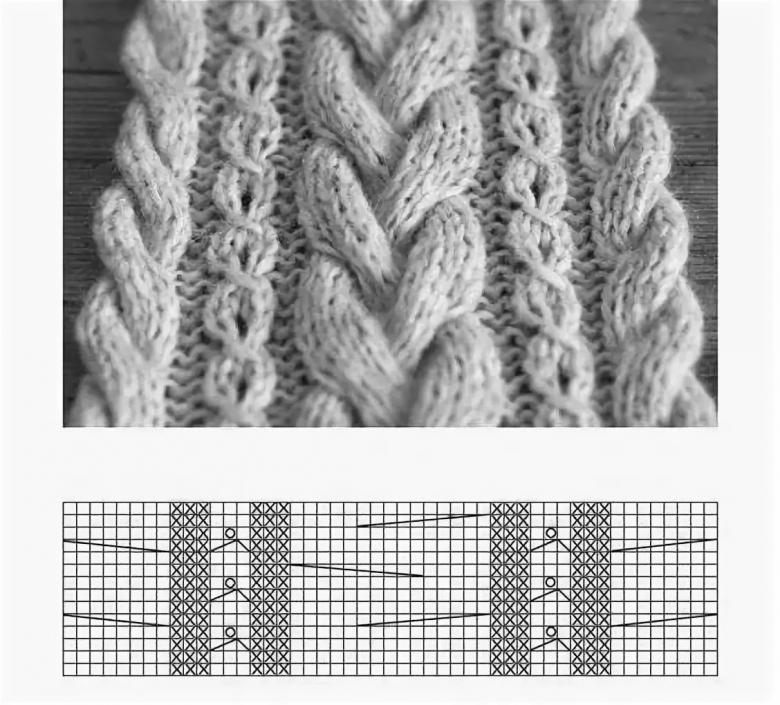
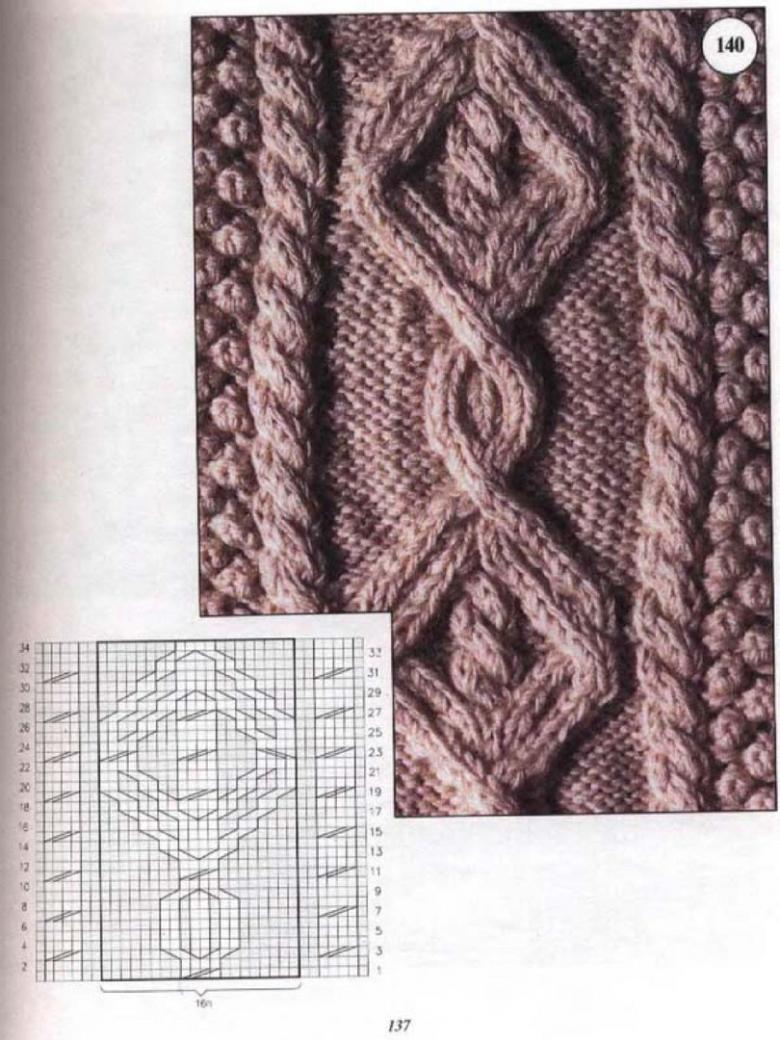
To knit a simple braid for a beginner, on the main fabric it is necessary to leave separately 8 p.-this number can be different, but it is worth remembering that at the crossing there is no situation with the formation of a hole, and the fabric did not turn out collected.

Knit the pattern should begin with a set of 14 sts, of which 8 - is the braid itself, 4 - to highlight the braid, 2 - for the edge.
Accepted abbreviations: krom. - crotones, sleeves - plains; faces - facing; st. - stitch; ssn - no stitch, ssn - double stitch, pls - half stitch.

The pattern is knitted as follows:
- 1 p. - crochet, two of them, 8 faces, 2 of them, crochet.
- The second, third, fourth knit, adhering to the pattern.
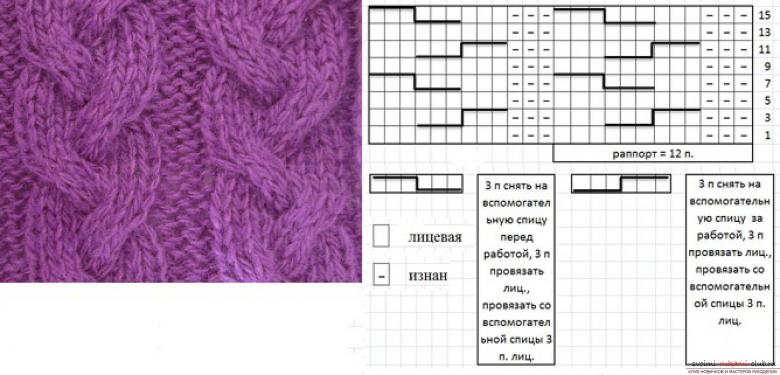
- 5th rd. - The crumbs, 2 of them, 4 pieces removed on a pin or, using an auxiliary needle, leaving unkempt, keep in front of work, linking the next 4 sts, transfer from the pin to the left hand, knit, leaving behind the fabric - all this helps to form a cross to the right side.
The end of the row is completed with two sleeves and a crochet.

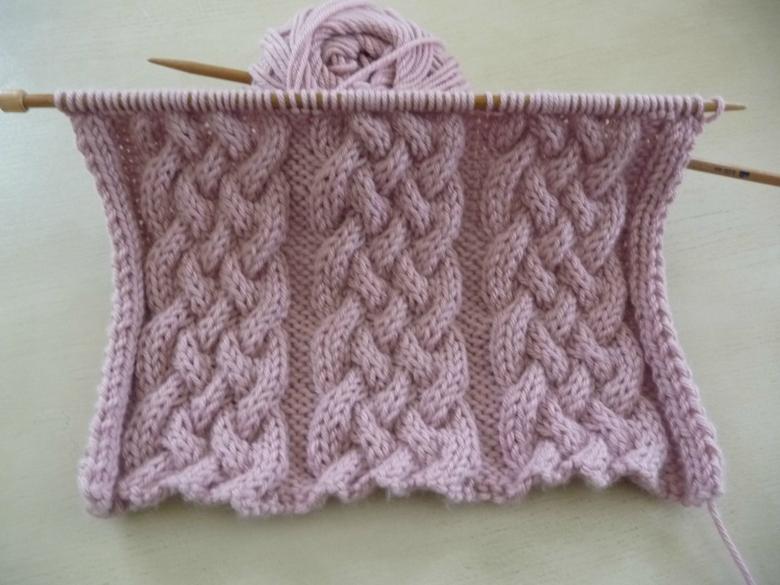
From the sixth to the twelfth row knit in the direction of the knitting, then the loops are crossed as in the 5th p. This pattern can be used to knit anything. The braids, made in a row, look spectacular on products in the form of hats, sweaters, vests, scarves for all ages.
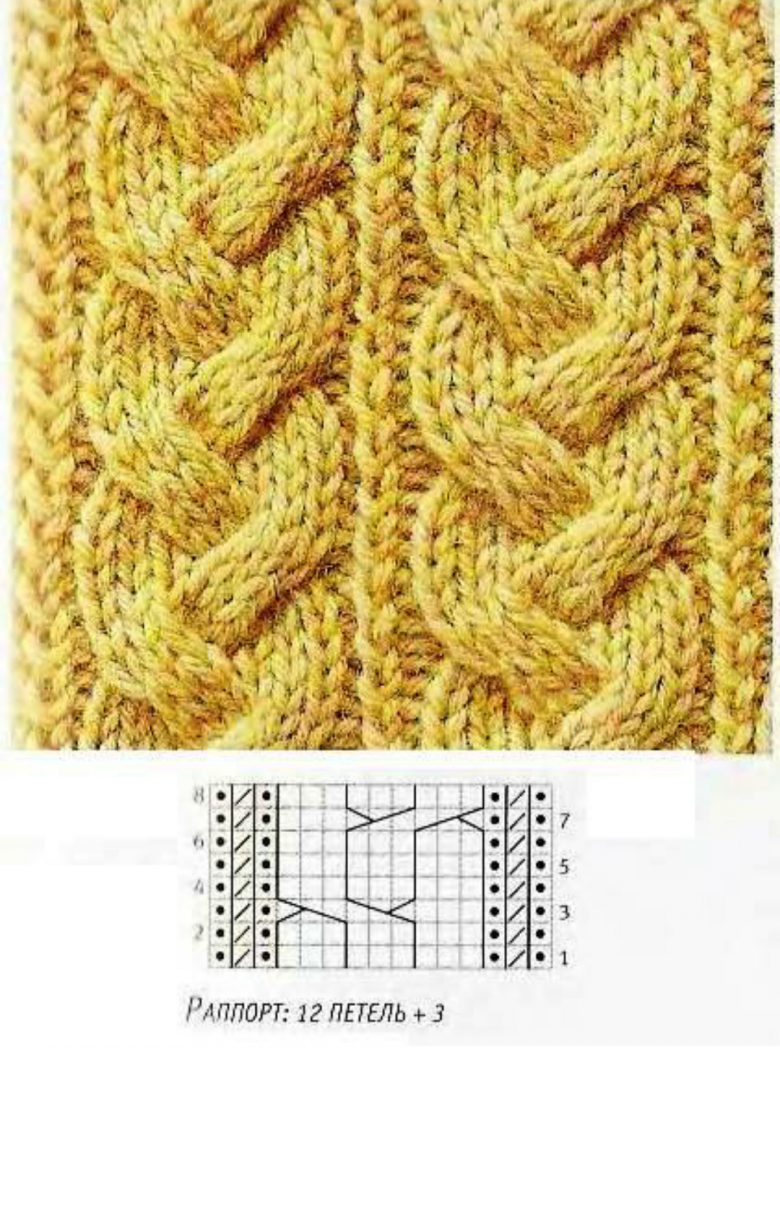
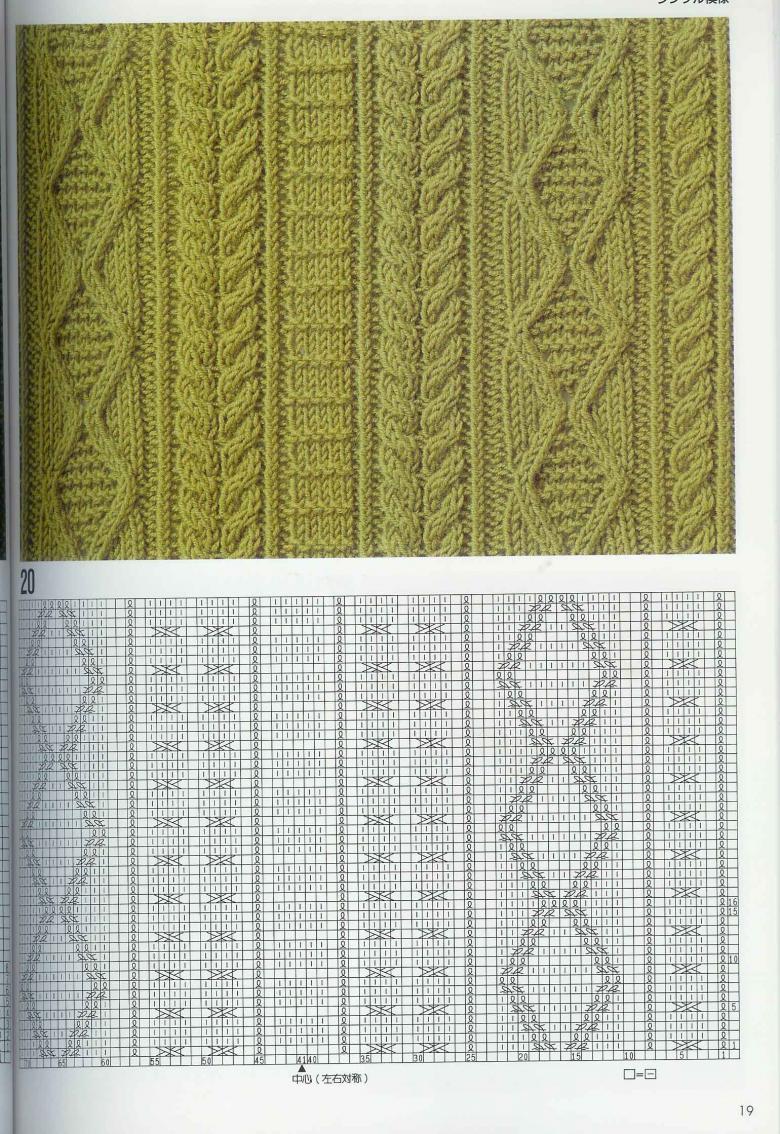
Tourniquet with vertical stripes
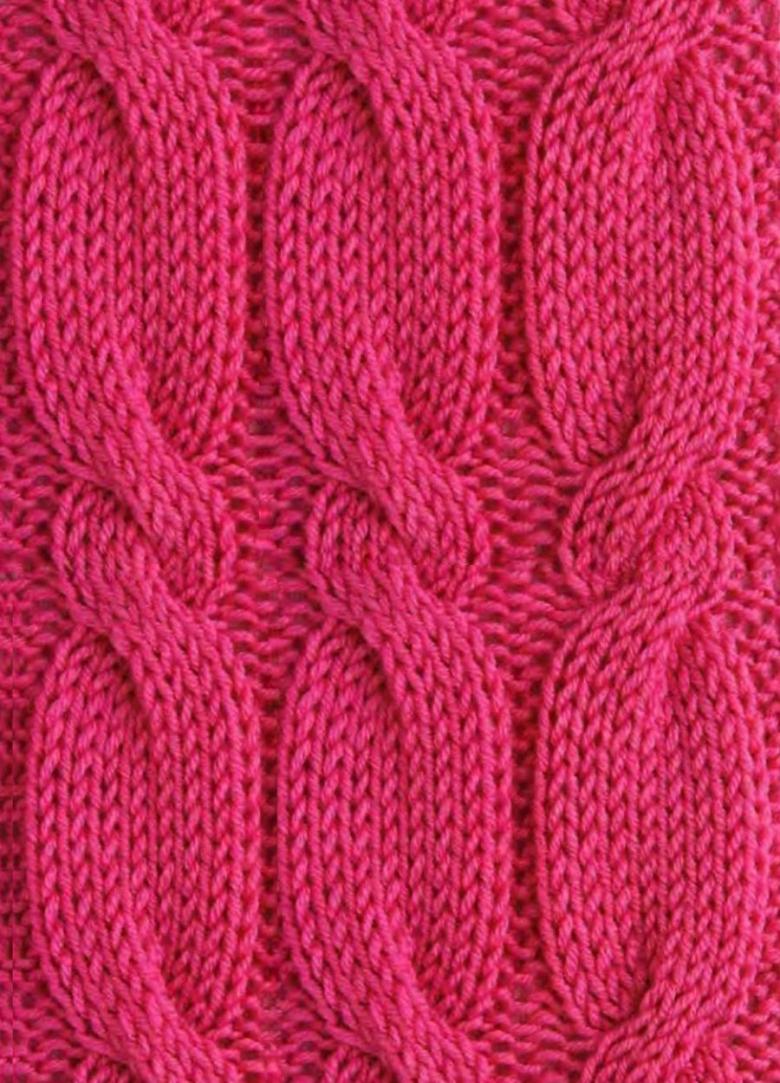
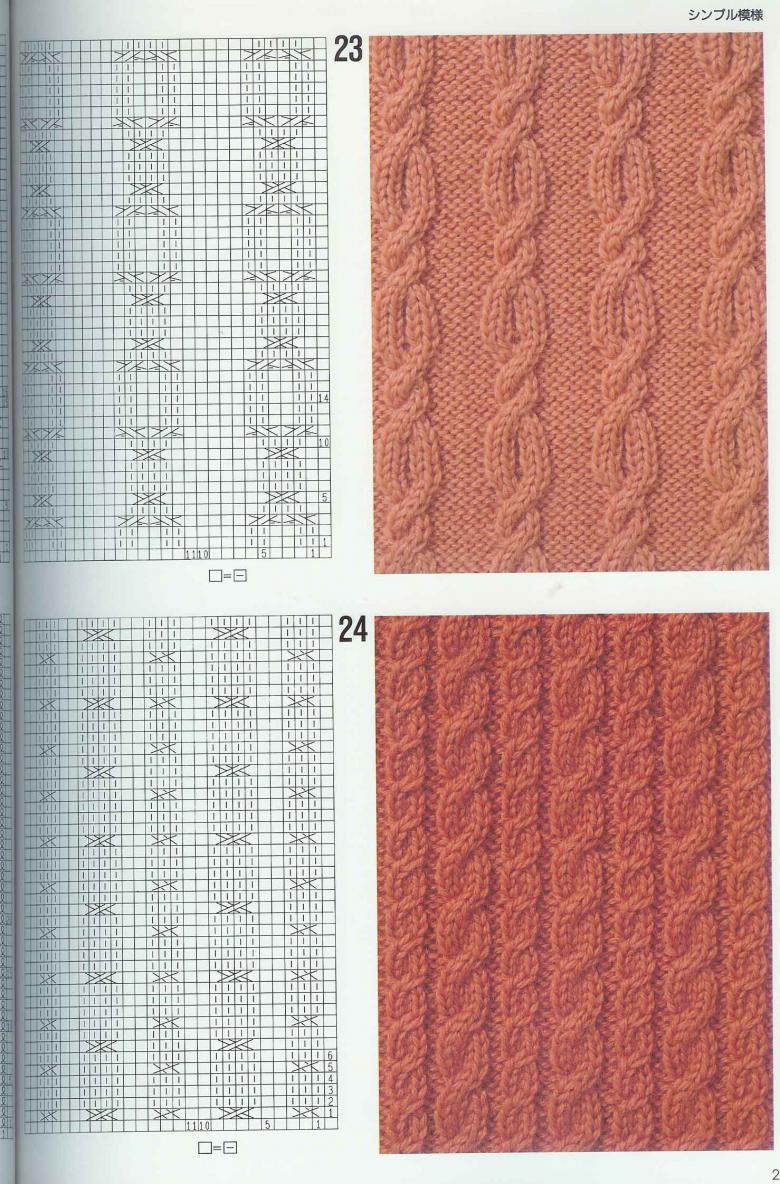
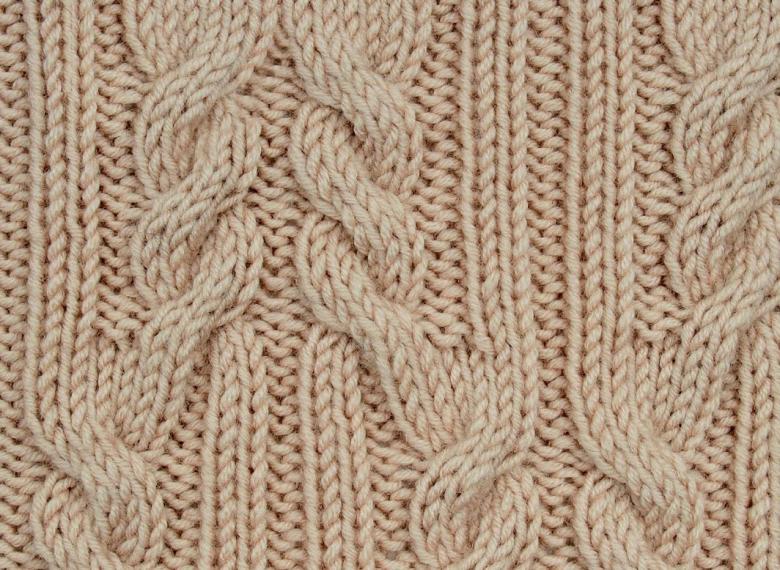
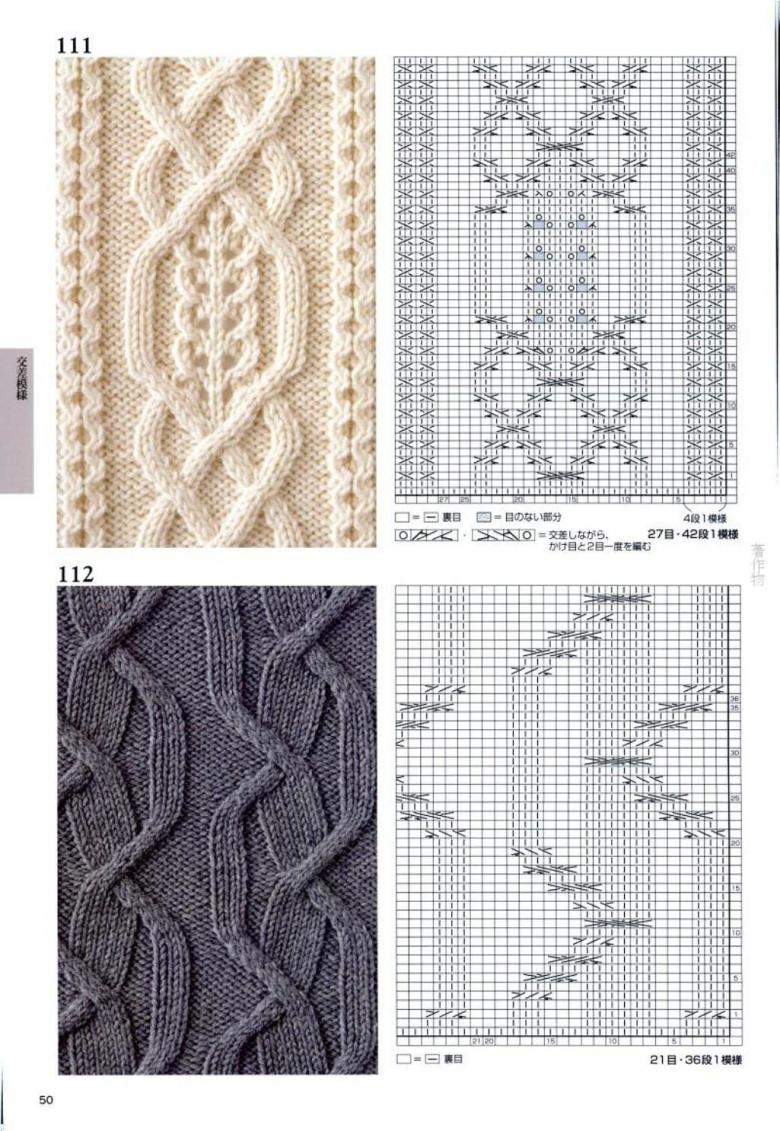
Performing this pattern is not difficult - the work requires only 4 p., which are then crossed. This gives the stripes extra relief, expressiveness, which makes it possible to use them in any product.
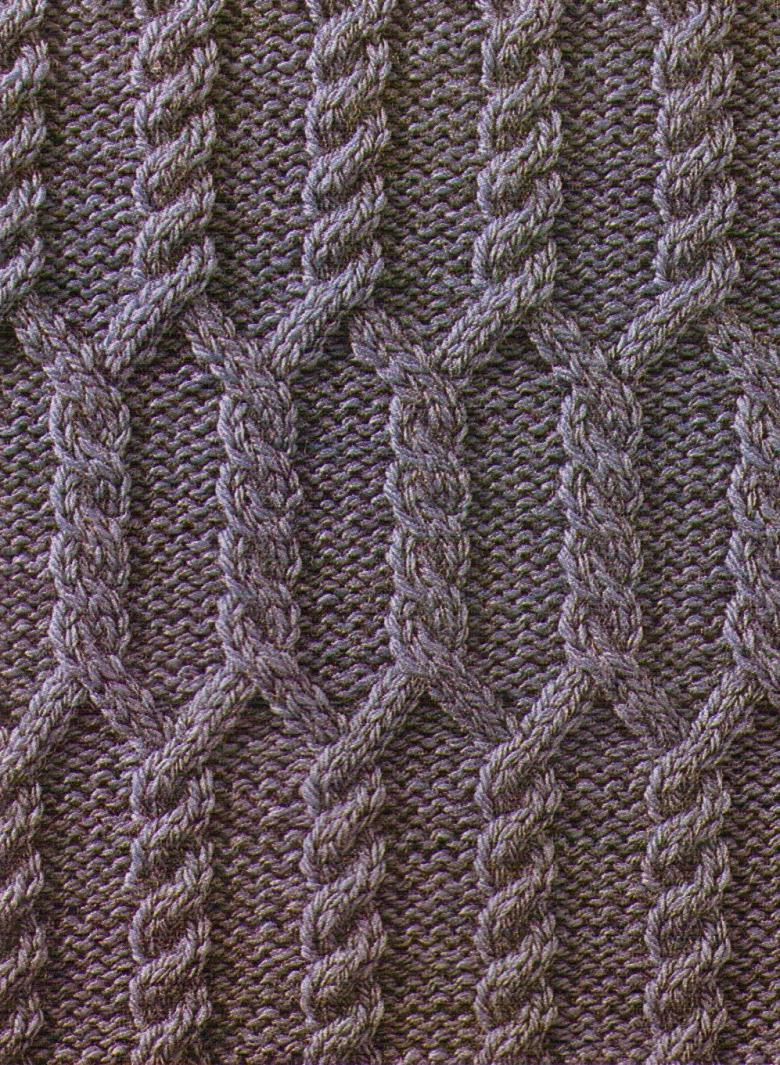
Start knitting with a set of loops, multiple of 6, adding 2 sts for symmetry of the pattern, 2 crumbs. For example, 34 sts. Then follow the following order of sequence:
- The 1st p. contains 2 crochets, 2 faces, then knit a rapport - 4 of the s... 2 faces, repeating until the end, the crook of the neck, is untied.
- The 2nd rd. - 2 rn, cross 2 sts. to the right, for which perform the 2nd st. face, pulling it in front of the first, and then knit the 1st. The row ends with 2 offs and a crochet.
- 3rd rd. - There is a repeat of the pattern, including the first row.
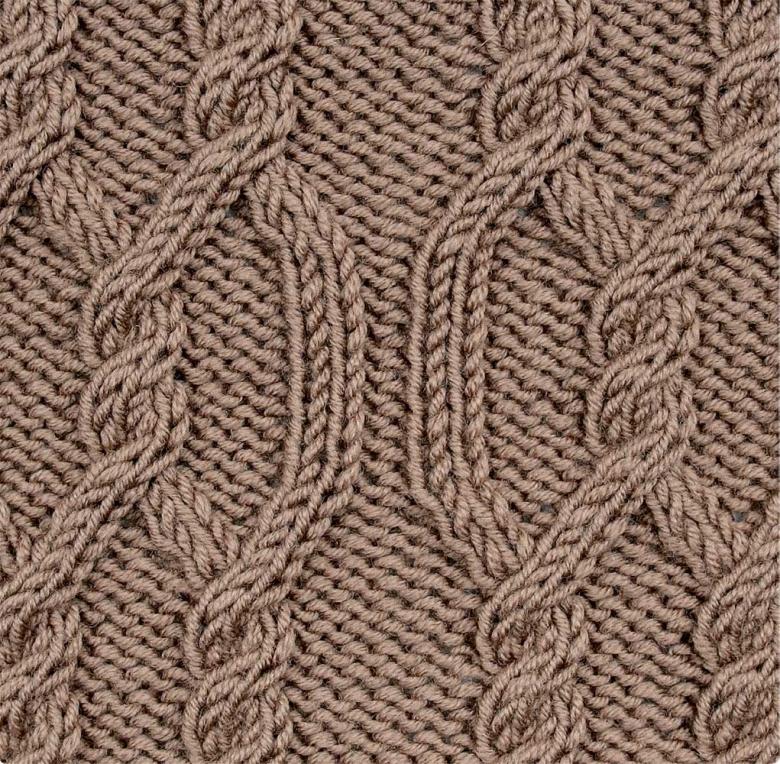
Crochet braids
When knitting blouses can be used not only with needles, but also with a hook. The product associated with this tool is indistinguishable from the use of knitting needles. Crochet crochet
- Classic braid;
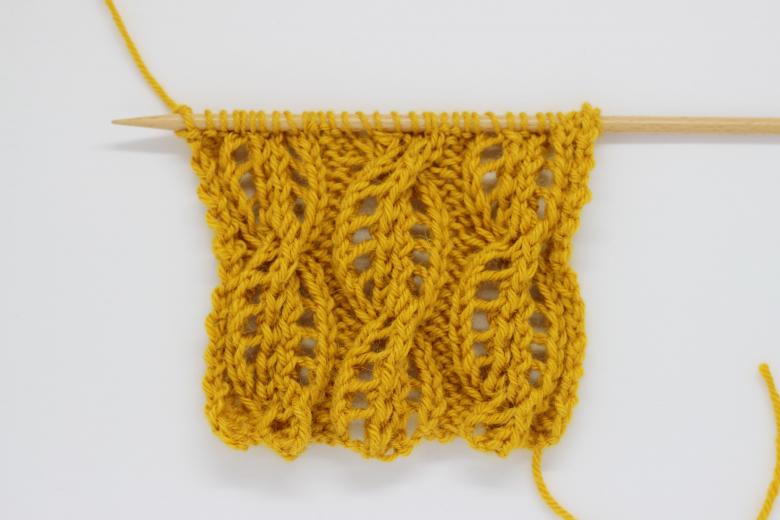
- Tourniquet with openwork fragments
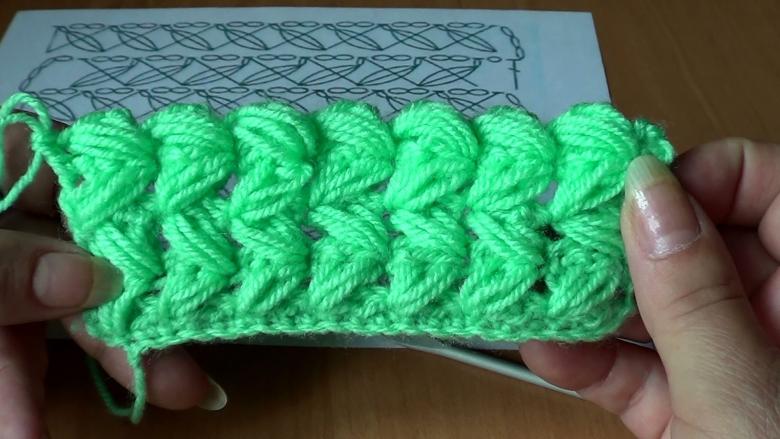
- Braid, created by "shells".

All methods have their differences, but their use leads to quite a characteristic pattern. Each one is complex in its own way. That is, the crocheter must determine if the instruction is suitable for her capabilities before beginning to learn how to crochet.
The easiest way to crochet crochet
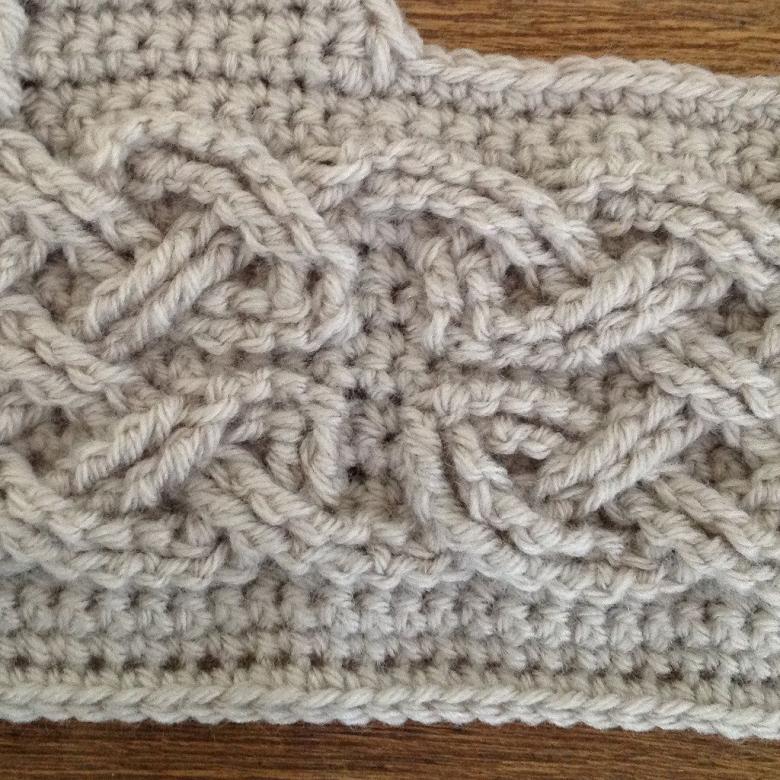
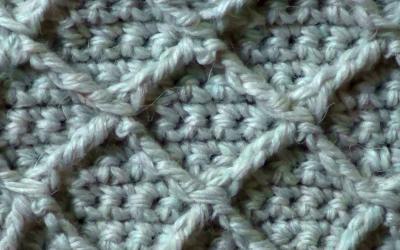
The first item is not new, it has successfully proven itself for a long time. To crochet these harnesses it is not necessary to have a scheme. Here we can provide only one picture to illustrate the 3 steps presented:
- making a cloth that has transverse holes
- intertwining the strands;
- the finished braid.
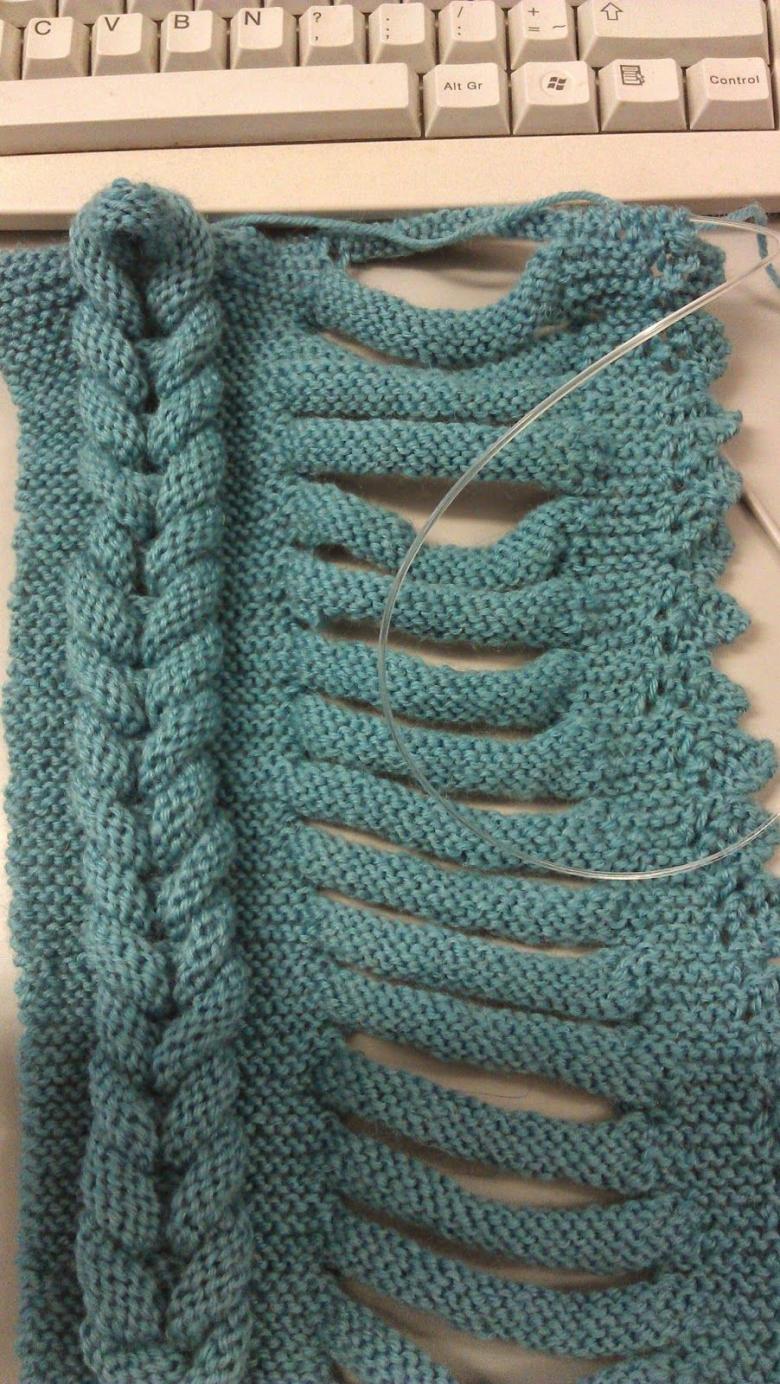
The pattern is quite simple to execute. It is necessary to make calculations of the main section in width, the number of spn for all sections. Example for knitting will help to achieve the correct dimensions.
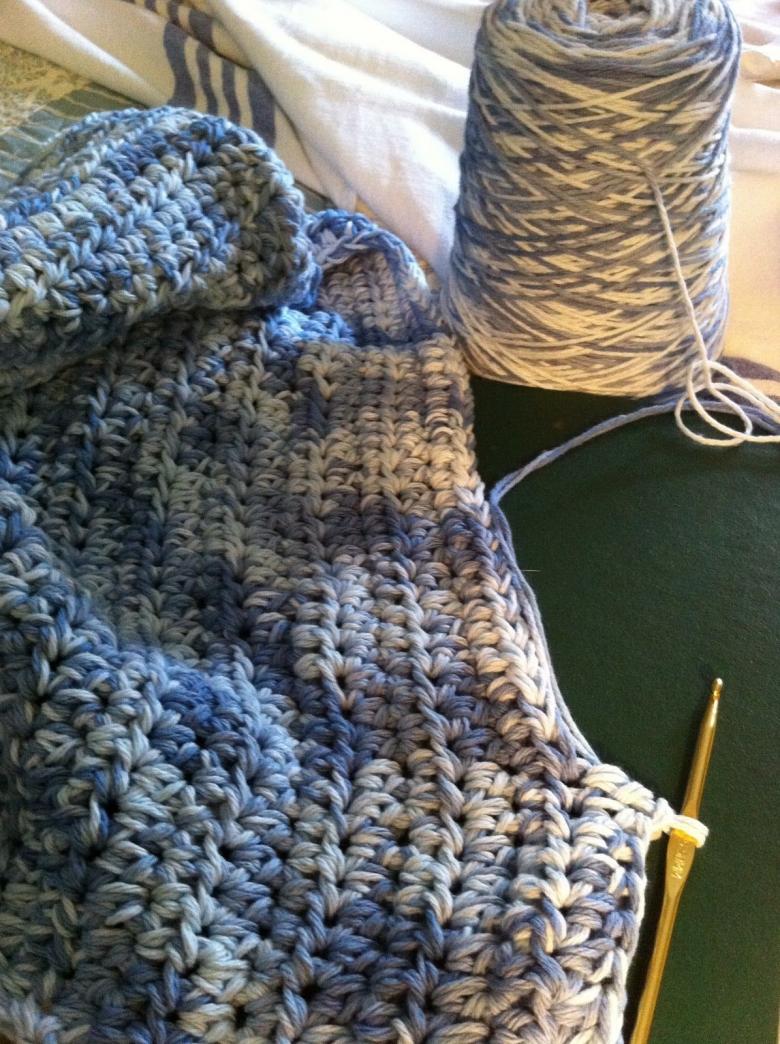
Then dial that number of loops, so that the whole piece is formed, should, represented by the section of the cloth before the braid, the length of the strand, the fragment after the braid.
Next, a few rows of stsn. (four or six, based on the thickness of the yarn.
How to form a strand, braid a braid
To get a slit of the required size, you should at the beginning of the row perform that number of columns that make up the section of the fabric before the braid. Then make a set of as many air loops as necessary to form one strand, skip the same number of stsn of the previous row, carry out work with the part of the cloth that goes after the braid (knit stsn). The next row should be distinguished by the knitting of a single stsn. This will get the necessary slit, and the number of sts will remain the same.

These actions the needlewoman performs until the end of the planned part. Figure can be obtained by using a large hook (#6), their mistress carries out the capture of one strand, pulling it under the other. Then everything is repeated all over again.
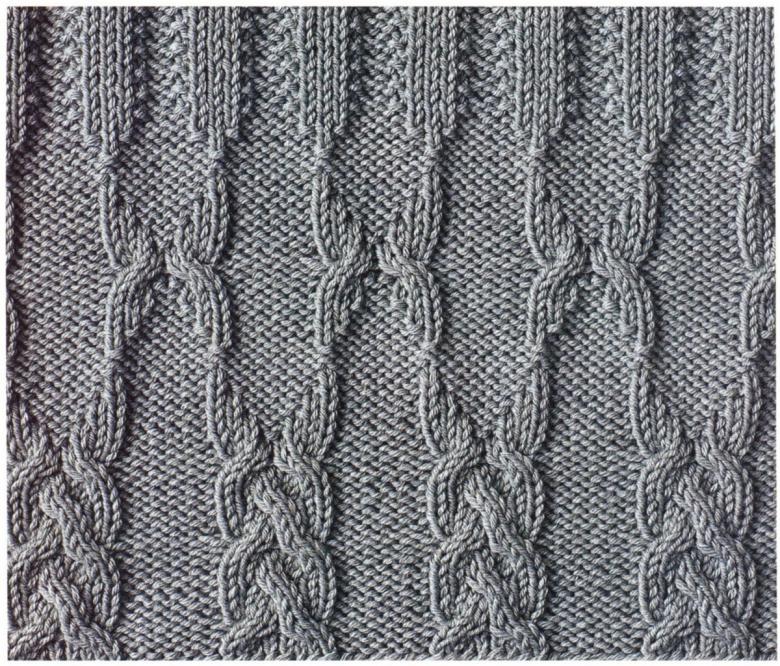
With the help of this technique it is possible to make clothes, cushions, various covers, etc. More effective will look harnesses with beads tied into them.
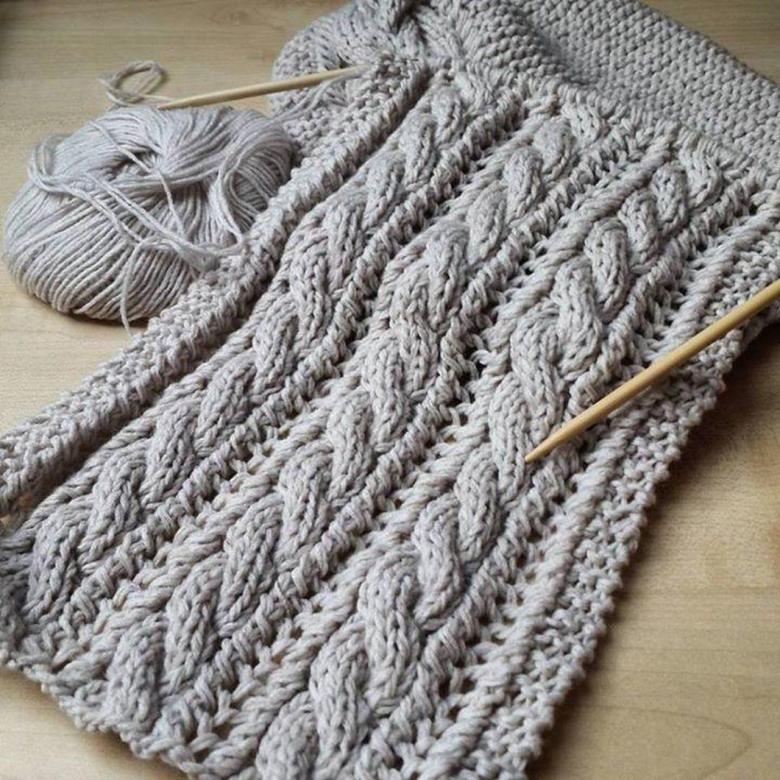
Using "shells" in knitting
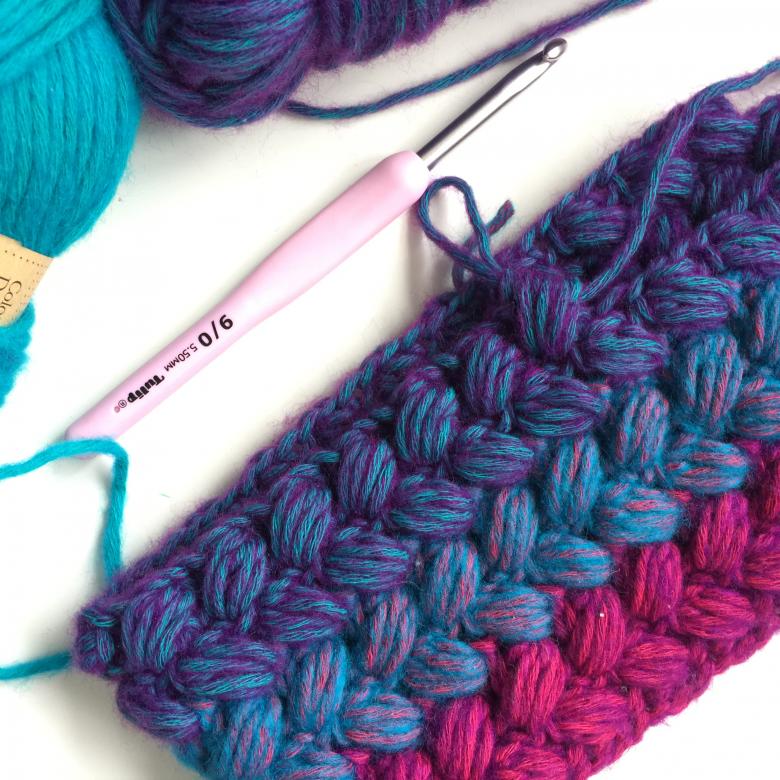
It is more complicated than the previous one, because the knitter must be able to do not only the rip and stsn, but also the rip-and-fold columns, semi-colons (pls). But this method has the advantage of a simpler calculation of loops.
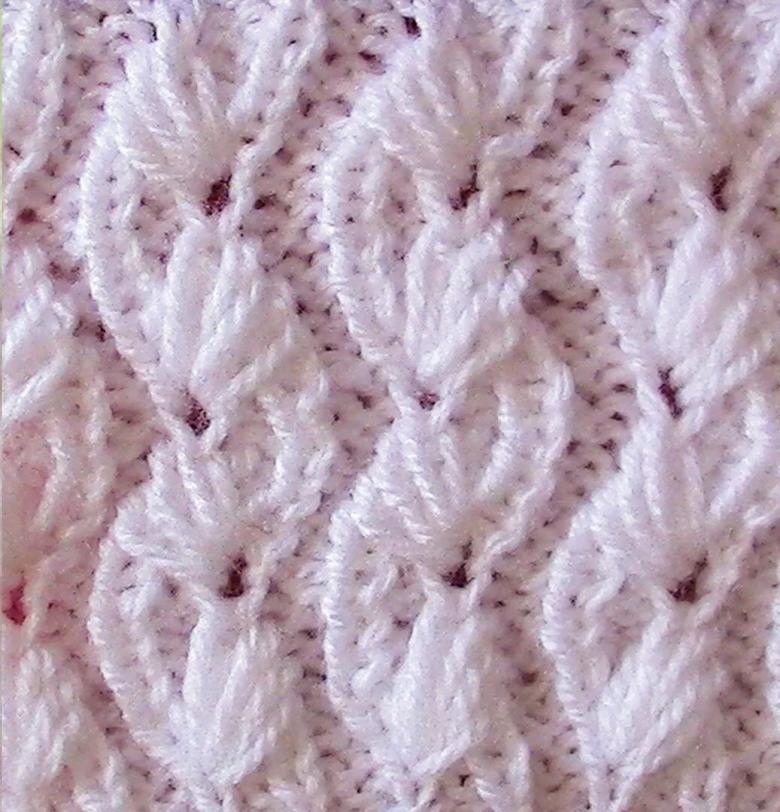
To form a harness using a hook to make a set of such a number of loops, which is the width of the parts, not including gaps, allowances.
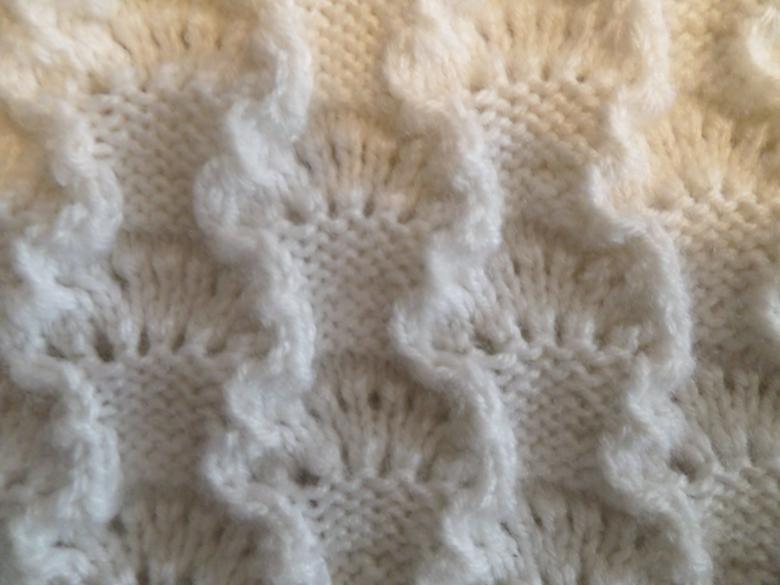
When knitting, use the first row of stsbn. From the second knit the pattern itself:
- Carry out the knitting of the section up to the braid itself;
- Knit 12-16 p., taking into account the thickness of the yarn;
- There is the formation of the loop, then the fabric should be turned. The turn is necessary to perform a shell, the continuation of the knitting section after the element itself.
- Knitting the pattern is done with stsn, plsn, 10-15 stsn (the number depends on the specificity of the yarn), plsn, stsn, stsn.
- The ssn is performed until the end of the row. Then the knitting continues by repeating the above steps.
Completion of the finished fabric is done by weaving all the shells, resulting in a finished pattern.
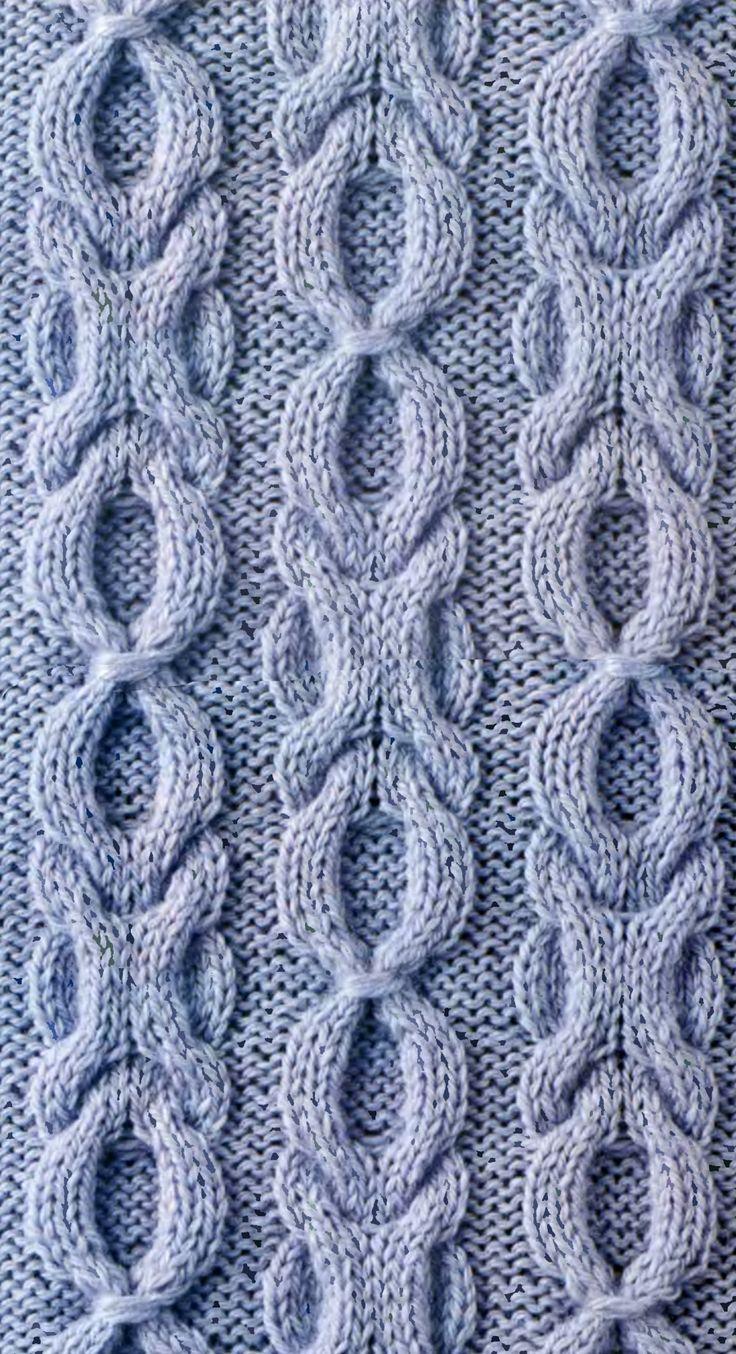
The schemes are characterized by the convenience that there is no risk of descent of the loop or skipping the weave as in knitting with spokes. But there is a need to watch the location of the shells in their places, otherwise the pattern may not work out.
So, knitting flagellants is not difficult, and the patterns themselves look quite beautiful on a variety of products.

