How to knit mittens by needlework and crochet - a step-by-step description of the knitting schemes for beginners.
Knitting, as a kind of needlework, has long been known. Centuries and centuries have passed, skills, materials and tools have improved, but knitting is still a favorite activity of modern needlewomen. They can make many beautiful and cute things, using a skein of yarn, needles or crochet.
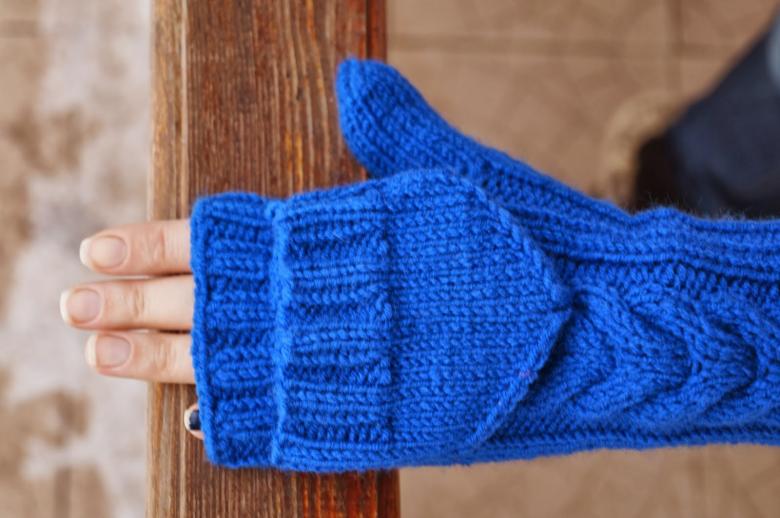
Knitted items are always in demand by everyone. They are loved by women, men and children alike. Sets of knitted knitwear are not leaving the catwalks of fashion shows, surprising and delighting us with their new solutions.

Many things can be knitted with high quality and without spending a lot of time, even without the experience of a craftswoman. Cute and almost designer accessories made with needles and crochet by hand - mittens, gloves, scarves. They can be knitted from leftover yarn as an addition to the already connected cap and sweater. You get a stylish set that you can not buy in the store.
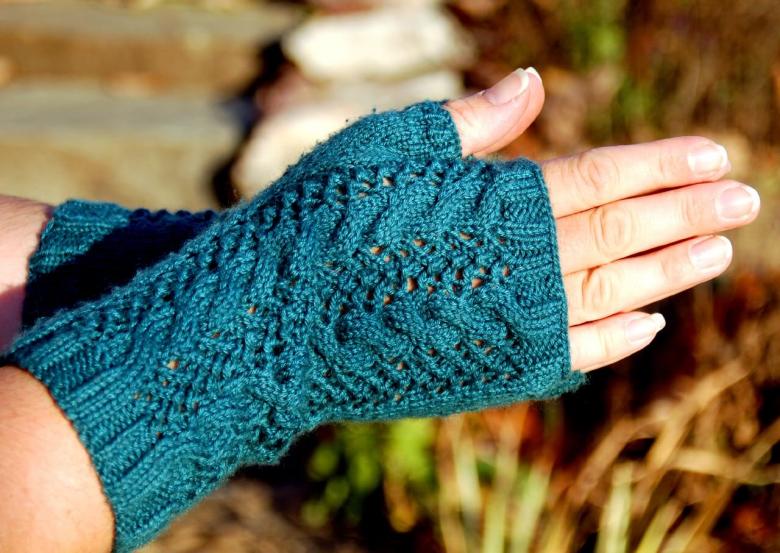
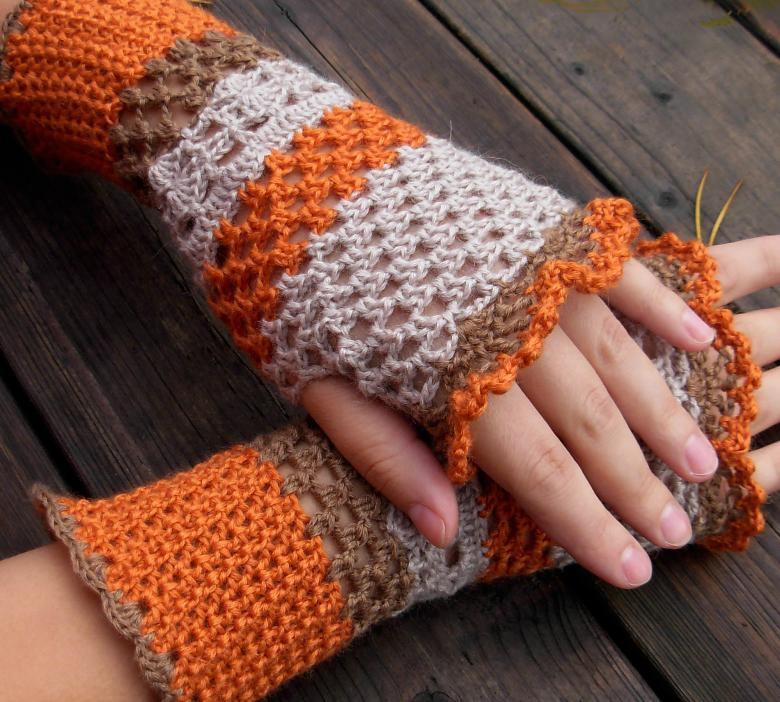
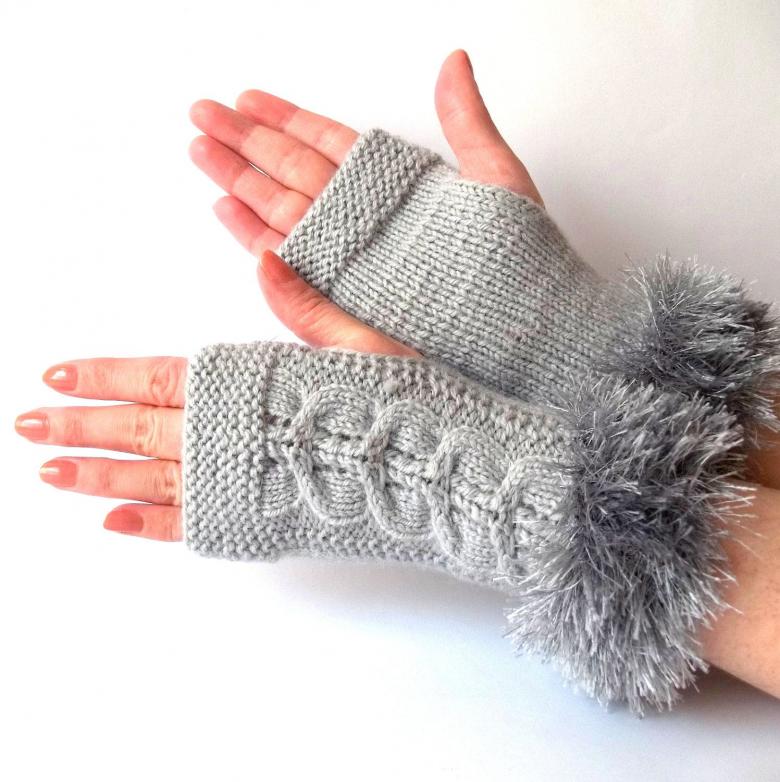
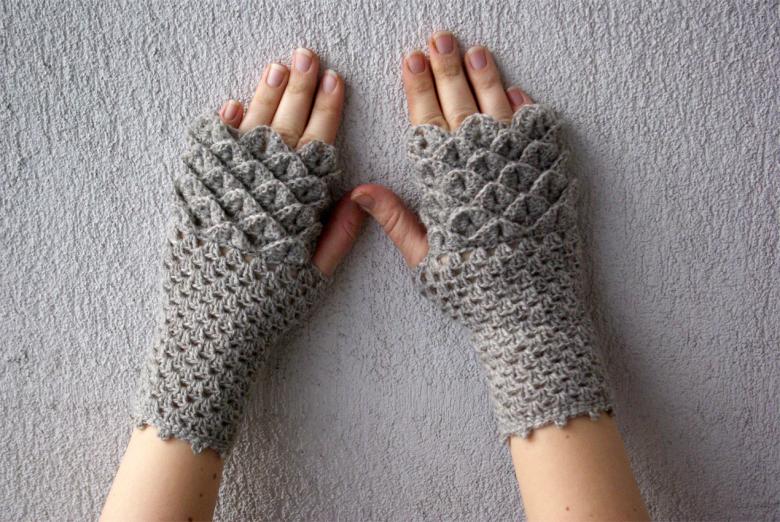
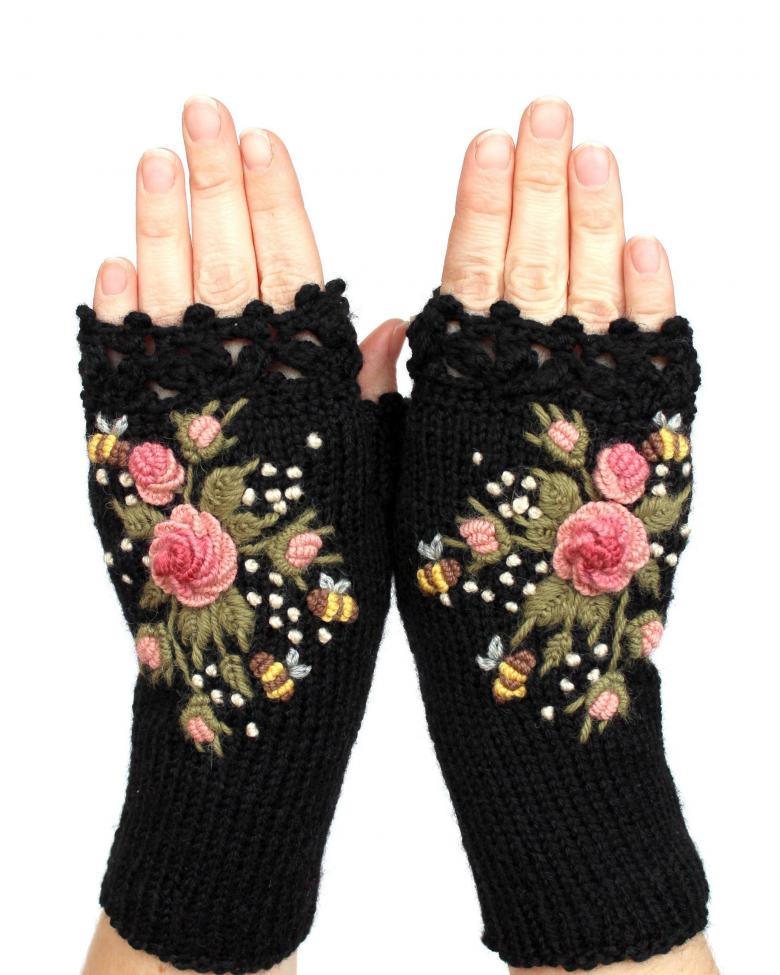
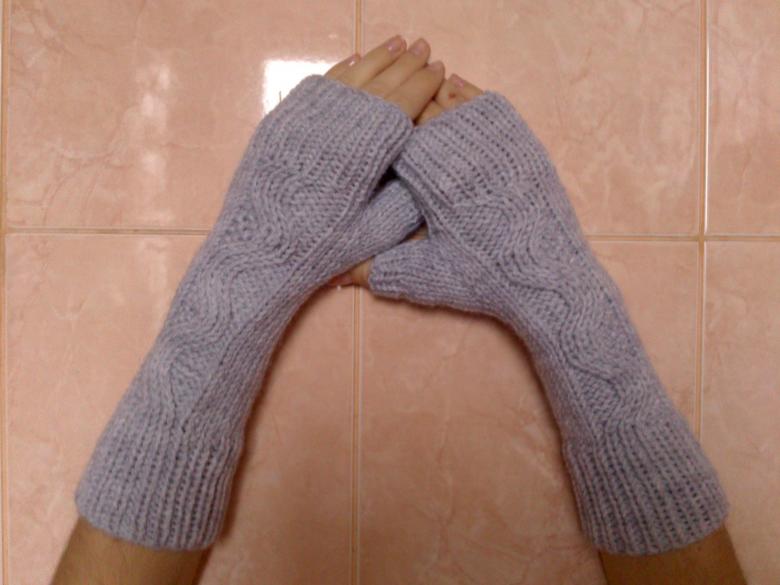
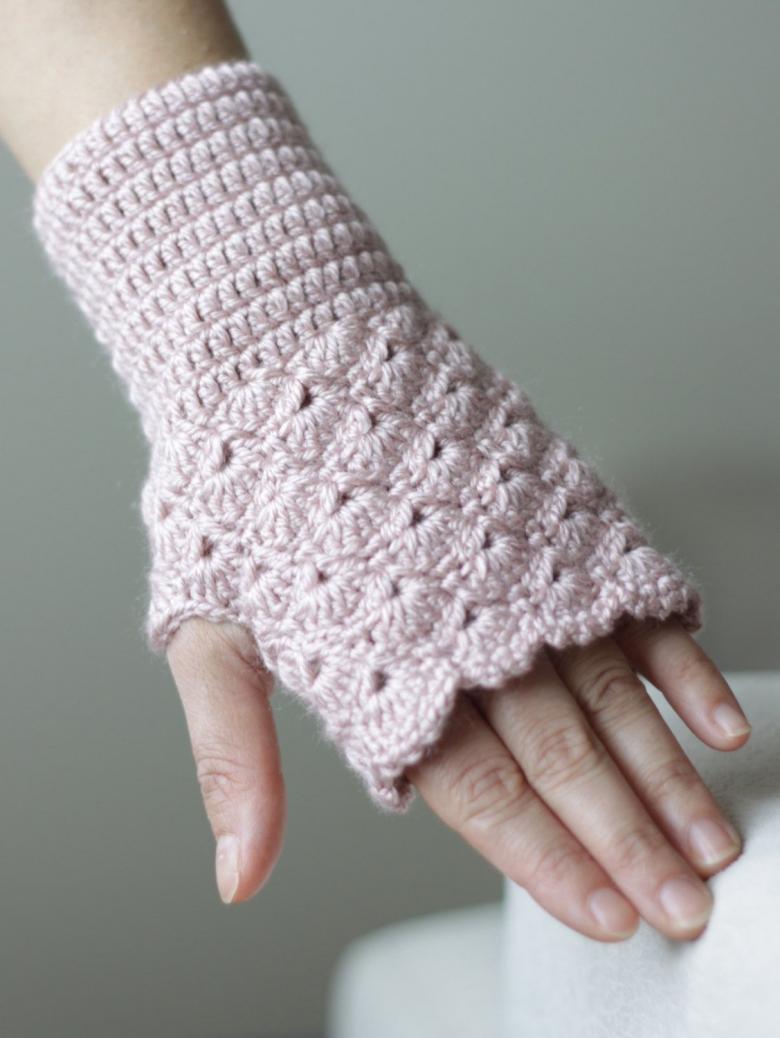
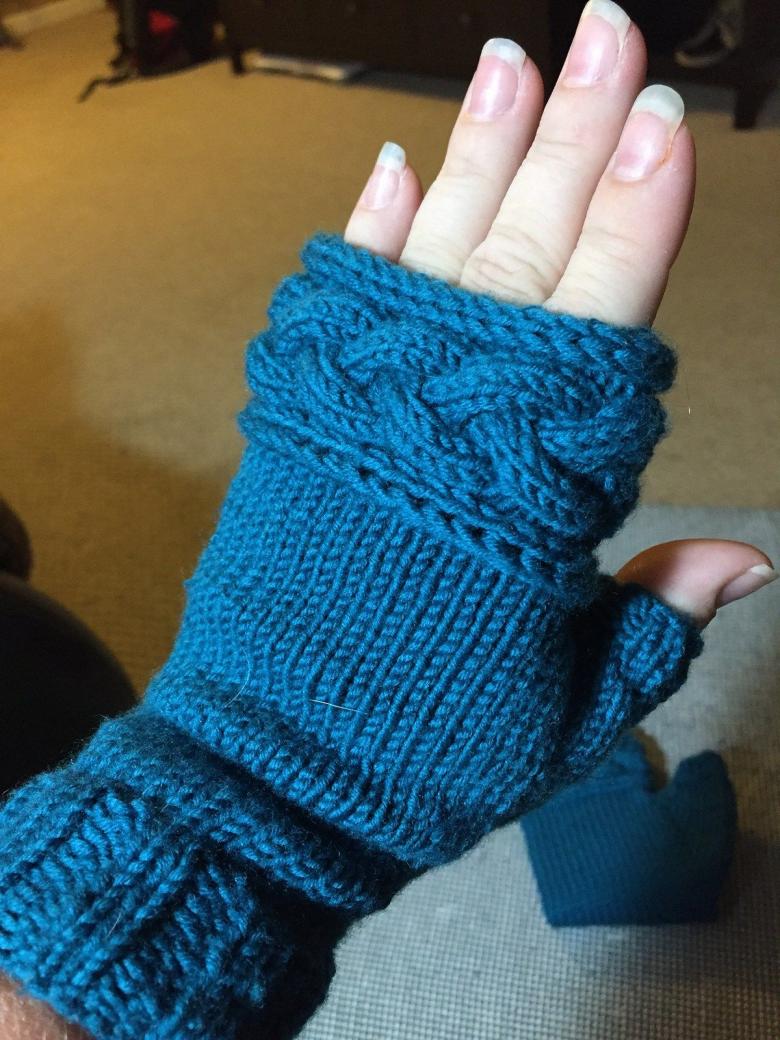
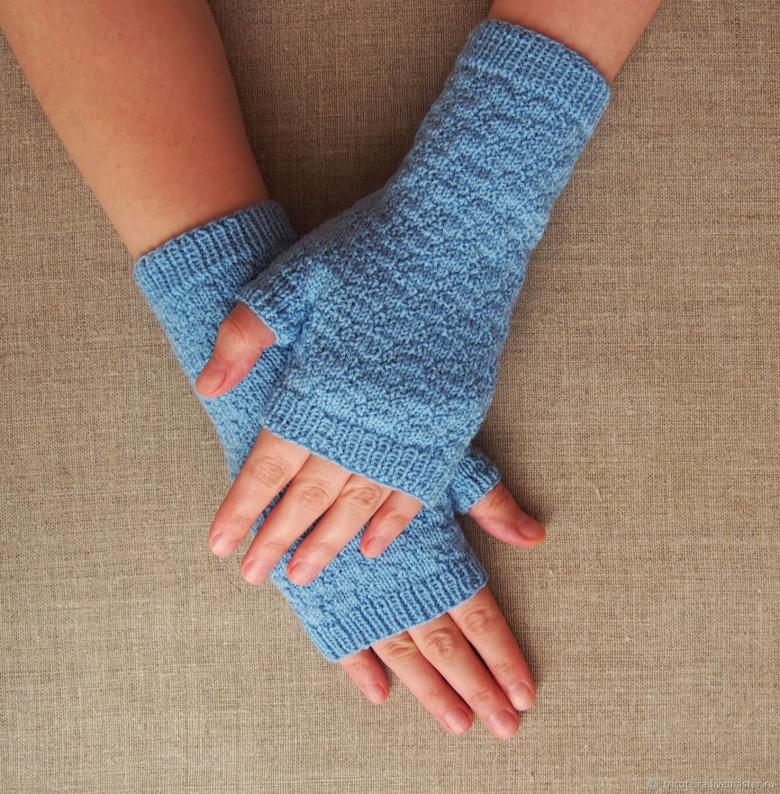
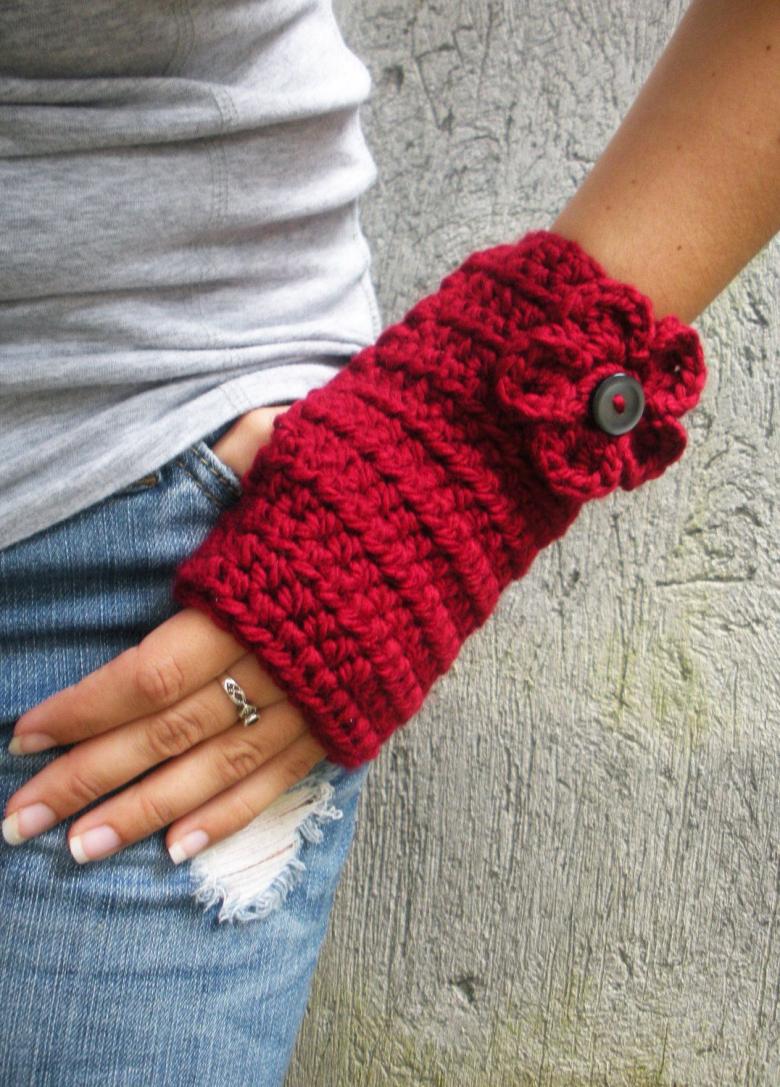
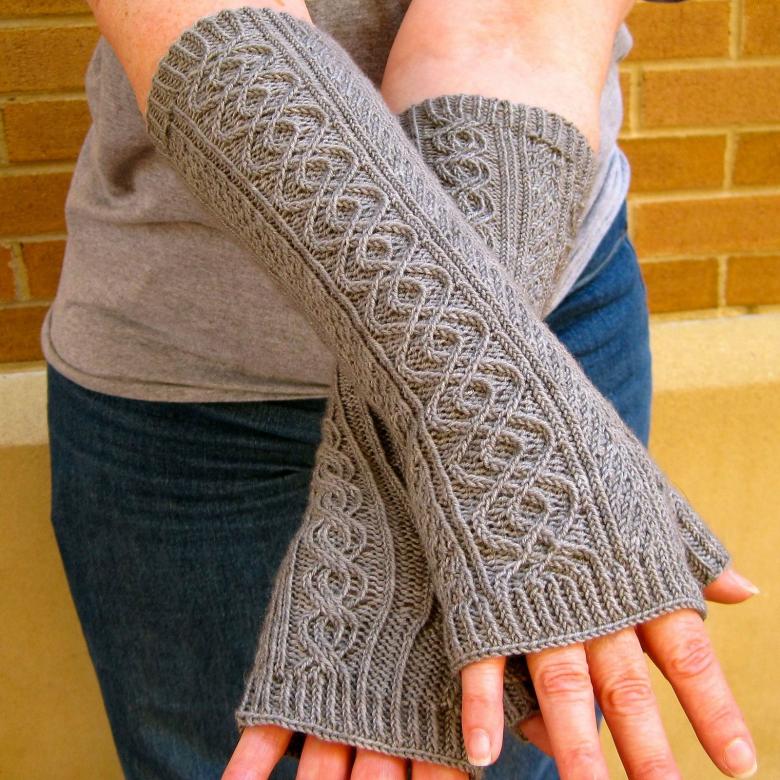
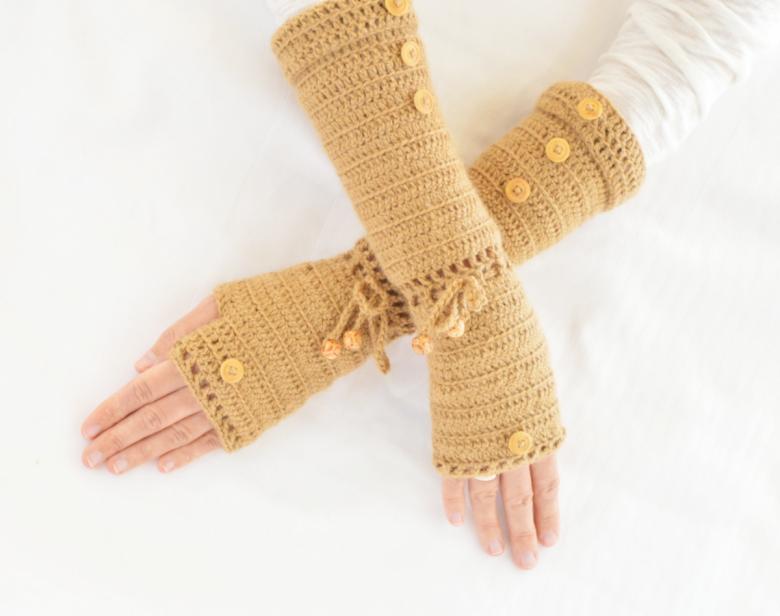
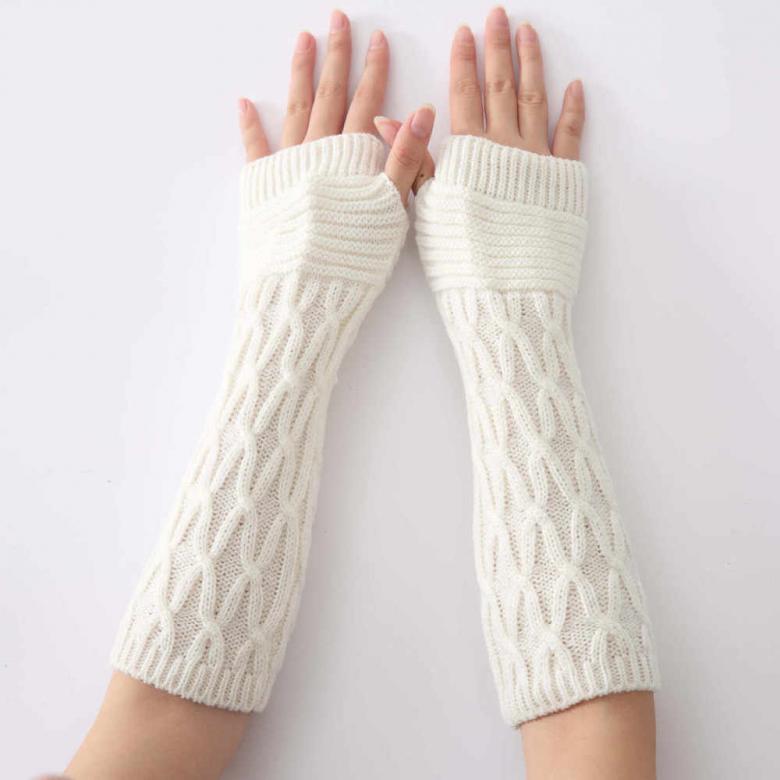
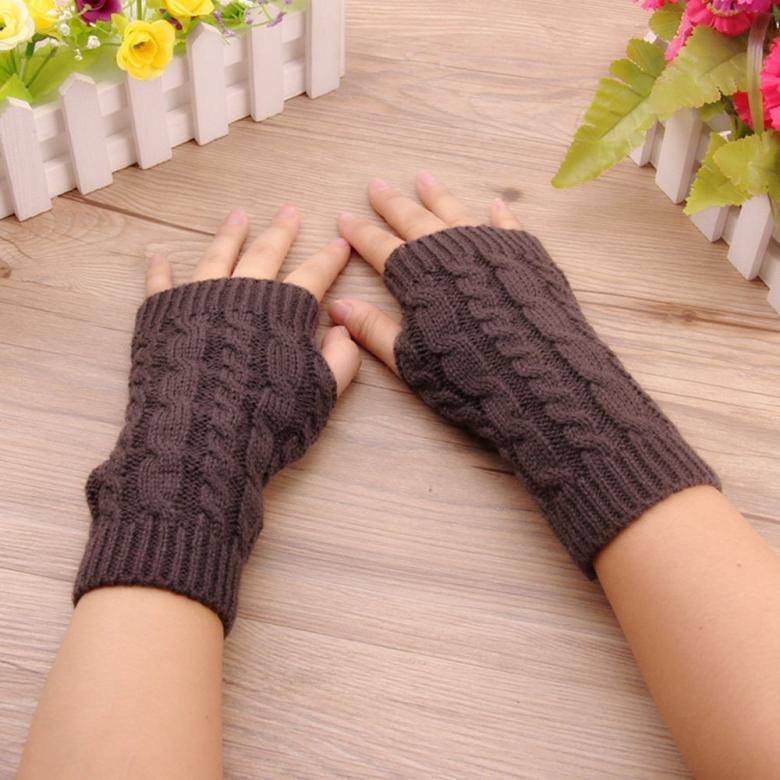
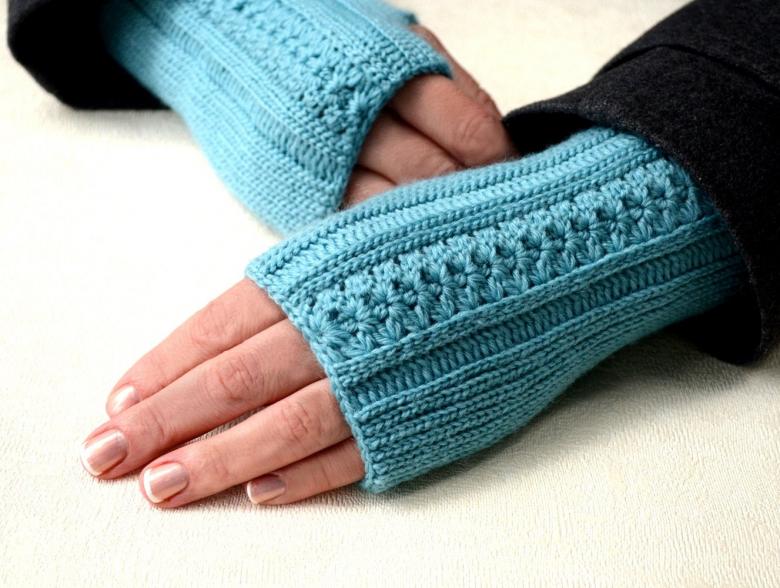
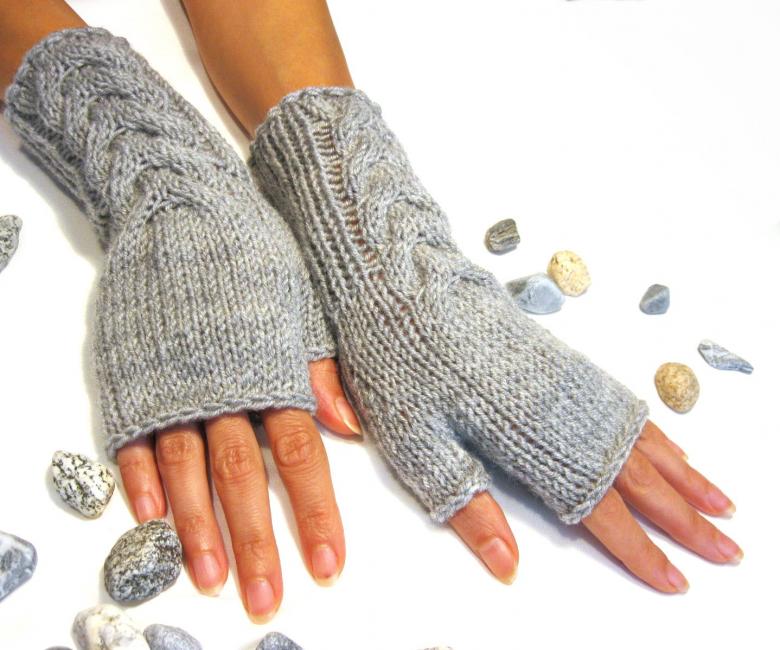
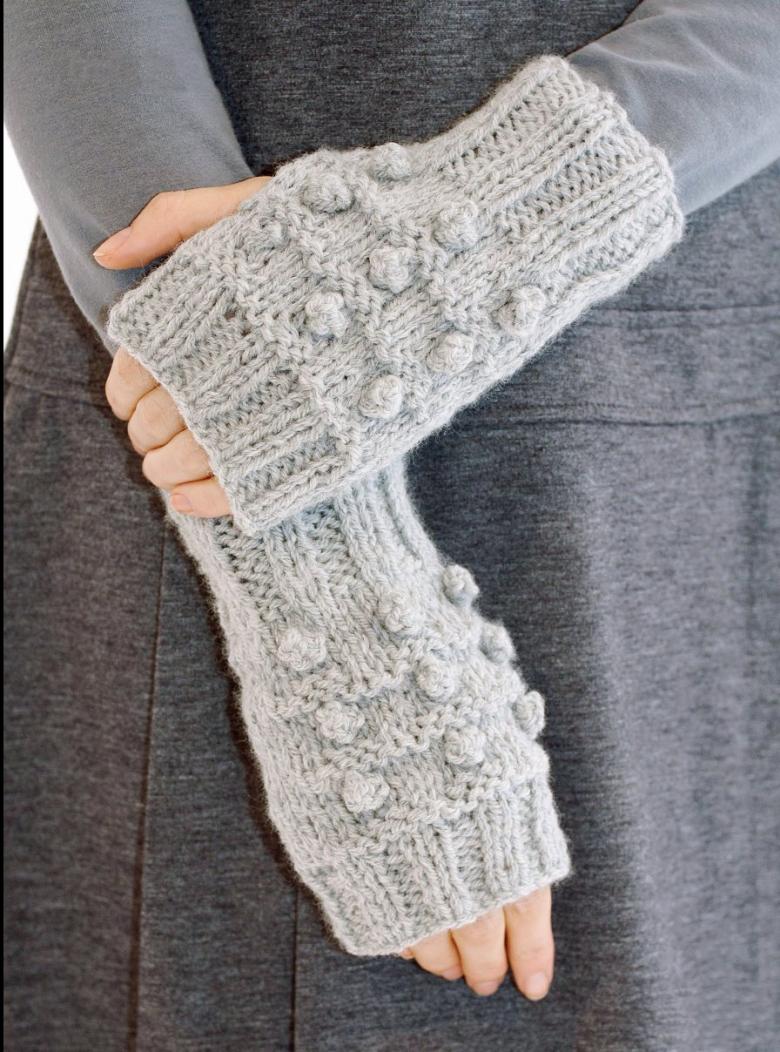
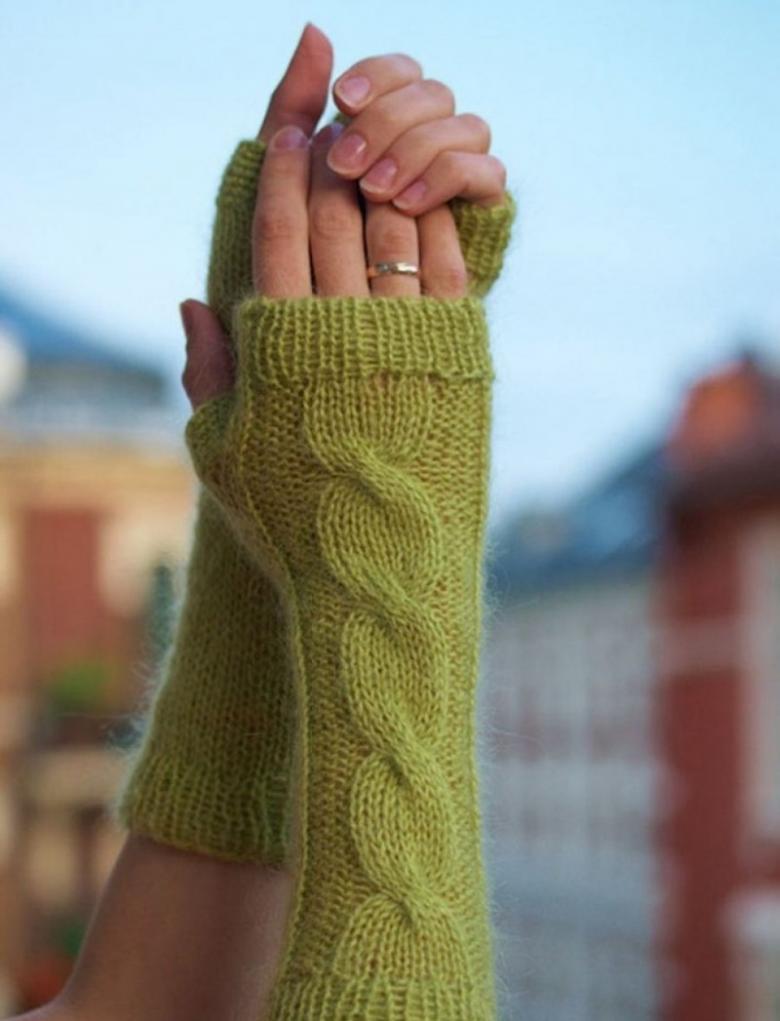
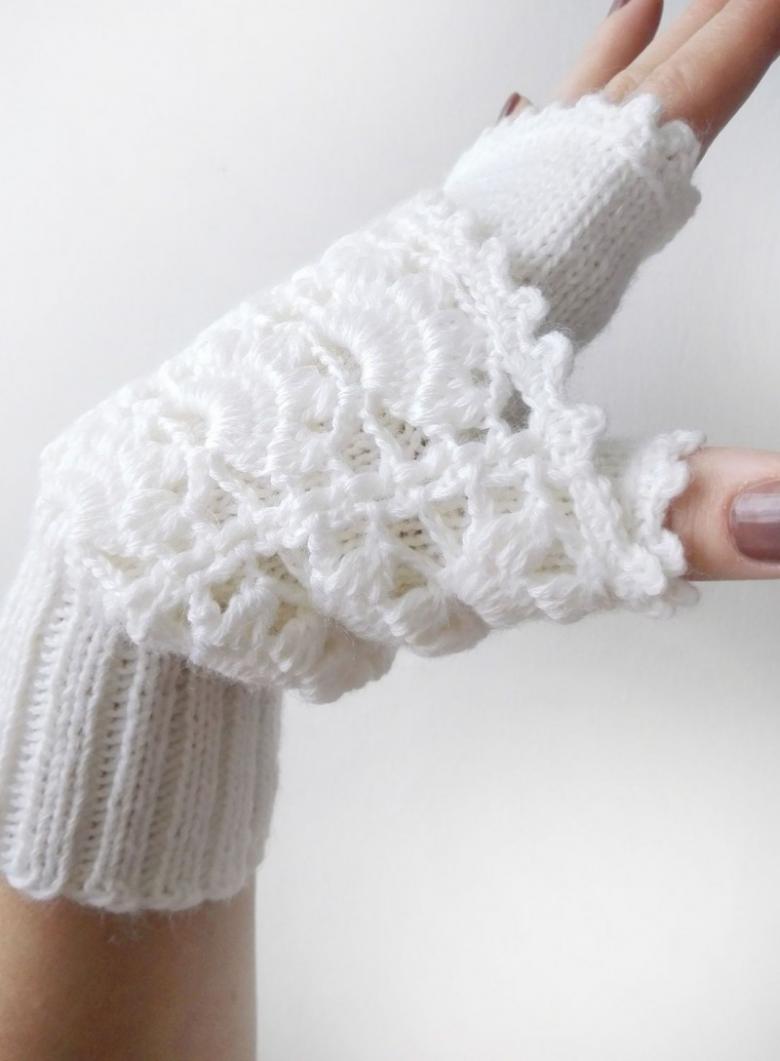
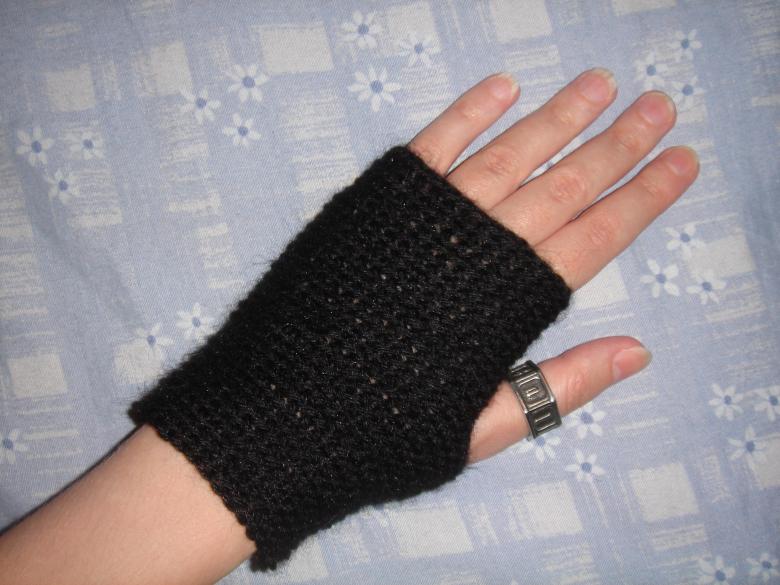
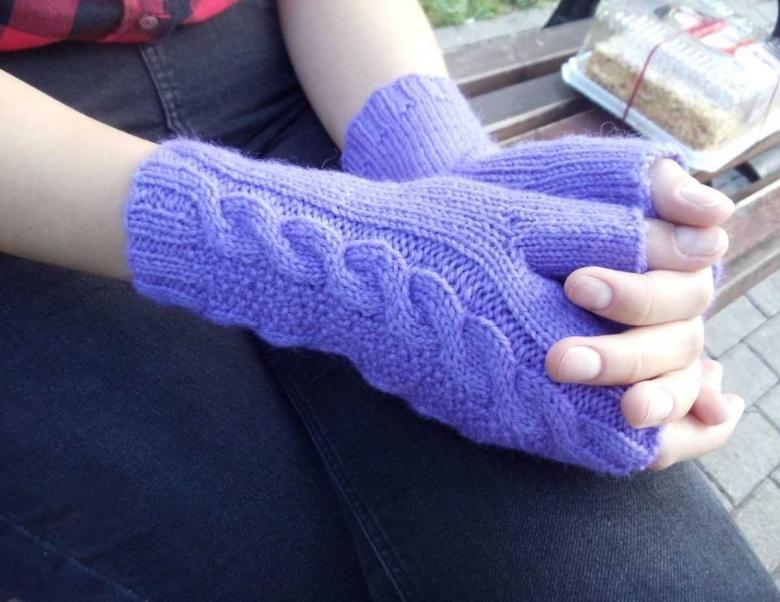
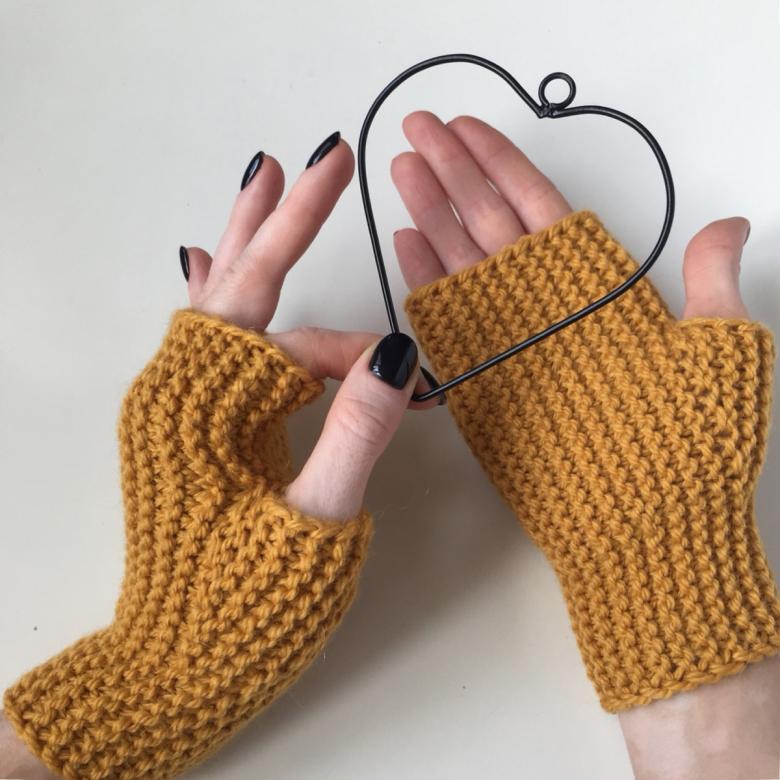
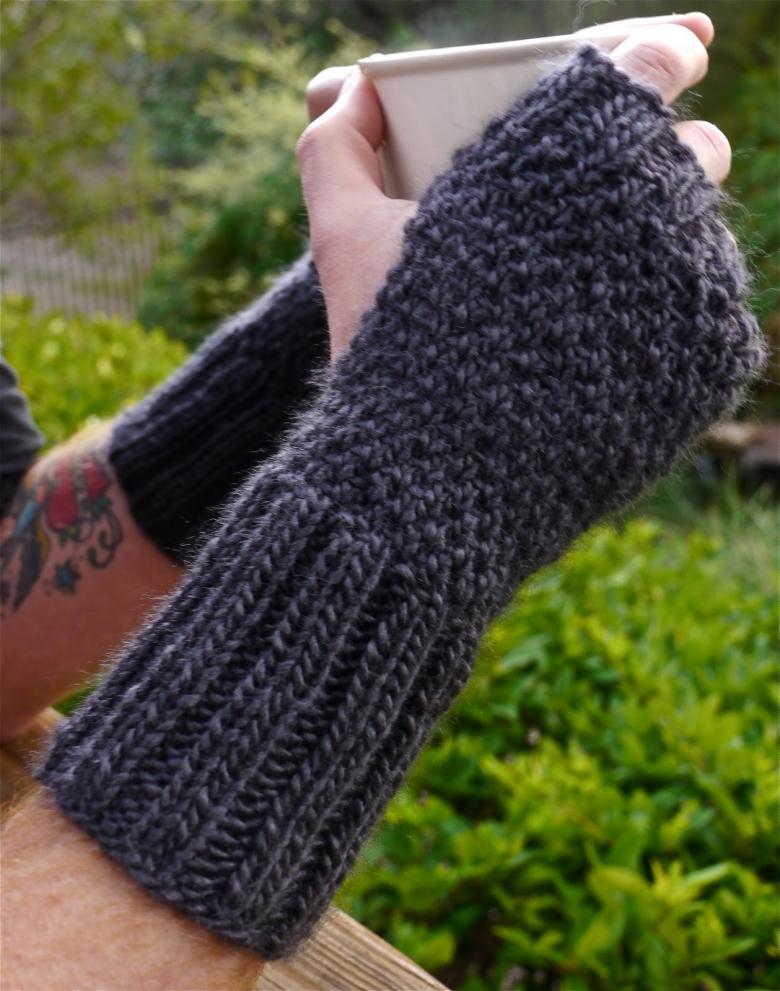
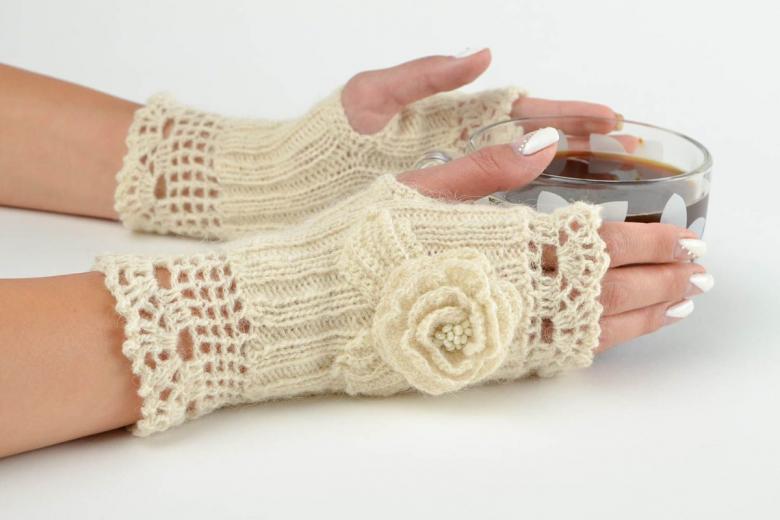
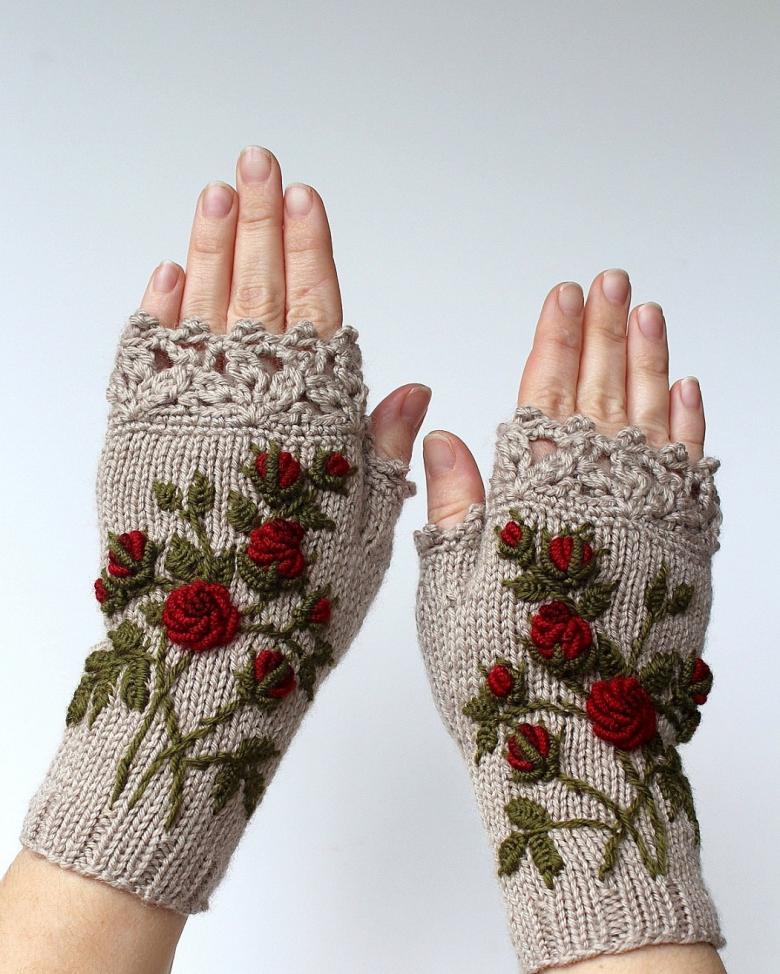
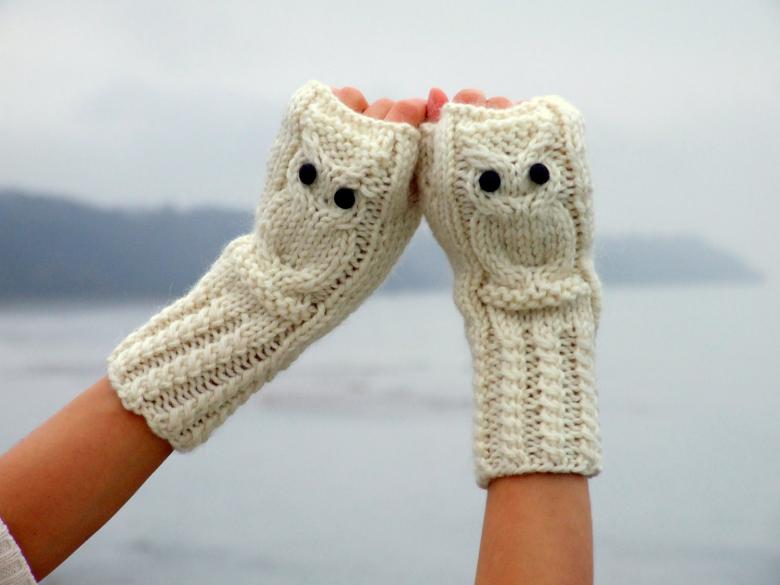
Very original look mittens. What are they? Mittens are gloves that protect from the cold, but the fingers in them remain open, ie as if untied in length. Their height can reach up to the elbow and resemble a trumpet.
History of appearance
Like everything in fashion, mittens have their own history of appearance. Mention of them begins with the Middle Ages. When the upper class could afford a single pair of expensive gloves, an attribute of wealth and power, the common people warmed their hands with a kind of gloves that left their fingers free to do the necessary work.
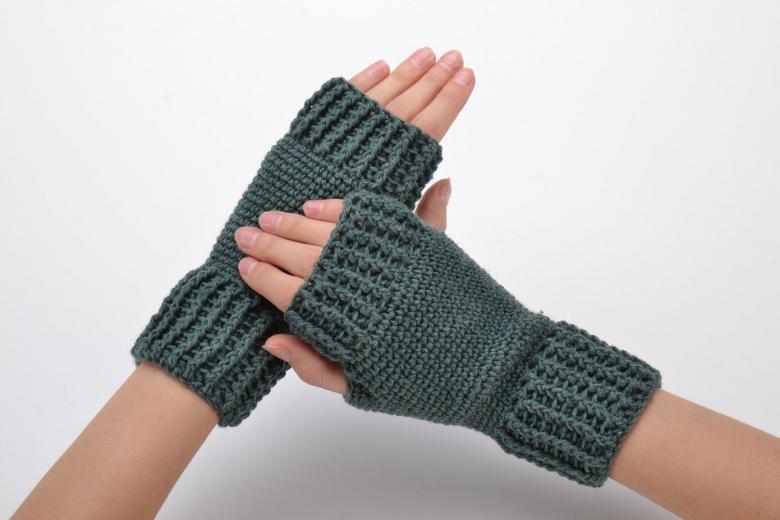
Knight's armor was also supplemented by trimmed gloves of metal and leather - the prototype of mittens, because the knights had to freely hold a sword and spear in a tournament or in battle.
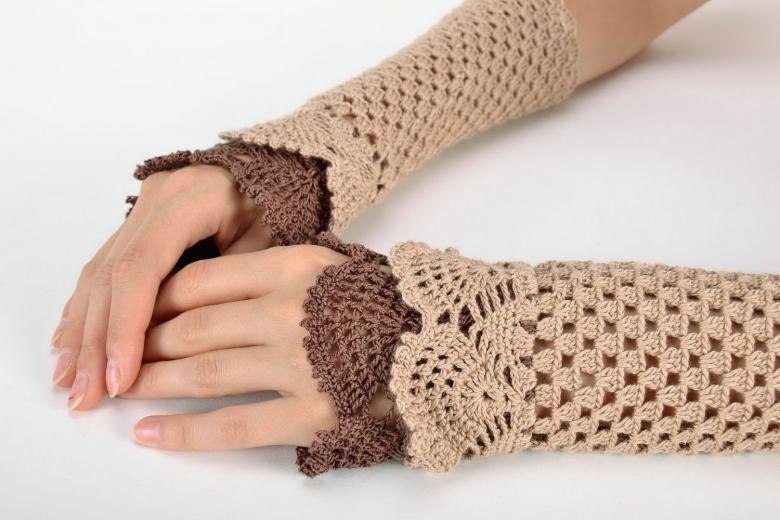
Since the 18th century the practical role of mittens is complemented by a decorative one. Beautiful gloves with cropped fingers in her closet are beginning to be used by women as a fashion accessory.
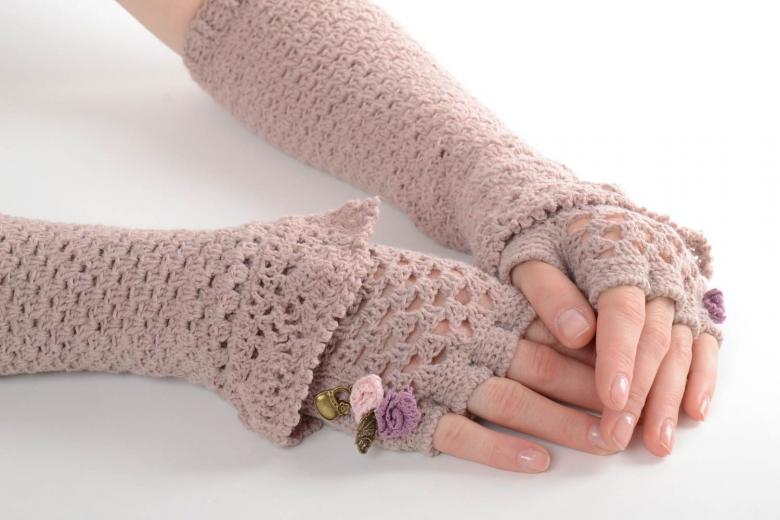
Subject, which protects the hands from the cold and at the same time shows beautiful fingers, came to the taste of fashionable women. You could wear jewelry, such as bracelets and rings, on top of it. Needlewomen of those times were very imaginative. The mittens were made of silk, satin and lace. It was simply indecent to go out in society without them.
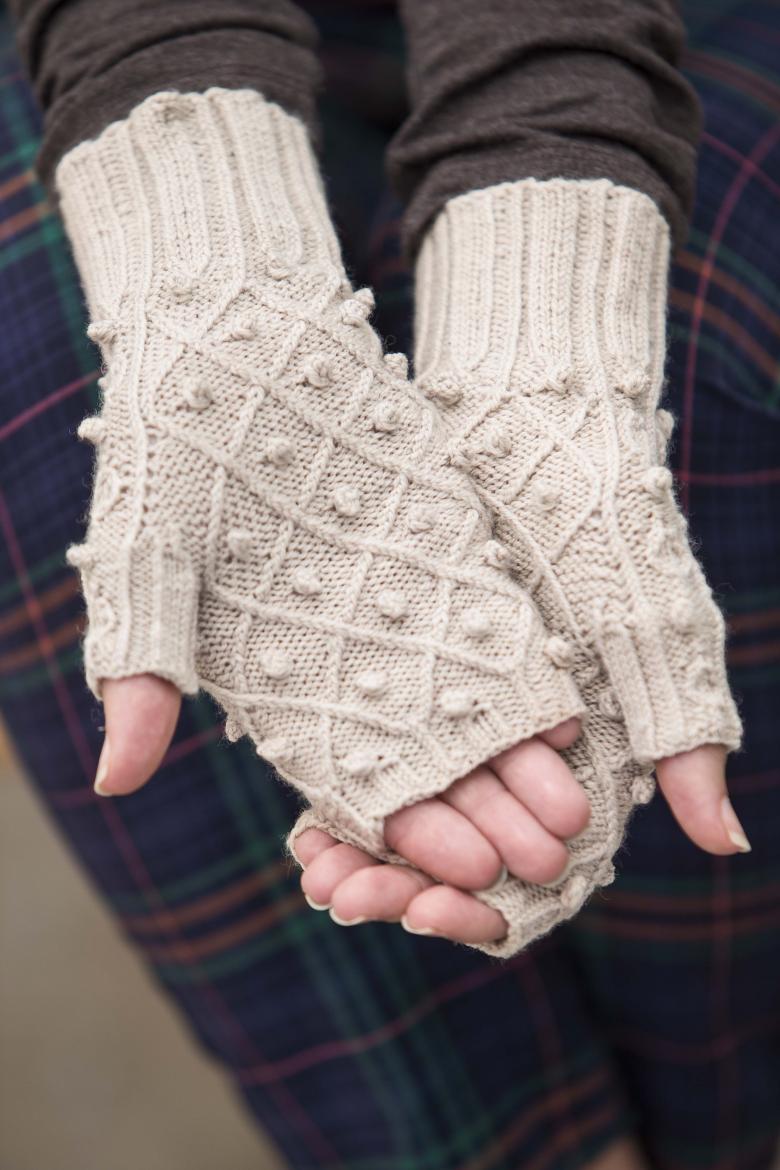
Currently, mittens have found a new life. They are especially popular among young people. After all, with them you can warm your hands in winter, open fingers to easily use a cell phone, well, and emphasize your style, sometimes very extravagant.

Basic kinds
By design, mittens can be grouped into the main types:
- simply "pipe",
- "pipe" with a cut for the thumb,
- "trumpet" with a shortened thumb,
- Gloves with shortened thumb.
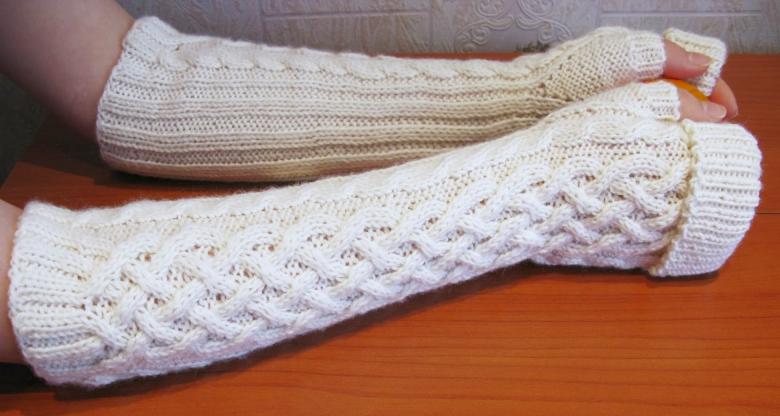
The choice of threads is up to you. In winter choose wool (alpaca, angora, cashmere, mohair), and in summer - cotton, silk, viscose, linen, interesting synthetic types of yarn. Different types of yarn can be combined and combined in color.

Knitting description
Before knitting, you need to make a calculation of the loops, because for the same size, the width of the palm and fingers is different for everyone. To do this, you can use a drawing: on paper, circle your palm with your fingers spread out. Count the number of stitches according to your hand size, knit a pattern, and determine the knitting density. Then multiply the density by the size.
All calculations are better to write in detail, it will be easier to repeat the second symmetrical part or the entire product.
Knitting mittens by knitting needles
Mittens -pipe
There is nothing easier than working on such mittens. The emphasis on color and simple knitting is a good option for beginner mittens.

You will need:
- 50-80 g of yarn
- needles

Picture: plain knit
This knitting will not let the fabric curl, it is quite elastic and stretchy to wear.
- All stitches are knitted with a straight stitch.
Please note: if you always tie the stitches with a backhand, the knitting will be tighter and the workpiece will not be deformed.

Job description
- Dial the number of loops in width equal to the girth of the wrist.
- Knit straight up with a handkerchief knit. The length can be any length you like.
- Close the stitches on the last row.
- It remains to join the vertical sides and sew them with a needle or crochet, leaving the thumb slit unstitched.
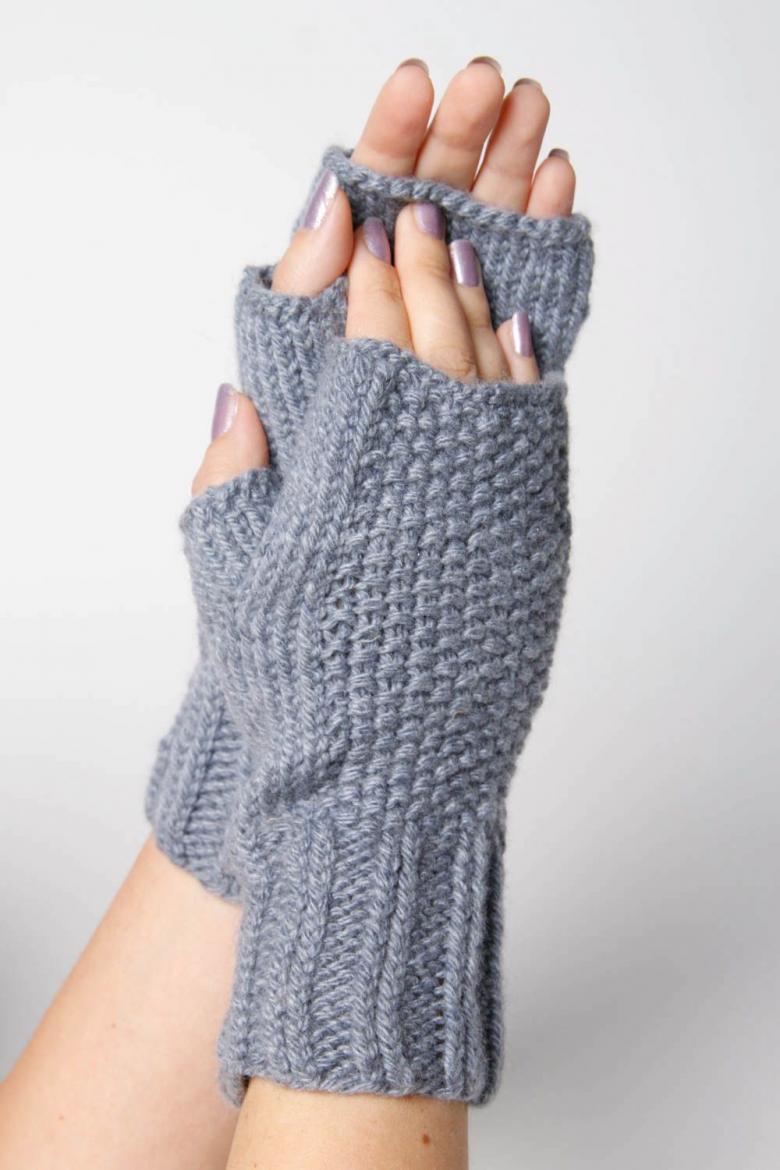
Mittens - mittens on 2 spokes
These mittens have a seam and are knitted in the form of a rectangle with a small ledge on the sides.

Job description:
- Dial in the number of loops corresponding to your wrist circumference.
- Knit the wrist with a 1x1 elastic band to a height of 2-3 cm (8-10 cm - if you plan a lapel).
- After the rubber band, knit loops of any pattern on the palm and back of the hand to the base of the thumb.
- Close the loops at the base of the thumb. It is best to do this from the edges of the fabric.
- Continue to knit the remaining loops to the level of the middle of the hand.
- Knit the last 2 rows in a 1x1 rubber band to prevent the edge from stretching during wear.
- Close the stitches.
- Repeat the same procedure for the second piece.
- The resulting pieces should be washed in warm water or steamed with an iron (carefully through a thick cloth).
- Sew with a needle or crochet stitch. There will be 2 stitches on each piece: from the wrist line to thumb level and from thumb level to the middle of the wrist. Hole for a thumb left open.

Mittens - mittens on 5 spokes
Dial and distribute on the 4th spokes the number of loops, corresponding to the girth of the wrist.
- Knit the cuffs with 1x1 rubber band 5-8 cm high.
- After the elastic, knit any pattern for the palm and back of the hand to the base of the thumb.
- Leave the thumb loops on an extra needle or pin and continue knitting to the middle of the hand.
- Knit the last 2 rows in the same rubber band as the 1x1 cuffs to prevent stretching during wear.
- Close all stitches.
- Distribute the leftover stitches (for the thumb) on the spokes and knit 1.5 to 2 cm high.
- Close the stitches.
- Mittens are ready.
- It remains to wash or steam iron them, after which the knitted fabric will be evenly smooth and soft to the touch.
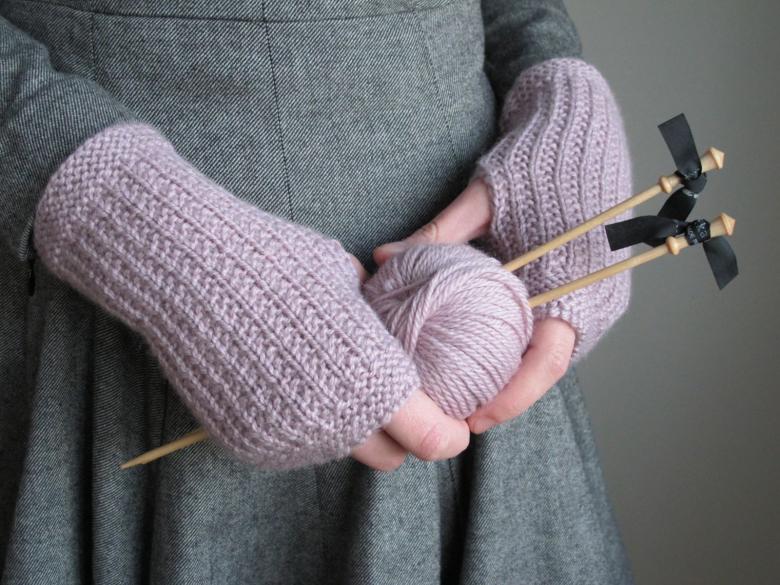
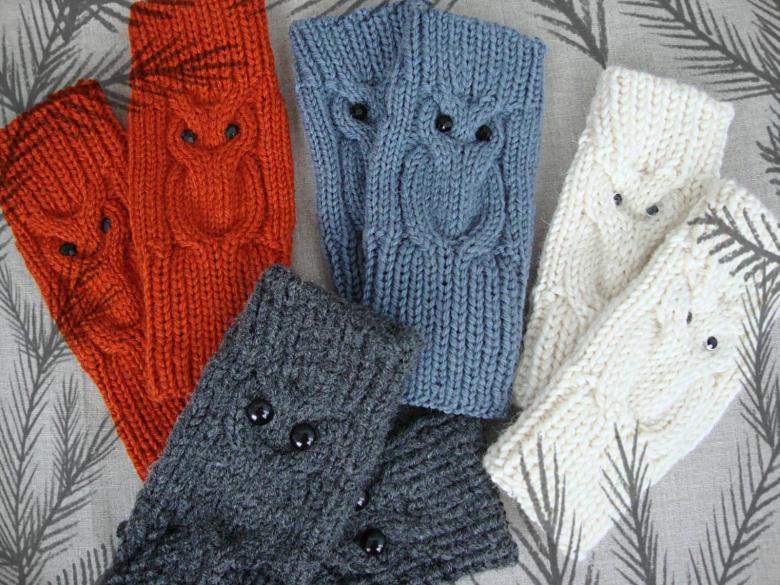
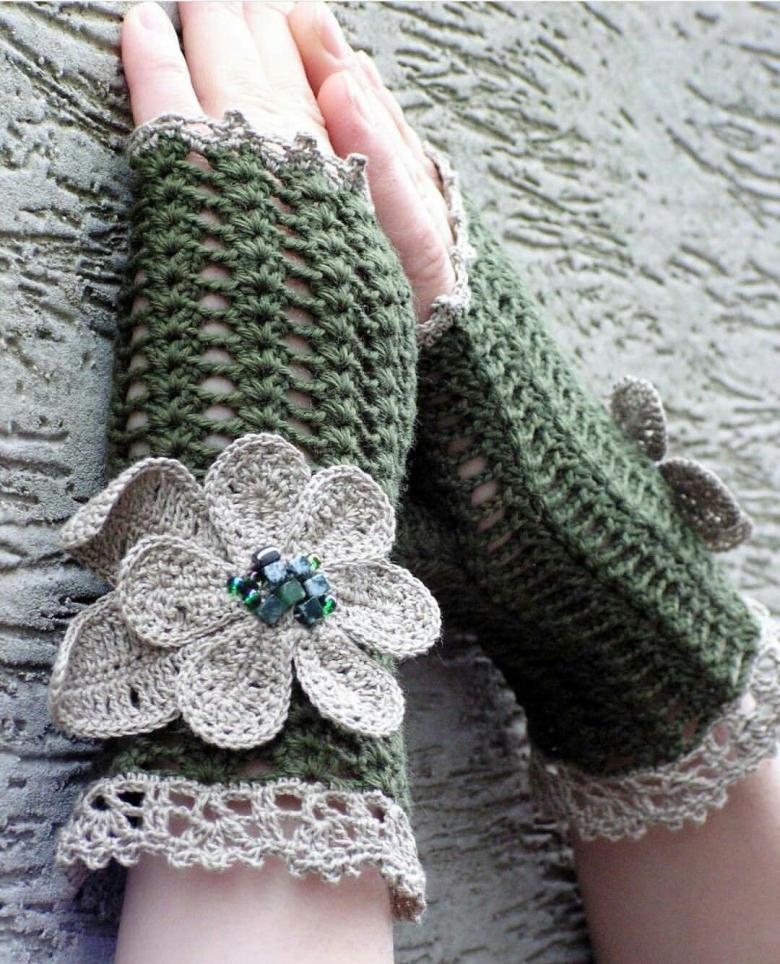
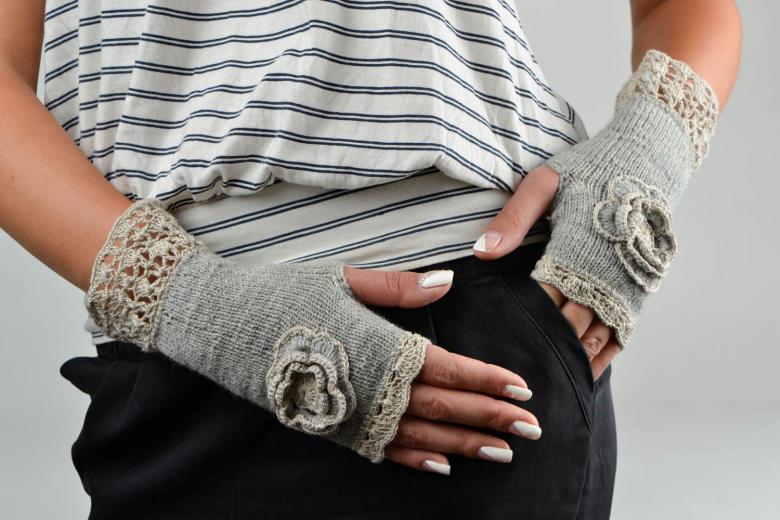
Mittens, related in a simple way, can be further decorated: sew colored beads, buttons, lace on the top edge, strips of fur to the wrist line, ready-made flower, bows, pompoms.

Crochet mittens
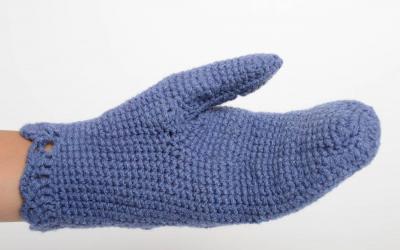
Mittens and gloves crocheted
Crochet has many advantages. First of all - it is speed, economical consumption of yarn, neat appearance. Too complicated model can turn the first work into an impossible task. Choose a simple pattern, bright yarns and a simple model. The result of the work will bring joy and give a sense of confidence in your abilities.
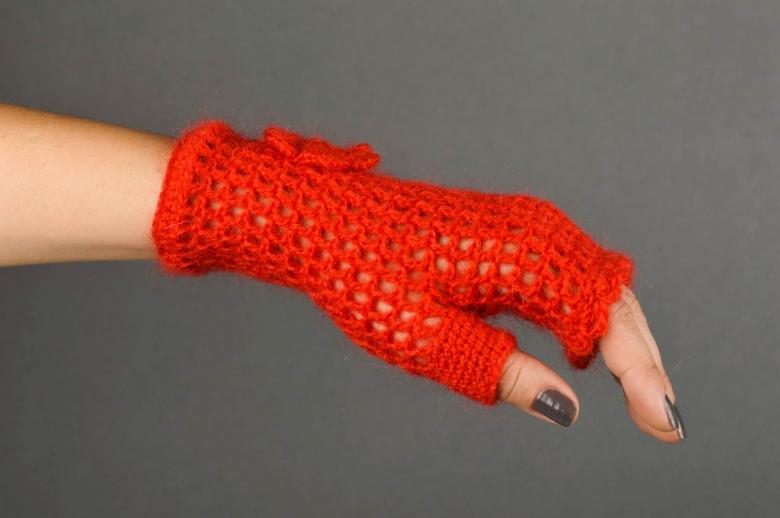
For crochet mittens, the basic skills should already be there: how to dial a chain, do stitches with a stitch, lifting loops, etc.

You will need:
- 100 g of medium thickness yarn.
- Hook pick up the thickness of the yarn.
- Needle
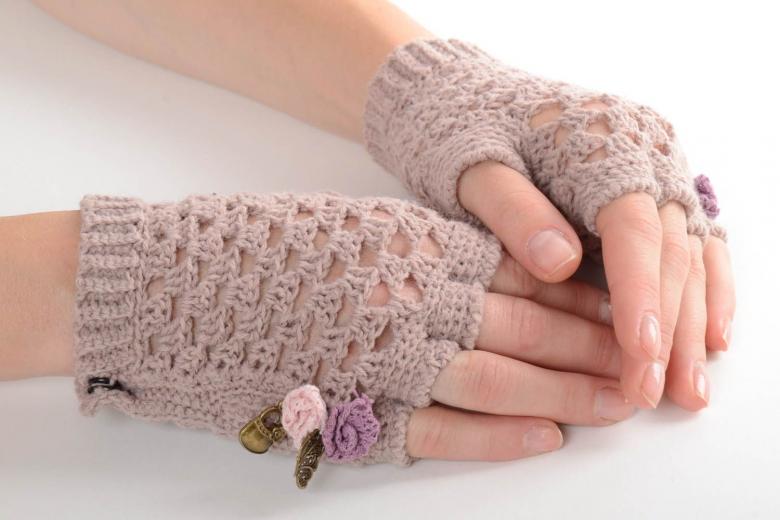
Knitting pattern
- The main type of knitting is the usual no-strings-attached columns.
Job description:
- Start knitting with the cuff. Cuffs knit any rubber (for example 1x1) in cross direction. To do this, we will pick up a 5-6 cm chain and knit the stitches without stitches. At the end of each row of knitting make 1 air loop for lifting.
- After tying the band to the wrist circumference, join the last row with the first row (make a crochet stitch).
- Then continue crocheting in a circle with no stitches. Count the resulting number of stitches along the edge of the elastic. Add 8-10 free-fitting stitches at regular intervals in the 1st circle.
- Continue to knit in a circular pattern, adding 1 stitch without a stitch in each row in the same place. The distance from the elastic to the thumb hole is usually 4 cm for an adult. Knit the main fabric to this distance.
- Then knit an opening for the thumb hole: start a chain of 10-12 air loops above where the columns were added. Count 20 columns from the beginning of the chain along the row, skip them, and continue knitting.
- After 2-3 rows, try on the piece for your thumb, and continue knitting to the base of your pinky.
- Divide the number of columns for the width of the palm into 4 parts.
- From the part for the little finger and ring finger, subtract 1 column each and add them to the middle and index finger, mark the points of division with colored thread.
- Knit the little finger first. To do this, between your little finger and ring finger, make a chain of 2-3 air loops and join them in a ring.
- Continue knitting in ascending-neck columns in a circle to the desired height - 1-2 cm.
- Close row.
- For the remainder of the stitch, knit 2 more rounds of stitching.
- Do the rest of the fingers in the same way as the little finger.
- As you knit the mittens, try them on and check your palm and finger sizes.
- Lastly, knit the thumb.

After mastering the principle of knitting mittens on a simple knitting, you can "take on the great". Look chic mittens associated with openwork pattern. The result of your skill in knitting them will be appreciated by others. Photos, diagrams and descriptions that you will find in magazines or on the internet, will help you link a more complex and spectacular model of mittens.

