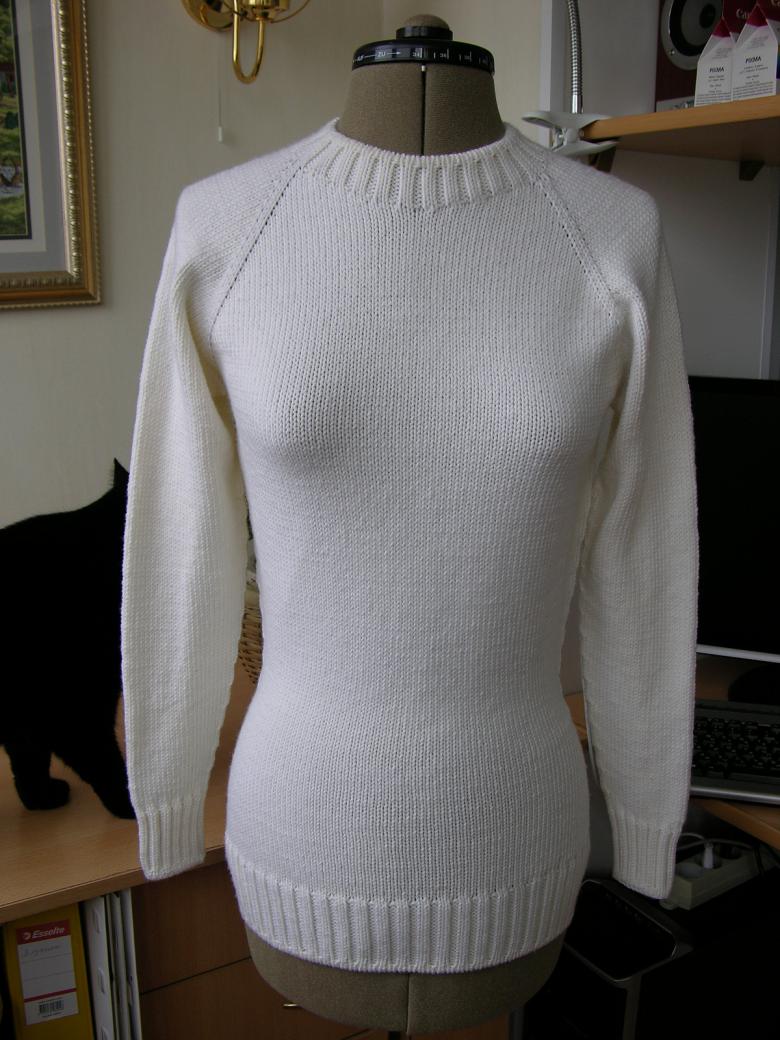
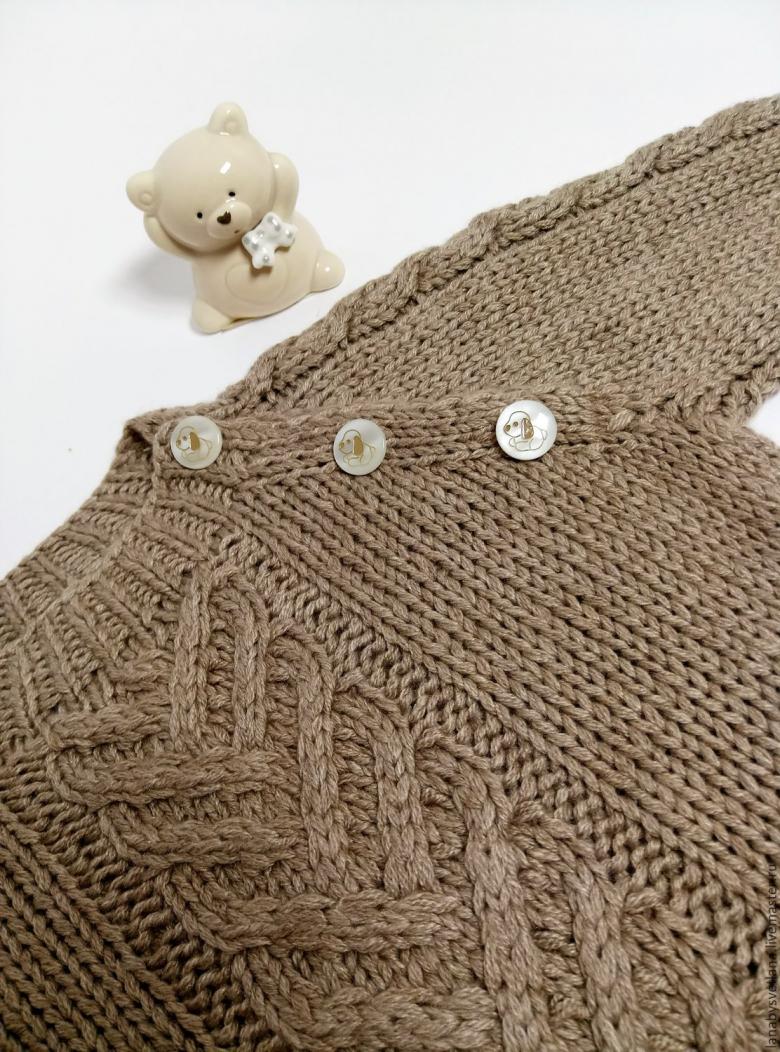
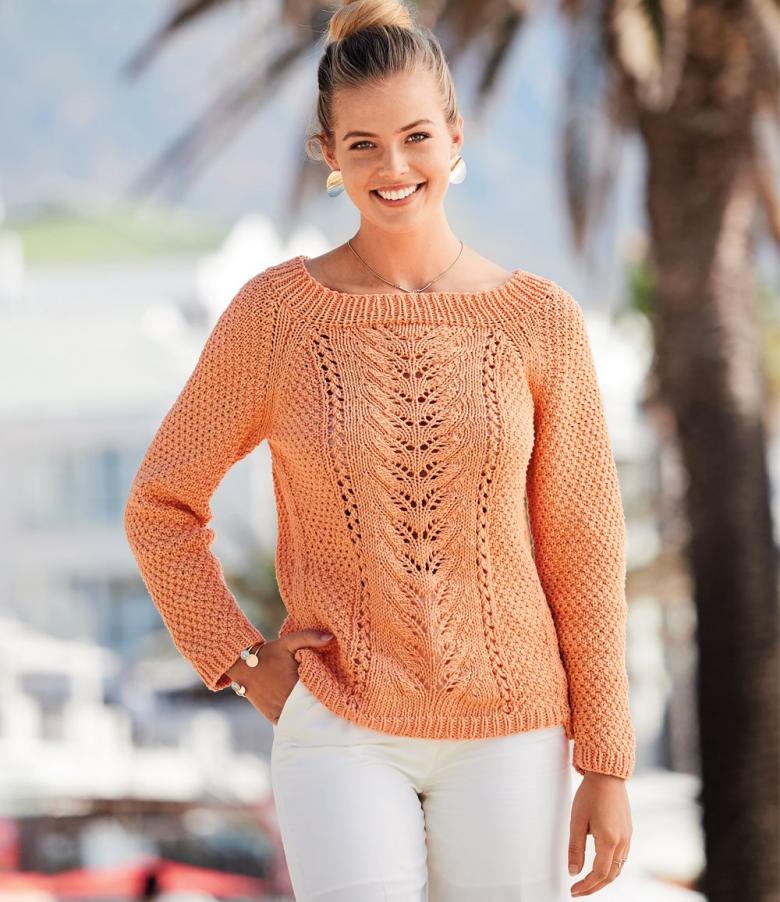
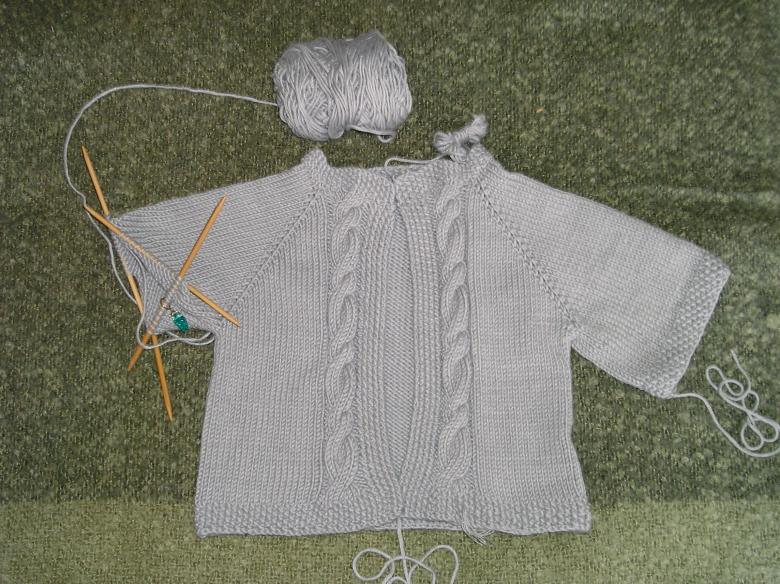
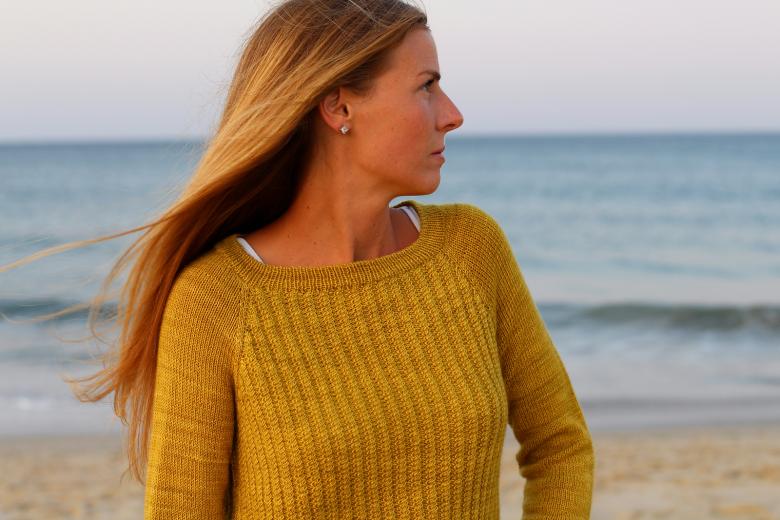
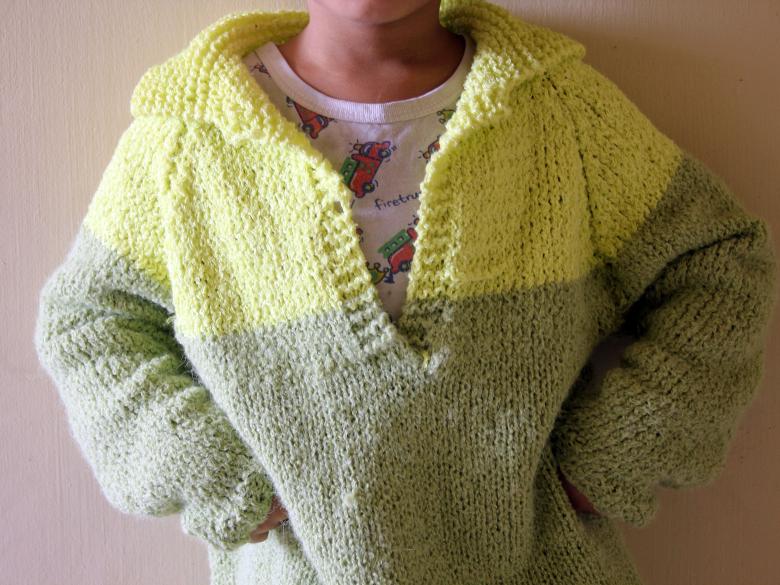
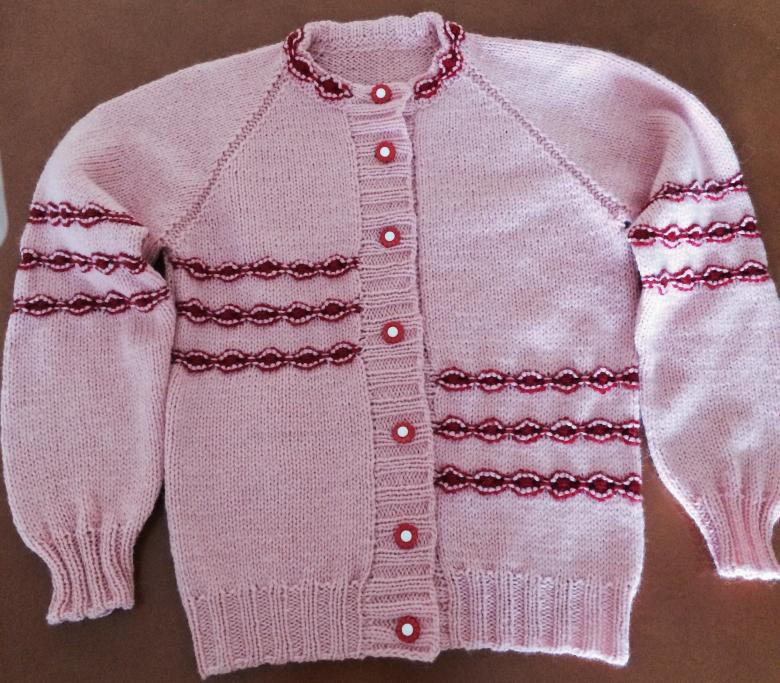
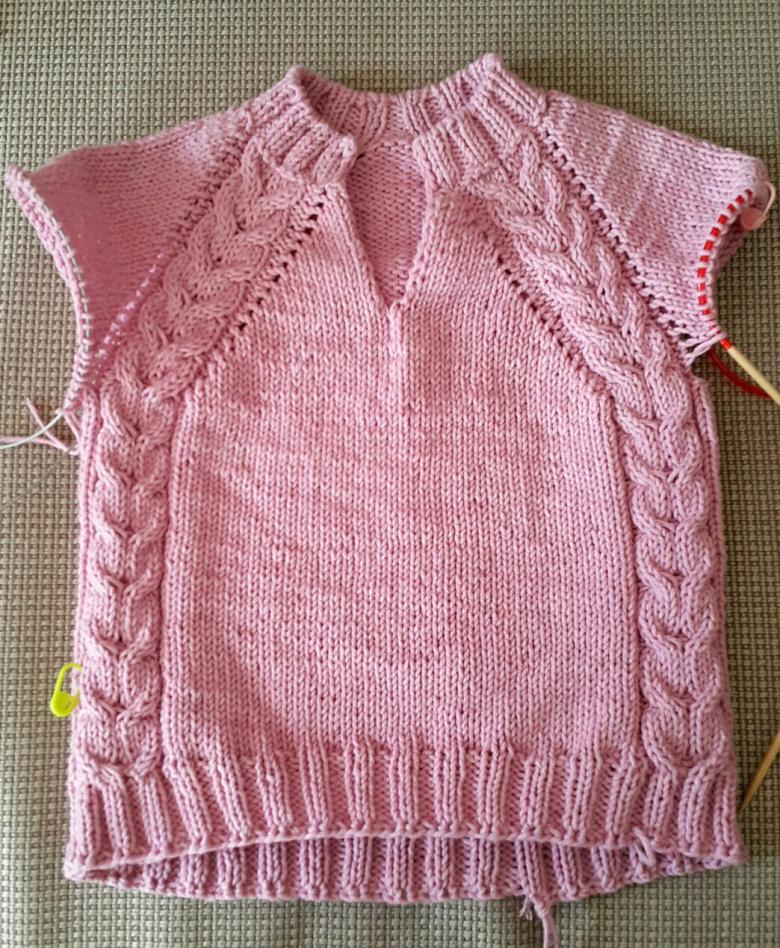
Knitting raglan spokes - a detailed description of the knitting scheme with photo examples
The variety of designs of knitted products is not as great as the clothing, but it also allows for knitting various models of clothing to create a distinctive form, line and volume of parts.
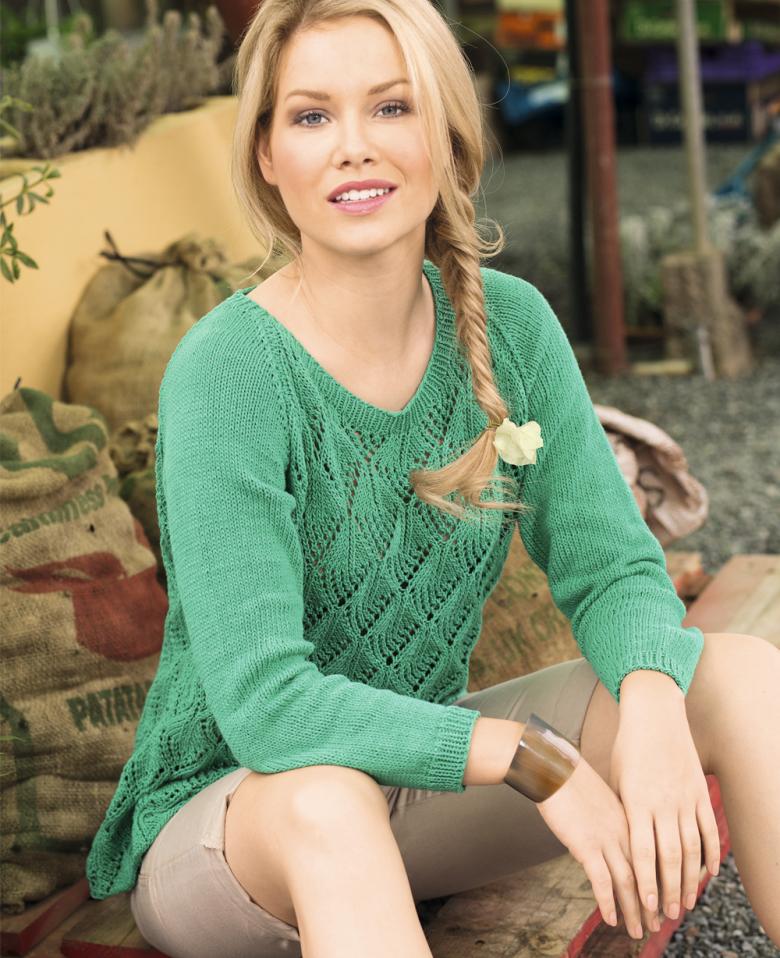
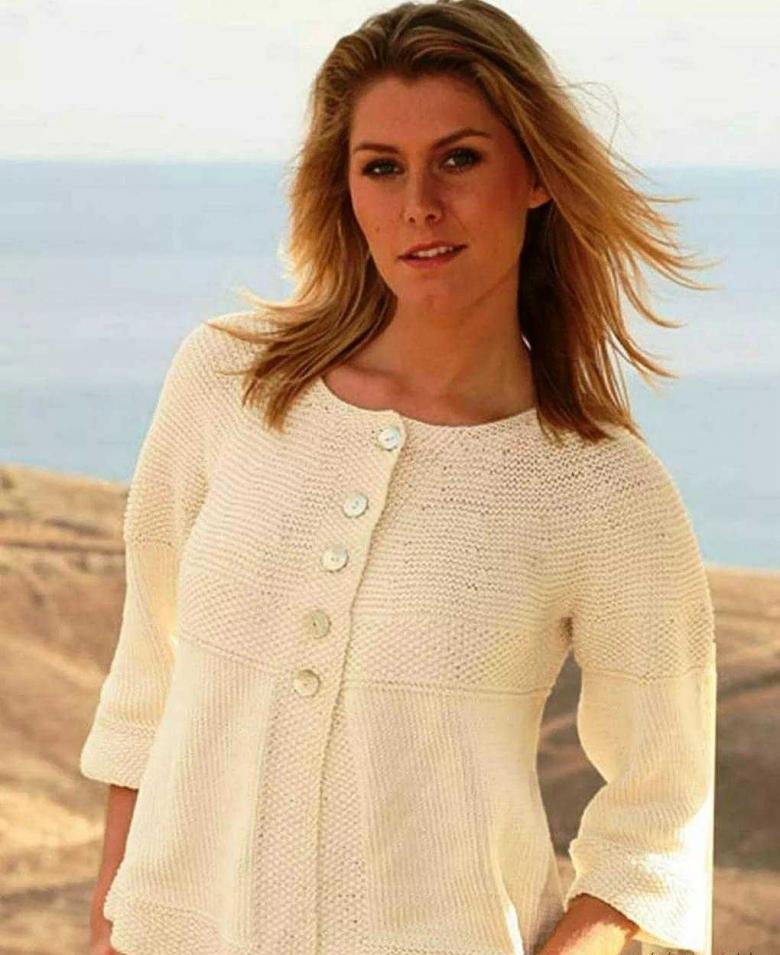
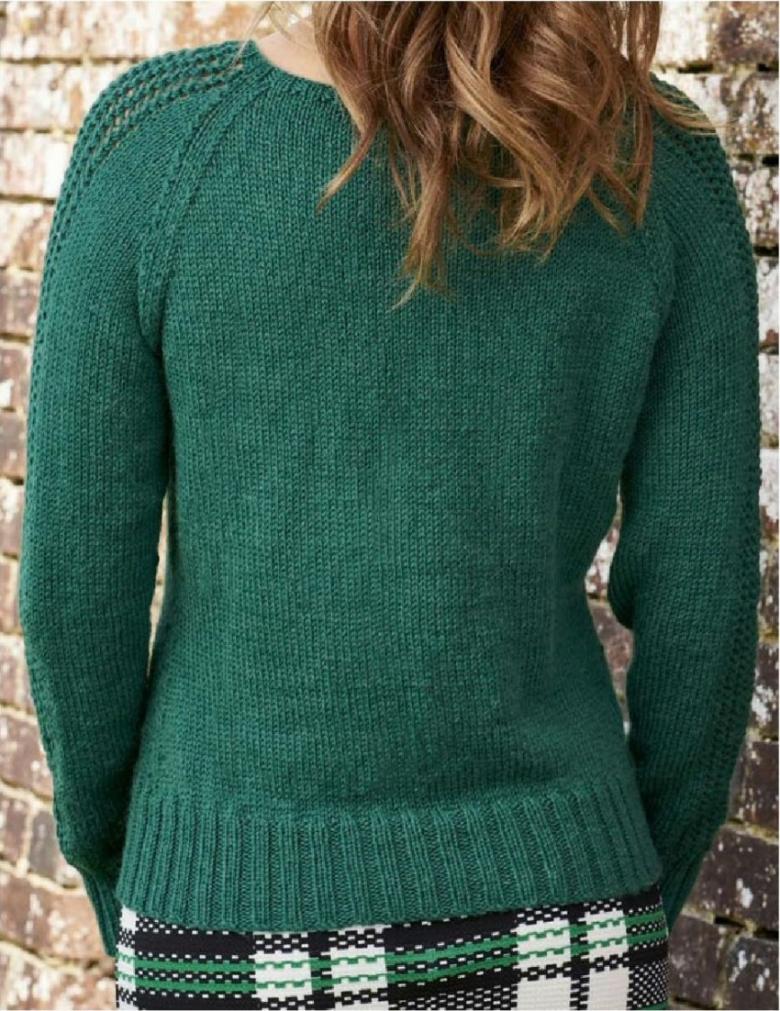
Often there is a choice which sleeve design to choose: a wrap-around, one-piece ("bat"), combined or other. Each option is acceptable, but the choice of knitting raglan will have several advantages. It looks beautiful, does not constrain movement and is easy to perform.
Description and history of appearance
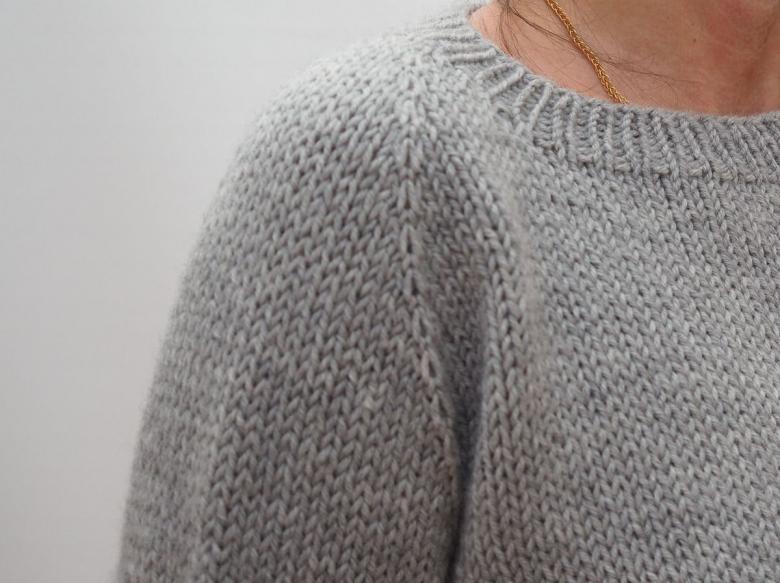
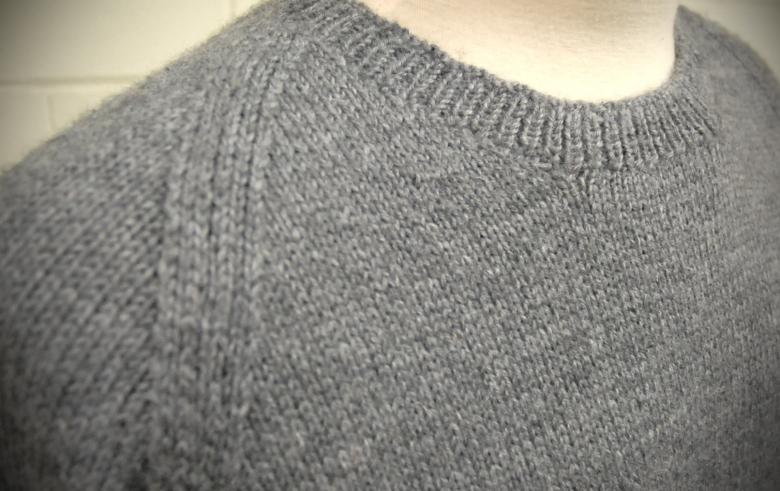
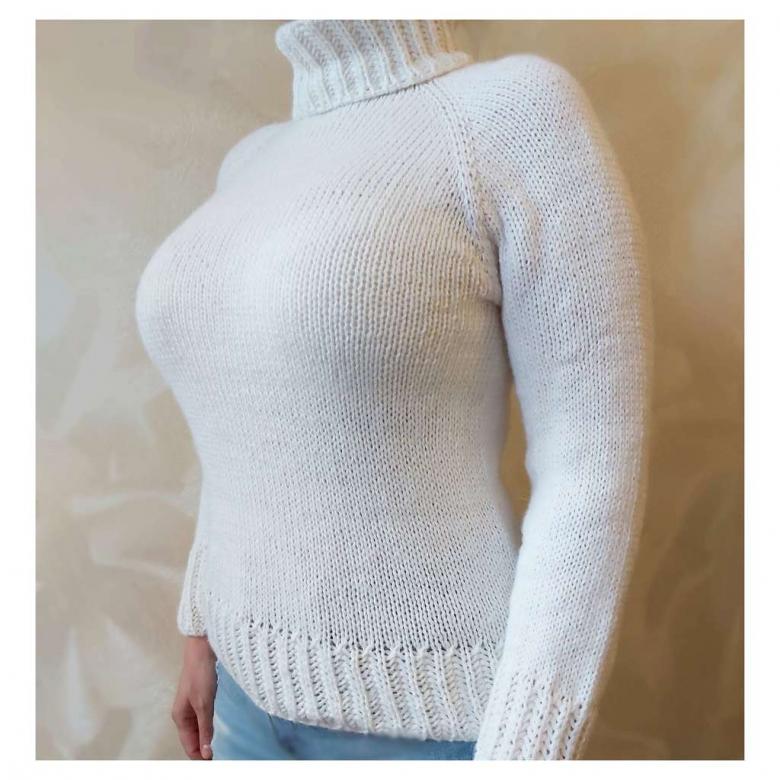
If the sleeve has a complex shape and must exactly match the armhole, then raglan is both part of the shelf and back and is sewn to them in a straight or slightly curved line. It turns out that the garment does not have a shoulder seam and a seam on the rim.
This design first appeared in cloth garments and had a particular creator. Lord Fitzroy James Somerset Fitzroy of Raglan in the county of Monmuntshire (United Kingdom), later called Baron Raglan, as a military man lost his arm at the Battle of Waterloo.
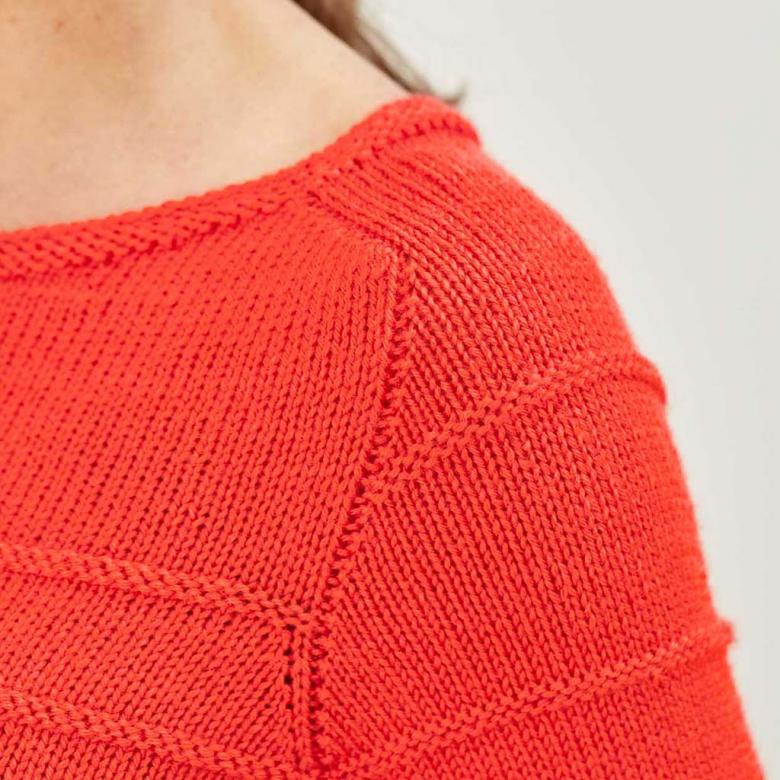
The desire to hide his physical handicap prompted him to search for a new version of clothing and a solution was found. An entirely new and successful style of cloak without a welted sleeve, which did not restrict movement or accentuate the handicap, was invented for him. This cut became very popular in all kinds of clothing, and the new sleeve design began to be called "raglan" after the name of the Baron.
Knitting methods
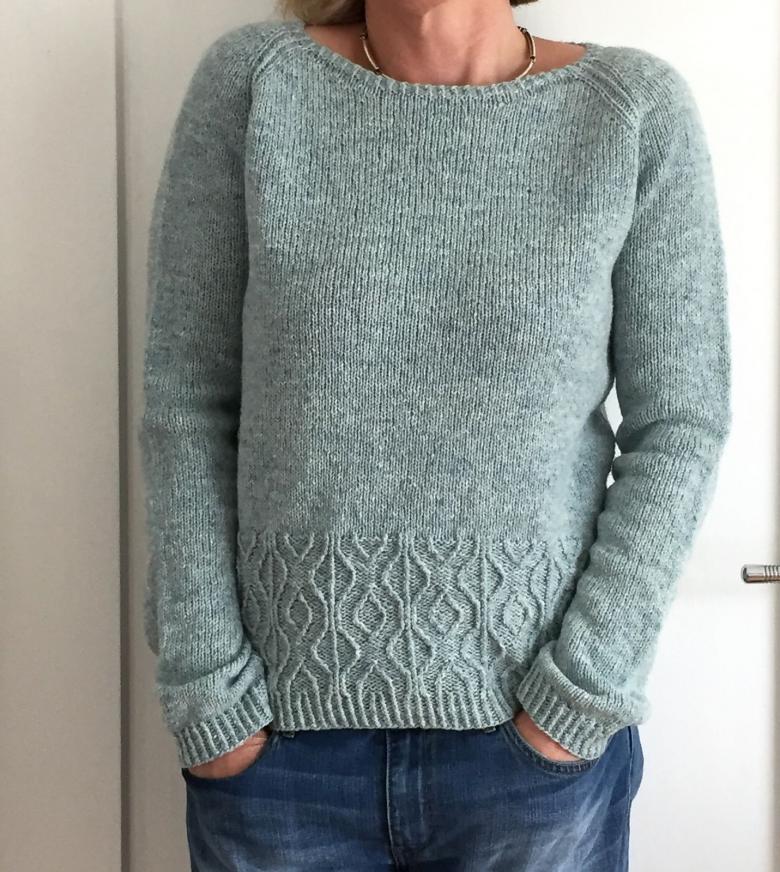
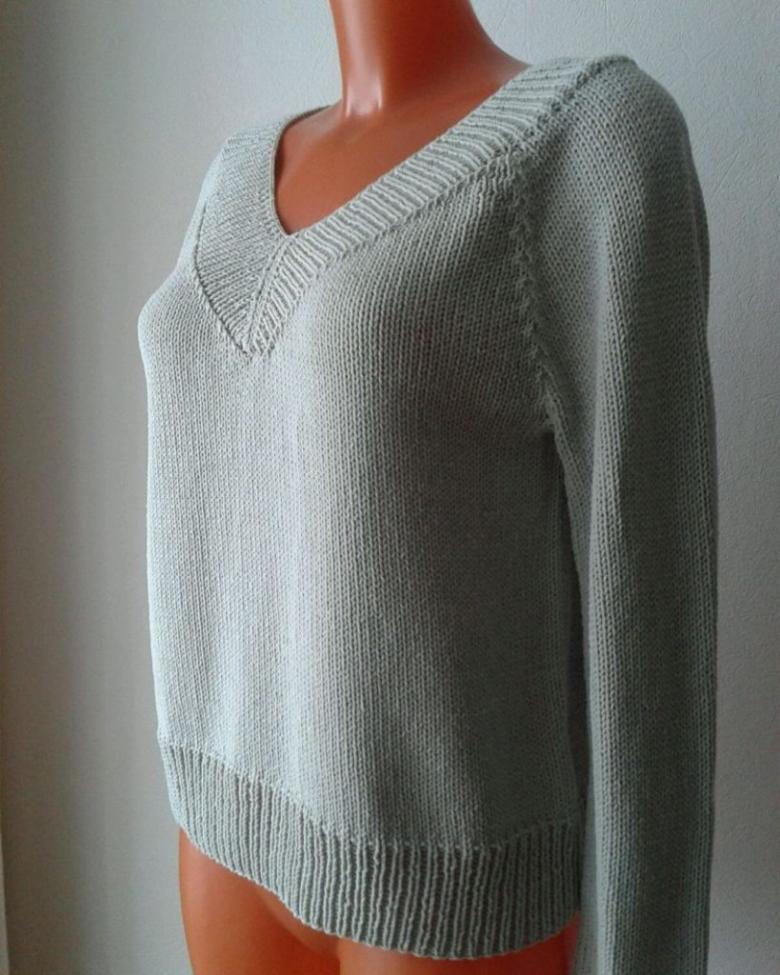
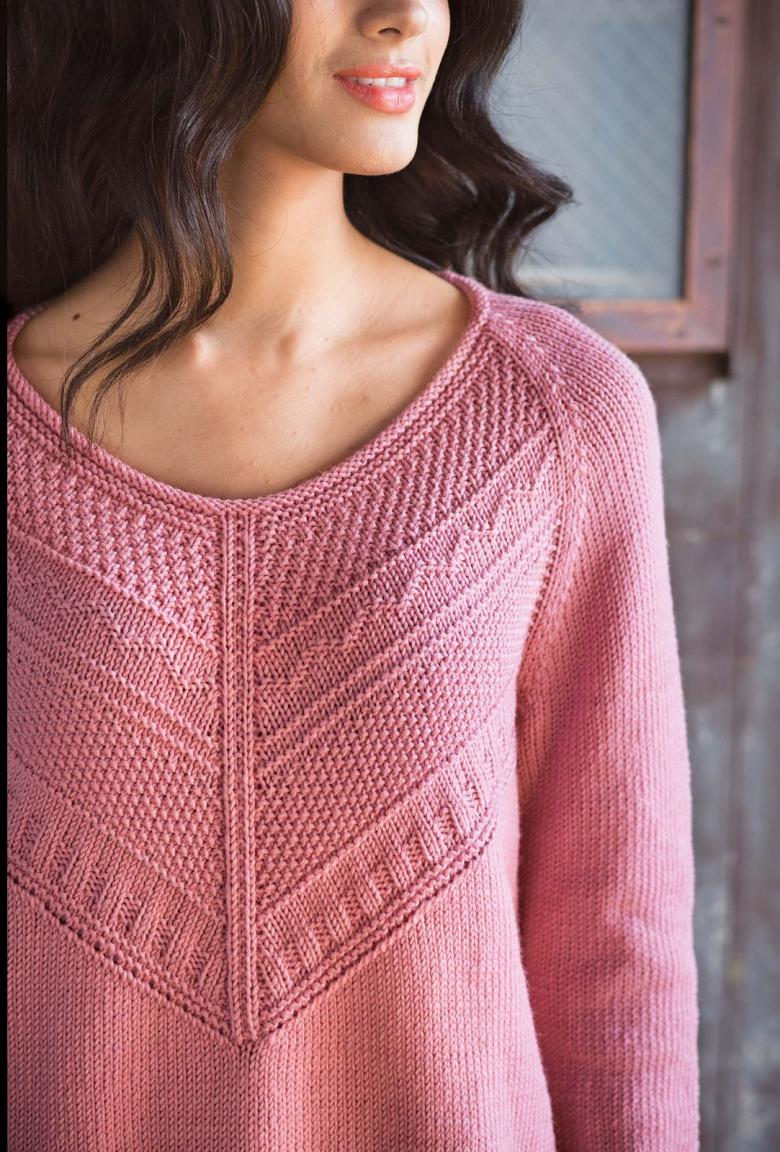
The raglan sleeve can be sewn in or knitted (seamless).
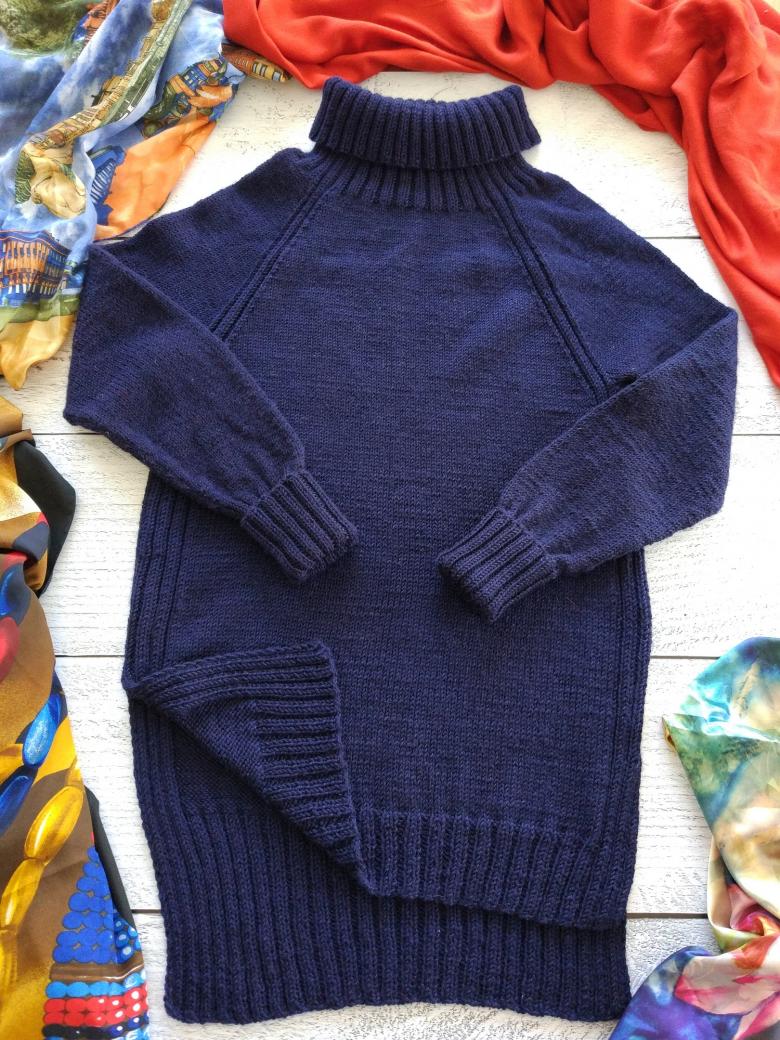
If you choose the stitched method, the parts of the product are knitted separately from the bottom on 2 spokes, and the raglan line is formed on each part by adding stitches from each edge. More popular is the second method, in which a seamless product is knitted with circular needles from the top, and the raglan line is formed by adding stitches inside the fabric.
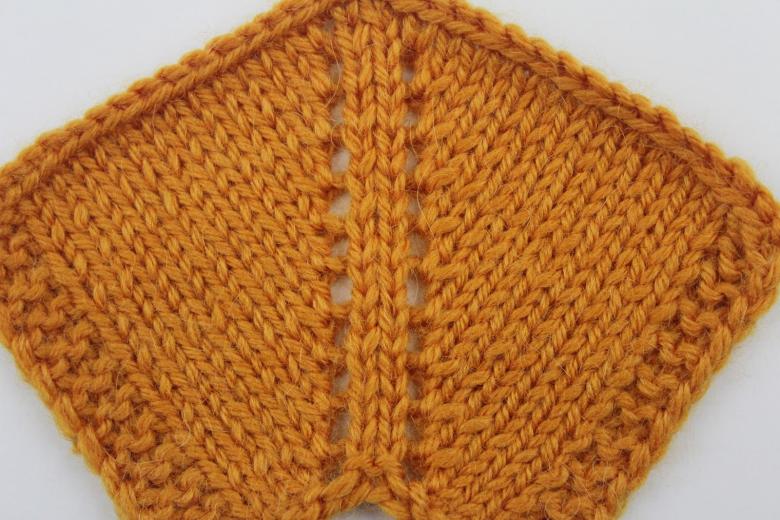
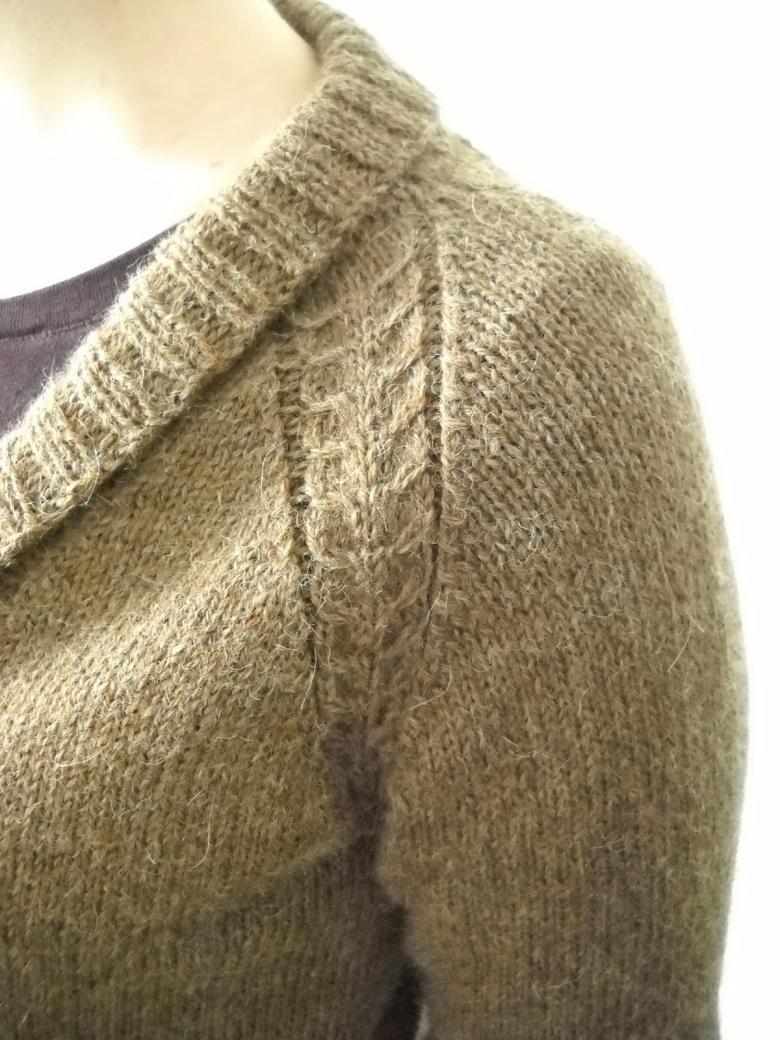
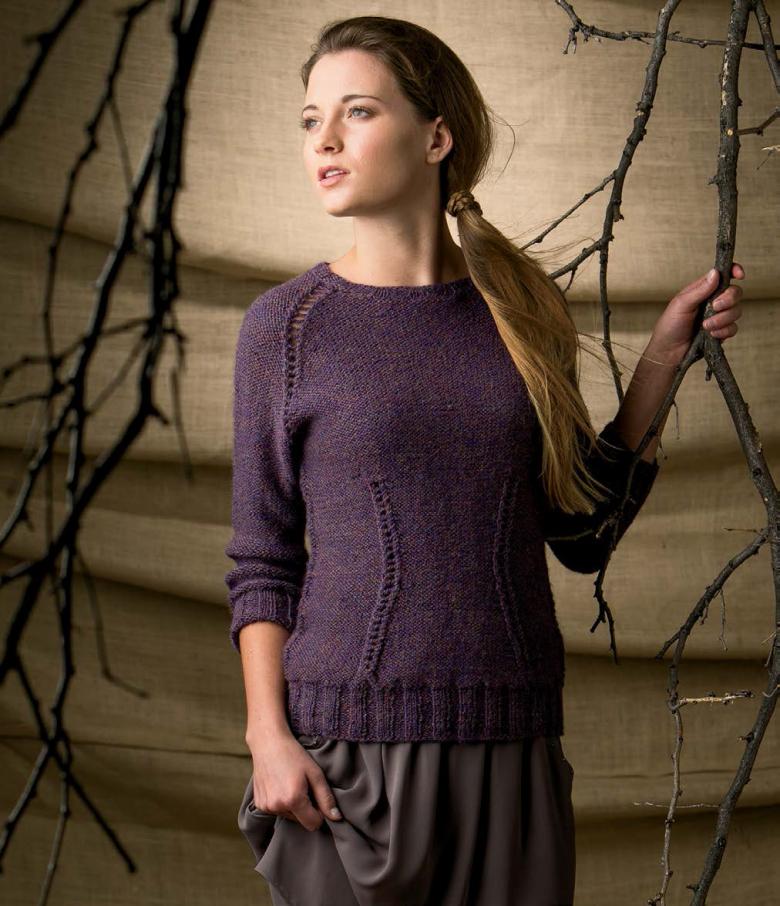
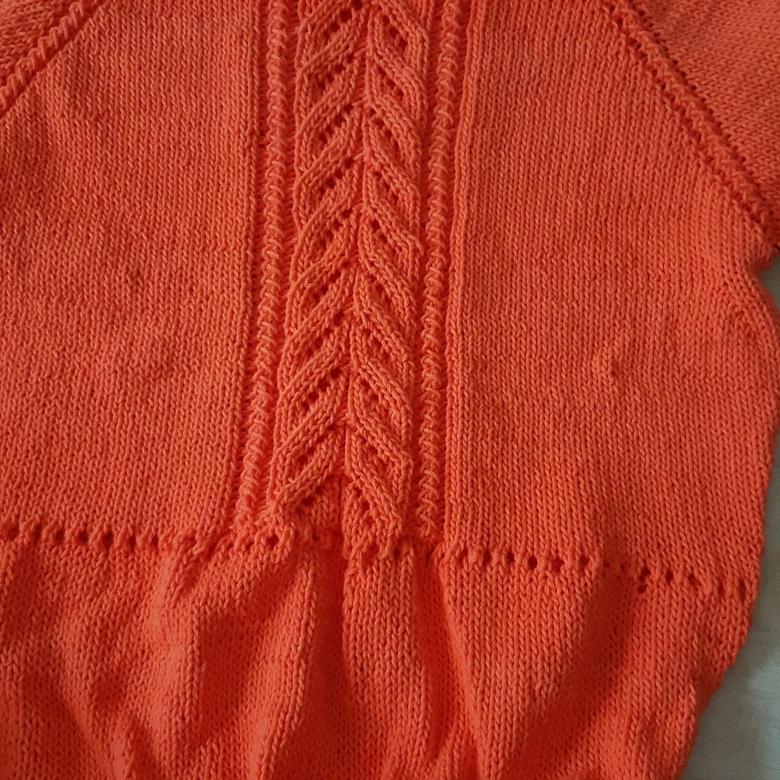
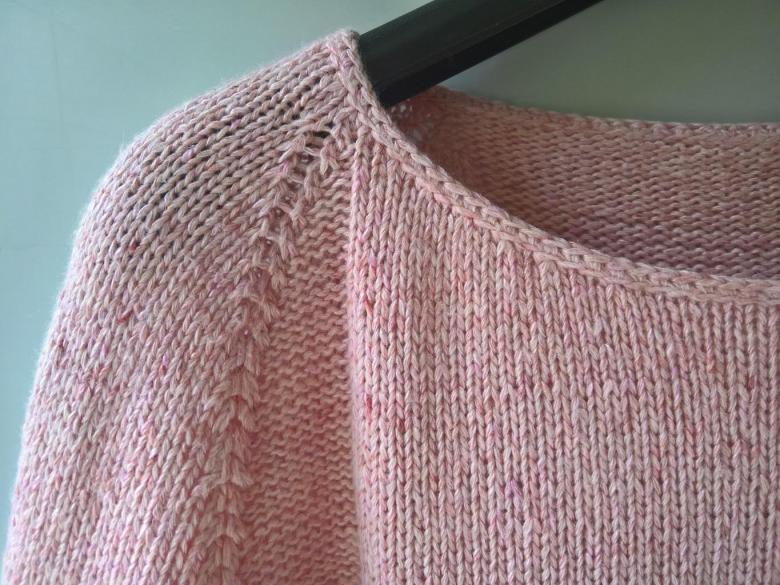
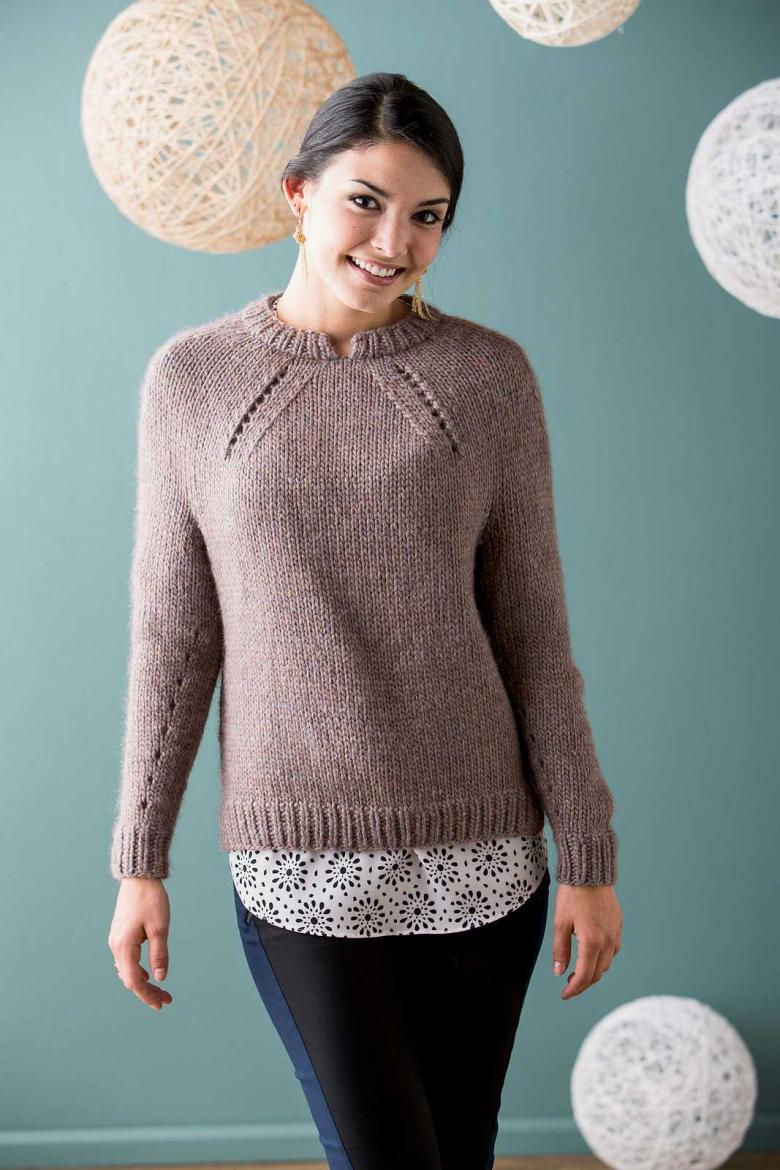
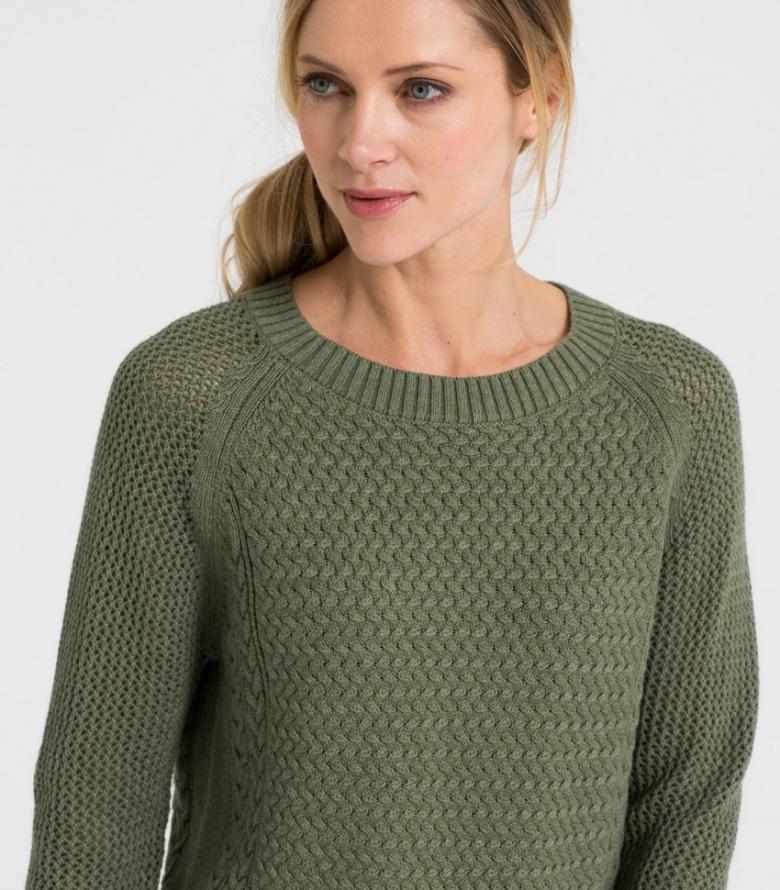
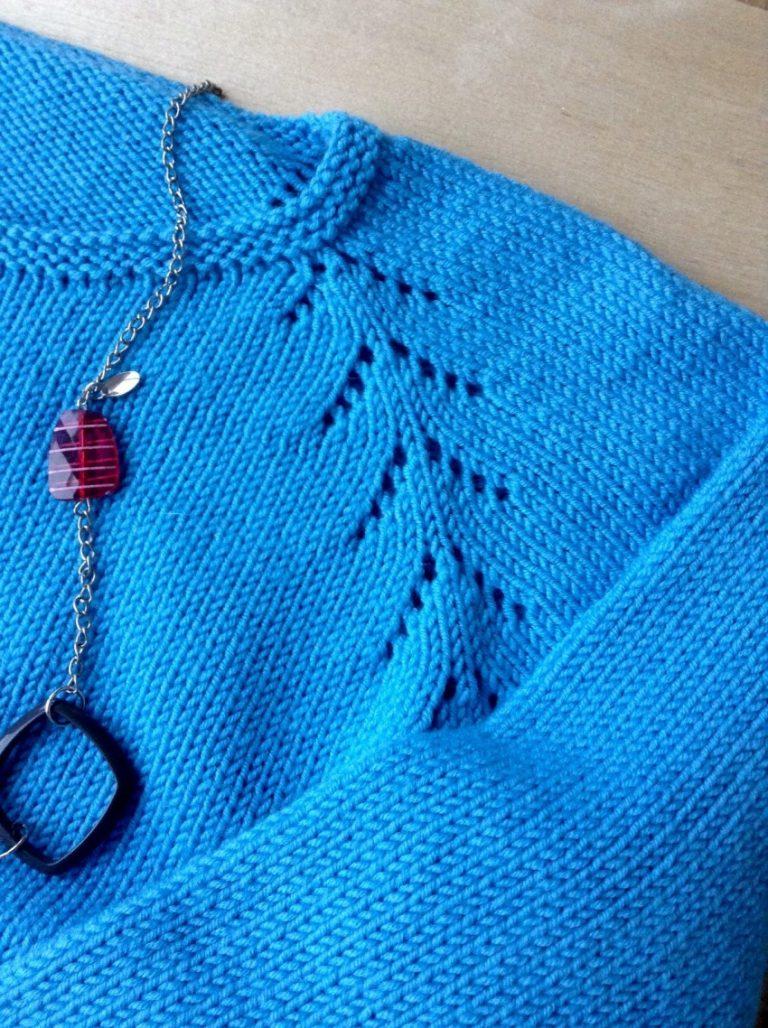
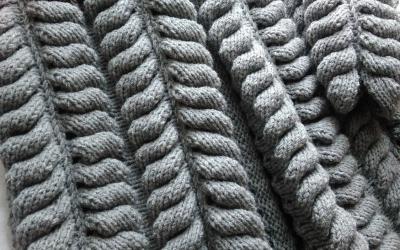
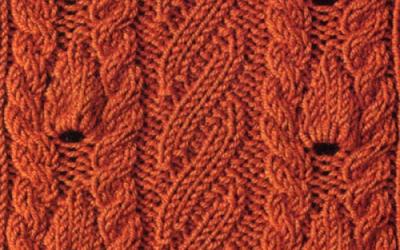
The dividing line raglan may consist of one or more loops, to be only functional or be a decorative element. If it is made of several loops, it can be used to make patterns: bunches, braids, etc.
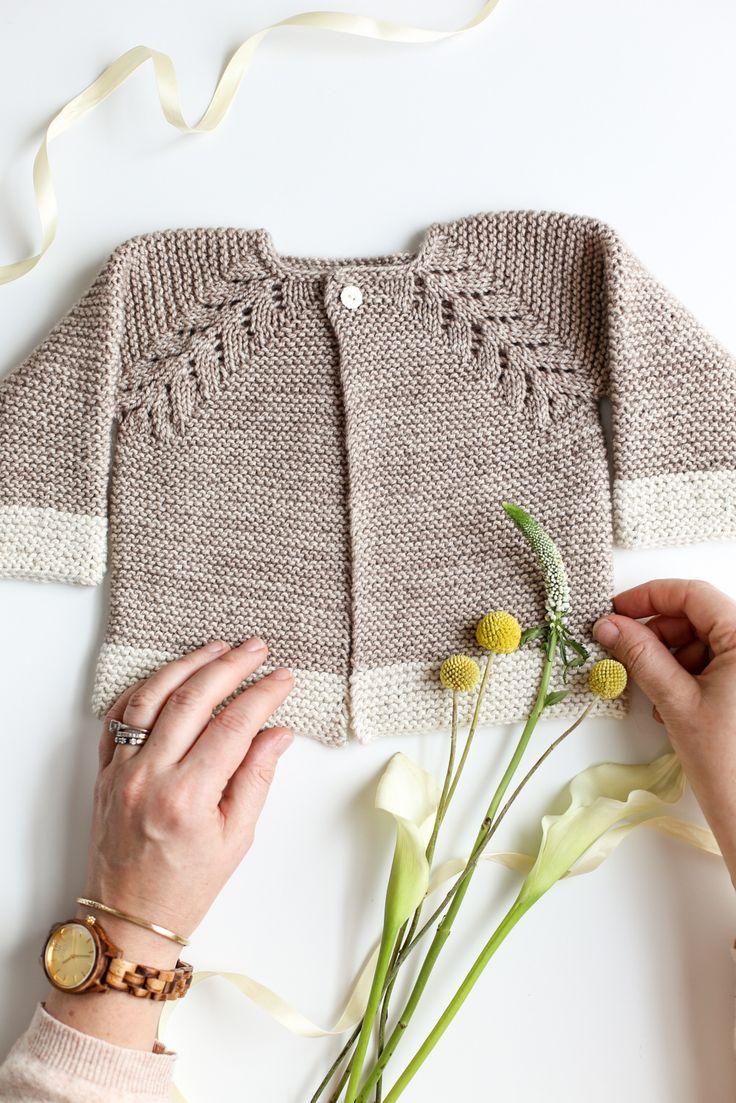
When choosing how to knit, it is necessary to take into account the type of yarn. If it is smooth, then the raglan line can be emphasized with a pattern, make it more embossed, if the yarn is textured (mohair, "grass", etc.), then the choice can be more simple.
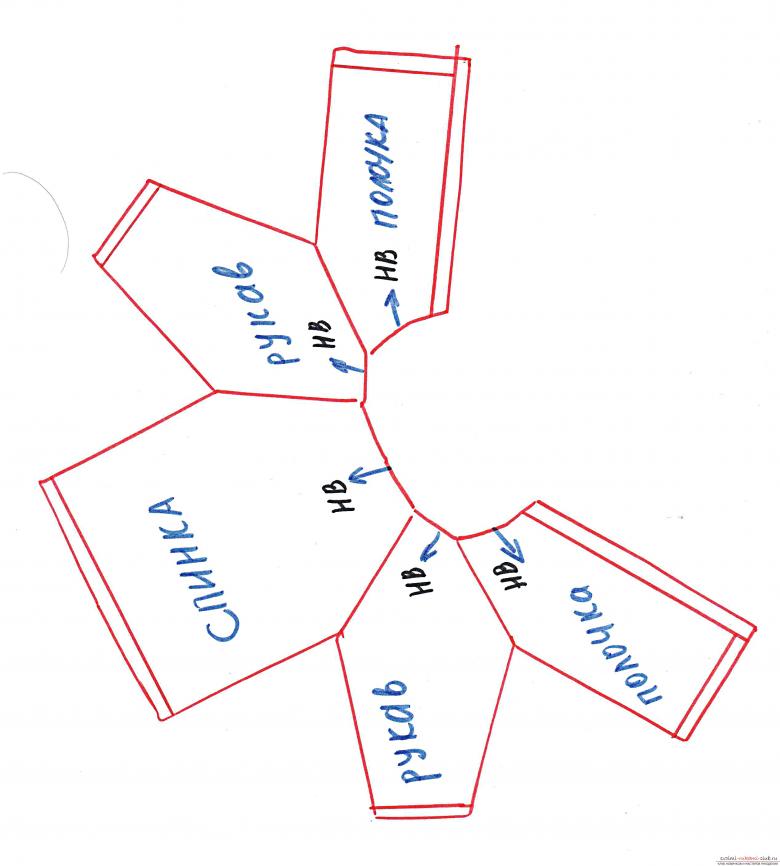
When knitting from the bottom, the raglan line is formed by cutting back the loops on the straight fabric.
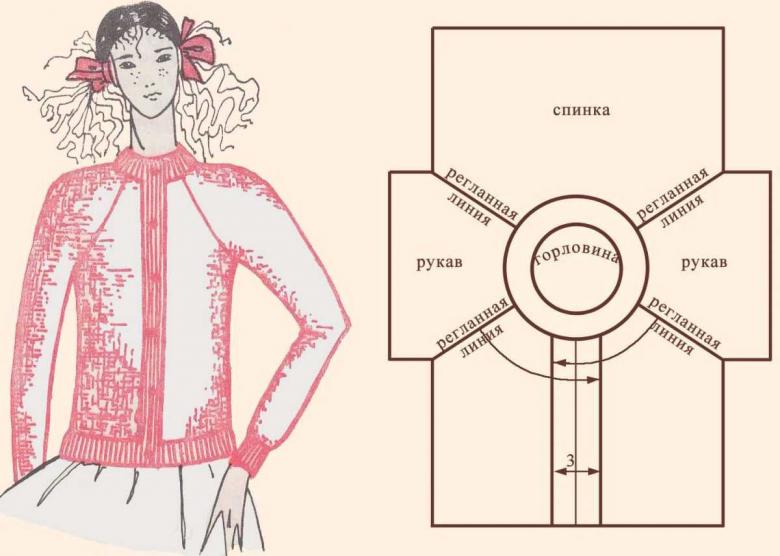
This is done at the beginning and end of a row to create a bevel on the knit fabric with a slope either to the right or to the left. The cropped rows should not be disturbed by the bypassing. For a more beautiful line, it is better to leave two or three loops (taking into account the edge) before and after the slack.
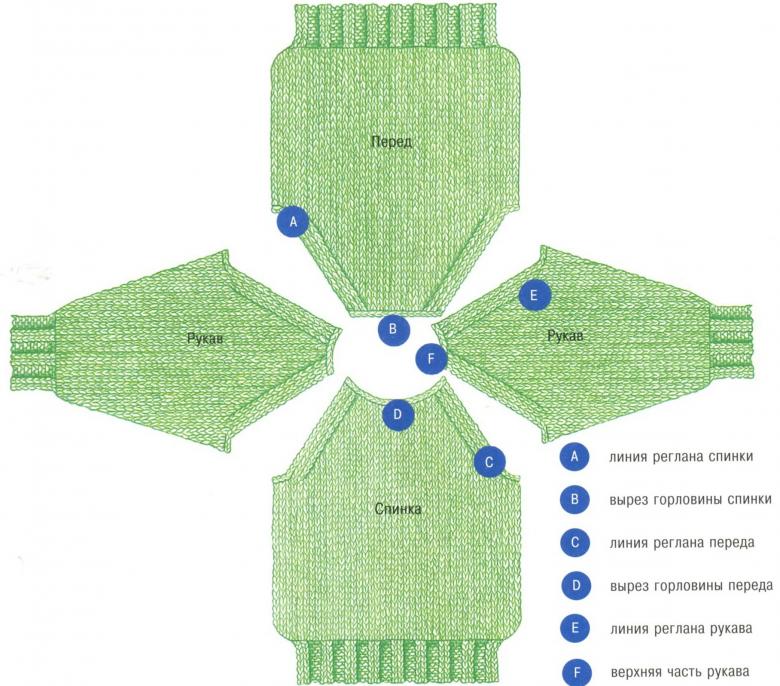
Master class of the double method of slackening
More often use the simple or double method of the ducking. Consider them in detail on the example of a step-by-step master class:
- The simple consists in taking away 1 p. by one of the following methods:
- to tie 2 sts together with faces..;
- flip an unknitted stitch over the knitted stitch.

If the flip is carried out on the right needle, it is called direct, and if the left, then the reverse.
When knitting raglan, when you want to emphasize the line, it is better to remove 1 st. straight flip, and you have to choose a slope to the left or right.
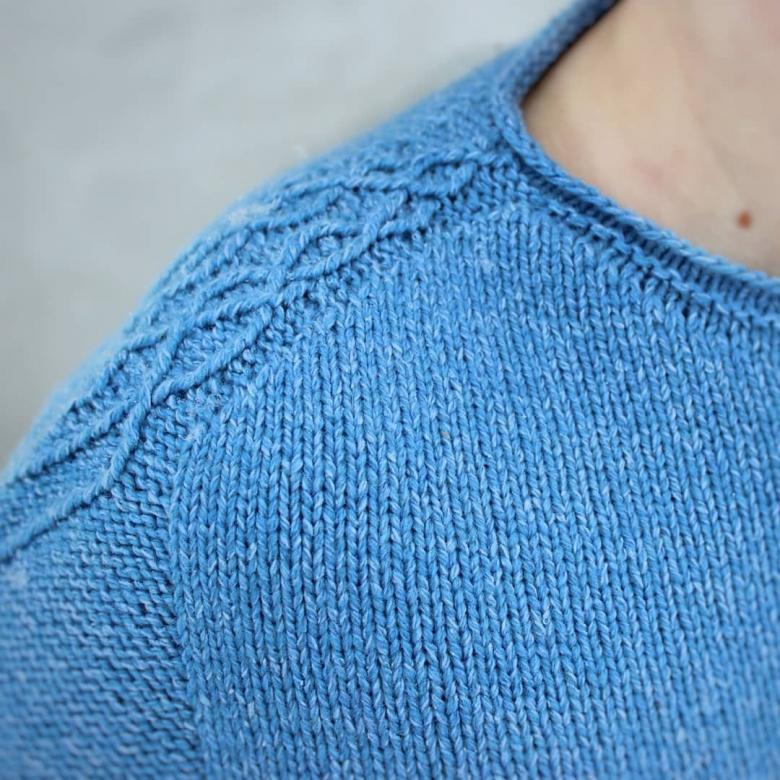
- The 1 st. straight flip to the left
- take off a stitch,
- the next stitch is left,
- use the left needle to flip the removed stitch from right to left over the stitch.
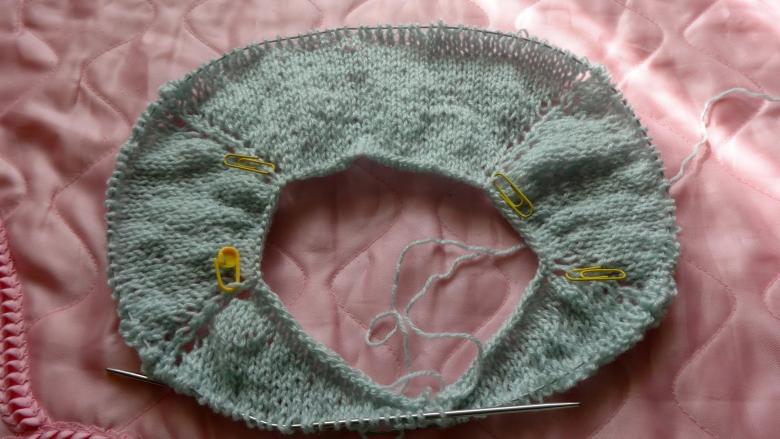
- Deduction of 1 st with a straight flip to the right:
- Blow out a stitch on the right side and return it to the left hand,
- right needle to flip the second stitch over the first.

- Double method of removing 2 st. of three stitches at once by one of the following methods:
- knit three stitches together..;
- Flip right or back stitches over one knitted stitch, which bends the knitted stitch to the right or left.
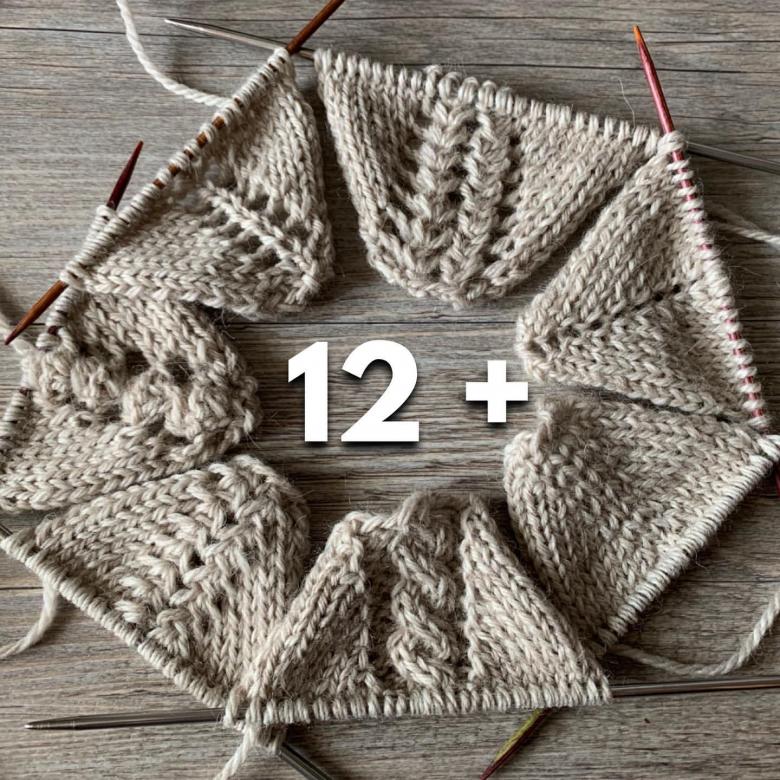
- 2 sts straight flip flop with a left side bend:
- Method 1: 3 sts together with a crossed over face: tie 3 sts together with a backstrap
- Method 2: 3 sts with 2 straightforward hooks: take off 2 sts and place the next st on top of the left stitch and use left hook to fold over the removed stitch and overlap it from right to left.
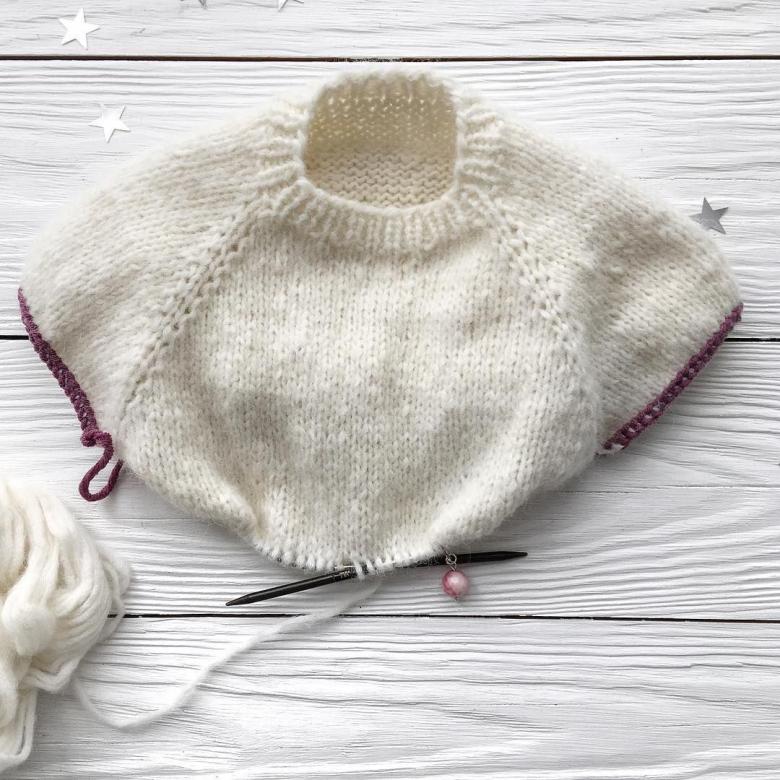
- Deduction of 2 sts. with a straight flip to the right:
- 1st way: 3 sts together with the right side: tie 3 sts together behind the front wall.
- Method 2: 3 sts together with two back flips: knit 1 st st and return it to the left spokes, flip 2 and 3 sts from left to right over the knitted stitch.

By adding.
Formation of the raglan line by adding loops is used when knitting the product from above. Addition of this case in the middle of the product, on both sides of the planned raglan line, only in the front or only the back row.

Double addition of loops in the middle of the fabric:
- The axis of the double stitch addition is formed in the middle of the fabric by 3 sts.; these 3 sts.must be highlighted when knitting;
- from the first center stitch, knit 2 stitches: first stitch on the left side, then with your left needle pick up the stitch below the one you have just knit and knit a left stitch in it;
- knit the second center stitch as usual;
- Then use your right needle to pick up the loop under the third stitch (from the previous row) and knit a front stitch in it;
- The third stitch of the buttonhole itself should be left untwisted.

Knit a seamless knit with raglan sleeve
Calculation .
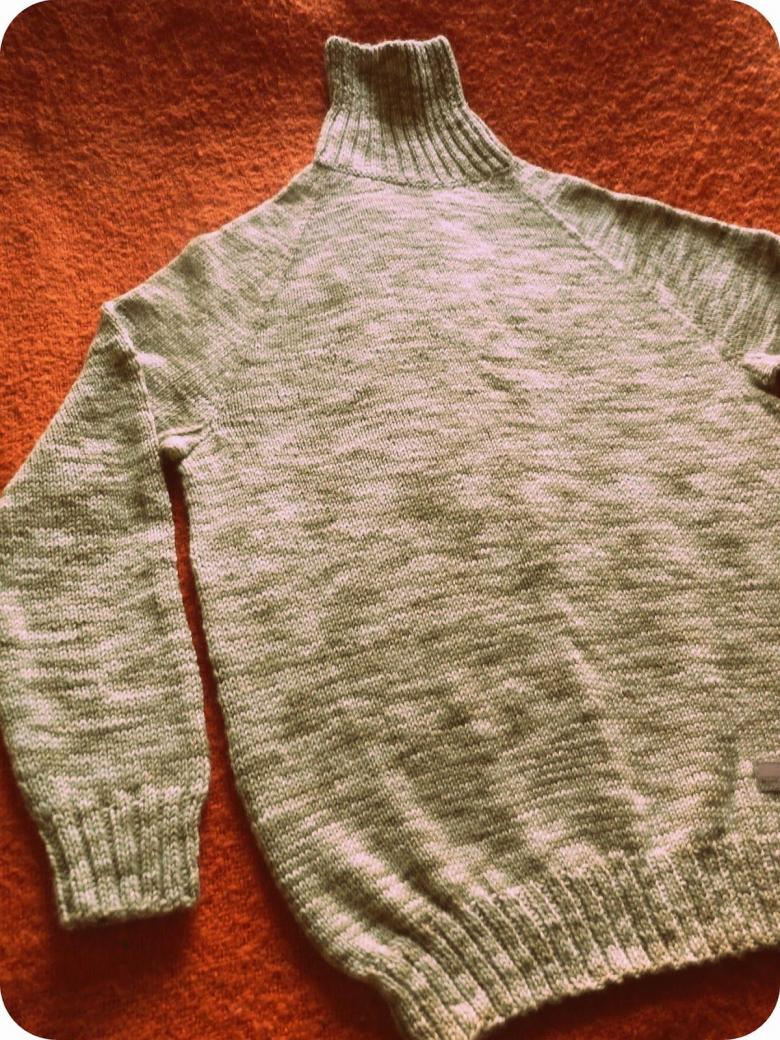
Unlike products with a raglan sleeve for knitted goods pattern is not required, it is enough to correctly take measurements and make an accurate calculation. This method of knitting has many advantages and is loved by both beginners and experienced craftswomen. The product is knitted from top to bottom.
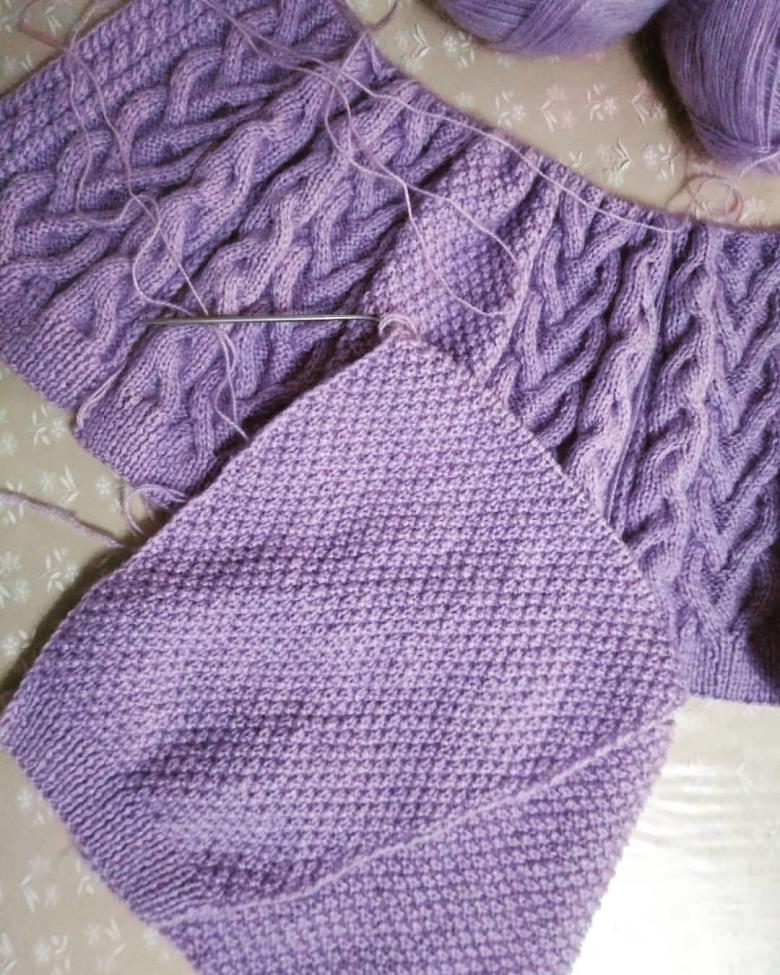
Calculating the increase is uncomplicated and is based on the following preliminary measurements (for medium fullness):
- length of the neckline (the neckline is tight to the neck or has a recess); tentatively - 50-56 cm;
- shoulder circumference - at 12-14 cm from the first measurement; approximate - 105-115 cm
- body circumference with arms loose at armhole + allowance (depending on model) approximate - 140 - 150 cm.
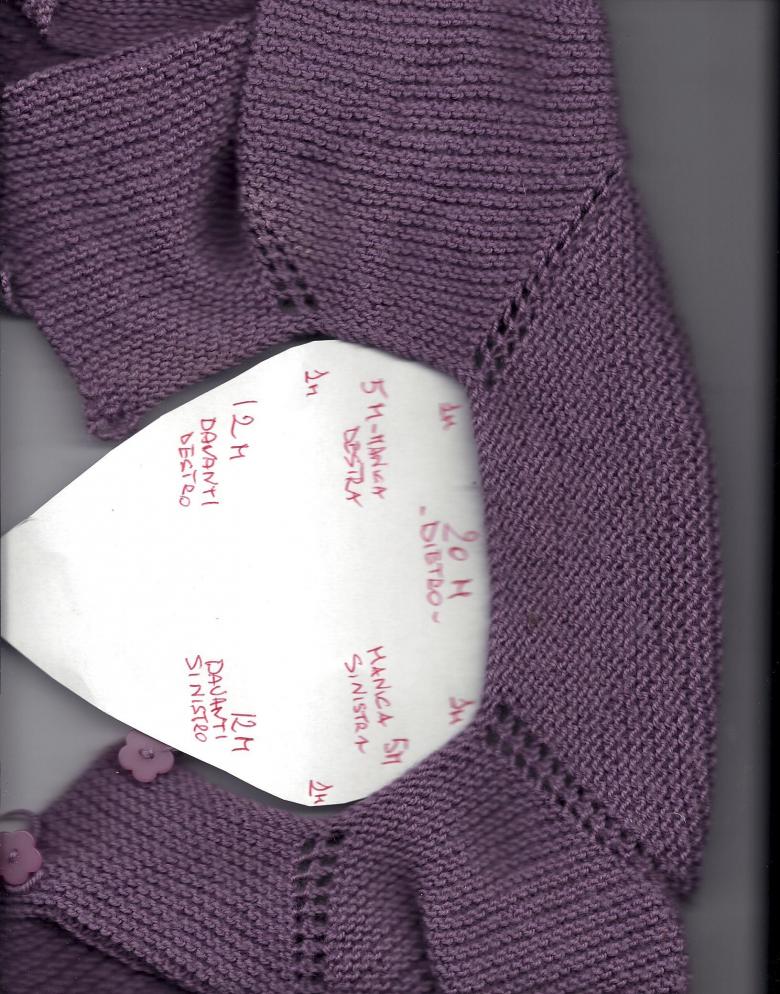
The example shows that the second girth increases from the first by about 2 times, and the third from the second by 1.3 times. On this basis we make a simple calculation: if for the first measure we dialed 80 p., their number on the third level should be: (80 x 2) x 1,3 = 210 p., and for products with the raglan line, the resulting number increases another 1.2 times: 210x1,2 = 252 p.
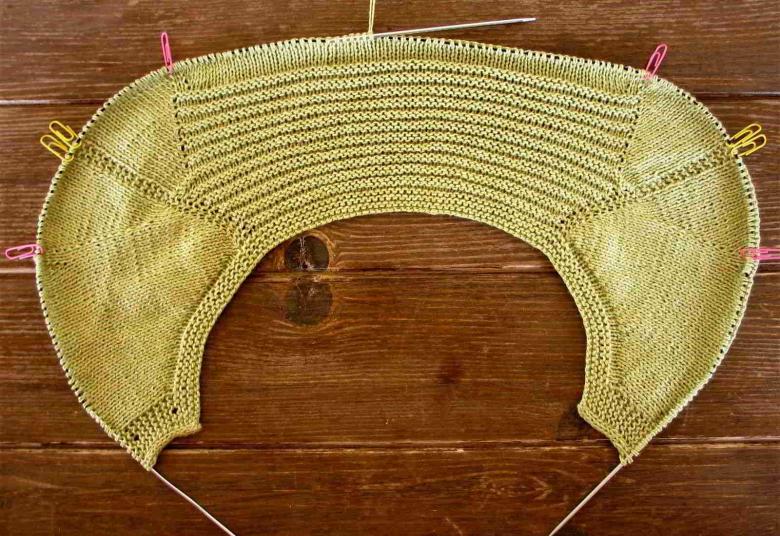
Take into account your size and density of knitting and make a similar calculation.
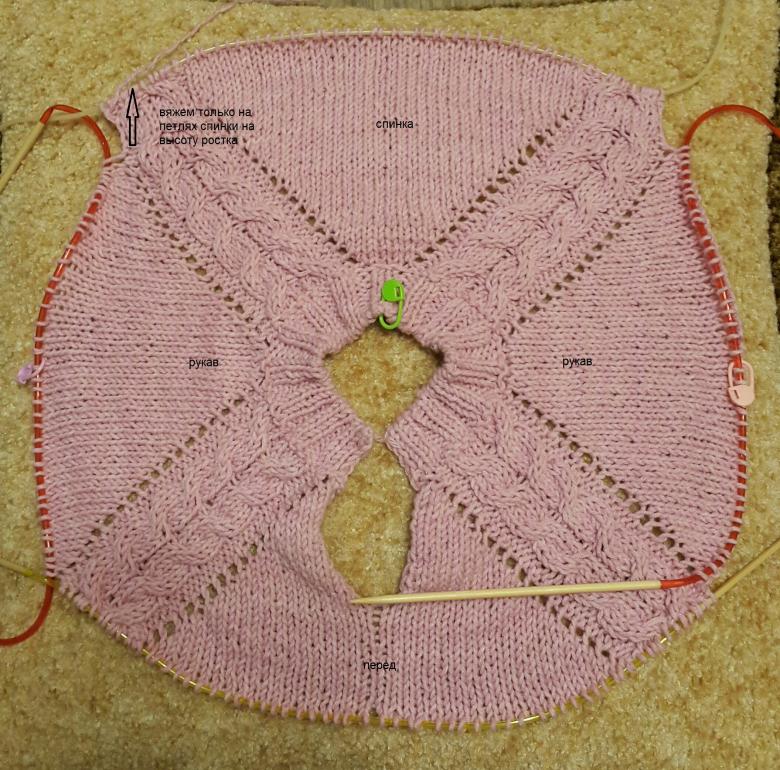
Description:
- Dial the number of loops according to the calculation of the length of the neck, for example 54 p;
- For 4 lines raglan mark 4 p. contrasting thread;
- The remaining 50 sts distribute as follows: 1/6 of the loops - the sleeves (50 - 8x2 = 34 p., 8 p. on each), 1/3 of the loops - the back (16 p.), the rest - on the shelf (18 p.);
- Knit the cloth in a circle in any pattern of knitting;
- Addition of loops is performed by means of stitches, we expand the details of the product by adding 2 sts. before and after the raglan lines; in the wrong row, the loops are done in the usual pattern;
- gradually go through all the rows up to the calculated girth;
- Then knit back, shelf and sleeves separately according to the model according to the preliminary calculation.
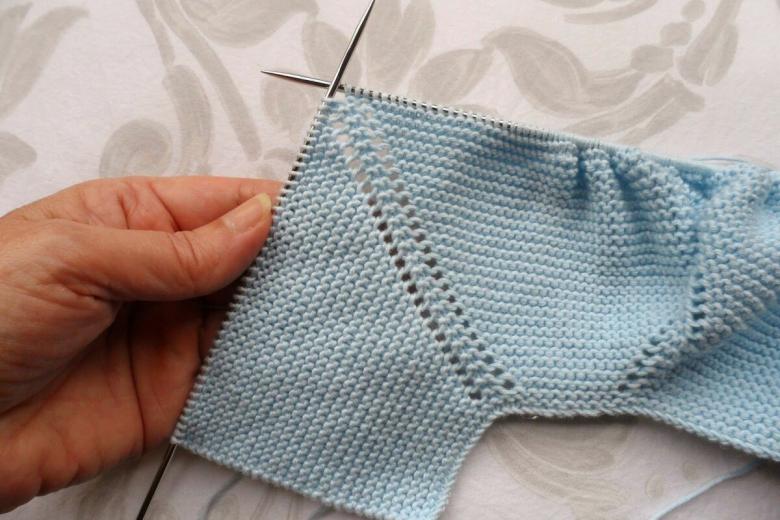
According to this description, you can knit a blouse with a buttonhole in the front. For this, from the loop for the shelf half of the loops leave for the left side, the second half - for the right. Knit in the same way, but no longer in a circle, but straight and back rows.
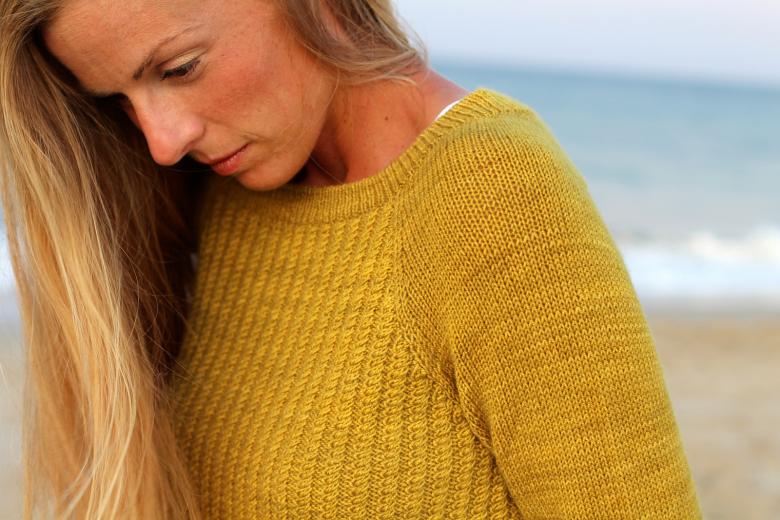
Knowing the basic rules for the addition and reduction of loops on the raglan line you can begin to knit models of any complexity, even a novice needlewoman. Especially popular is this method of knitting children's clothing. Knitting patterns can use their own, proven in practice, or take ready-made with a step by step description.

