How to knit motifs - description of the knitting scheme, clear master class, photo ideas
Knit the right motifs should every needlewoman, because it really helps them to work with the things of common household. These are sweaters, blouses, tunics, cardigans, as well as a variety of tablecloths, towels, plaids, gloves and more. May or may not be patterned.
A detailed description of knitting motifs
These products are very practical and therefore convenient to use. The practice is well-known among those who sew with crochet. Let's study a couple of them, both easy and higher in complexity.
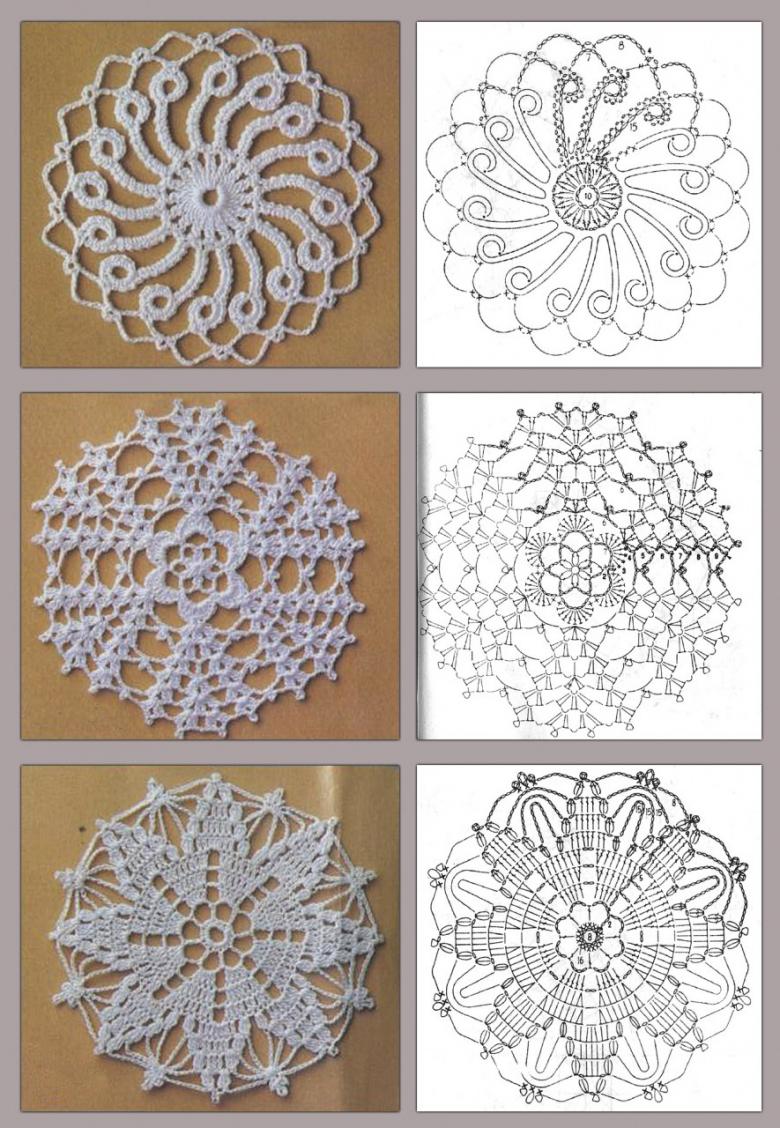
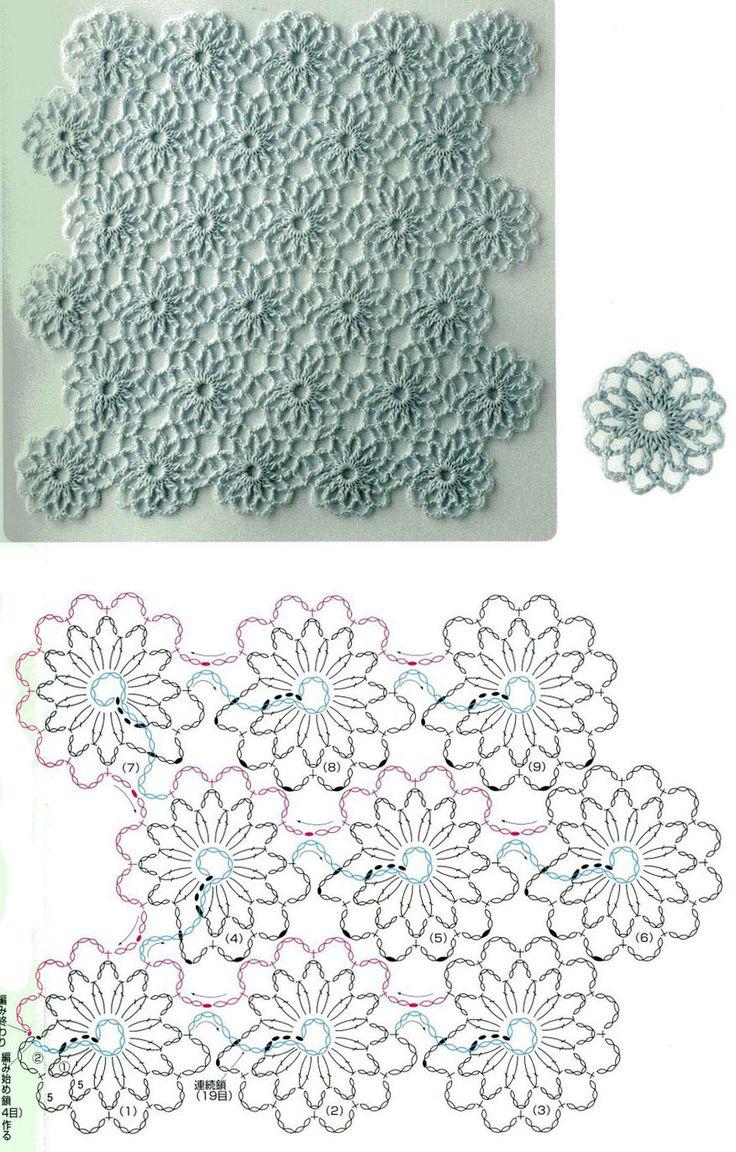
Simple rounds.
One of the easiest kinds for beginning needleworkers. With their help, you will be able to move on to more intricate elements. Professional knitters use it as a supplement to the main pattern.
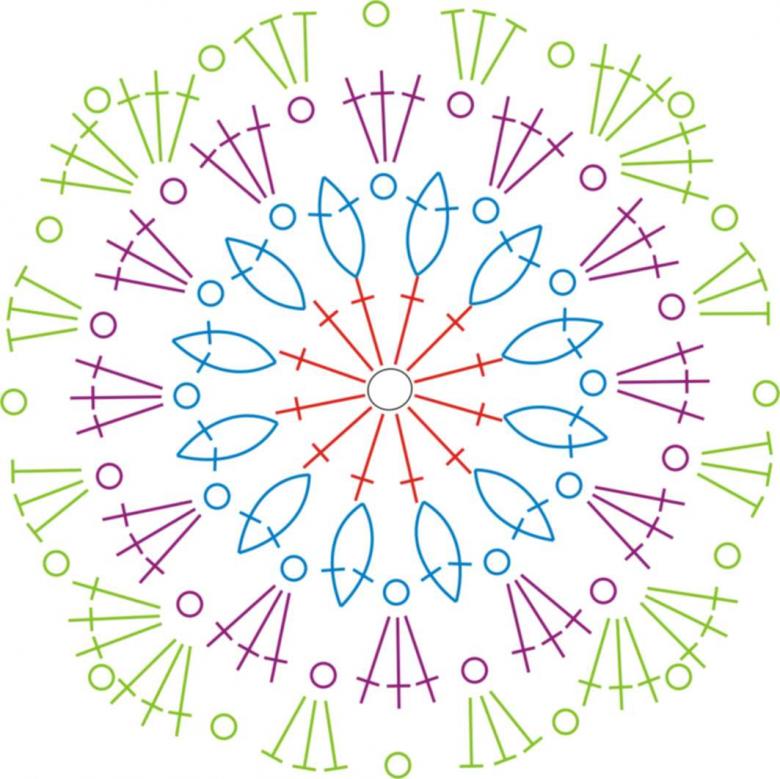
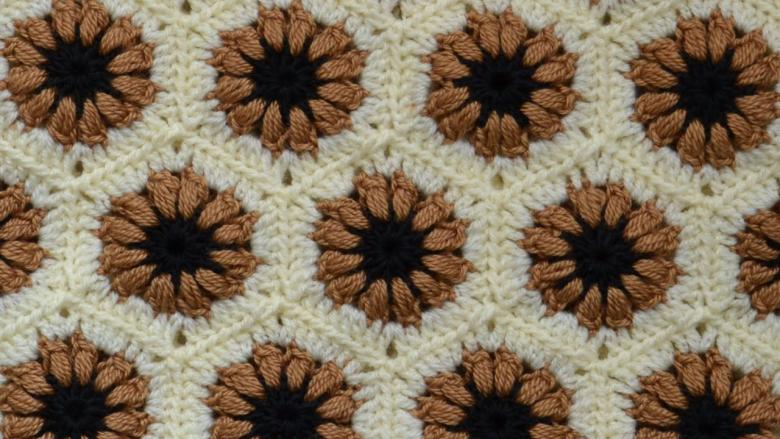
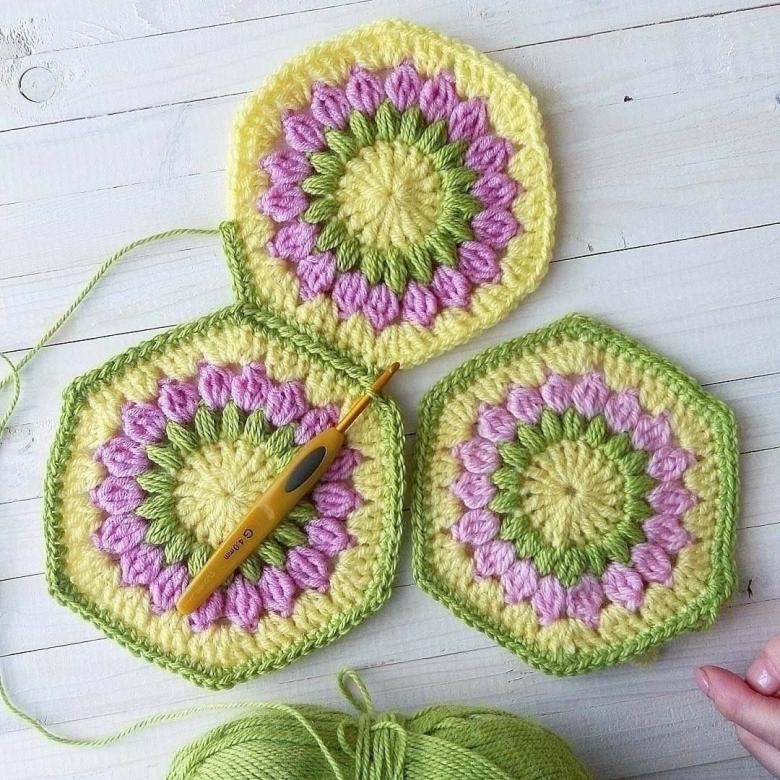
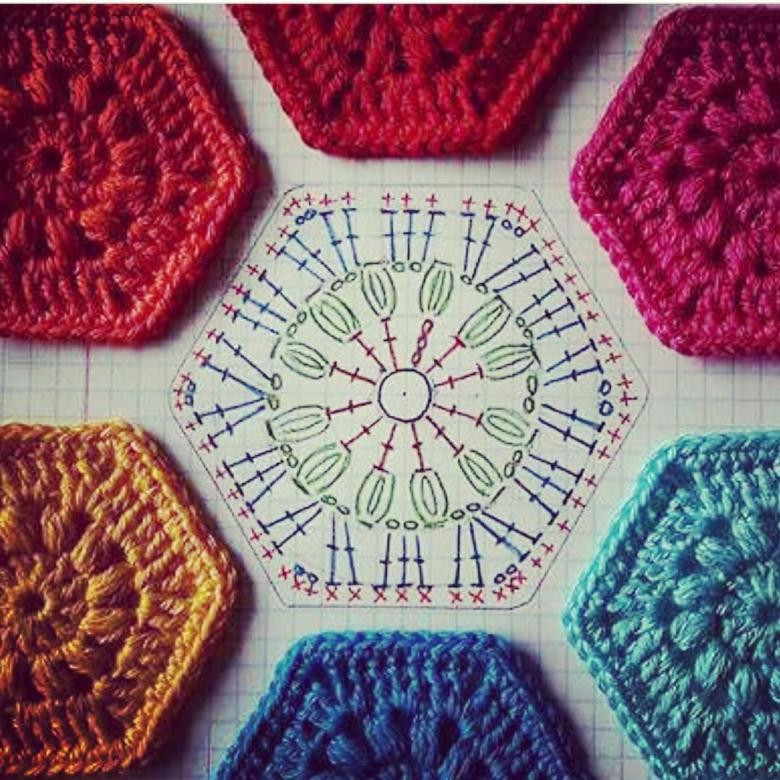
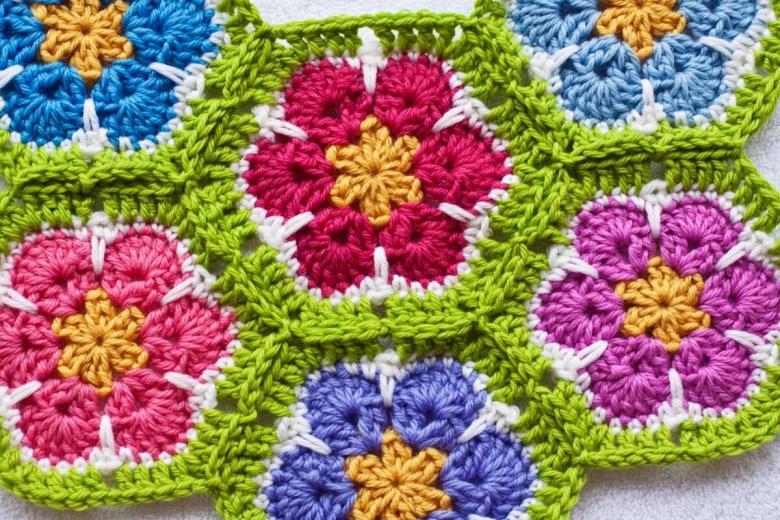
Round two-color. For the greatest appeal of your product, create it in bright colors. It will look a smart addition to a sweater, sweater or small knitted purse.
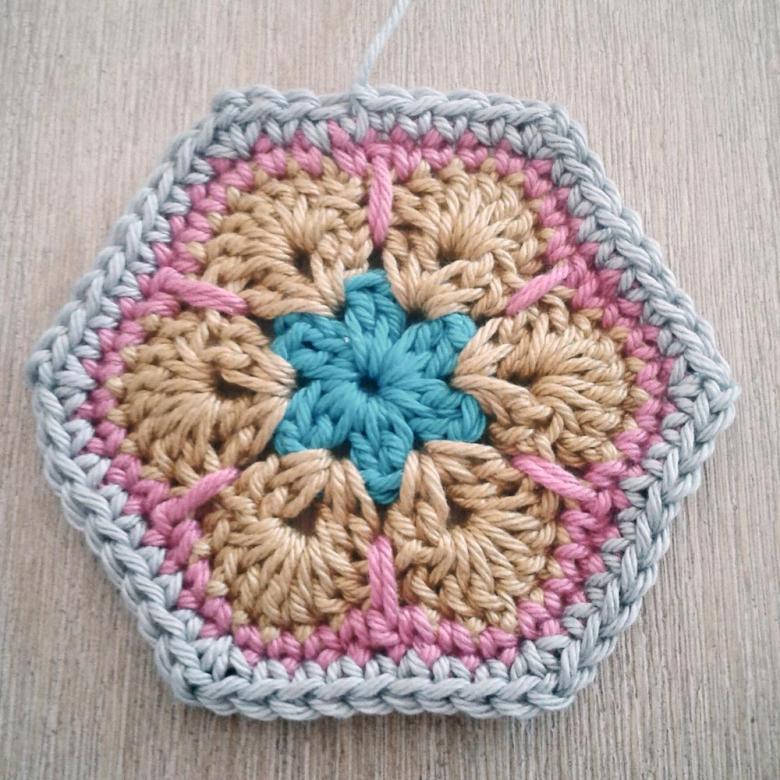
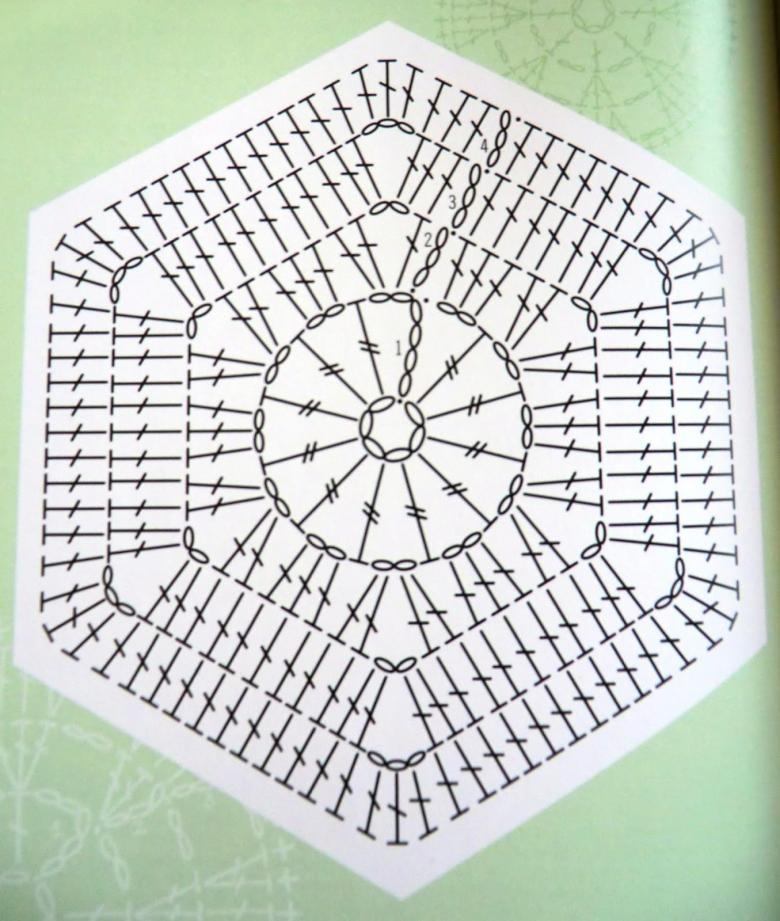
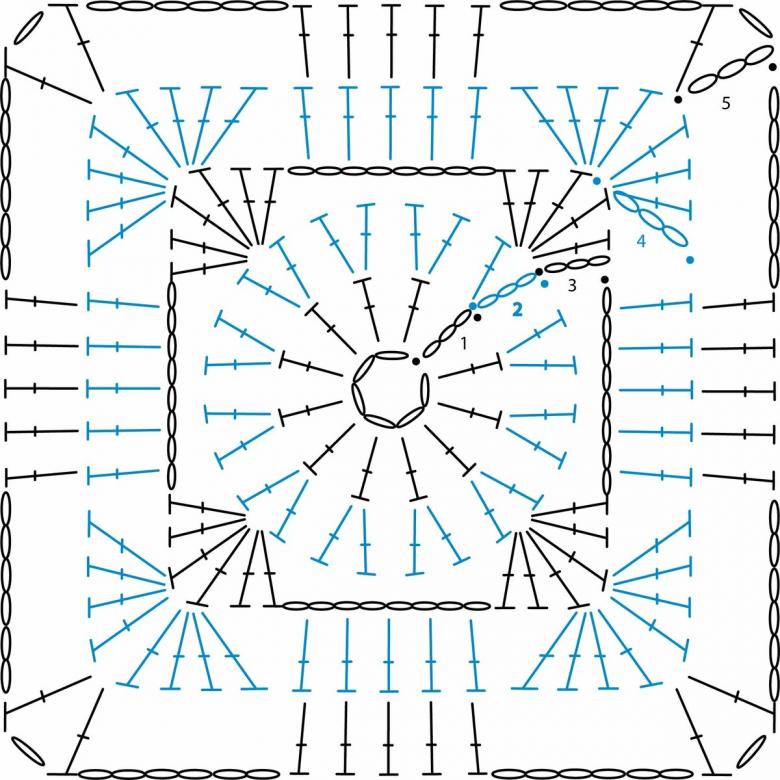
Knit according to row numbering:
- 1 (burgundy): two stems, 11 stitches in the original ring.
- 2 (white): two hoop sts, / one hoop, a column with a single cape at the base of the column with a 1-knit last row / - 11 times, 1 B. loops, close the row with a join column.
- 3 (white): 1 lifting stitch, /3 columns with no overlap in the arch of the air loops of the previous row/ - repeat 12 times, close the row
- 4 (burgundy): 1 linchpin loop lift, /3 linchpin, single column without a stitch in the foot of the column with a 1-pinch of the previous row / - 11 times, then 3 air loops. Fasten everything with a column.
- 5 (burgundy): one air lift loop, /4 no-flap columns in the arch of three air loops of the previous row/ - repeat 12 times, close the row of join columns.
- 6 (white): one air lift loop, /4 air loops, 1 column without a stitch in the base of the column without a stitch of the previous row/ - 11 times, 4 air loops and end the circle of join column.
- 7 (white): one st stitch, /5 columns without a stitch in the arch of four loops of the previous row/ - 12 times, close with a connecting column.
- 8 (burgundy): one stitch, /5 wo- stitches, 1 column without a cape of the last line/ - 11 times, 5 air loops and join the circle with a connecting column.
- 9 (burgundy): one B st of the lift, /6 columns without a cape in an arch of five sts.
- loops of the past - 12 times, join the row with a column.
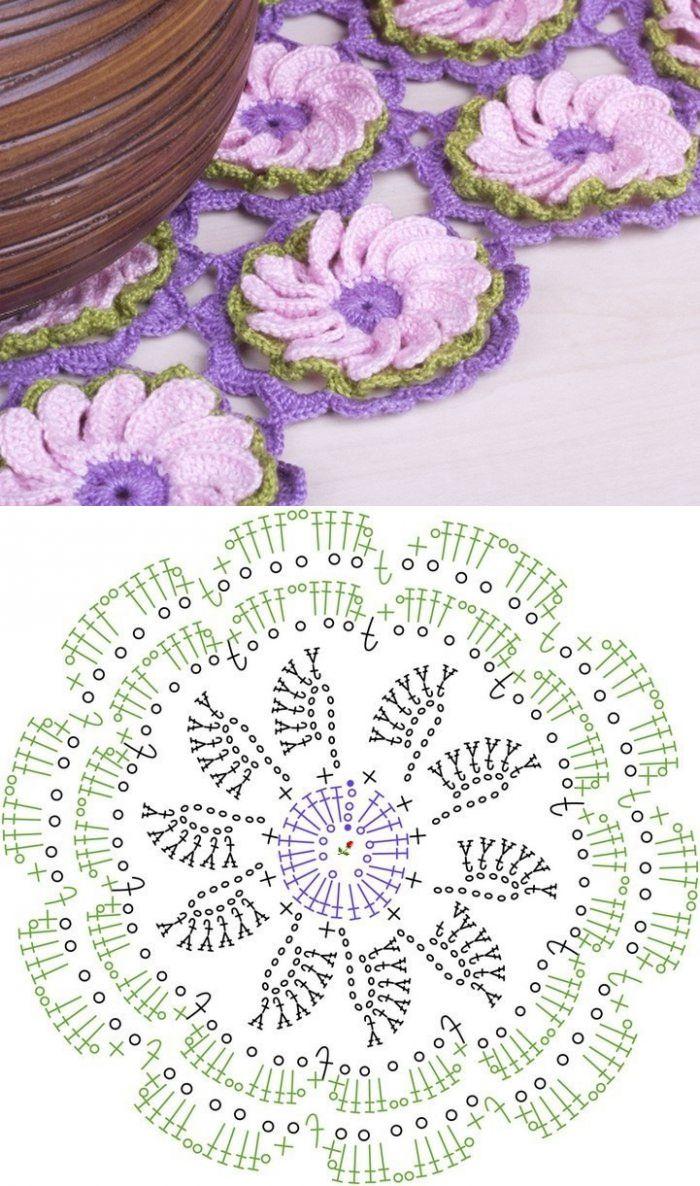
This way you can create up to a certain size that you need. All you have to do is follow the sequence. In the even-numbered row, one stitch in each arch, and in the odd-numbered row, one no-stranded stitch in each arch.
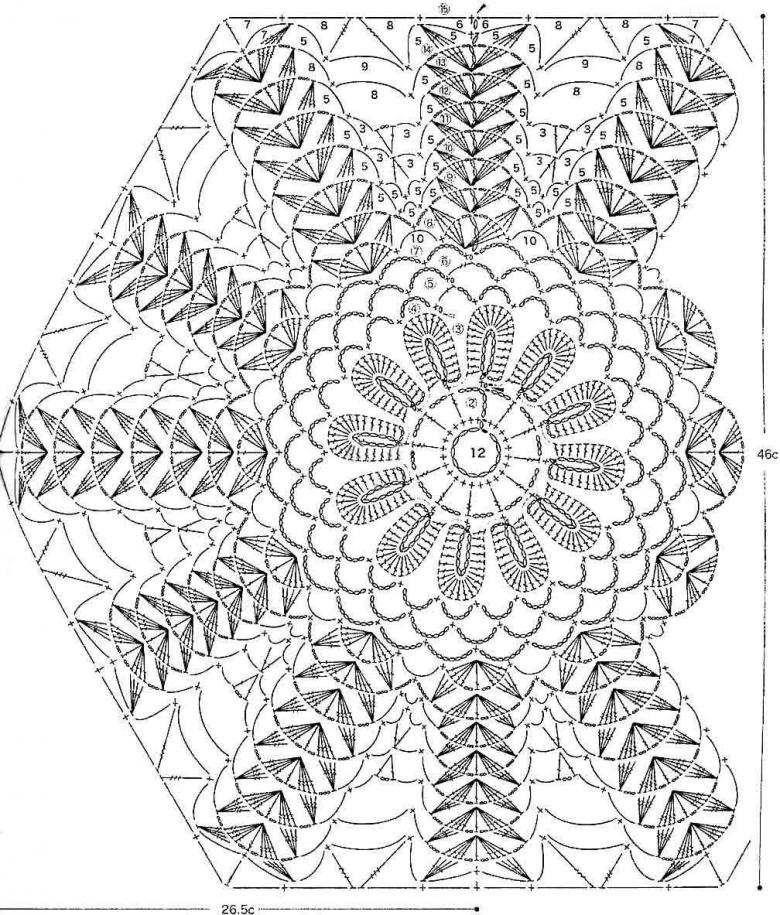
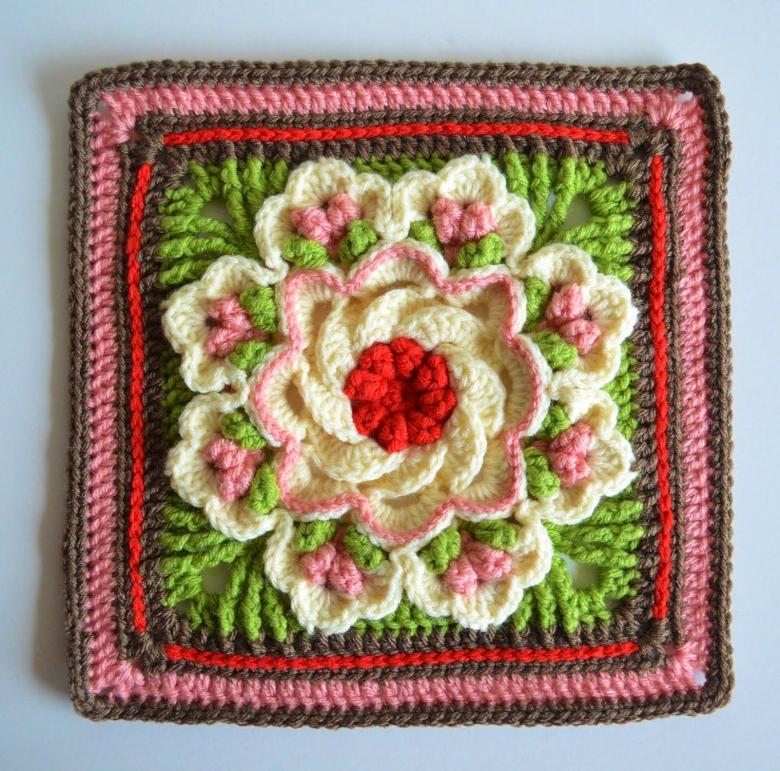
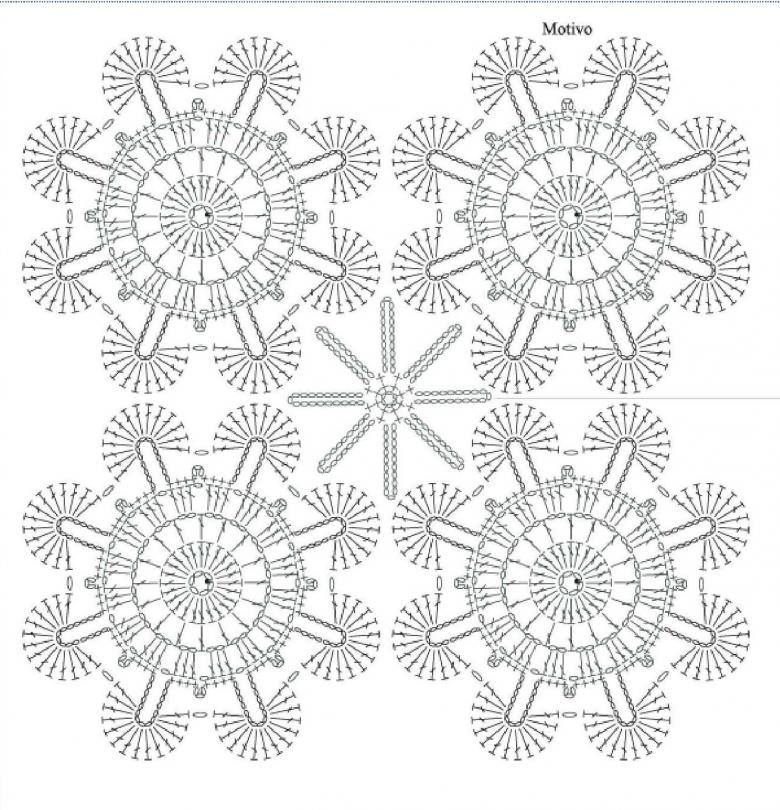
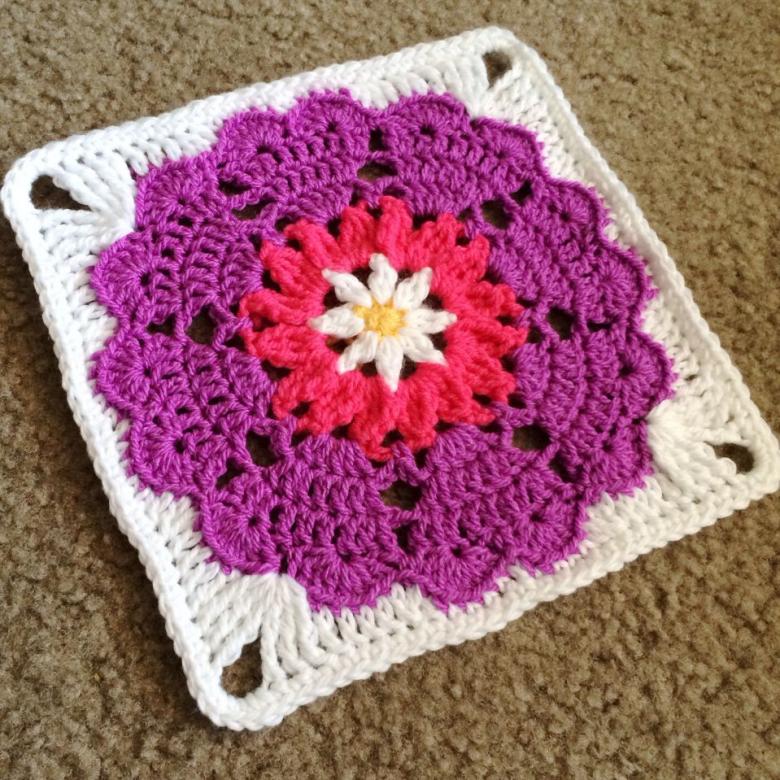
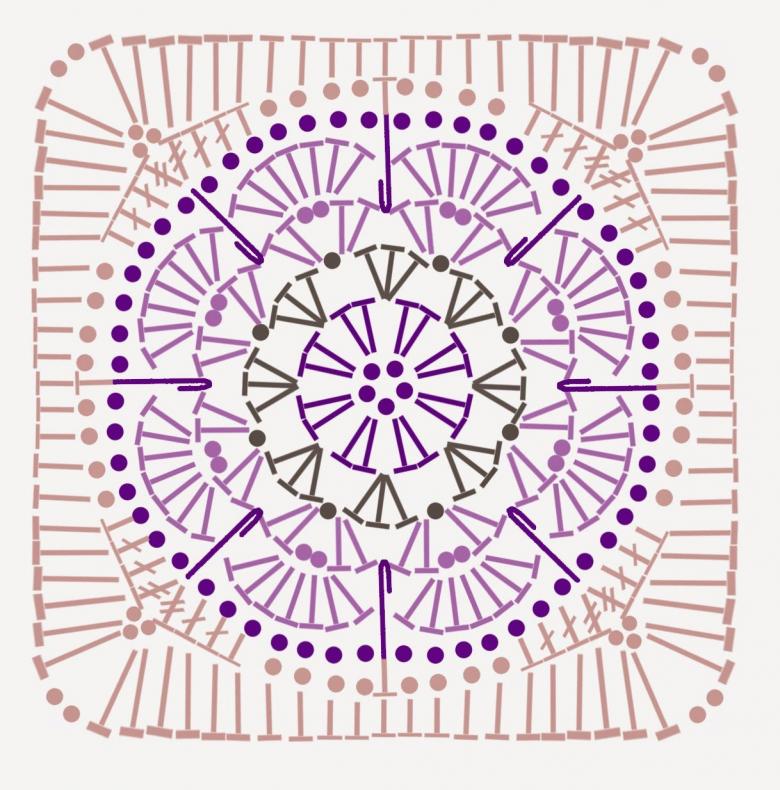
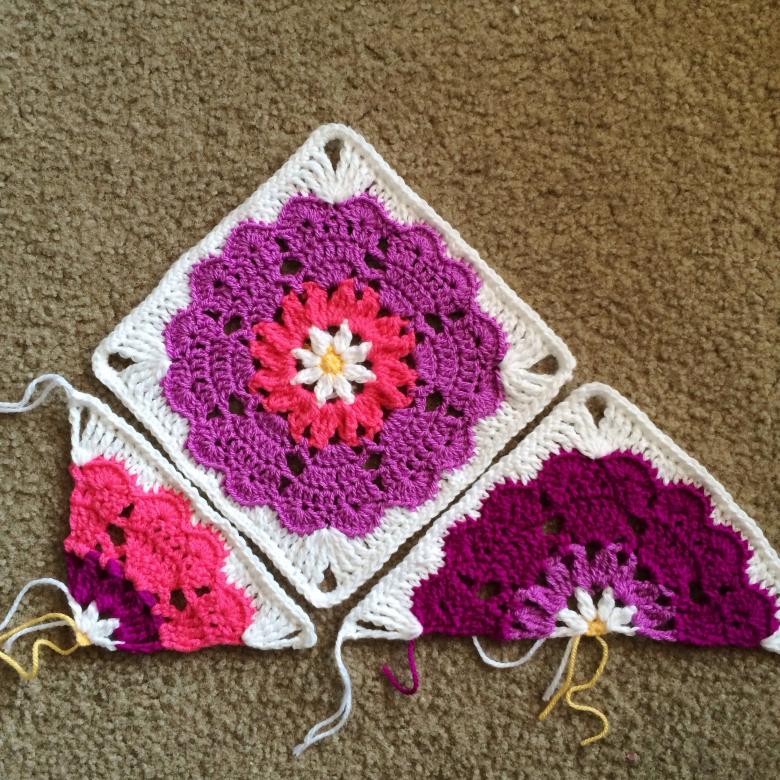
Beautiful mandala. An interesting piece with a certain floral feature and meditative meaning. It looks amazing on knitted things, as well as on many household items. It consists of nine stitches of different colors that you choose at your discretion.
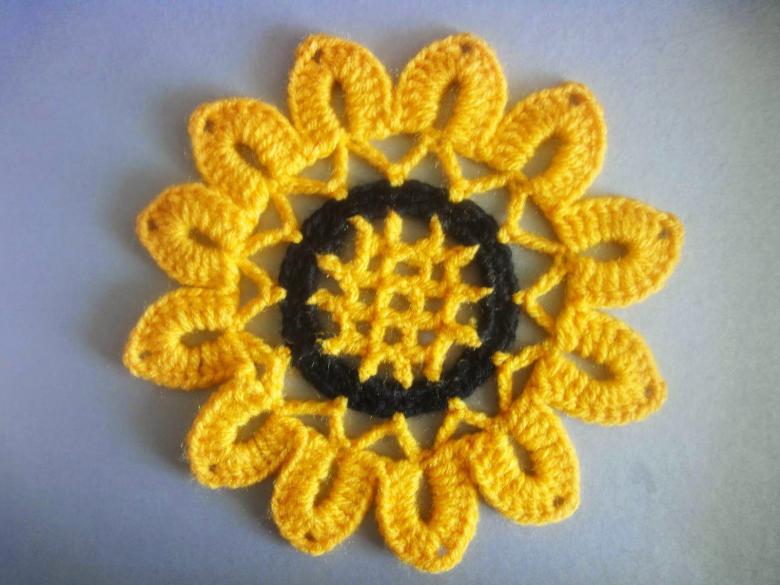
You will need to remember the abbreviations for ease of writing and understanding the article:
- VP - air loop;
- SBN - no stitch;
- NSC - a column with a stitch;
- SS2H - column with two ticks;
- PS1H - puffed column with a 1 st stitch;
- SS - join column.
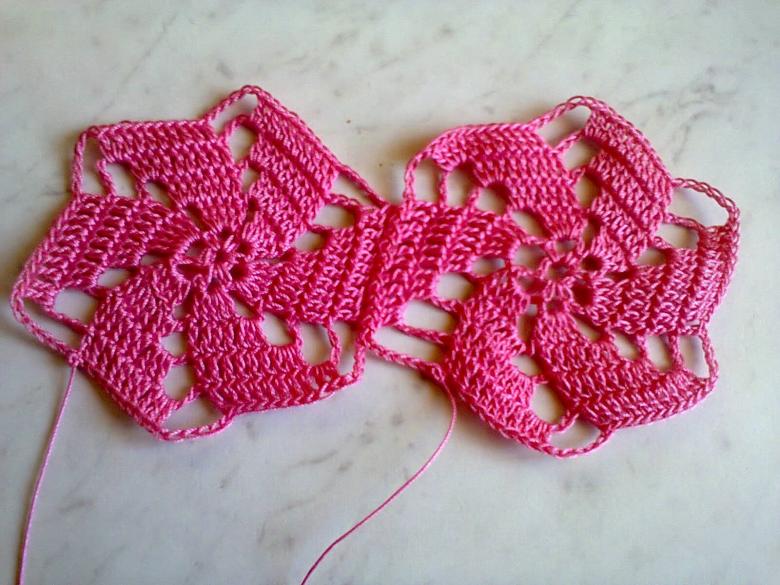
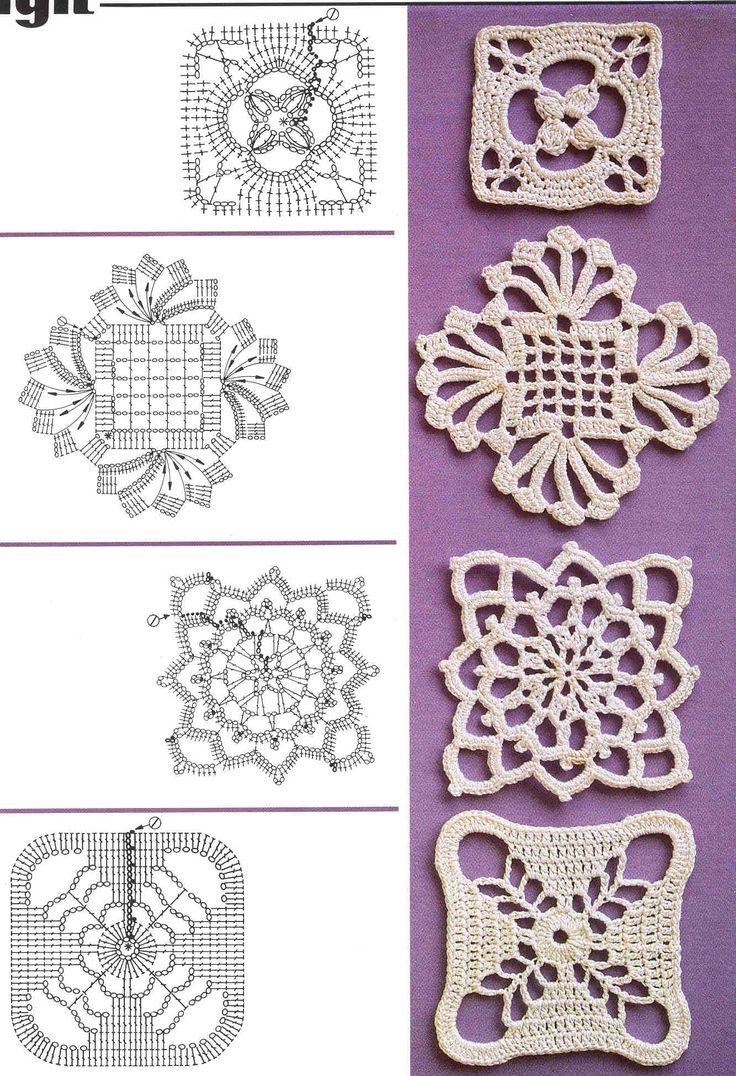
Triangular
Things with elements in the form of triangles look individual. Such motifs have a certain airiness and elements of openwork, easy to use for many types of clothing.
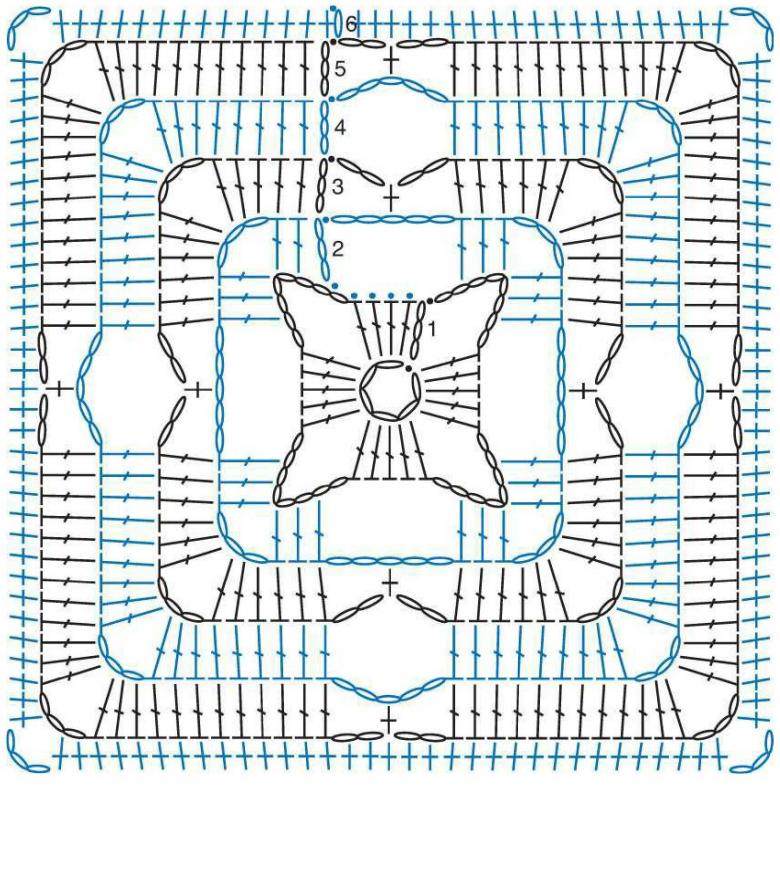
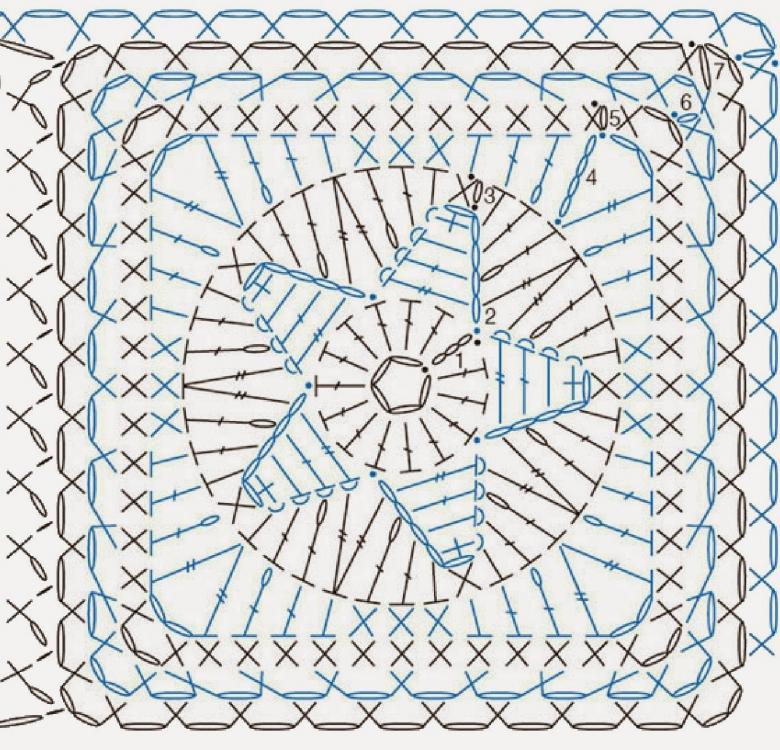
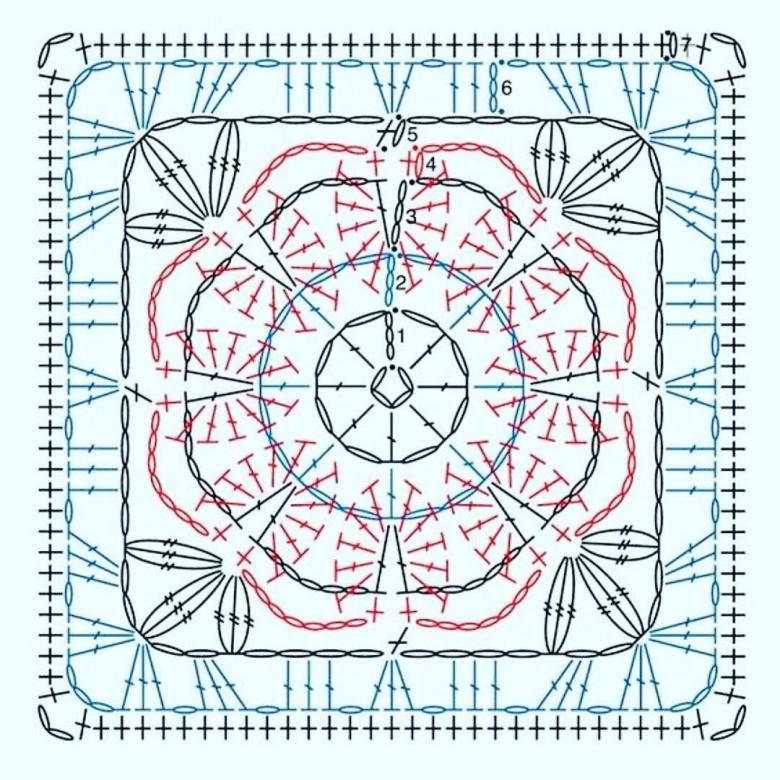
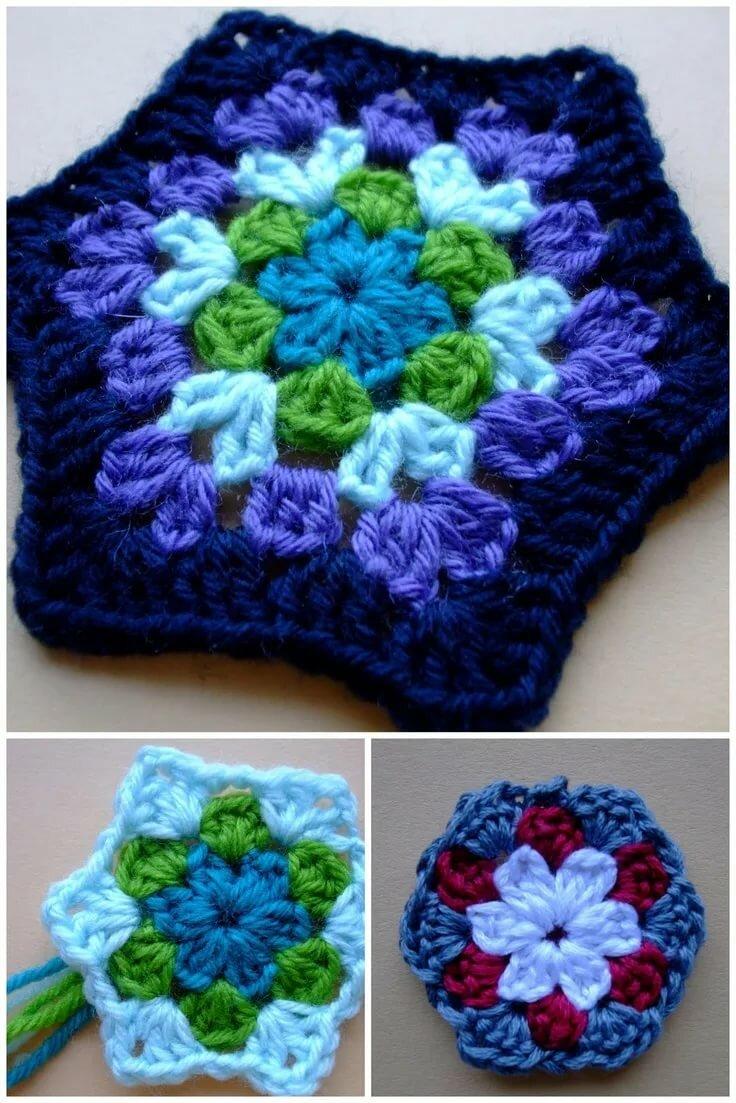
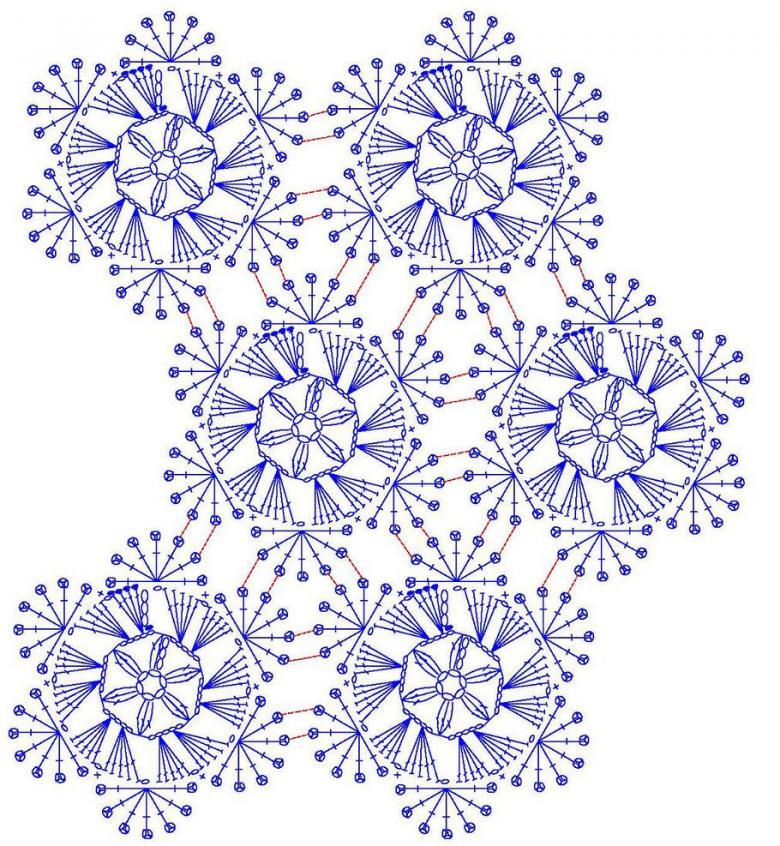
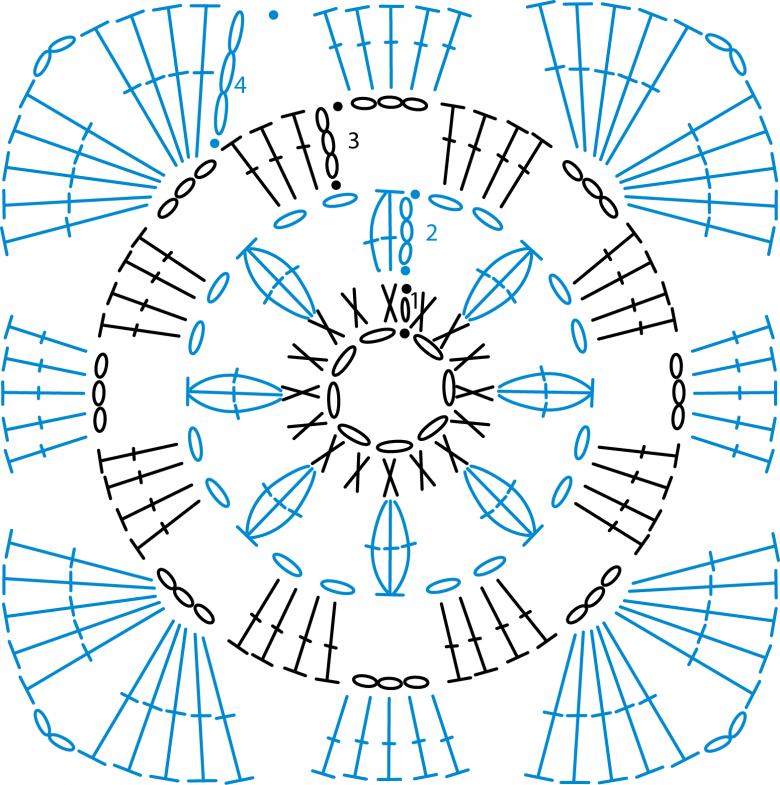
Dense triangle. They also have different levels of difficulty. One of the simplest is considered a grandmother's square. First, let's understand how to create a tight triangle
Workflow.
This type of product is knitted in a circular path. A ring is created initially by means of a loop.

According to the rows:
- [3vpp], then into the ring [4ssn]. Then [2wp], then [5sn] and again [2wp].
- Next is [5sn and 2bp]. Tighten the loop and close the line with a tie stitch, insert the hook into the top loop of the lift of this stitch.
- [3inf]. Stitch 1 CCCN [4sn] into each of the previous row's stitch, and into an arch of VP of the previous row, stitch 2 CCCN, 2 VP and two more stitching columns. Into each of the next stitch of the previous row we knit 1 CCCN.
- In the arch we also knit 2ССN, 2VP and 2SSN, then 5SSN in the arch of 2SSN, 2VP and 2SSN. Close the stitch CC, introducing the hook into the ascending VP.
- [3vpp], then in each column of the last stitch knit [1ssn] (6SSN), in the arch in the same way as in the previous row - 2SSN, 2VP, 2SSN. /Next, in each column of the previous row knit 1 CCCN (9 CCCN), in the arch knit 2 CCCN, 2BP and 2 CCCN/ - Repeat once. Dovydayu at the end of 1 CCCN in the CCCN of the previous row (2 CCCN). Close the strip of SS in the hoisting point.
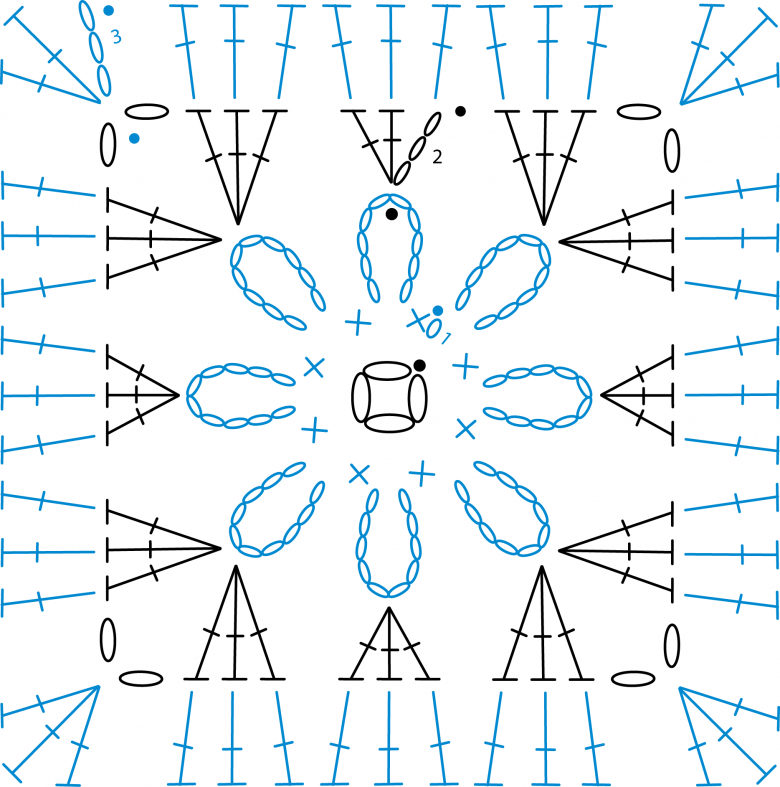
The remaining stitches are knitted in the same way. We complete each time 4 extra C-SN on each side of the triangle. Therefore you can knit entirely different sizes and colors.

Master Class
The topic of knitting is interesting to many beginner needleworkers. There are many motifs of varying complexity. There are other important points to be sure to consider. For example, non-tear-off knitting.
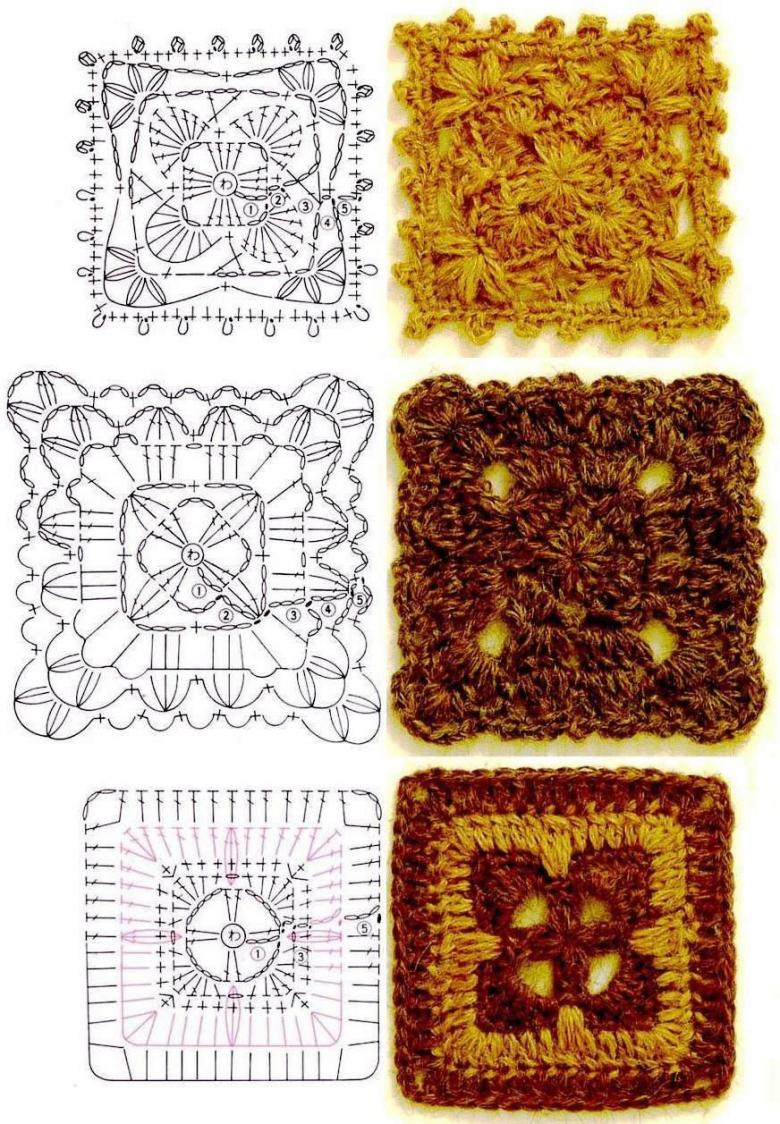
Crochet without tearing off.
- Many people choose and learn this very method. Because it saves time and increase professionalism in action. However, the view is difficult for new knitters, especially in joining parts.
- There are a few rules for non-breaking knitting:
- The last row is not finished, but the binding of the second motif begins immediately.
- To avoid tearing the yarn, simply create a small chain of VPs, and then start the second one.
- Tying the 1st and 2nd motif, the last line of the second motif also does not end to start the next one.
- The top is created last.

Secrets of proper joining
- Two processes are equally important - knitting and joining the motifs. From the second will depend on the appearance of the entire product.
- Finished items are joined by columns without the help of a cape.
- For a neater look, you should join the columns by the back sides of the loops.
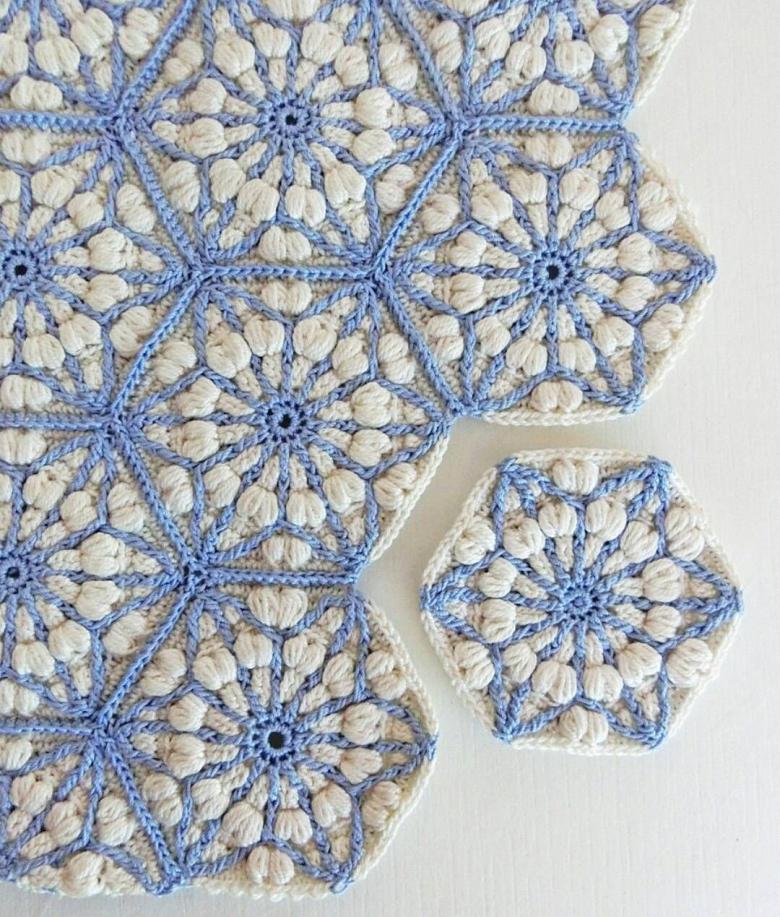
In summary, we can say about the popularity of motifs. They vary in levels of difficulty, patterns and colors, which are chosen quite individually. To begin with the simplest, and then a little more complicated, improving your skills.


