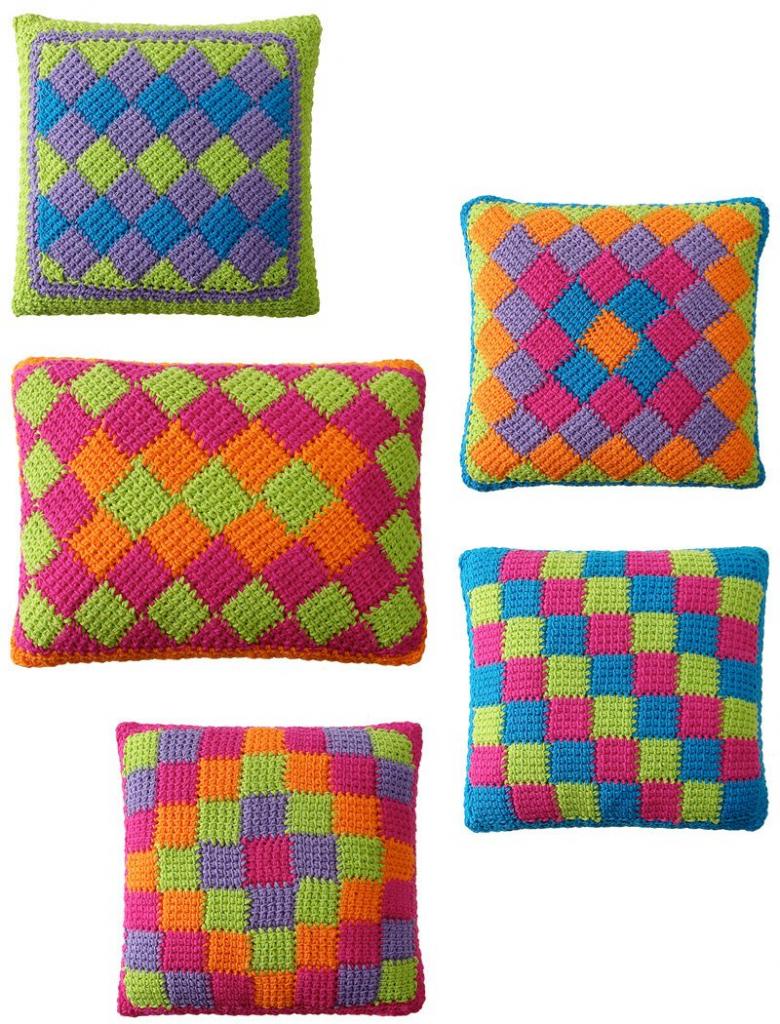
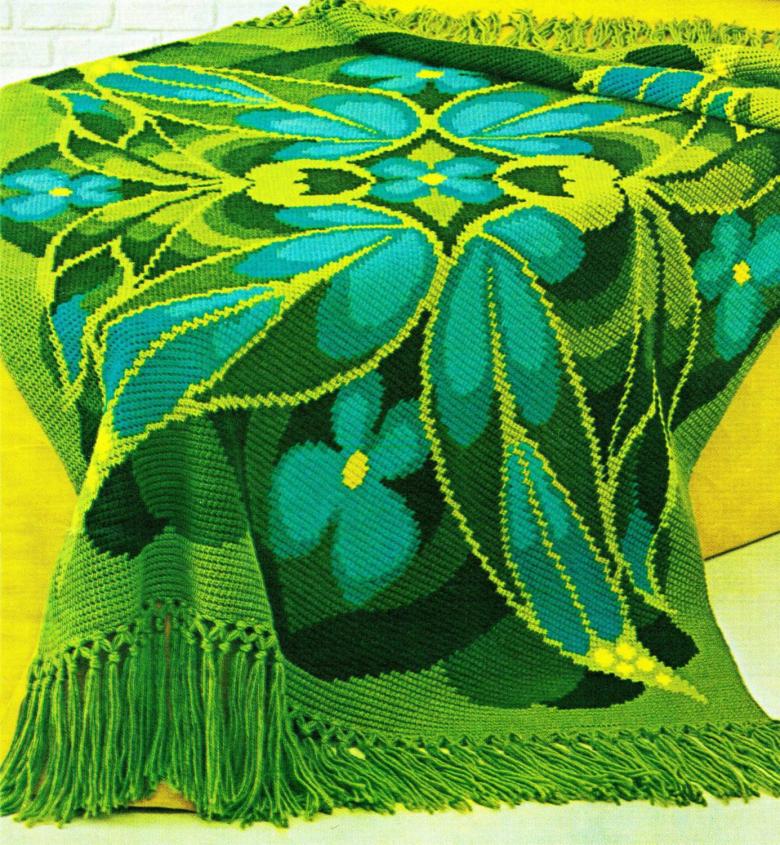
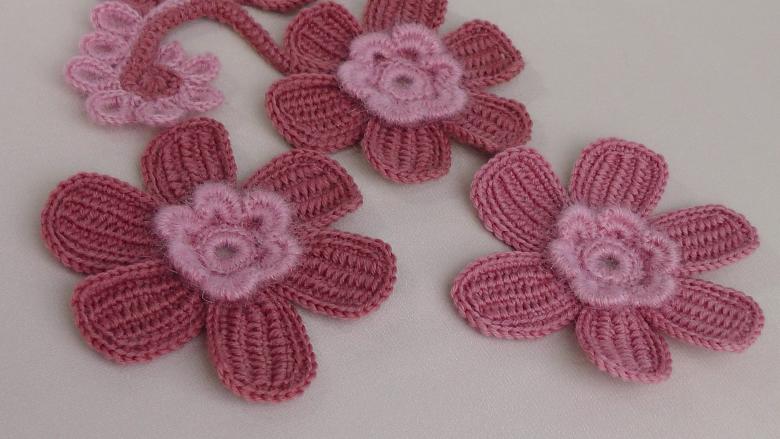
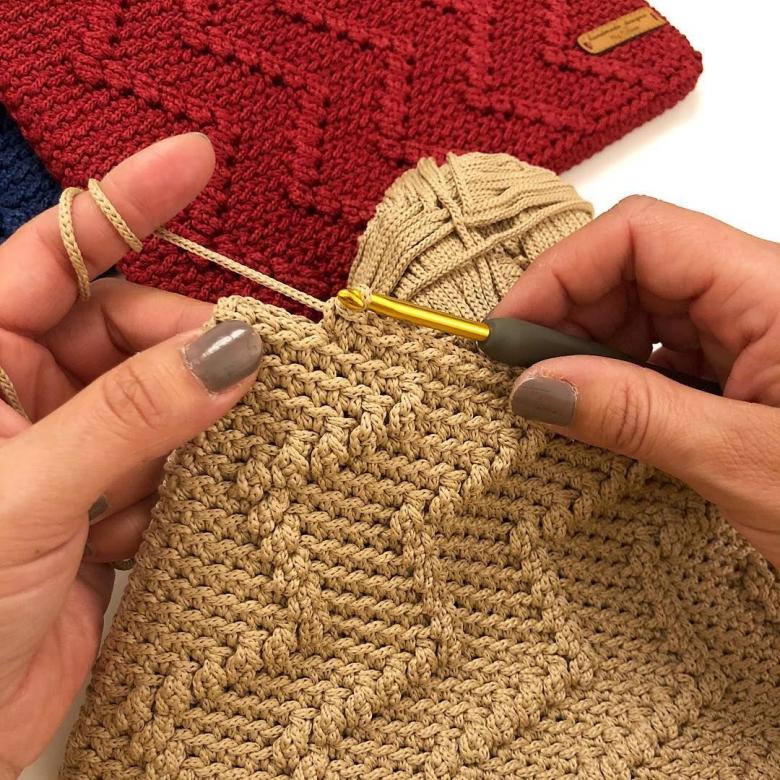
Technique of Tunisian crochet and knitting - detailed step by step instructions for beginners.
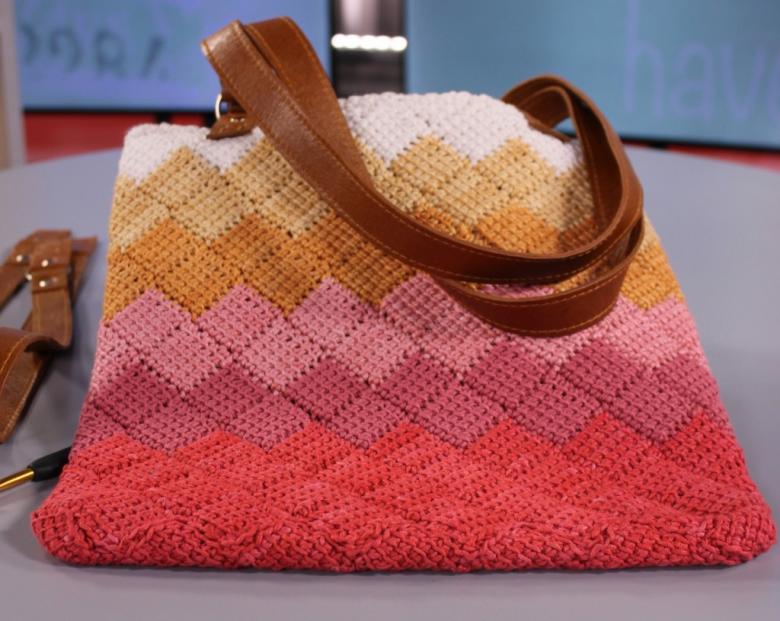
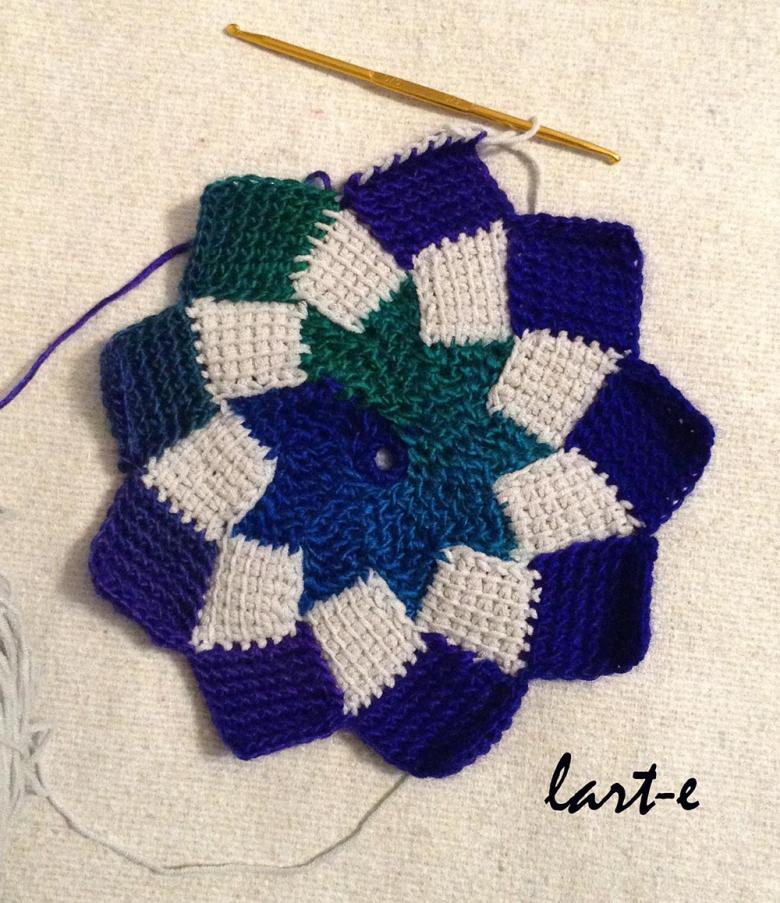
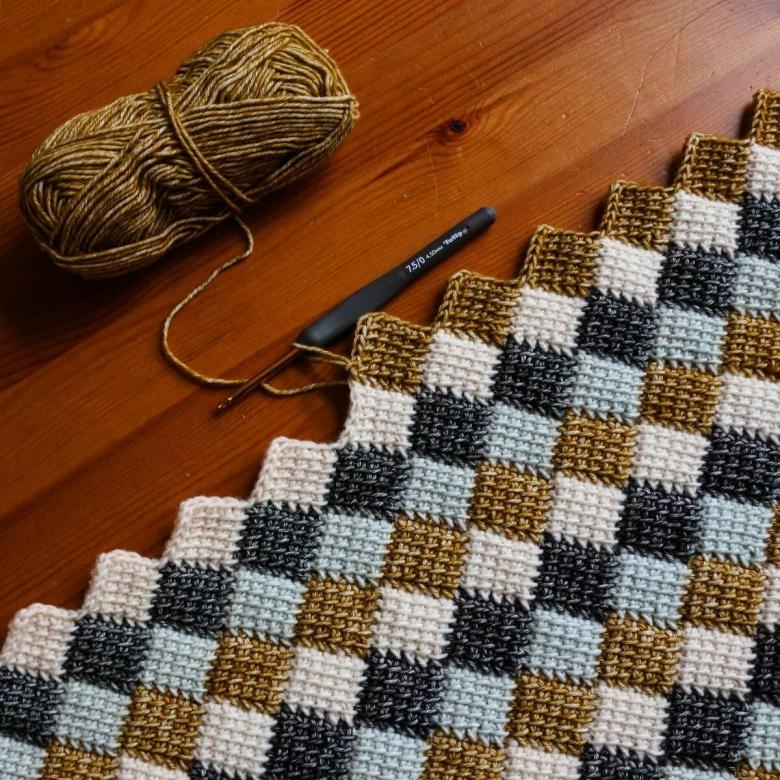
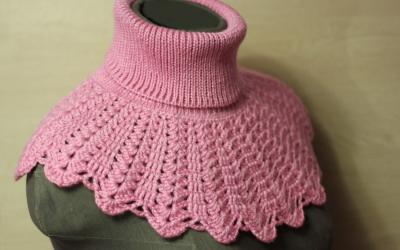
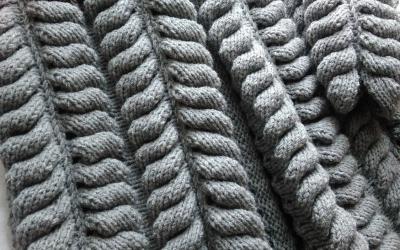
Are you looking for unique accessories for your closet, but can not decide what to choose? A new trend in the world of fashion - southern Tunisian knitting motifs.
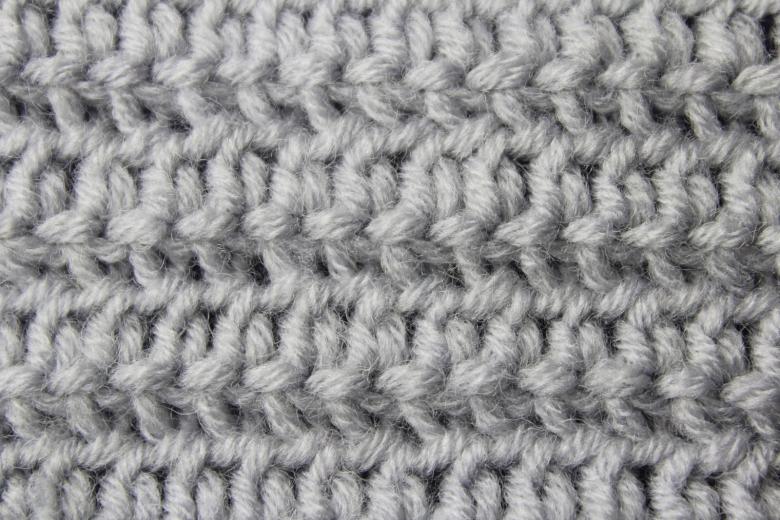
Today we are going to get acquainted with quite unusual methods, we will have master-classes on working with special tools and familiar to us knitting needles and crochet. So, let's begin our informative marathon!
The Basics of Tunisian Crochet
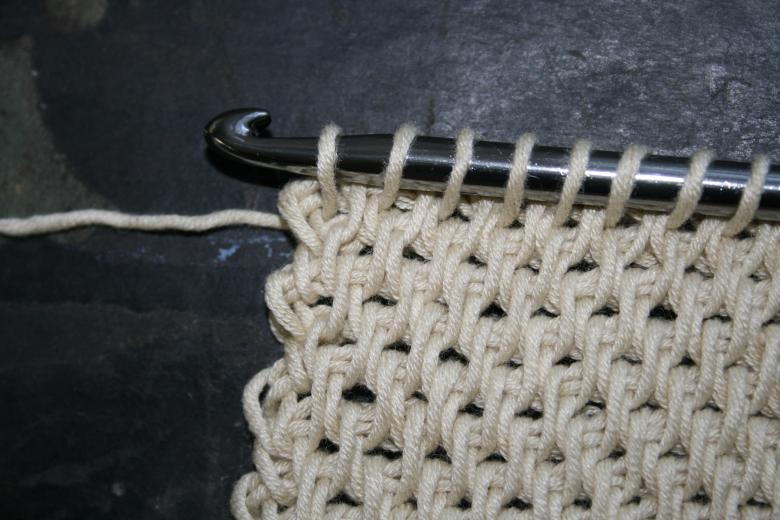
What do we need to know about the basics of this technique? In the classic variants of work, special tools are used:
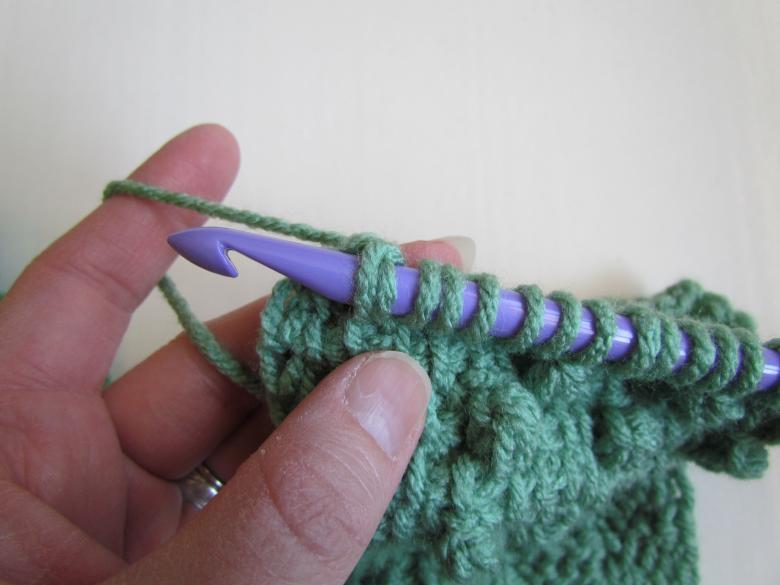
- Crochet. Unlike our usual crochet hook, this accessory reaches a length of 20 cm or more. The size of the tool is determined by the color of the rod.
- Hook with fishing line. The accessory is similar to our circular spokes, but instead of the second half has a plug, and the "spoke" has a bent surface.
- Double hook, the elements of which are connected by a fishing line.
It is also worth familiarizing yourself with the peculiarities of this technique before you start:
- All patterns are knitted only on the front side of the fabric.
- For patterns: count the rows from the lowest elements.
- The set of loops is made from right to left, and then the yarn thread is pulled back through the dialed elements. Because of this peculiarity, learn to make the stitches a little wider than you are used to.
- Each row in Tunisian knitting is double. It is represented by forward and reverse layers.
- The product does not need to be turned during the work, as the whole process goes in one direction.
- Despite the fact that the working tool is called a "hook", you need to hold it in your hand like a needle.
- Templates or patterns. This attribute remains necessary, as in our usual types of knitting. Products created by this technique turn out amazingly beautiful and refined, so the subtlety of the work must be in the first place.
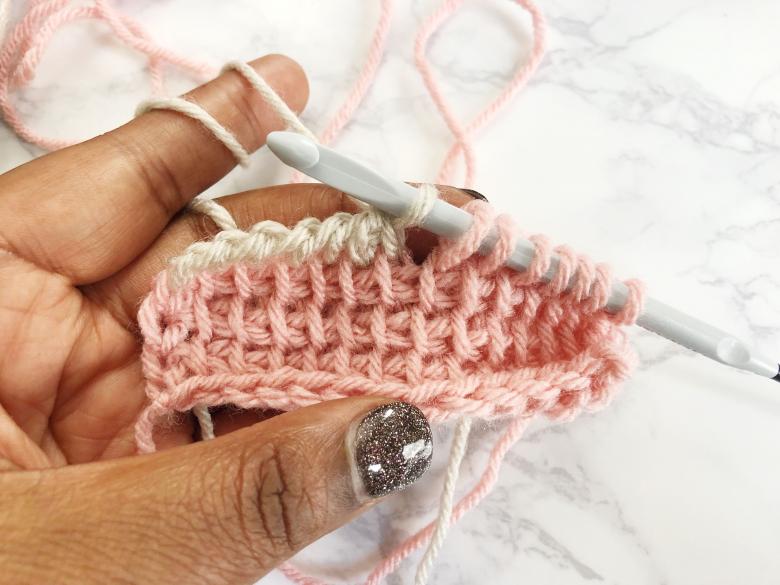
We have briefly familiarized ourselves with the main aspects of the work on the products. Now let's try to put our knowledge into practice. Today our goal is to get the basics of the technology itself, so the master classes will lead from a simple knitting cloth to private products.
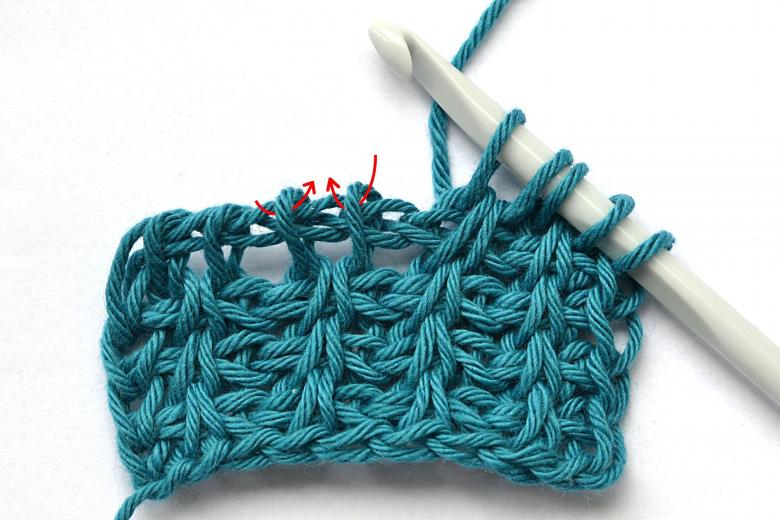
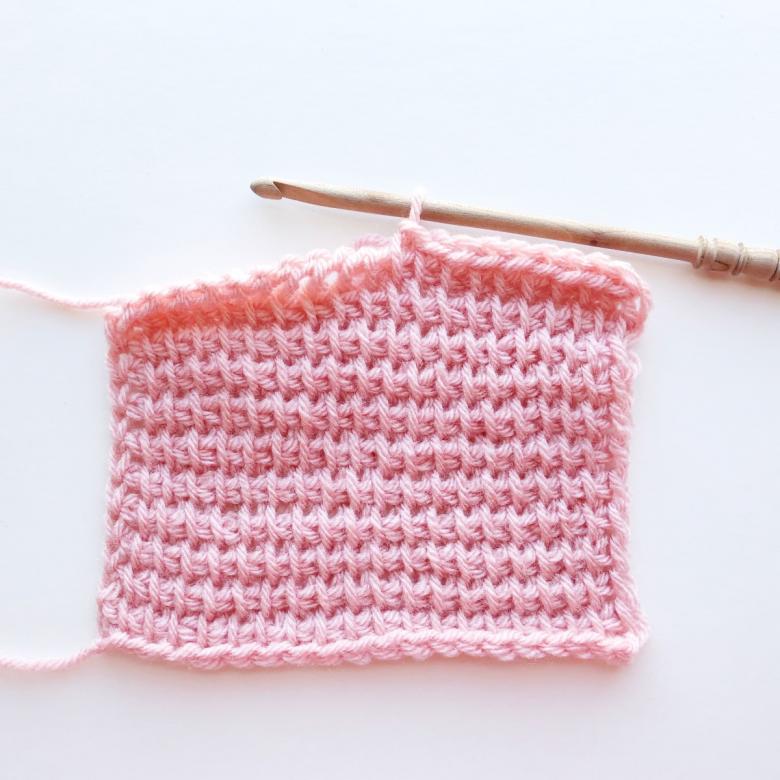
Learning how to set the loops and knit a canvas
Prepare the yarn, a special hook and your creative mood.
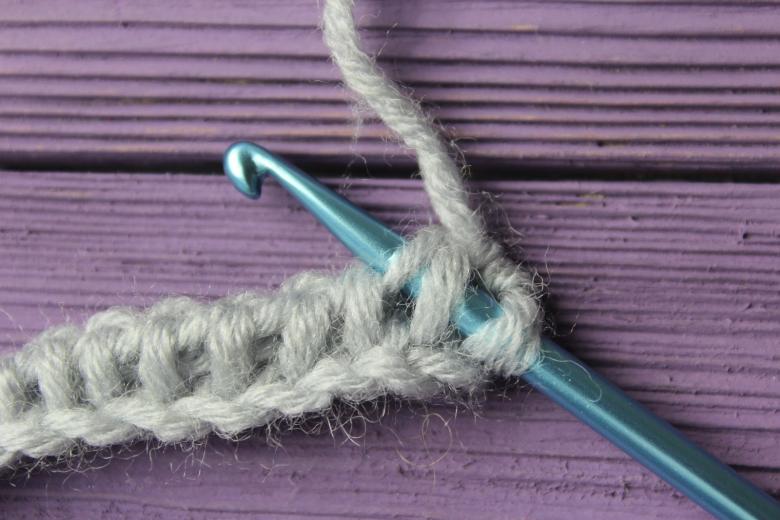
Step-by-step scheme-instruction:
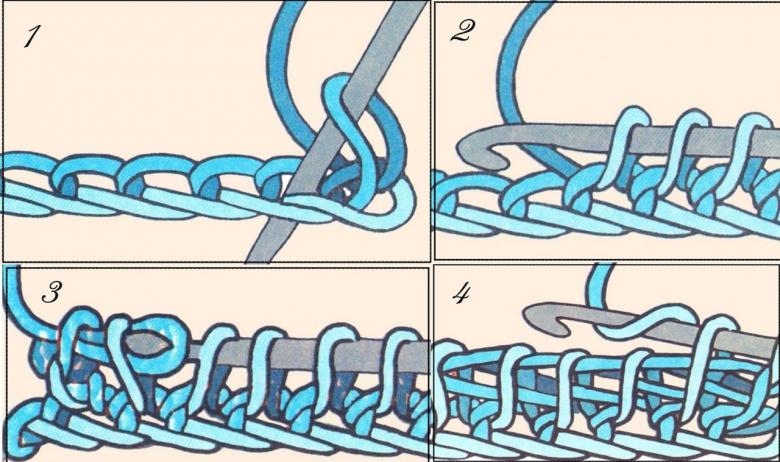
- Let's get air loops in the amount of 30 pieces.
- We are doing a row, while making sure that the number of elements on the hook has not changed.
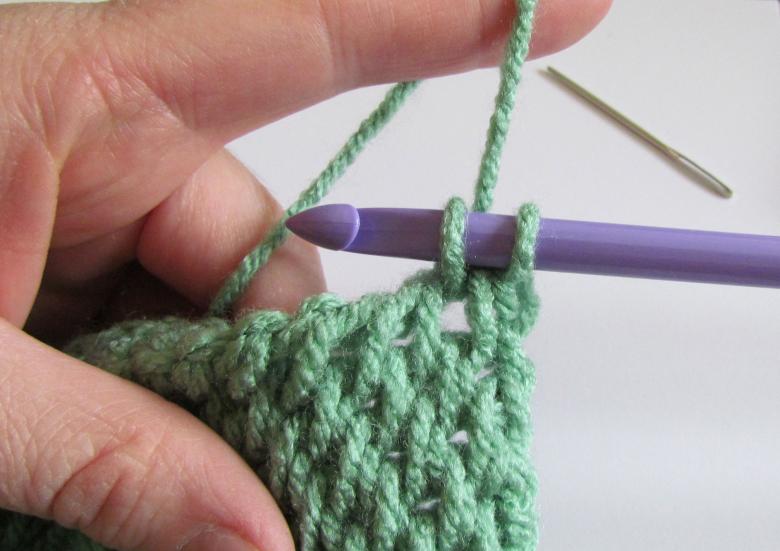
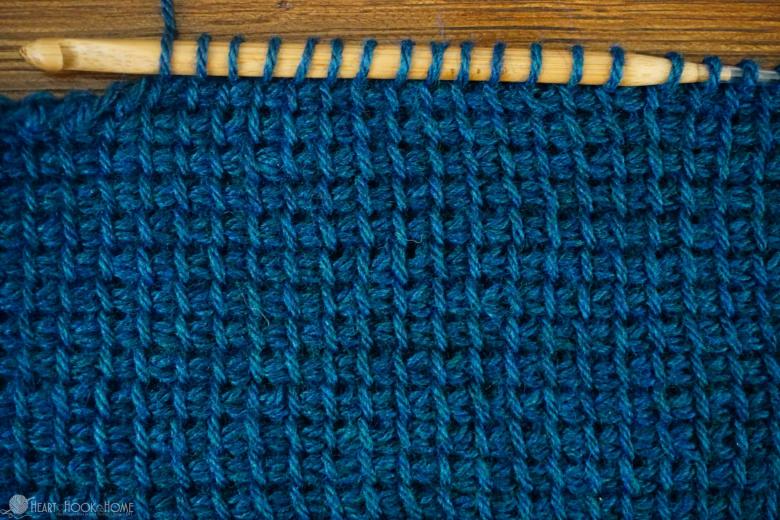
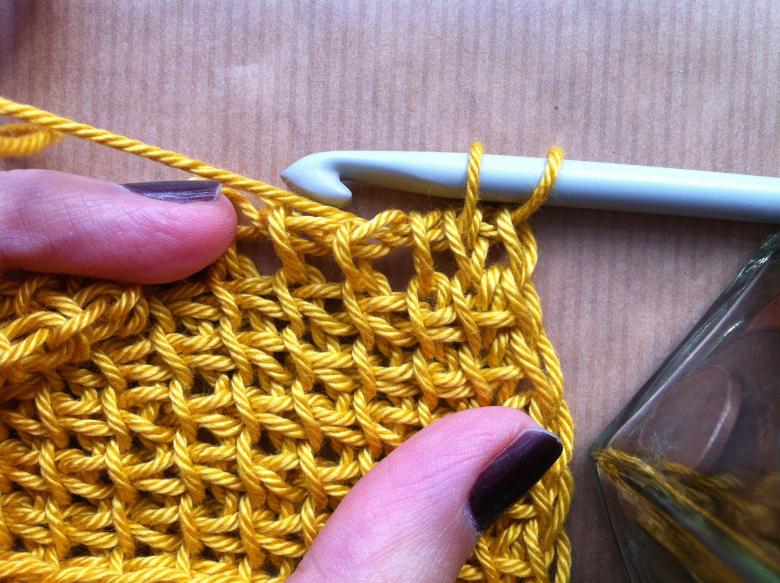
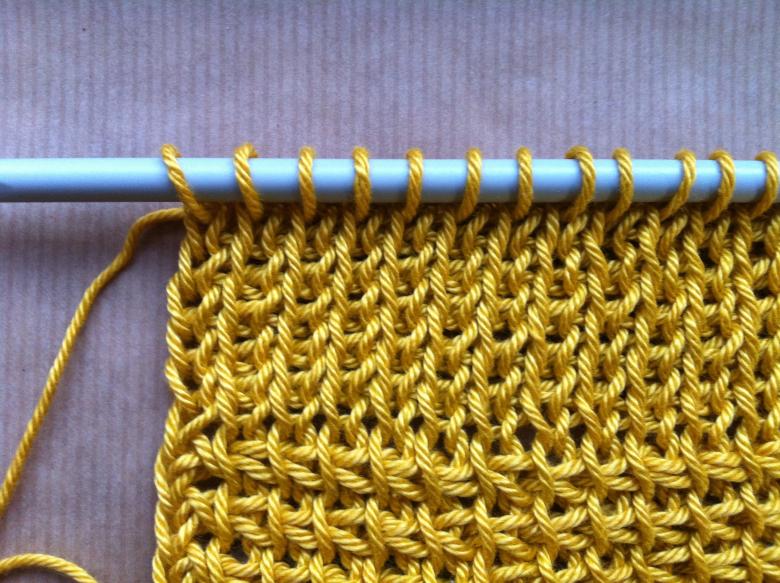
- Now for beginner needleworkers difficult moments: you need to grab the yarn thread and pass it through two loops. Then once again grab the yarn and again pass it through two loops. Continue this procedure to the end of the row. In this way we have achieved the creation of columns between the regular stitches.
- Now these columns will become elements of a new row. We will put the resulting stitches on the hook, and repeat the procedure again, over and over again.
- Continue knitting the fabric until you realize you have understood and mastered the technique.
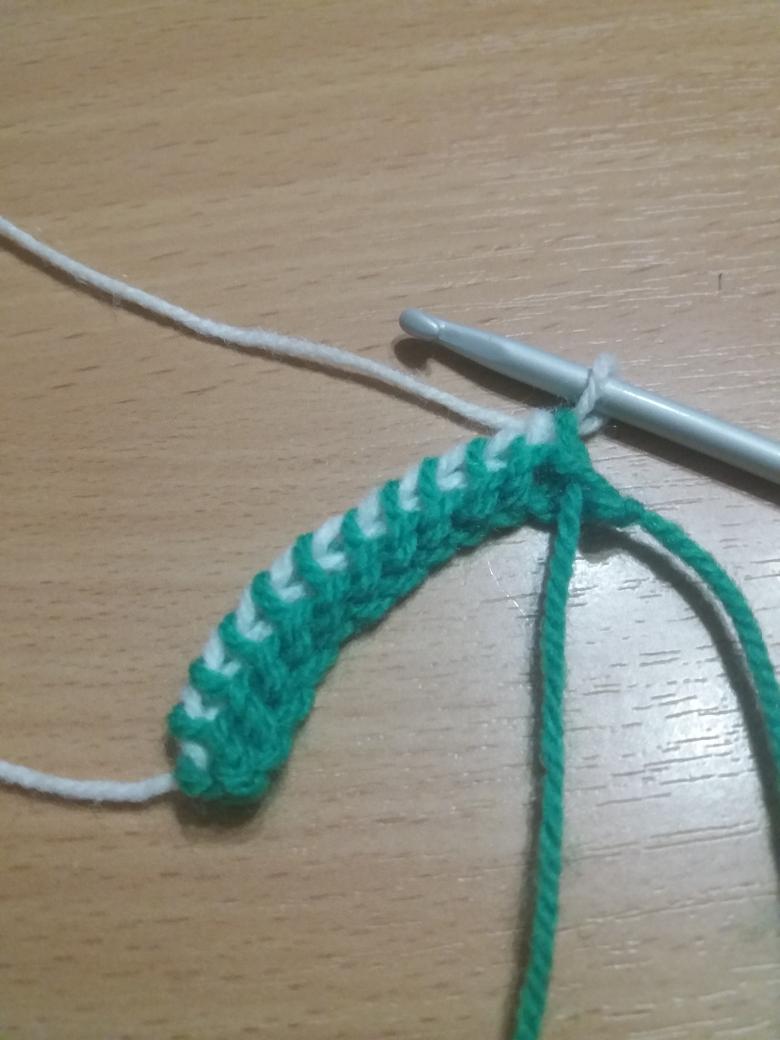
You and I have learned the basics of the afghan pattern. Now let's move on to the next lessons.

Create an afghan pattern using front stitching
We will need the same materials, so let's go straight to the lesson.

Step-by-step diagram-instruction:
- We need 30 air loops.
- The first three rows of the classic technique of Tunisian knitting.
- Thread through the last row in the same way.
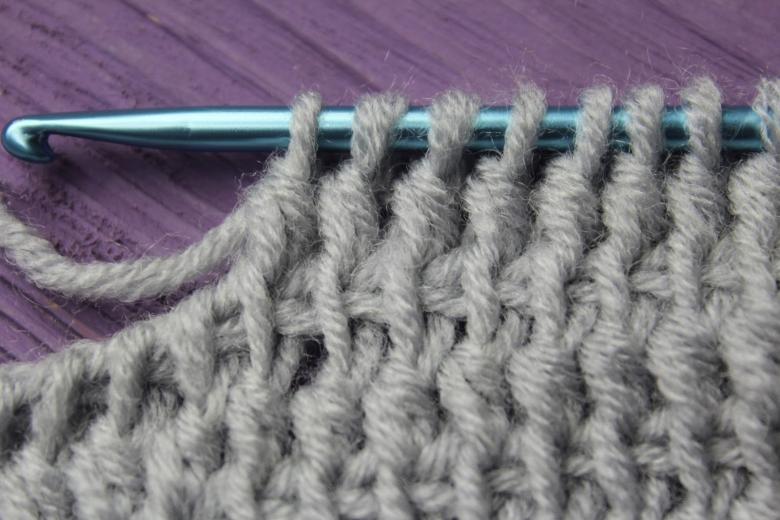
- Now we use the following technique when we take the stitch: we put the hook between the sides of each column through the front side. The yarn itself we grab from the back side.
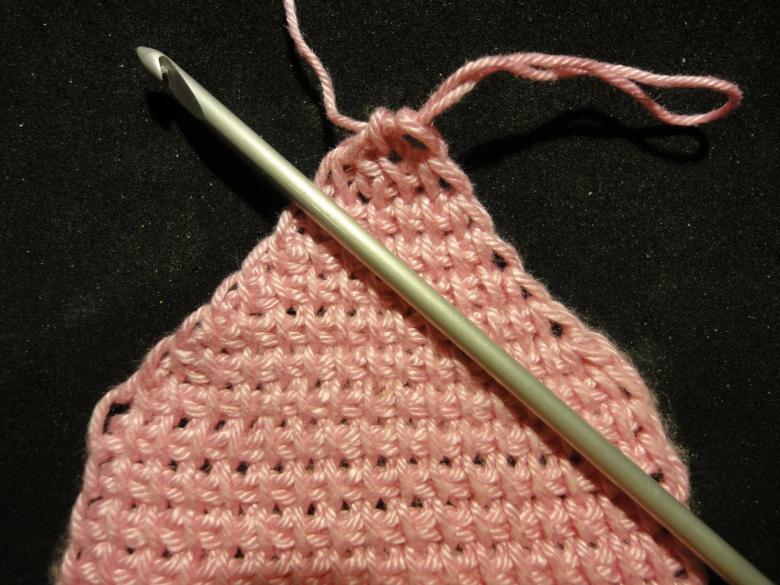
- This technique is reminiscent of the standard front glazing in knitting with needles, but the products are obtained more thin and soft in structure.
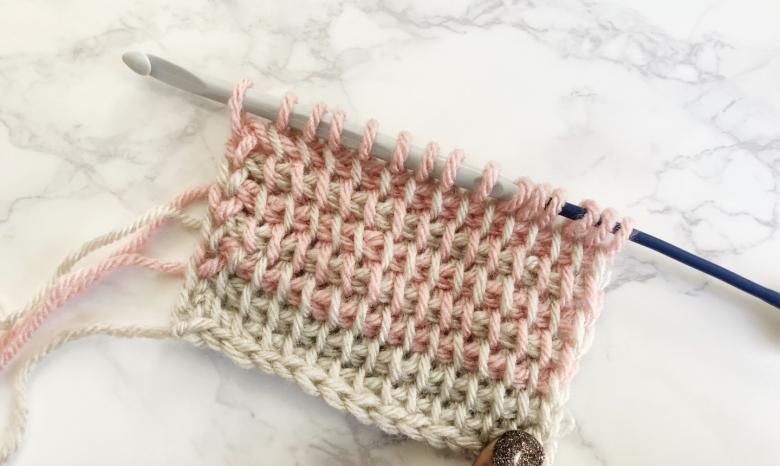
We learn the technique of "twisted loops".
And another example of a pattern in the Tunisian knitting technique.
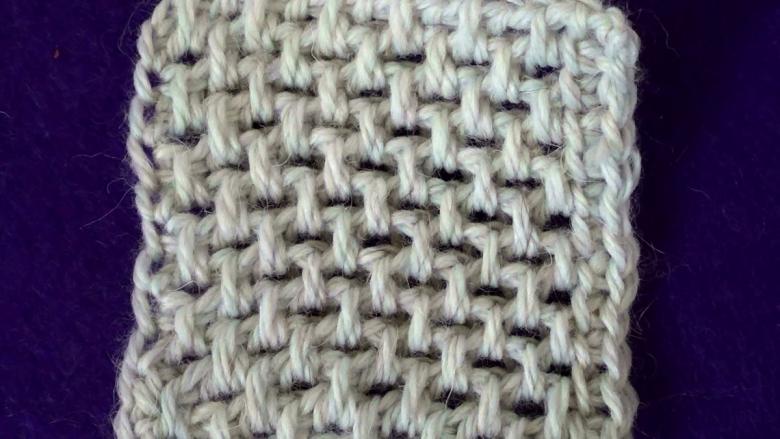
Step-by-step scheme-instruction:
- Let's gather a chain of air loops.
- Let's spend two or three rows in the classical way.
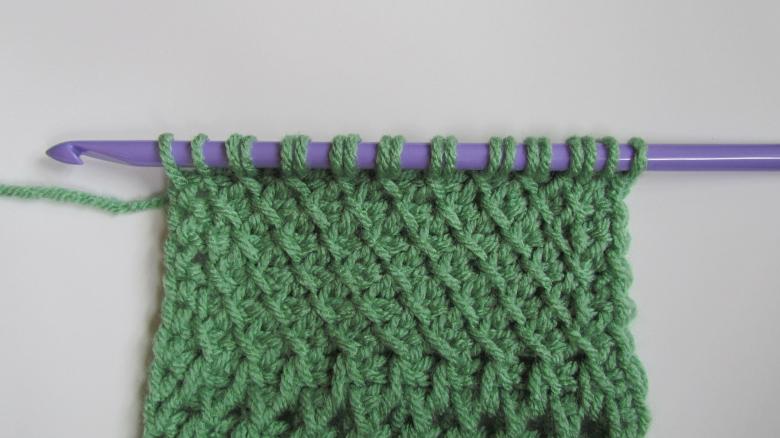
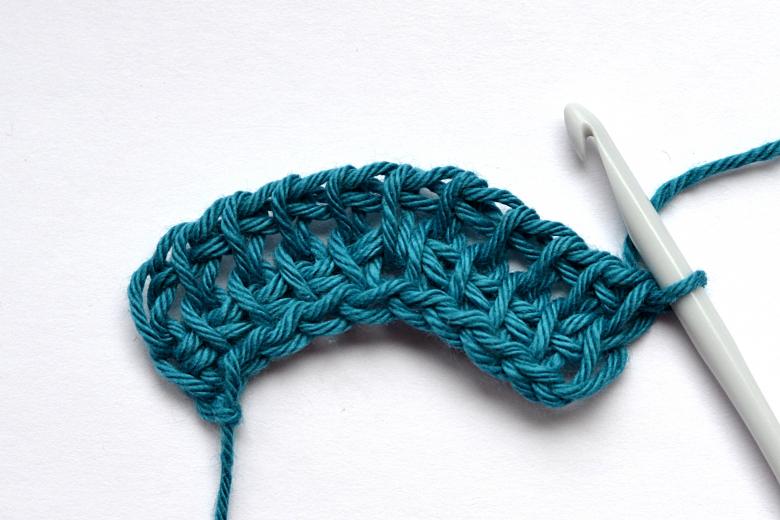
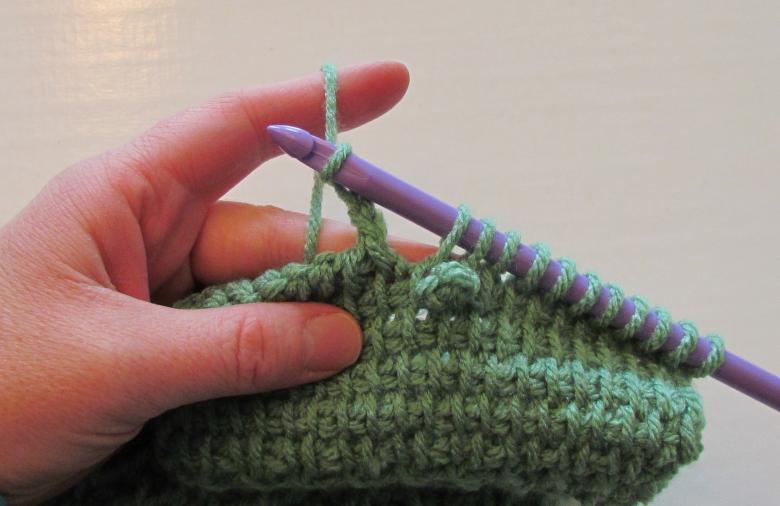
- Then we proceed to work with new elements. To create a pattern, we capture the thread through the column, but bring the hook to the column vice versa - from the left side.
Products created by this technique have a denser base and stiffness.
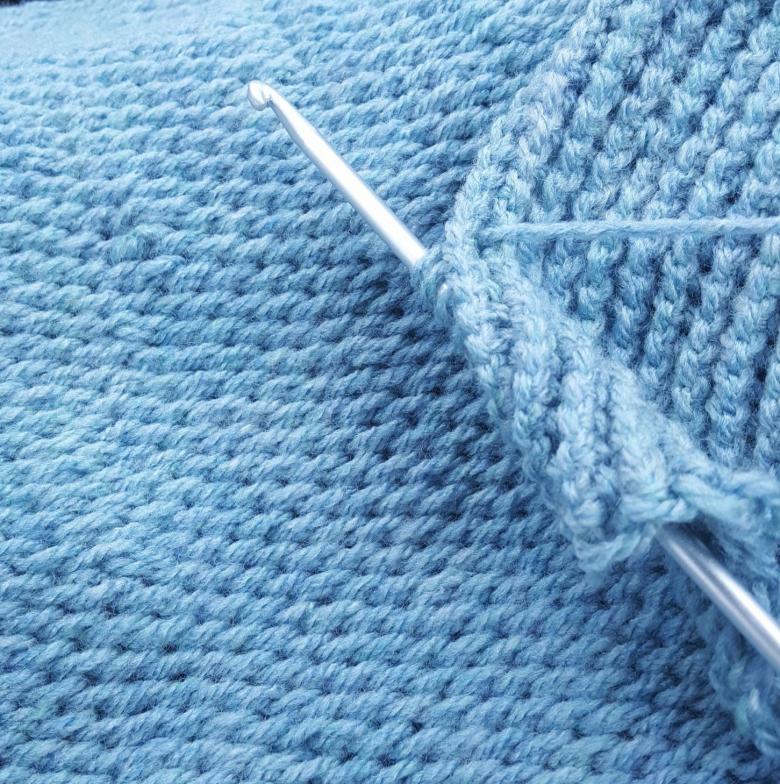
Tunisian knitting: work with ordinary knitting needles
To work, we take yarn and ordinary knitting needles.
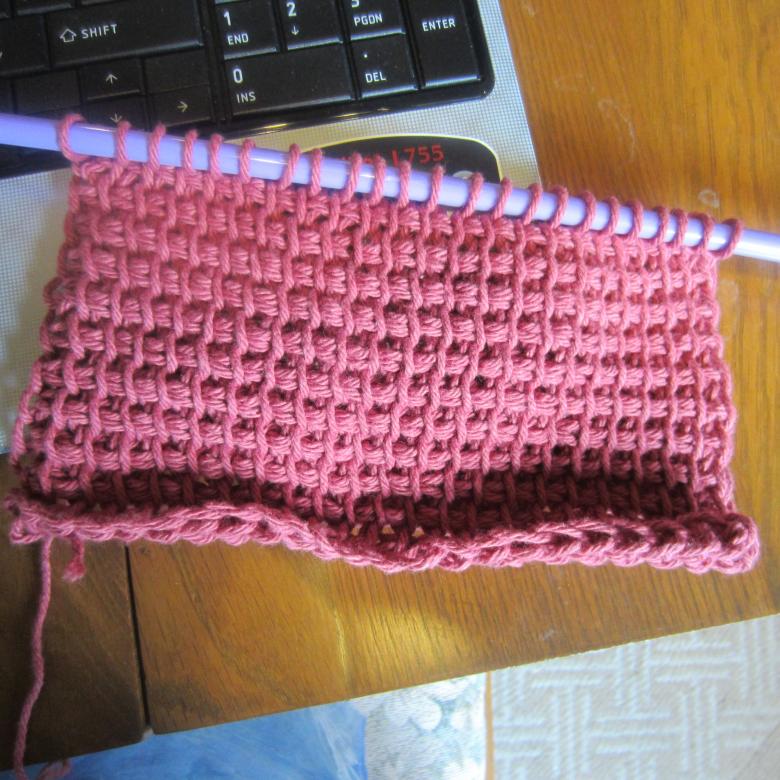
Step-by-step scheme-instruction for the master:
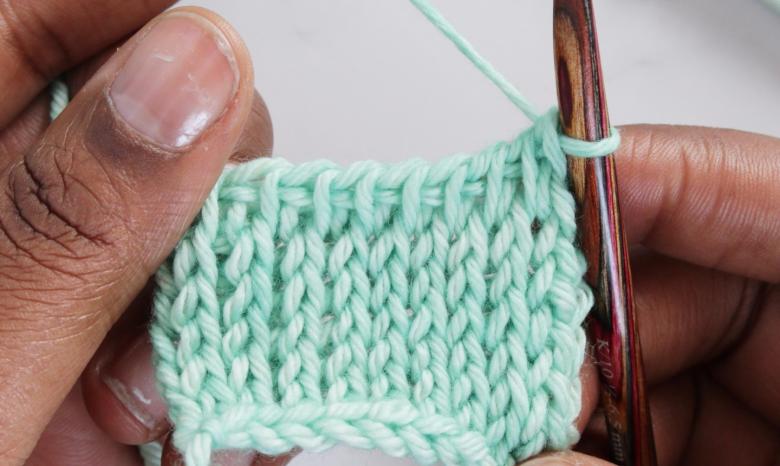
- Dial 30 loops on the working needle.
- Then the odd row: the first element of the row take off, the knit, take off a loop. All actions repeat until the end of the row.
- Even-numbered row: the first item is removed, the next two threads back. All steps are repeated to the end of the row.
- The whole cloth is knitted with the alternation of presented rows.
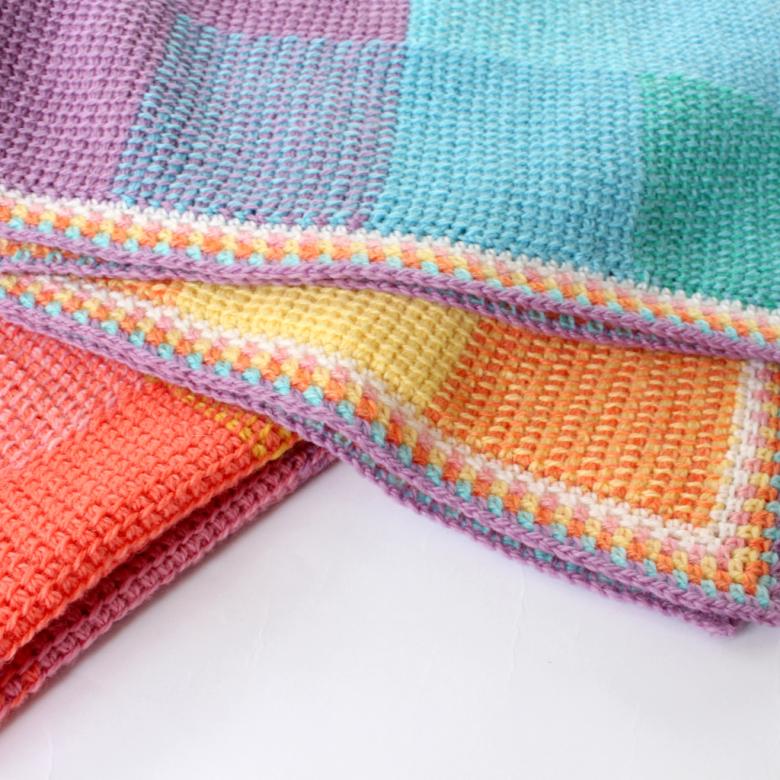
Knit "Males" pattern by Tunisian crochet
Such a pattern exists in the classic knitting technique. But the products on the Tunisian knitting is distinguished by a soft silkiness, successfully combined with the elasticity of the frame and the tight attachment of the yarn elements.
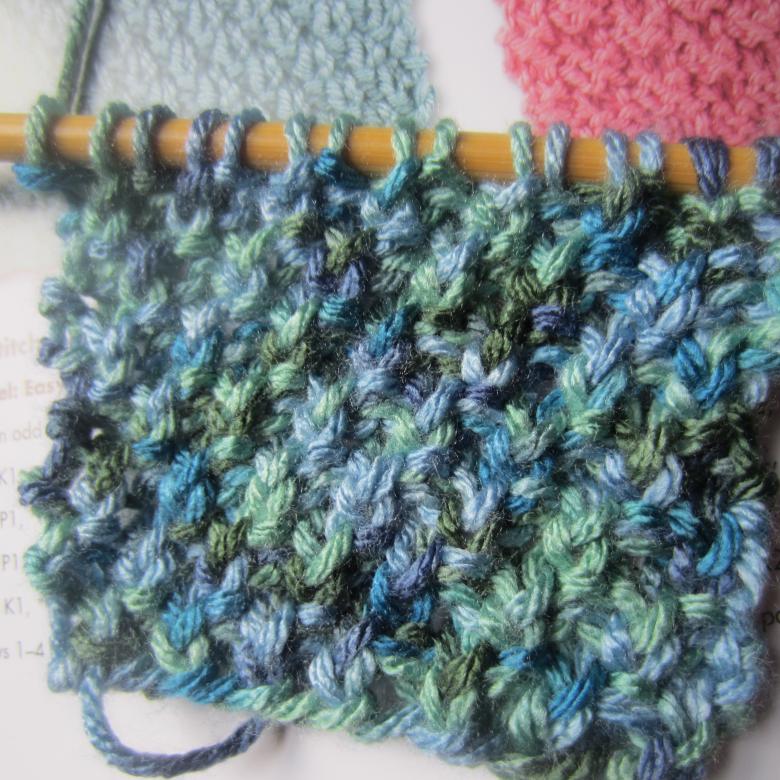
To work we will need:
- A classic hook for Tunisian knitting.
- Yarn.
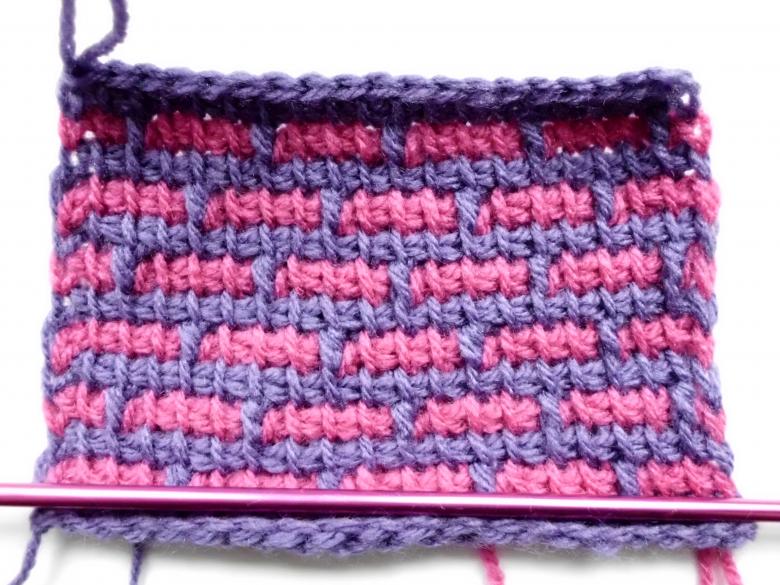
A step-by-step scheme-guideline for the master:
- We need 30 air loops.
- The first row is done according to the classic Afghan pattern.
- The 2nd row: the first stitch is a crochet stitch. Next, according to the scheme: the hook to hold under the two threads of the first row, grab a thread and take it out. This is followed by a hook. All steps are repeated until the last two elements of the row. The last two stitches: the hook and the edge stitch.
- Knit the product, adhering to the scheme.
- If you want, you can decorate the edge of the product with a regular hook (if the product will need to be framed).

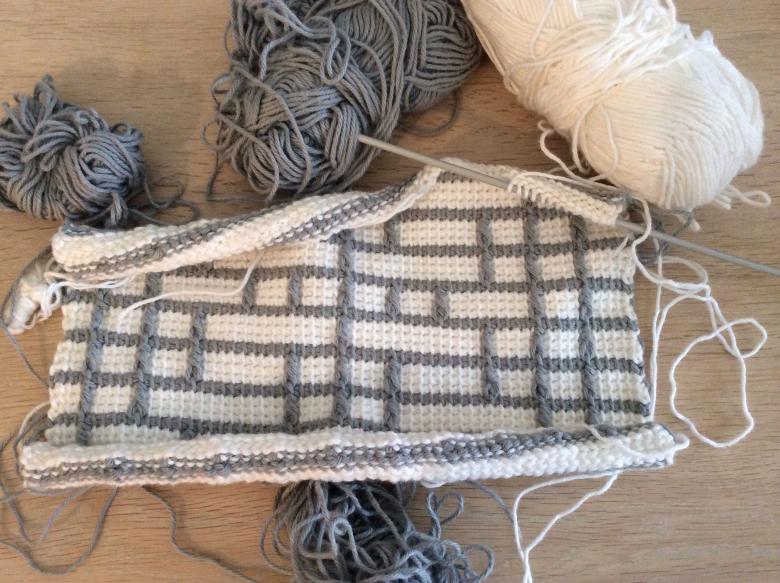
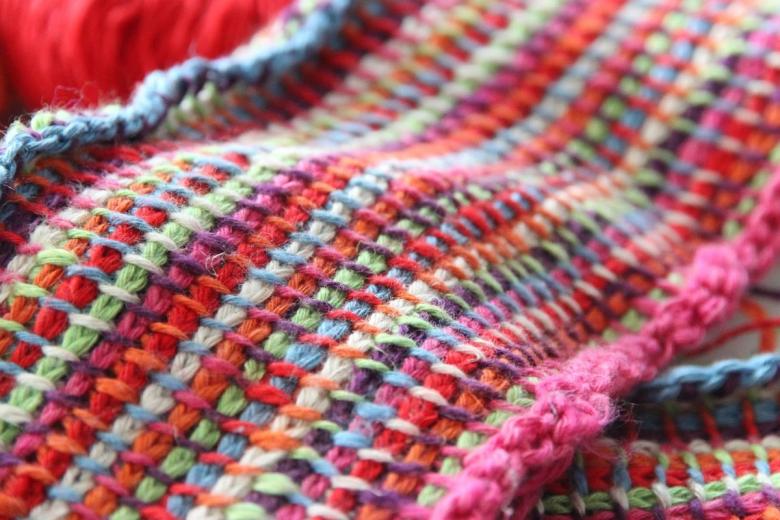
Knit a tunisian net with a classic crochet
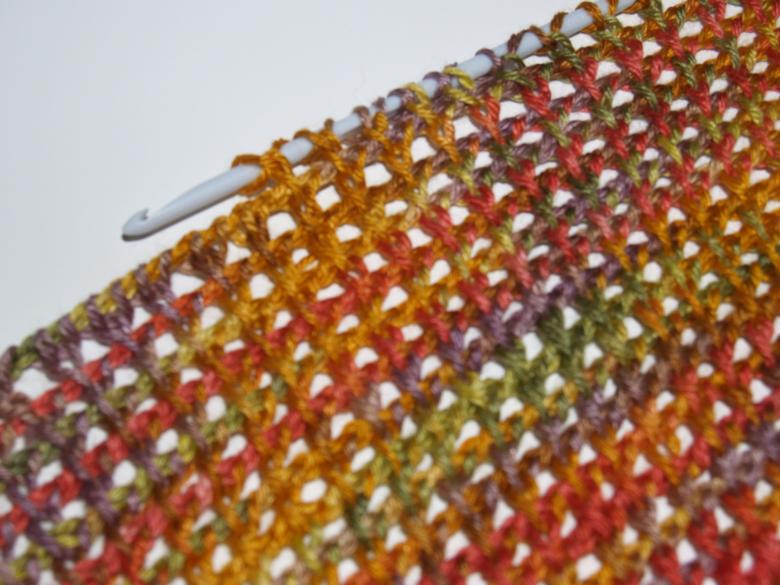
To create subtle summer outfits, tunics or jackets for evening outings you will definitely need this scheme. The embossed mesh made of colored yarn is successful with any outfit and accessories of your closet.

Step-by-step scheme-instruction for the master:
- Let's dial in air loops in the amount of 30 pieces. Remember that all our patterns are tutorials, and we knit only the canvas. For knitting more complex items, you need the appropriate measurements and patterns.
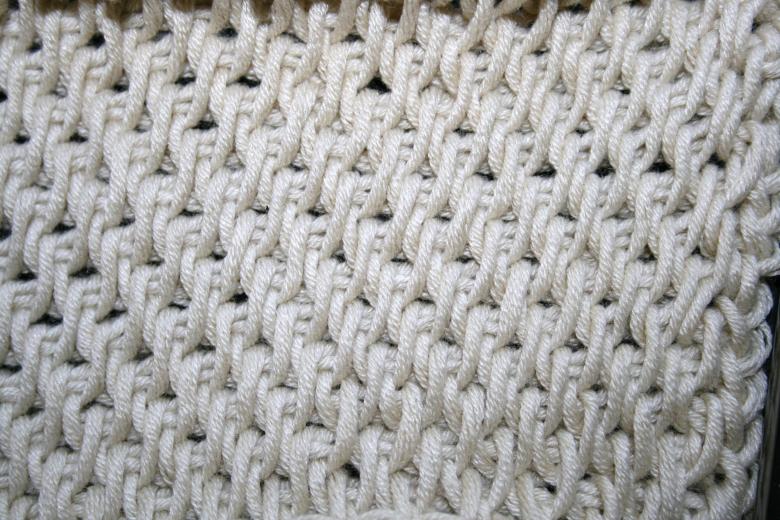
- Next, 1st row: take 1 b. p., put a column under the first thread of the zero row. Again 1 b. p., the next column bring not under the next thread, and the next. Be sure to have a loop at the end of the row.
- All subsequent rows we knit by analogy, adding edge stitches.
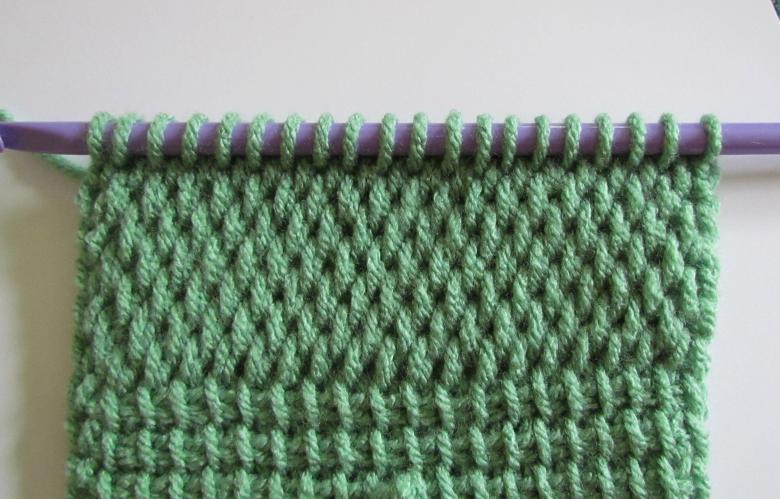
We have been acquainted today with all the basic techniques and patterns of Tunisian knitting. Now, armed with your knowledge, ready-made templates and patterns, you can start your own work. Nevertheless, we advise you to watch a number of video tutorials on working with this technique, to consolidate the practical skills. Create with love and imagination!

