How to crochet stitches with and without a stitch - a detailed description of the knitting scheme
After reading the article, you will learn how not to make a mistake in crochet columns. Before the detailed instructions, let's break down some terms.
A column refers to a series of some items that are arranged underneath each other. One piece does not count as a column, several pieces already say the opposite.
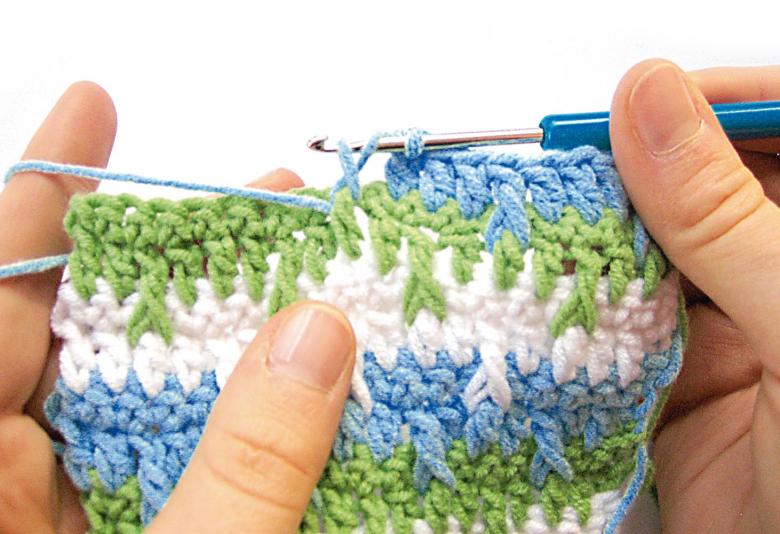
In crochet, these items are called loops. Like the previous designation, a single loop is not a column. It would be different if it consisted of several loops, for example, at least two.

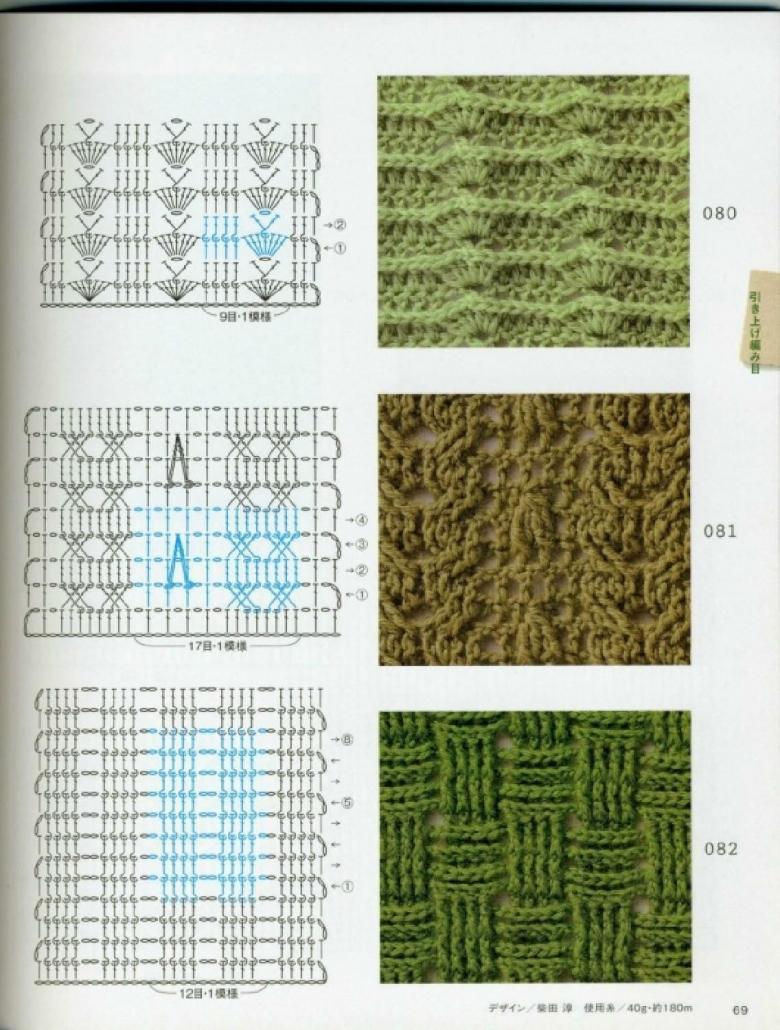
To start making crochet, you should give your time, effort, and practice knitting a particular kind of loops. In the future, you will no longer encounter problems, you will stop noticing difficulties. Remember the six most important stitches in knitting and their markings on the diagrams:
- Fluffy;
- No stitches;
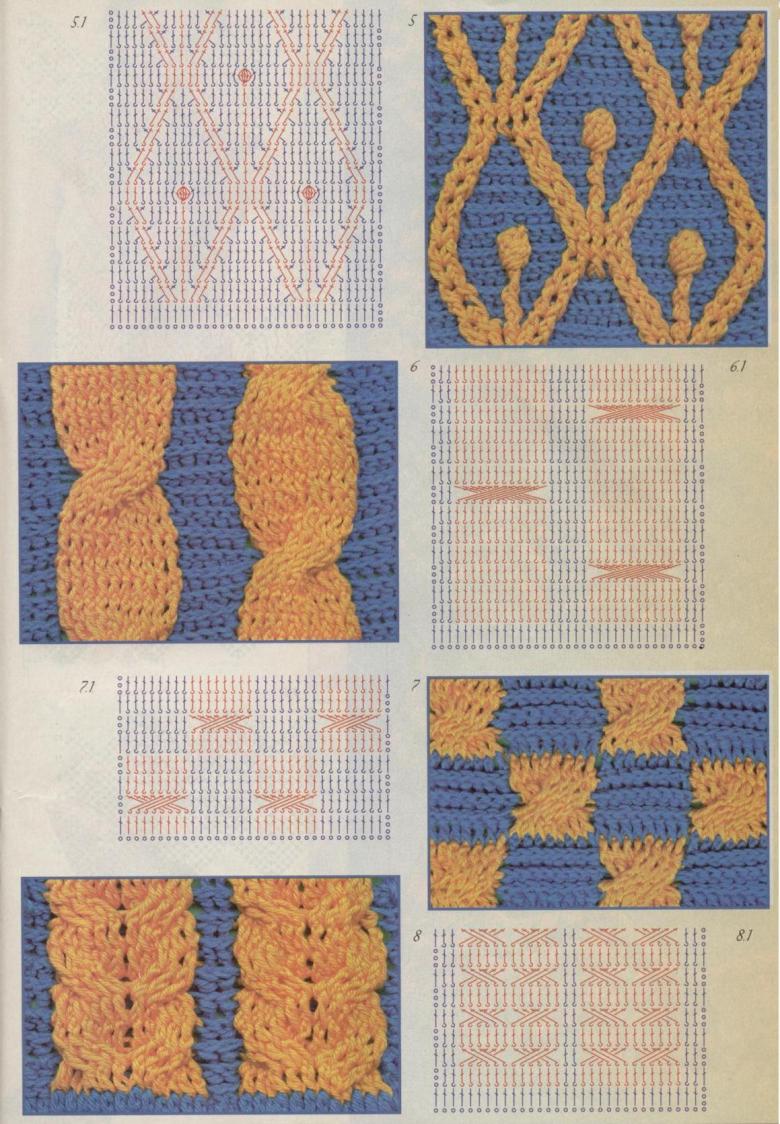
- Crossed;
- Semicolons;
- Single stitches;
- Relief.
Knitting semicolon
As a rule in the schemes of the pattern used the binding of different parts. In this case, the fabric turns out stiffer, stretched much worse.
- Use twenty to twenty-five air loops.
- First extend it from the hook, then take out a thread loop. You'll end up with two of them.
- Using the same buttonhole, extend into the other one, up to it.
- Do not stop, repeat the same until the end of the row.
- Unfold the work, do the same again to the end.
- After five or seven rows, you will notice that the fabric is shaped like a trapezoid. It will taper in the direction of knitting.
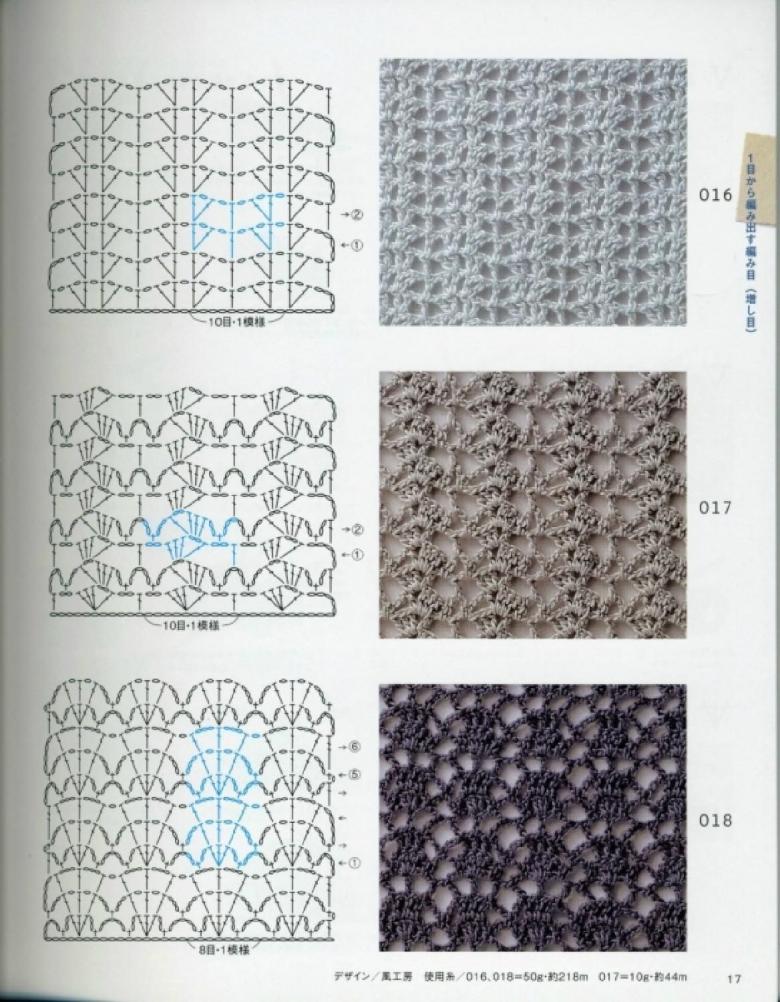
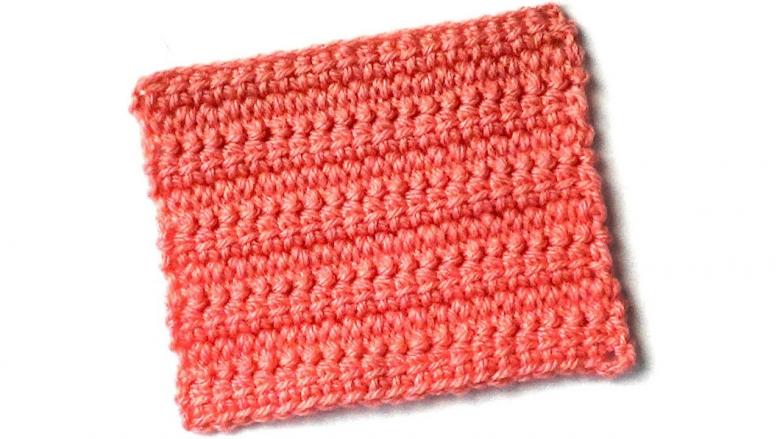
No-hook stitch
- You have an air chain of seven loops. The single loop itself does not count toward the total, as it is an auxiliary element that connects the hook to your knitting.
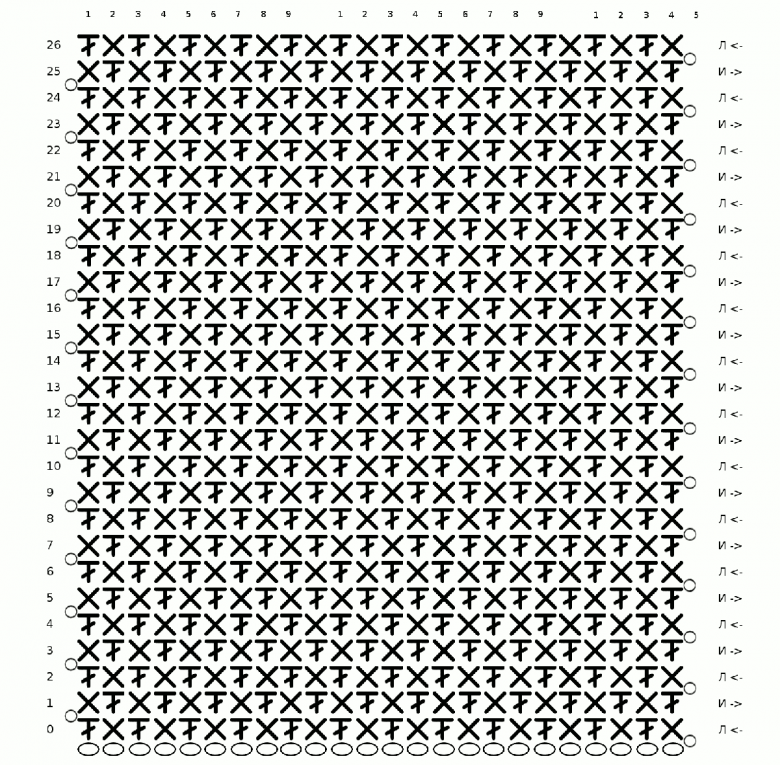
Start with the first row, knitting from right to left. Your seventh row will be the first stitch in the first row of knitting. Take care, make a mark on it with a marker.
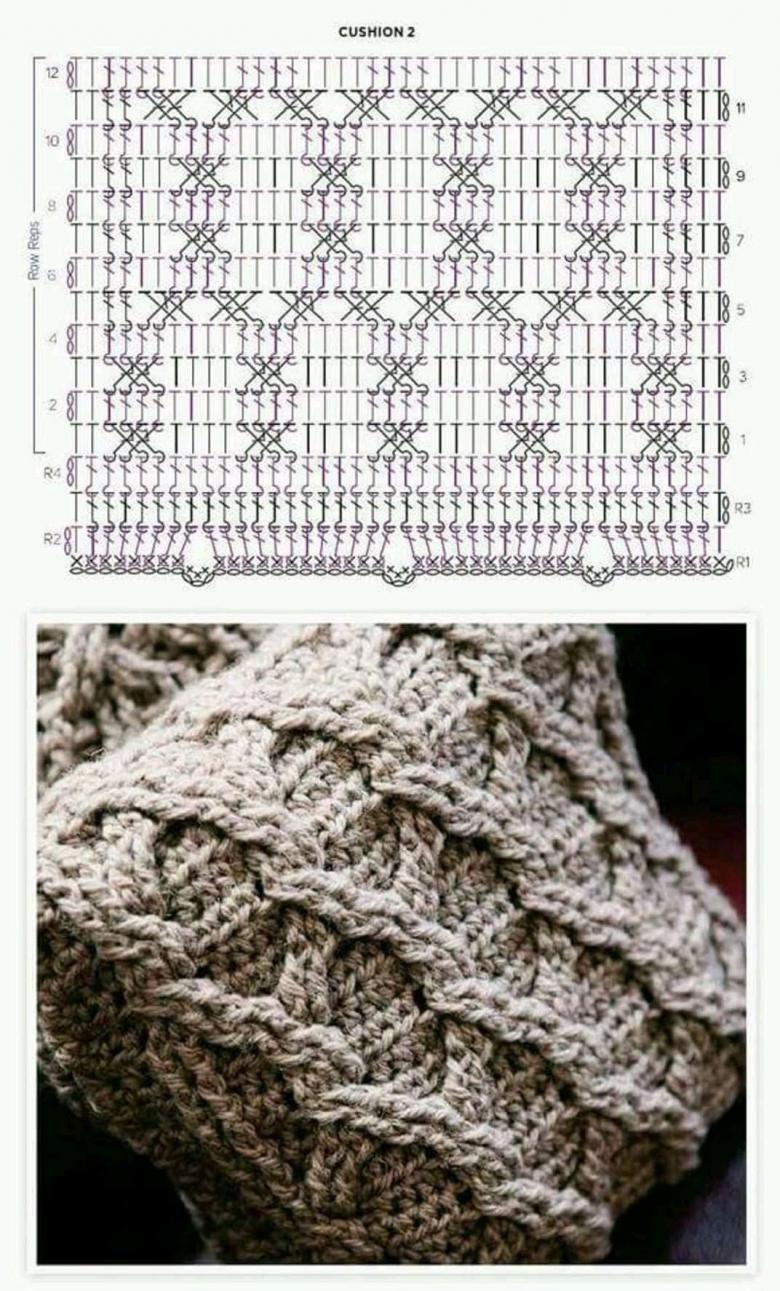
- The main note: compare your work with the construction. The foundations will be the air chain, because everything will happen on it. Similarly, to start building the initial floor, you need to rise above the foundation to that height.
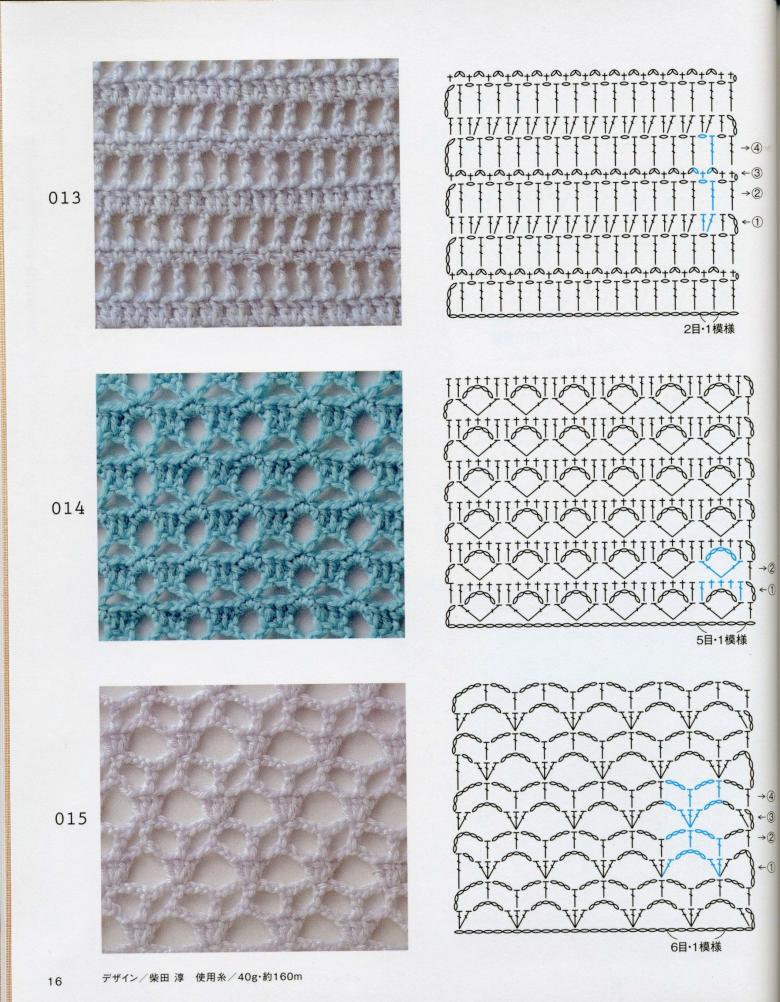
Immediately ask yourself, what will be the height of the first floor? It corresponds to a simple post. Carefully grab the yarn with the hook, pull it through the loop located on the hook.
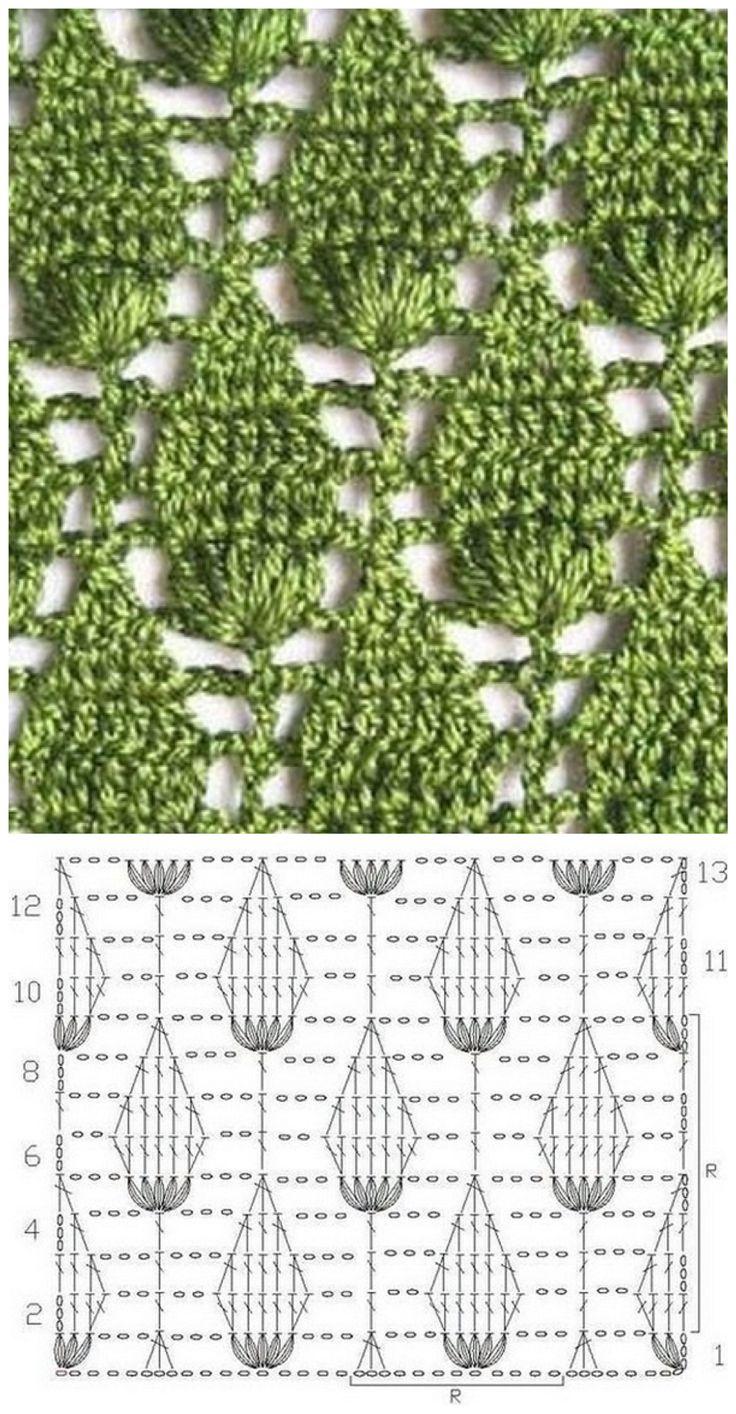
- The main loop will be the "ladder" for further action.
- The important part is the base, to which you have to bind, while using a hook. Introduce it into the first loop of the chain, prepare under the main yarn.
- Hold the yarn at the top, then pull it back. Already see for yourself the success. Everything is knotted. Notice the two separate loops on the hook. Although you can't call it a column yet. Only joining them, if they will stand evenly, change your point of view.
- Do the 1st column. The loops should become join, Take the yarn from the top, quickly pull through the two loops.
- Be sure to review your work. Because of inattention all sorts of difficulties often occur. On the second stitch, build a column, revisit step four and step five. Starting on the left, go to the seventh stitch. At the end, also tie a no-needle stitch. The first row is complete.
- Before knitting the following rows, go up to the "foundation" of the corresponding row. Create an air loop at the very end of the first row.
- Then make a lifting loop. It turns out the second floor of your efforts. The type of work at this stage is similar to the braid.
- You already understand the arrangement of the loops very well. Go back to the fourth point, you need to attach to the base of the first row. Take the hook, insert it under the two halves of the braid of the first loop.
- With the hook, grab the yarn, try to pull it through the same loop. This time you have just attached.
- In the last step, make two loops whole. You will get a column. Grab the crochet yarn, similarly pull it through the two loops at the same time.

Knitting without a stitch is divided into two steps: make a loop, securing it to the base, then pull the thread through the two loops.
Do the same for the second row. Often, pay attention to everything, do not be lazy, control yourself.

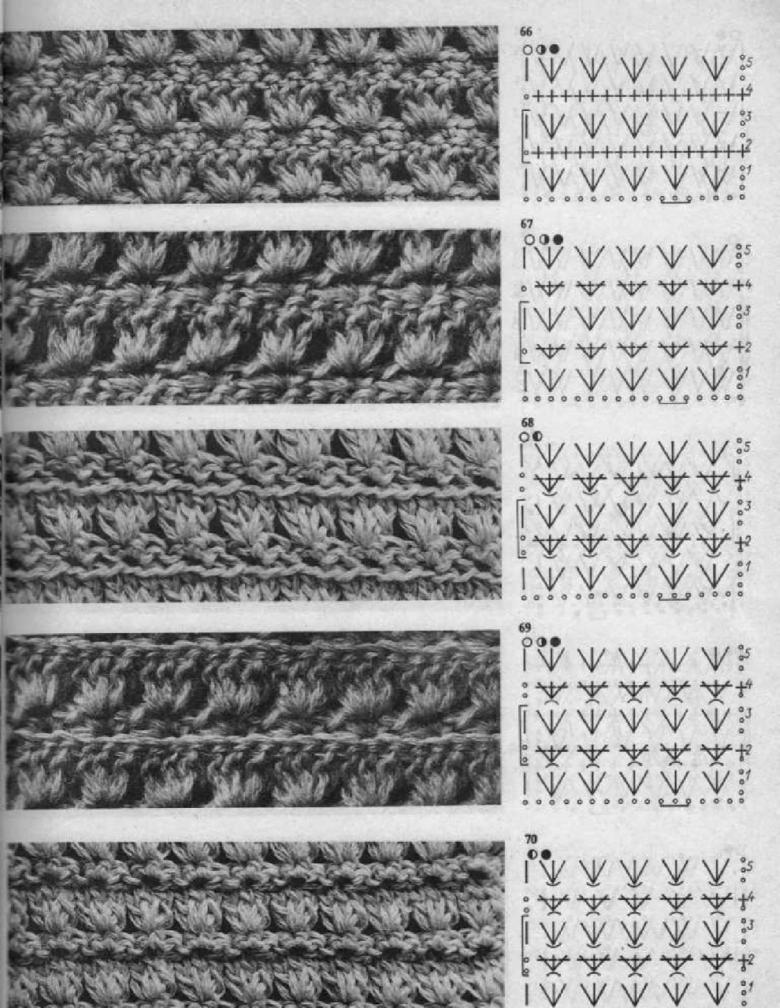
Can not understand in words, watch the training video on the Internet. Accordingly, on the World Wide Web, consider the conventions, diagrams.
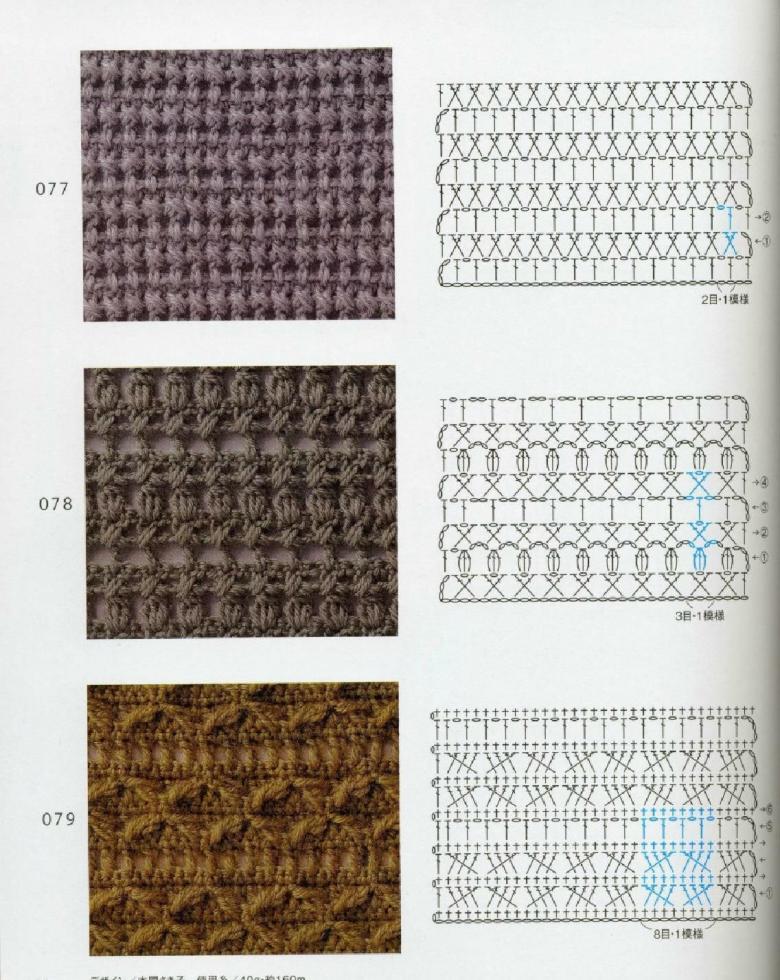
Knitting a stitch with a stitch.
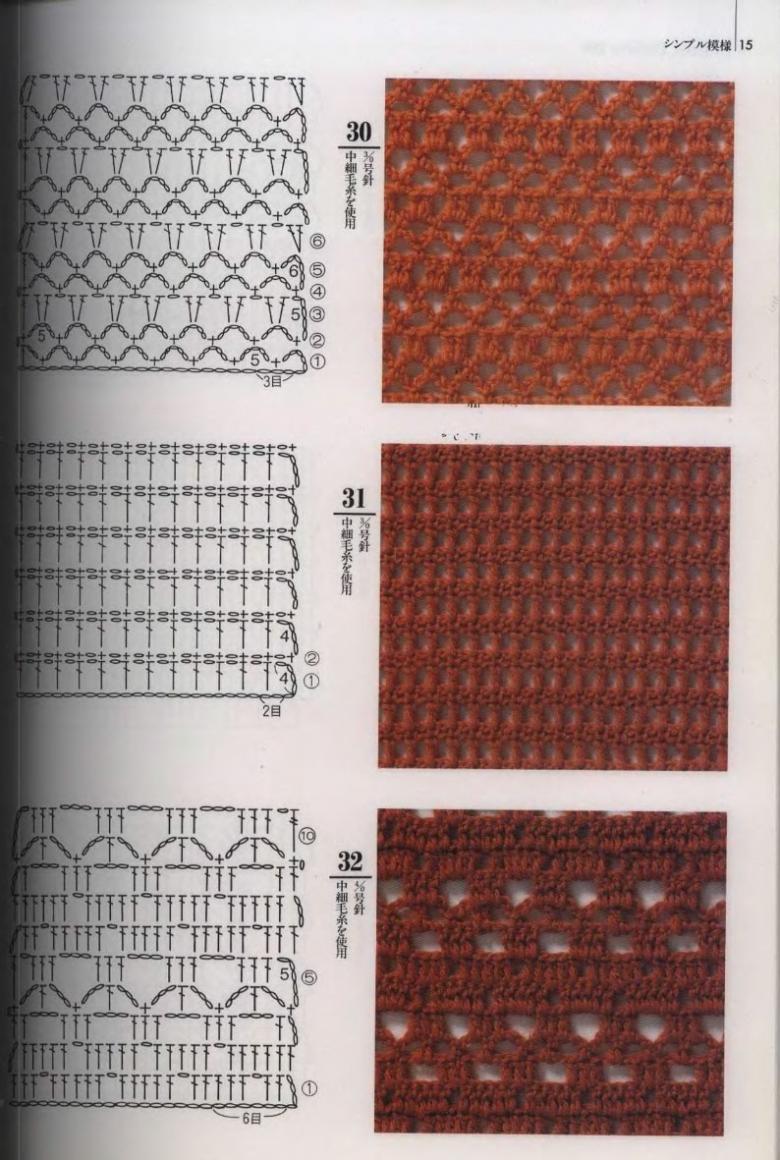
Making the canvas by this method yourself, it becomes a through-and-through, easy. Start like this:
- From the 1st stitch, cast on the hook yarn.
- from the beginning of the work from the 4th stitch take out a fresh stitch.
- Then take the yarn you are working with and pull it through the three loops that appeared on the hook.
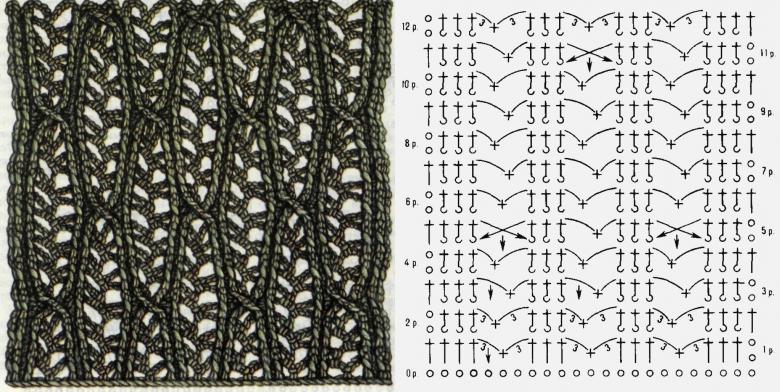
You have the option of making columns with multiple stitches, not limited to one, if you wish. To create them will require more time, effort, but the result will obviously please you.

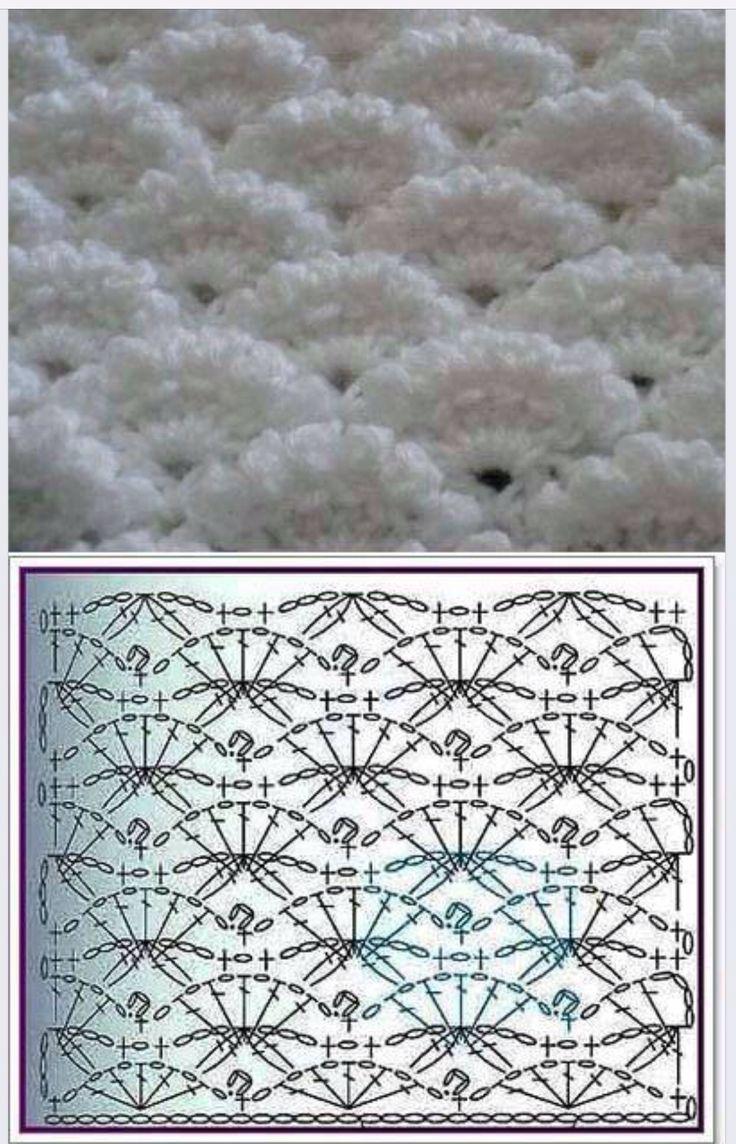
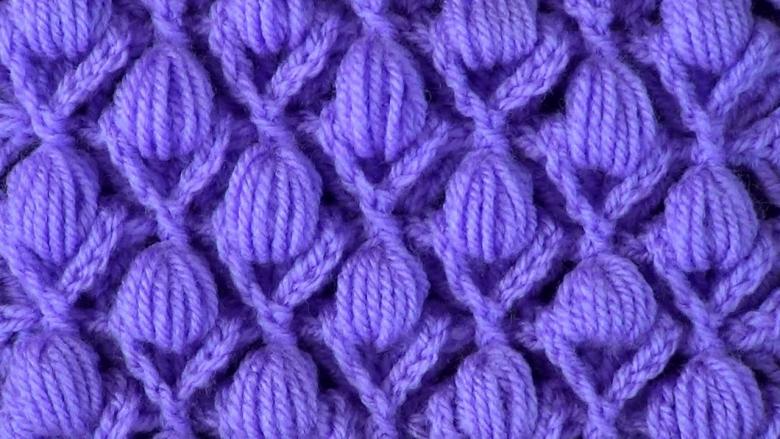
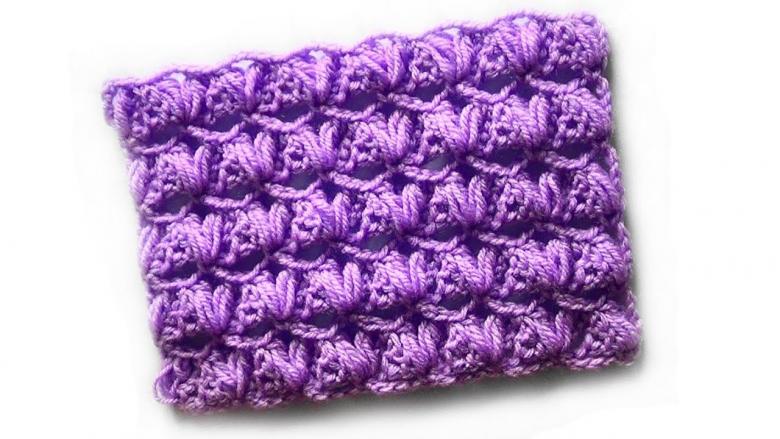
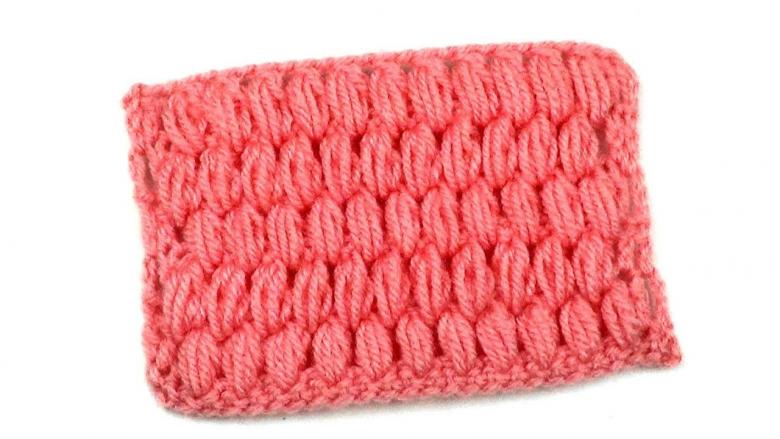
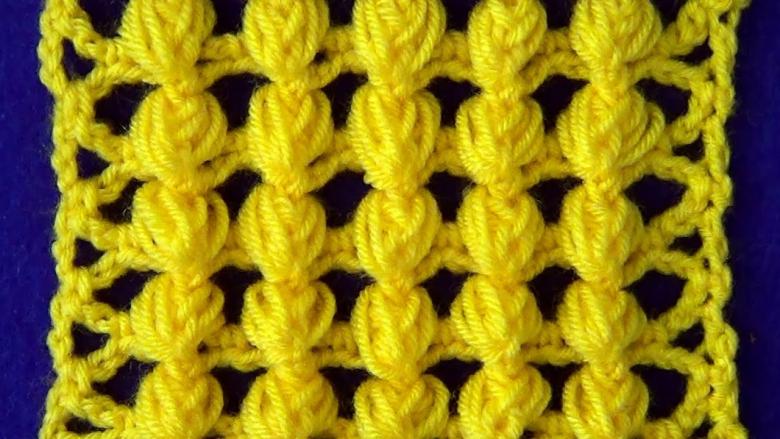
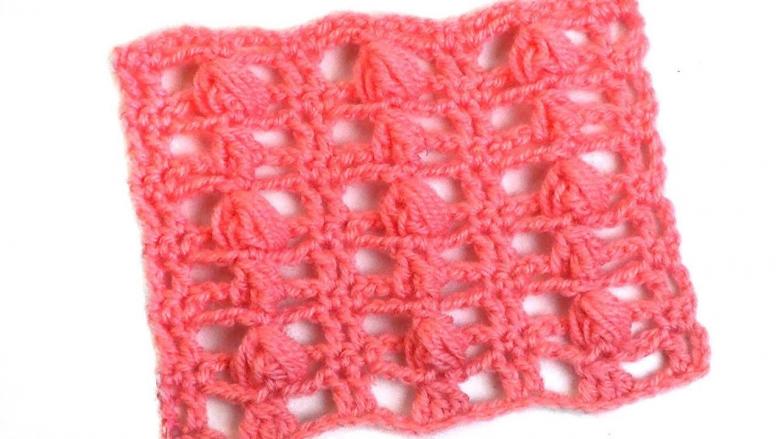
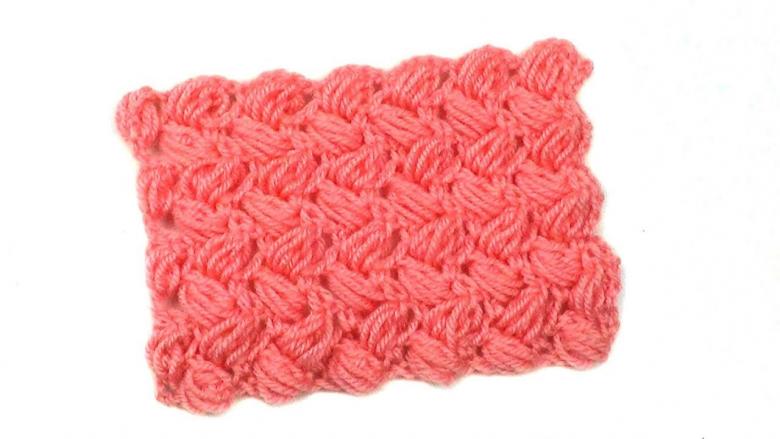
Crocheting a bouffant column
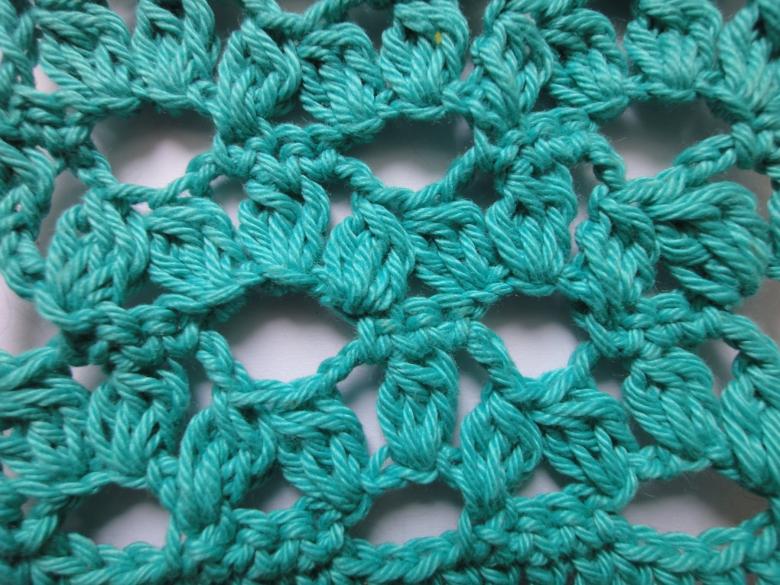
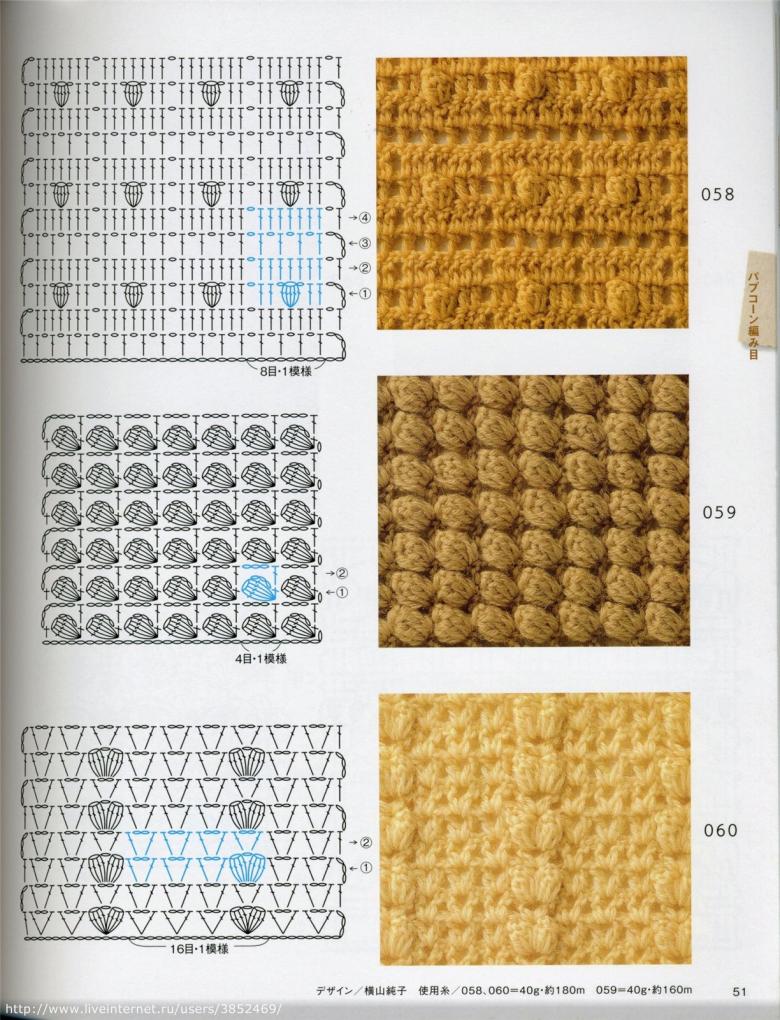
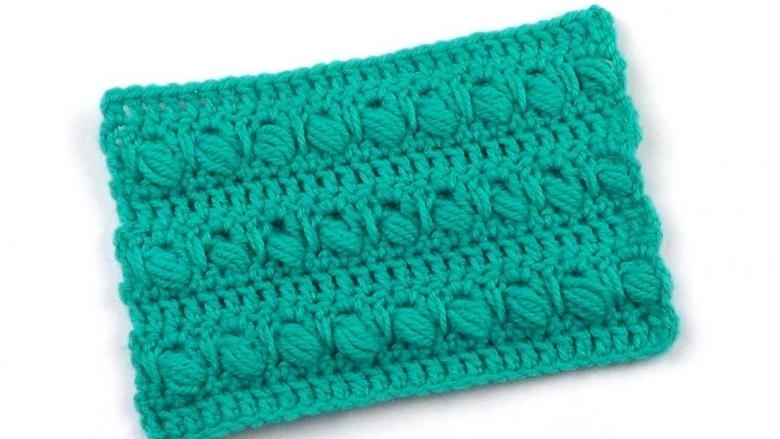
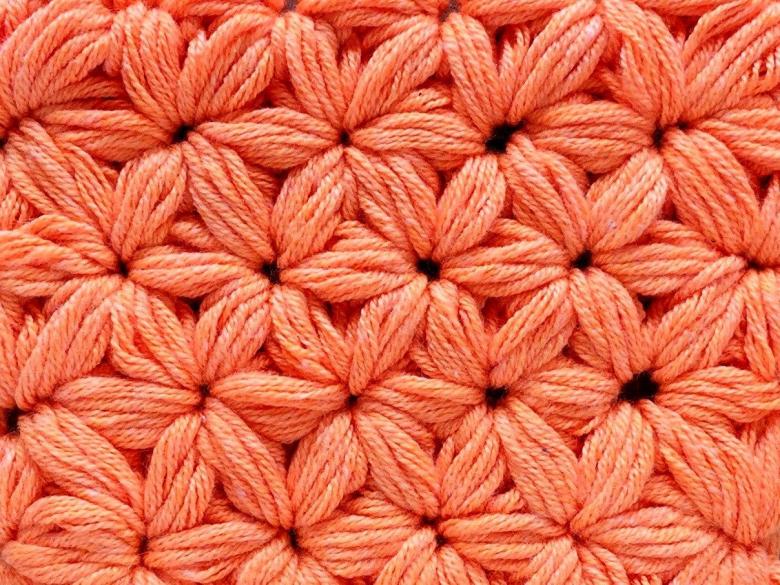
Puffy columns always have a beautiful appearance. You can't say that the work on it is unbearable. That's how it may seem at first, although it's the opposite. Knowing the right steps, achieve success:
- Make five loops for the lift.
- Using the initial loop, make a hinge. It turns out that from the first loop of the previous row pulls a new one. It should be the same height as the stitch with a stitch. Do this a couple of times.
- Again put the main yarn on the hook, spend the seven loops made by the previous action.
- Followed by an air loop begins to be tied, the next column, try to pull through a single loop.
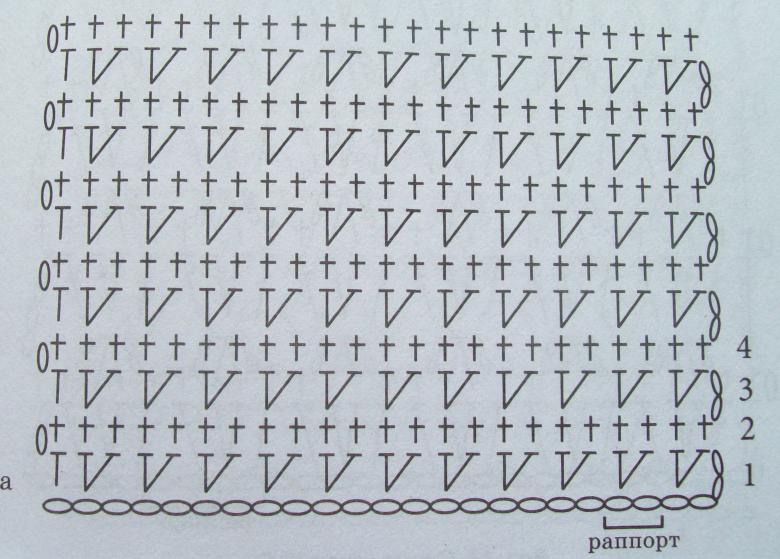
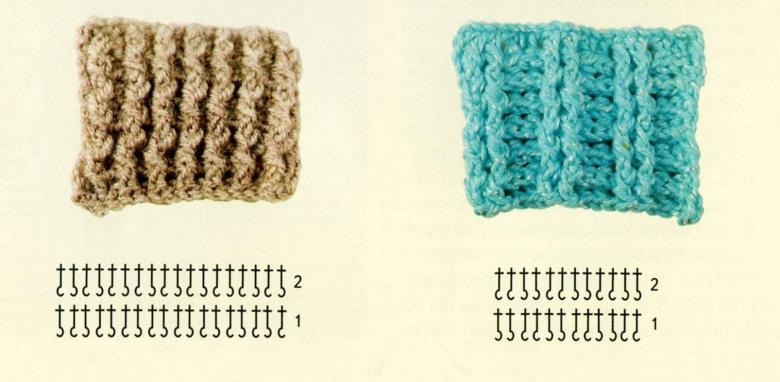
Knitting a relief column
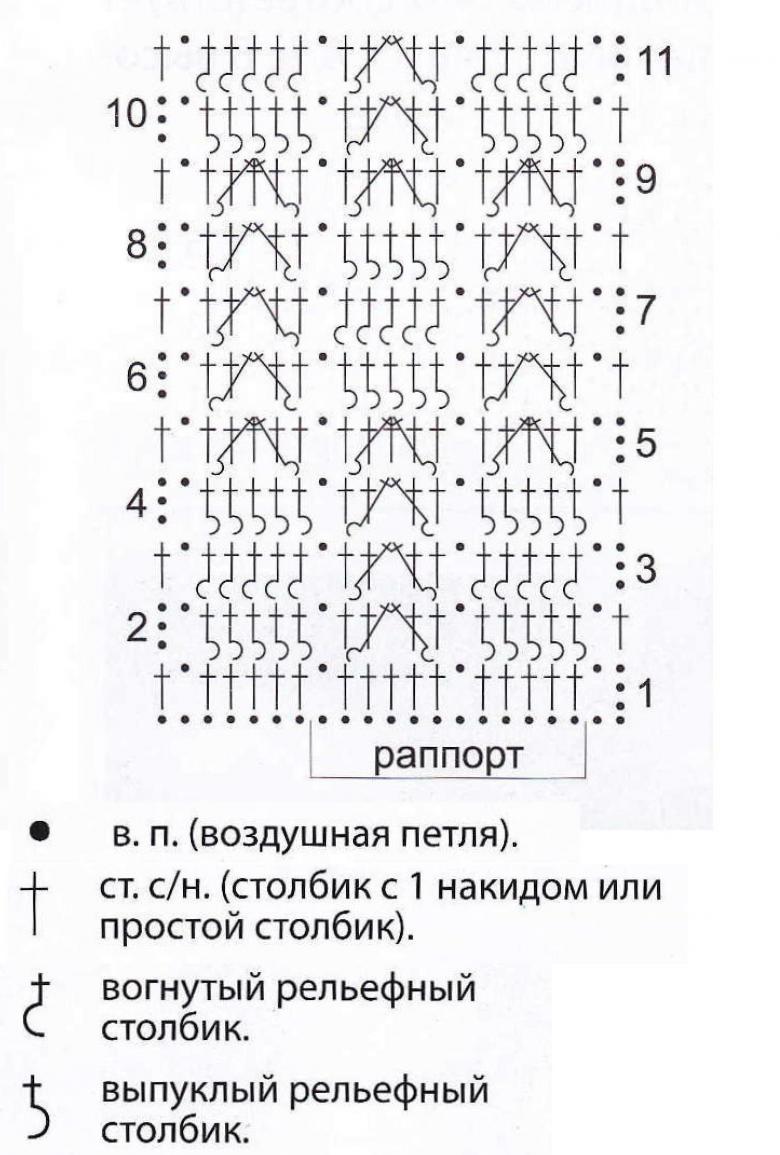
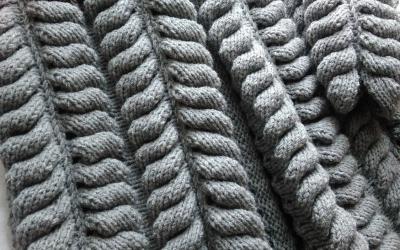
Usually do homemade when knitting embossed patterns (elastic bands, pigtails). Such columns are divided into two types:
- front;
- back;
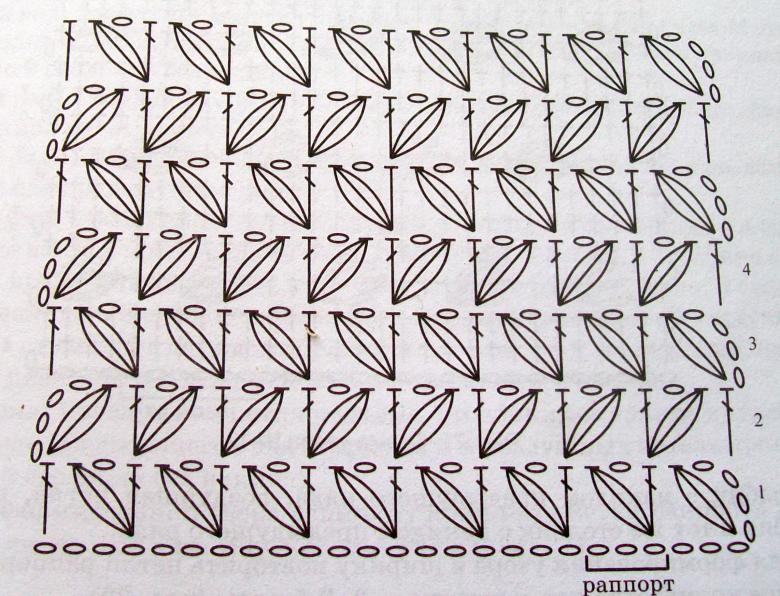
Convex columns look great on the front fabric of a sweater. Try to make:
- make three buttonholes in the rows;
- Make a cast on, try to make the second column of the previous row on top of the hook;
- pull out the main yarn, do everything the way you knit a regular crochet column.
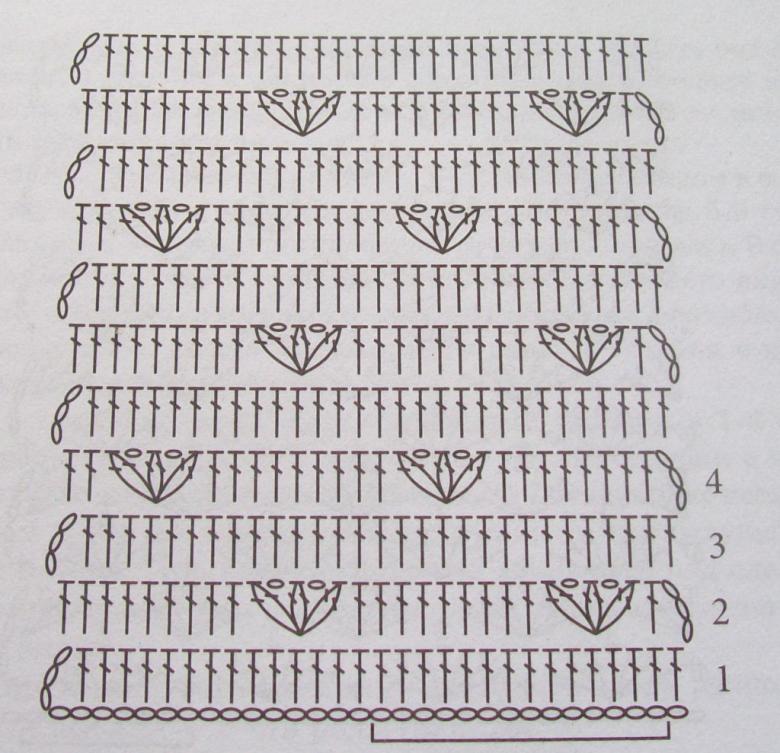
A concave column is no easier. Follow the same steps as with the relief column. There is a distinctive feature, when you pull out the yarn, put the hook into the second stitch.
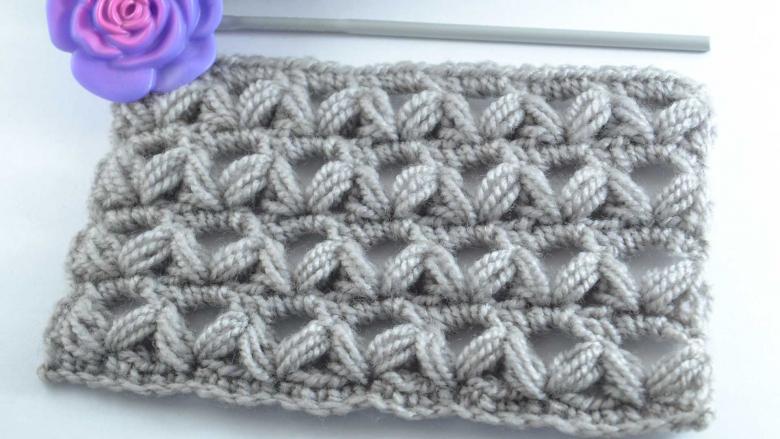
Knitting columns is an interesting activity that will make a good craftsman out of you. Will overshadow your gray everyday life with its amazing process. It is only worth a try.

