English knitting - step by step instructions for beginners.
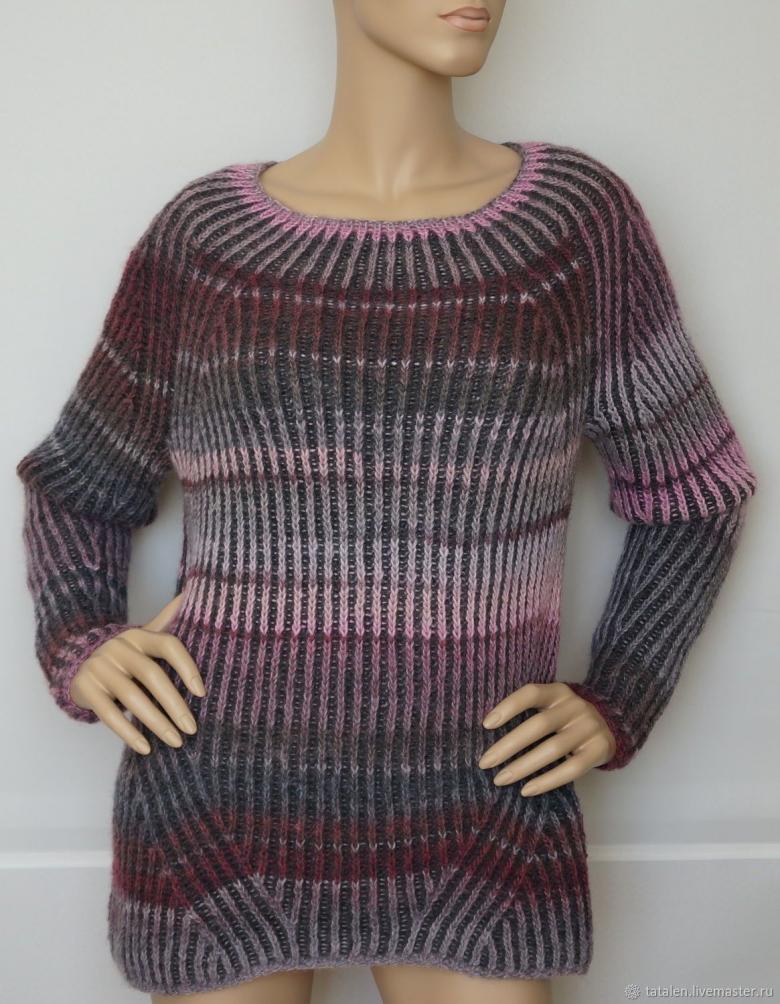
The coming cold weather forces us to thoroughly review our closet. Warm hats with ruffles, gloves, scarf with braid pattern. What are we missing? Well, of course, new original things. Today you and I will get acquainted with the basics of English knitting with knitting needles
Learn the Technique
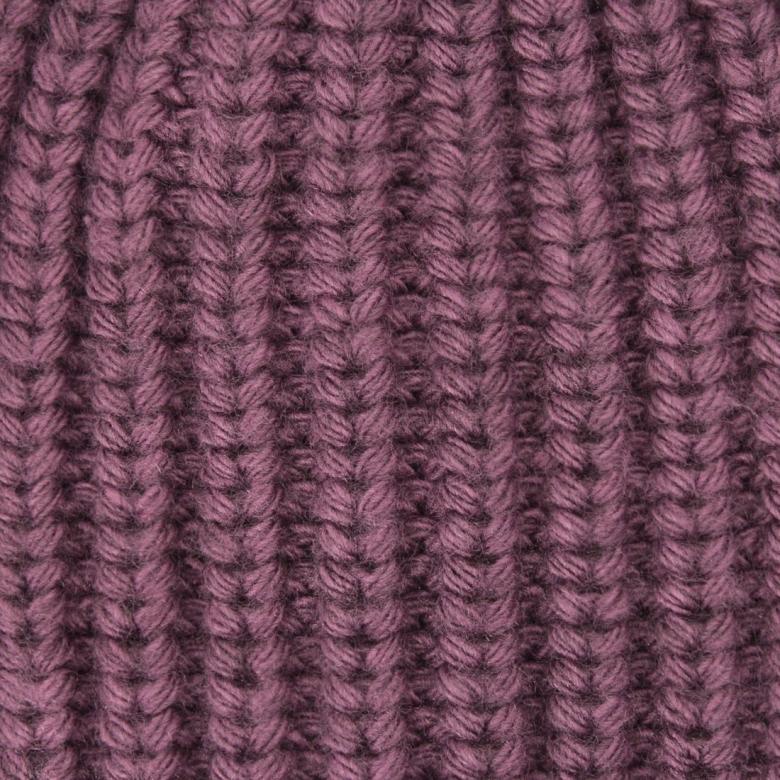
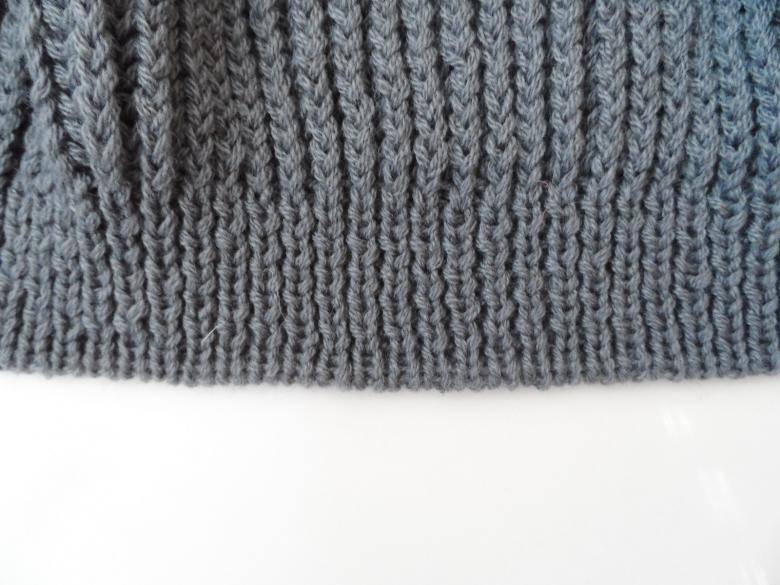
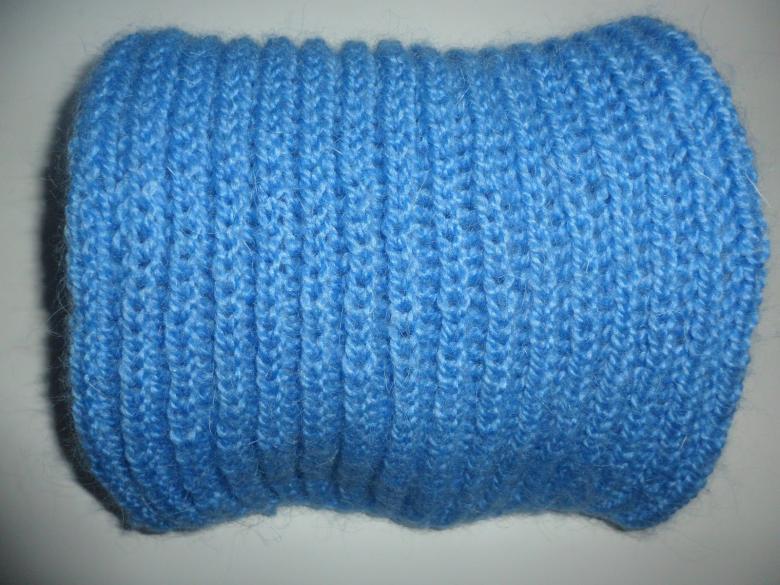
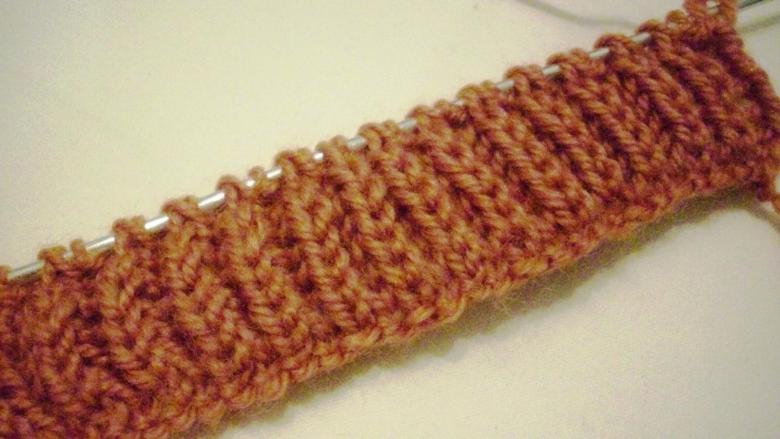
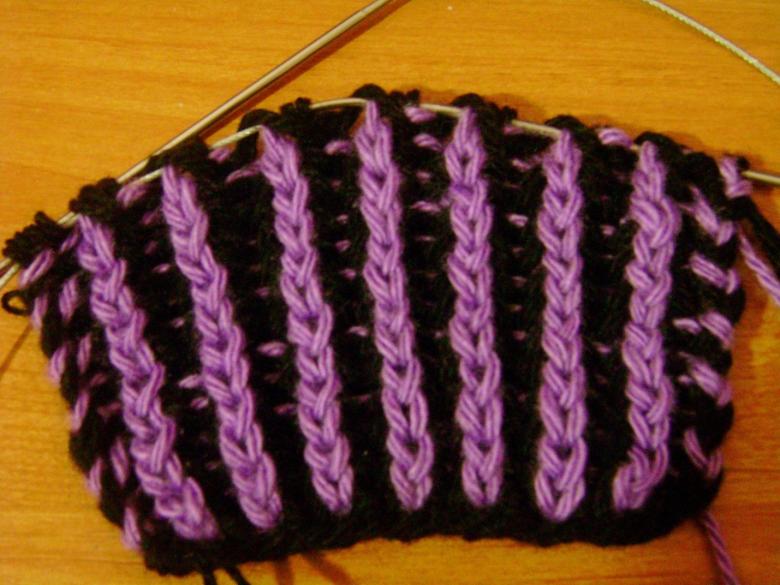
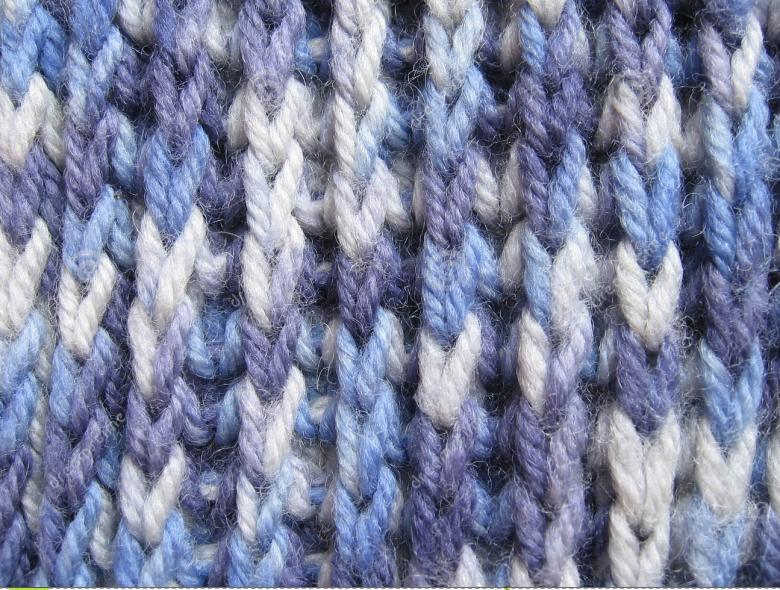
What is the difference between the technology of English knitting:
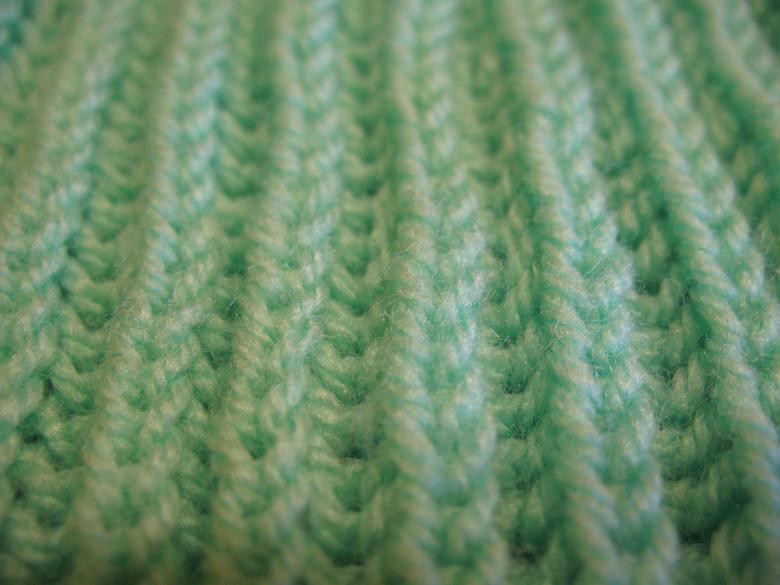
- Products according to this technique acquire additional volume due to double-sided knitting.
What models we will work with today:
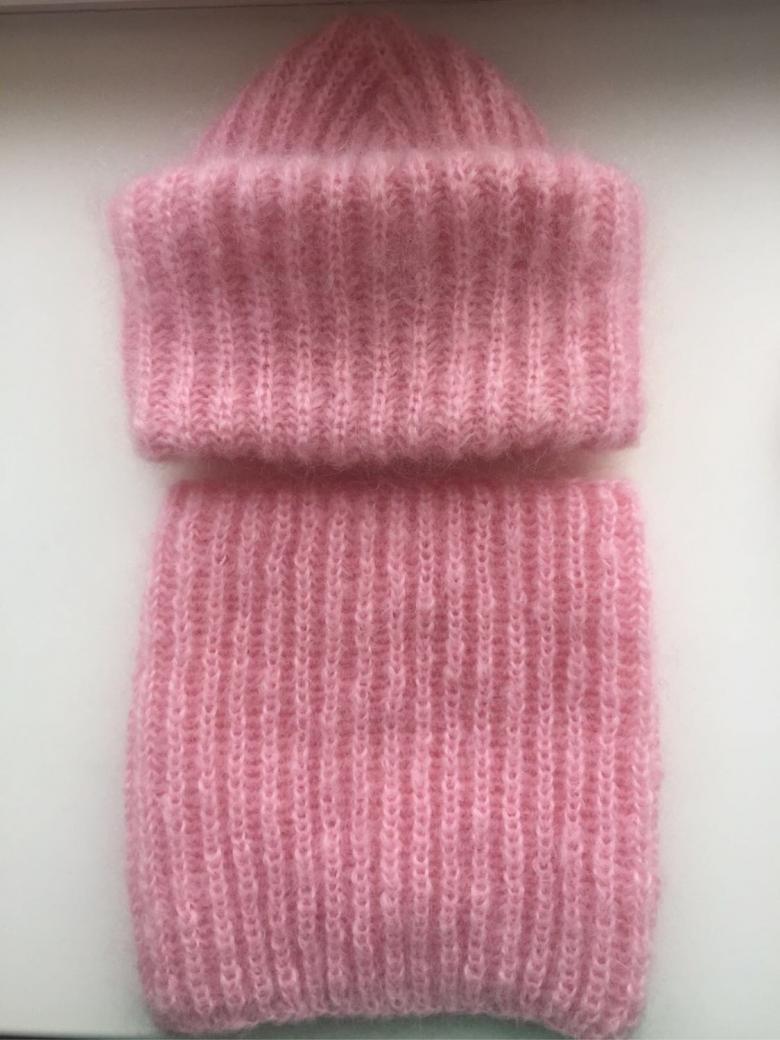
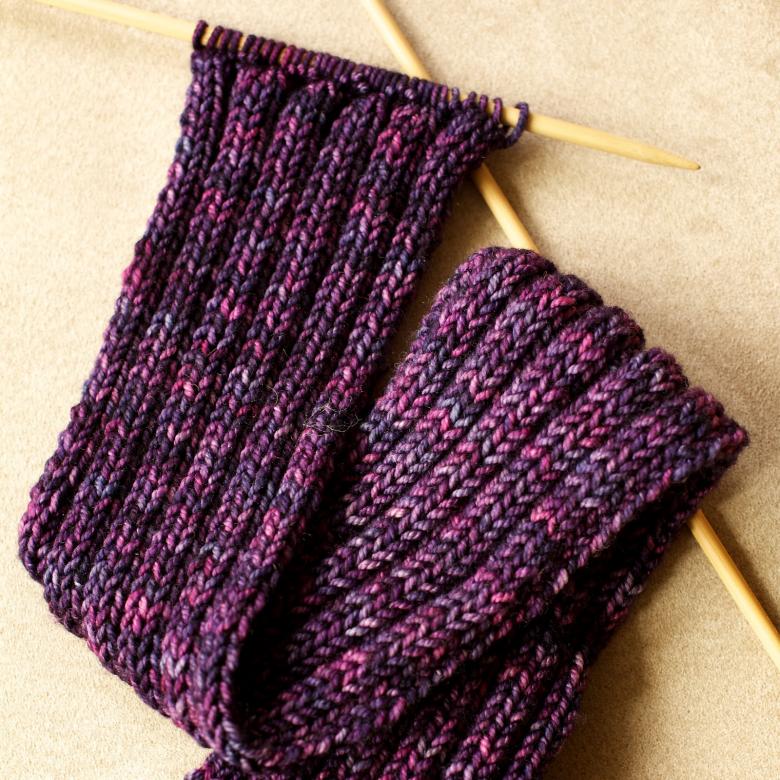
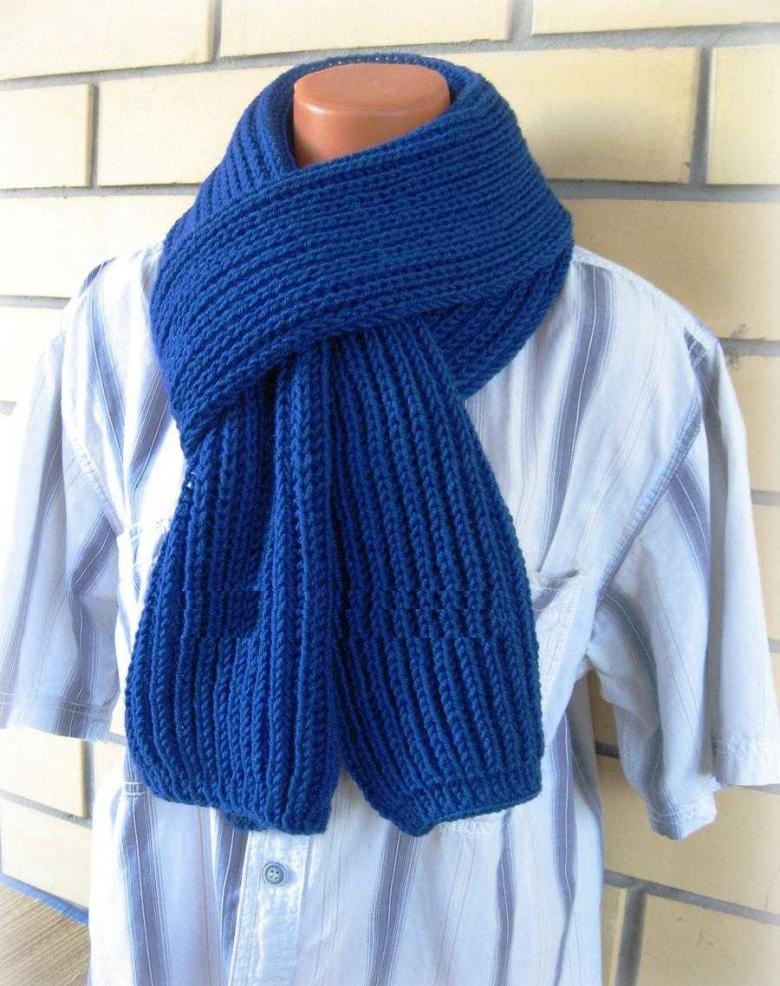
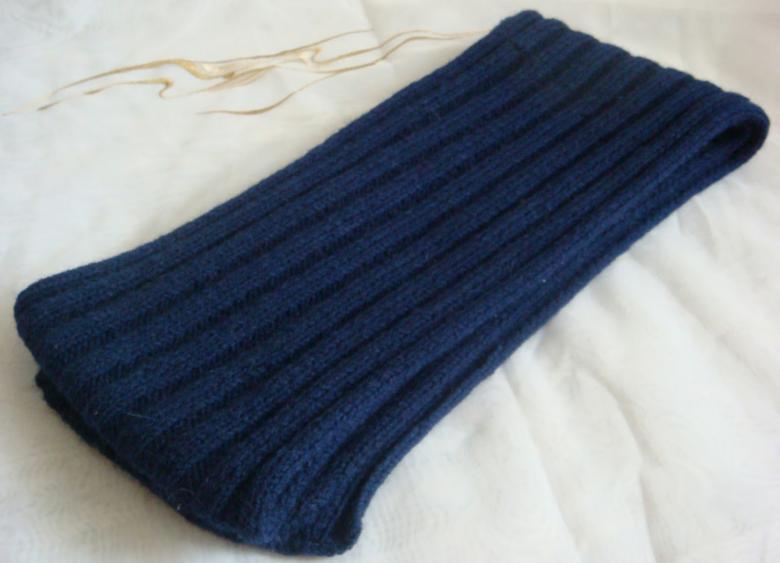
- Winter mohair scarf.
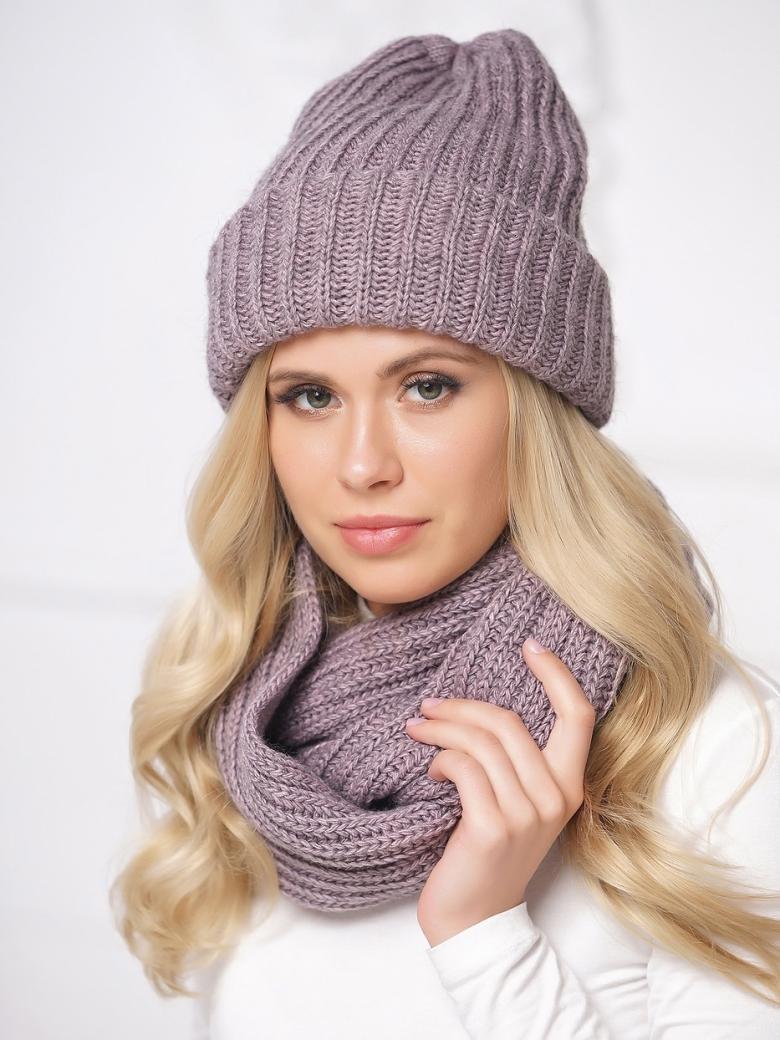
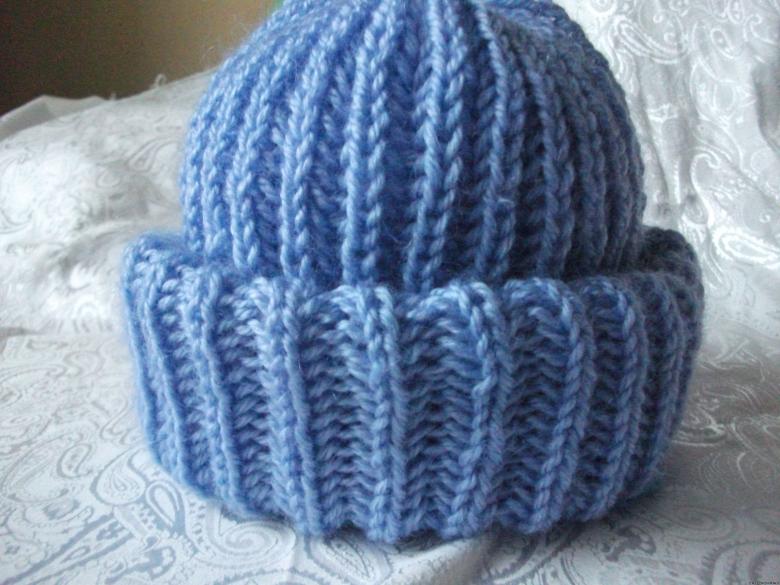
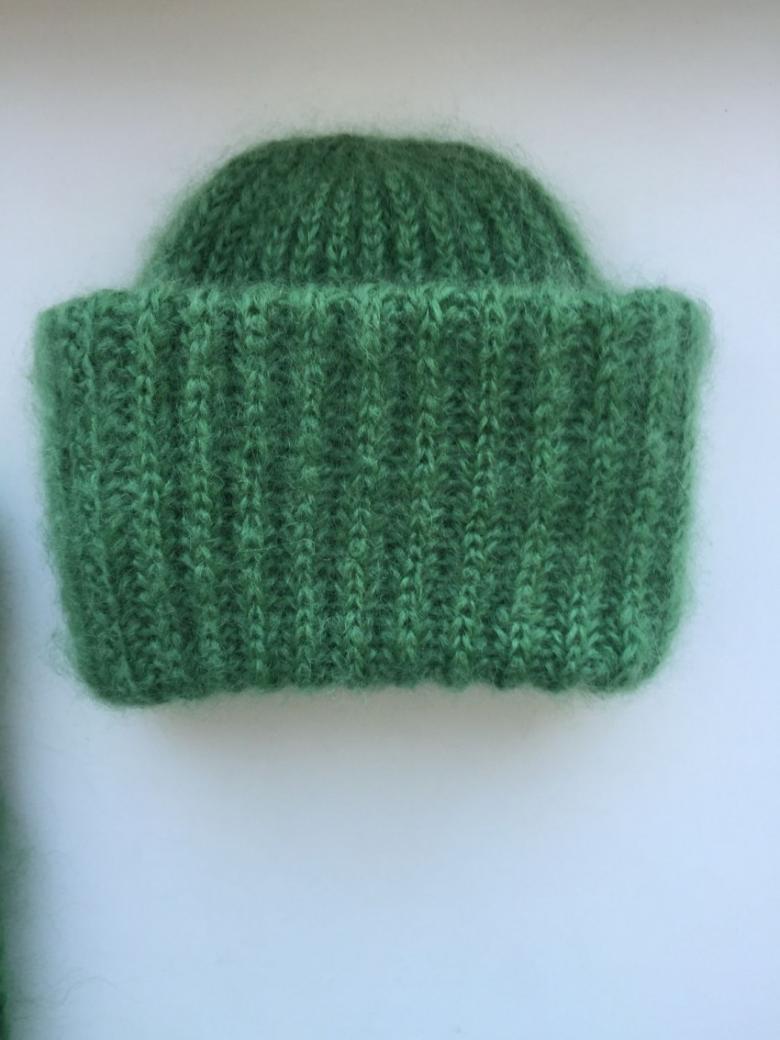
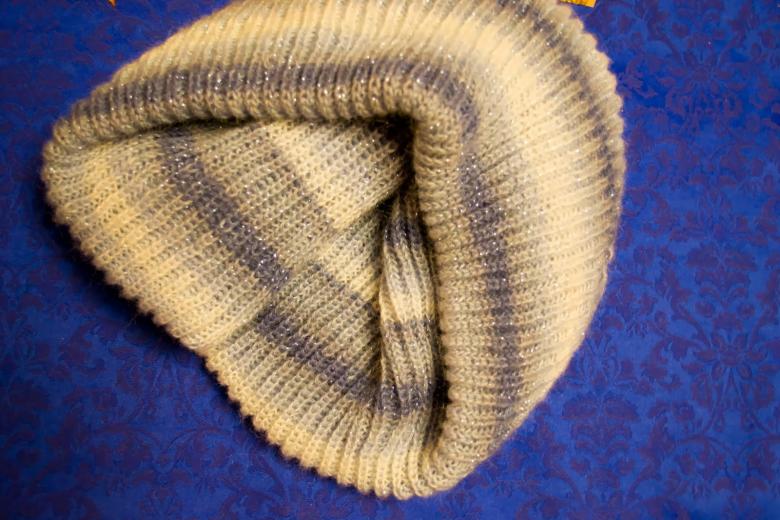
- Fashionable women's hat with lapels.
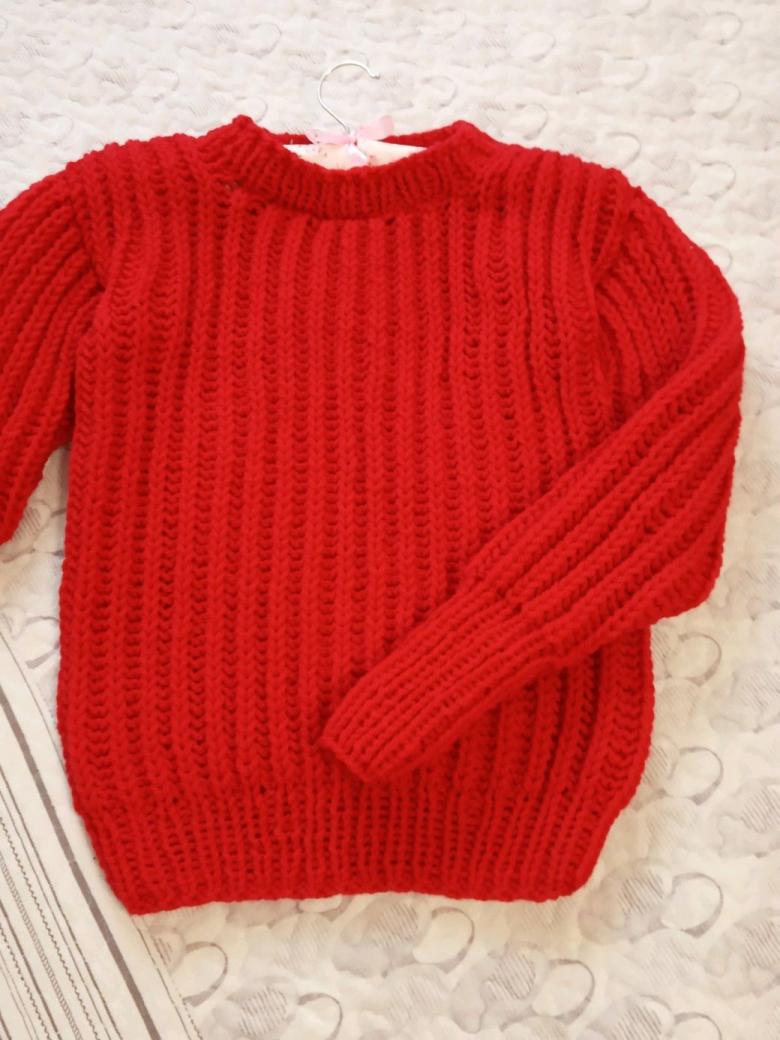
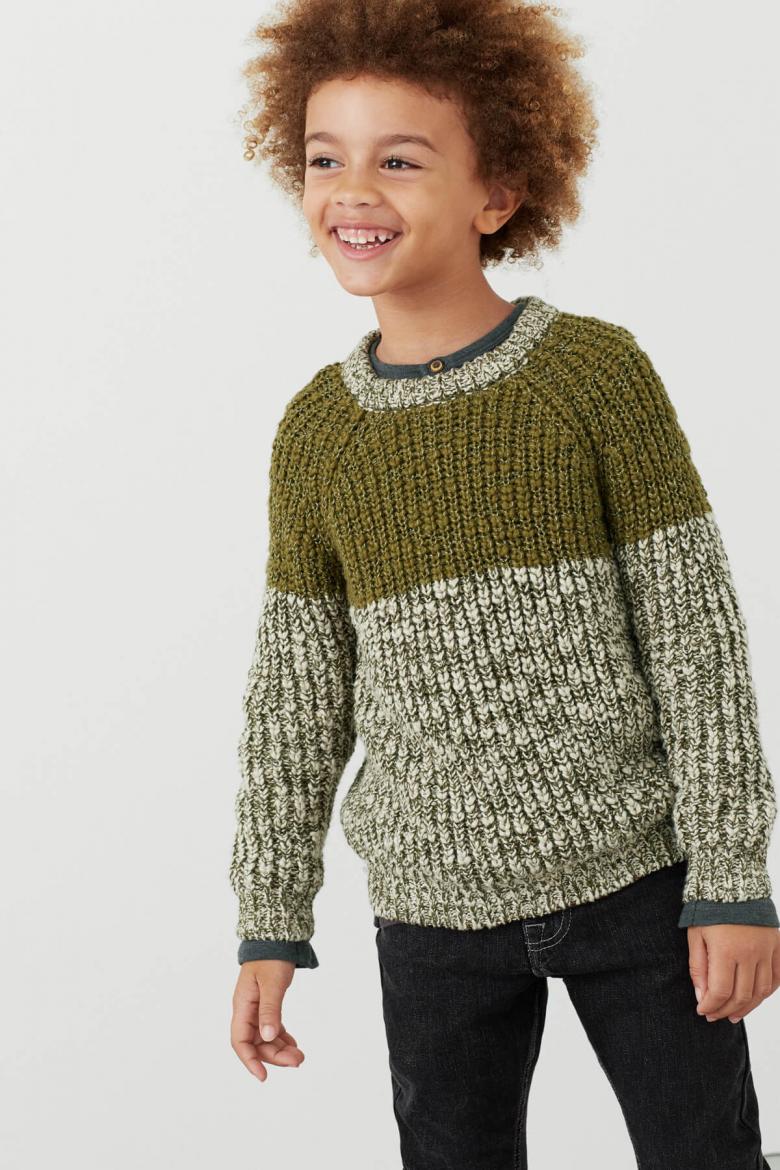
- Two-color sweater for a baby.
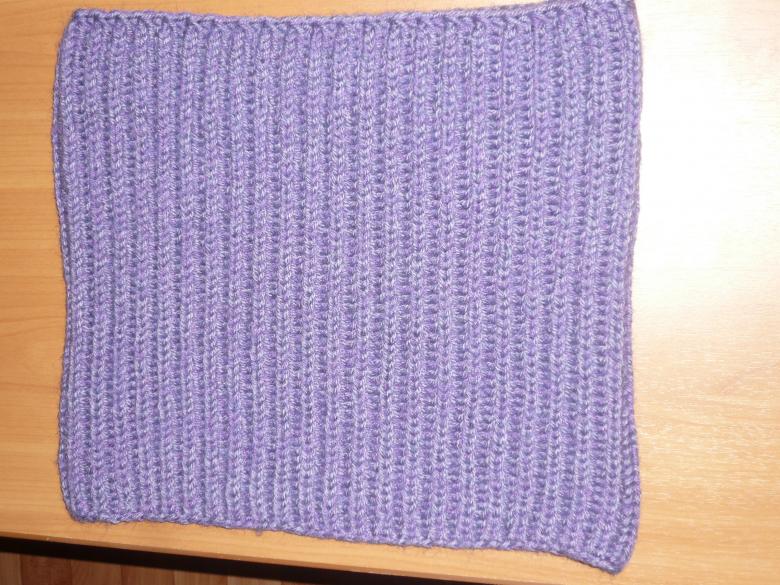
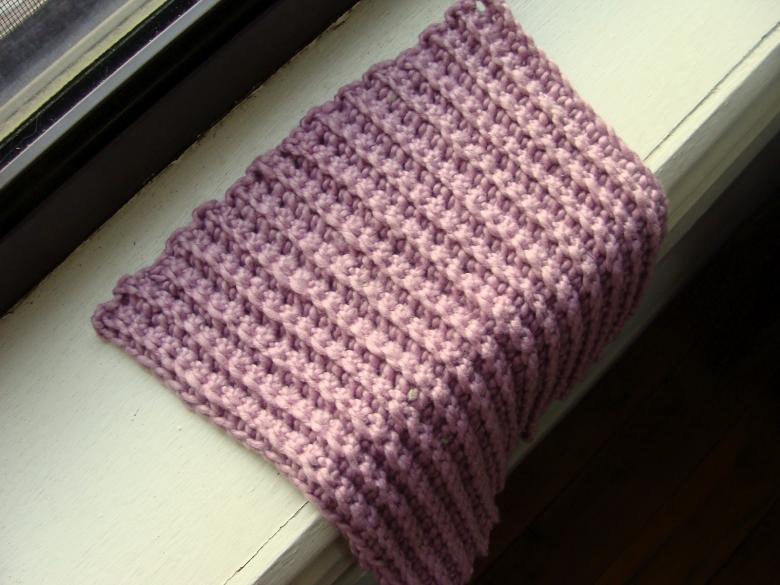
- A soft English gum pillow.
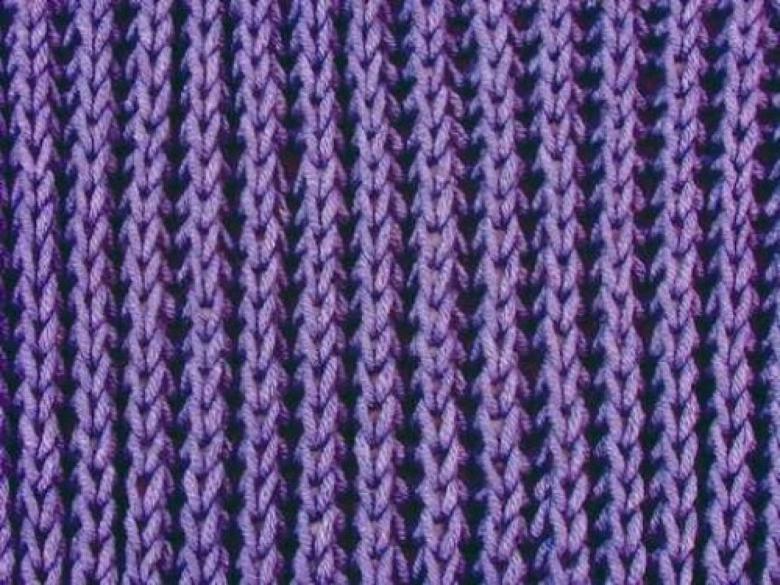
Types of English knitting
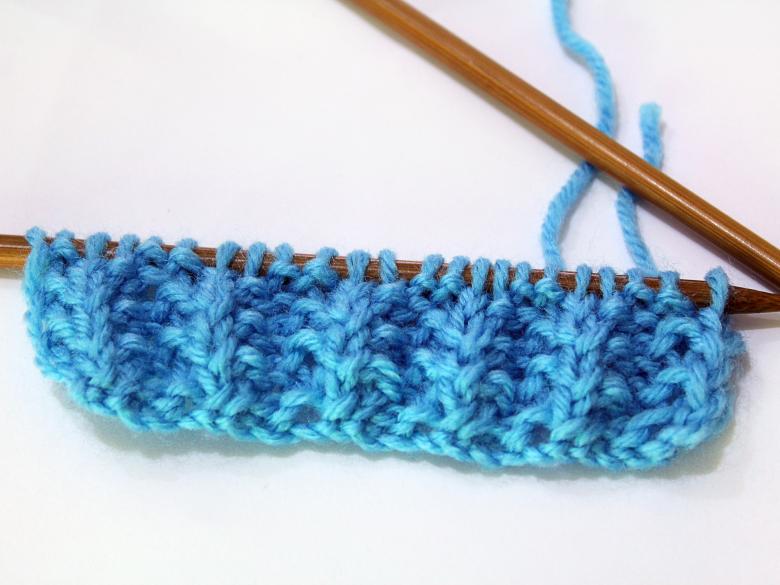
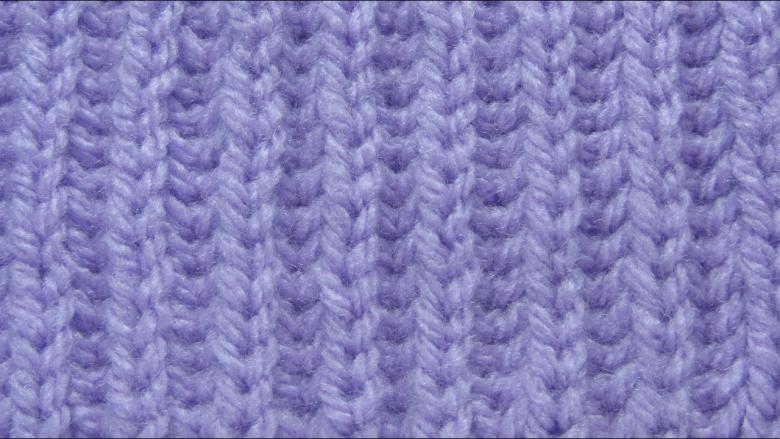
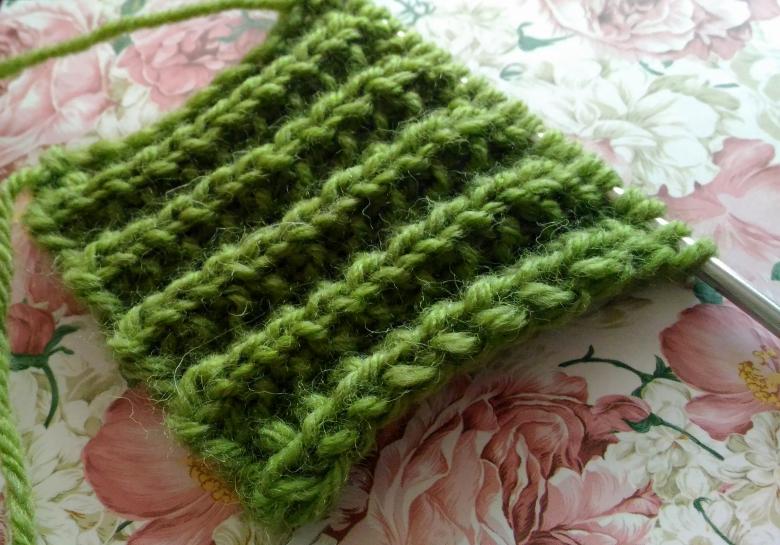
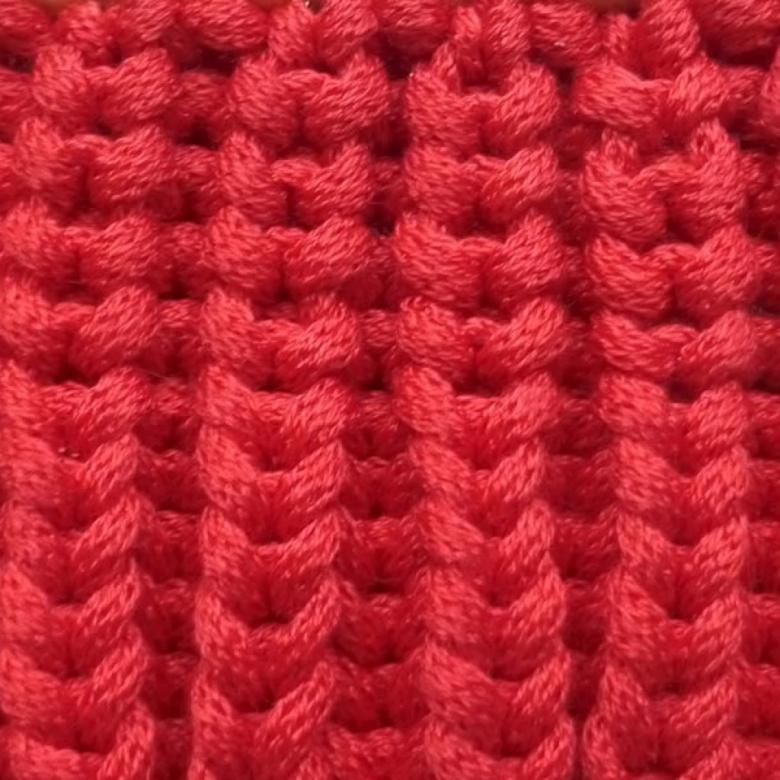
- Simple English stitch. In the work we alternate front loops, loops taken together with a cast on. The next row is knit exactly the opposite.
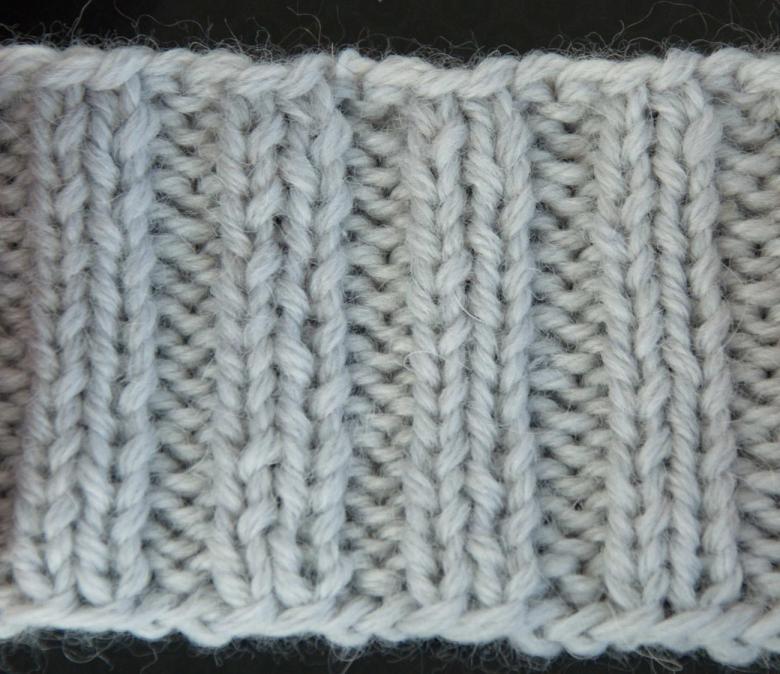
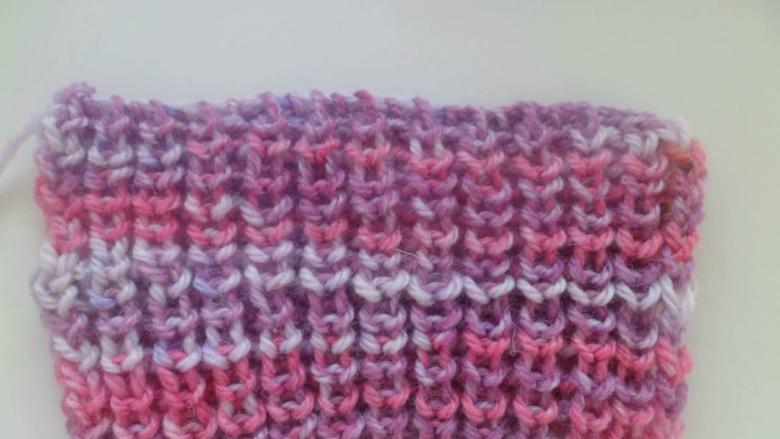
- "Fake" rubber band. In the first row, we alternate three front loops and one back element. In the second line the scheme is as follows: two l. p., one i. p., one l. p. Knit further cloth according to the scheme presented.
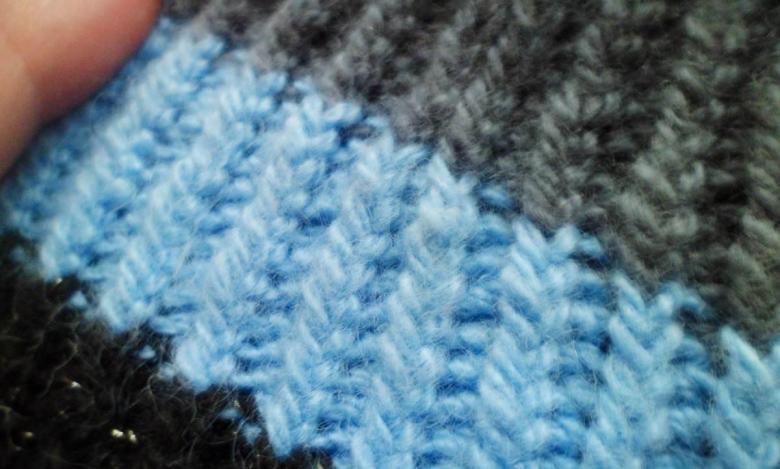
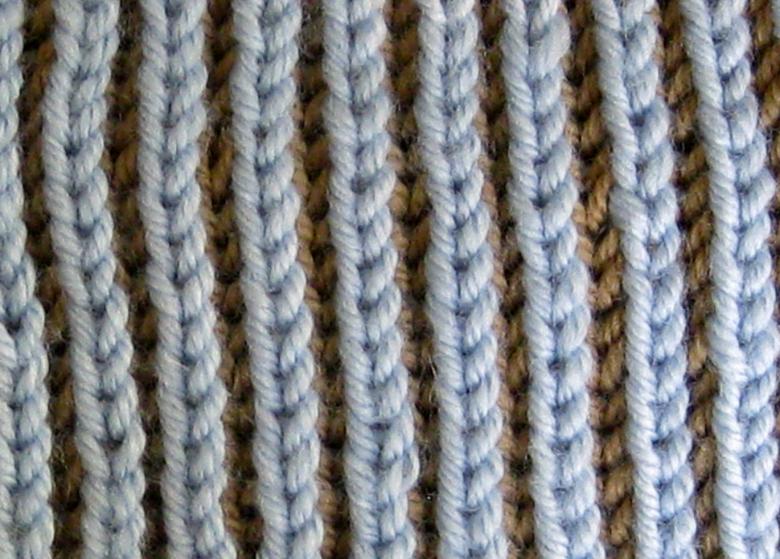
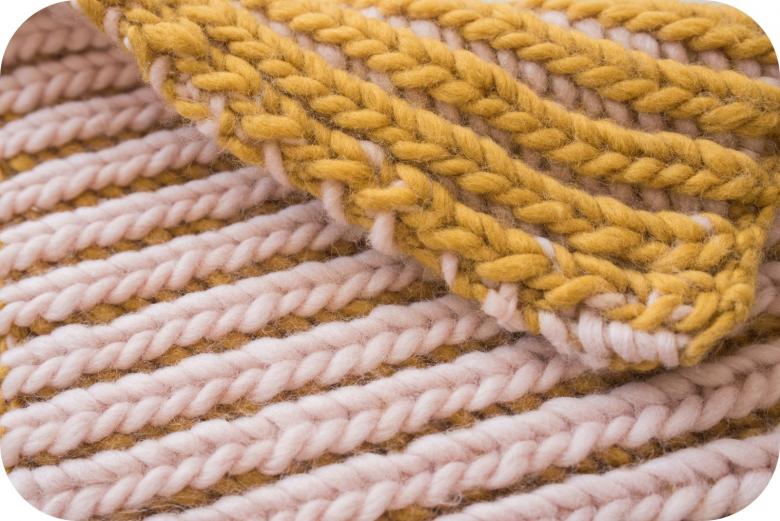
- Two-color technique. Each row we change the color of the yarn, creating the effect of additional volume.
- English crochet in a circle. After the set of loops are closed in a circle, the joint line is marked with a colored pin. The principle itself does not change. The advantage of this method is the continuous course of knitting and the complete absence of seams.
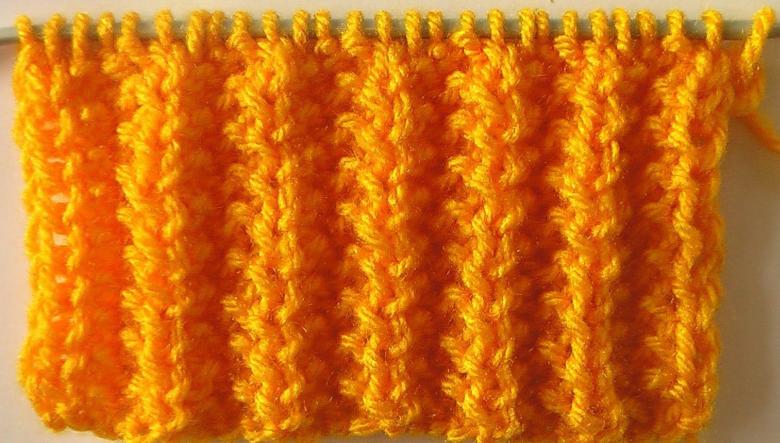
Master classes with step by step instructions
The technique of English knitting is very simple in execution. Scheme-instructions are available for understanding even novice masters.
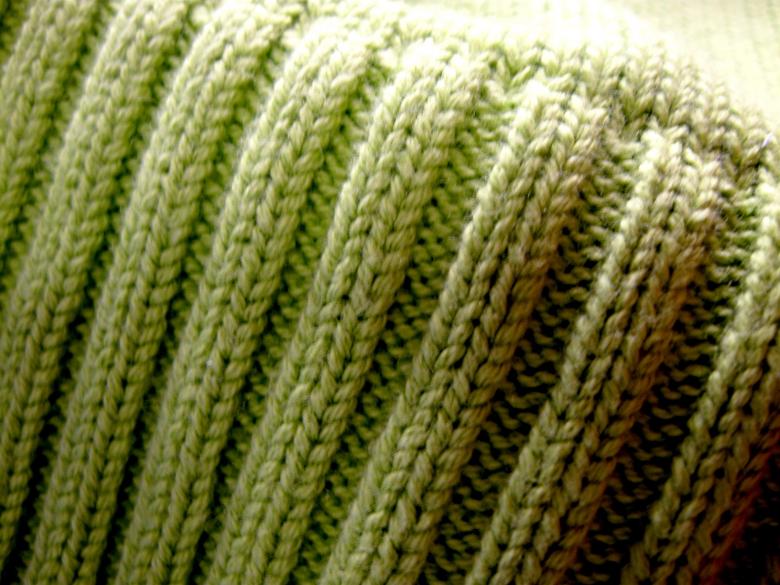
Knit a winter mohair scarf
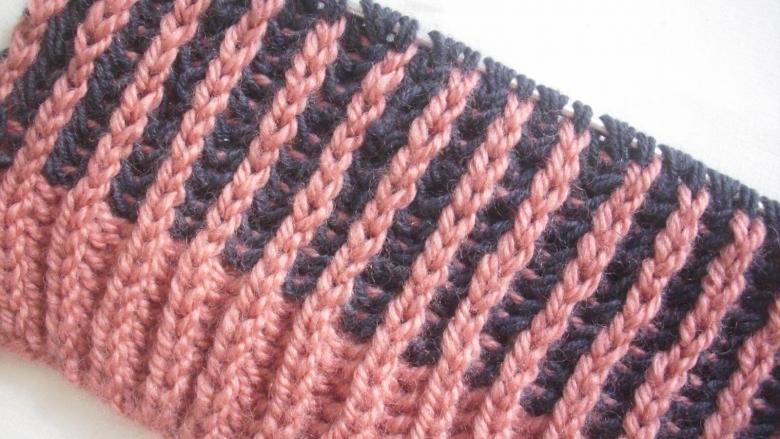
Thanks to the unique knitting direction, we get a double-sided rubber band with deep grooves. These "grooves" keep you warm, allowing you to weather the most persistent cold.
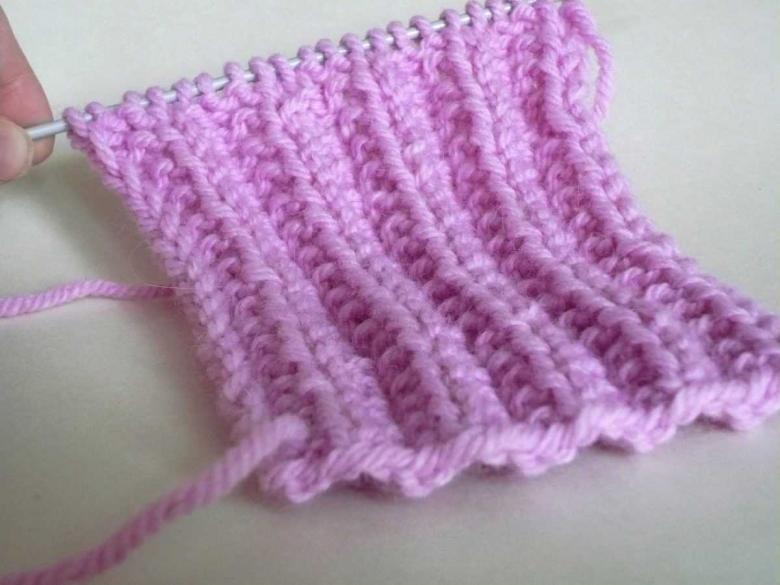
To work we will need:
- Needles.
- Yarn of two colors (choose any shade you like).
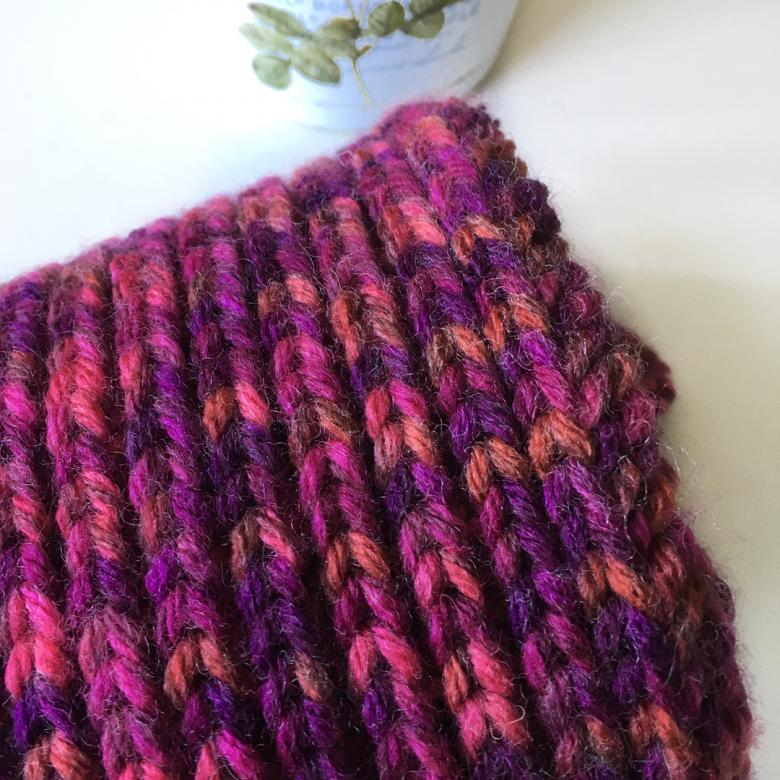
Step-by-step scheme-instruction for the master:
- On the needles we dial 90 loops.
- In the first row, we alternate one front loop and one loop taken from the needle together with a stitch.
- The second row is the exact opposite. We start the knitting by removing a single stitch and the next stitch is knitted in the front stitch.
- Repeat the rows until the end of the product.
- Do not forget to use edge stitches.
- Using threads of two colors, form sections of different shades: about 5 cm each block.
If the mohair seemed to you too stiff, use yarn from the "Pekhorka" series.
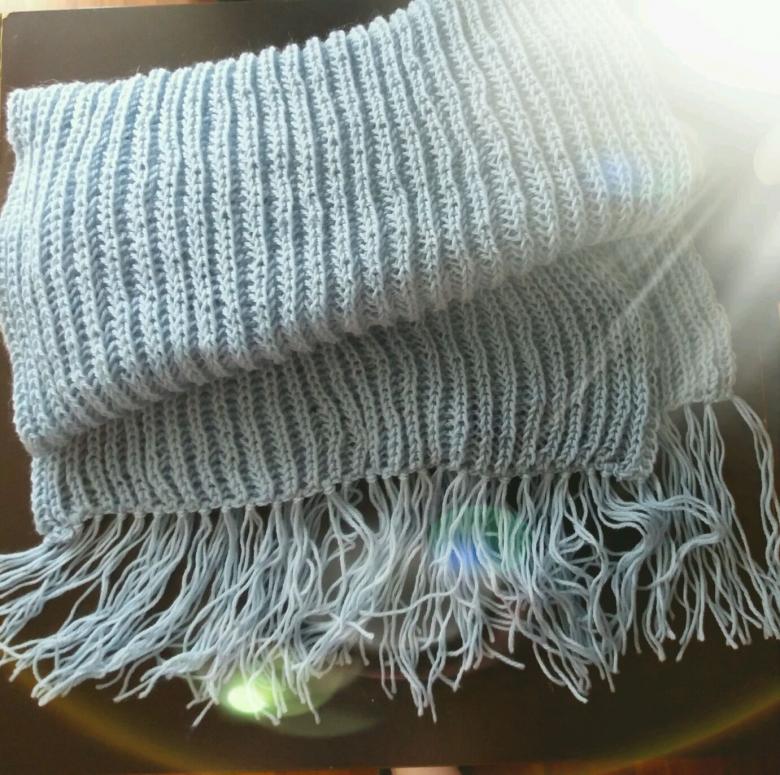
Fashionable women's hat with lapels
Let's warm up for winter, and do it in a stylish and original way. A new fashion trend - a hat with lapels.
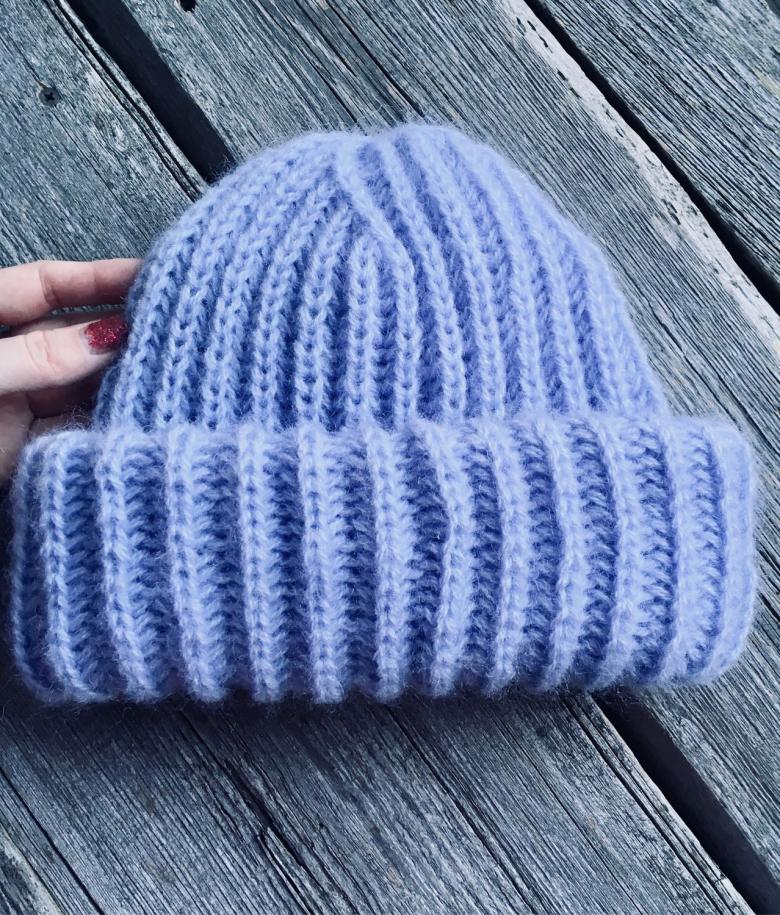
To work we will need:
- Circular knitting needles.
- Yarn.
- Measuring tape.

Step-by-step scheme-guide for the craftsman:
- Determine the desired length of the piece.
- Dial 64 loops and one piece, with which we connect the chain into a circle.
- In order not to lose the place of transition between the rows, we use a colored English pin.
- We knit the canvas with the rubber band we already know. For a standard hat with one lapel we need a simple knitting for 24 cm from the beginning of the work.
- Then we proceed to reducing the number of loops in the rows.
- First of all, we remove the stitches from all elements of the row, leaving the plain front stitches.
- The next three lines of knitting are regular stitches with an alternation of 1 front and 1 back stitch.
- In the next line, we cut back on the wrong stitches by doing the right elements two at a time.
- The next circle, use only the right side knit.
- Approaching the top: alternate 2 loops, tied with the same thread, with two regular elements.
- Continue to cut the piece until 6 loops remain on the working needle.
- Tighten them with a thread. Decorate the hat (if desired) with a pompon or tassel.
The new original hat with lapels is ready.
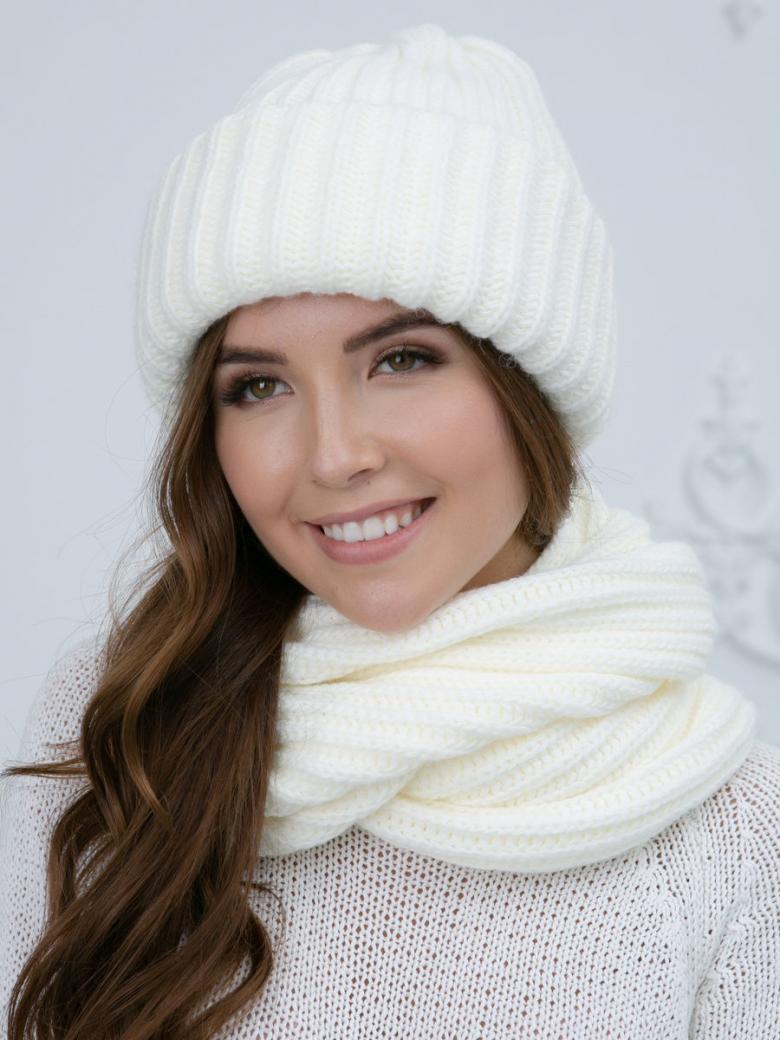
Two-color sweater for a baby
A beautiful sweater for your child will be a great accessory for trips to kindergarten.
To work we will need:
- Needles.
- Yarn of two colors (choose yarns with 50% acrylic and wool).
- Ready-made patterns or centimeter tape.
- Decorative buttons.
Step-by-step scheme-guide for the master:
- Take all necessary measurements: back height, chest circumference, neck circumference, sleeve height, shoulder circumference.
- Make patterns according to the results of measurements.
- You can use ready-made templates, downloaded from the Internet.
- For the sleeve, calculate the armhole and the depth of the ovate.
- Knit the piece along the halves of the parts, then knit together with knitting needles.
- Knit the front of the sweater. Dial the required number of loops (according to the patterns), work with a regular stitch with alternating 2 right and 2 wrong loops. The rubber band ends after 4-5 cm.
- Switch to the English knitting technique. Work the "lazy" method, which we reviewed earlier.
- Knit the right half of the front in one color. Reaching the neckline, according to the pattern we make a collar neckline.
- The left half we knit mirror, with threads of a different shade.
- When working on the back we change the yarn in places so that when assembling the product we have a staggered arrangement of colors.
- The sleeve is knitted as a single sheet, which will then be joined with stitches.
- After assembling the parts we will hook and make a hem on the top edge of the neck.
Comfortable and warm sweater for your baby is ready!
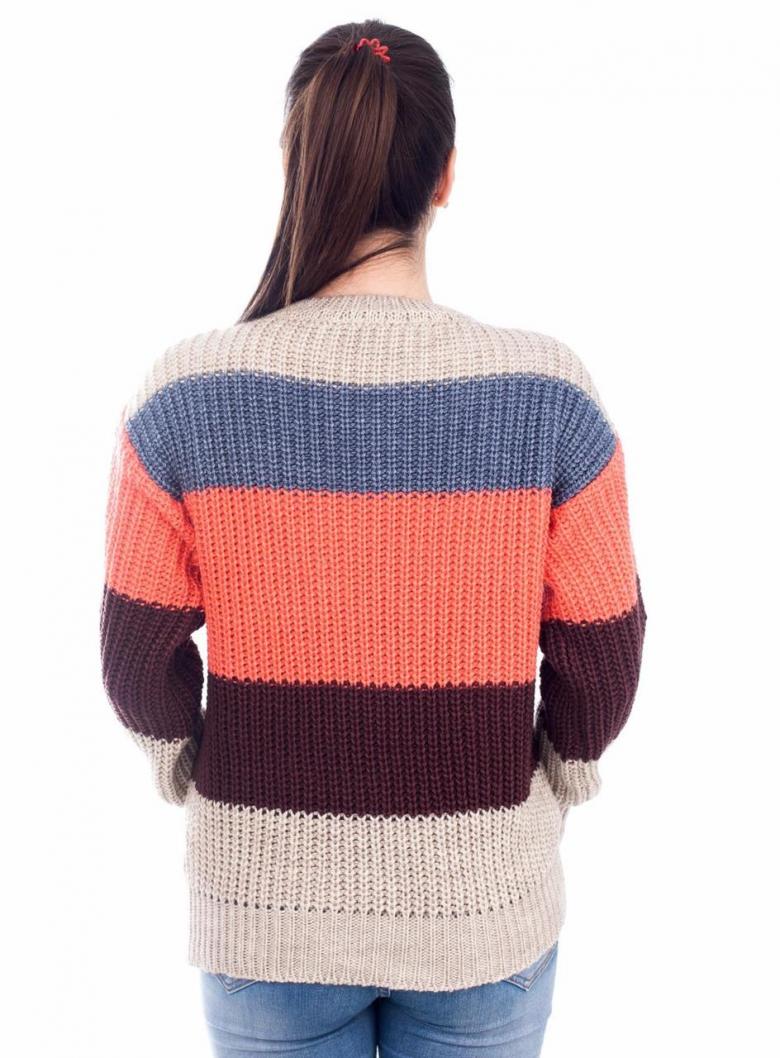
A soft pillow made of English elastic
Today we will take up not only the creation of personal closet items. A little time in our master class will be devoted to the creation of decorated items. Soft and comfortable pillow from the English elastic band will bring an exquisite zest to your home.

To work we will need:
- Yarn.
- Needles.
- Material for the fabric base.
- Thread, needles.
- Filling.
Step by step instructions for the master:
- Let's prepare the fabric base: sew the cover, fill it with stuffing.
- Measure the future of the product and transfer the results to paper. Prepare patterns.
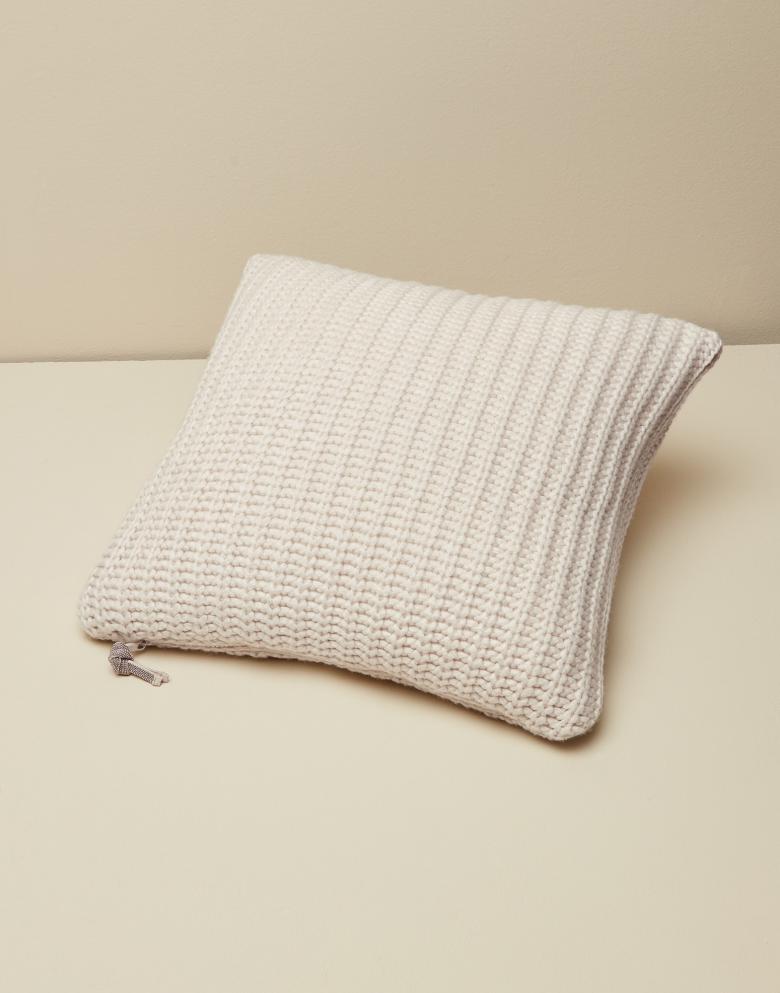
- We gather the necessary number of loops. Knit a "fake" English ring (see the diagram above).
- The easiest way to knit a single fabric that exceeds our fabric base by 3-4 cm.
- Join the knitted "pillowcase" at the seams, tuck the blank into it. Close the last seams.
Soft pillow to decorate your home is ready.
English knitting is not only an easy and convenient technique, but also a cool hobby. Practice creating the simplest patterns, and then bravely get to work on original accessories. All you need is determination and a dash of inspiration!

