How to draw a vase in a step-by-step pencil - features drawing, tips, photo ideas and examples
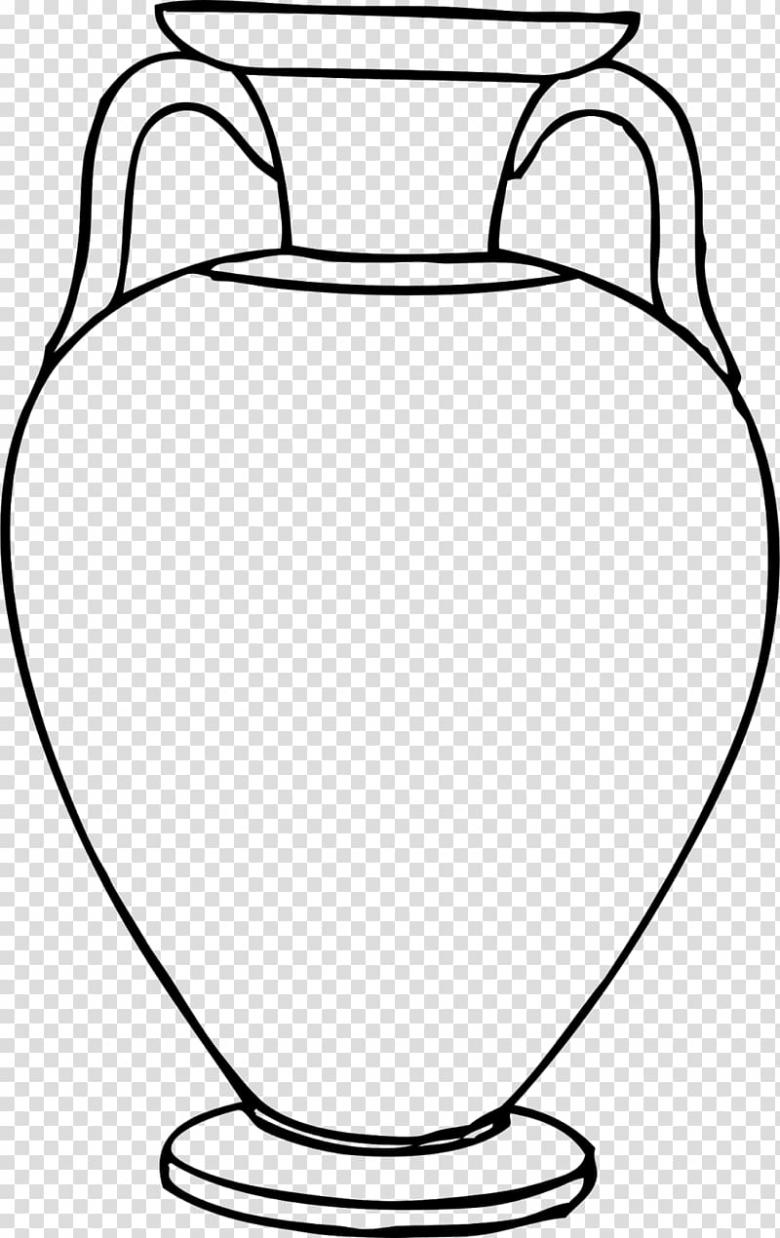
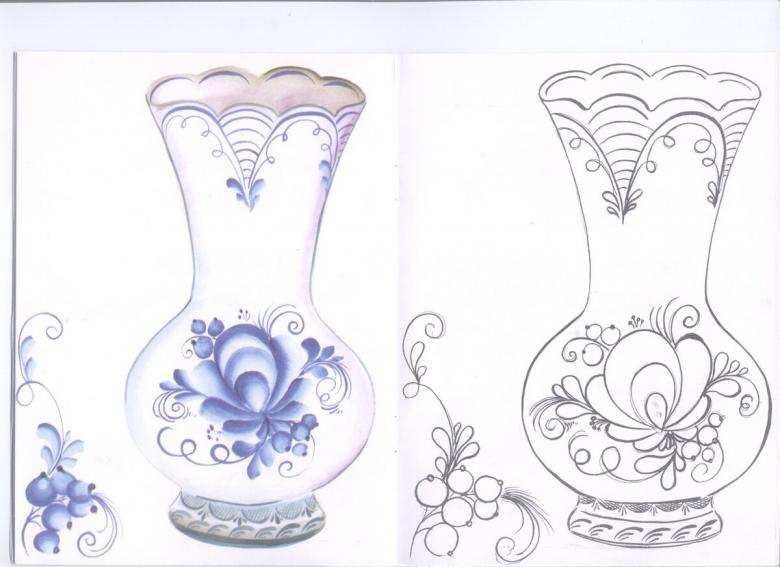
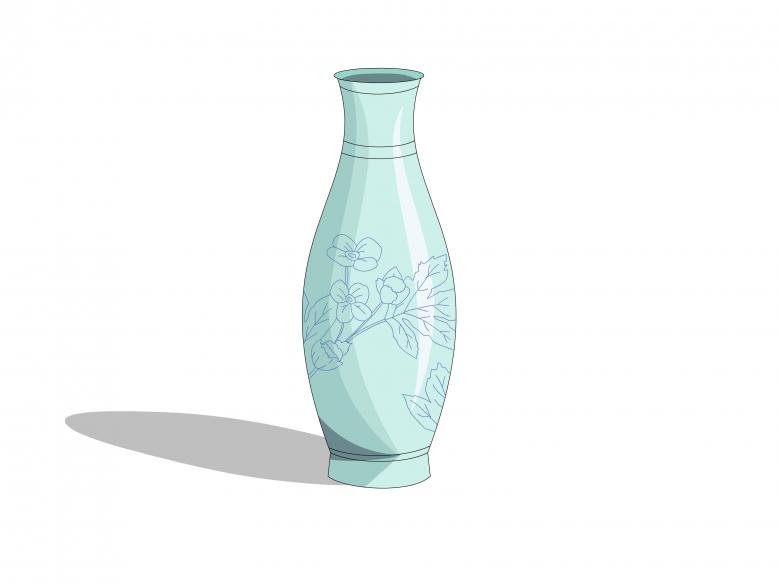
Drawing a vase is a fairly simple image, which is important to work out, so that in the future not to have problems with the transfer of shape, symmetry and perspective. On it you can work out the transfer of shadow when the source is positioned on different sides.
What to prepare for the drawing?
Before creating a drawing, you need to prepare the following materials and tools:
- A set of pencils. It is not necessary to limit the work to one or two pencils. Only working with several at once, of different hardnesses, will ensure a good drawing that is as believable as possible.
- Colored pencils are also used - they should be of high quality with a soft lead of intense pigmentation. There are watercolor pencils on sale. They are used for drawing in a standard way, and then a brush soaked in water smears the image, achieving a watercolor effect.
- A soft and thick eraser.
- A ruler is needed to mark the image. Professionals will be able to divide evenly, beginners will not be able to do it immediately. It is desirable to use a tool.
- Watercolor or gouache to create a colored image.
- Brushes of different thicknesses.
- And necessarily high-quality paper. If professional training is planned, it is necessary to buy special paper for pencil drawing for sketching, and for working with paints appropriate sheets. Only they will allow you to distribute the paint correctly, and it will not blur.

How to draw the outline of a vase with a simple pencil - step-by-step steps
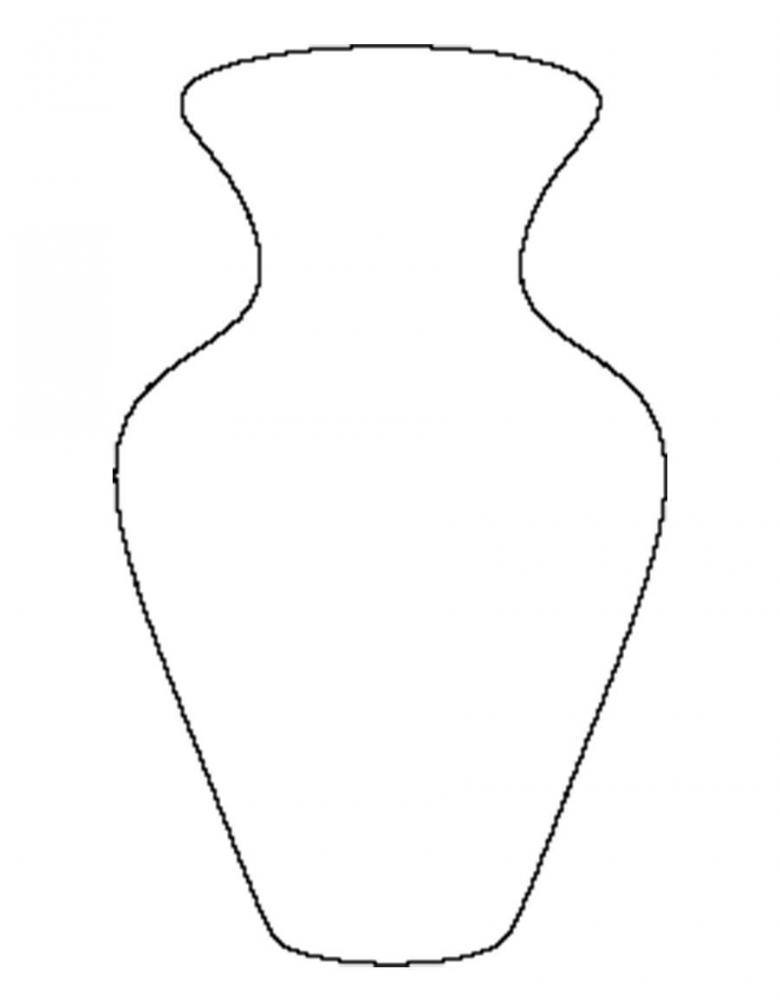
To learn how to draw a vase, you need to consider all the steps step by step. Here's what they are:
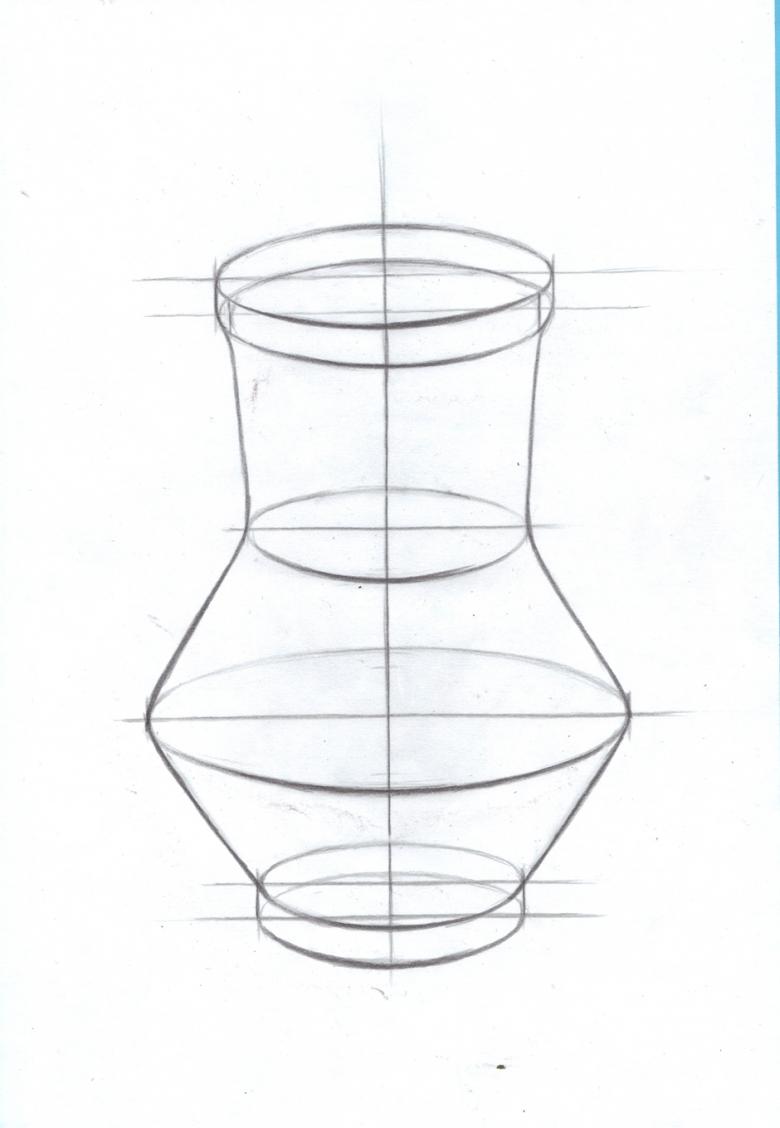
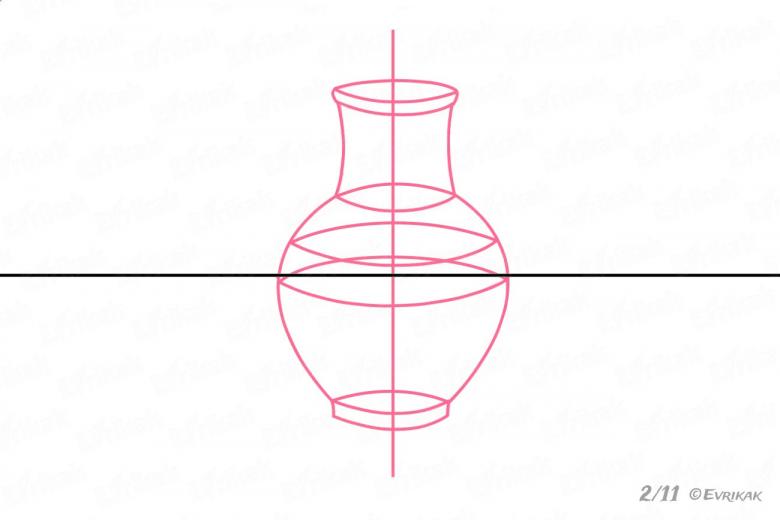
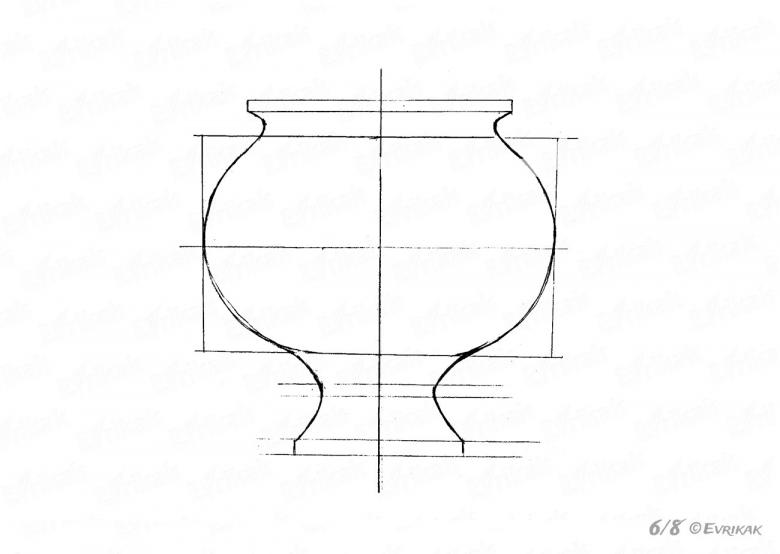
- You need to start with the vertical and horizontal lines that divide the drawing.
- Cut off the height and width of the future product. The height simply fixes the position of the bottom and neck relative to the rest of the plane of the leaf. The width will create the image of the future vase. It is important to decide at this stage how much thicker or wider the neck will be than the bottom.
- Determine where the neck will be located and mark this position with a vertical line. Also mark the width - the basic proportions and future outline are set.
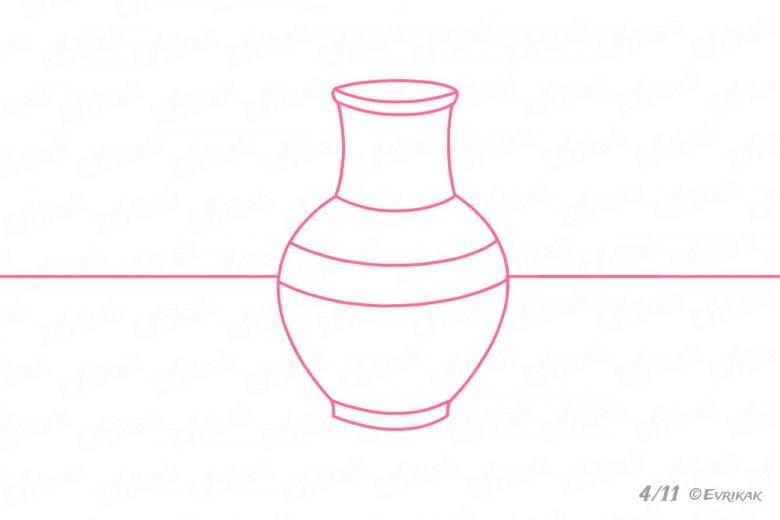
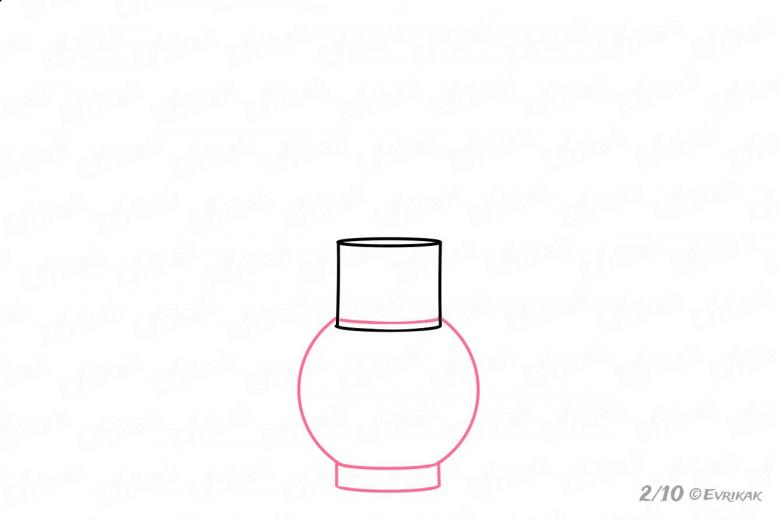
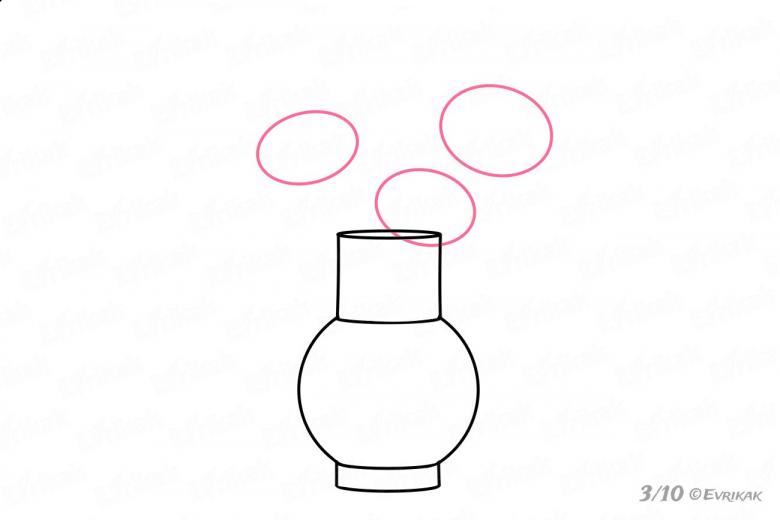
- To outline the object, it is necessary to start drawing ellipses with a pencil. The line is made smooth and symmetrical relative to both the vertical and the horizontal. It is necessary to do it not with one solid line, but it is better to take your hand off the drawing, applying short strokes. This will make a more beautiful right oval.
- The resulting three curves - closed shapes, you will need to connect them in such a way as to obtain the outline of the vase. In this case it is worth immediately to determine how much will be the most convex parts. And make sure that the two sides of the curves were symmetrical.
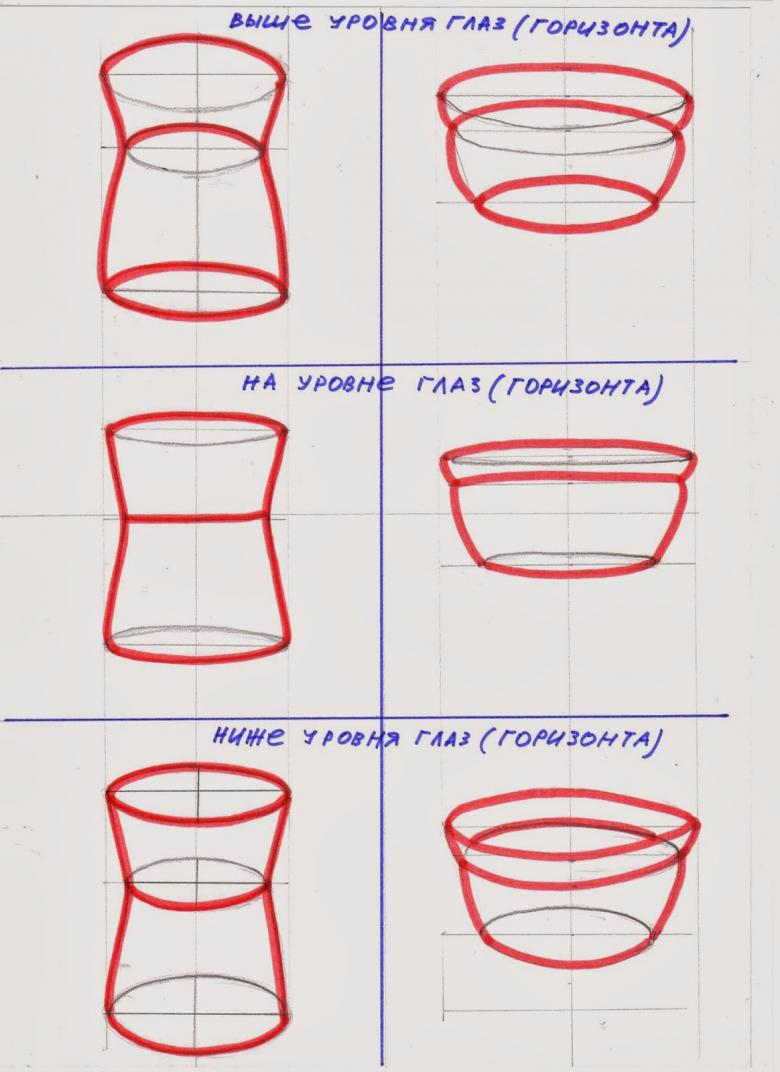
Putting shadows
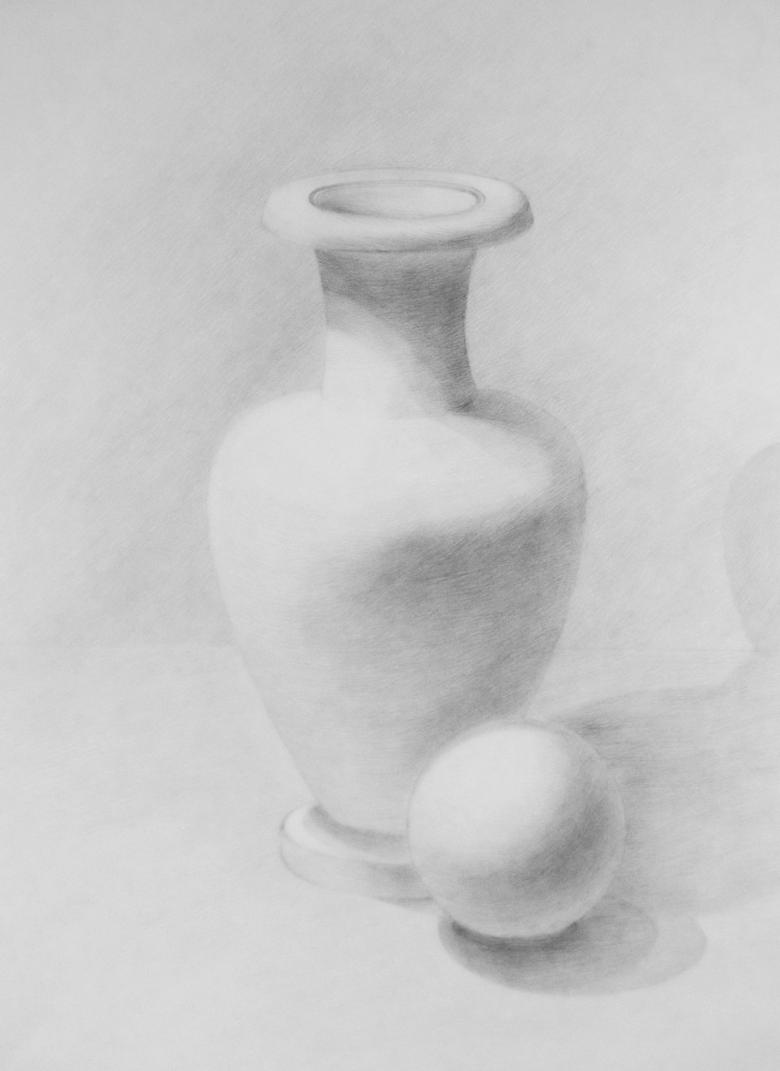
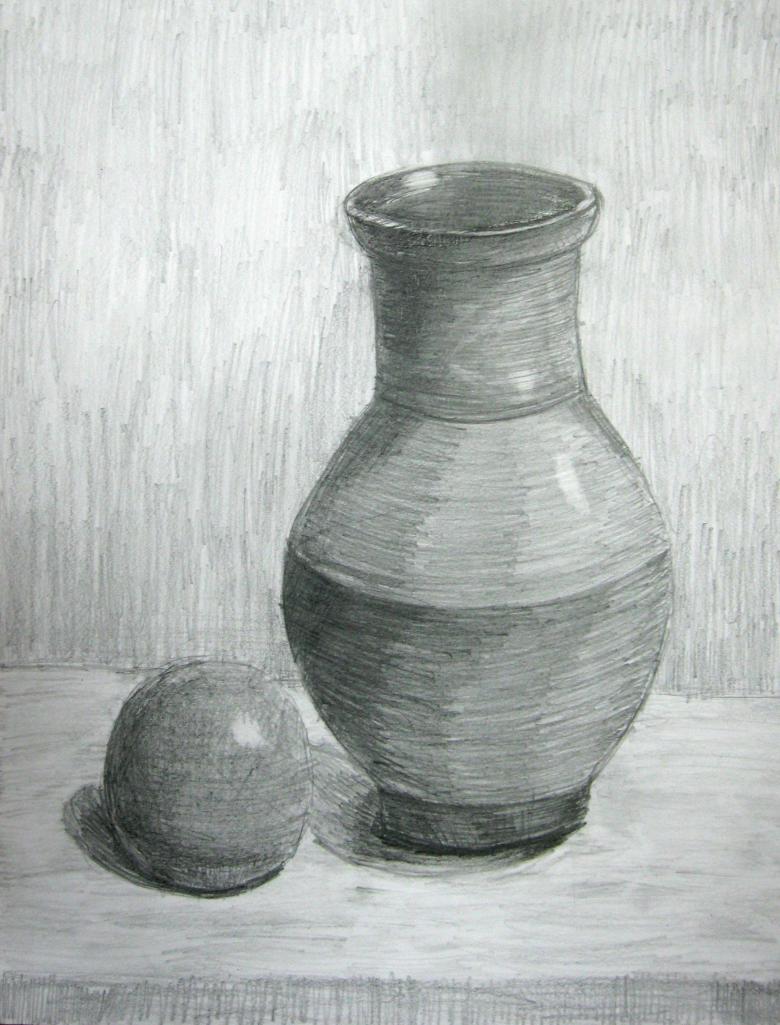
Once the outline is obtained, it is necessary to fill in the interior of the vase with lines, to give a sense of the material from which it is made.

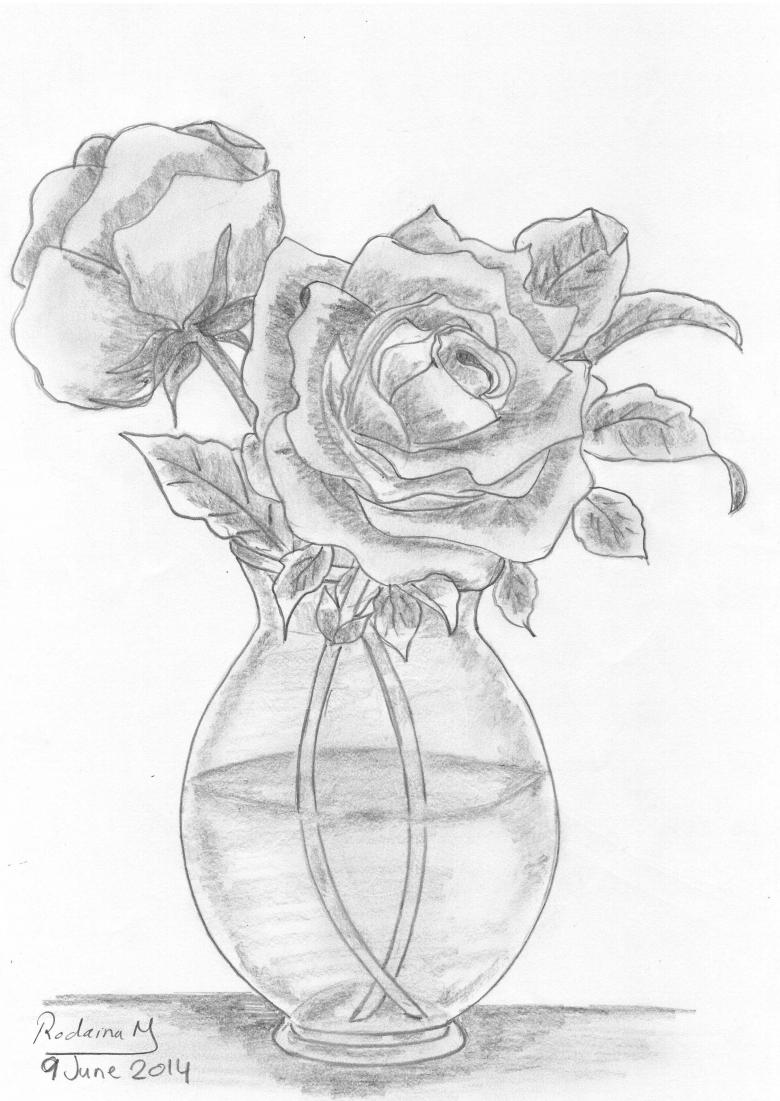
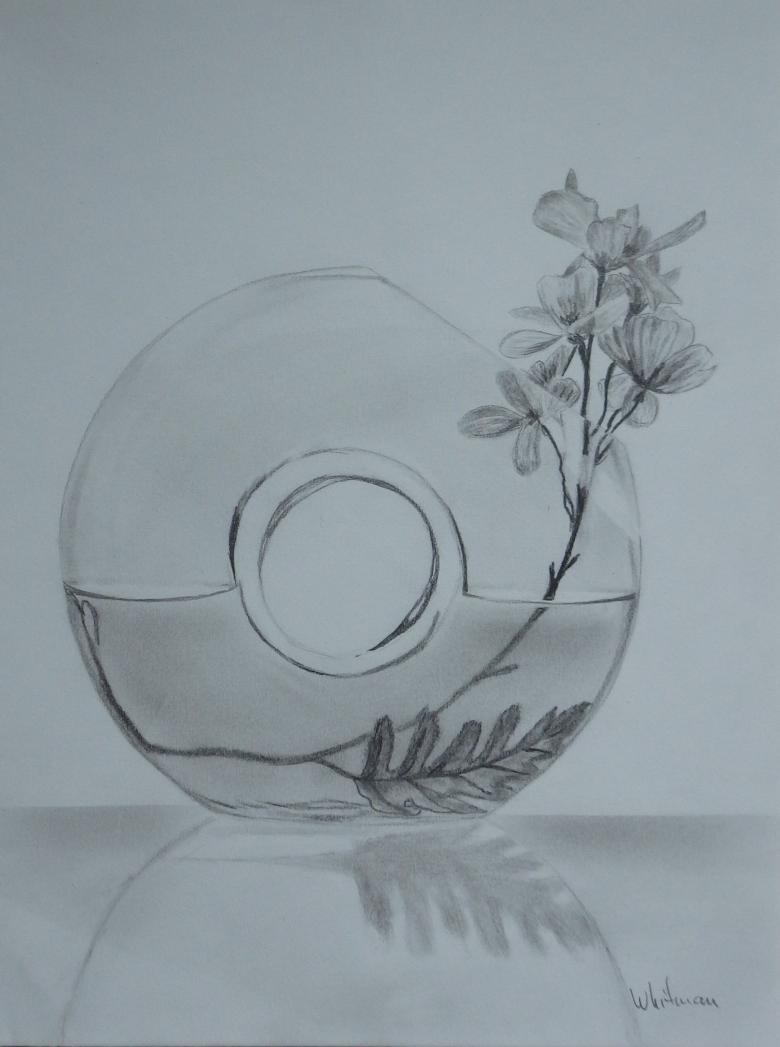
This is a painstaking stage - you need to make the drawing not only beautiful, but also correct. Take into account that glass is a transparent material, which forms on its surface a lot of glare and reflects objects. Transfer is not so easy, so it is better to heed the following tips from the master class:
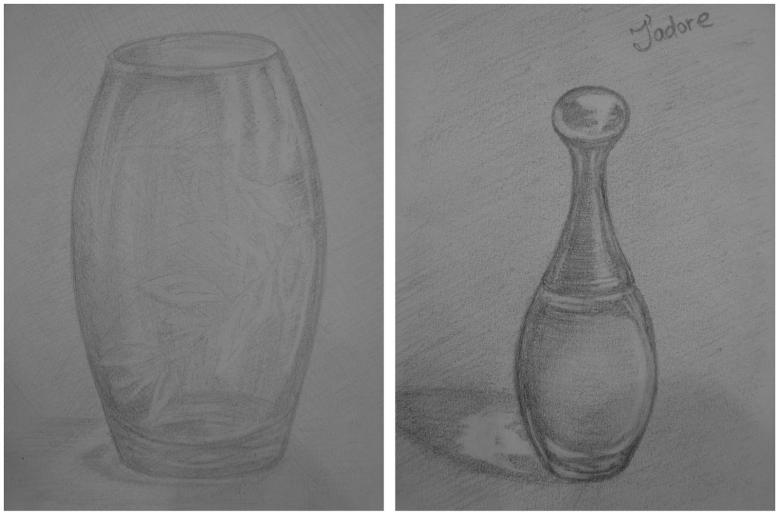
It is necessary to look closely at the real object and direct the light to one side. Immediately notice the protruding parts, shaded areas and glare.

To avoid drawing a lot of small elements, which are available only to people who have already had a chance to draw or to professionals, it is worth squinting your eyes. In this case, some elements will become more blurred. But the shaded and lightened areas will be enlarged. That's exactly in this enlarged position and they should be marked on your vase.
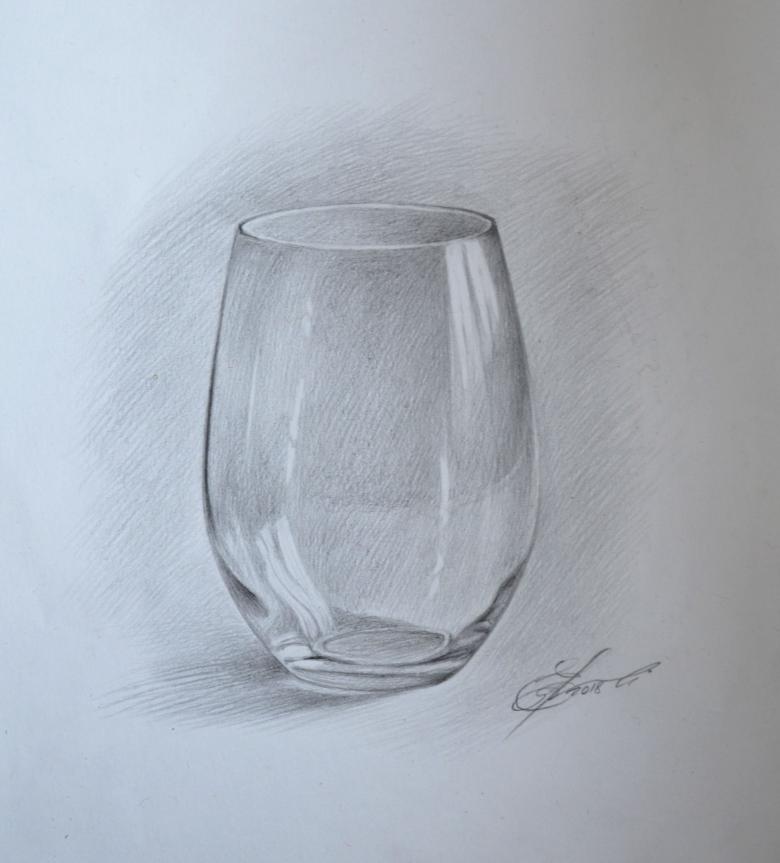
At the same time, the lightened areas are not touched and not filled with a pencil stroke. And those which have a darker shade, it is necessary to fill in accurately with a shallow stroke intensively bending a pencil so that it as though slid a lateral part on a paper.
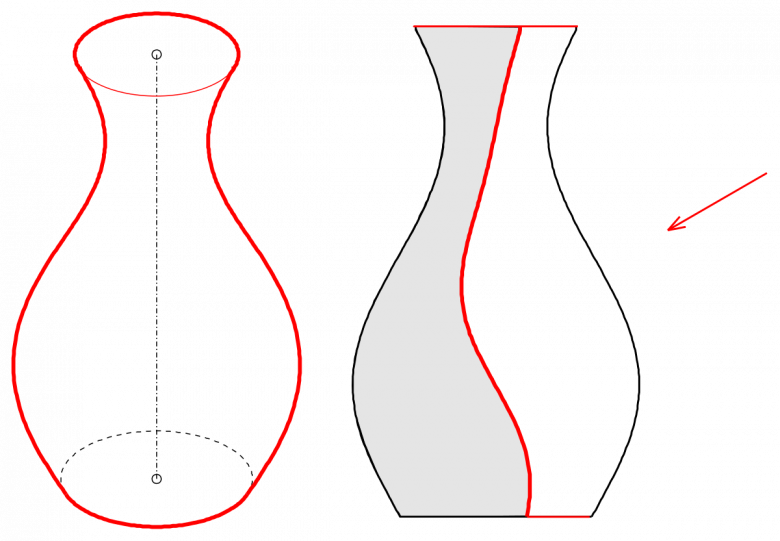
If necessary, slightly blur the more protruding areas with sharply drawn lines.
How to draw a vase for a child?
Always remember that a child perceives the world a little differently. He has not yet so well developed skills of spatial imagination and thinking, so it is not necessary for him to complicate the image of a vase. Therefore, for him the lesson is limited to the following actions:
- Draw a vertical line.
- Similarly draw a horizontal line of the bottom and neck, dividing symmetrically relative to the vertical.
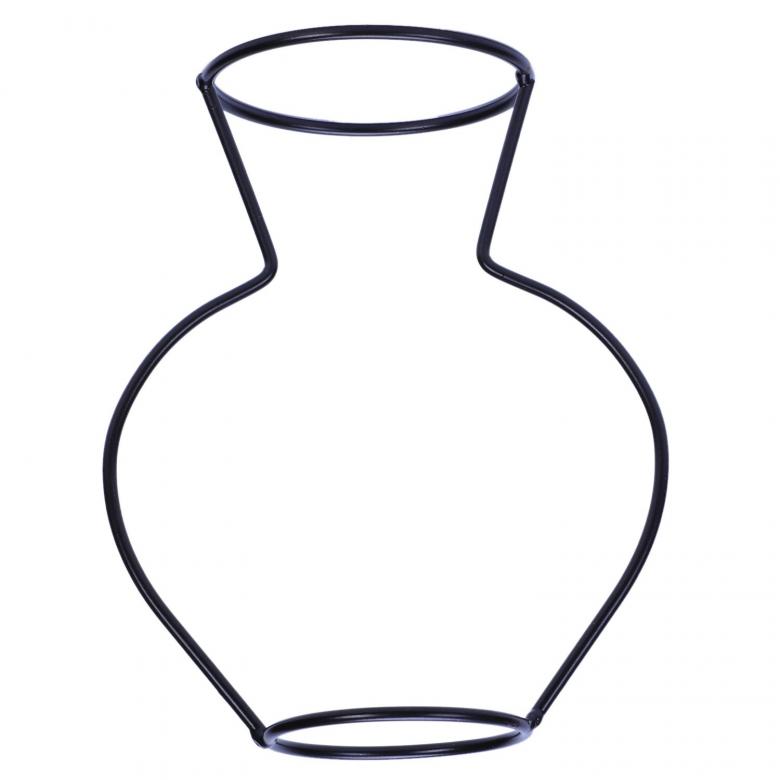
- Draw a line of the narrowest part of the neck - will help to correctly draw the line sketch.
- Draw the side lines of the vase. Lines should be made smooth, not pressing intensely on a pencil. So the drawing will turn out beautiful and natural.
- If a child is good enough with a pencil, he or she can draw ovals, which will limit the bottom and the neck. If the child is small, skip a step.
- Teach the drawer to relate periodically the drawing from the face upright and review how symmetrical both sides are.
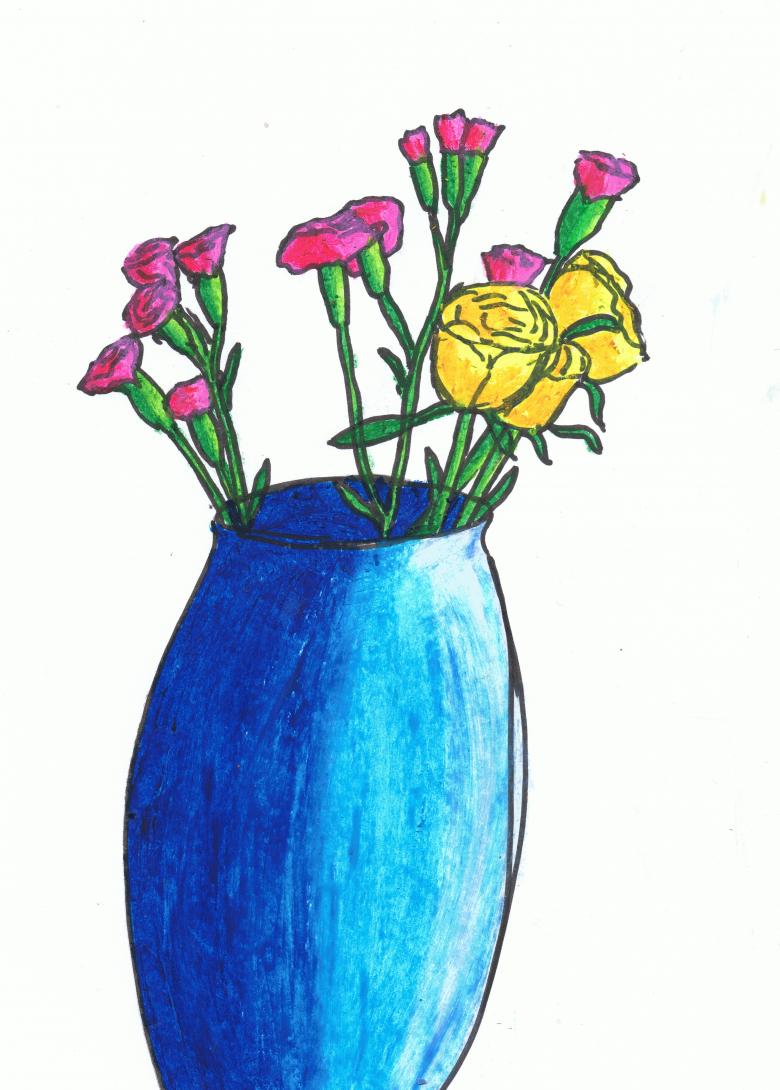
- Take a watercolor and, taking enough moisture with the paint, apply the pigment inside the outline. Try to distribute it unevenly. Note that the side exposed to the light will be light, while the opposite side requires more paint because of the shading. The same technique is used when using gouache.
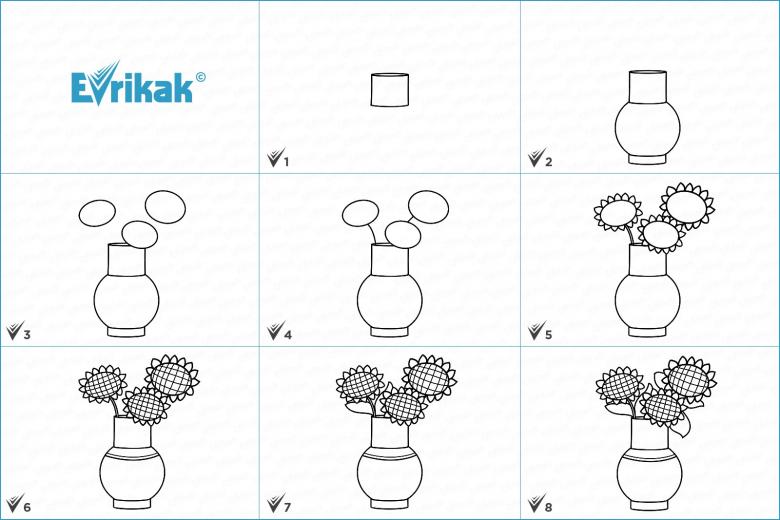
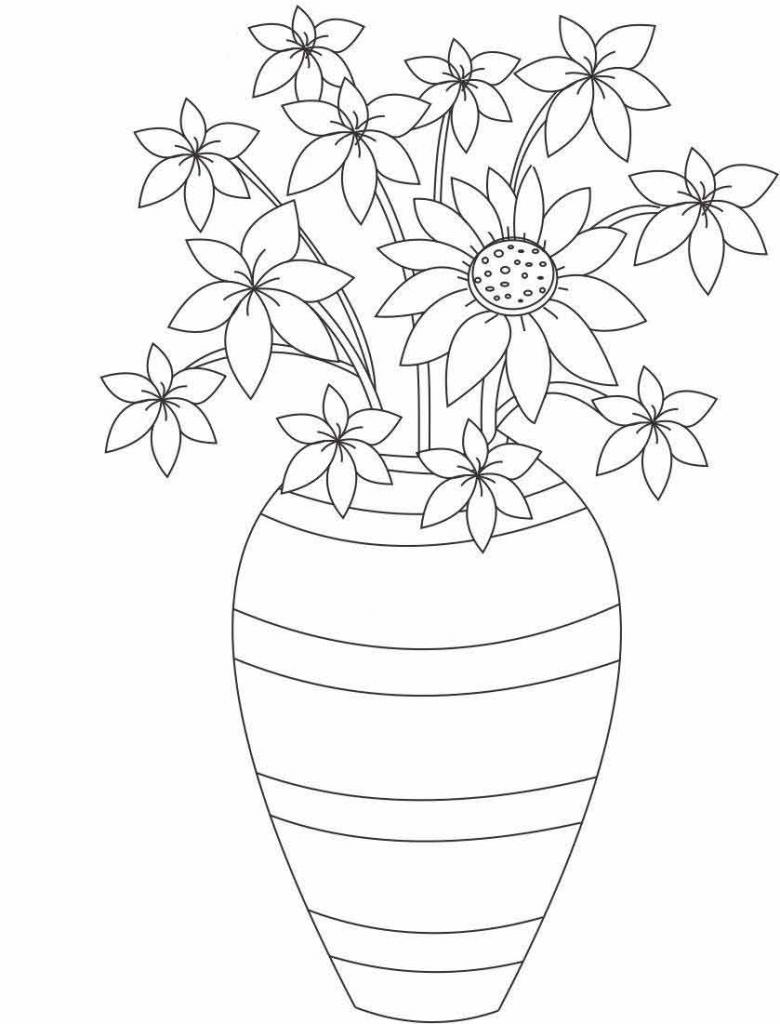
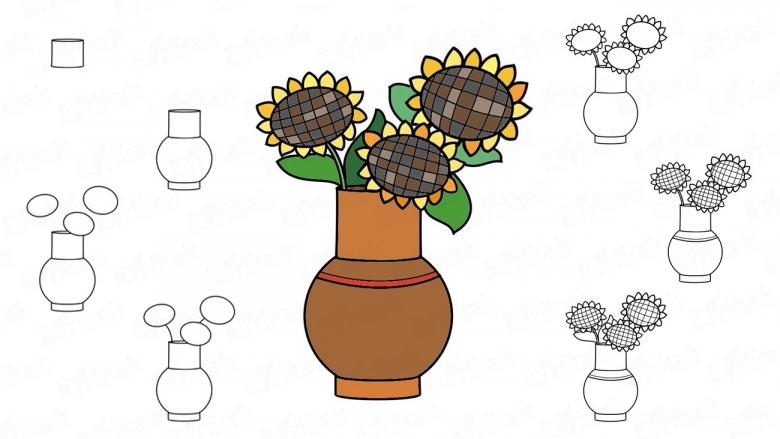
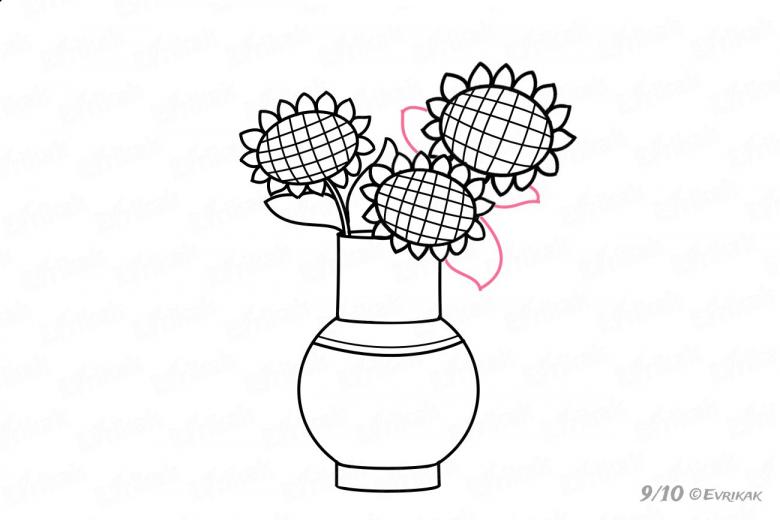
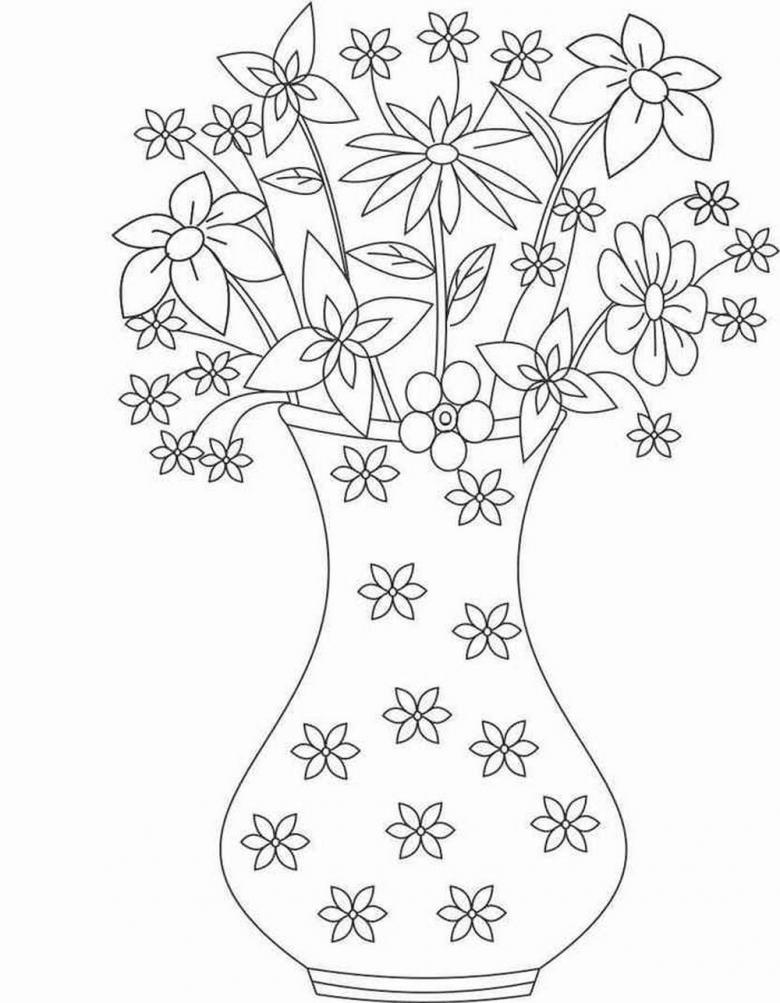
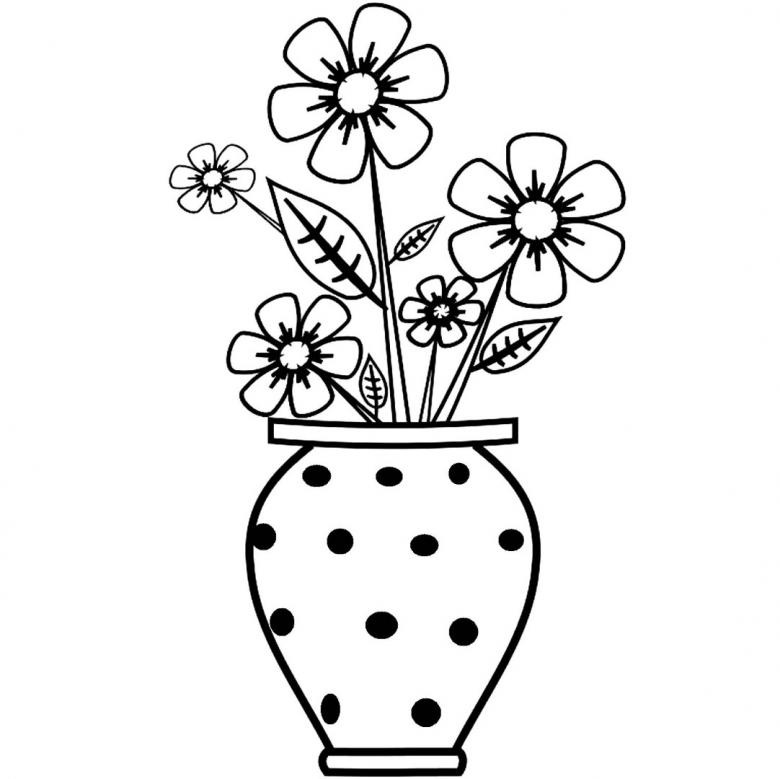
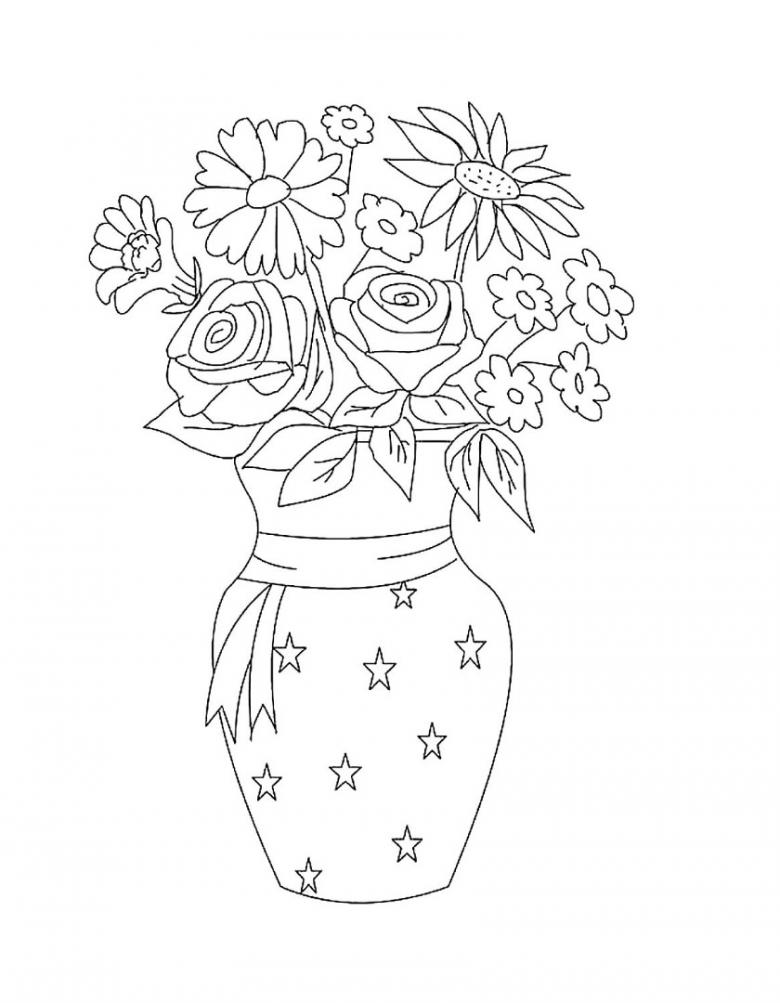
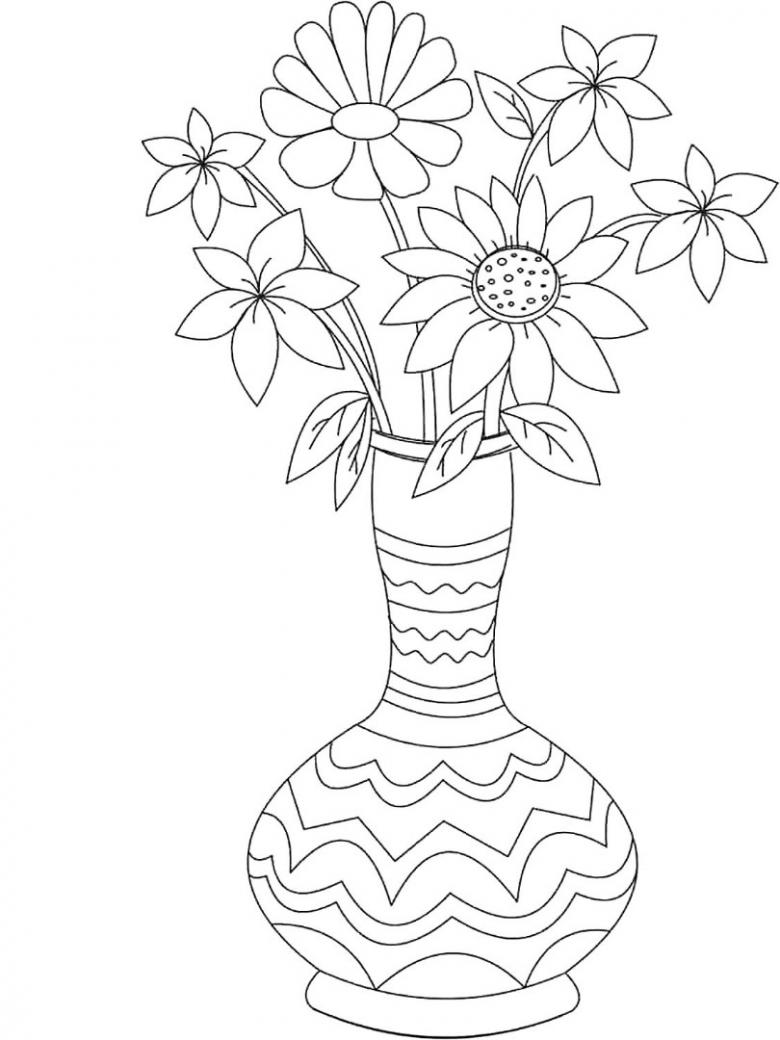
- If it is planned not just a vase, but a still life, draw a flower - one or more depending on individual preferences.
- If the object is glass, then take into account that the stems of the plant will be translucent. If this is done, the image turns out to be naturalistic.
- It is desirable to provide in advance whether or not you plan to depict flowers. After all, if there will be flowers or fruit in the image, the neck can not be carefully traced. And only then restore the line that will be visible between the stems or fruits.
Using these recommendations, you can learn quickly and easily enough to depict a vase.

