How to draw a fox step by step in pencil and paint - features, tips, photo ideas and examples
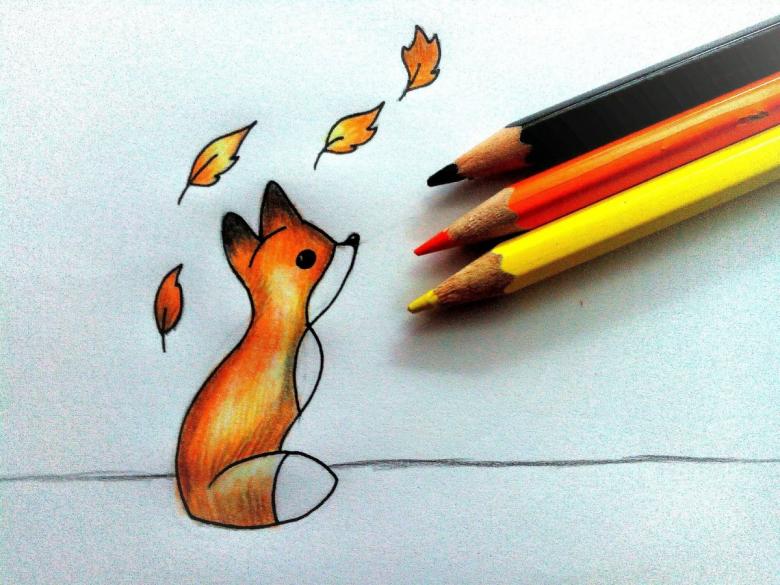
Children love to draw various animals and fairy tale characters. One of the favorite characters of children's fairy tales and cartoons is the fox. Parents can give their child a drawing lesson, in which the baby will learn to draw a realistic image of the animal with a simple pencil and a cartoon funny fox.
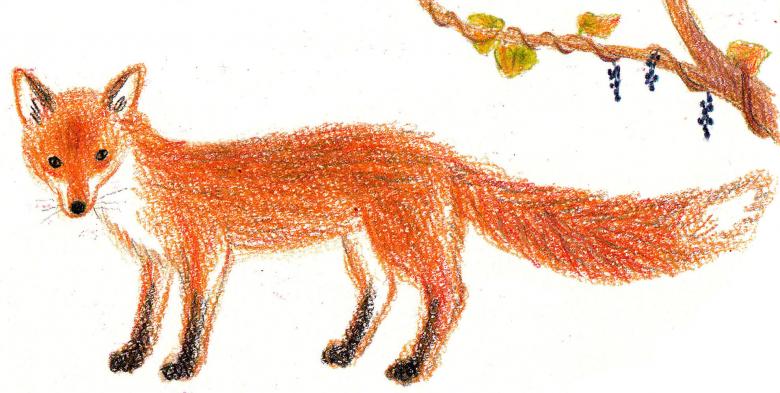
The fox is a positive character that any kid will enjoy drawing. Adult users can use as a methodological aid several master classes on drawing foxes in different forms.
Preparing for a drawing lesson
Parents should first study themselves how the drawing is created step by step, after which they will be able to explain the technique of drawing this animal to the child. Having mastered the sketching technique, it will be possible to create realistic and fantasy images of a fox and foxes.
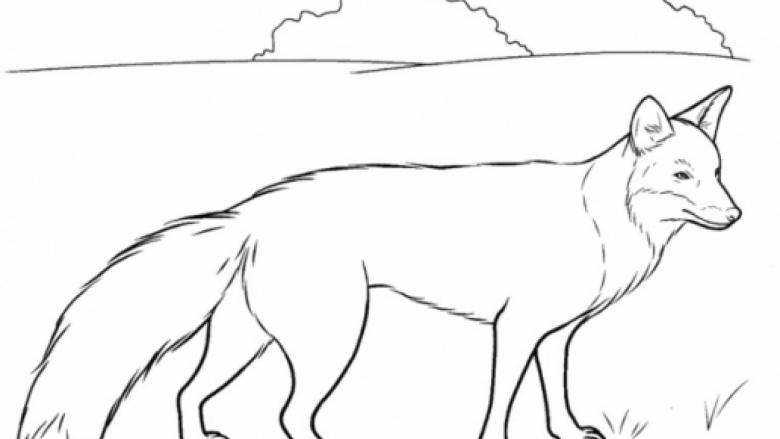
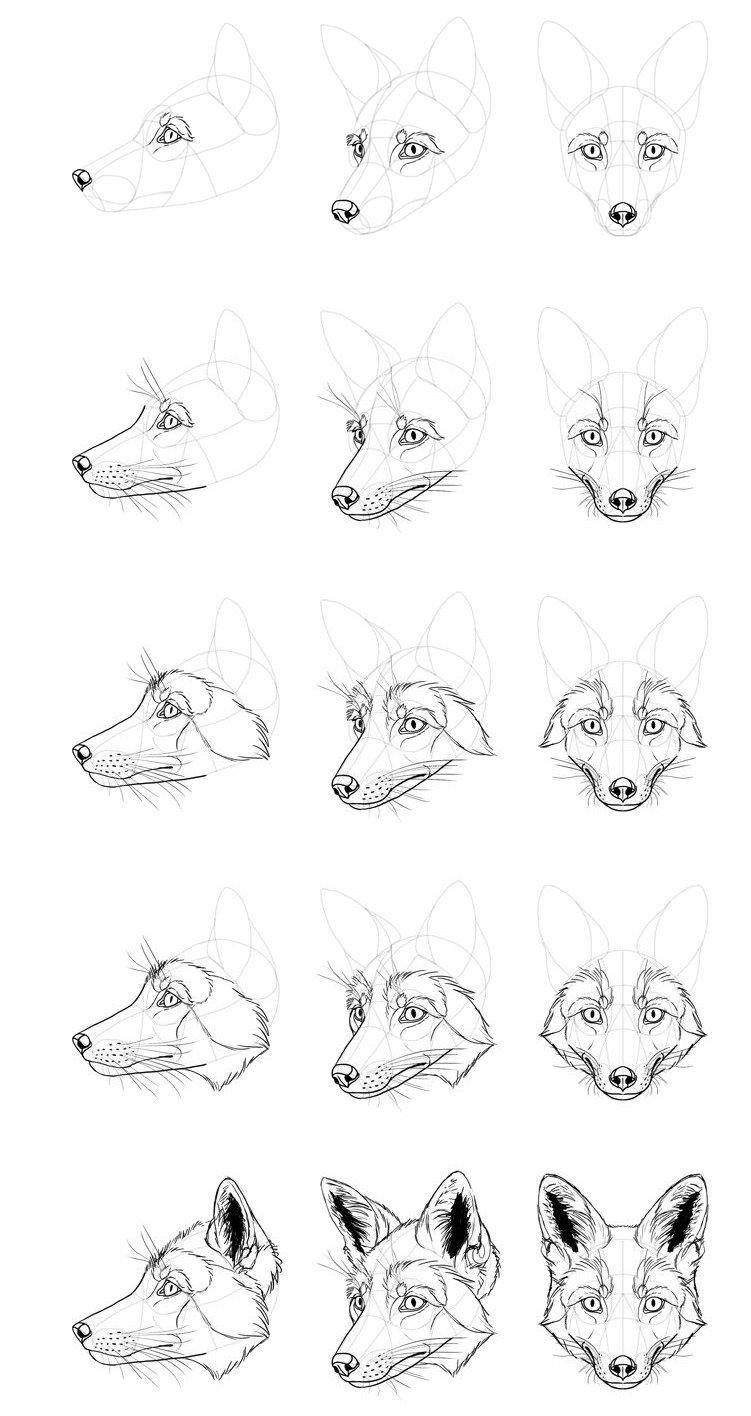
The basis of drawing is the same for all methods of drawing. The basis of the sketch is to create a step-by-step outline of the elements of the body and head of the beast.

The outline of fox parts is created with the help of geometrical figures, visually resembling parts of its body:
- polygons;
- ovals;
- rectangles;
- circles;
- triangles;
- squares.
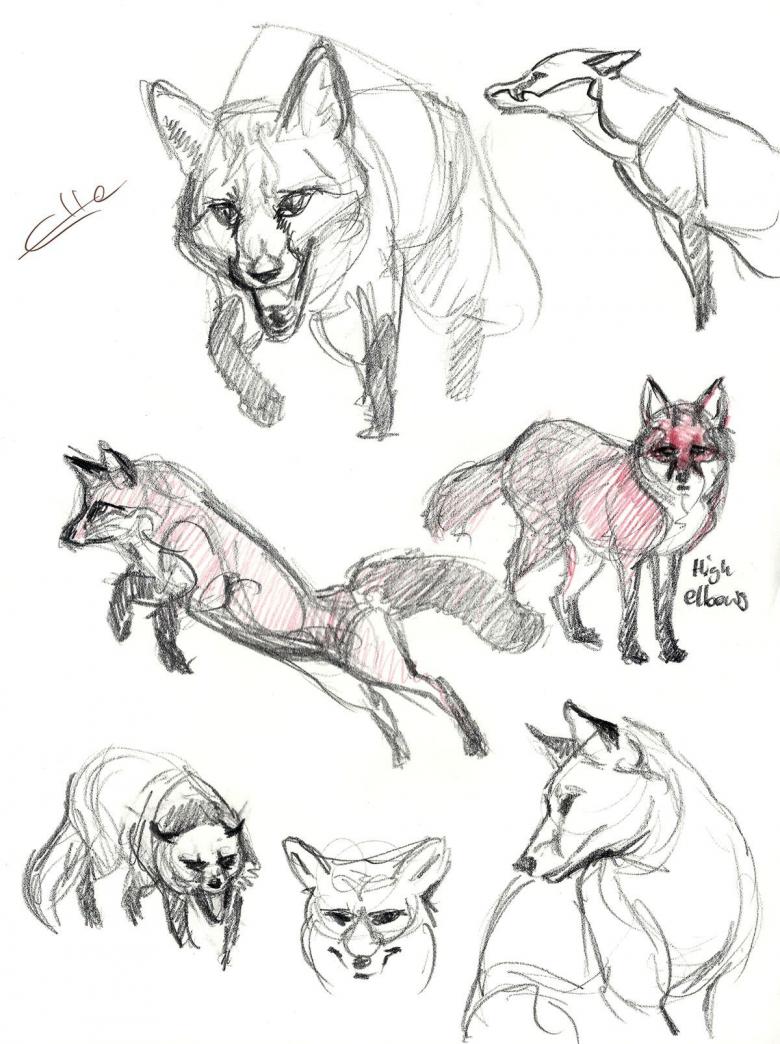
Tip! To make it clear which geometric shapes to use for the outline, you should put in front of you a sample image of a fox.

To create a drawing you will need:
- A white sketchbook sheet;
- a simple pencil to create a sketch;
- eraser;
- watercolor paints or pencils.
Below will be a few mater classes for drawing a fox.
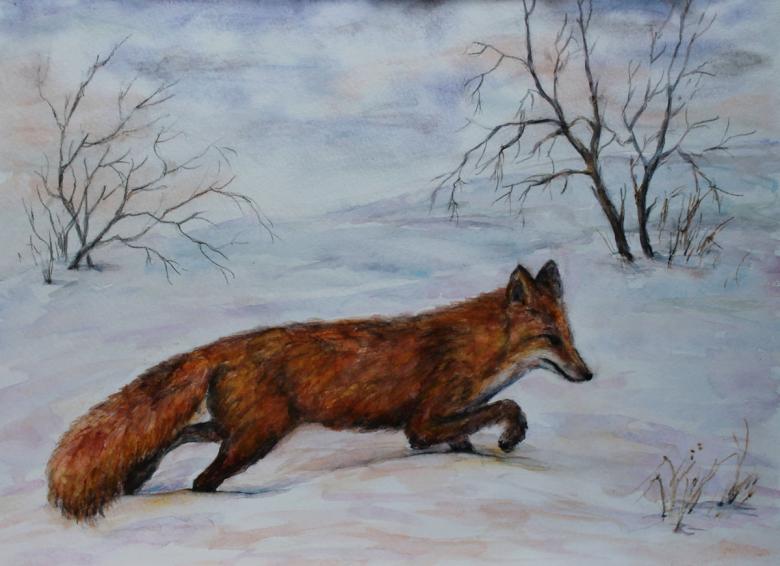
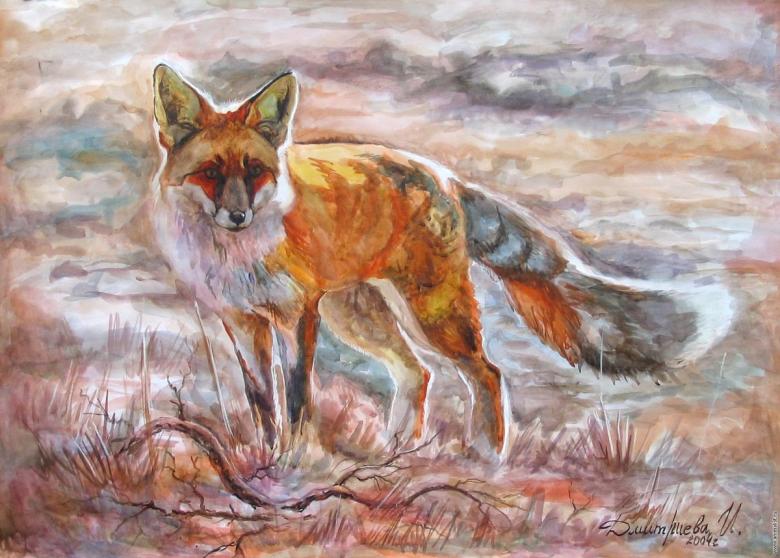
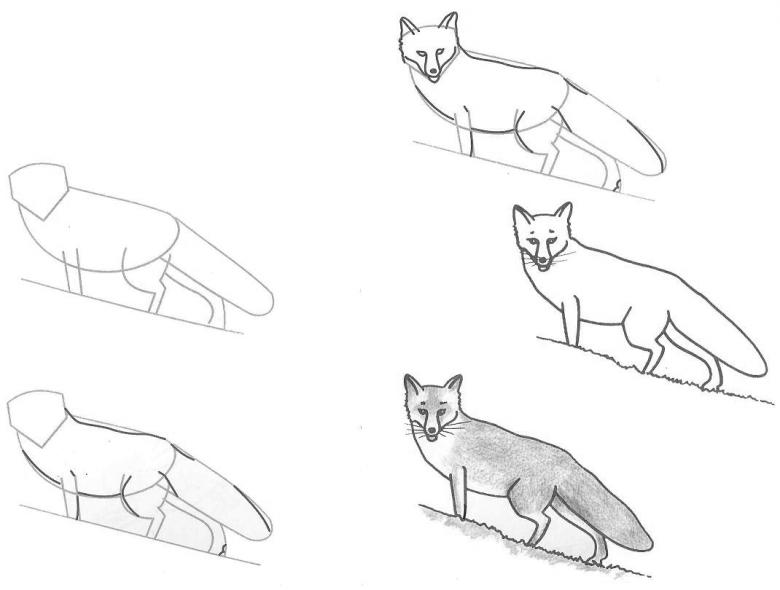
How to draw a realistic picture of a fox on the hunt
A child will be able to learn step by step how to create a drawing of a fox according to a clear scheme, first with a simple pencil, and then with paints.

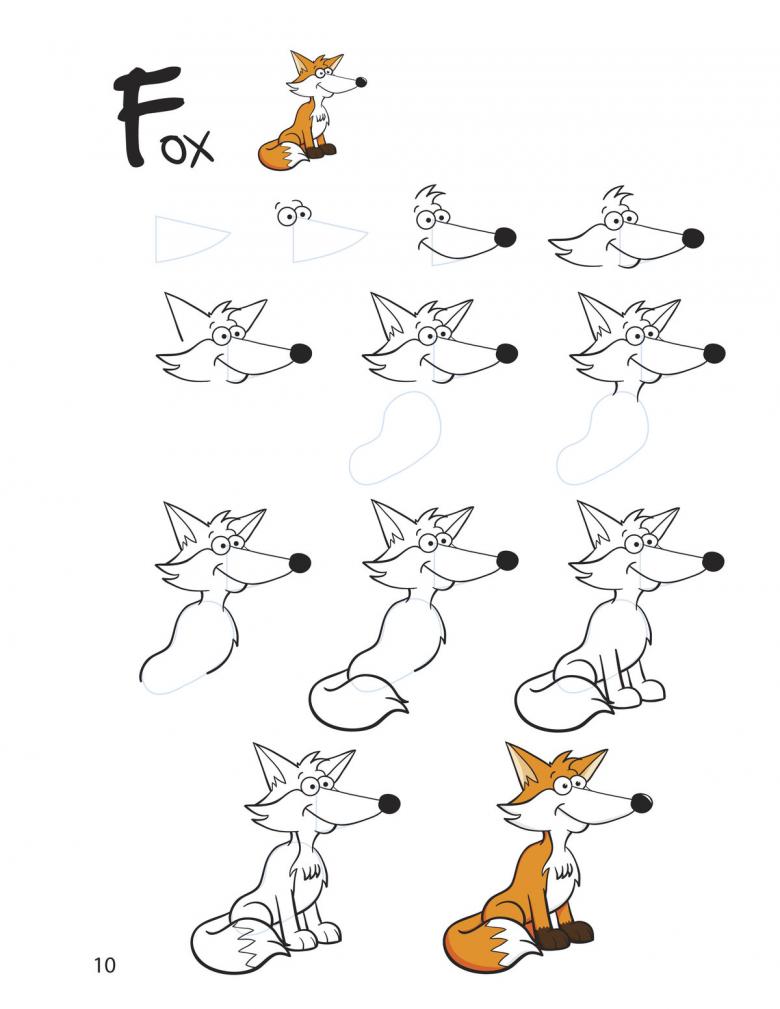
Drawing step by step should be according to the following scheme:
- Going to hunt the fox should begin to draw from the head, creating an irregular pentagon. Its triangular side will be the base of the muzzle, and slightly curved top - the back of the head;
- Then draw a horizontal irregular oval, part of which should overlap with the pentagon. The lower part of the oval must be convex and the upper part straight;
- From the back of the oval, a horizontal narrow rectangle with rounded corners is drawn. This will be the tail;
- At the bottom of the large oval near the head two straight lines, running parallel. These will be the front legs. For the front hind leg, draw a square with rounded corners in the tail area. Next to it you need to draw two parallel straight lines. And next to the tail one parallel line. From her to make two parallel short lines at an angle of about 90 degrees;
- On the head, draw two triangles, marking the contour of the ears;
- Draw all the elements with one common contour, drawing details, as in the diagram;
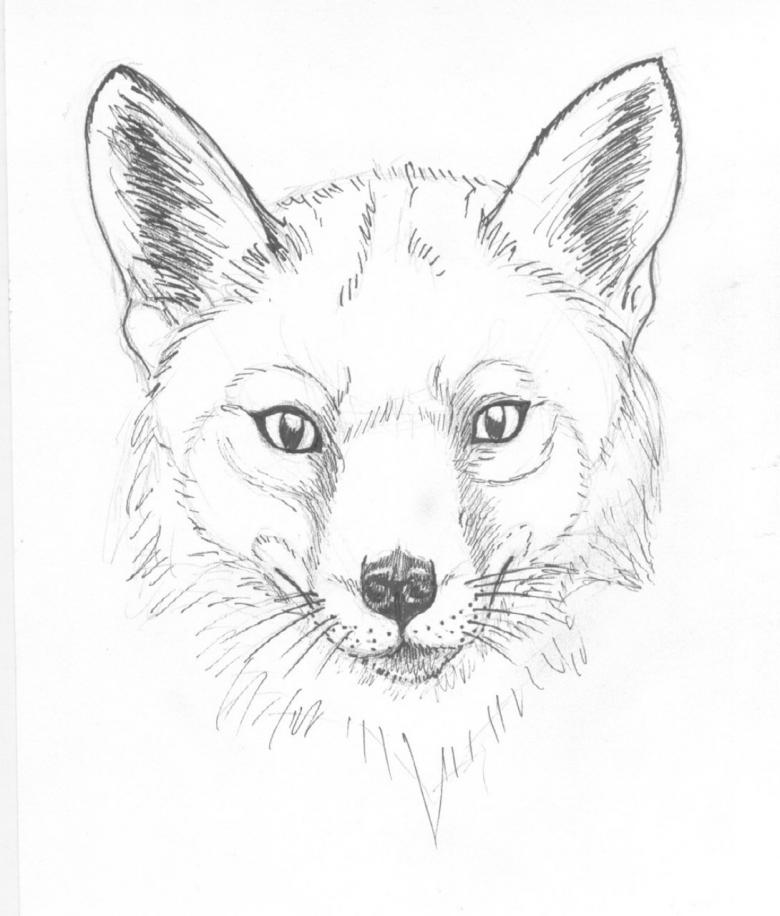
- draw the animal's face in the sketching technique;
- draw paws, tail and back;
- erase unnecessary parts inside the outline with a rubber band;
- Color red, white and black colors in the resulting drawing.
In addition to this technique, there are several other ways to draw a red-tailed fox.
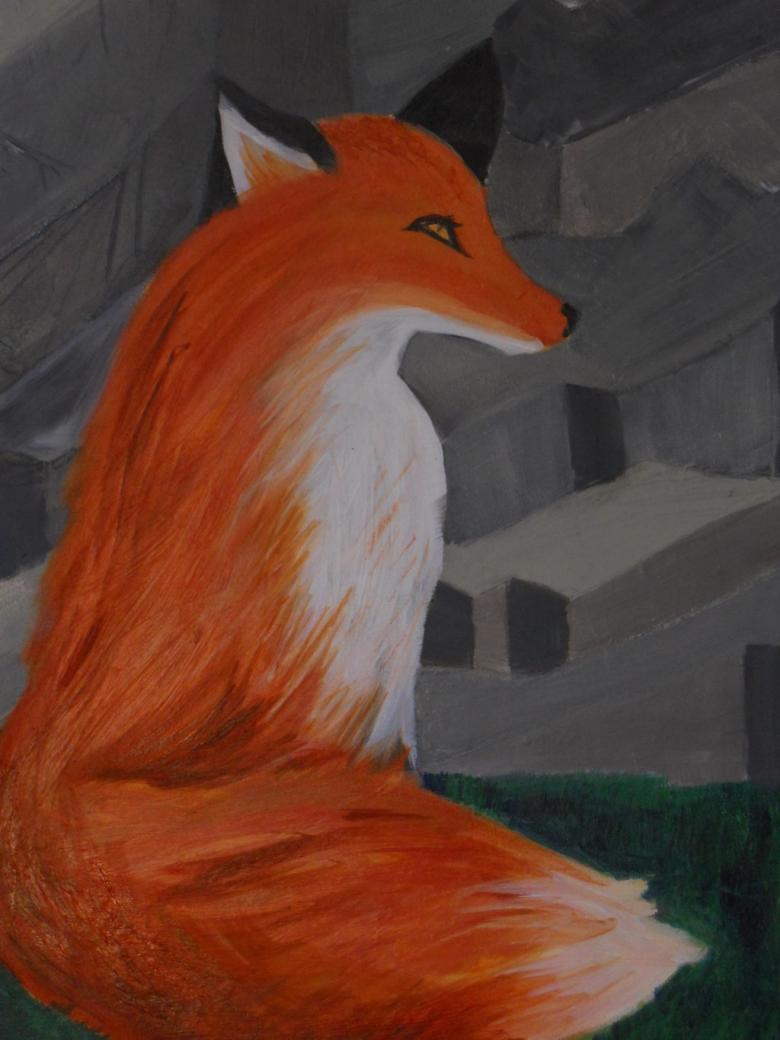
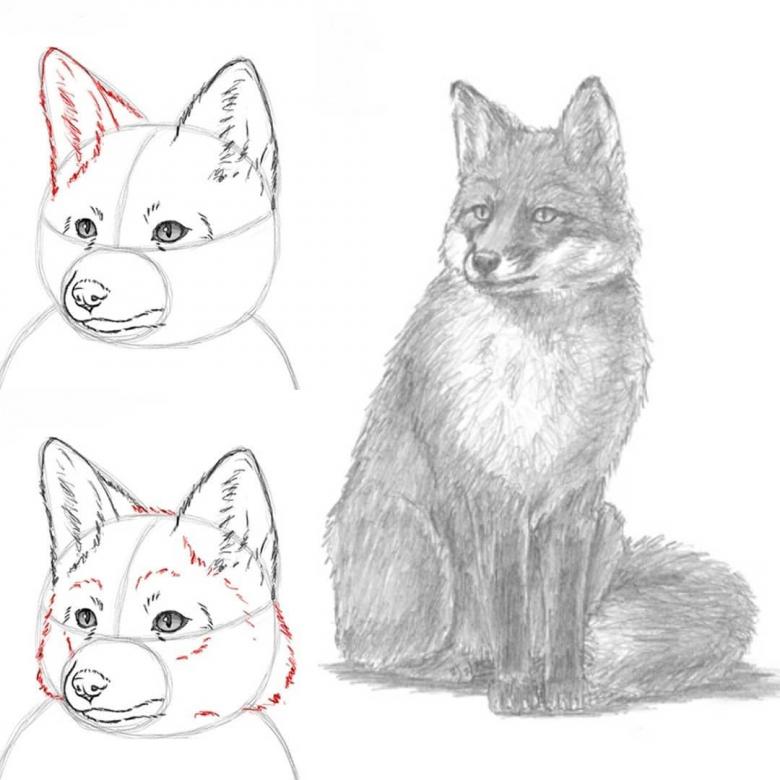
Realistic image of a fox, drawn on the basis of circles
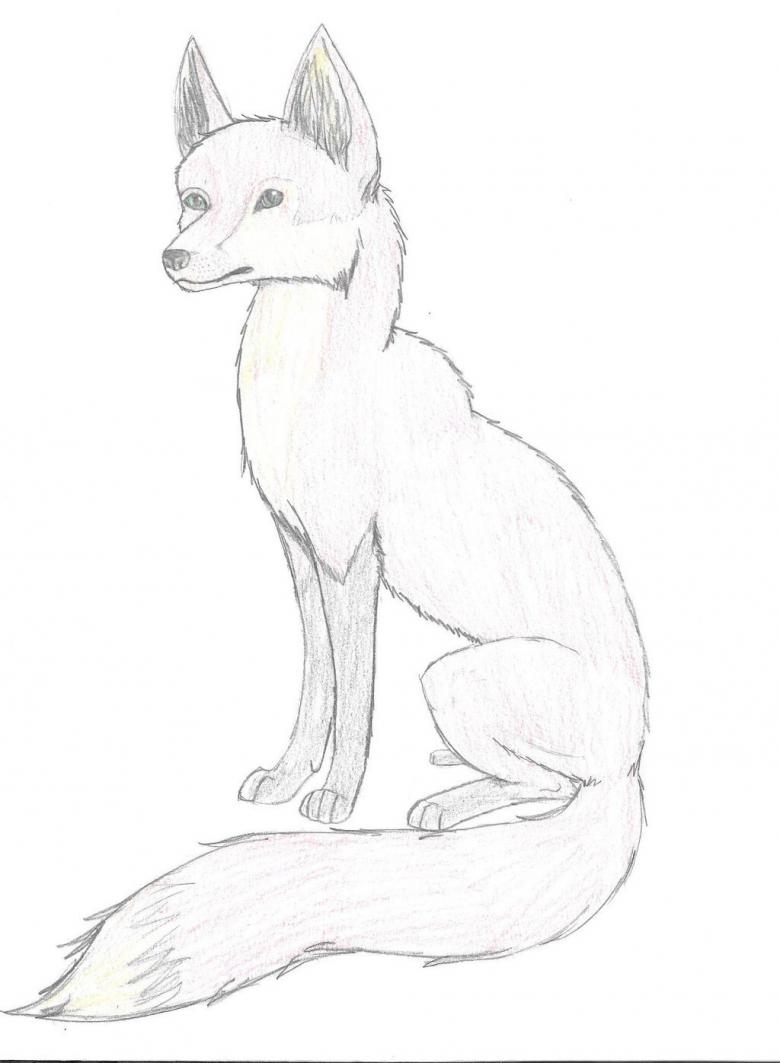
In the same technique, a realistic drawing of a fox with a large fluffy tail is created. Only for the basis of the body of the animal are taken circles and lines. A sheet of paper is attached to a board placed vertically. This is how real artists usually draw, positioning the canvas or sheet vertically.
Important! The fox in a standing position is quite difficult to paint, so you can first create a sketch, which will then be painted with paints.

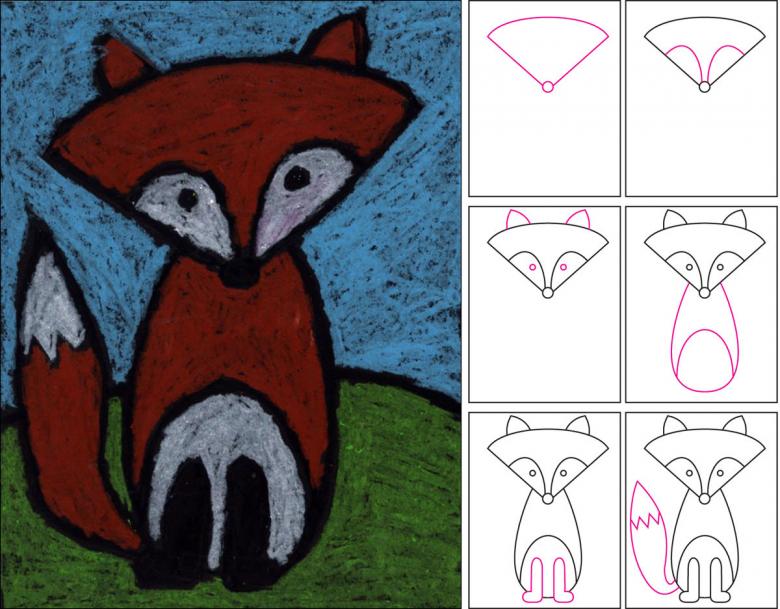
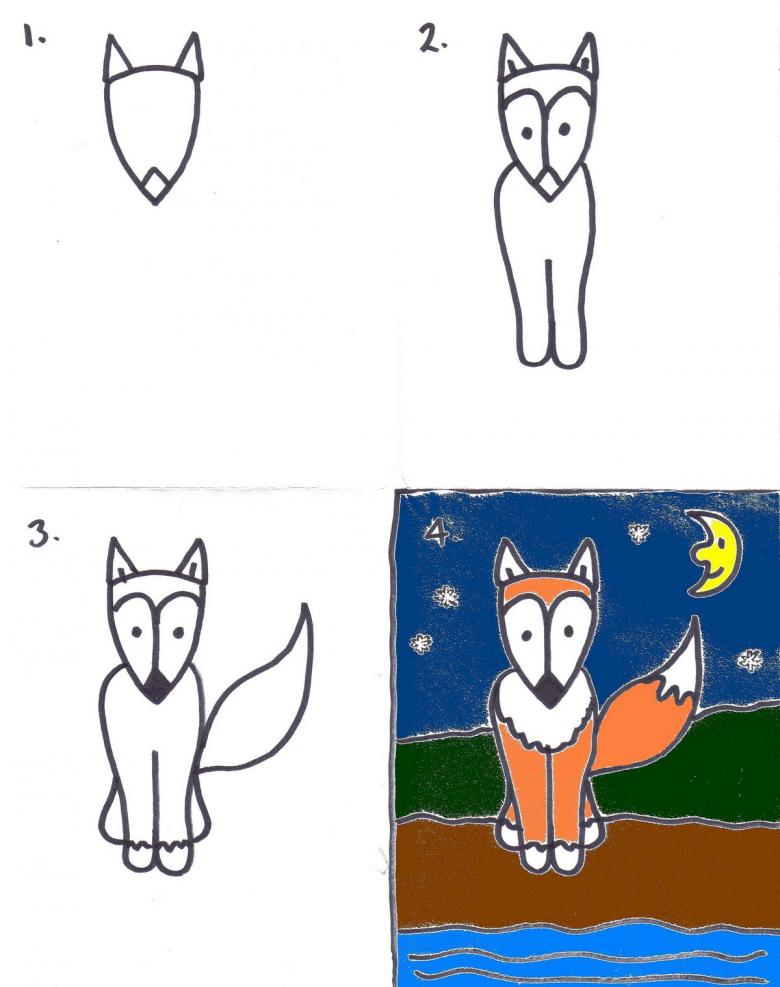
The step-by-step execution of the drawing consists of the following steps:
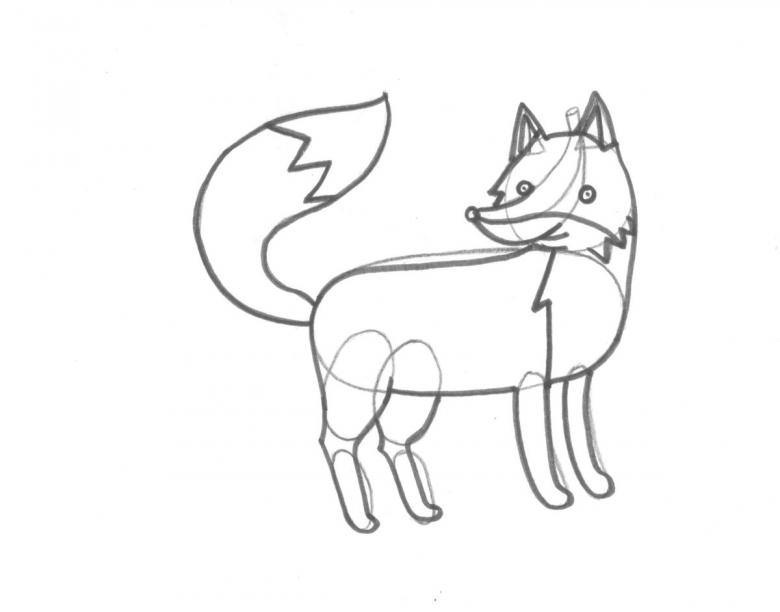
- Start with three circles, as in the photo, which should be of different sizes. The smallest circle is the head. It should be at the top. A big circle will be the front part of the body. A medium-sized circle will be the back part of the body of the red beast.
- Connect the small circle to the big one with a straight line, which should be the base of the neck.
- Draw lines depicting the paws of the fox in the technique of drawing from the original picture.
- Created contours are connected by strokes, fluffy tail is drawn.
- Traced muzzle, eyes and ears of the animal, the body traced paws.
- The drawing can be colored with paint if desired.
The photo shows a step-by-step sketch of a drawing of a red beast.
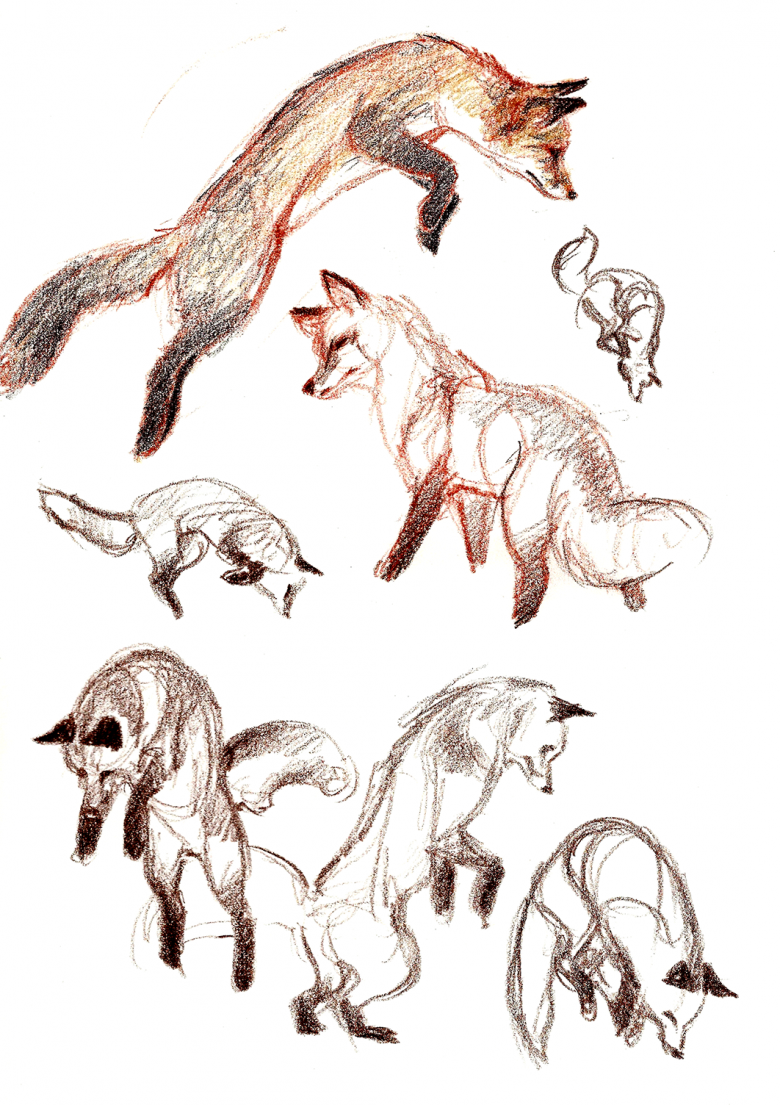
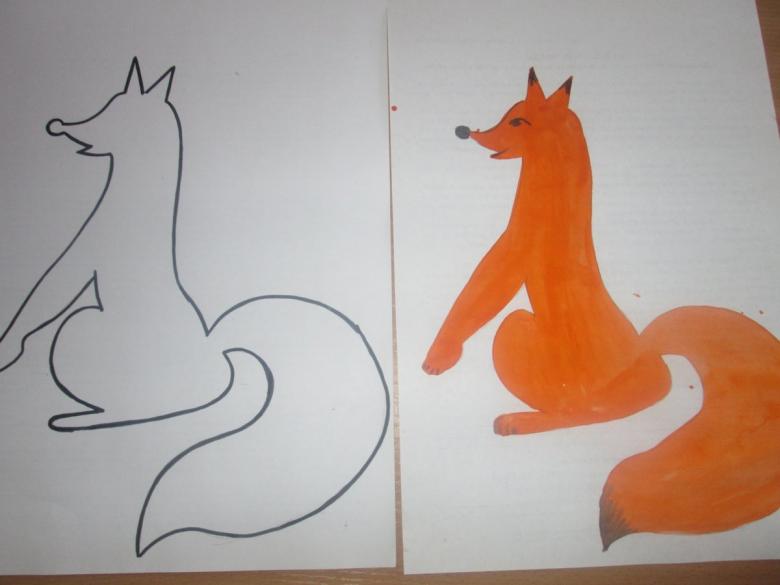
Drawing a fox with paints
When the sketch is ready, the paper is moistened with water with a clean brush and let it dry a little. So gouache or watercolor will not spread beyond the outline of the drawing.
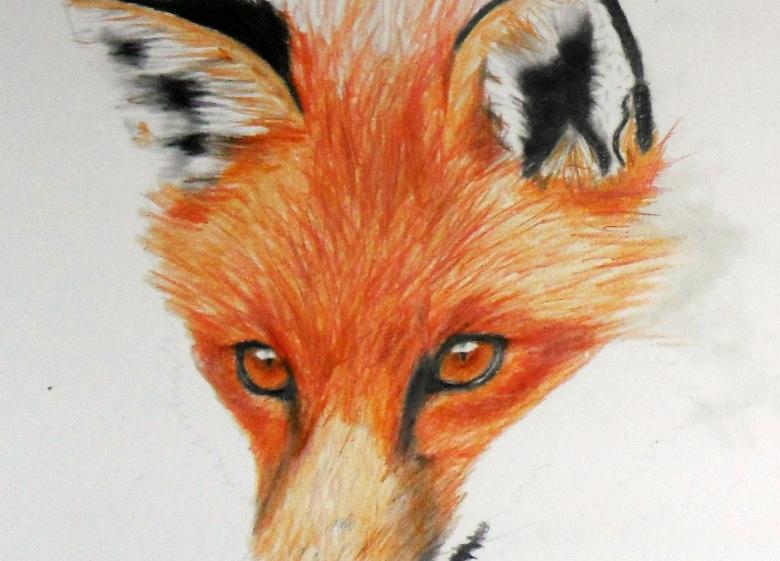
To draw a fox on the sketch, you need to use the original photo of the animal, according to which will be superimposed on the sketch different shades of paint.
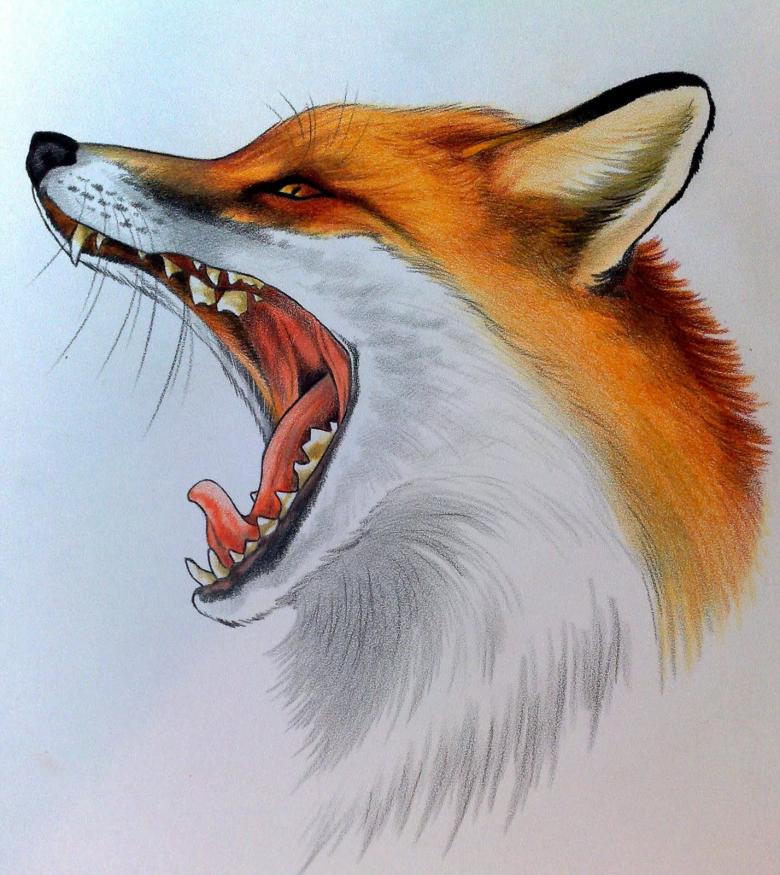
For work it is necessary to prepare:
- A board for drawing;
- paints (gouache or watercolor);
- brushes;
- A container for water.
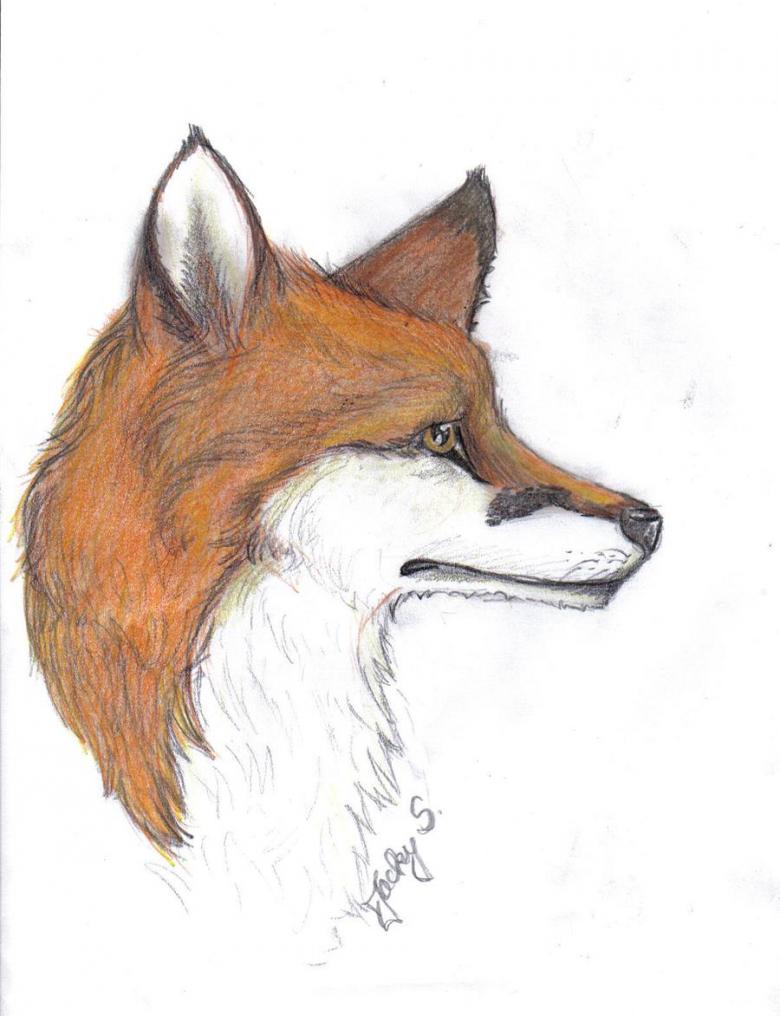
At first, a sketch is created with a simple pencil on a paper attached to the pin board with paper tape, then gouache or watercolor is drawn on it.
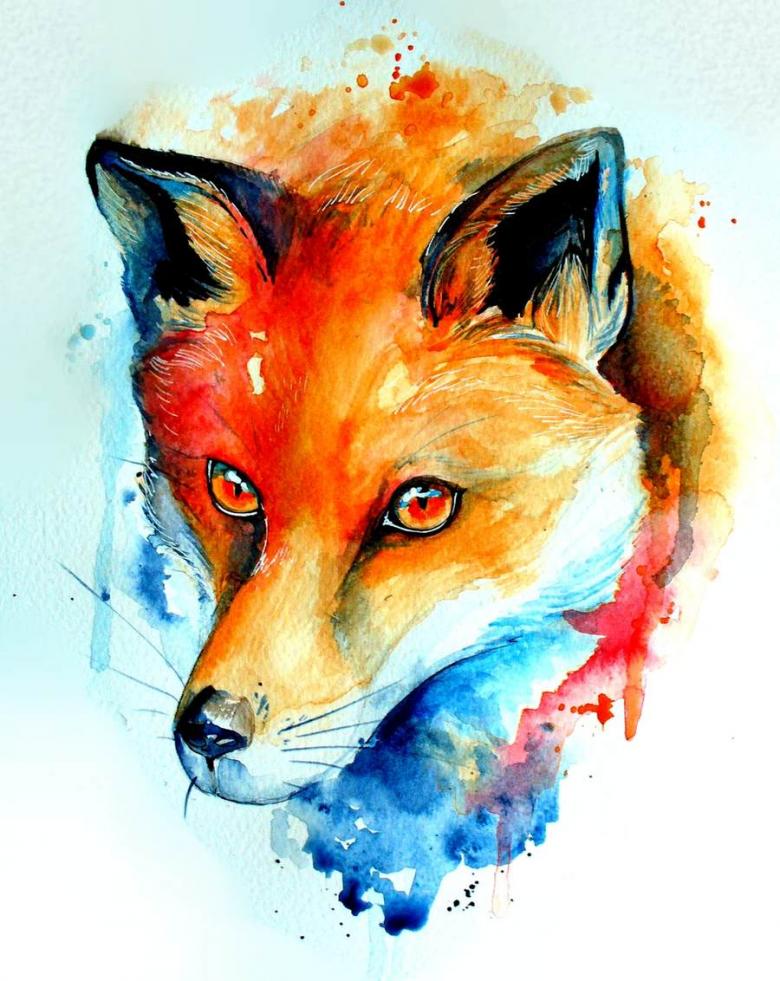
Drawing with paints includes the following steps:
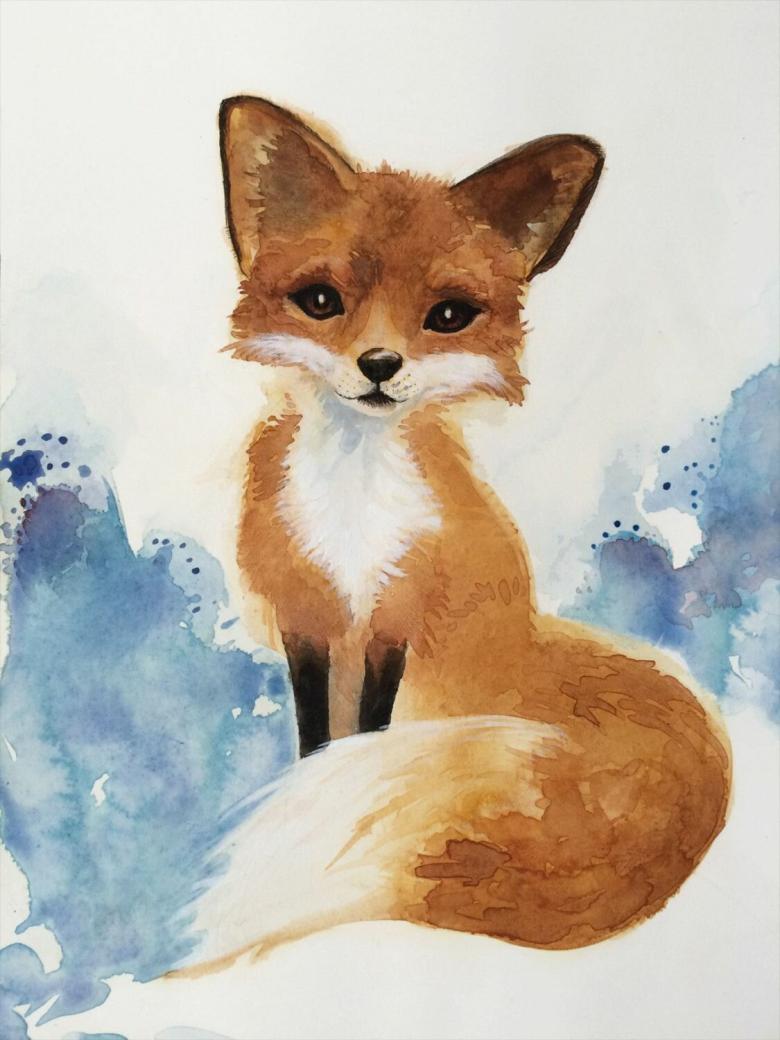
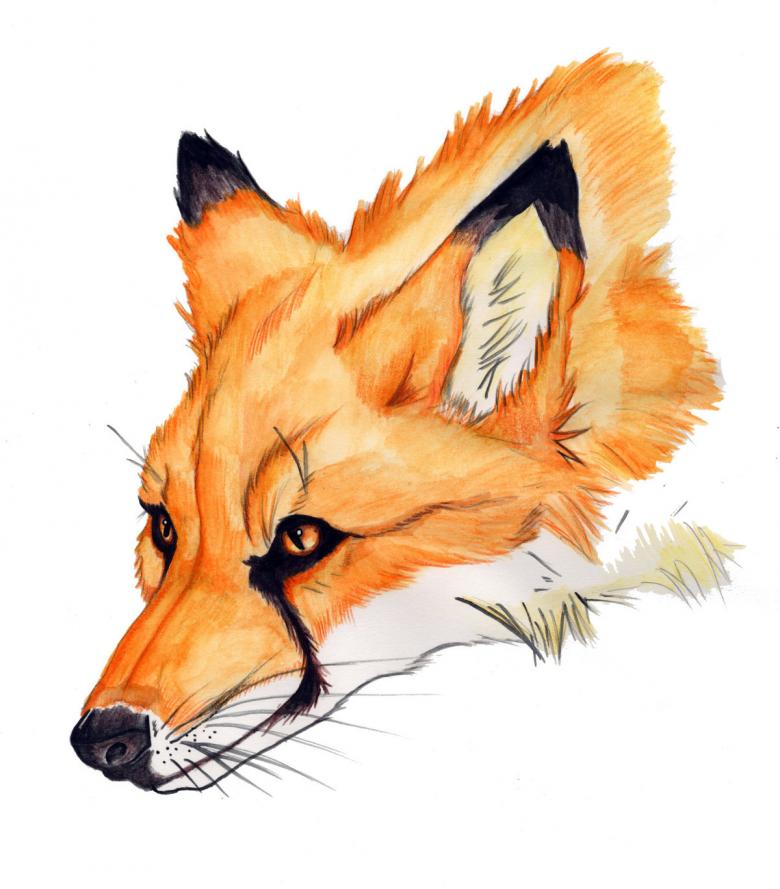
- They start by applying light ginger shades, taking into account how the shadows on the animal are laid down in the photo and how the light falls.
- Then a thin brush with dark paint is used to trace the darkened areas on the body and muzzle of the animal. A squeeze-brush is used to create a pattern texture that imitates the wool of a fox.
- Tones from bright red to dark brown are used to create color transitions on the body.
- The tips of the ears, eyes, nose, and paws are drawn in black paint.
- Using a gray shade, shadows are superimposed in the necessary places of the drawing.
- The squirrels, the breast of the animal and the tip of the tail are drawn in white.
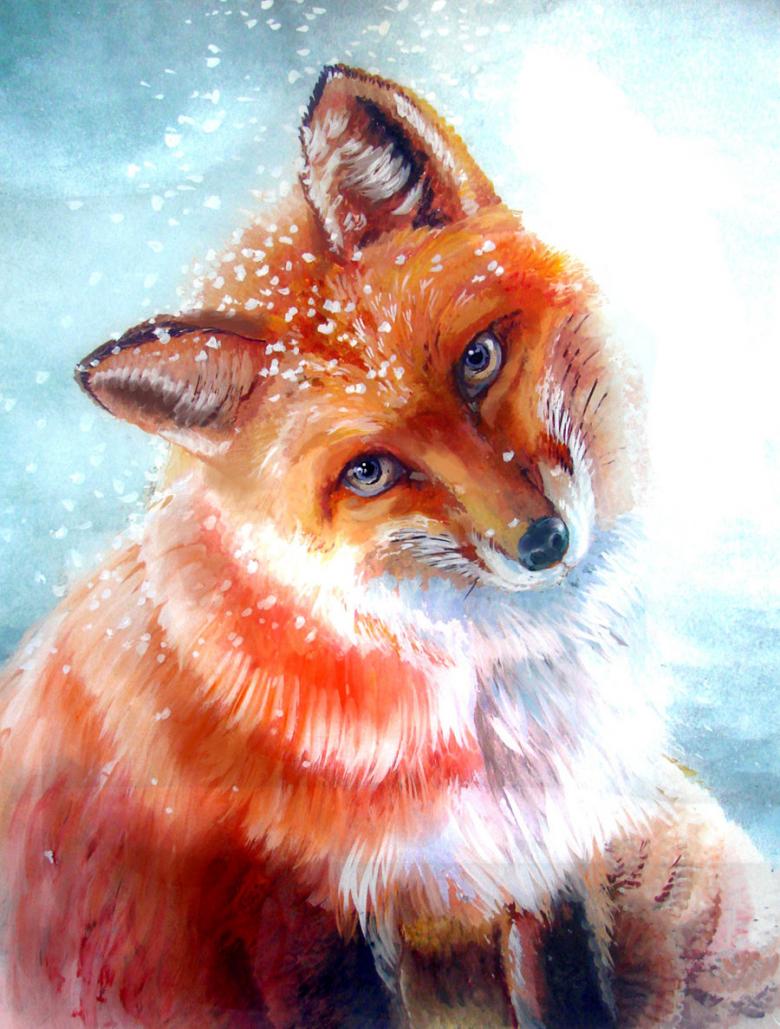
- The white paint can create a walking snow effect by making small dots all over the picture of the animal.
The drawing should dry on the board, after which it can be framed and hung in the room.
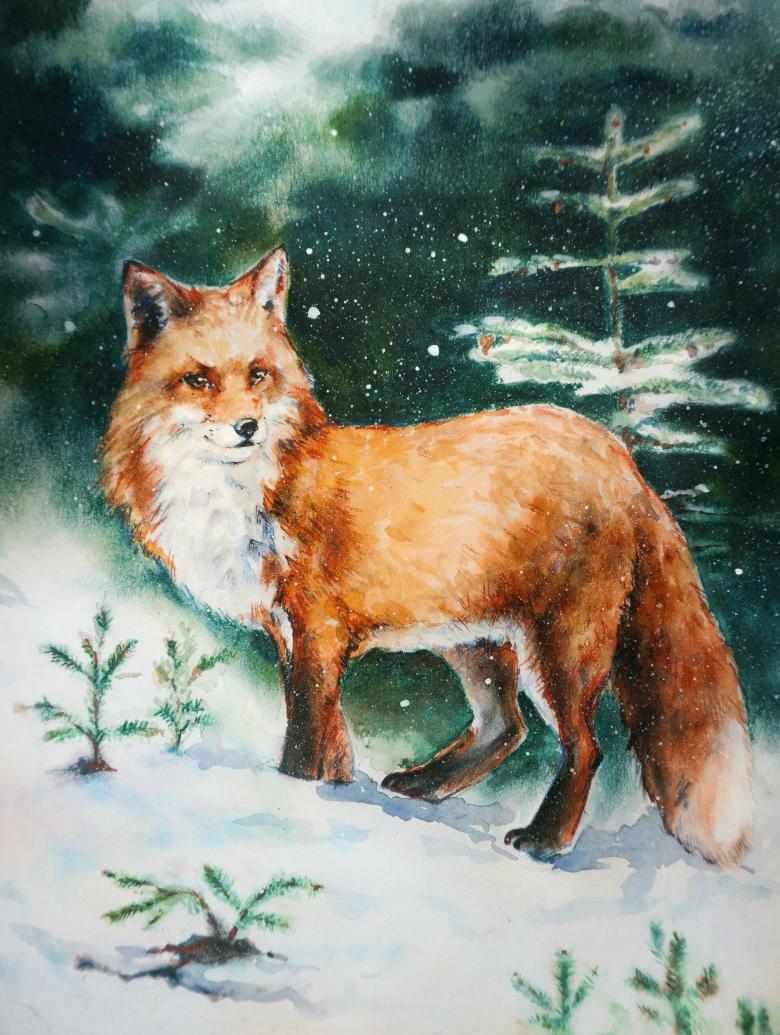
Drawing a fox is quite easy if you use the rules of sketching. The image created with a simple pencil can then be painted in different techniques, using the skills learned in the workshops.

