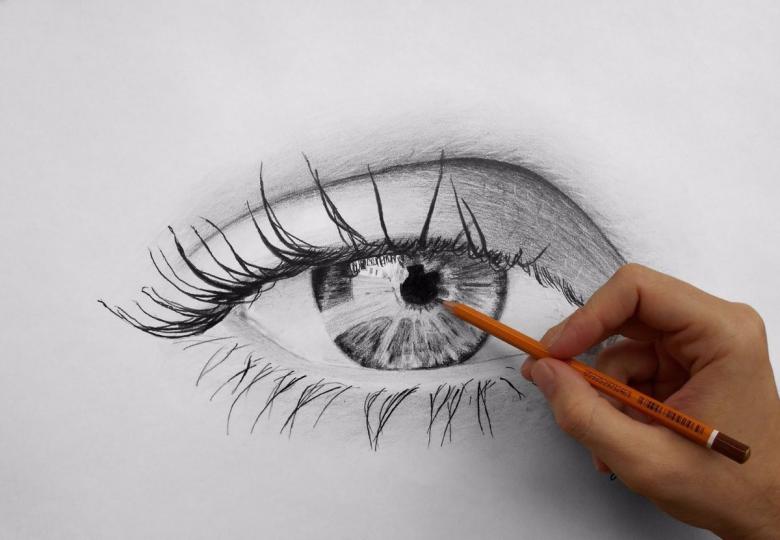
How to draw eyes in a step-by-step pencil - easy and clear master classes for beginners
Everyone knows the saying: eyes are the mirror of the soul. The portrait gallery shows the meaning of this expression to the full extent: looking at the face looking from the canvas you feel the presence of the person, you can understand his emotions and mood, all the information is read from the eyes, a subtle eye contact is established.
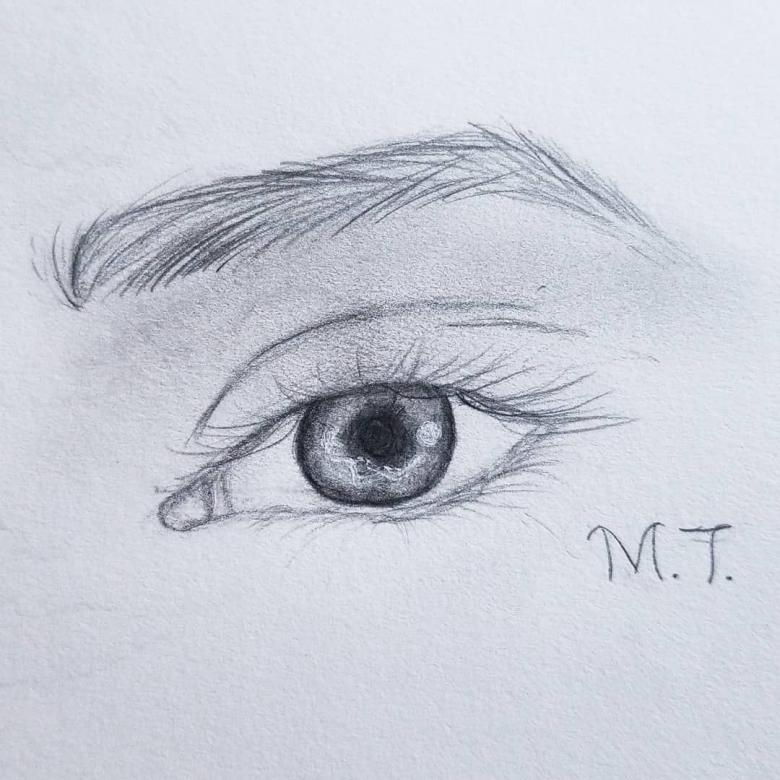
That's why it's important to learn how to draw the eyes correctly, the portrait painter must be able to convey emotional background, otherwise people in the paintings will look like common dolls. This article will help everyone who wants to feel like artists and learn how to simply, quickly and correctly draw a person's eyes.
Stages of drawing an eye
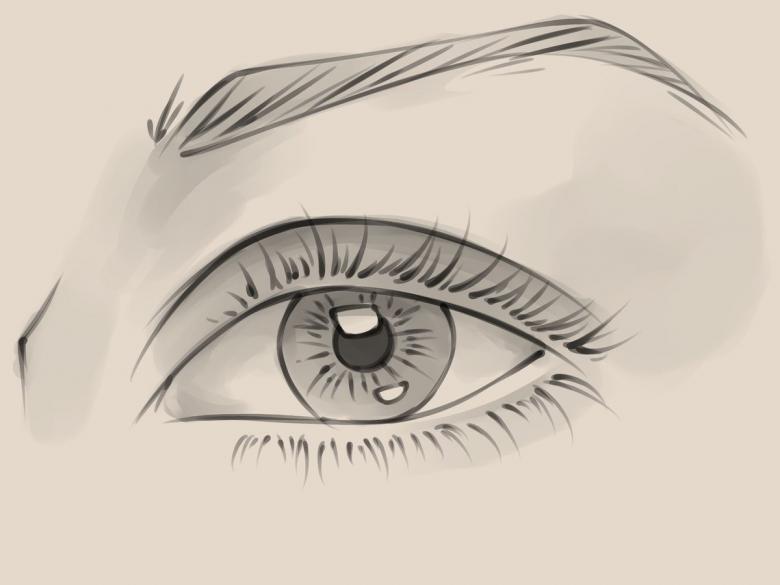
To start work, it is necessary to get acquainted with the structure of the eye, to highlight its characteristic features. To understand the technique of drawing it is necessary to remember the main components of the eye:
- The eyeball or sclera;
- iris and pupil;
- The upper and lower eyelids, represented by the characteristic folds;
- the lacrimal;
- eyelashes;
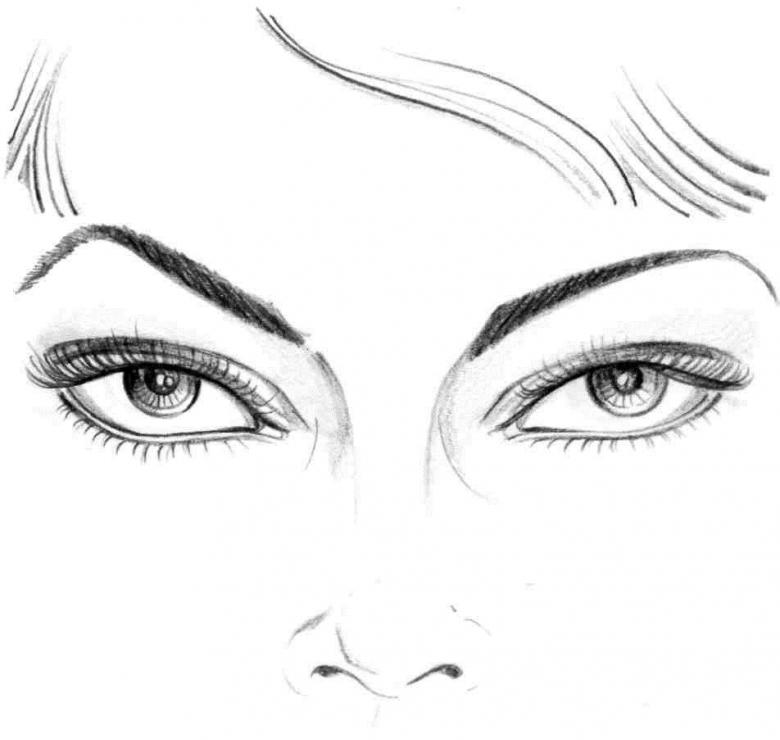
- eyebrow.
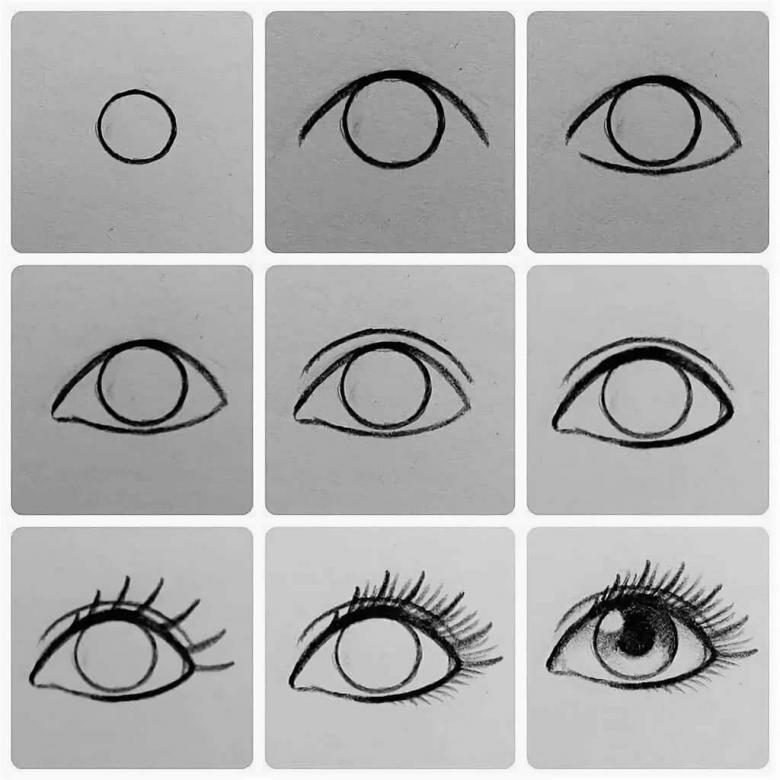
This composition, if all proportions are drawn correctly, will present a vivid and unforgettable image of the human eye.
How to draw eyes with a pencil
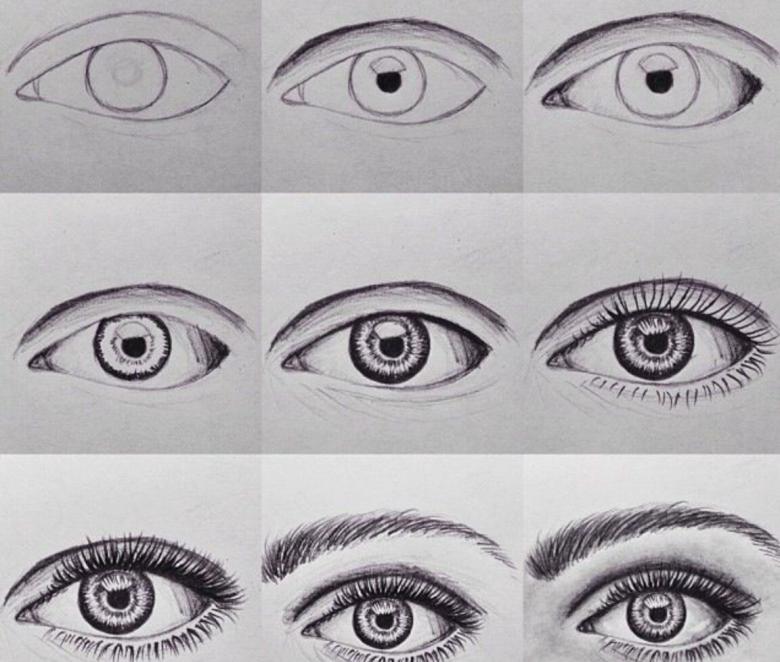
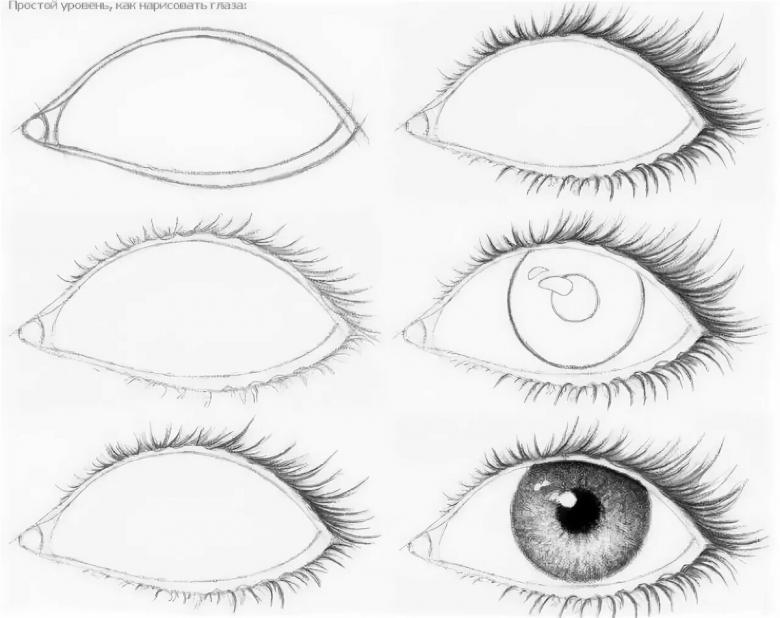
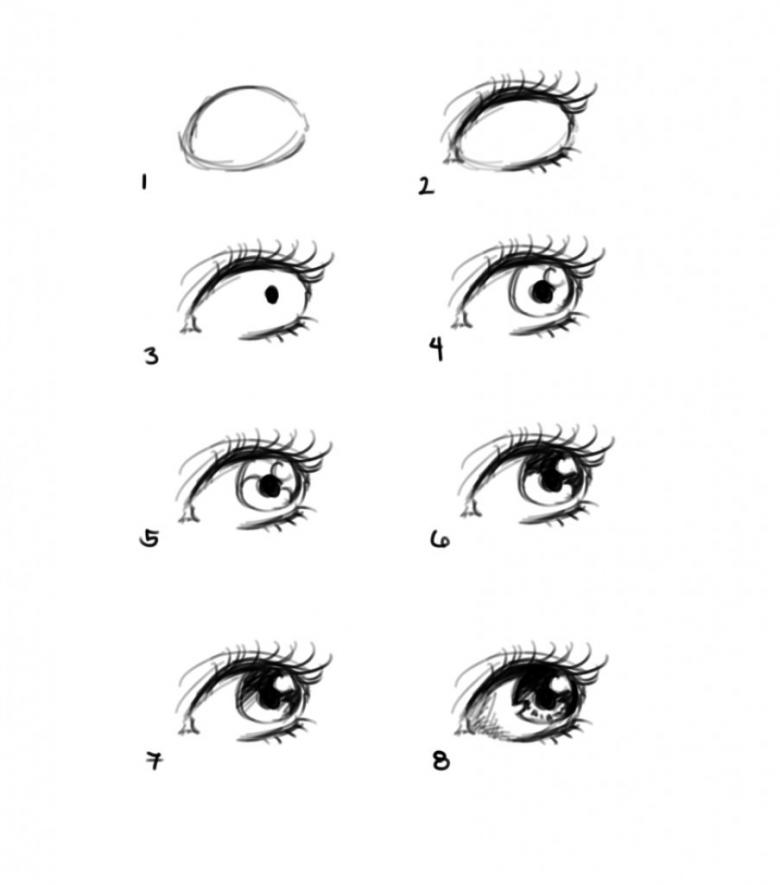
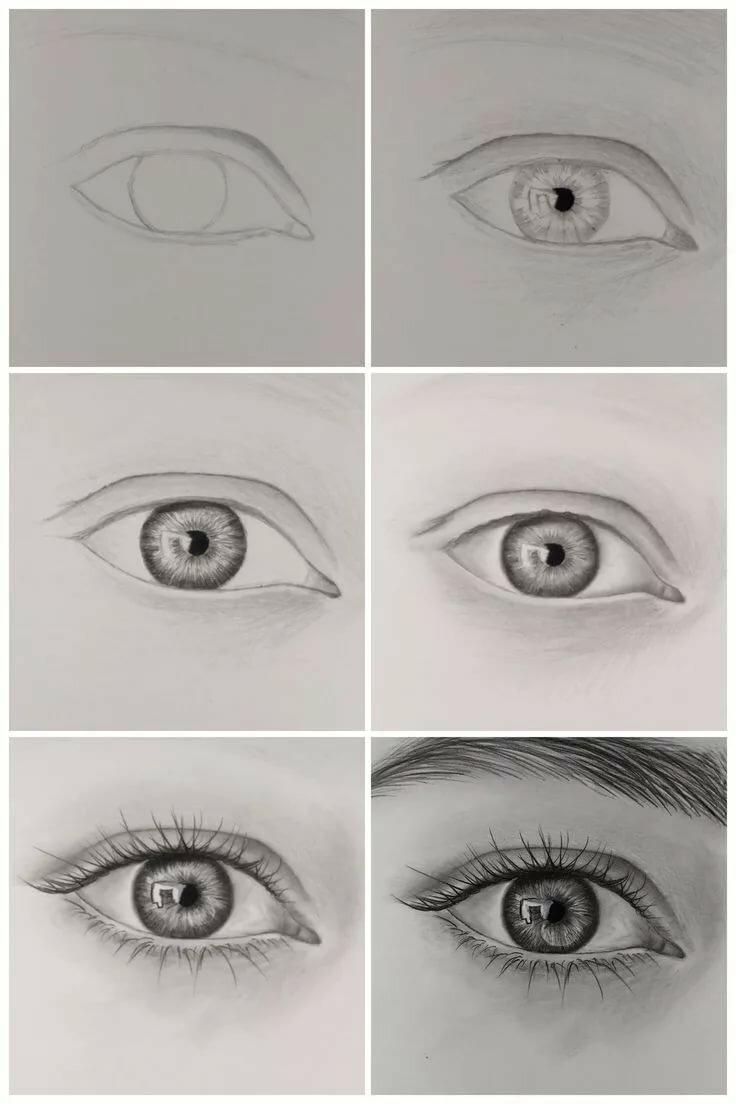
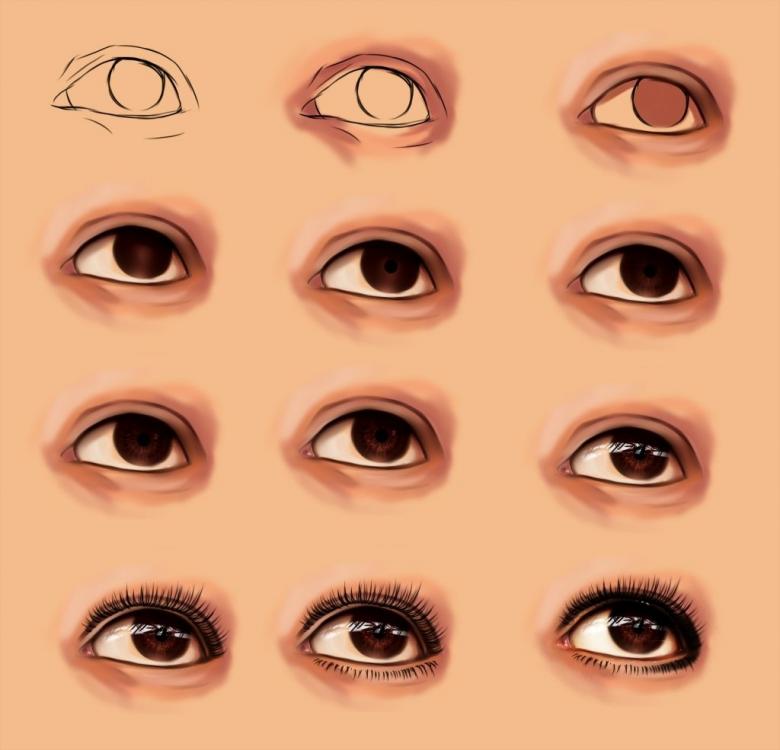
General principles of drawing eyes, master class.
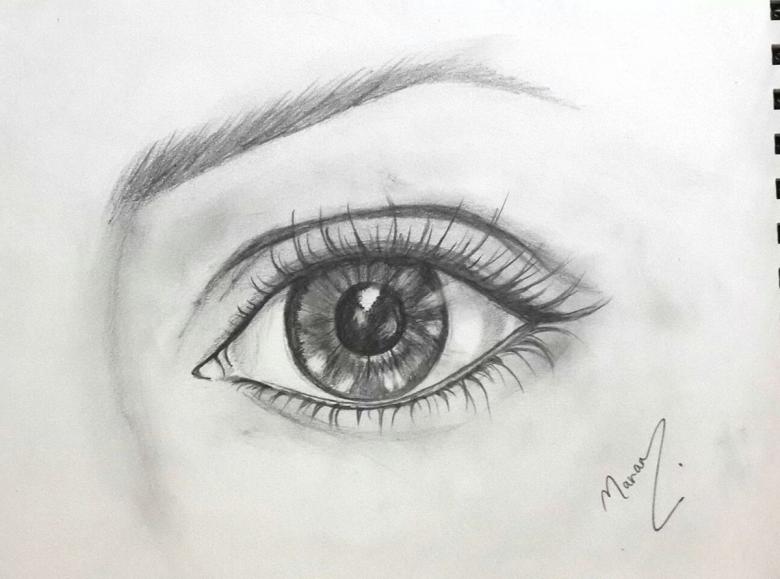
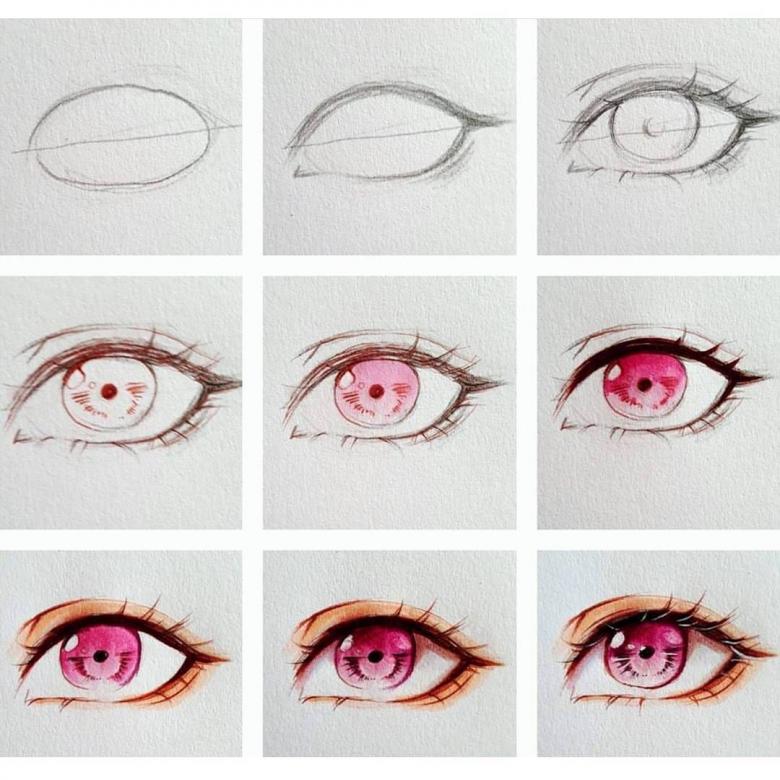
- To begin with, you need to learn how to make an arbitrary sketch of the eye, without going into the nuances and peculiarities of the structure. To do this, you need to stock up on special simple pencils of suitable hardness: B, 3B, 8B, prepare a thick sheet of paper and an eraser.
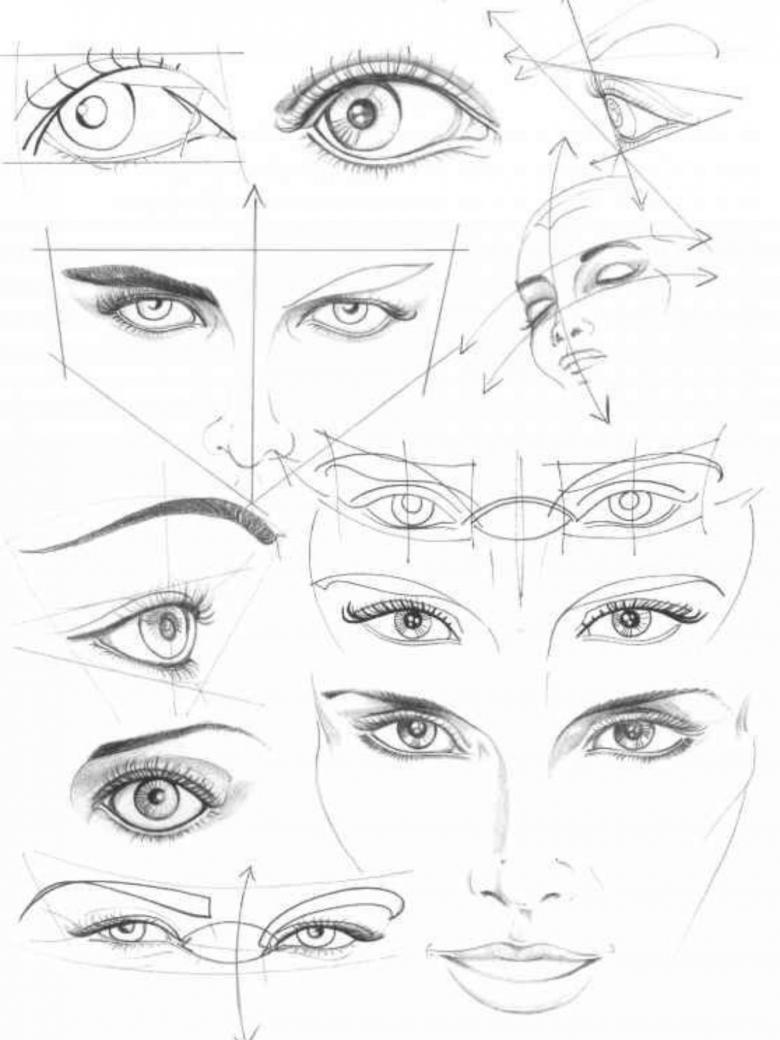
- Designate the eye area by marking it in an angled frame in the shape of a rhombus. For a more accurate reproduction, you can use a mirror and look at your eye and try to make a sketch on paper. At this stage, it is more convenient to use a thin pencil and perform actions without pressure.
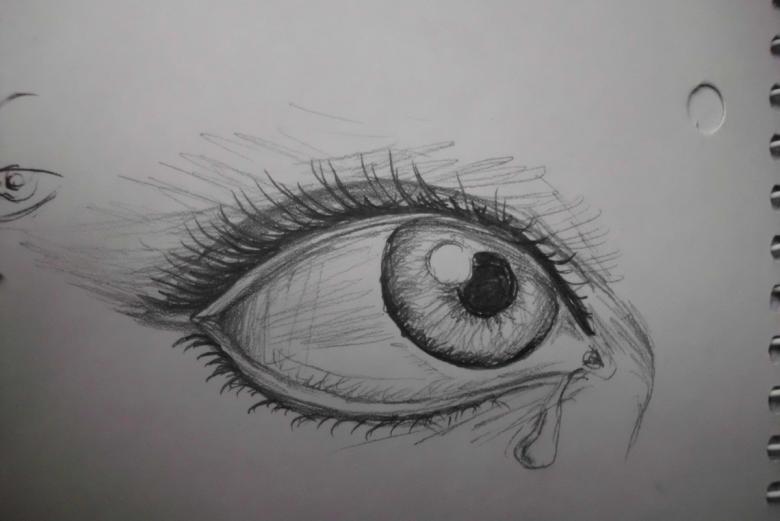
- Next, it is necessary to smooth out the corners, and to draw the lines more smoothly. It is necessary to outline the iris, the pupil and to mark the eyebrow. The pupil and iris are drawn with the softest pencil. The iris is outlined with strokes, the lower ones are darker, and the upper ones are lighter. At this stage, the thickness of the eyelid is traced and the tear line is outlined. The depth of the lacrimal canal is indicated by shading the edge of the eye with a soft pencil, to give moisture to the eye.
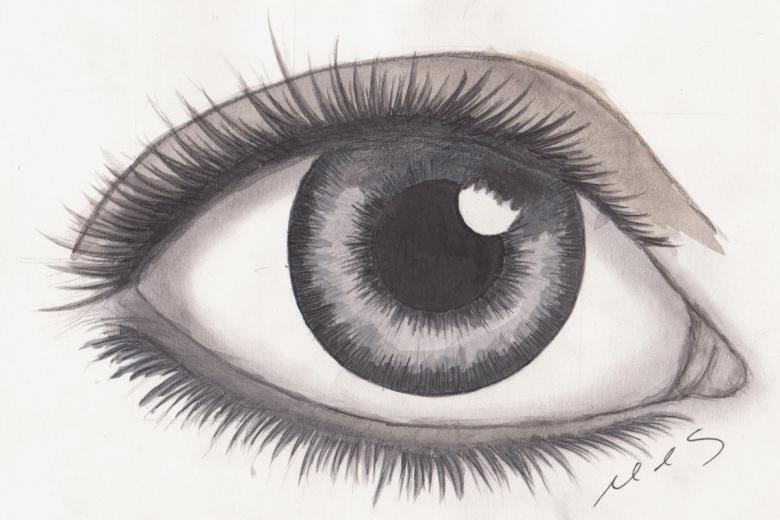
- The iris is made more spectacular: to do this, using a soft cloth, it is necessary to shade the strokes on the iris. Next, radial wavy strokes are made with the 3B pencil. The base is gently mopped up. Next, the eyebrow is drawn more clearly, thinning out a bit. The shadow under the upper eyelid is drawn. Shadows are added on the rounded part of the eyeball.
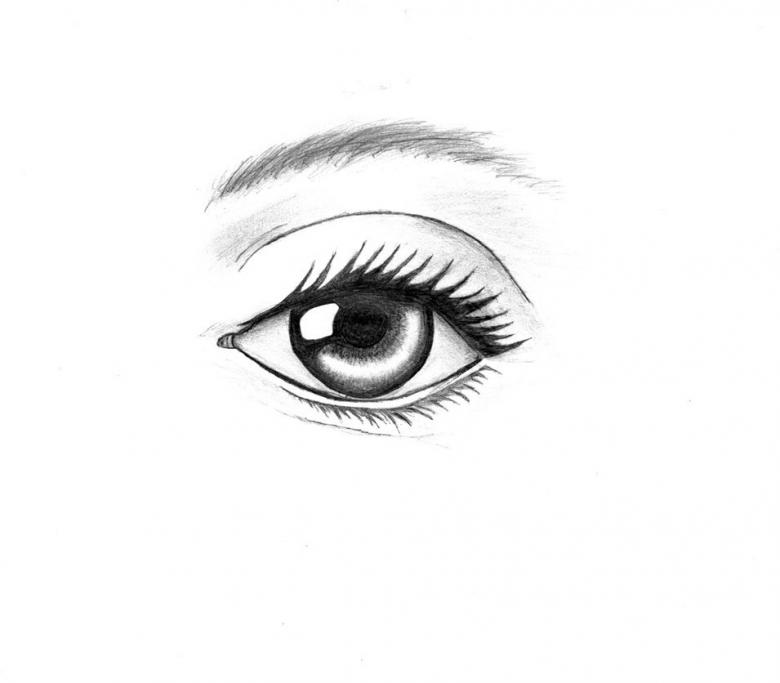
- The eyelashes of the upper and lower eyelids are traced as a finishing touch. The upper eyelashes are longer than the lower eyelashes. To make the lashes look more realistic, you need to start with the lower side of the upper eyelid and lead them above the crease in the eyelid. The painted reflection of the lashes in the eye itself will give them a natural look.
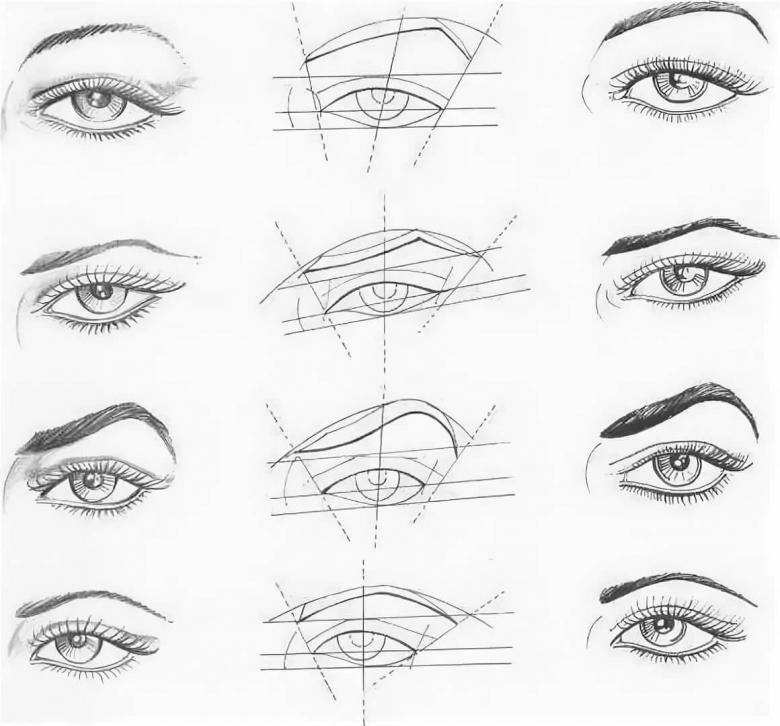
Lessons on how to draw the eye in detail
Shape
The human eye is essentially a ball fixed inside the eye socket. The visible part of the eye is in the form of an oval, pointed at the outer end and rounded at the inner end (almond-shaped), with the rest of the ball covered by the eyelids.

The shape of the almond nut is asymmetrical, very similar to the visible part of the eye: this can be seen by drawing a horizontal line dividing the eye and marking the vertical line that connects the points of the widest place of the upper and lower part, it will be seen that the points are in different parts of the oval.
In the upper part this point is closer to the lacrimal canal, and in the lower part - to the outer corner of the eye. When drawing the eyes it is necessary to remember that light shadows are applied to the globular shape, so radial strokes are used to darken.

The eyelids of the eye
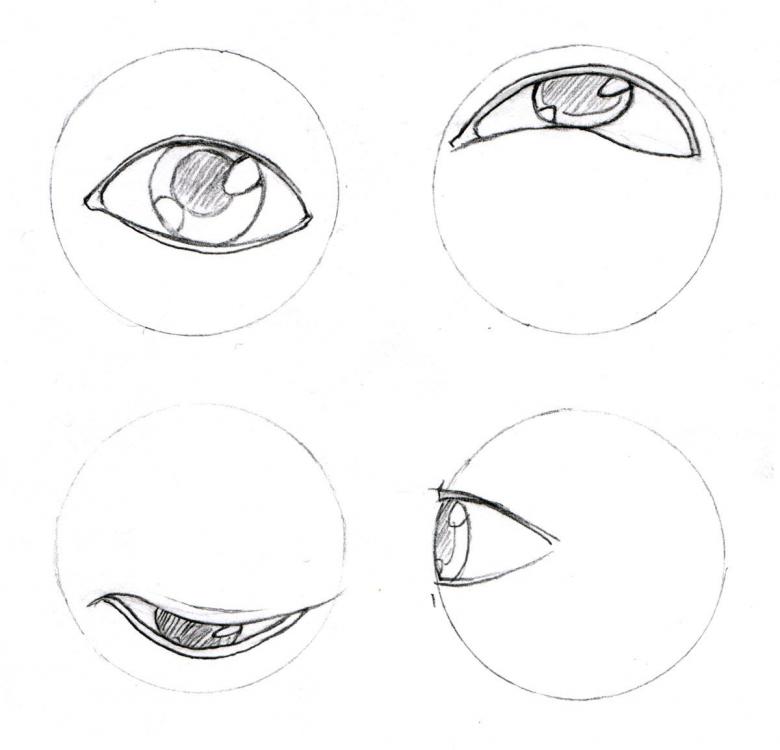
The eyelids of the eye should not be depicted flat, they have a palpable thickness that covers the eyeball. The thickness of the eyelids can be seen by turning the face in profile, then you can see that the fit of the lower eyelid is deeper than the upper one.
The thickness of the eyelid is shown by lines, the distance between them is 1,5-2 mm. The upper and lower eyelids cast a shadow on the eyeball, so the thickness of the lower eyelid is lighter than the upper eyelid because more light falls on it.

Crease
Above the upper eyelid there is always a skin fold that covers part of it. Different people display this crease in their own way, as different peoples, have peculiarities of the shape and structure of the eyes.
Teardrop
In the inner corner of the eye is the lacrimal, it is convex and elongated, in the shape of a semi-oval. Without lacrimal, the eye will not look believable, so you must necessarily draw it.
Iris and pupil
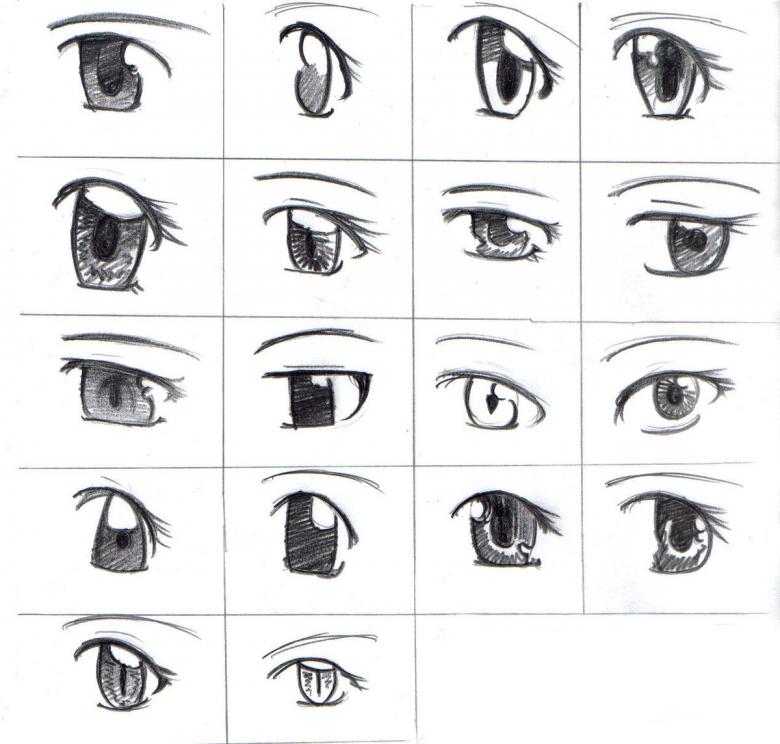
The direction of the eye can be determined by the iris and pupil. The pupil is always indicated by a dark circle that is located in the center of the iris. The eyes in a quiet position, they are usually covered by 30 percent of the eyelids.
- Wide-open eyes are drawn with a full image of the iris.
- The squinted eye is drawn with an incomplete iris, part of it is covered by the eyelids.
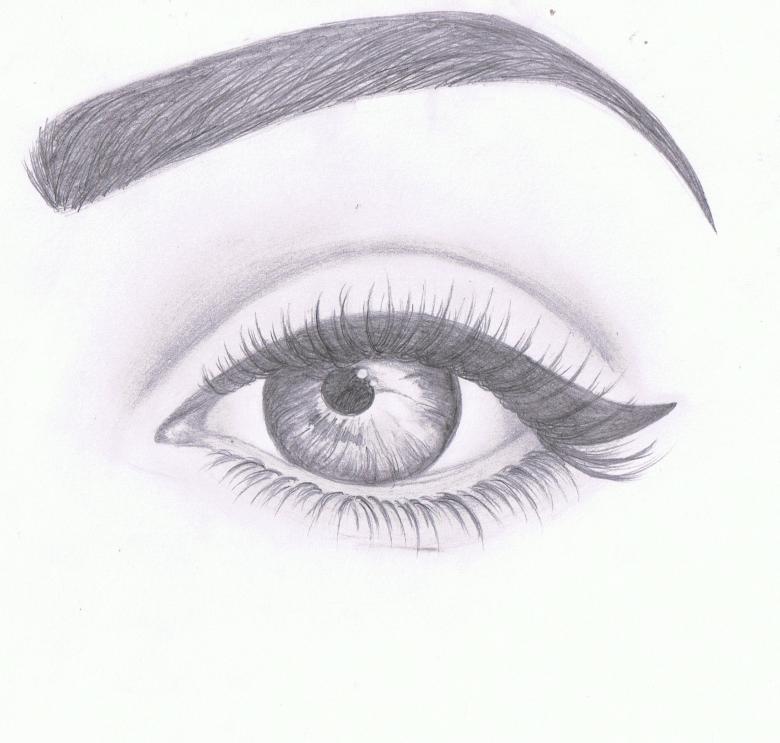
The iris has a cup-like shape, it is convex, it can be seen in profile. The pupil is flat, not having the volume of a circle. It is not necessary to draw the pupil on the edge of the iris, it is slightly inside.

Glare and reflex.
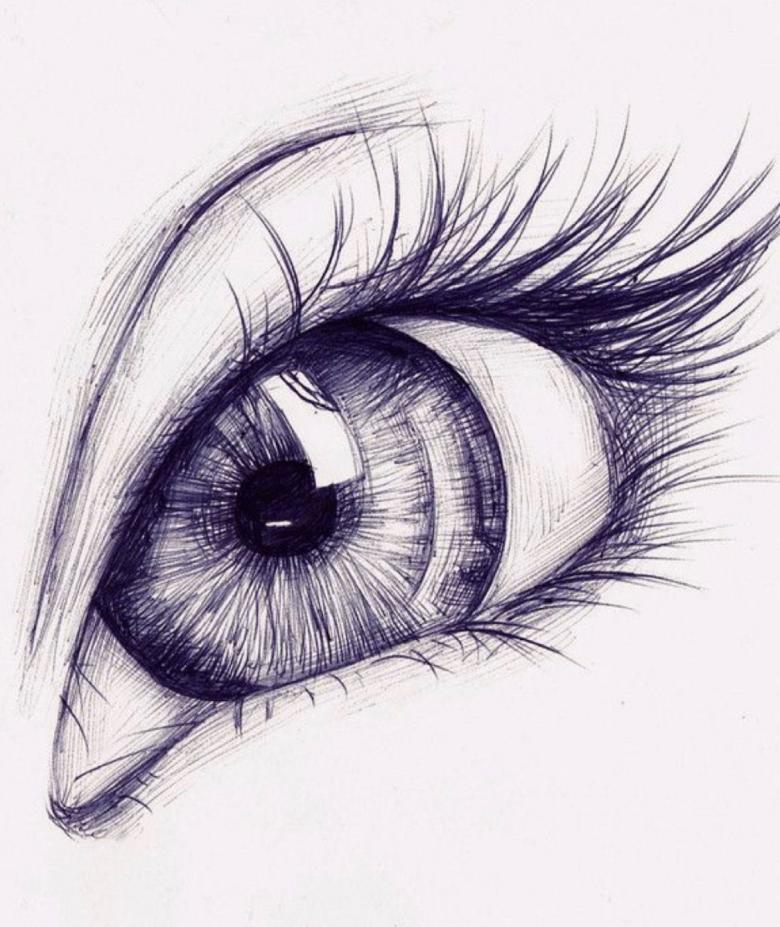
The iris always glistens in the light. Therefore, the glare and reflex are always drawn for a natural representation of the eye. The glare is located on the rounded shape of the iris, the reflex is a spot of scattered light and is located opposite. The glare is formed on the side where the light falls from.

Eyelashes
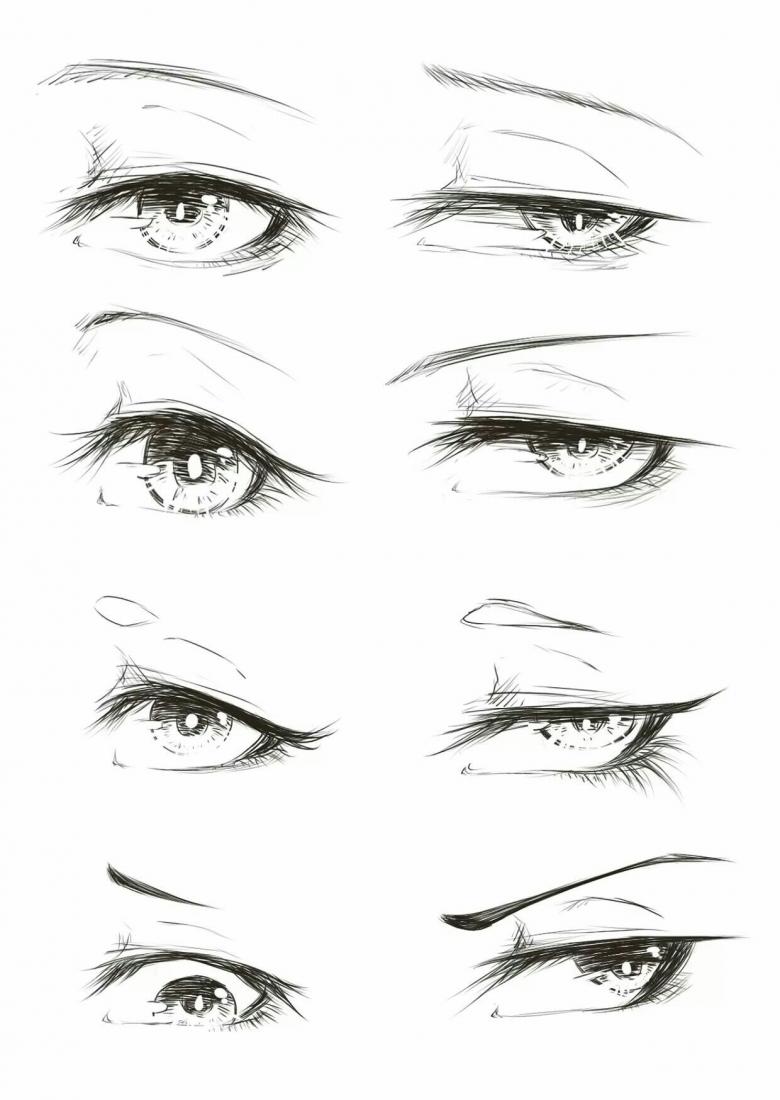
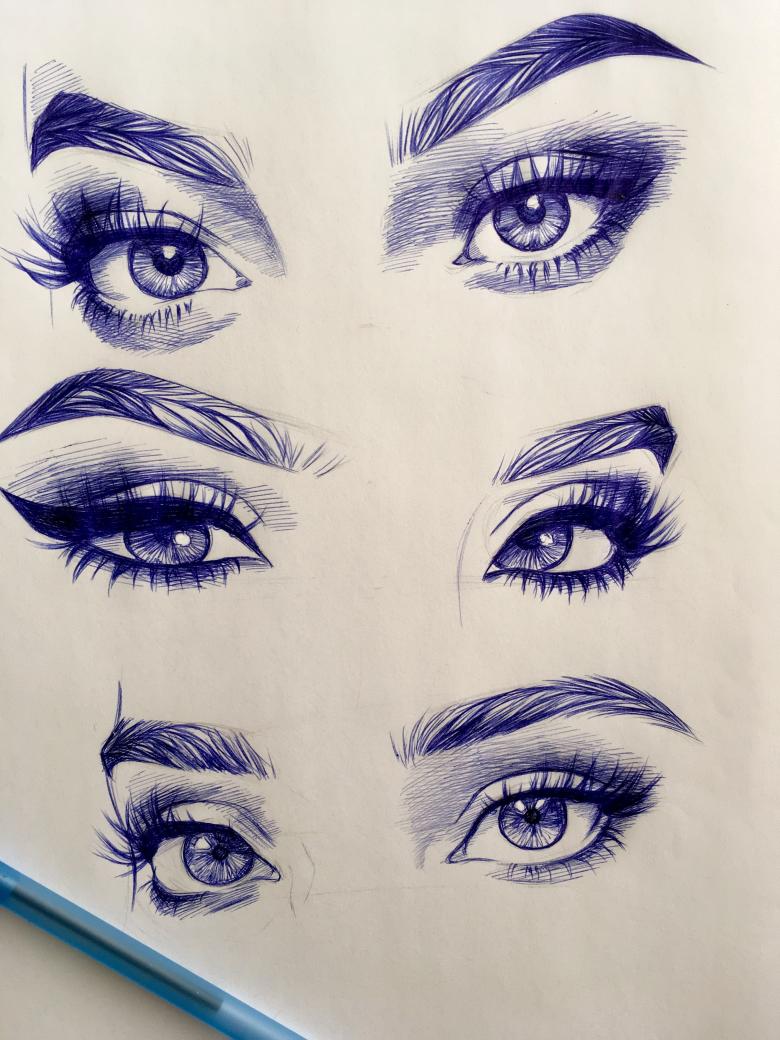
At the end of drawing the eye you should always add eyelashes. The lashes are displayed as strokes, thicker at the base, thinner at the end. The thickness of the lashes is also individual. If lashes need to be highlighted, they do not need to be drawn the same length and the same thickness.

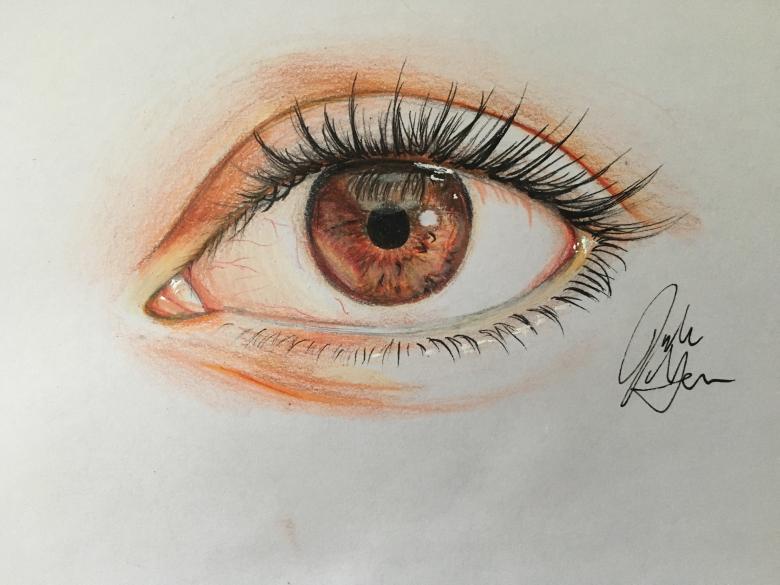
How to draw eyes with paints
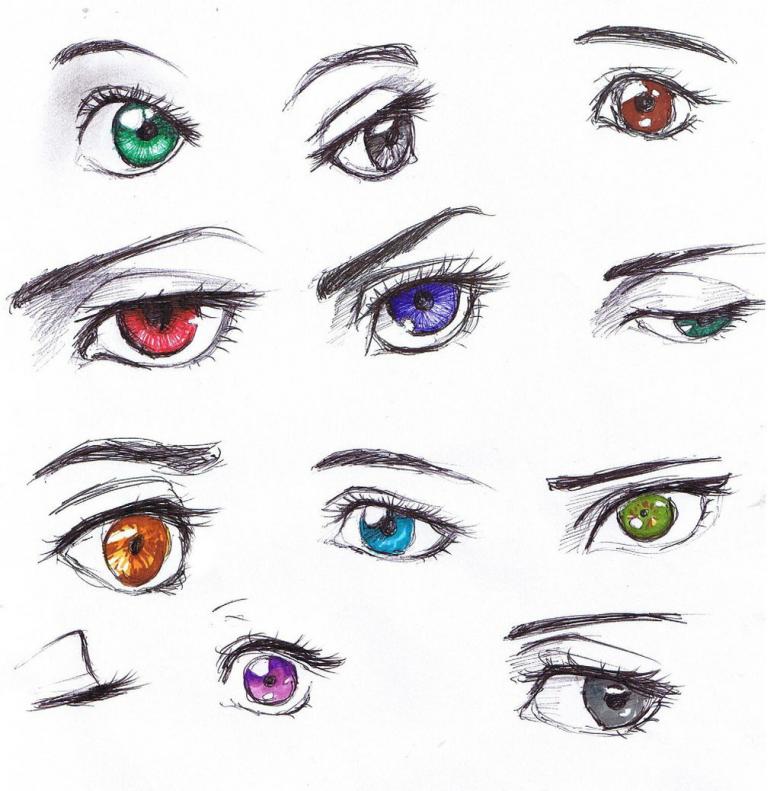
Acrylics are the most suitable for depicting eyes. In this technique, they turn out very realistic. It's more difficult to paint with paints, but with some practice, it's easy to do the job.
A step-by-step description of the drawing technique.
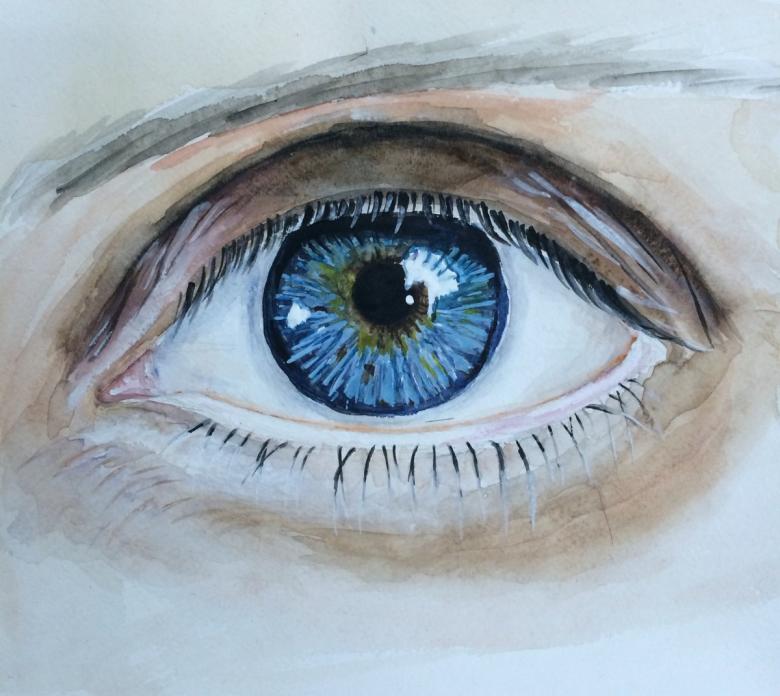
- We take a palette for painting, on which suitable paints are applied: gray paint and titanium whiting, natural sienna, natural and English red, light yellow, ultramarine and burnt umber.
- To outline the eyes, take a thick brush and use dark brown paint to sketch the upper and lower eyelid, and mark the iris and pupil. Light accents are added with the diluted paint.
- Colors are mixed on the palette: beige, titanium whites, brown and red. The resulting color is then applied to the upper eyelid, showing highlights. For a realistic display, a red shade is added to the corners of the eye: a mixture of brown and red.
- The lower eyelid is also drawn with a mixture of red and brown. For the upper eyelid, a mixture of warm beige and whitewash is made.
- Grass paint is added to the palette and the iris begins to be painted. Then dark paint is added and then the iris is drawn. The pupil is marked with a dark gray color. Next, blue and olive tones are added to complete the iris.
- The shadow from the upper eyelid is intensified by using light brown paint. A mixture of brown and green paint with a light tone is used to draw the glare in the eye.
- The final step is to draw the eyelashes in black. They can have different lengths and thicknesses.
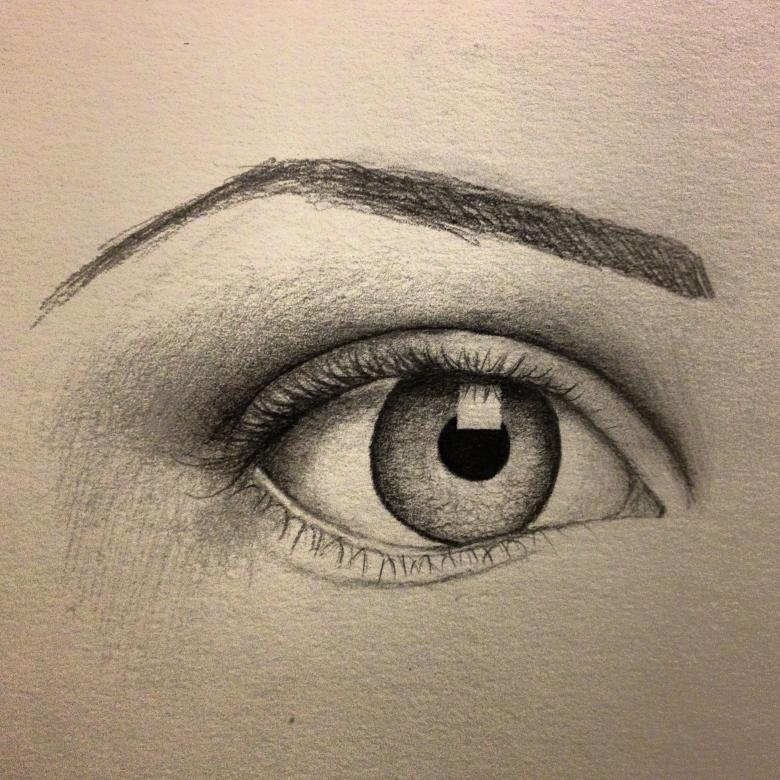
To learn how to draw eyes is not so difficult, the main thing is to follow the sequence of work, not to forget about the subtleties and details. This article presents different techniques for drawing eyes: with pencil and paints. A beginner artist can choose and master any eye-drawing technique they like.

