How to draw a wolf step by step in pencil - easy master classes, photo ideas and examples
Parents can organize for their children developing leisure, teaching them to draw animals. You can start with a wolf, teaching your child how to draw pictures with a realistic image using a sketching technique. Before you begin, you should decide how the wolf will be portrayed. In addition to the psychological mood of the picture, it is necessary to determine what position the animal will occupy in the drawing:
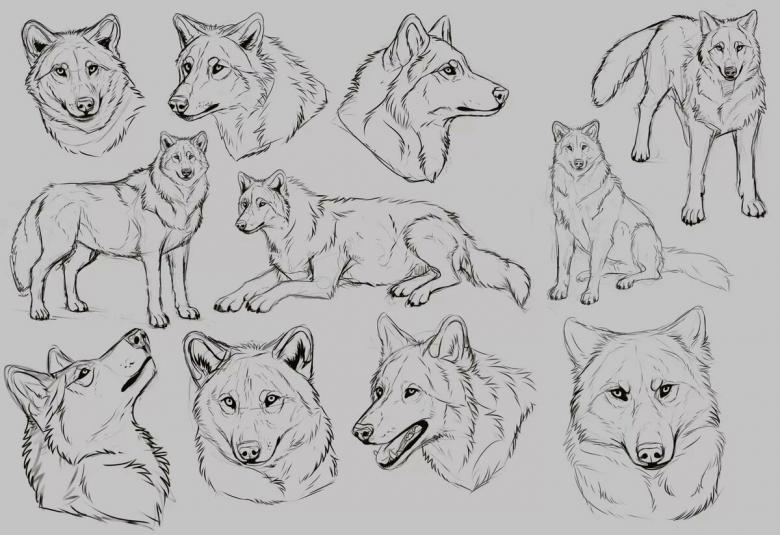
- standing;
- sit;
- lie down;
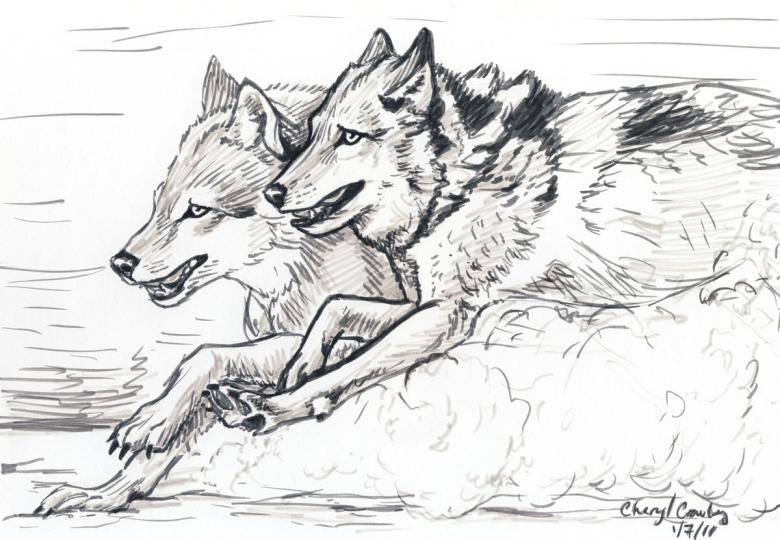
- run, etc.
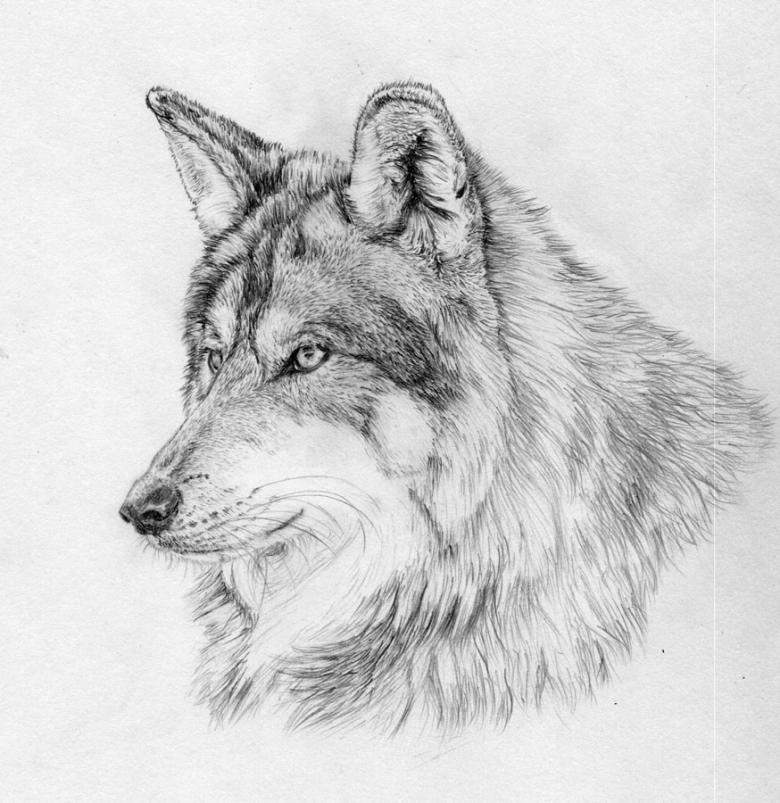
To create a sketch, it will be necessary to use a simple pencil. After that, it is necessary to prepare everything necessary for drawing:
- A scrapbook piece of cotton paper;
- a hard, simple pencil;
- rubber band;
- Colored pencils for coloring the drawing.
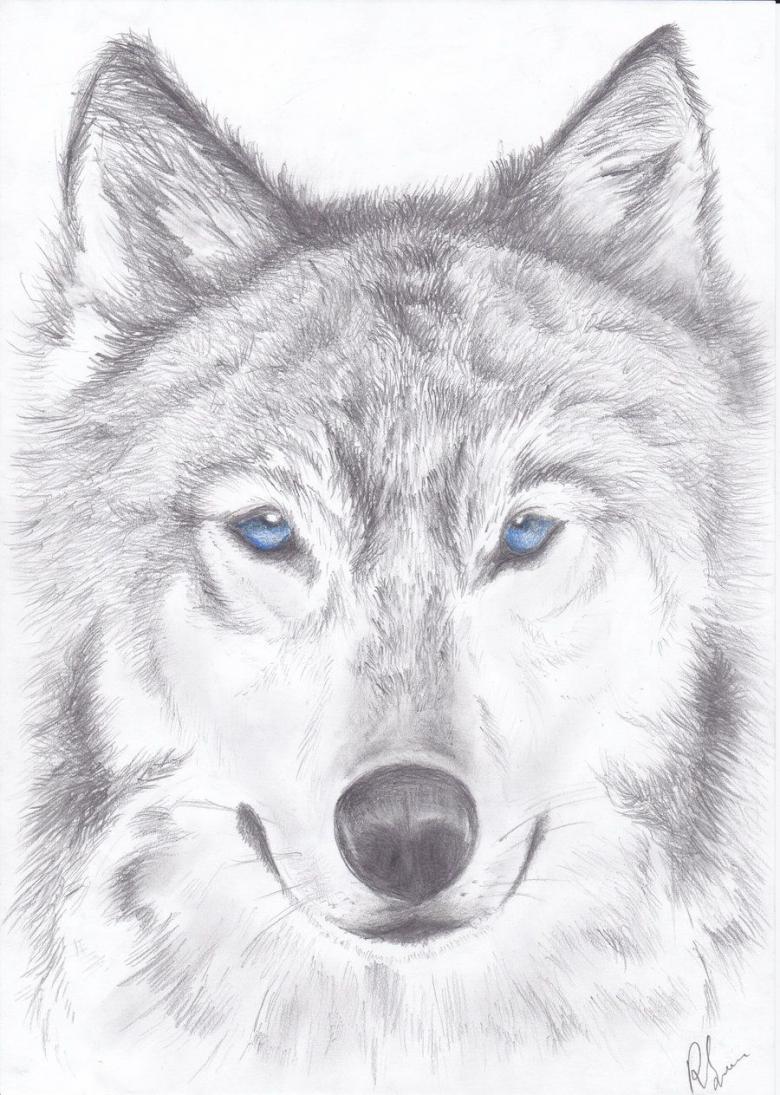
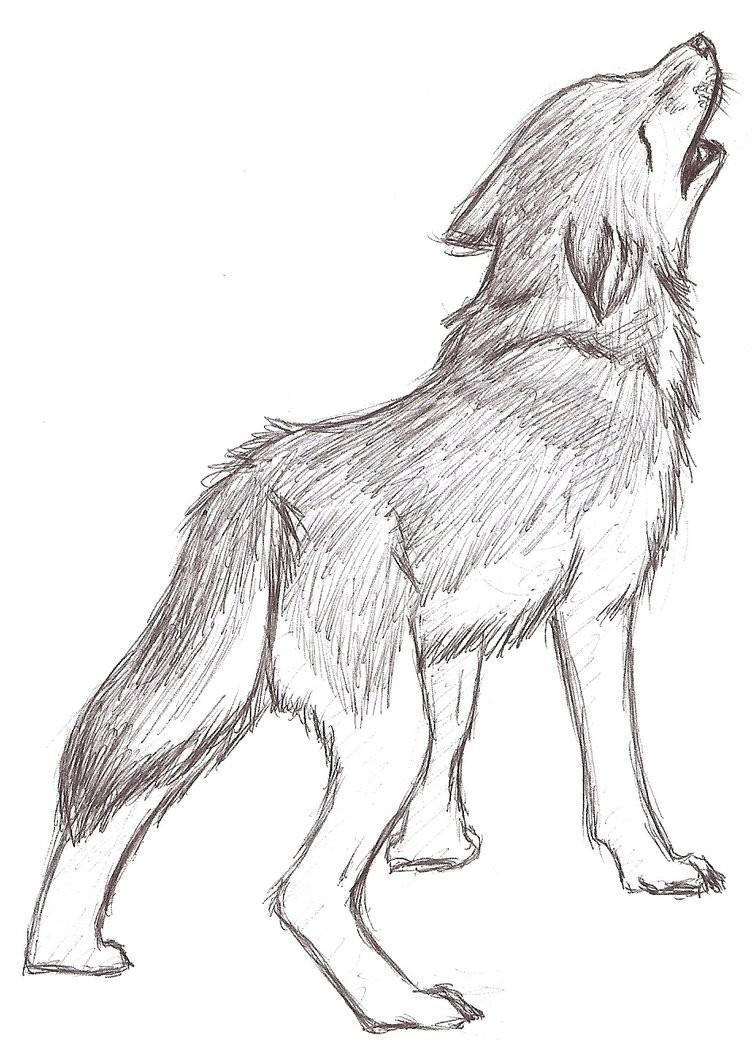
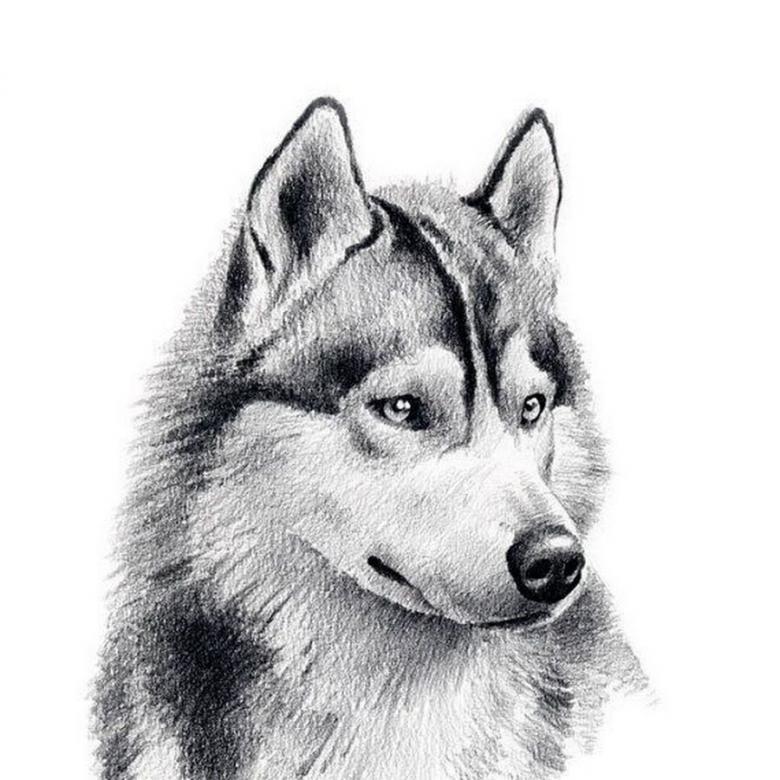
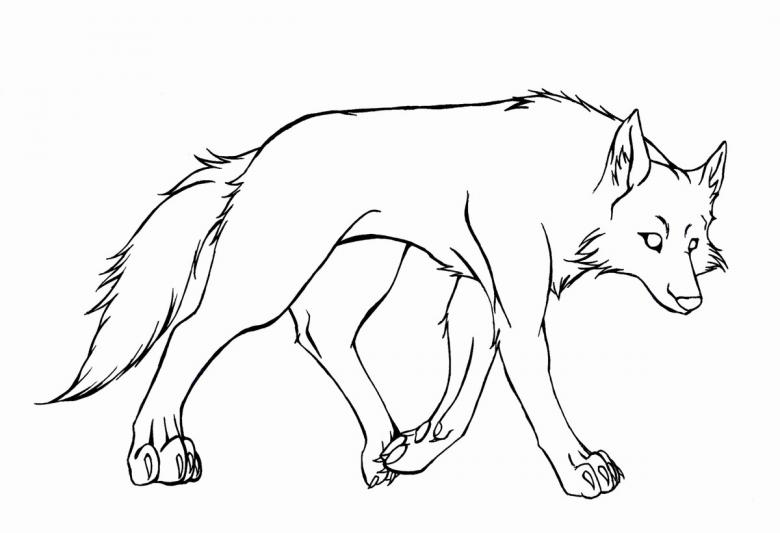
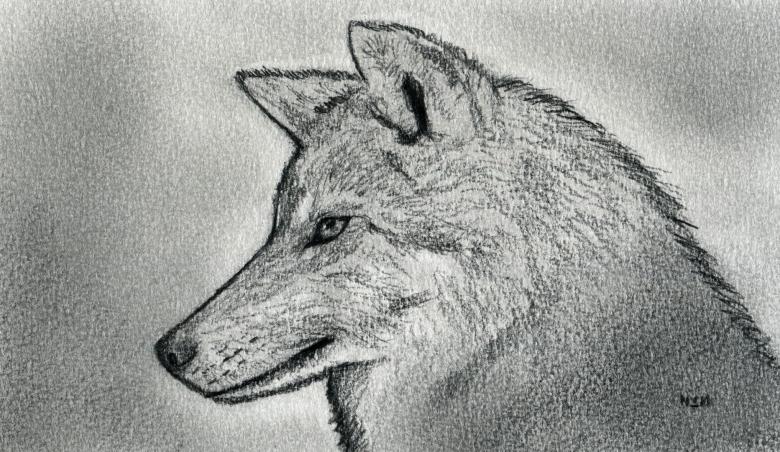
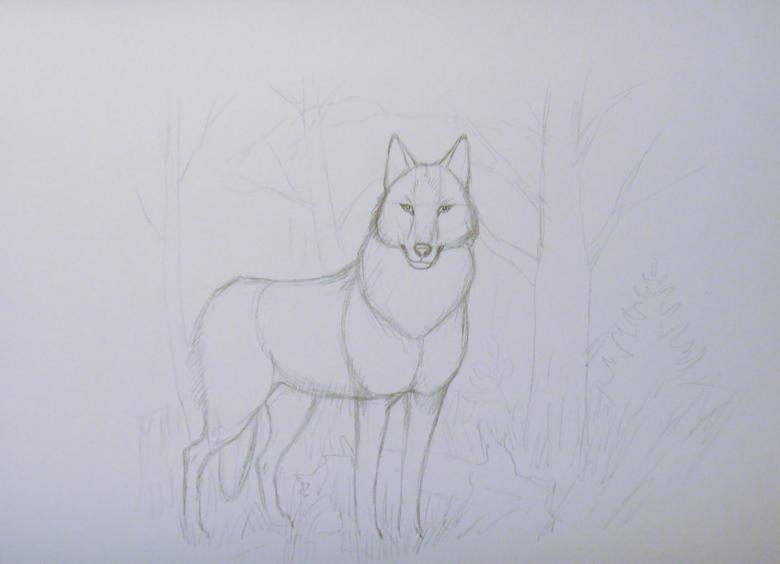
Learning how to create a sketch of a realistic drawing of a wolf step by step is easier if you draw a standing animal in profile. In order for the child to have a sample in front of their eyes, you should find a realistic picture by downloading a suitable picture from the internet.
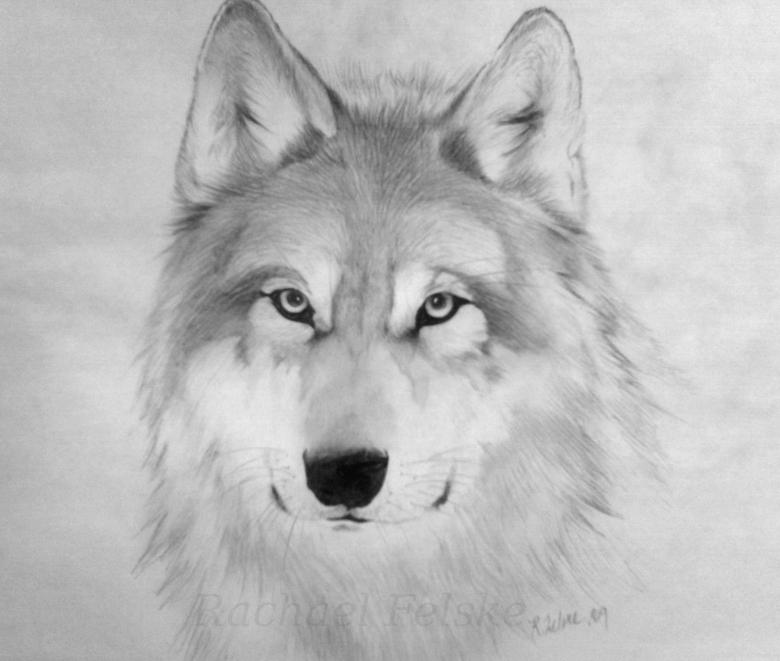
To paint the wolf, which has a gray coat, will also need colored pencils:
- red for the tongue and mouth;
- green for the eyes;
- white to create the texture of the undercoat and the white tip on the tail.

All of this information is memorized by the child as they prepare for a drawing lesson, gaining a new amount of information about the animal world as they draw the animal.
Creation of a psychological portrait of the wolf
Before starting a drawing lesson at home, you should decide what mood the animal in the picture will have. Choosing the atmosphere and mood of the future picture helps to develop important qualities in children:
- attention;
- observation;
- an urge to develop an outlook.
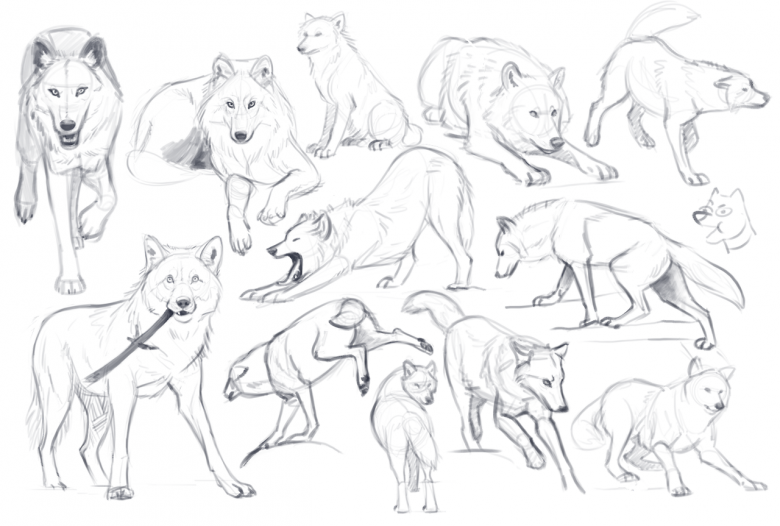
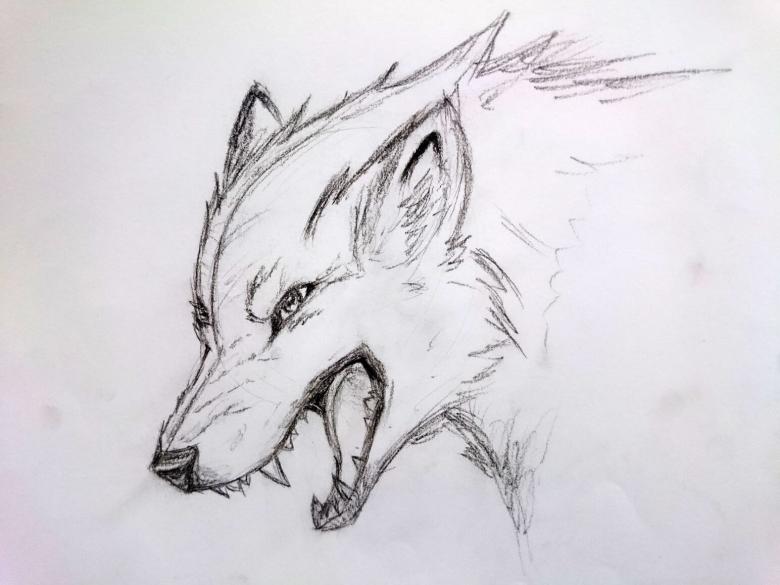
Parents should ask the child to tell how he or she would like to draw his or her wolf. Before drawing, you can ask your child to tell what features are peculiar to a real wolf. It is easier to master drawing techniques, drawing a calm and confident animal. This way it is easier to depict its muzzle and body parts.
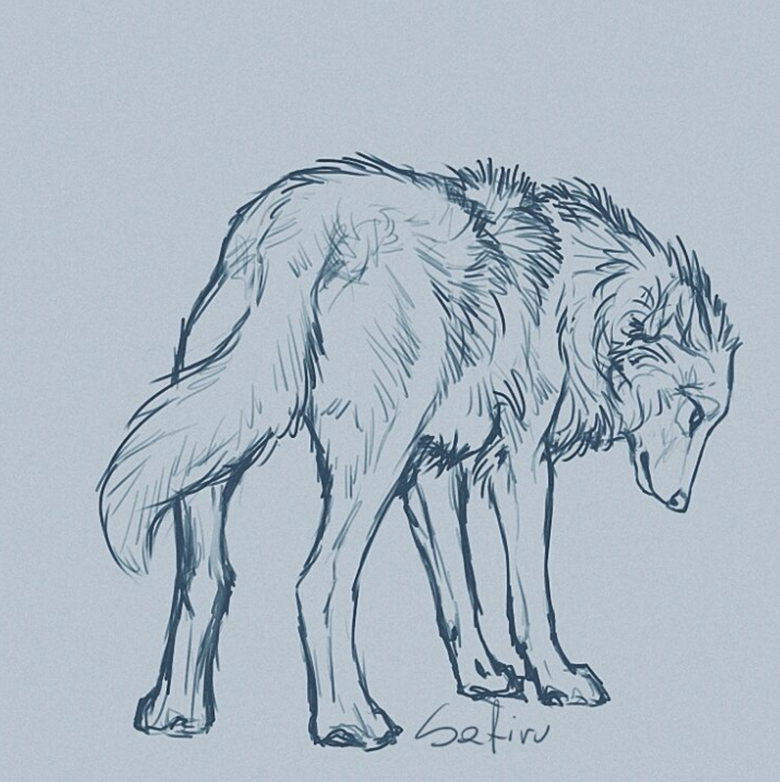
In a static position, it is easier to observe the proportions of the wolf's body. The child will learn to express the mood and basic features of character peculiar to this strong predator, which fears no one in the woods except hunters.
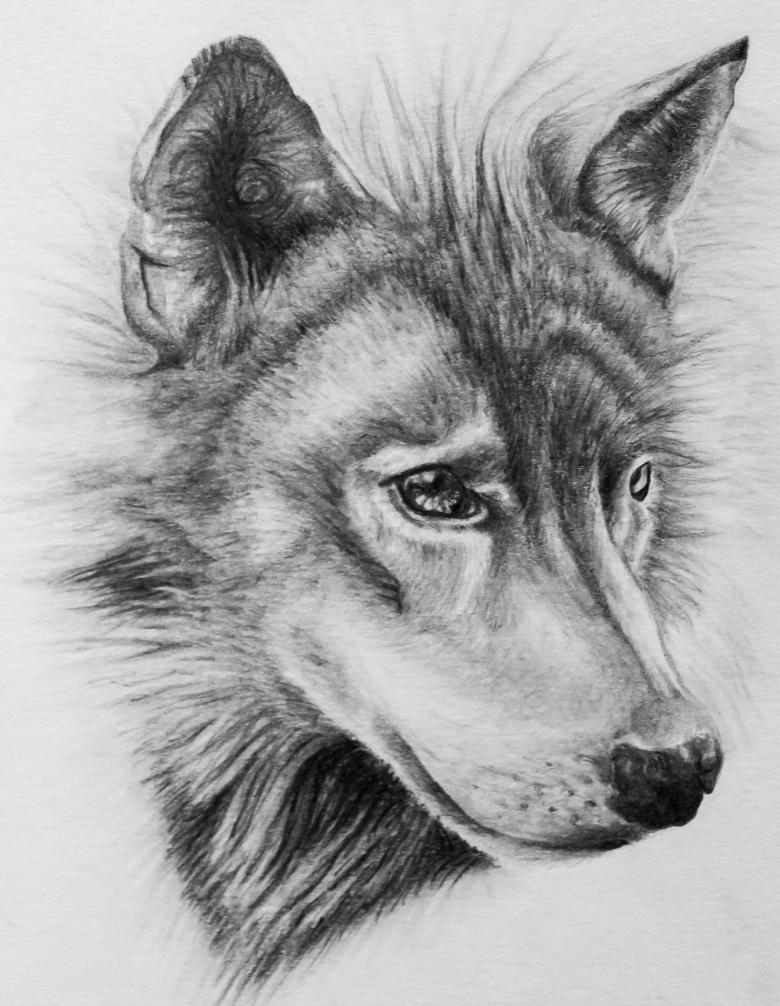
Step-by-step master class for drawing a wolf
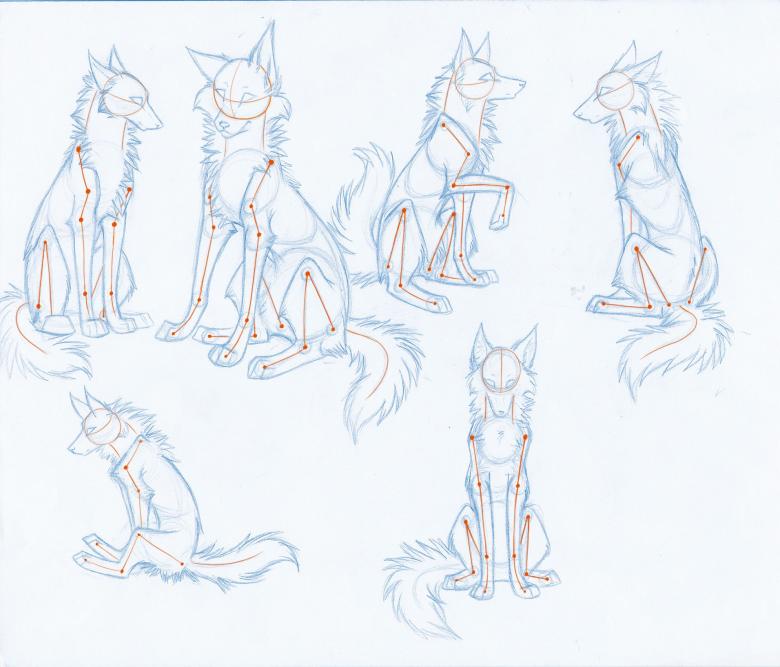
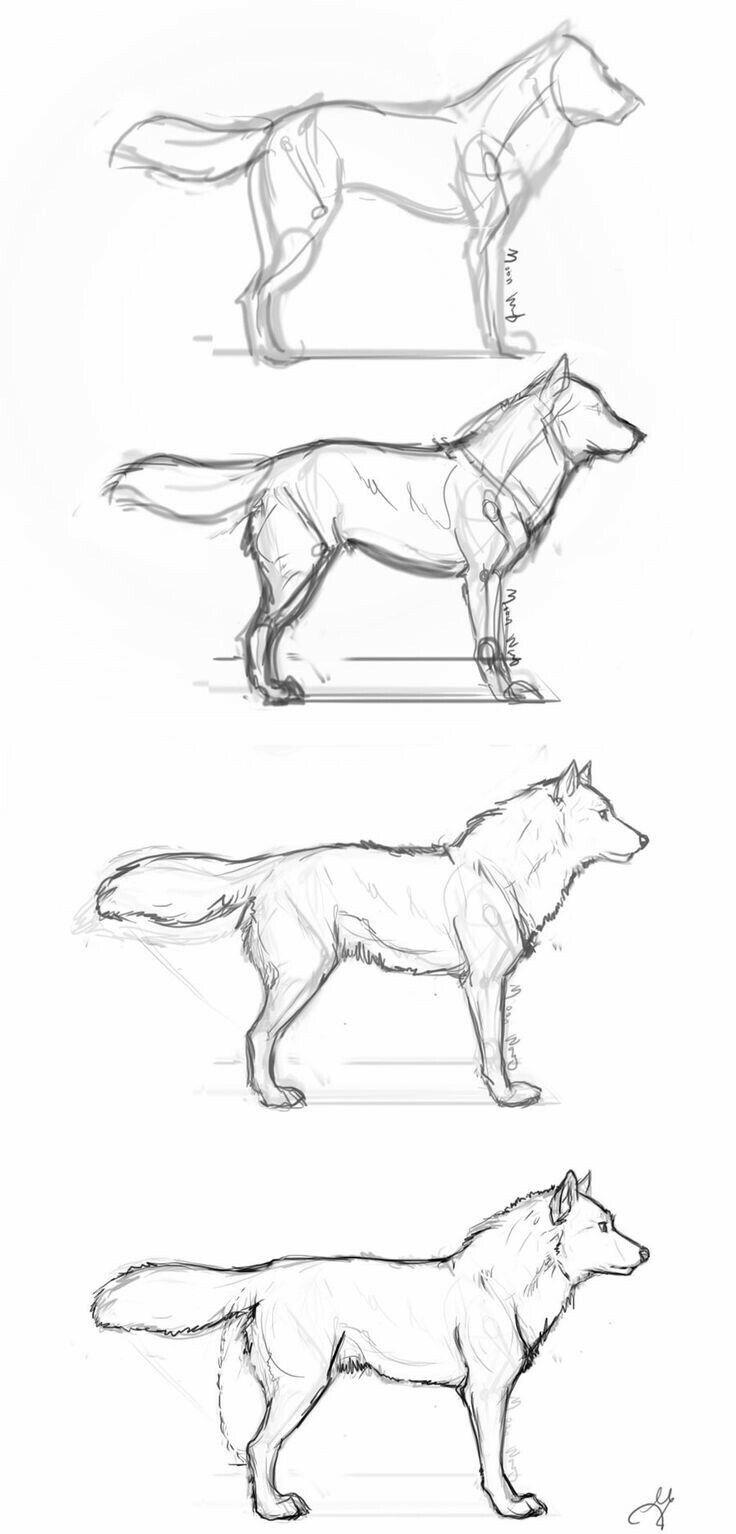
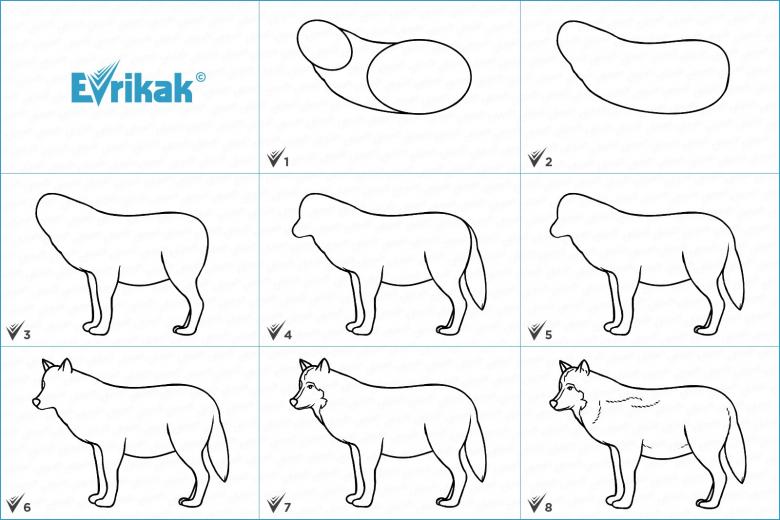
It is necessary to begin with the creation of a sketch diagram, using various geometric shapes for this purpose. To draw a standing animal use ovals and circles at the beginning of the work. To draw step by step 7 steps, drawing first a sketch diagram, and then on its basis animal body parts and muzzle:
- First draw a circle, and under it a little to the side an elongated oval, similar to a lying egg. The wide part should be closer to the head and the narrow part that will represent the croup of the animal.
- The circle is connected by a curved line to the wide side of the egg with a concave line. This will be the base of the wolf's neck. From the oval down below you need to draw four straight lines, which will later be the paws of the animal. One line representing the front paw starts from the contour of the oval, the second line should be parallel to it and start at the same level.
- To determine exactly from which place on the oval the second paw will start, it is necessary to draw a perpendicular line from the beginning of the far front paw The lines representing the front paws must be parallel to each other and run at a slight slope with respect to the oval.
- From straight lines at an angle of 45 degrees draw short segments of paws, which should end with short straight segments. The same principle is used to create the hind paws of the beast. The farther hind paw should start from the contour of the oval, and the nearer one should take its beginning, going a little bit on the oval. Farther paw should be drawn with corners, depicting a stretched letter S with sharper angles.
- Draw an irregular rectangle beside the circle, going from its base inside the circle. This will be the face and head of the animal. The base of the rectangle should diverge slightly and the outer part should taper slightly. On the head you need to draw two triangles, which will be the basis for the ears.
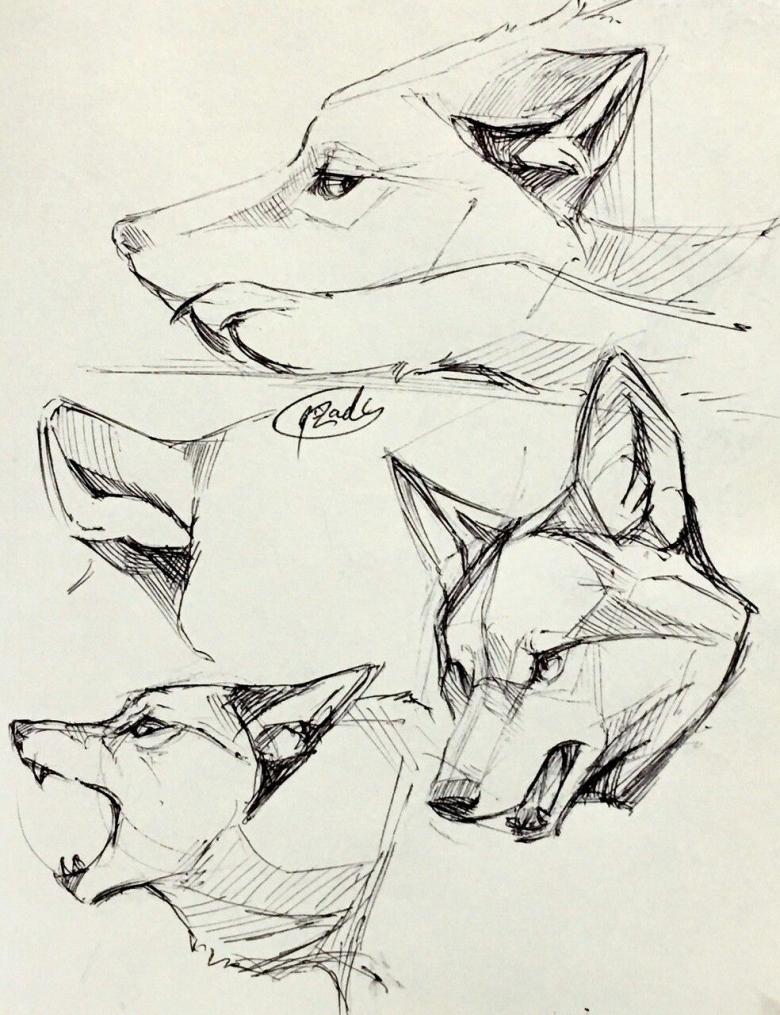
- Draw the muzzle with nose and mouth, as well as the ears of the animal.
- The next step is to draw the eyes, neck and front paws of the wolf. For a more accurate depiction of all these details, it is necessary to constantly check with a photo of the wolf, which should always be in front of your eyes. If a child is having trouble with some part of the animal, parents need to show how to draw.
- The last step is carefully traced hind legs and the tip of the fluffy tail sticking out from between them.
- When the picture is fully drawn, all auxiliary lines are erased, and the outline is traced with strokes, which represent the wolf's fur.
- Inside the picture is painted with strokes that represent the collar on the powerful neck of the animal and the undercoat on the belly.
- The last step is to color the wolf with pencils or paint. Inside the figure you need to use wavy lines to convey the strong muscles of the wolf's paws and chest and the thickness of its short hair. You can paint the wolf with gray pencil strokes imitating the wool texture or with paints, applying gray tones of different intensities.
When the picture is ready, it can be framed and hung on the wall.
Master class for drawing the wolf from the cartoon "About how the wolf and the dog were friends".
Drawing should begin with the creation of a sketch of the head. To do this, perform the following steps step by step:
- Draw horizontally a regular oval with wide ends;
- Divide it into four parts with a vertical and horizontal line, drawing the vertical line exactly in the middle, and the horizontal line so that the lower parts are larger than the upper ones;
- On the horizontal line draw irregularly shaped ovals, which will represent the wolf's eyes. Make sure that they are placed evenly. Inside you need to draw the pupils in the form of dots;
- Draw the nose at the bottom of the muzzle in the form of a rectangle with smoothed corners. The lower part of the nose should be depicted in the form of a stretched letter "M".
- Draw a triangle with a rounded top. Bottom draw the muzzle in the form of irregular squares with rounded corners. Under them is drawn lower jaw;
- Draw ears in the form of triangles on the head;
- Draw muzzle, eyes and ears.
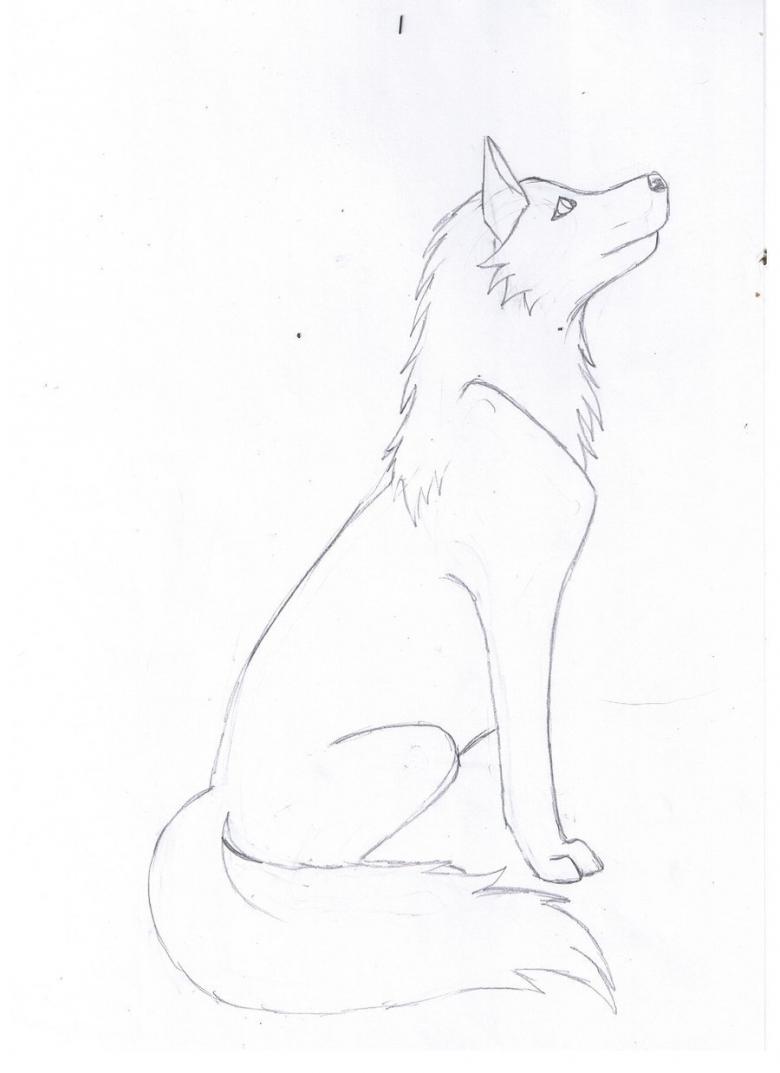
After the head, the torso is drawn in the form of a large pear, extending to the bottom. Then the lower paws of the seated wolf are drawn, and the front paws, on which he leans, sitting.
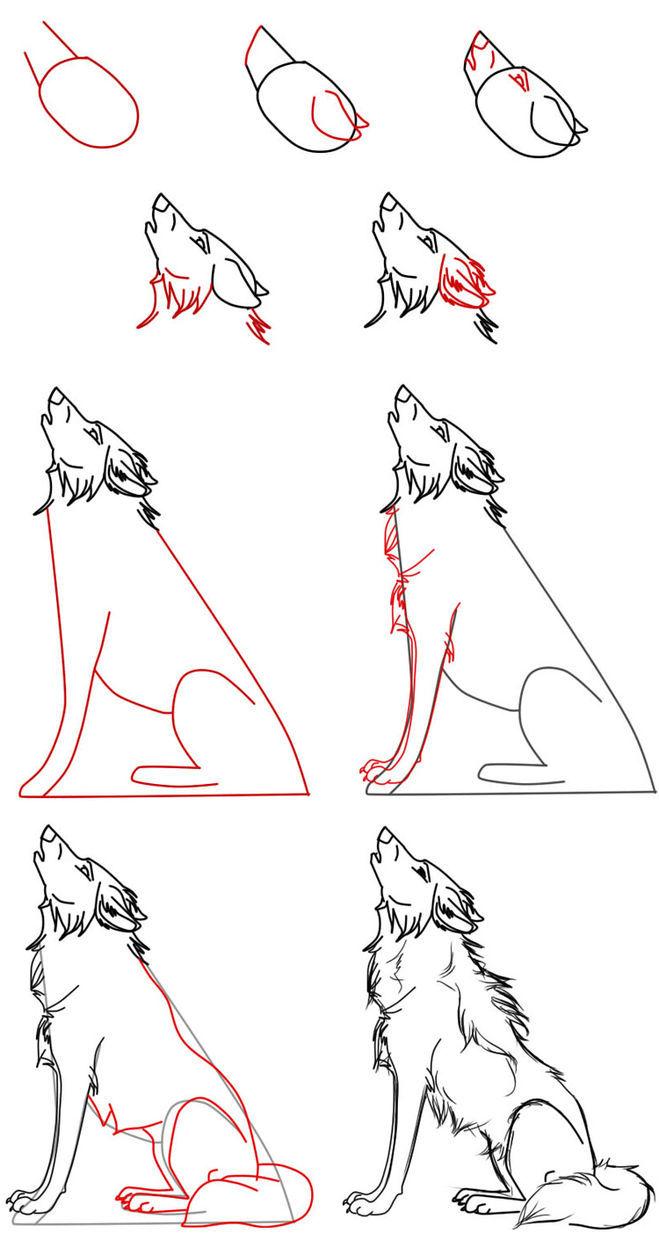
Paint such a wolf with gray paint inside an outline, and mark the outline with strokes depicting fur.
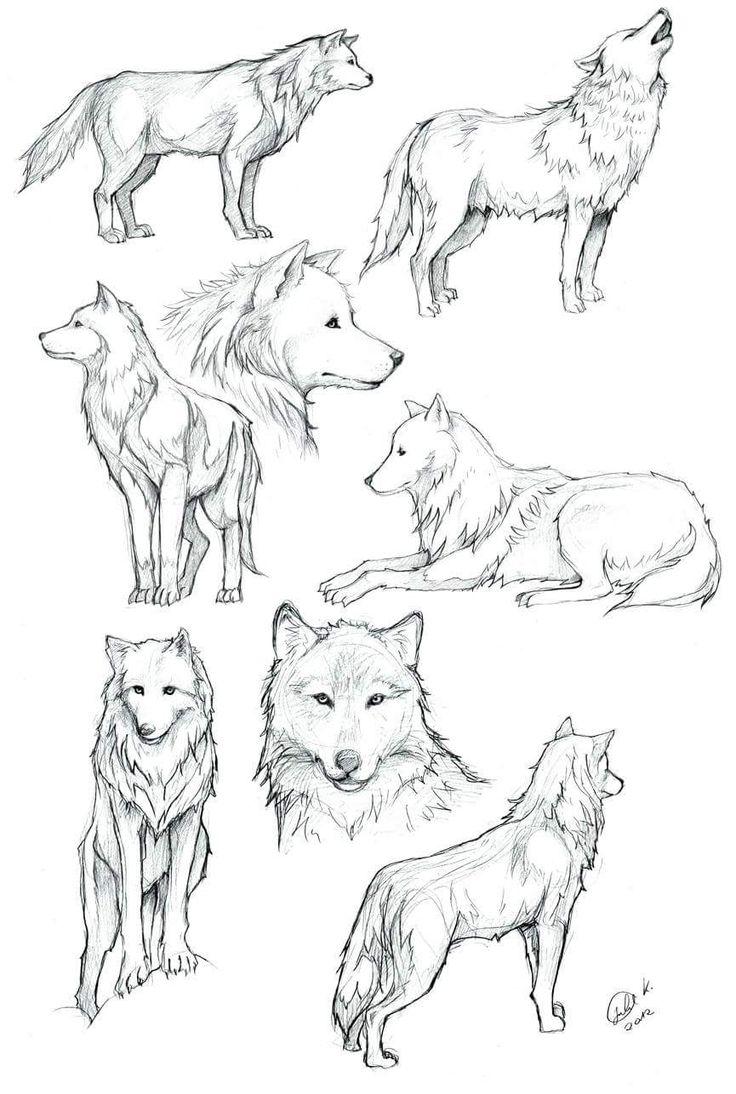
When both drawings are ready, parents can discuss with their child how the two drawings differ from each other. When a child describes a calm, realistically depicted wolf by comparing it to a characteristic cartoon character, he or she will learn that wolves, like people, can have different personalities.


