How to draw hair with a pencil: realistic drawings and tips on different drawing techniques
Any detail in drawing is a laborious matter and requires some knowledge not only in technique, but also in other important factors. Especially when it comes to the details of the human body.
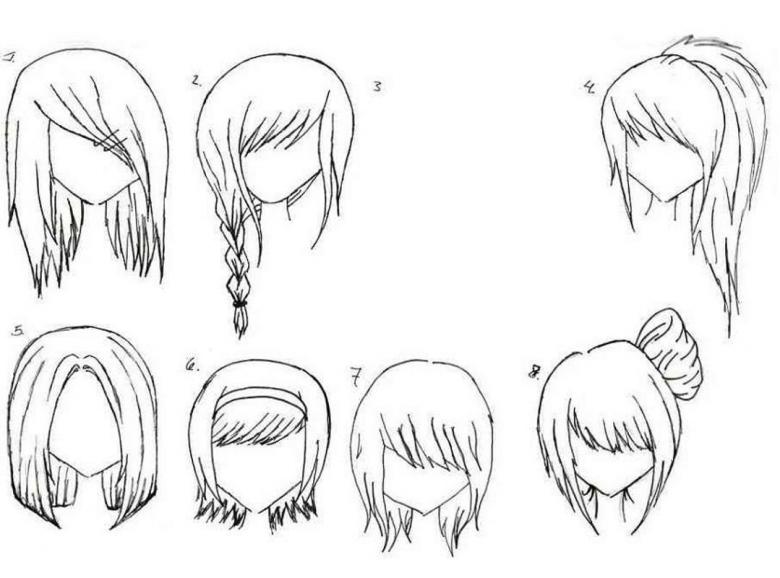
Exactly the part that carries a role in the degree of realism of the entire image as a whole is the hairstyle, namely the drawing of the hair itself. No matter how it seems, any technique for drawing human hair is not that complicated and does not require constant skill development.

It is enough to know the nuances both in the use of different tools (different kinds of paints, pencils, charcoal) and in the anatomical beginnings of the character on your sheet.
Peculiarities of human head anatomy
Before proceeding to work, we should deal with the definition of the shape of the skull. To put it simply, the head is a spherical figure.
Features are important for artists, so it is worth paying attention to the details: the forehead is quite flat, so it exactly goes from sphere to plane, similarly built temporal bones - they move smoothly to the location of the auricles flat surface. Therefore, when sketching the head, take into account any peculiarities in your character's anatomy.
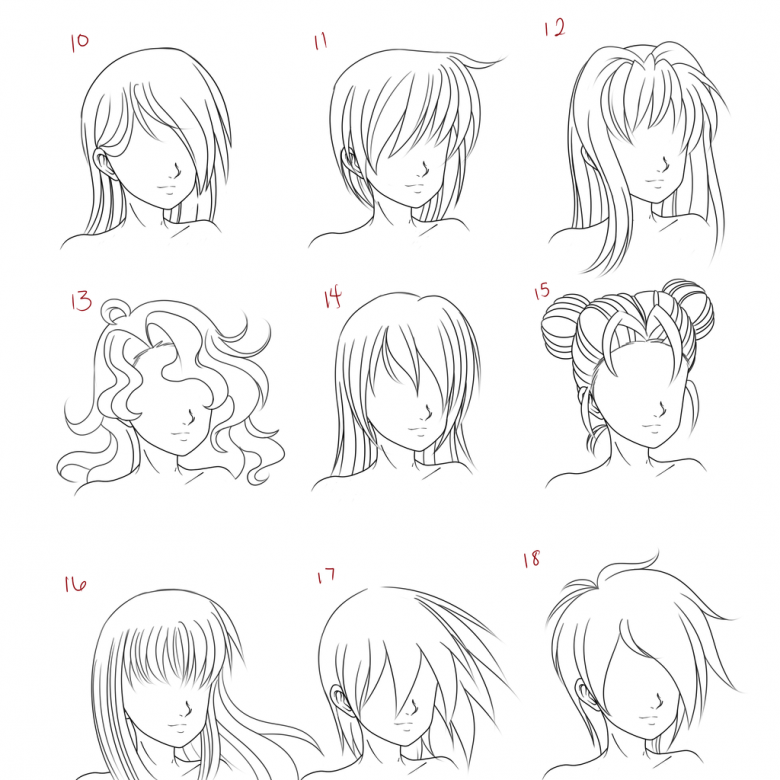
The hair, too, has some distinctive features that make it look "alive" in any drawing.
- The shape is the way the hair lies. The hair follows the shape of the head and is lowered by the environment. Also, we should not forget about the root volume and the peculiarities of the arrangement of the strands when tilting the head.
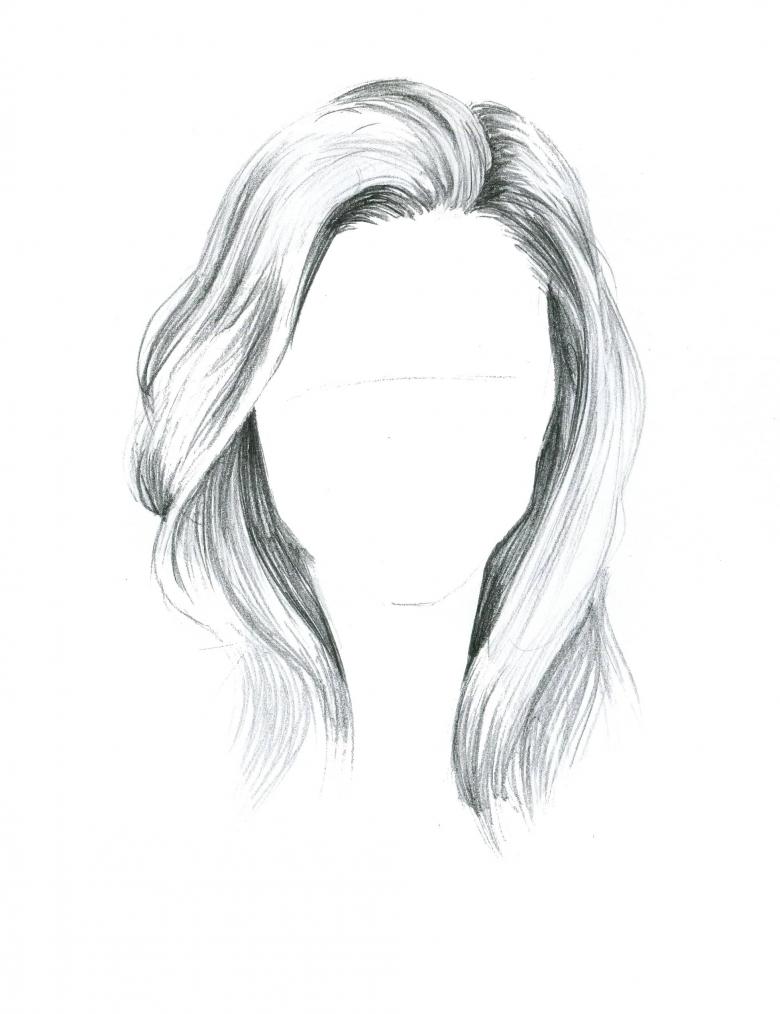
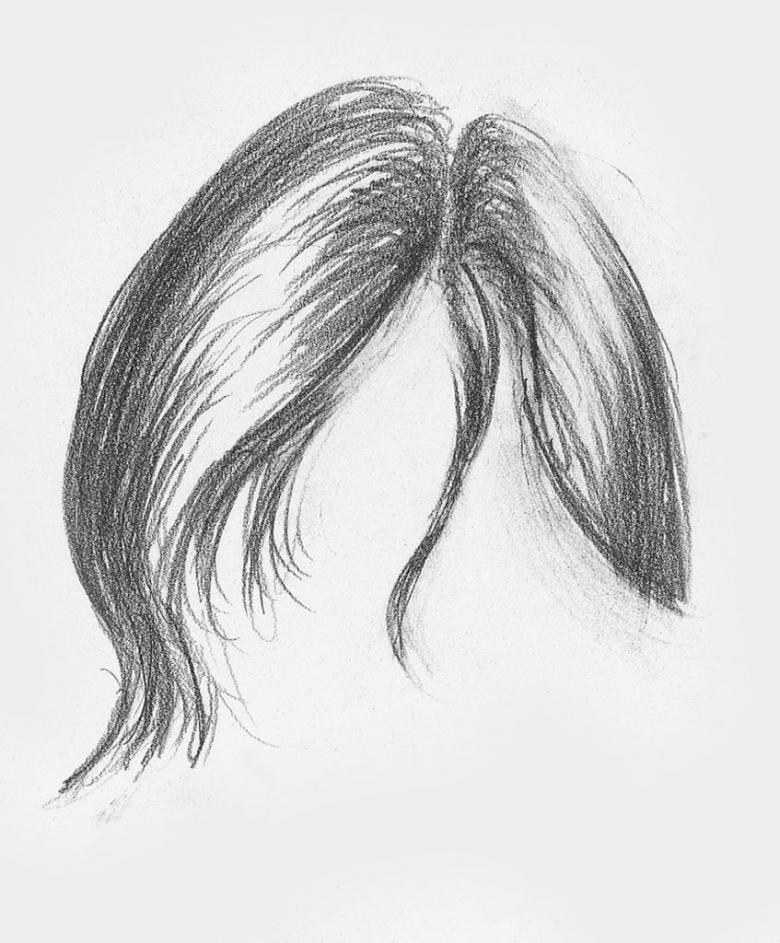
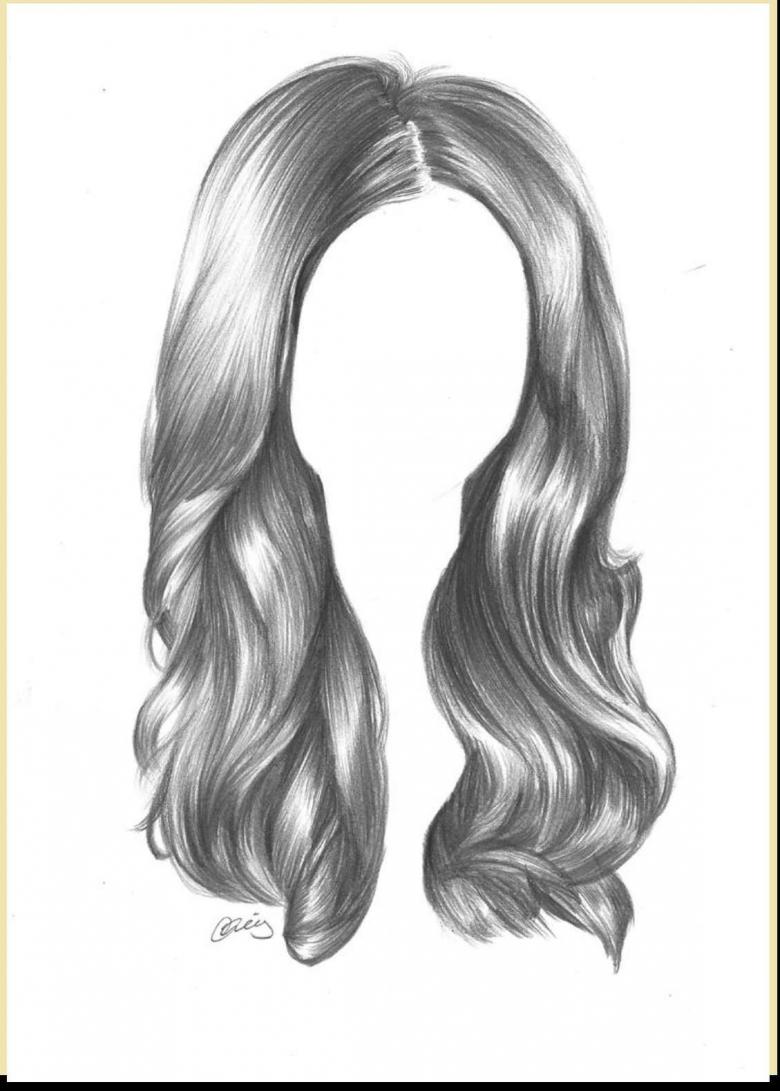
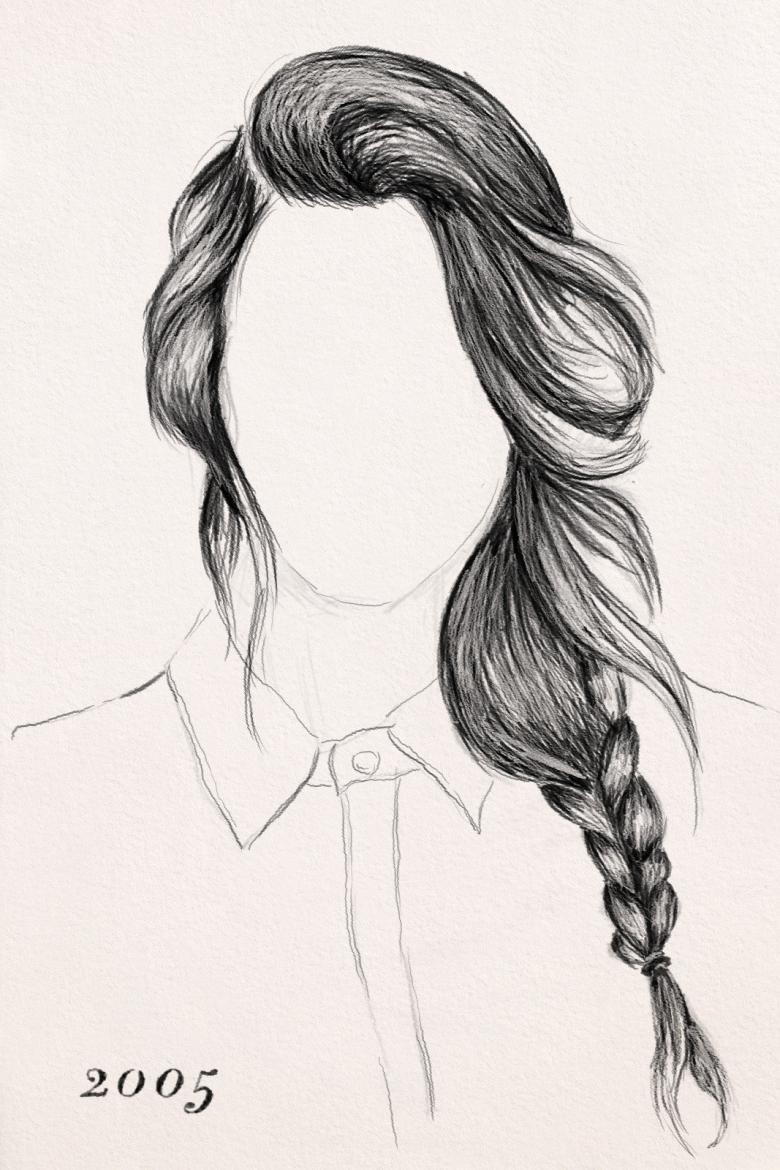
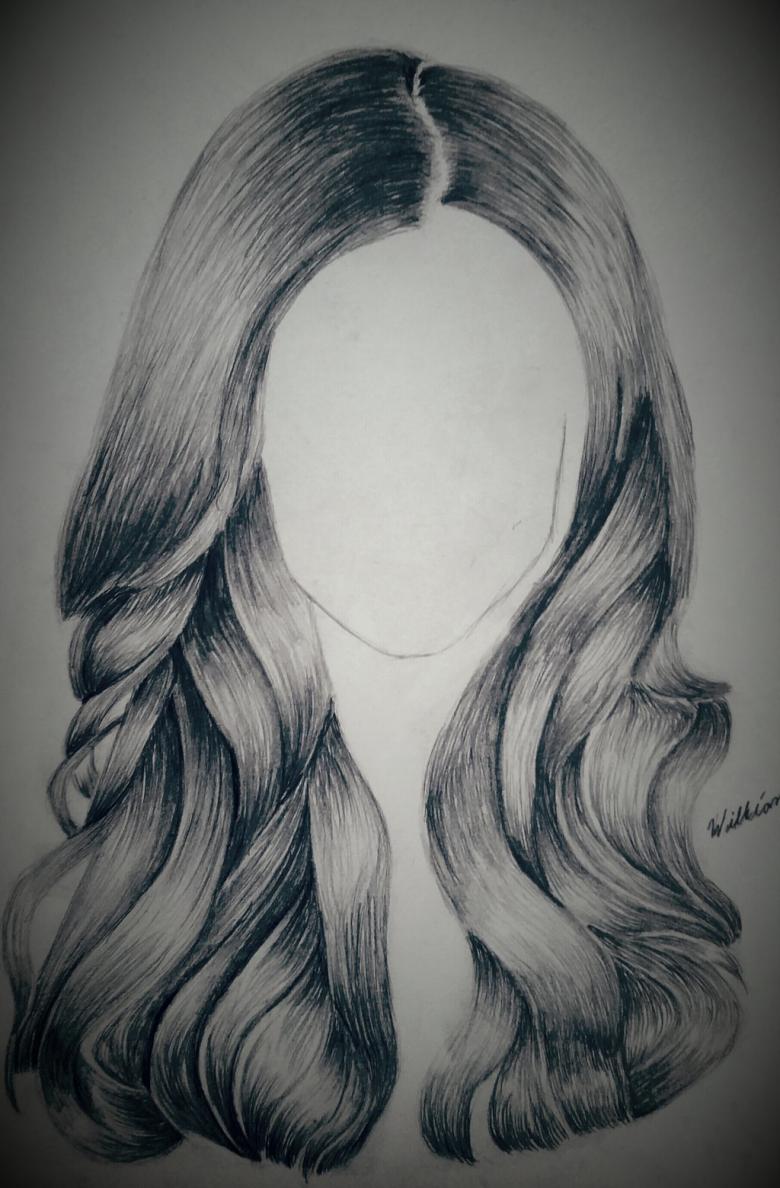
- Clean and well-groomed hair has some shine. The nature of its location on the hairstyle depends on the lighting in the pattern. By classic measures, at the base (i.e. roots) are darkened, as are the "deep" areas of the hairstyle. There is always a significant amount of shadow present.
- Drawing. It is important to know that human hair is thinner and more uniform than animal hair, so both the roots and the entire length must be drawn in the same structure and density.

Drawing hair in pencil step by step
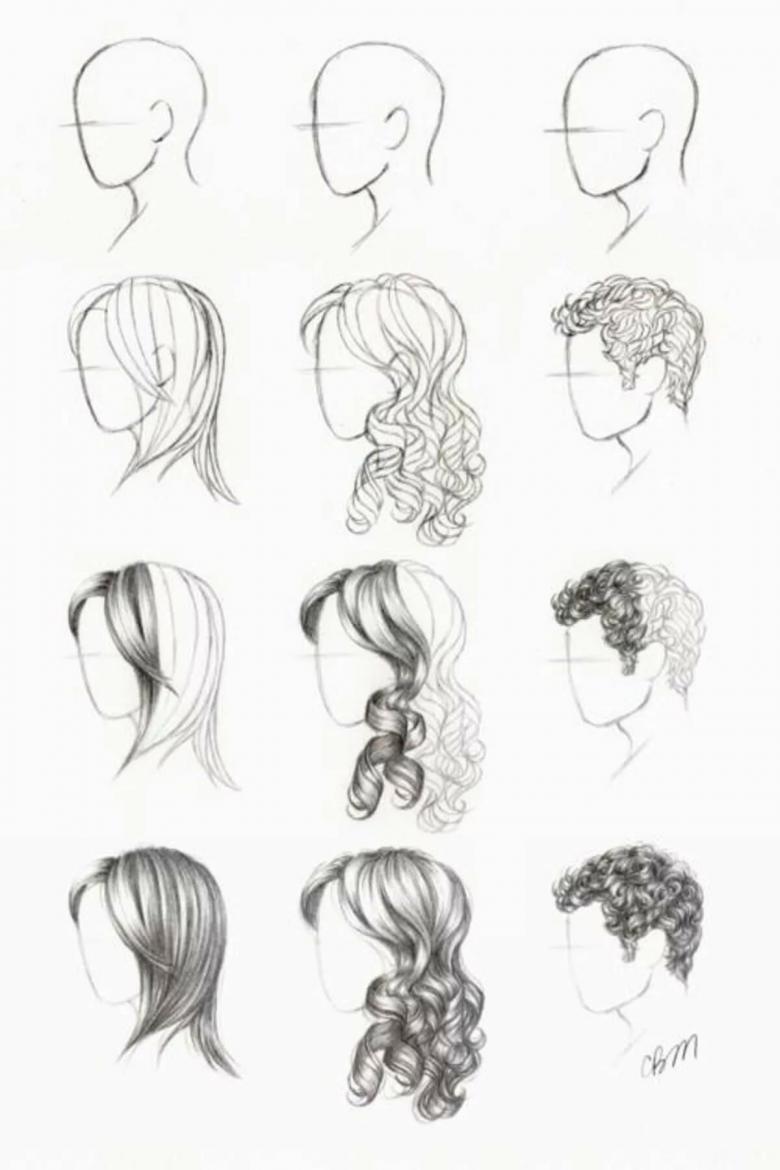
Before you start sketching, you need to find a model or at least a photo, which you are going to be guided in the work. The only thing for which the nature is not required is a sketch of the skull. It is constructed taking into account the nuances described above.
- After marking the base, i.e. the shape of the head, find the frontal cusps. This is the top line of the face, at the edge, closer to the location of the ears. Now it's important to divide everything into three zones: the parietal, temporal, and occipital.
- You can start - outline the volume of the hairstyle. Each model has its own peculiarities in the arrangement of hair.
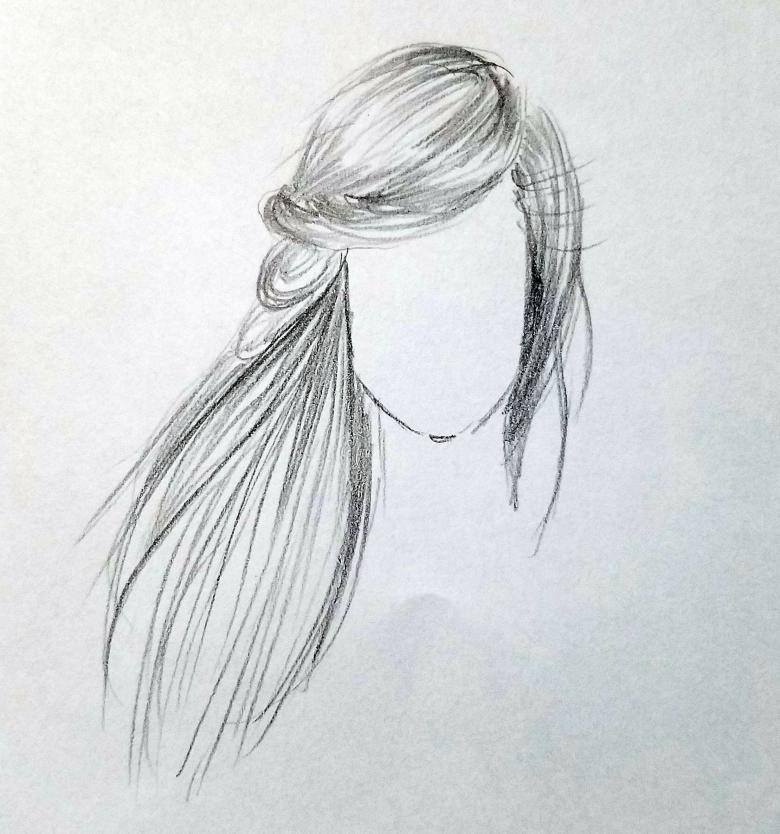
- It is worth starting with the drawing of the hair of the front part - separate curls near the forehead. Remember that the hair follows the contour of the hairstyle, repeating its shape.
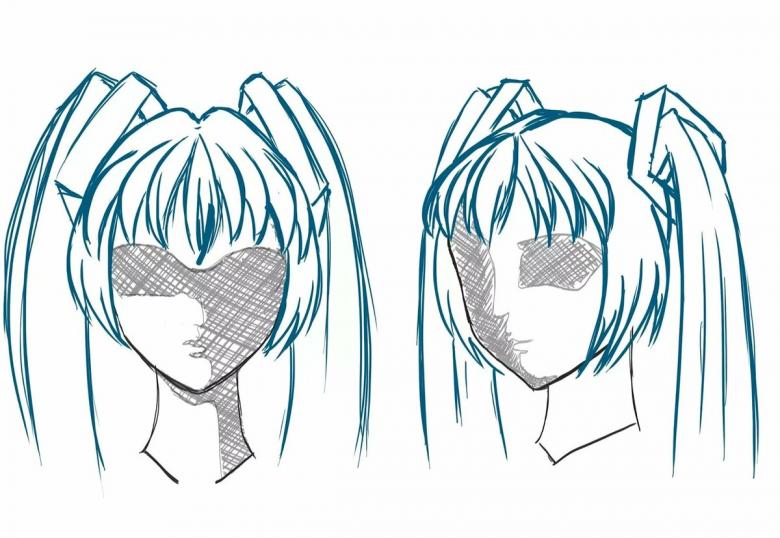
- After marking the borders of the hairstyle, begin to reveal the shadows - shading is laid first on the darkened areas - usually at the roots or inside the bend.
- Time for highlights! You can use the sharp corner of an eraser to "highlight" thin strands. Light strokes are placed on the front of the hairstyle.
- The front should always be highlighted with clear hairs, but the back part from the edge should be slightly faded.
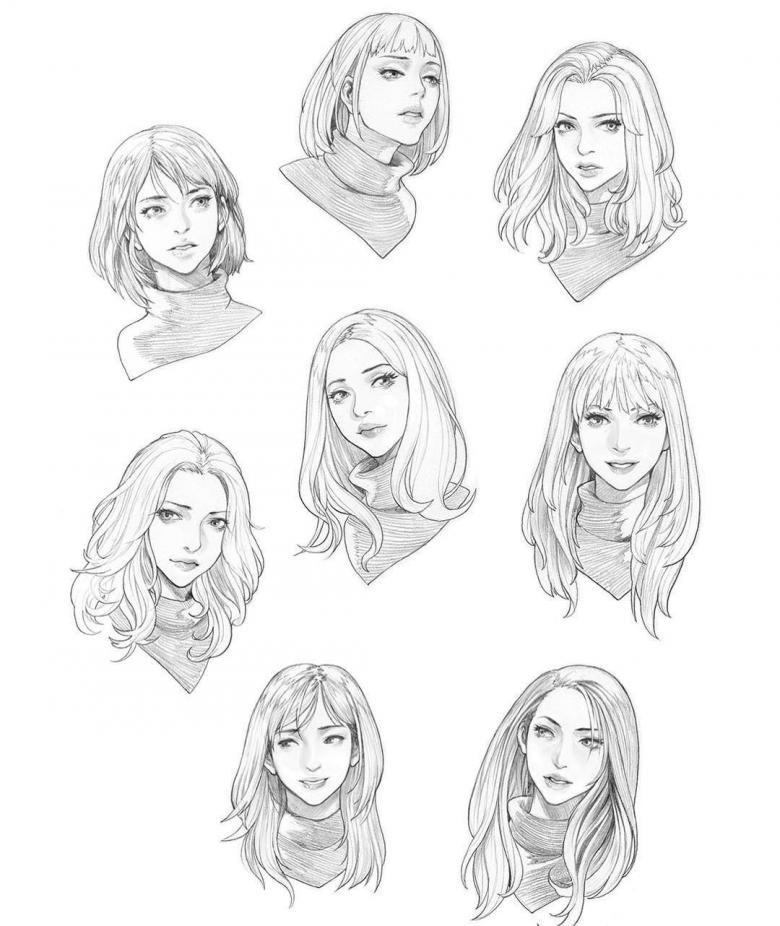
For different points, it is advisable to use pencils of different softness. For example, a fat (soft) pencil is suitable for darkened areas, and with a hard pencil you can apply the initial touches, highlight individual strands or express the front part of the hair.

A step-by-step drawing of hair with paints
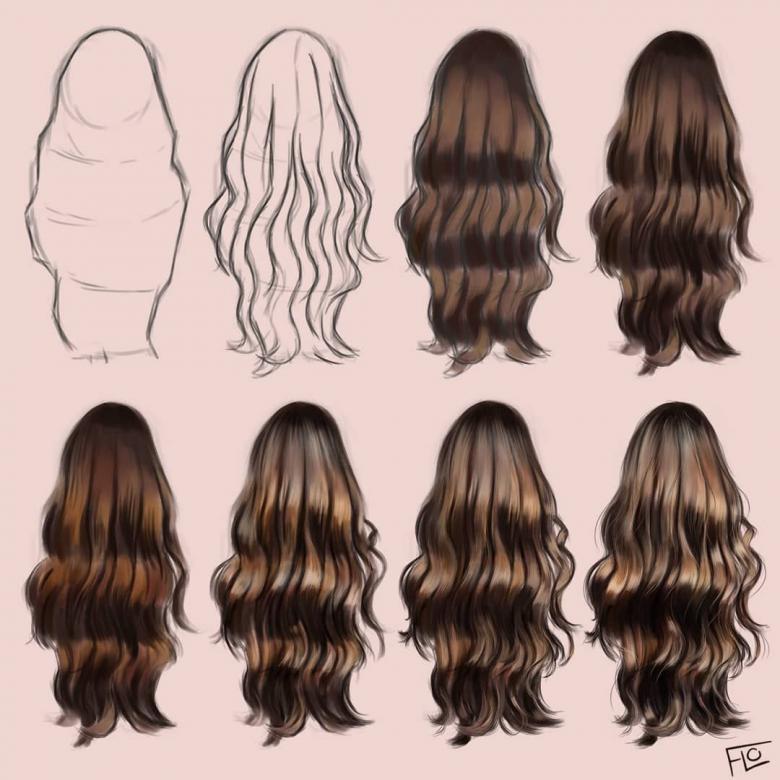
- For any hairstyle drawing option, the first and unchanging point is to apply the outline - set the volume of the hairstyle, mark the mass.
- Before you start applying the tone, you need to consider the specifics of how the type of paint you're using stacks up. If it's watercolor, then mark the locations of the different colors and shimmers in advance. As for acrylics and oils, for them it is enough to choose one basic shade among a moderate palette (not too light or, on the contrary, not too dark).
- At this stage, the leading detail will be the shade. Using the basic rule of light and shade, mark the darkened areas both on the hair and on the face, neck, and shoulders of the person.
- Shine is the tone that shows the groomed hair and increases the realism of the pattern. After marking the highlighted sections of the hair, all that's left to do is add crisp details from the front, closer part of the character's head.

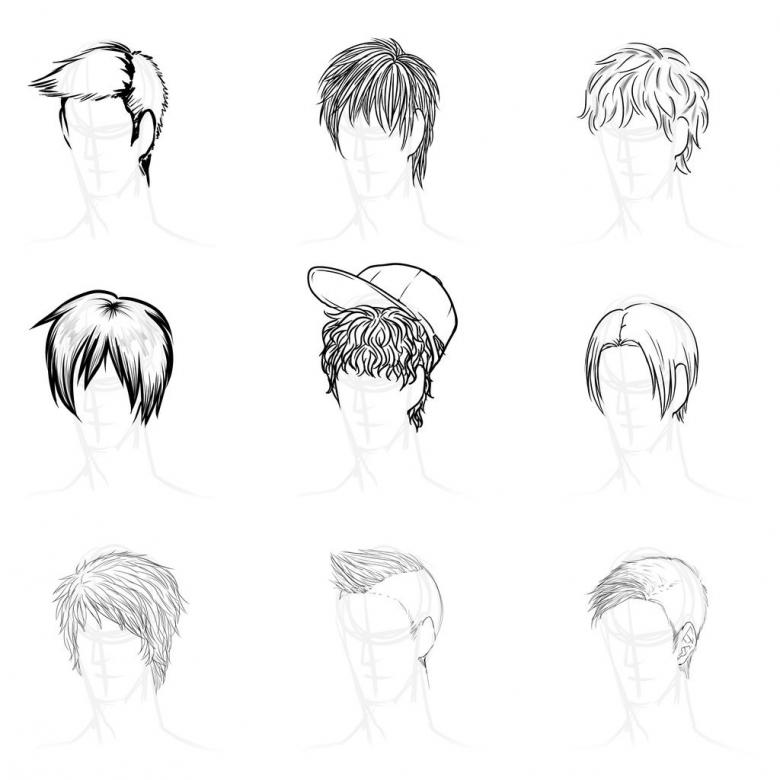
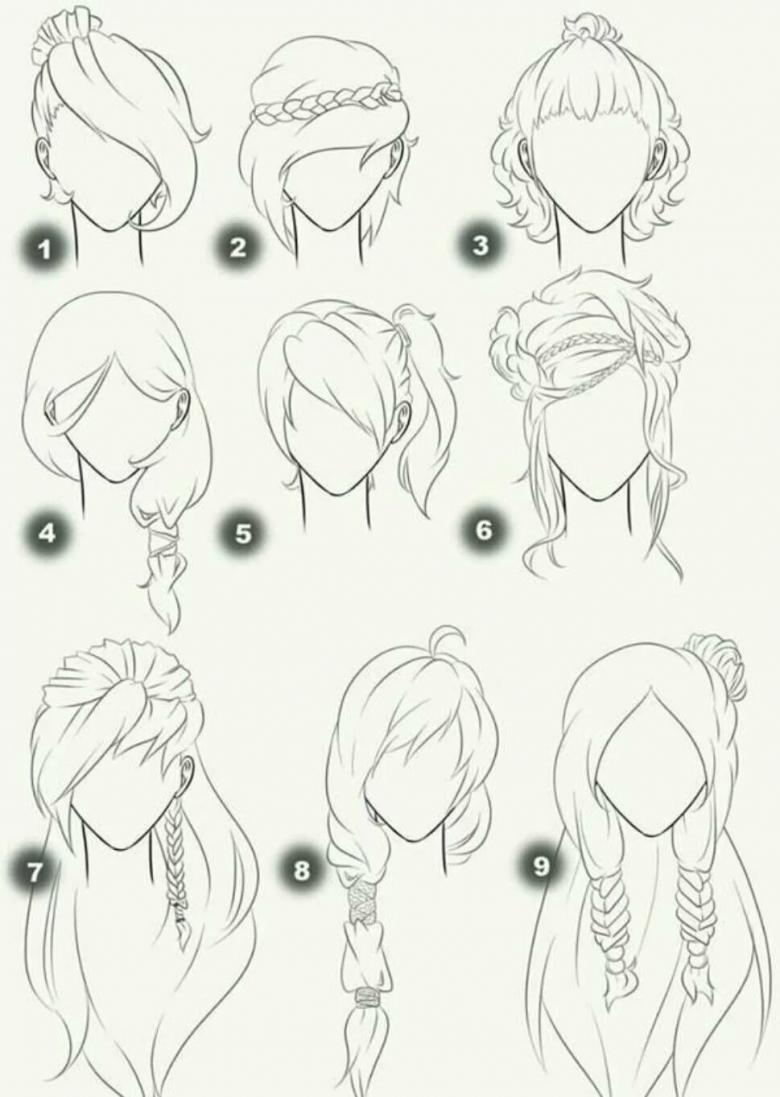
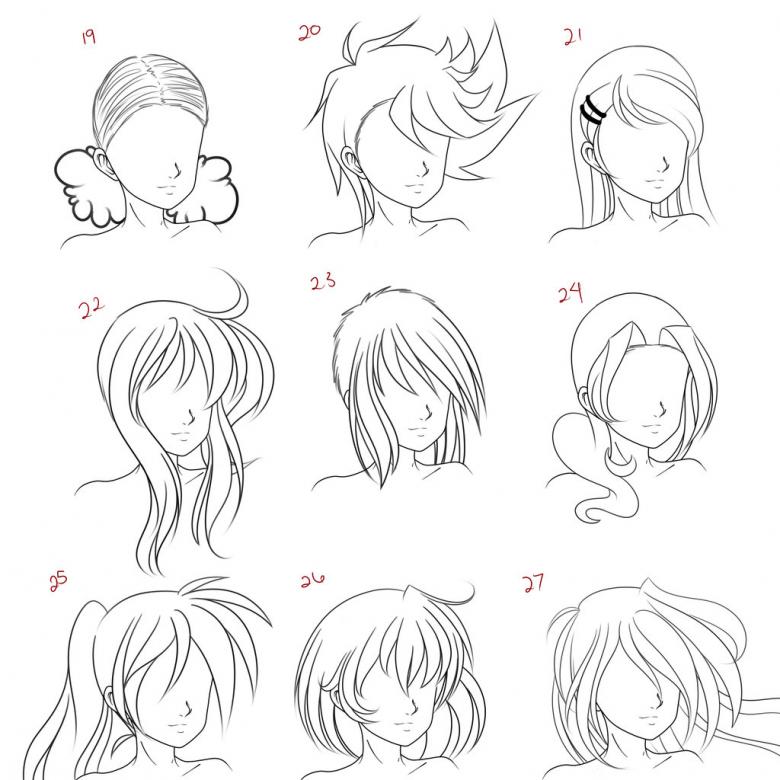
Anime-style hair
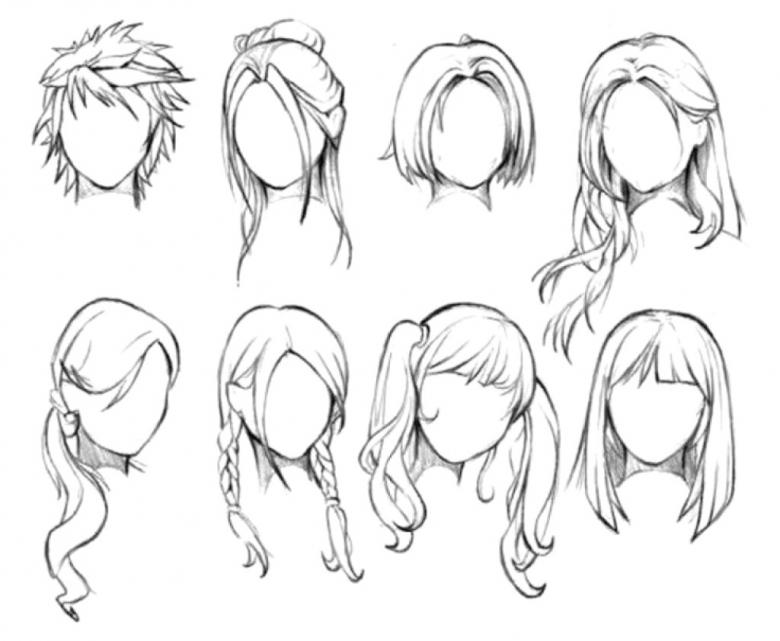
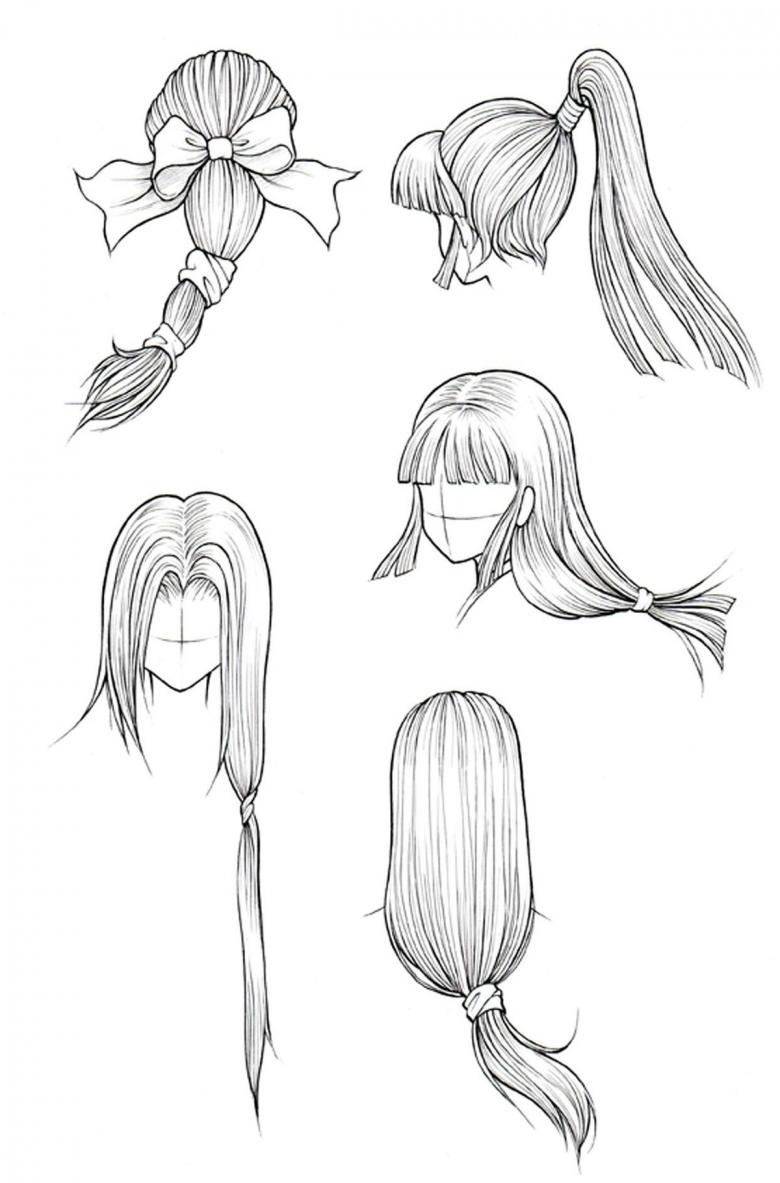
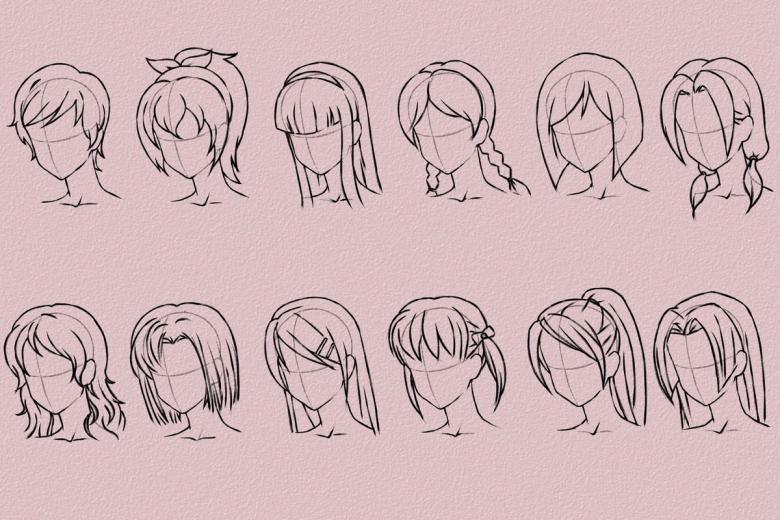
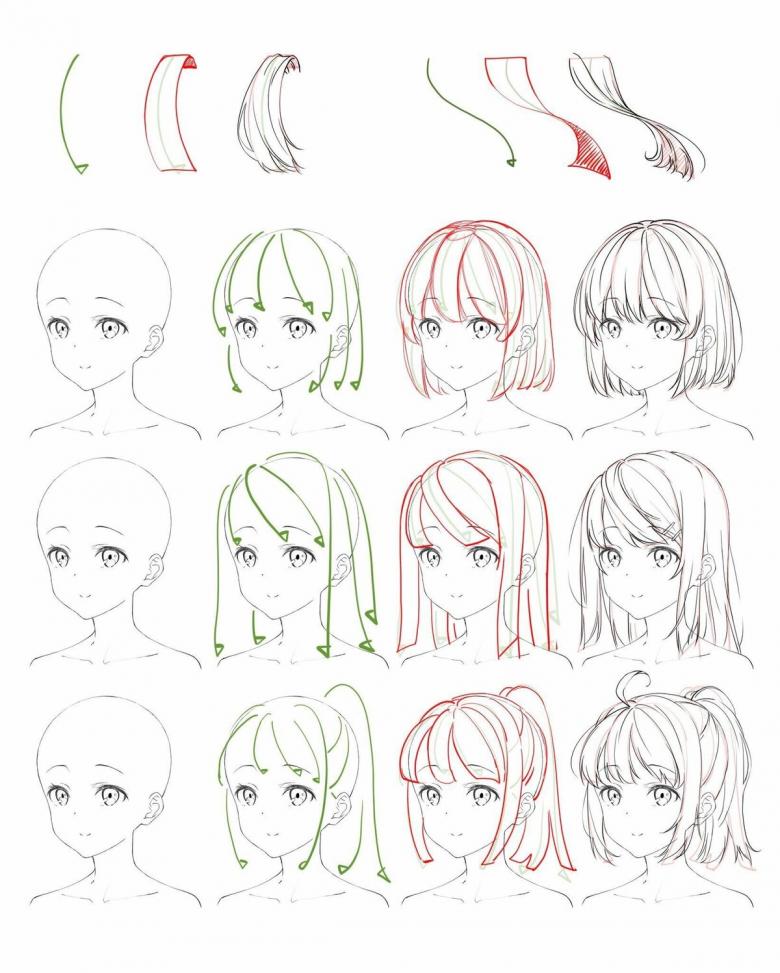
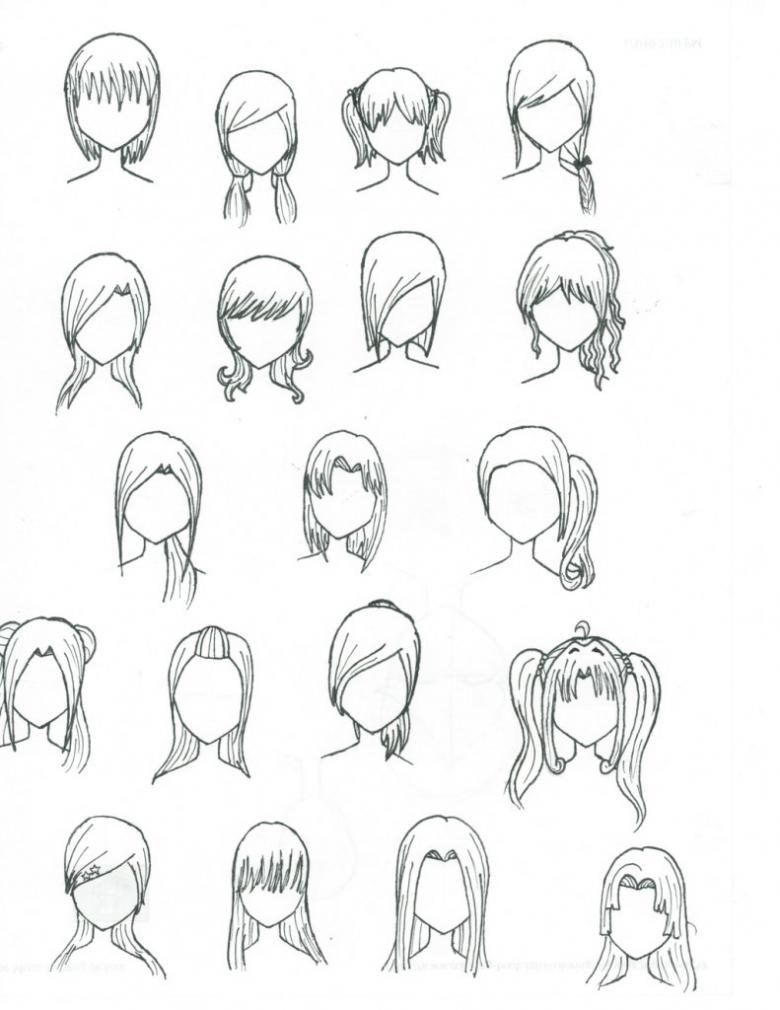
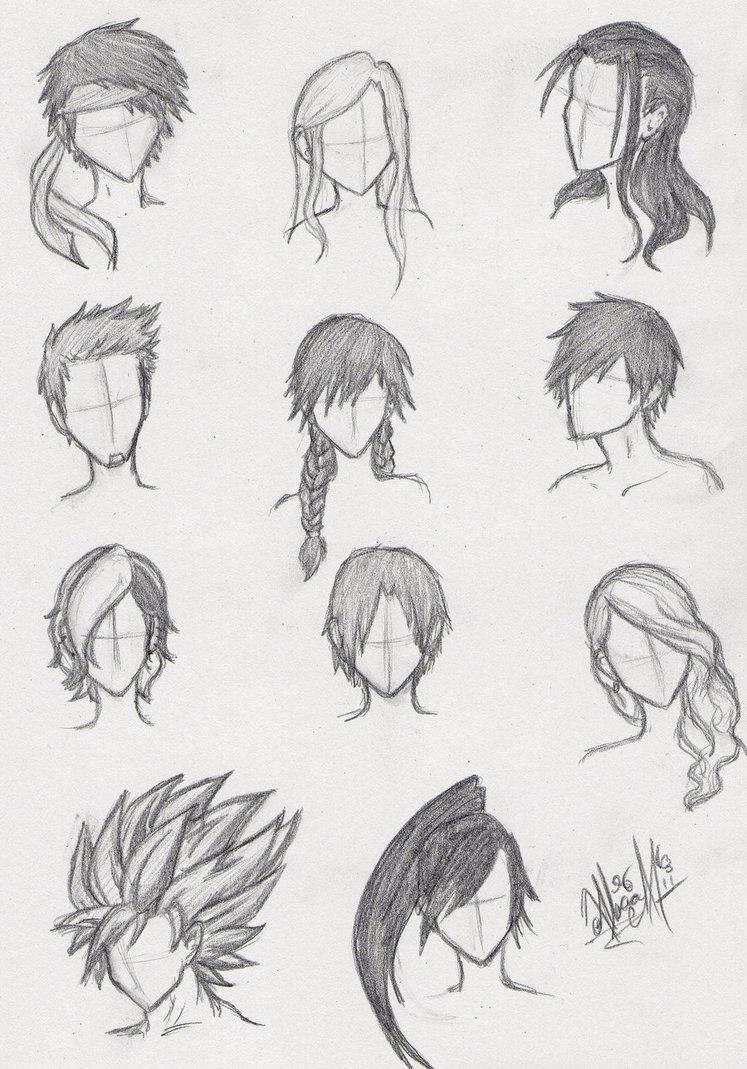
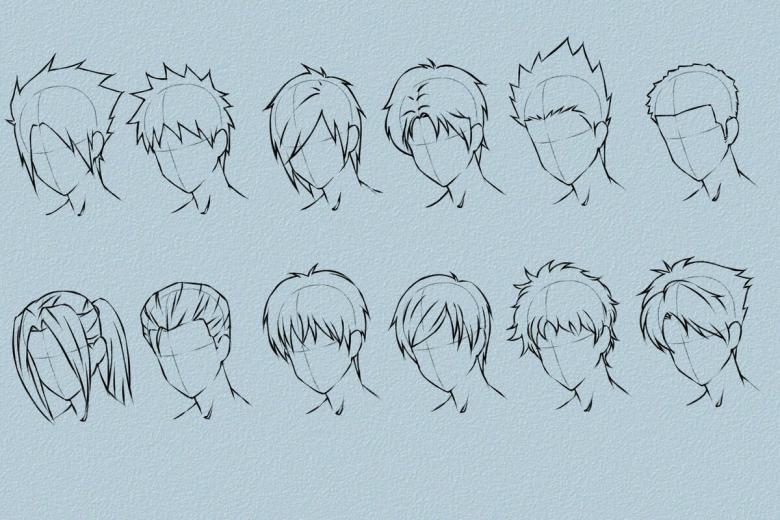
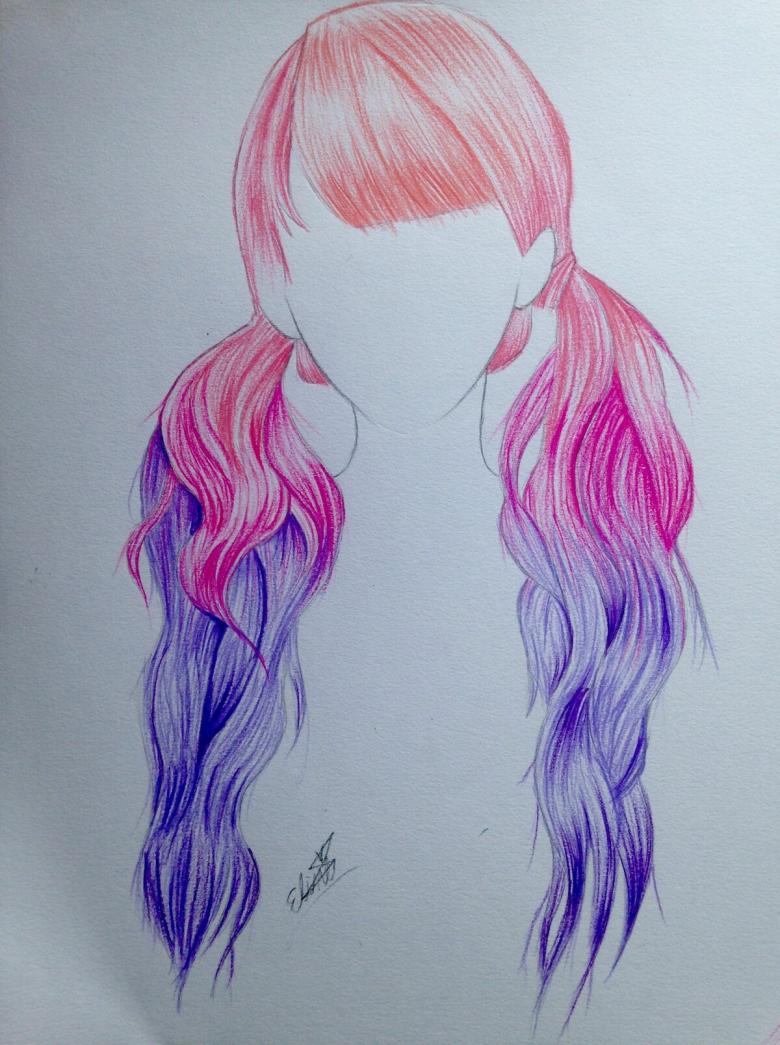
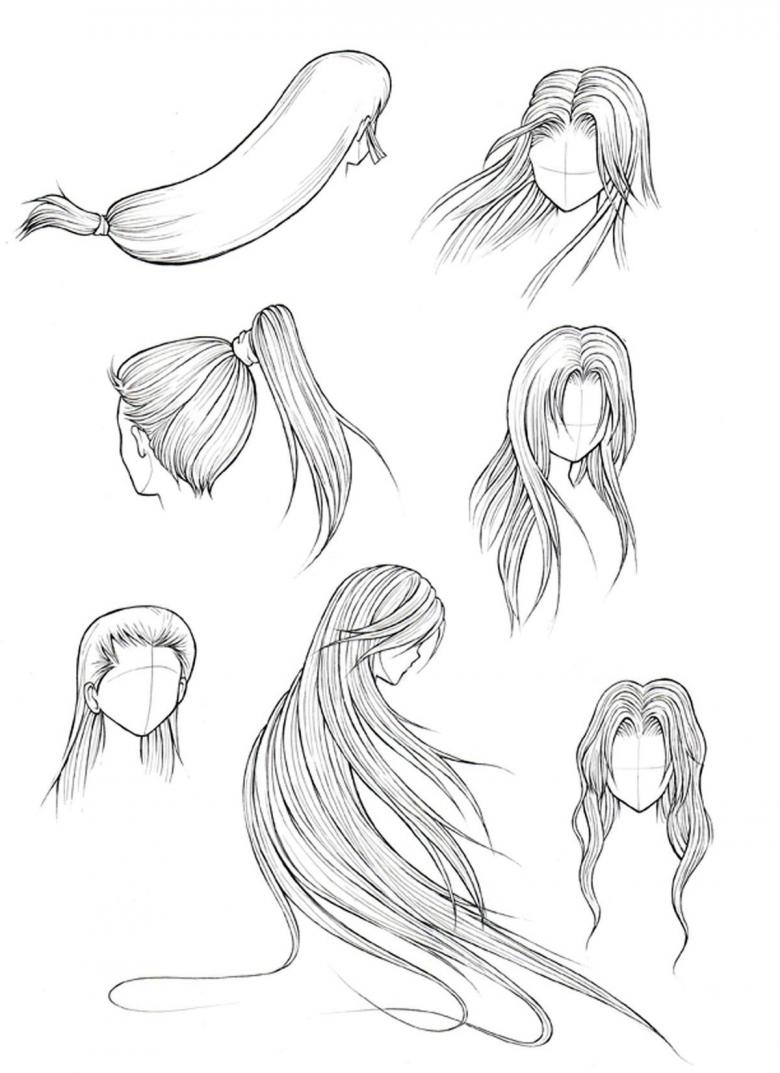
The peculiarities of this kind of hairstyles are that shading is rarely used here, only a clearly traced outline is important. One basic tone is used for the picture, to which additional shades are added at will in order to give volume to the hairstyle.
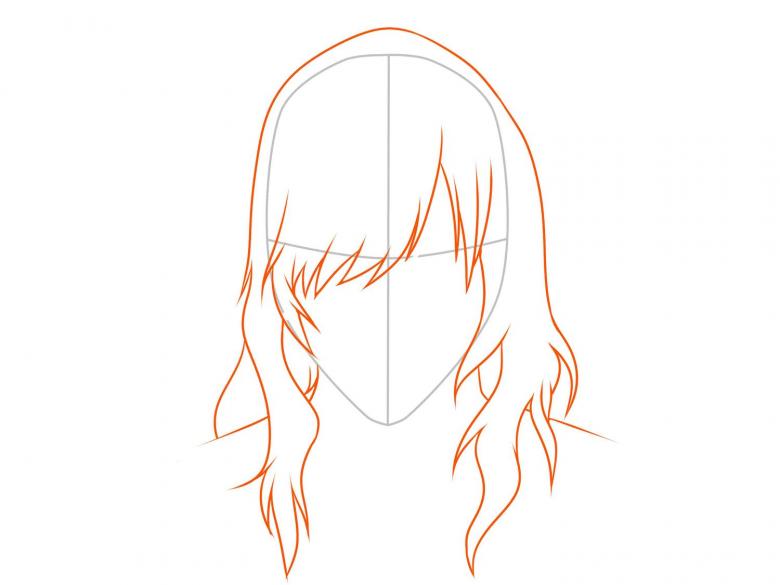
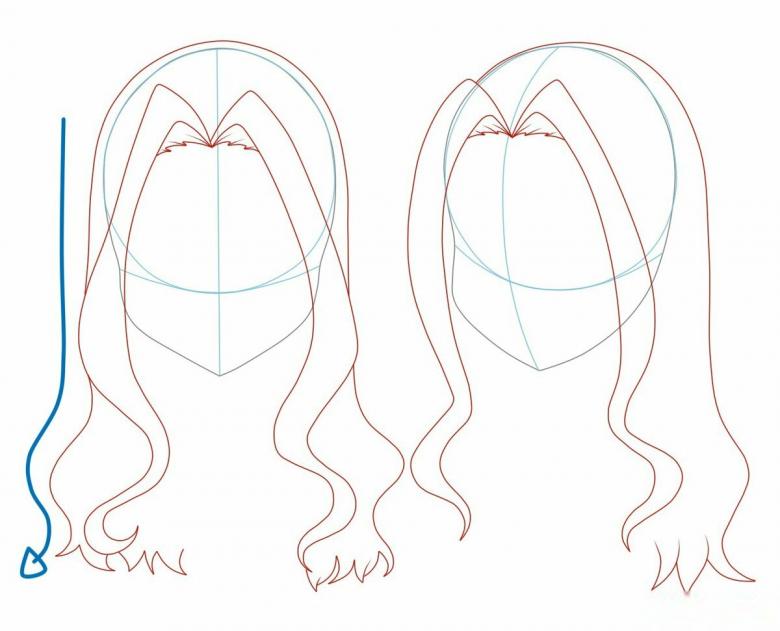
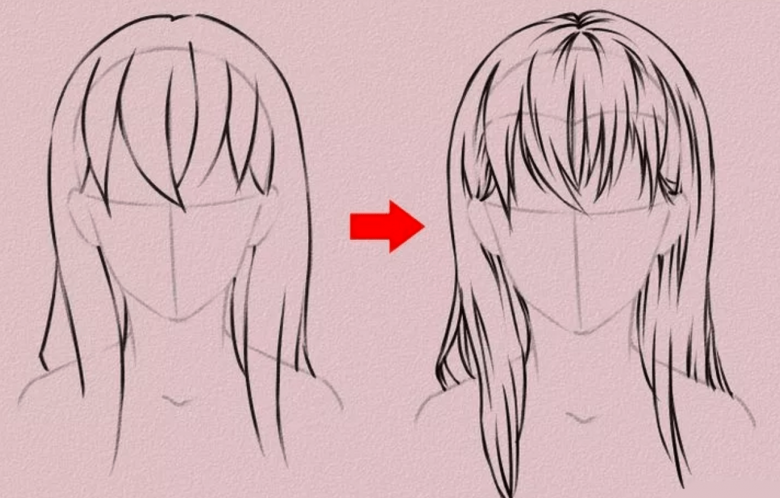
- Start with the head - vertical and horizontal lines, the oval. Mark the contour of the face. It is desirable to mark the lines of the neck and shoulders at this stage.
- Separate the contour of the part of the head that will be covered by hair. Start with the top of the forehead and bring it to the ears.
- A distinctive feature of anime hairstyles are "sharp" ends of strands, they should be highlighted immediately. Clearly draw the outline of the entire hairstyle, there should not be any shaded details. The front strands are often drawn "behind the ears" (hair tucked in).
- Tone is an important rule for this style. Use one shade for the entire hairstyle. Only for the shape you will need a color from a darker range.

That's all the uncomplicated points to consider for a good pattern.


