How to Draw a Pig in Pencil - Three Step-by-Step Master Classes for Children
Jolly and piggies are often characters in cartoons, television programs for children and fairy tales, so a child will definitely want to draw such a cute cartoon character:
- Piglet;
- Funtik
- Piggy;
- Naf-Naf
- Nif-Nif
- Nuf-Nuf.
To get realistic and beautiful piglets, you need to give children a drawing lesson, which step by step shows how to draw these animals.
For work you will need to prepare:
- paper for drawing with pencils and gouache;
- simple pencils;
- an eraser for drawing;
- watercolor paints or gouache.
It is also necessary to choose a suitable picture for the child, with which he will check his artistic creativity.
A simple master class for drawing a pig for preschool-aged children
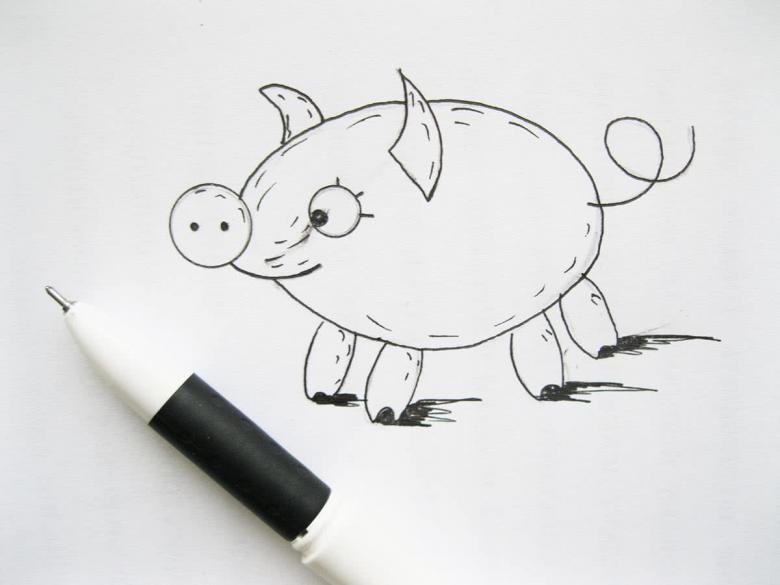
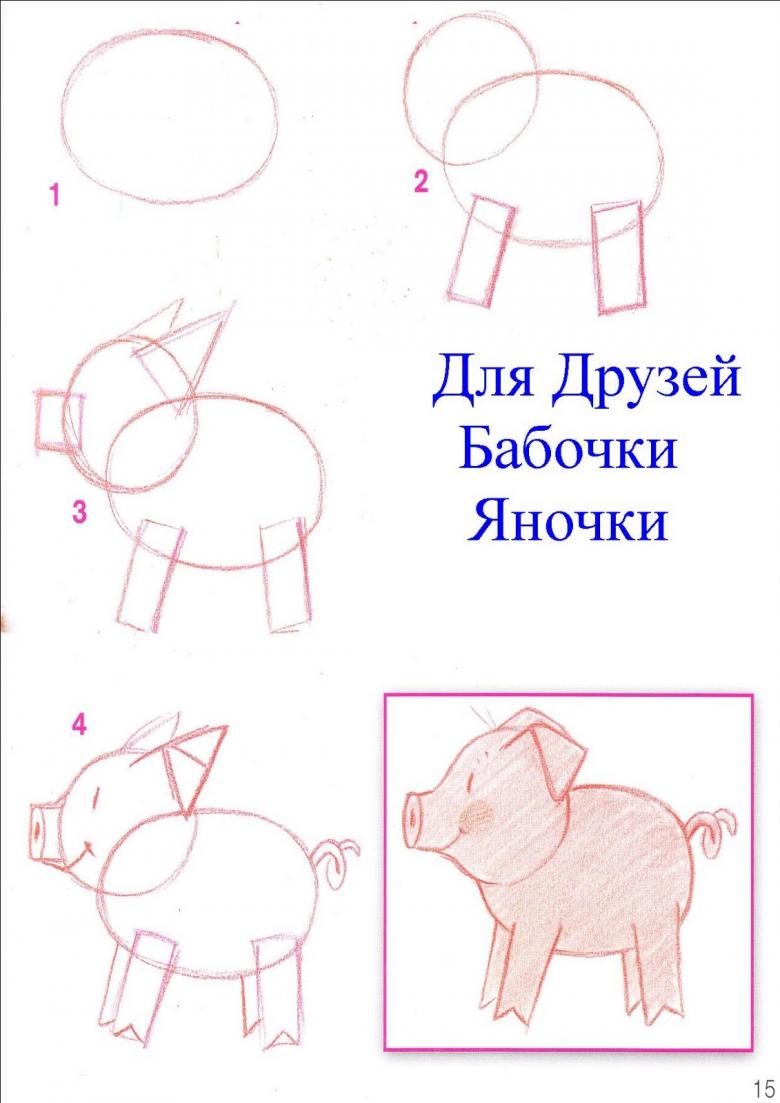
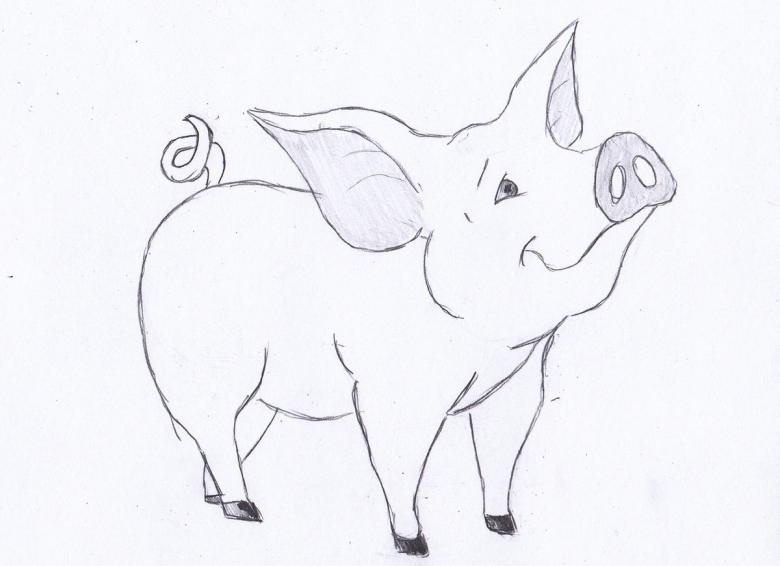
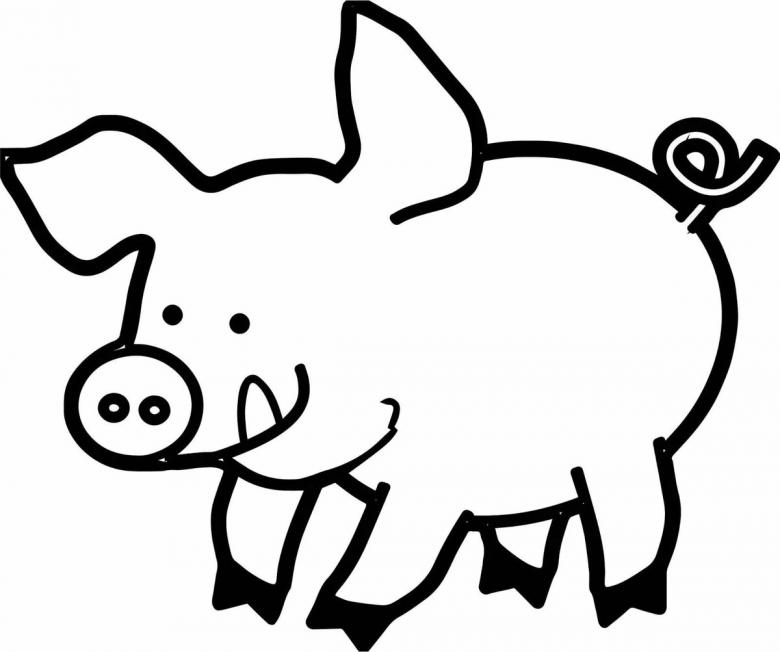
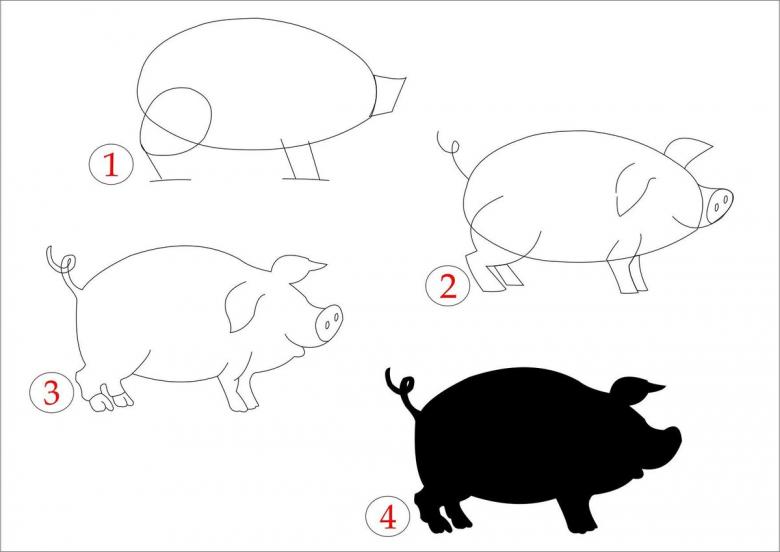
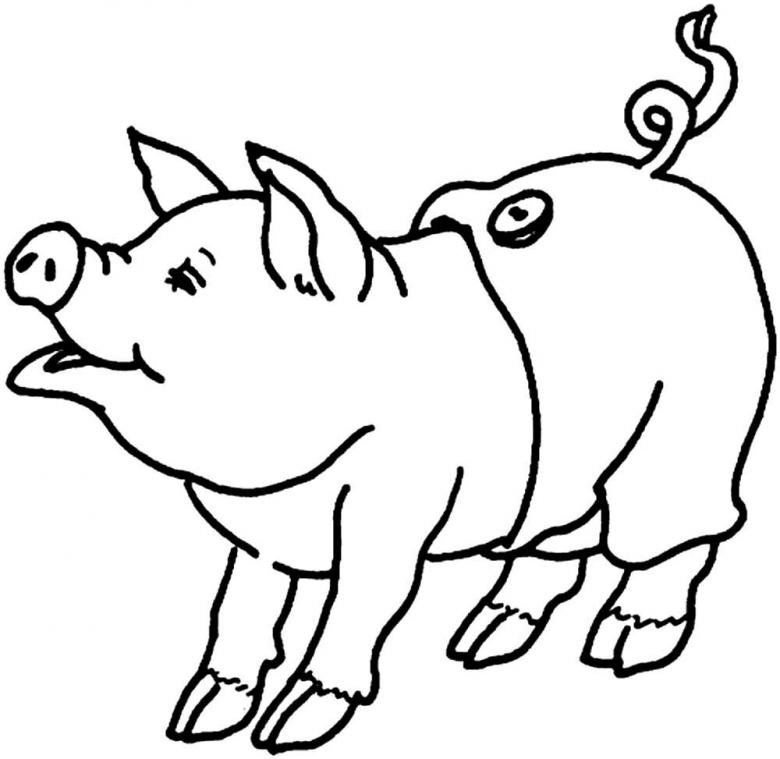
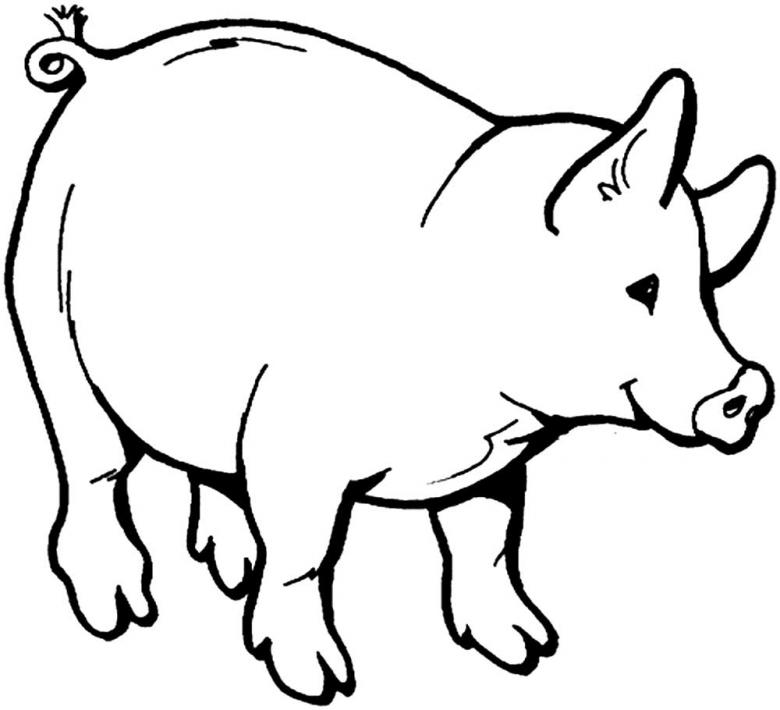
If the kid is only mastering the basics of drawing, then a step-by-step drawing lesson of the simplest image of such an animal will be suitable for him. A step-by-step sketch is presented below:
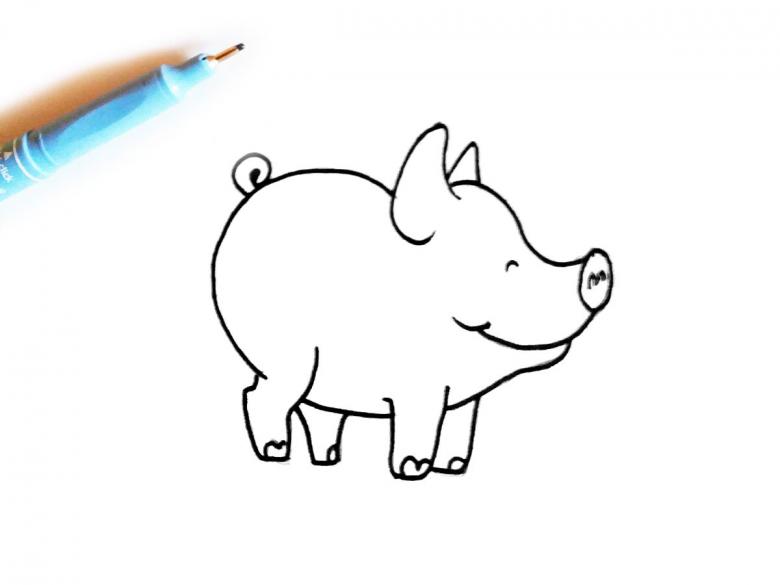
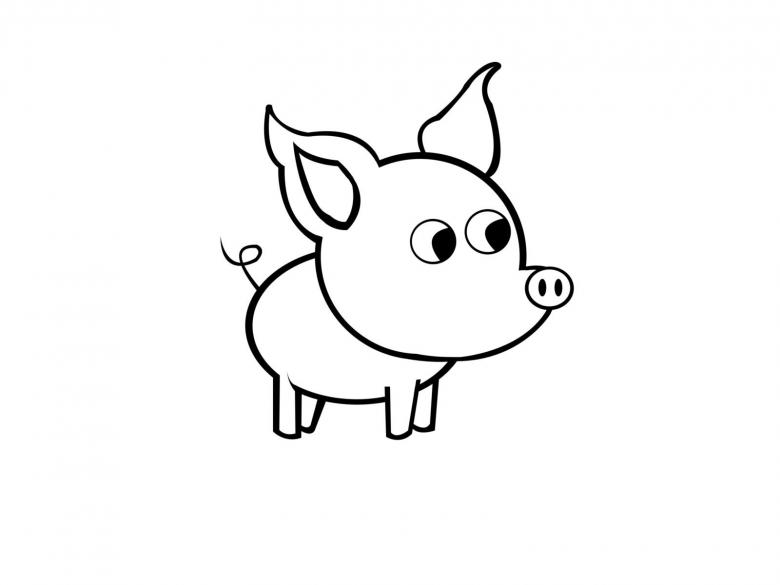
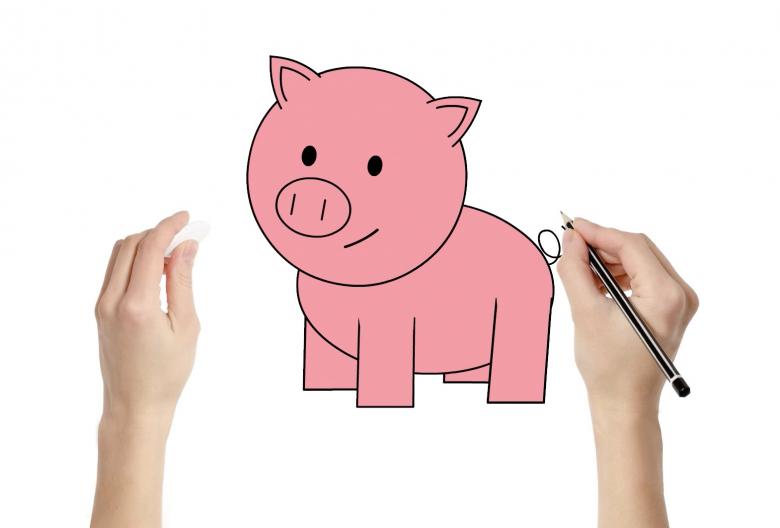
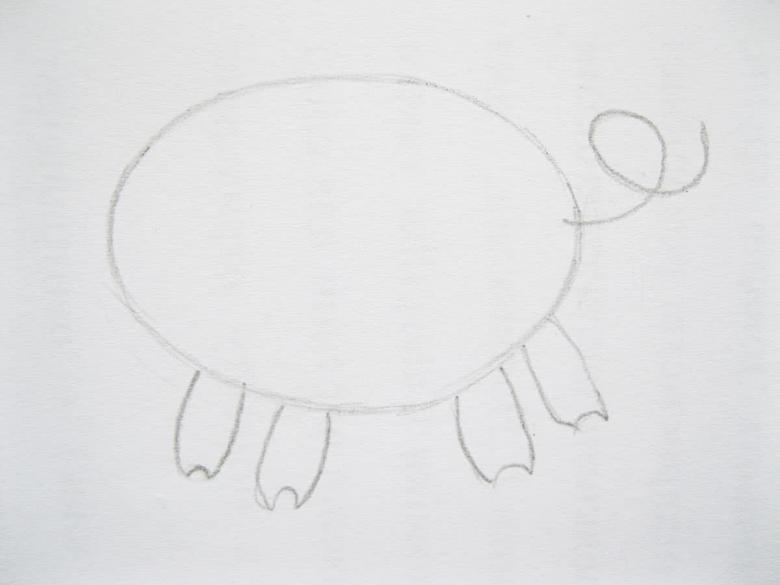
- Draw an oval on the right side of the sheet in an oblique position.
- Draw a circle so that it goes over the oval. After erase the line inside the circle of the oval. This is the sketch of the body and head of the pig.
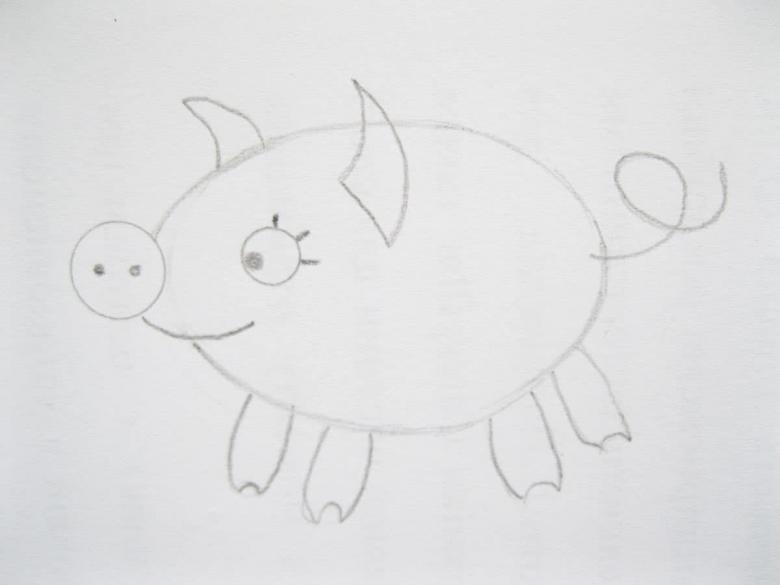
- On the top side of the head to draw two ears in the form of irregular triangles. Inside, draw the silhouette of the ears, repeating the outline with an indentation of 1 cm from the outer edge of the ear.
- To create the face of the animal, draw a horizontal oval approximately in the middle of the circle, and in it mark two large dots. This will be the pig's snout.
- Above the heel draw two eyes in the form of small circles, which must be painted in black.
- On the side under the heel draw a semi-horizontal bracket. This will be a smiling piggy mouth.
- Below torso draw at an angle two pairs of parallel straight lines, which should end with an inverted letter "M". These will be the feet of the animal with hooves.
- On the back of the back to draw a dashing curly tail in a spiral-shaped short line.
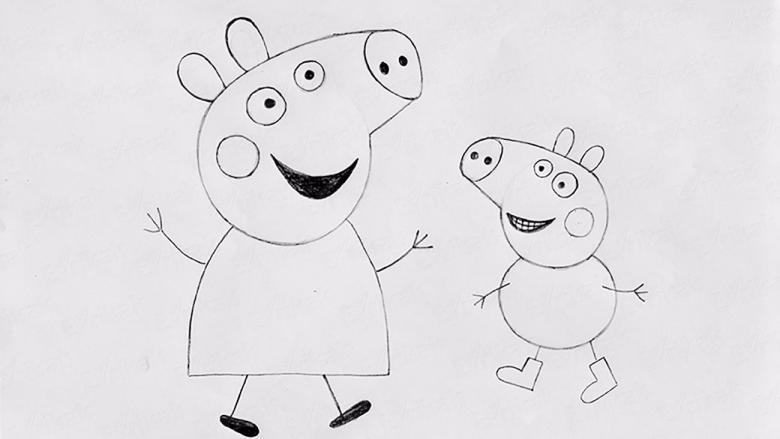
Ready sketch to fill the pink color, and the outline of the drawing by tracing a light brown pencil. Piglet, the inside of the ears and hooves to paint dark pink.

To perfect the artist's skills, the child should move from simpler techniques to more complex ones, mastering new ways of drawing in the next lesson. Instead of pencils, young artists can use paints or gouache to color the drawing.

Master class for drawing a kawaii picture
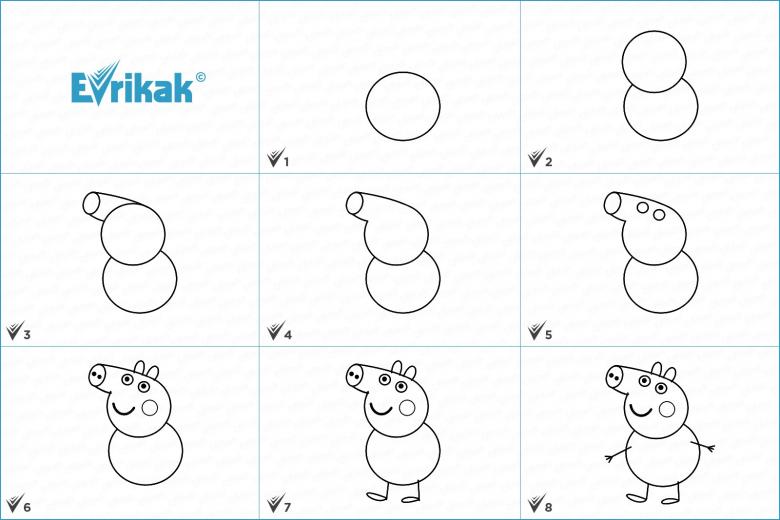
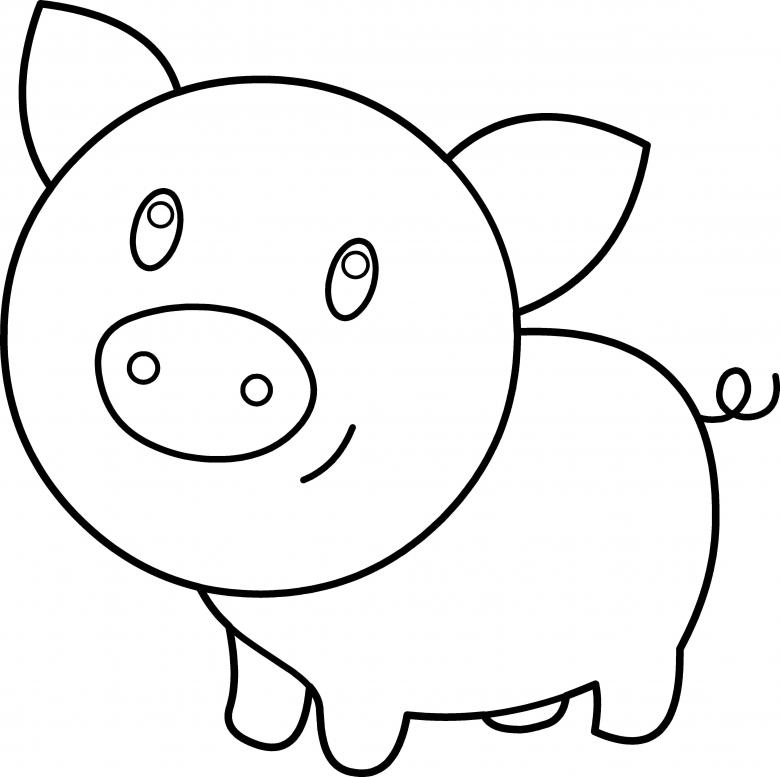
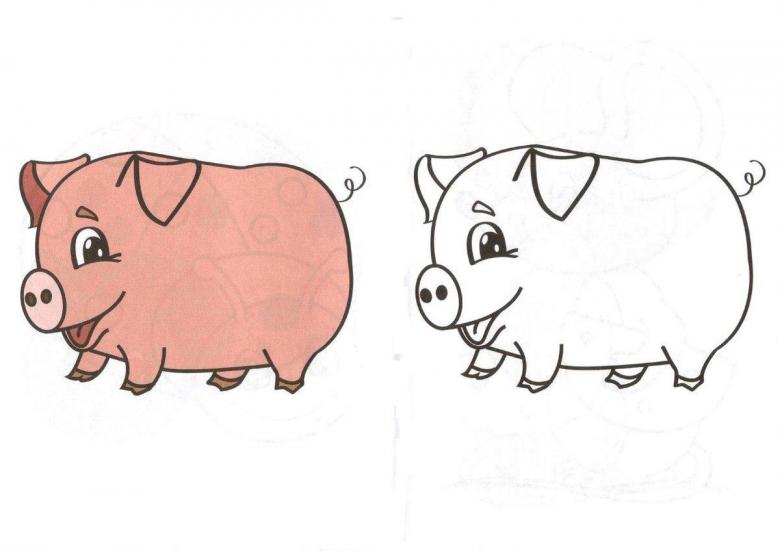
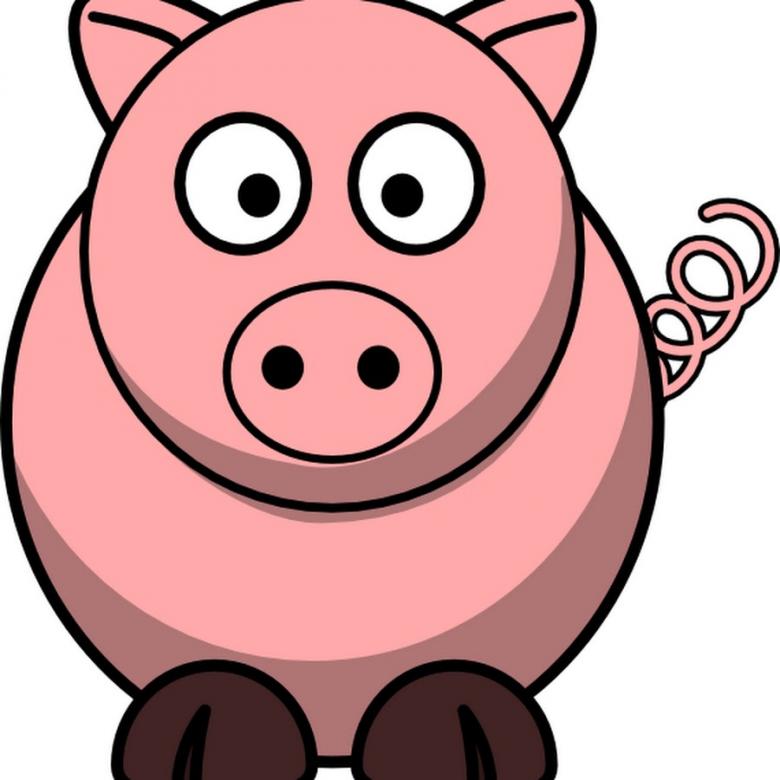
More difficult will be drawing a piggy from a kawaii picture, which parents can pick up a special collection of pictures for drawing on the website goroddetstva. Using the step by step instructions, you can draw the same piggy, as in the children's computer games "Peppa Pig Stars:
- In the middle of the sheet, draw a figure in the shape of a large droplet, pointing slightly to the top and having wide sides.
- At the top of the figure to draw first bent outside house in a square with a triangular roof, then the other side of the depict another. This will be ears pig.
- Inside the circle in the middle to draw two small circles, which will be the pig's eyes. Inside them at the top and slightly to the side, draw more smaller circles. Next to them another smaller circle, so that their surfaces touch. At the bottom of the large circle of the eyes draw thin crescents, which are shaded with short lines.
- Under the eyes in the middle of an indented oval from below, so that it is located exactly midway between the eyes. In the middle of the oval to make two vertical ovals small shape. This will be a snout. Under it draw a mouth and chin at the very bottom of his head in the form of a short slightly curved lines. Above the eyes to draw short strokes eyebrows pig.
- To create the body to draw two short vertical sections, going from the head of the pig diverging to the sides. Finish them with short arcs.
- In the middle of the resulting figure draw two front legs of the pig in the form of two pairs of parallel segments, which should be slightly narrower to the bottom. At the bottom of them draw hooves in the form of an inverted letter "M".
- From each arc of the bottom draw short paired lines, forming the hind legs with hooves in the same way as the front.
- Draw the lower part of the torso as a straight line.
- After that, trace the contours of all the details of the drawing with a black gel pen, and fill in the eyes, leaving the smallest circles unpainted. Nostrils on the nickle also paint black.
- Green pen is painted the bottom of the eyes. Pink pen is painted over the snout. Pencil brown shade sketch hooves feet, and pink paint the whole pig. Drawing is ready. Even a small child could easily draw such a picture.
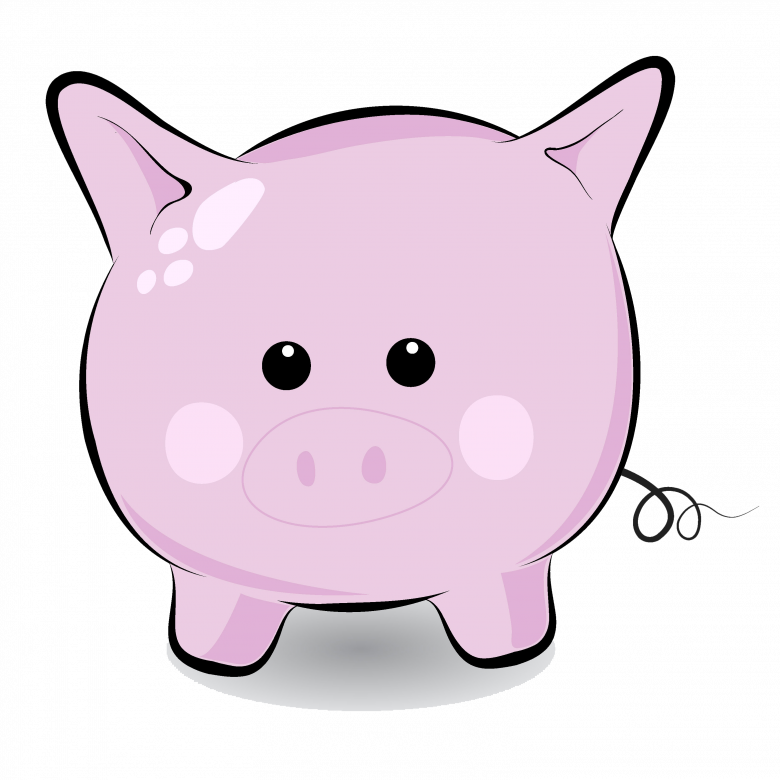
Important! When a child draws the outline and paints a picture, his hand is trained, which is beneficial for his intellectual development.
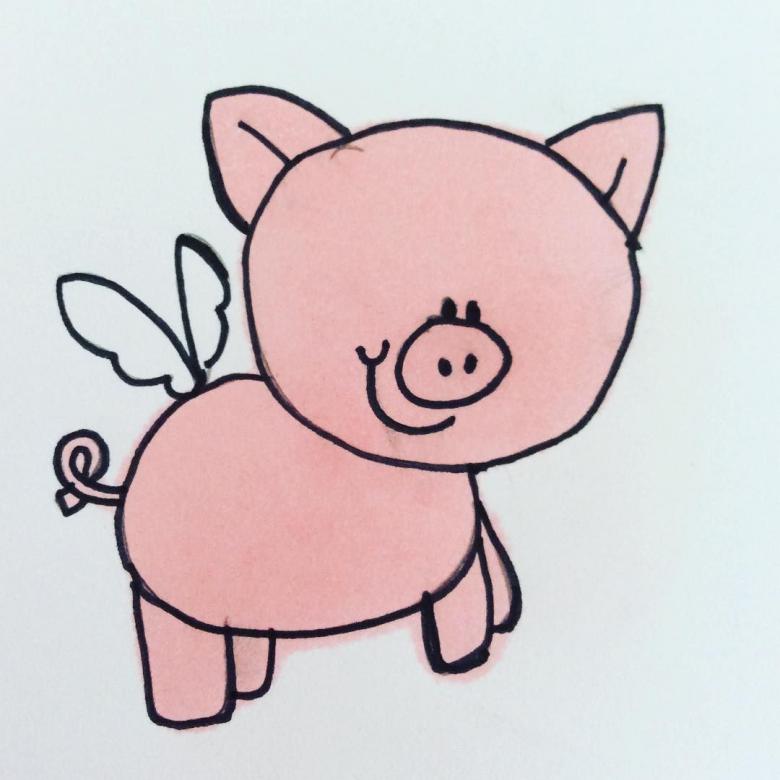
The New Year pig.
Although the pig was the symbol of last year according to the Eastern calendar, it is possible to offer the child to draw a pig in New Year attire. First, a sketch is created:
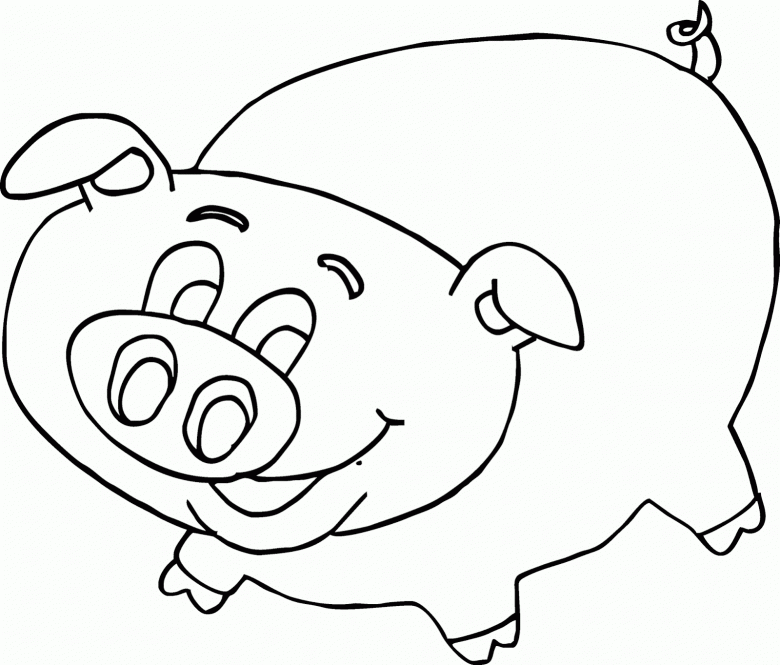
- Draw a large circle.
- Underneath, draw a smaller circle, so that a small part of it goes into the large circle.
- On the lower sides of the large circle draw two symmetrical crescents. These will be cheeks.
- From the bottom of a small circle to draw short legs in the form of two parallel lines, which should be narrowed to the bottom and end hooves in the form of the inverted letter "M".
- On the side of the head to draw part of the circle going down and then depict a slightly broken crescent ending near the top of the cheek. The second ear depict a curved line coming down from the side of the head, and then wavy line ending inside the head. Inside of the first ear to trace the inner detail, the second ear will just hang, it does not need to draw anything.
- Inside the head draw an oval for the heel, above it eyes and high raised eyebrows. On the bottom draw a smiling mouth with wrinkles appearing from a smile.
- On the head between the ears draw a hat with a pompom and a fur trim. On his neck draw the same scarf with fur trim on the ends.
- As the New Year piggy keeps a gift in his front paws, which hides behind his back, they do not need to be drawn. On one side, you need to draw a small crescent in the upper part of the torso, which will be the outline of the upper part of one of the pig's arms.
- On the underside of the body to draw a curled tail.
- Color the finished drawing in the same colors as in the previous lessons. Color the hat and scarf in red, white and bluish hues. Next to the pig can draw a wrapped gift, tied with a ribbon.
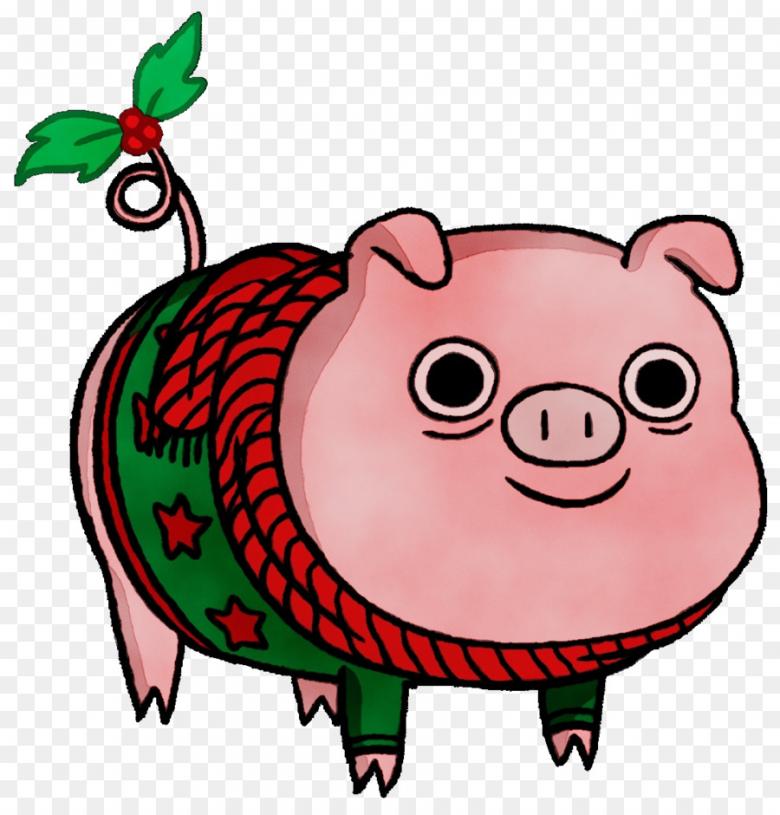
That's all, the drawing of the piggy is ready.

