How to Draw an Apple with a Pencil - Step-by-Step Sketches for Beginners
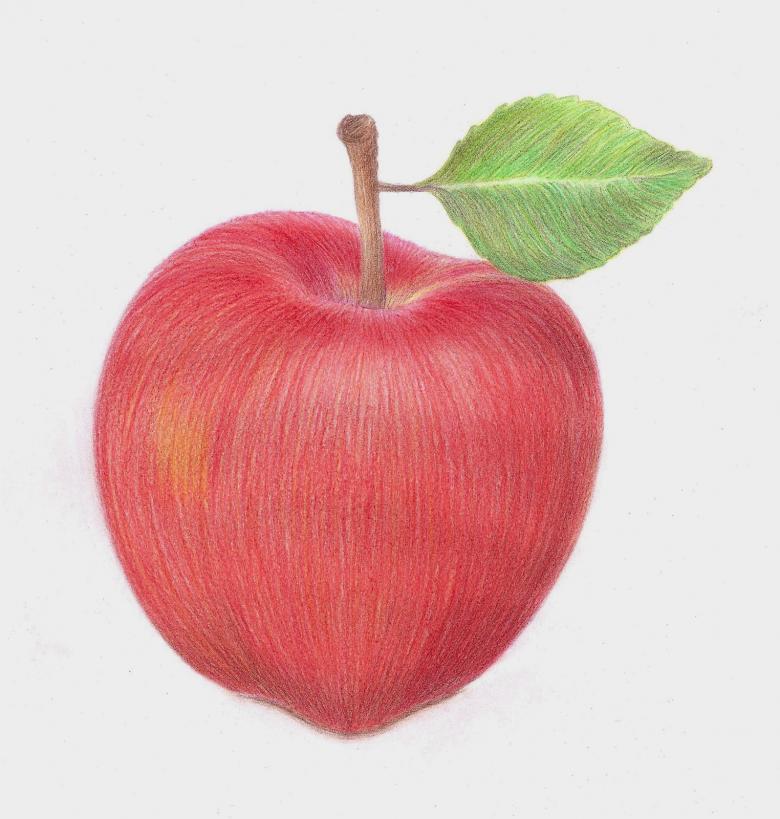
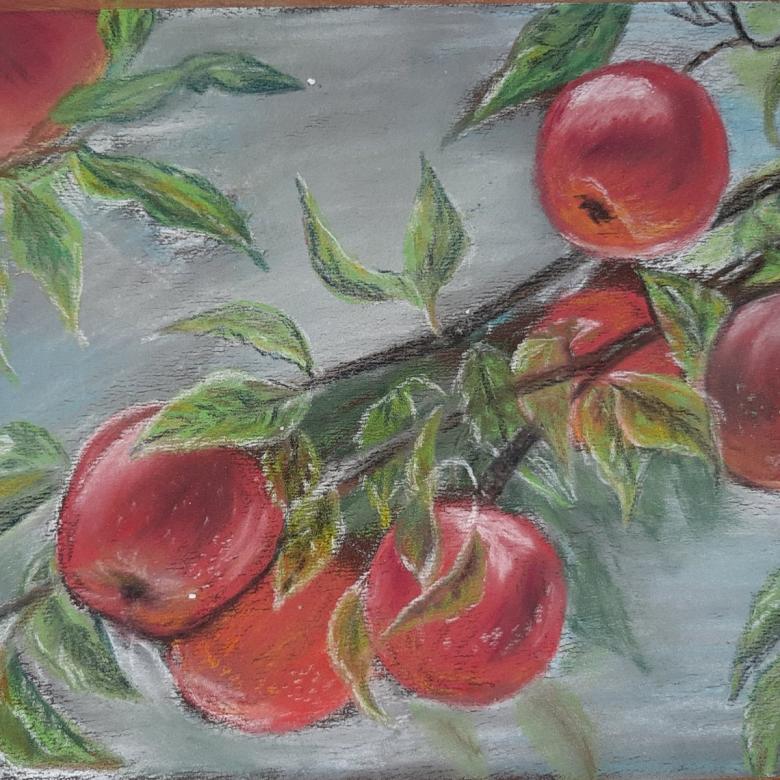
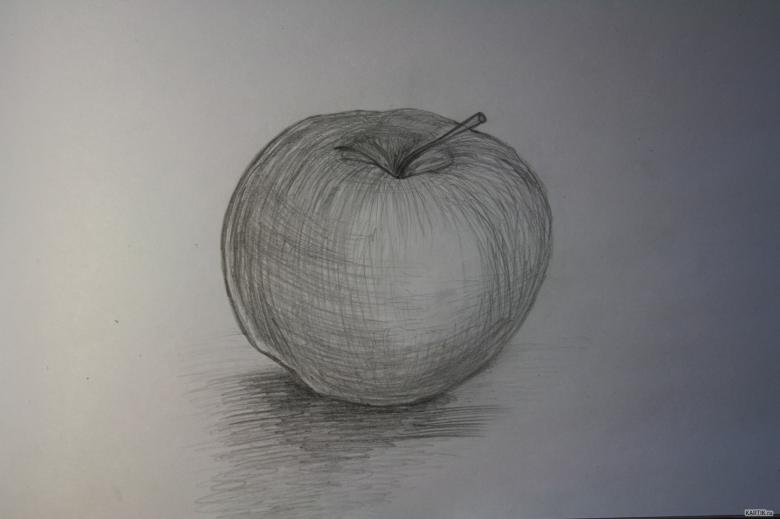
Unfortunately, not everyone knows how to properly draw such a fruit as an apple. A person who is drawn to creativity may not know where to start. Learning all the steps of drawing is better when you look at nature. This can be an apple on the table or on the apple tree itself. That way you can consider all the features of the structure, and in addition the light falling on the object. Now you will see some masterclasses showing drawings.
Drawing an Apple with a Pencil
What you will need:
- drawing paper;
- A lead pencil;
- eraser.
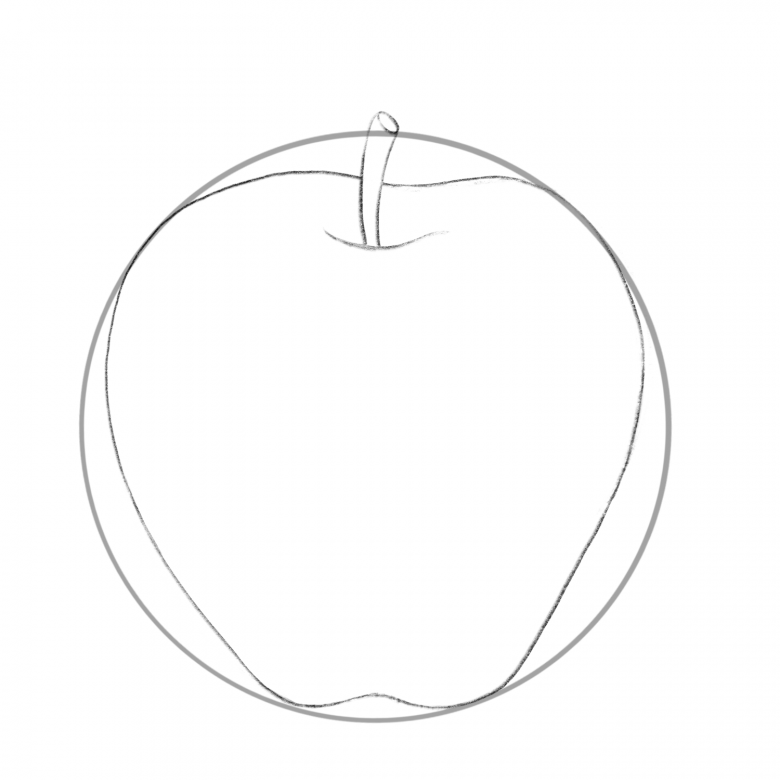
Drawing steps:
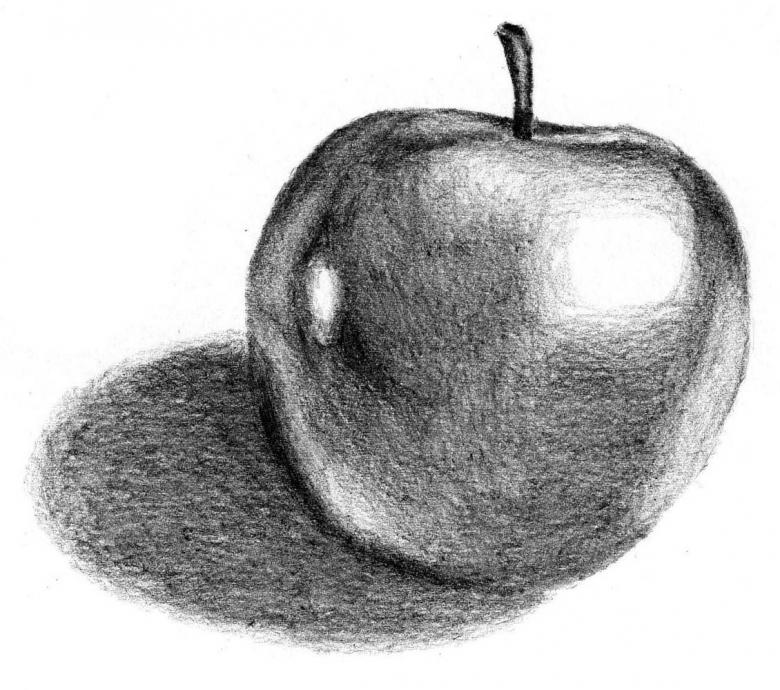
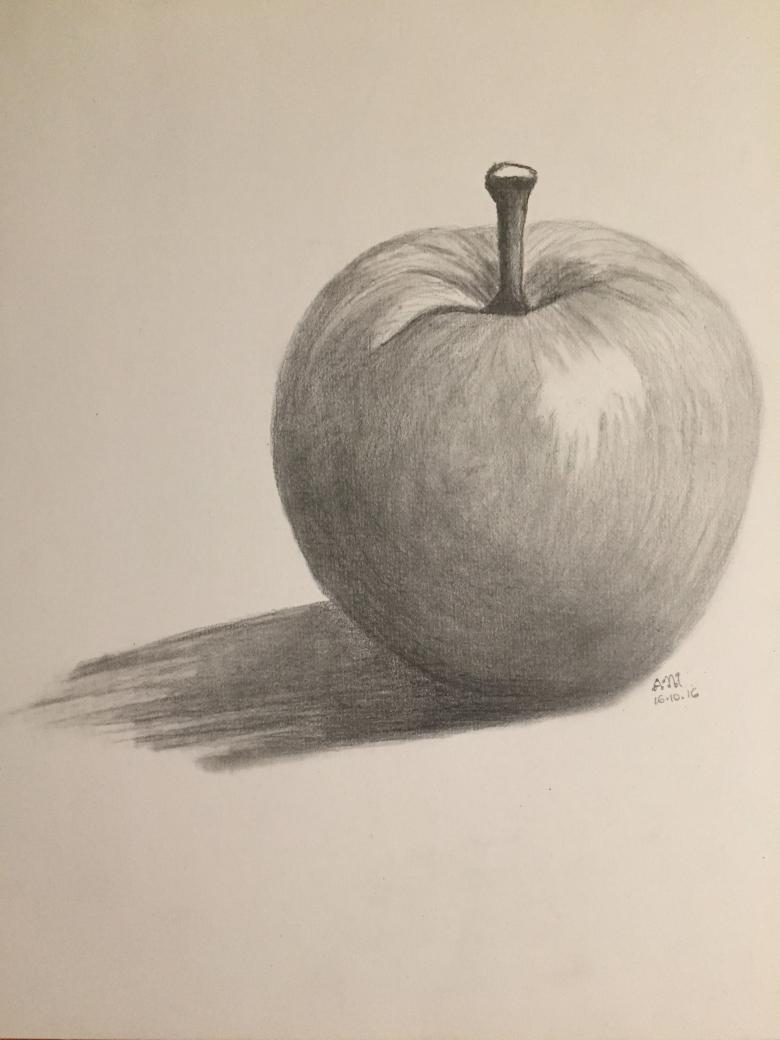
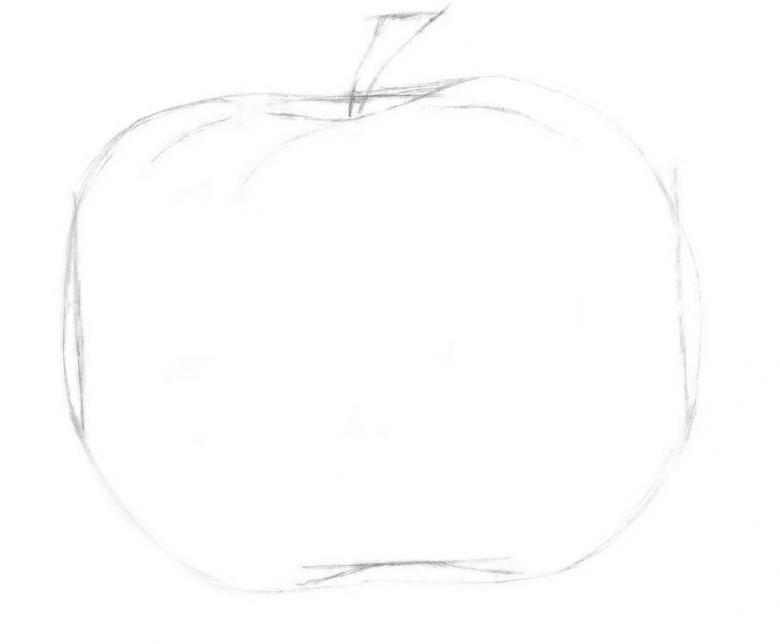
- It is recommended to take pencils from about 2H to H. Next, draw a circle that will be like a little tapered to the bottom of the apple. Do not forget to mark the plane on which the fruit lies.
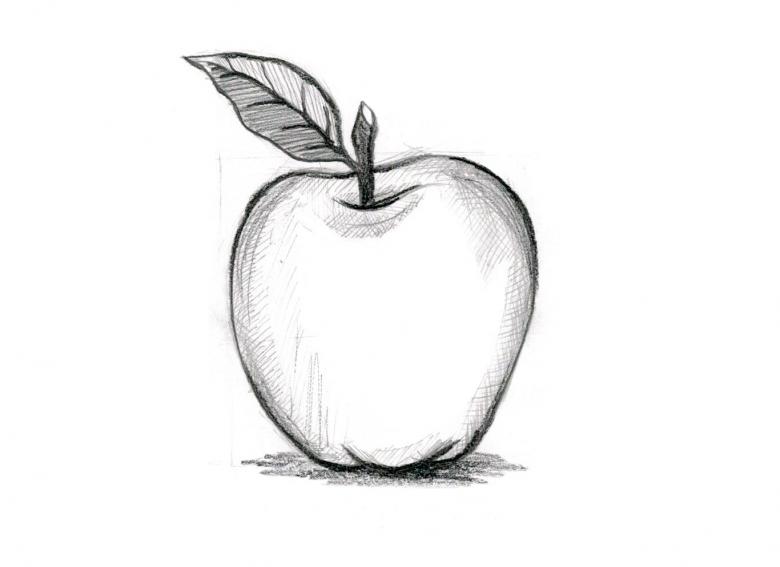
- On top depict the tail and a small leaf with veins. Make the shape of the apple from below right, realistic. Do not forget to mark the place of the glare on the fruit. It will be enough for the child to finish at this stage, but you can continue further.
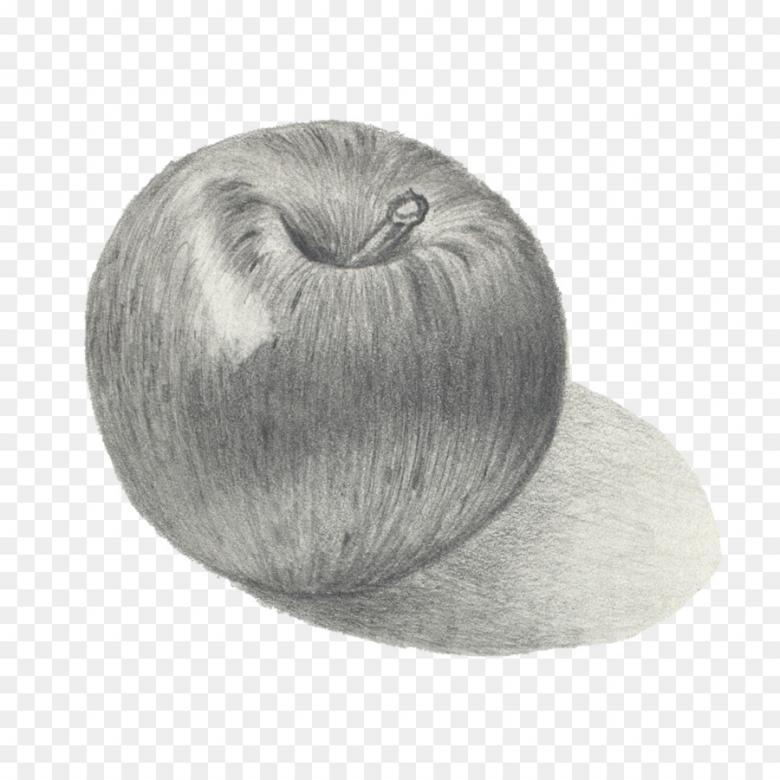
- Next, using the shading method, paint the apple. By no means smear the apple or rub the pencil with paper or your finger. Strokes are made according to the shape of the fruit.
- Change the pencil to a softer one and mark the shadows in the drawing. Use eraser to remove the excess, if necessary.
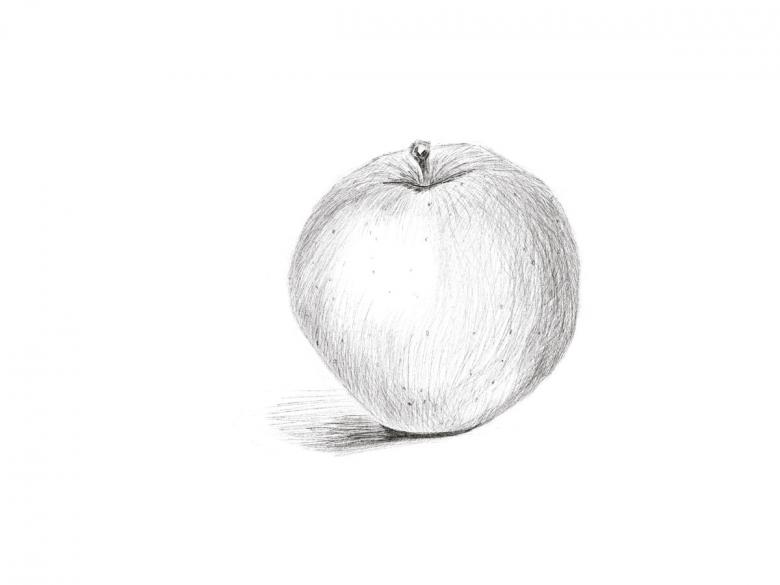
A simple way to draw
Drawing this fruit will help you improve your circle drawing and color-transition skills. First of all, you should learn how to draw an apple with a simple pencil, and after that you can move on to colored pencils.
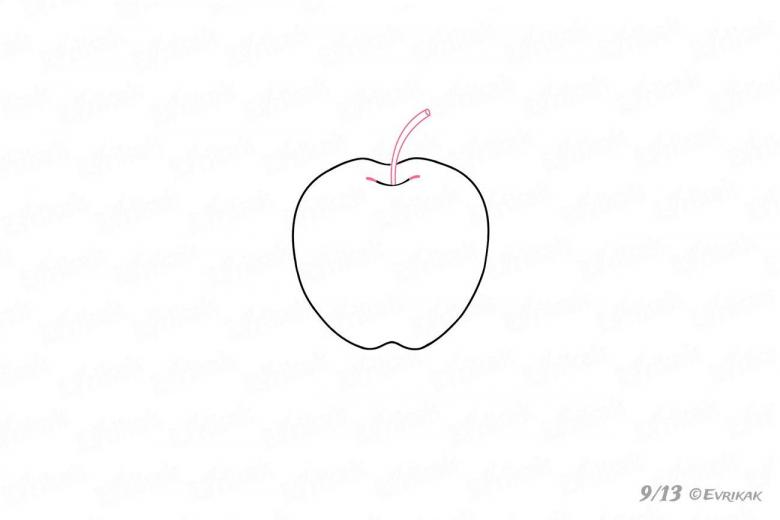
What will be needed:
- Drawing paper;
- a simple pencil;
- colored pencils;
- eraser.

Drawing steps:
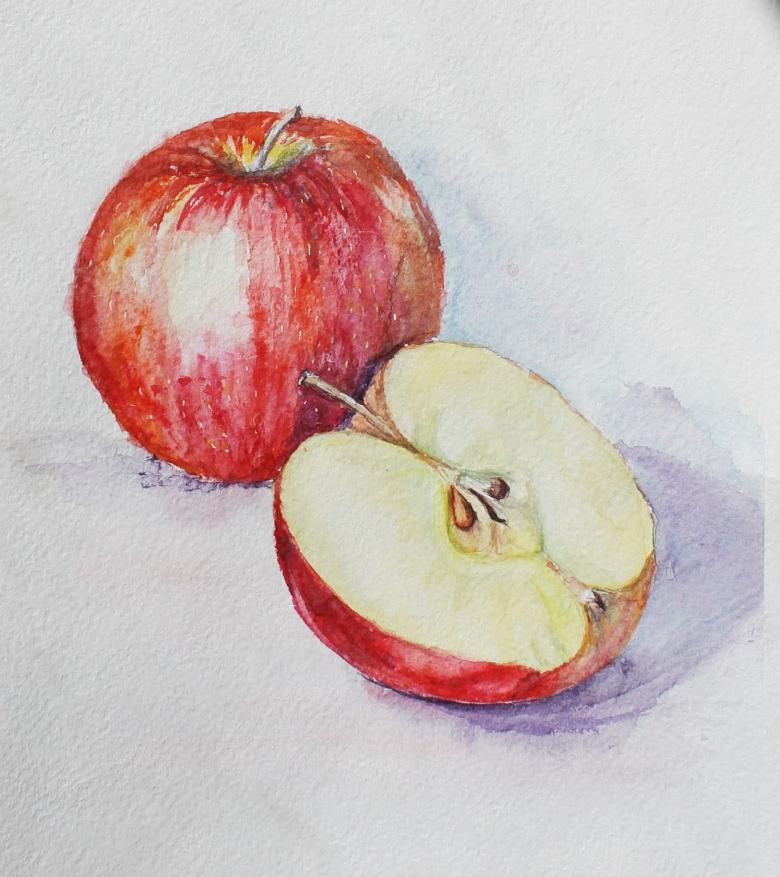
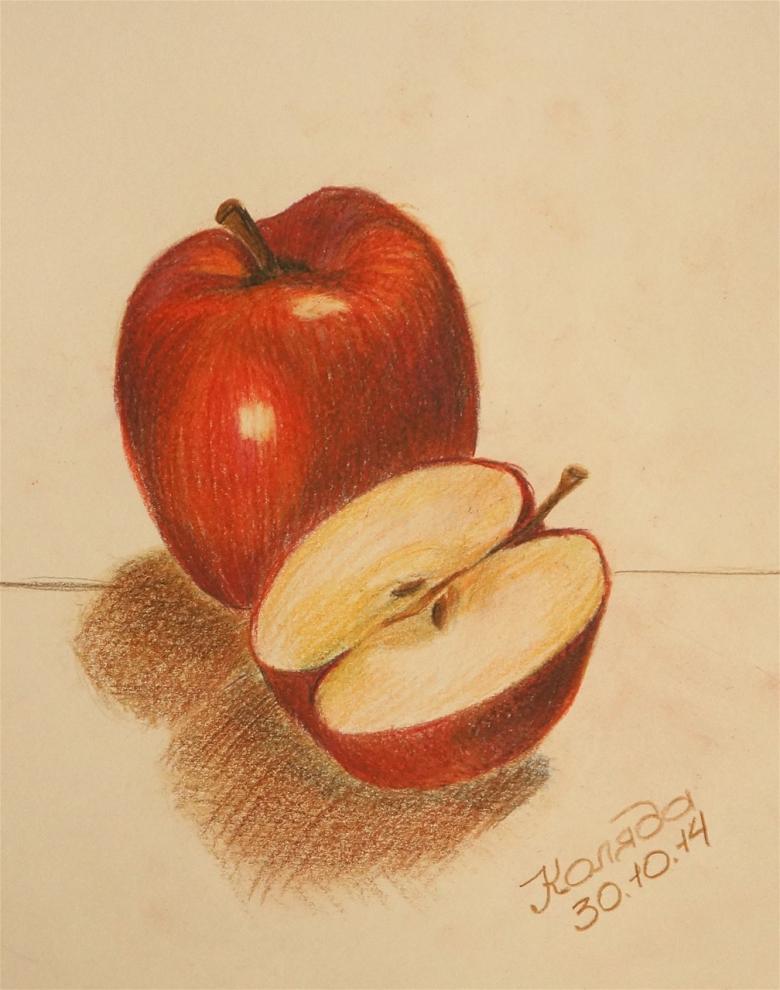
- In our drawing, we will depict two objects: a whole fruit and its half. To start we need to draw two vertical lines. One straight and the other sloping. The second line should be smaller than the first one. This will be the half of the apple. At the top and bottom of the line add small dashes.
- Draw horizontal straight lines through the center of each line. Similarly, leave small dashes at their ends.
- Now remember how an apple looks like and draw the outer contours.
- To get the effect of the volumetric figure, add an arc on the bottom half of the apple. Thus, the part with the peel will be highlighted.
- With the eraser it is necessary to remove the auxiliary strokes that were drawn at the beginning of the process. You can finish drawing a leaf with a whole apple, and on its half in the middle there are seeds.
- And now we are going to start coloring the picture. First, we paint the whole surface with yellow, and then, on top of that, with orange. On the bottom, where we have the shadow, we apply a darker shade of orange. At the very end we add red.
- For the apple leaf we are going to put a green color over it, and for the stone we are going to use black or dark brown. For the flesh we are going to use a light yellow or peach pencil.
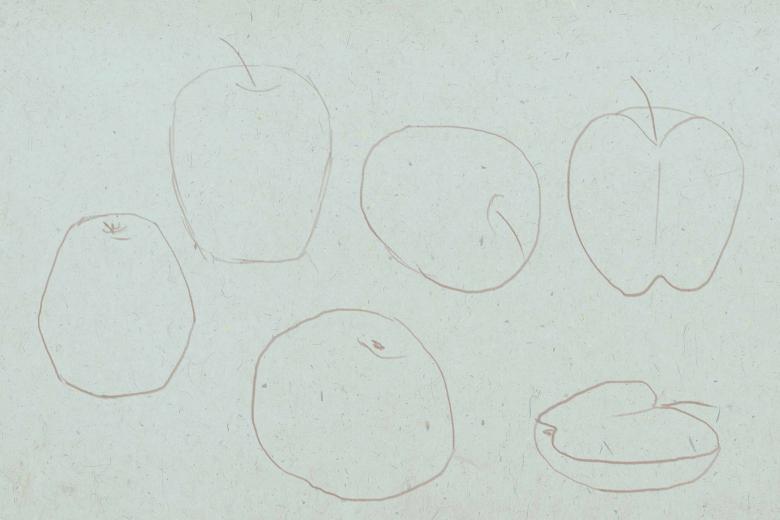
So you can draw an apple step by step. It is quite simple and with this task you can easily cope. You just need to follow all the steps.

Drawing a ripe apple
What you will need:
- Drawing paper;
- a simple pencil;
- a white pencil or marker;
- eraser;
- colored pencils (can be replaced with gouache).
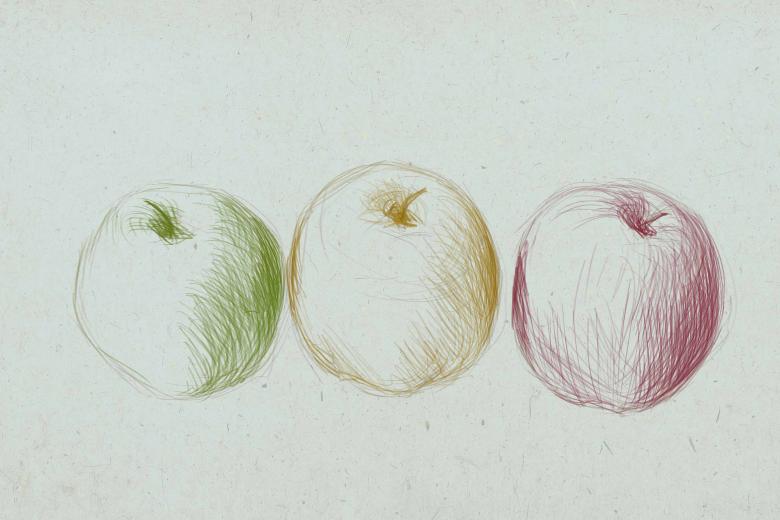
Drawing steps:
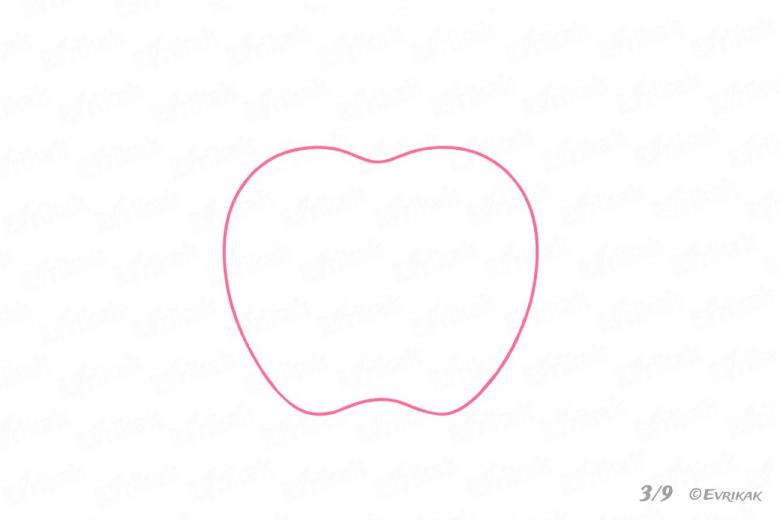
- Visually divide the sheet into 4 equal parts. Divide them with a vertical and horizontal line. This is the basis of our future fruit. Then draw a circle around the center of these lines.
- Then we give the circle a shape. From below it is necessary to finish drawing an arc and make the apple a little elongated. This is required to give volume.
- Delete all auxiliary lines with the eraser and trace the circle contours.
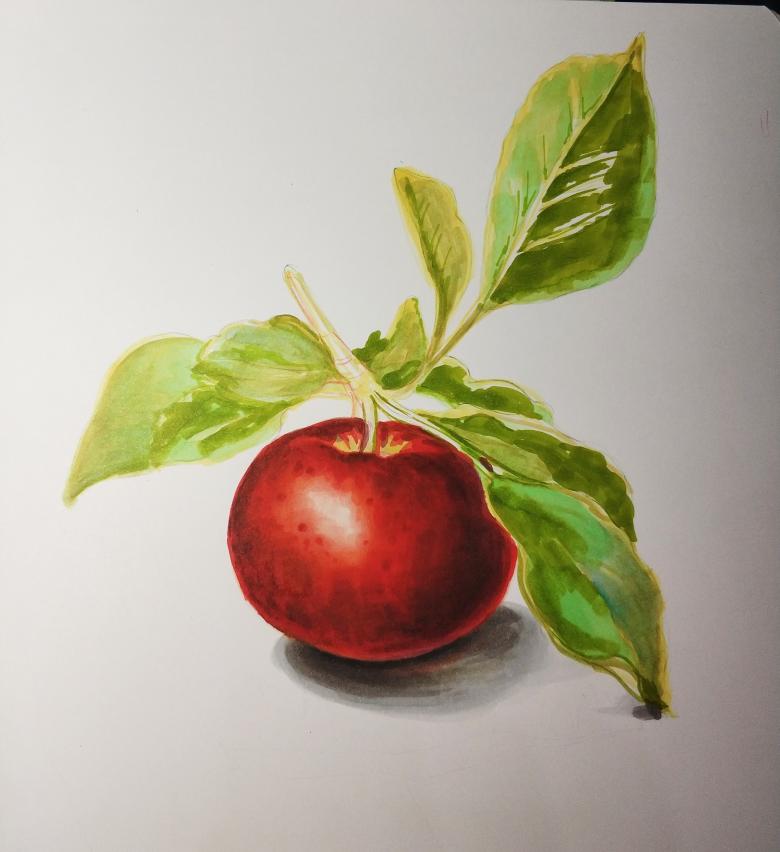
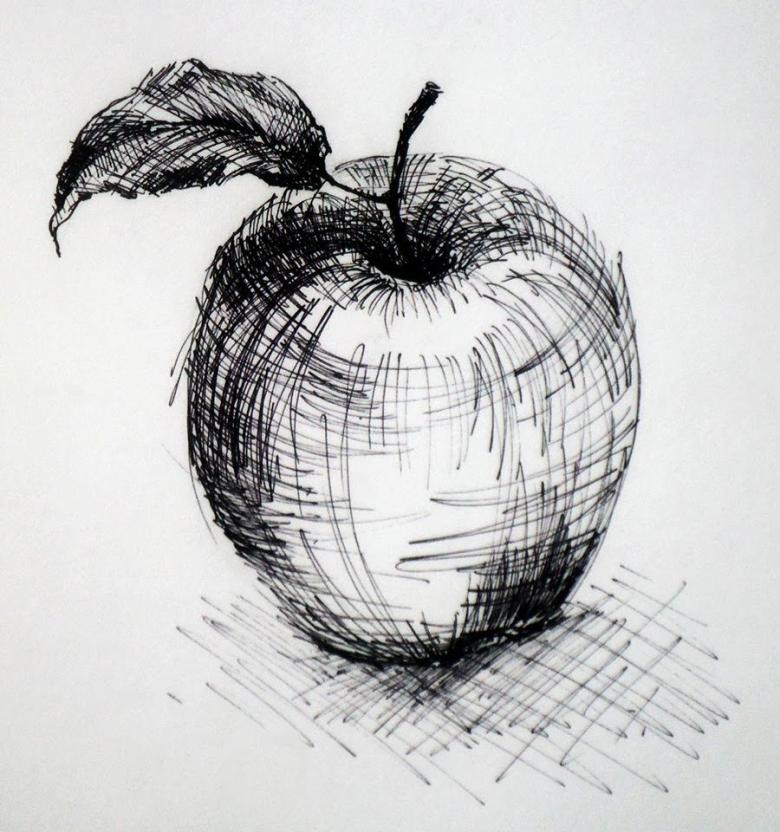
- Dorisovyvayu twig and a leaf to the apple. On the leaf depict the veins.
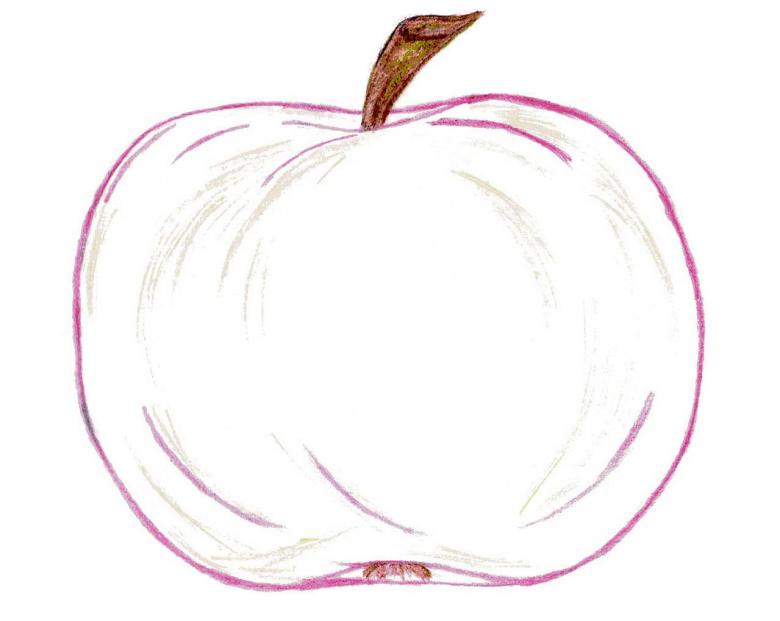
- We start painting. Take in your hands a yellow pencil and shading the apple closer to the edges.
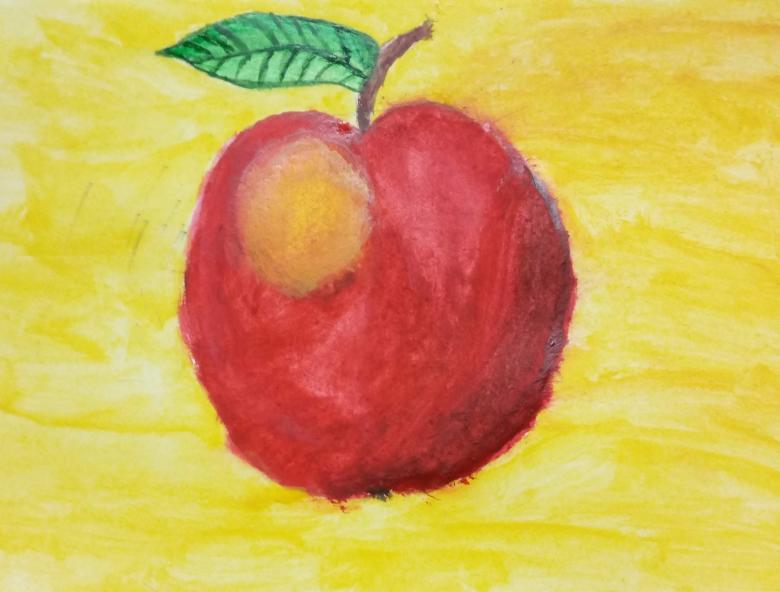
- Take red and orange pencils and make the apple more expressive. The twig is shaded in brown and the leaf in green.
- We use dark pencils to underline the dark sides of the fruit and white to highlight the highlights.
Like this, you can easily draw a ripe apple. After this master class, you or your child can move on to more complex lessons.
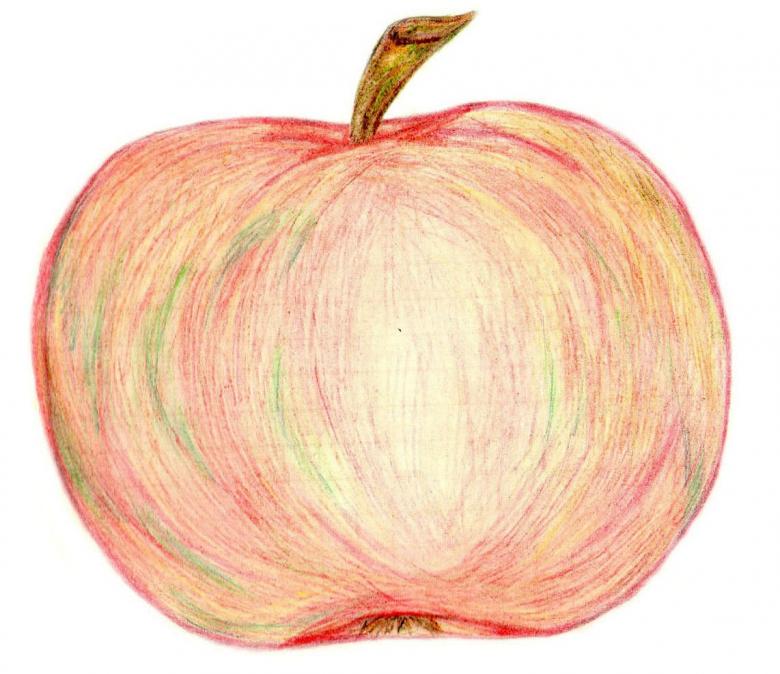
Drawing two apples and a slice
What you will need:
- drawing paper;
- A pair of crayons;
- eraser.

Drawing steps:
- Sketching a drawing. You should have already learned how to make it in the workshops above. We mark two apples on the paper, a leaf on the front fruit and a slice on the front.
- At this stage, draw all the elements of the picture in more detail, and mark the highlights and shadows on it.
- Eraser away sidelines and strokes.
- Carefully stroke apples in shape and trace the shadows.
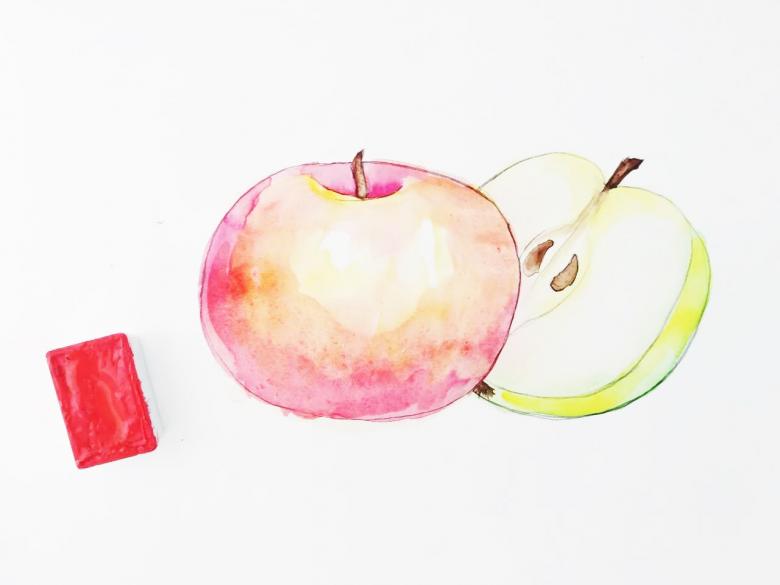
Draw a bitten apple, step by step.
What will be needed:
- drawing paper;
- simple pencils;
- eraser.

Drawing steps:
- First we draw an apple, its shape does not matter. You and I have already learned how to draw the shape of this fruit, but if you have forgotten something, see the lessons above.
- The most important thing in this drawing is the notch. That is, its bitten off part. To do this is quite simple. You need to take an eraser and erase a small gap of the side of the drawing. We did this on the right side.
- With the help of slightly irregular lines we imitate the bite of the apple. They can be of any size and shape.
- We erase all side lines with the eraser and shade the shape if we want.
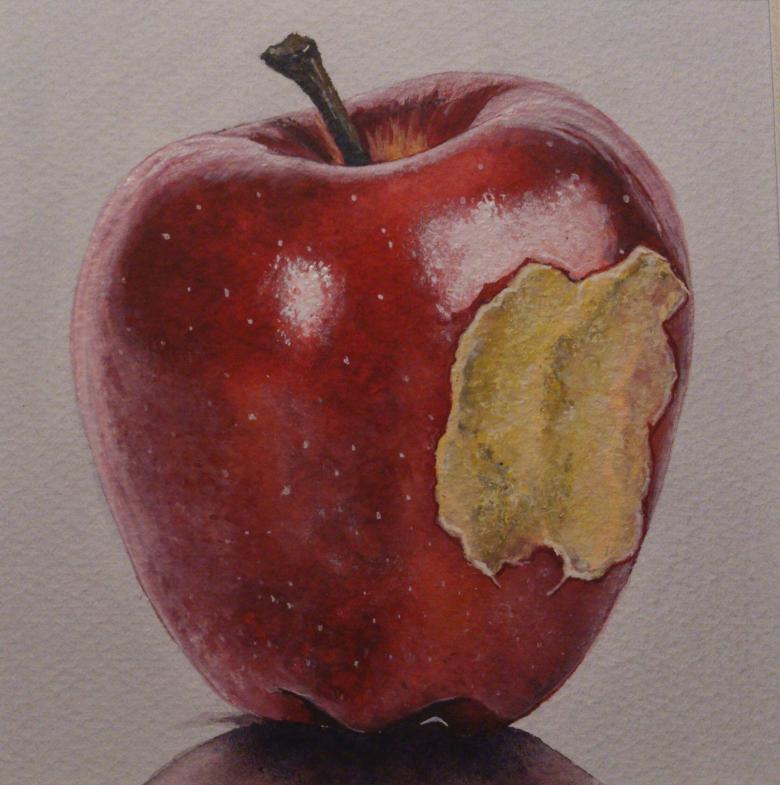
As you can see, drawing an apple is pretty easy and you don't even have to have any drawing skills. You can learn everything you need in the process. You don't even have to have any art supplies. Eraser and a pencil can be found in every apartment.
If you are a mother who wants to teach her child to draw, then these master classes as well come at the right time. Here are both simple and more complicated lessons. They can suit both very young child and an older child.
And most importantly! Always be confident in your endeavors and never give up. After all, drawing is so beautiful! Remember this.


