Letters from foam plastic with their own hands - edition instructions, decoration tips, photo ideas
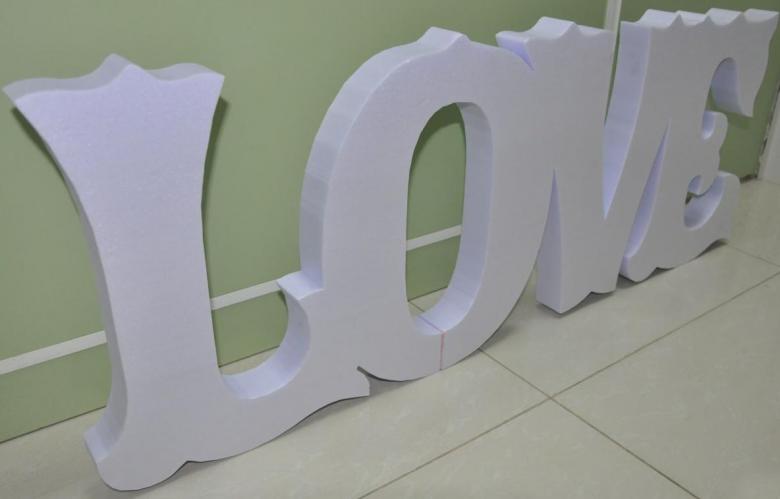
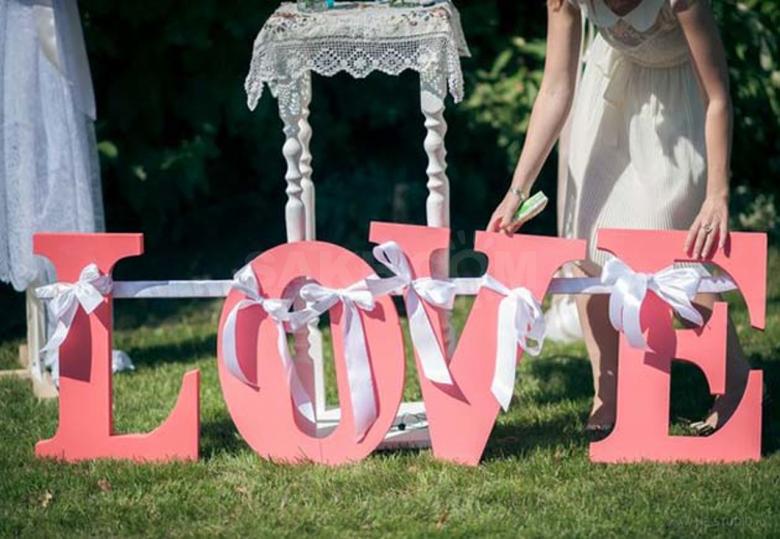
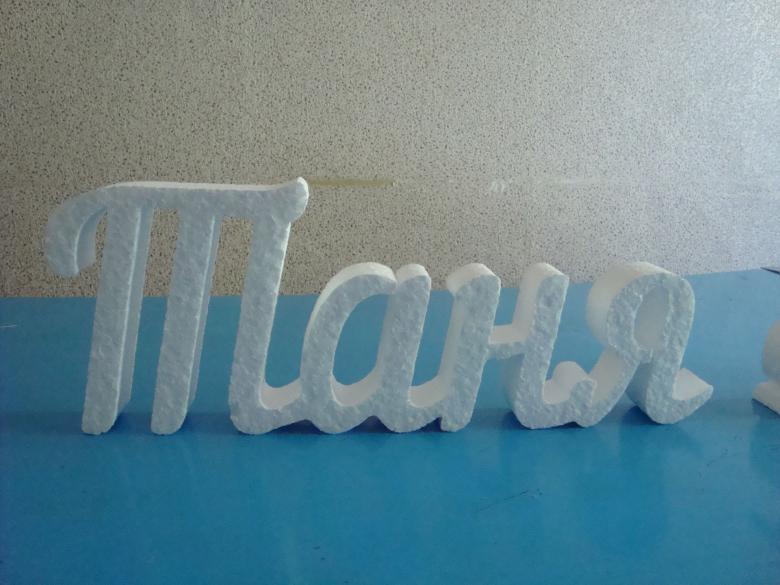
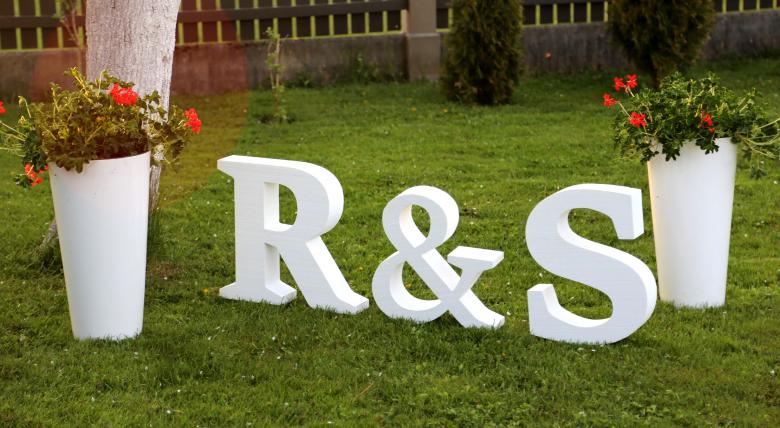
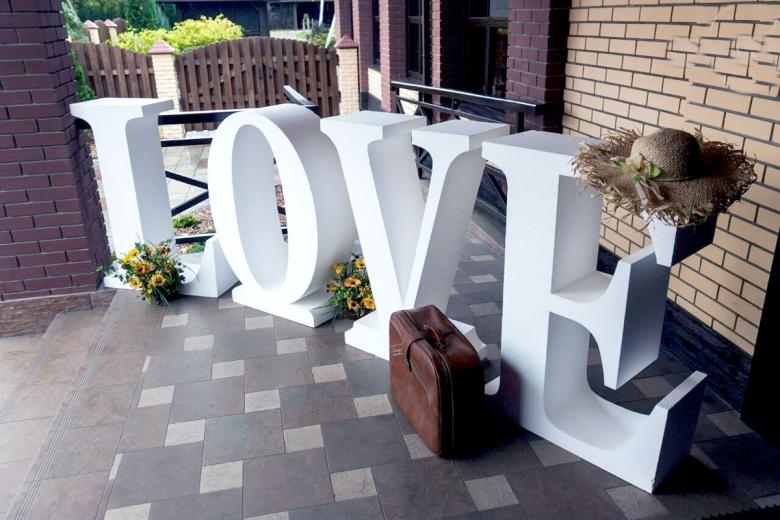
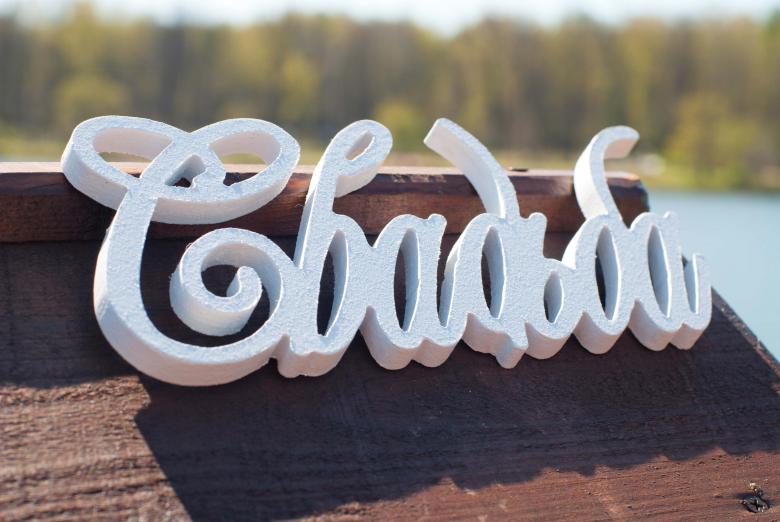
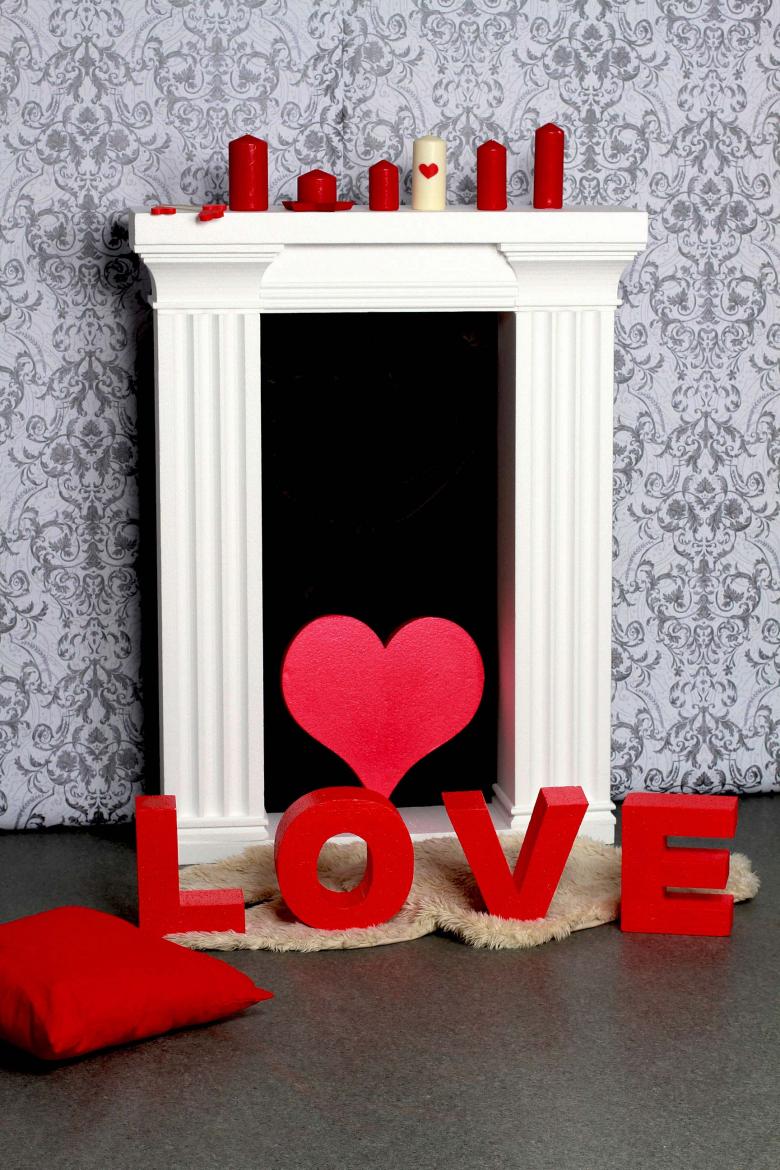
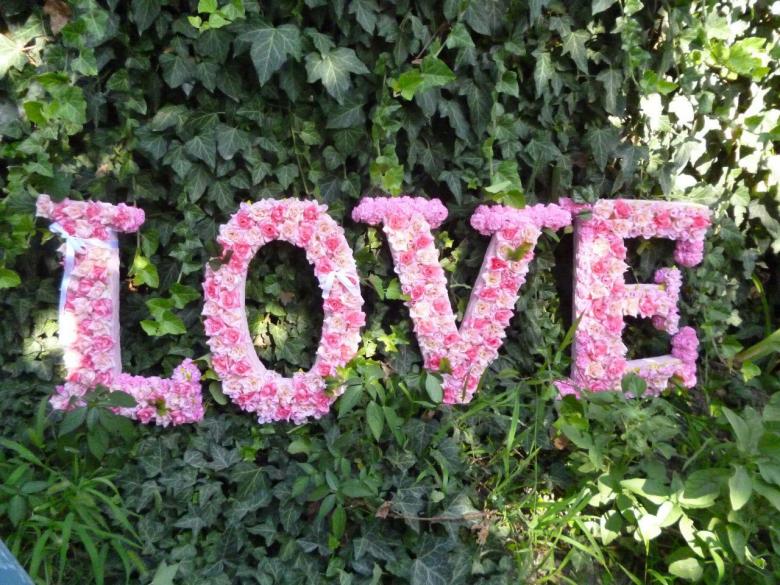
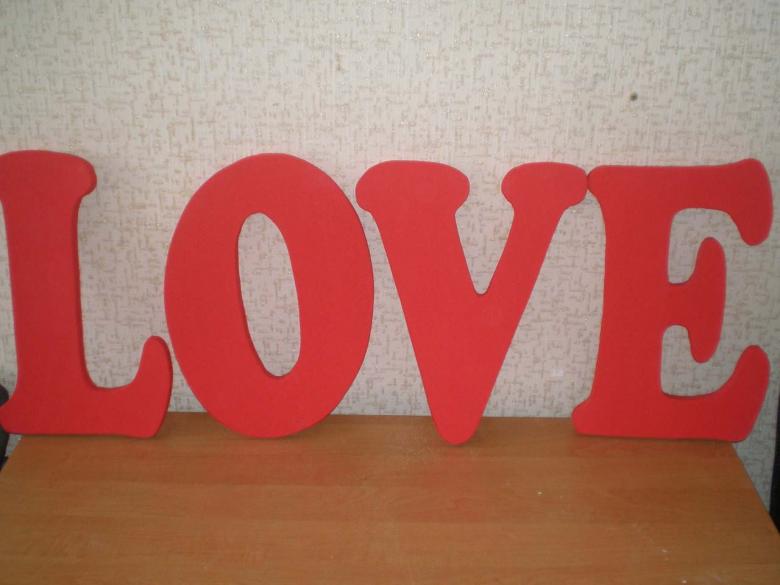
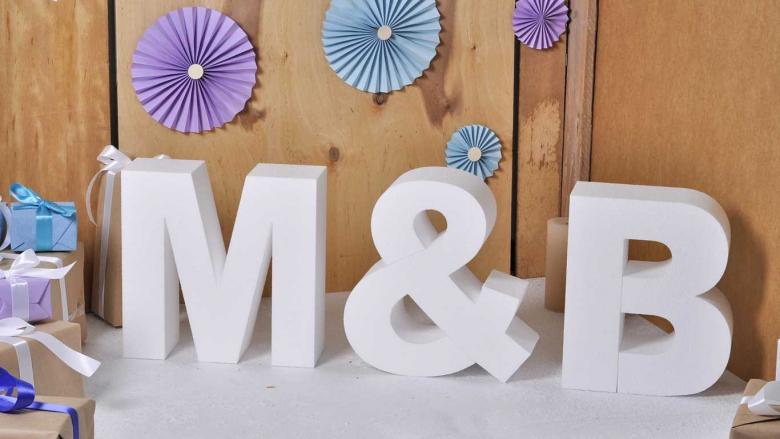
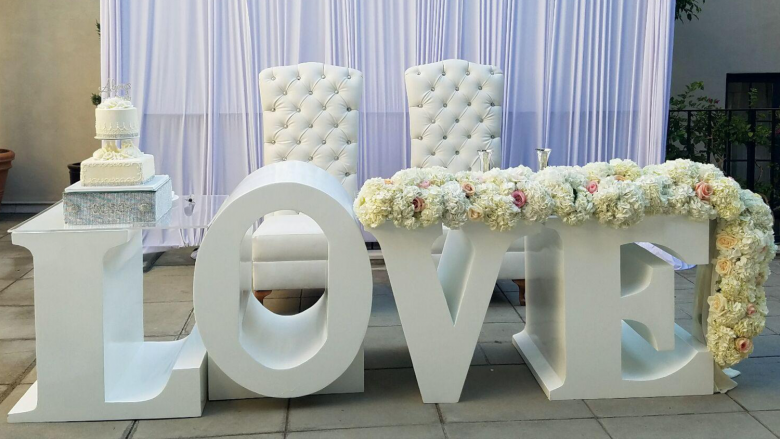
Now it is quite fashionable at celebrations to make inscriptions with beautiful letters made of foam plastic. Every mass festive event - a wedding, an anniversary or any show - will benefit from a spectacular decoration. Especially successful and impressive are photo-zones with such decorations. Letters are sold in special stores, workshops, but it is better to make them with your own hands.
Letters from foam plastic with his hands
In fact, for the manufacture of volumetric and original letters, not much effort is needed. But for a successful and beautiful result, you must include your imagination and, of course, stock up on the required blanks.
What you need to prepare:
- Styrofoam plates;
- Different paper (wrapping, wallpaper, newspaper);
- glue for foam plastic; different decor to your liking;
- sharp stationery knife;
- thin small scissors;
- sandpaper;
- tape measure, long ruler; compass, felt-tip pen, marker, soft pencil.
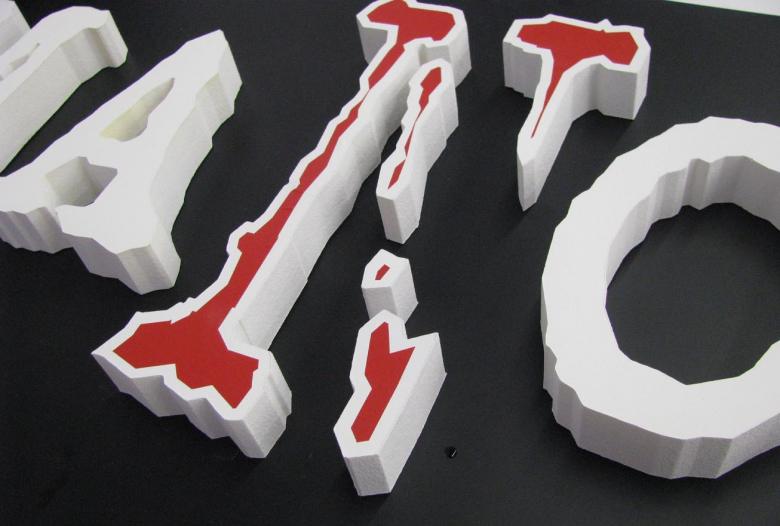
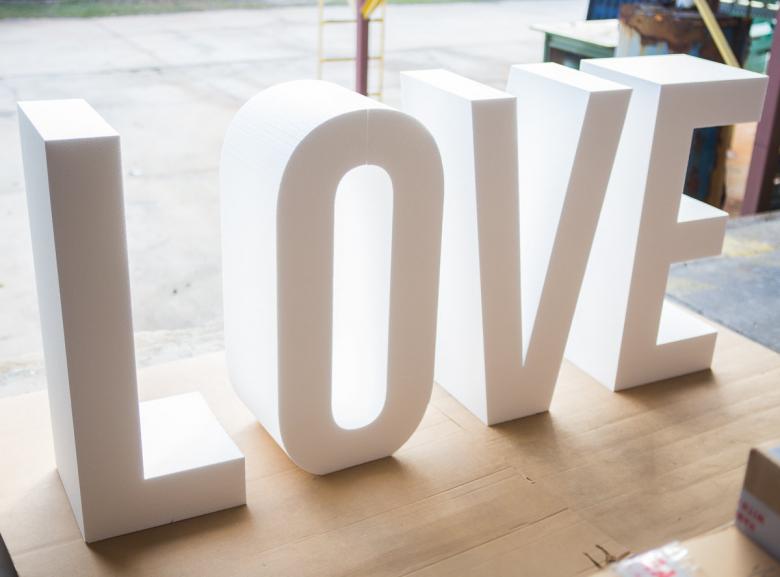
Styrofoam plates are sold in building material stores. They come in different sizes and thicknesses. It is recommended to calculate in advance how many sheets you will need for the work, to pick up the appropriate parameters, according to the height and thickness of the future letters. It is better to choose a thicker foam sheets, so that later you do not have to glue them together.
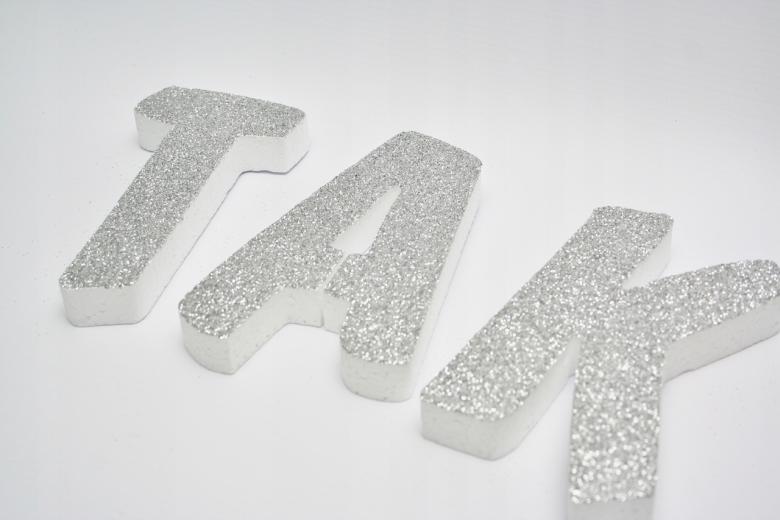
How to make foam letters
Before starting the main process, it is necessary to make a stencil. Here you need a piece of paper of the right size (or several glued sheets) and, with the help of stationery, draw a schematic sketch of the future letters.
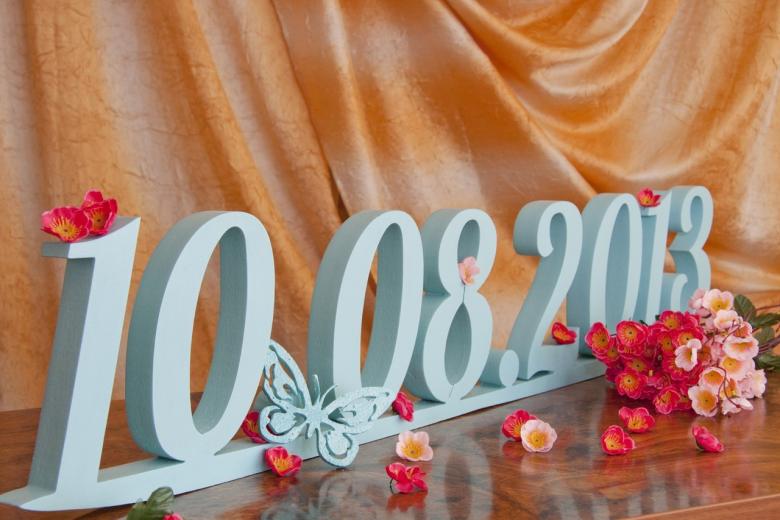
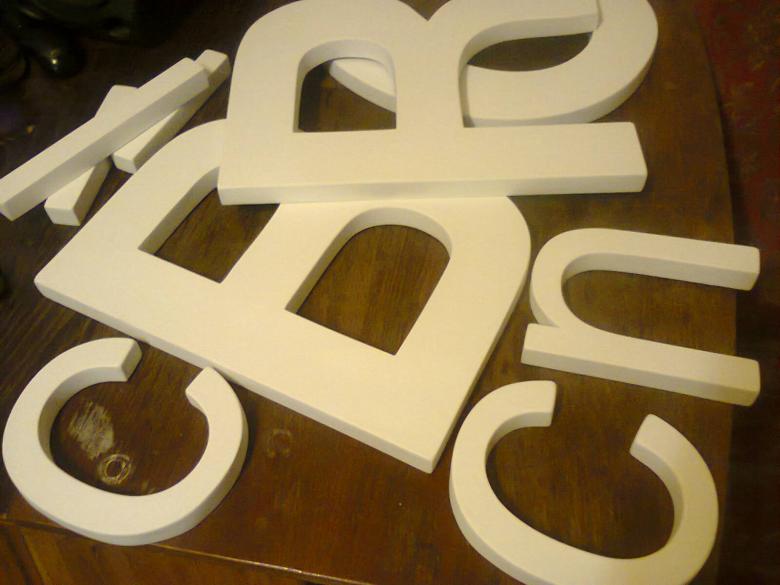
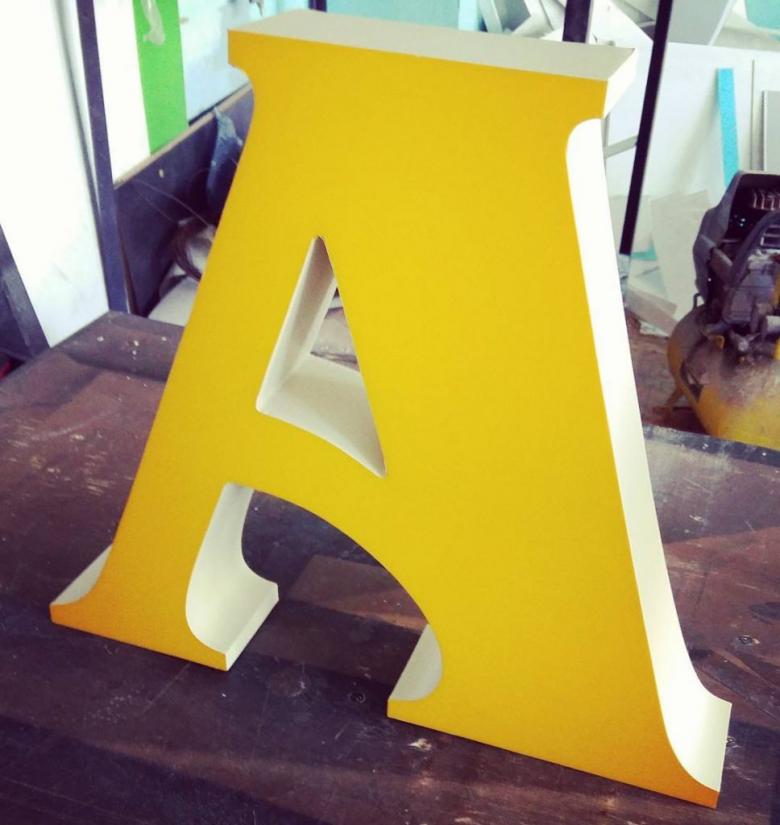
Then you need to cut it out and transfer it to the foam plate. If you need large letters, they should be outlined with felt-tip pen strokes immediately on the plates of foam plastic. When the blanks will be marked on the base - you can begin to cut. To do this, use a thin box cutter and make cuts clearly and confidently. If the cut edges are not straight, they must be carefully trimmed with a knife.

Then, for the final treatment, making the edges of the product clear and smooth, they need to be carefully processed with sandpaper. First, sandpaper with a coarse abrasive is used. After that, for the complete elimination of irregularities, it is necessary to go over the edges of the workpieces with paper with a fine fraction. If the volume of letters will be too small, you can glue a few plates to the desired width.

Note that you need to use special glue, PVA and stationery will not hold the product, and "Moment" and similar will ruin the foam, because it corrodes it.
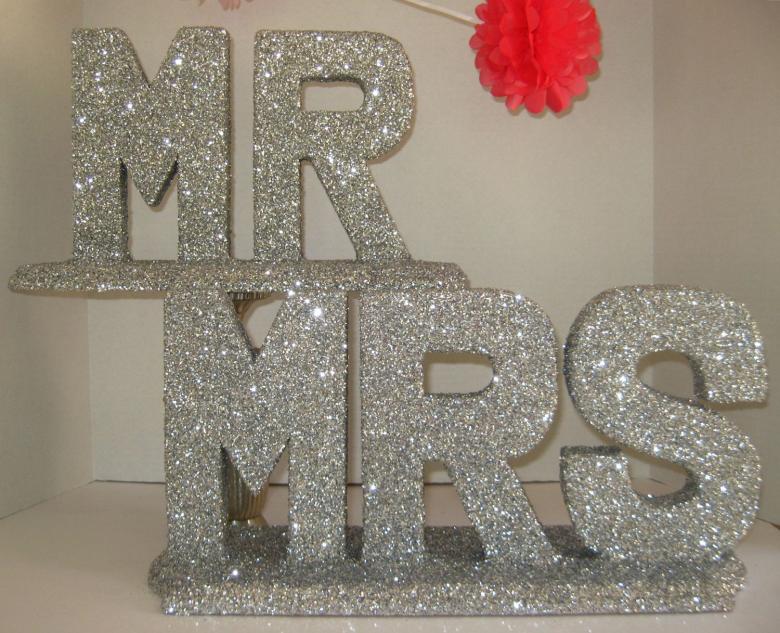
Preparing to decorate
When the bulk of the future decorations are ready, you need to think about the external decoration. Since Styrofoam quickly absorbs any dyeing compositions, to paint the surface of the letters without the use of additional finishing will not work: the colors will be blurred, faded and ugly.
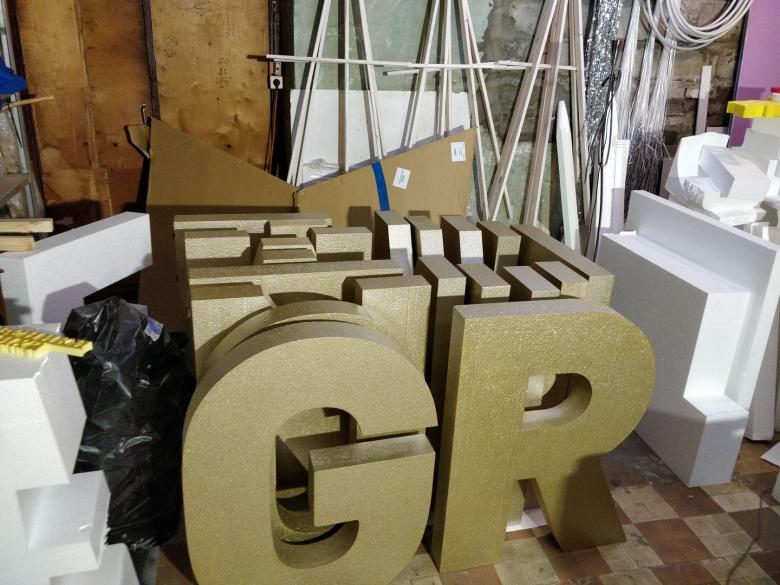
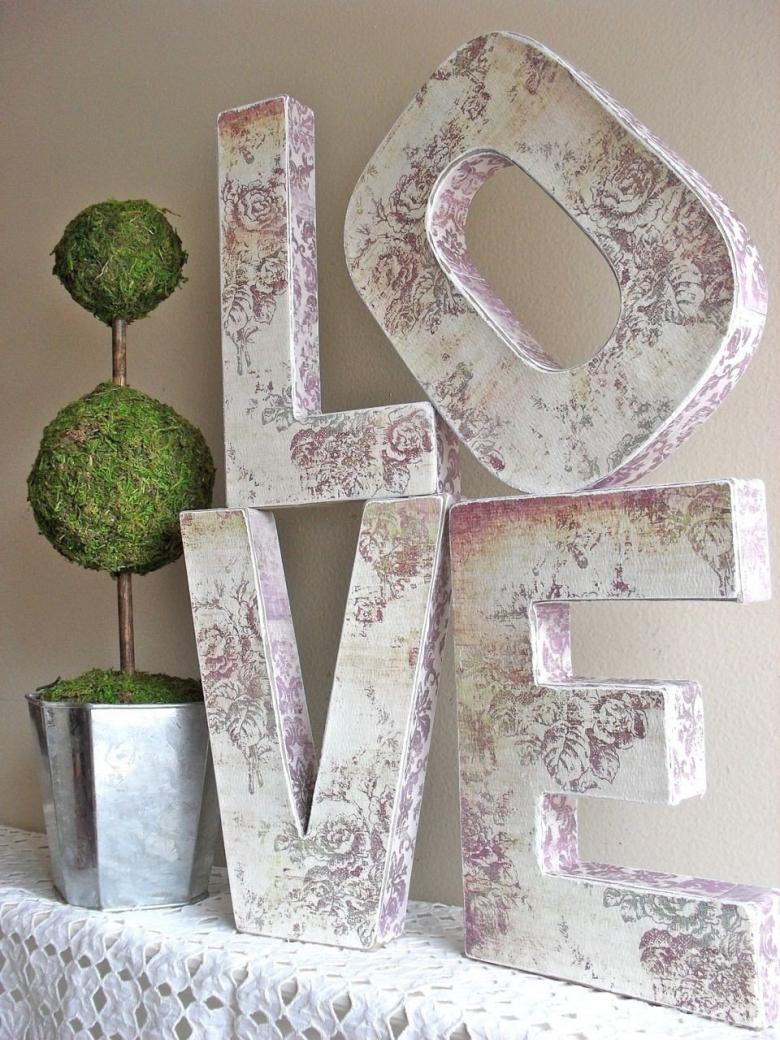
Here to help will come paper, which should cover the outer side of the foam. Especially carefully it is necessary to treat the corners of the letter. It is necessary to make an effort to make them look clear and the lines were straight. It is convenient to use newspaper for this purpose, it is thin enough and bends well.
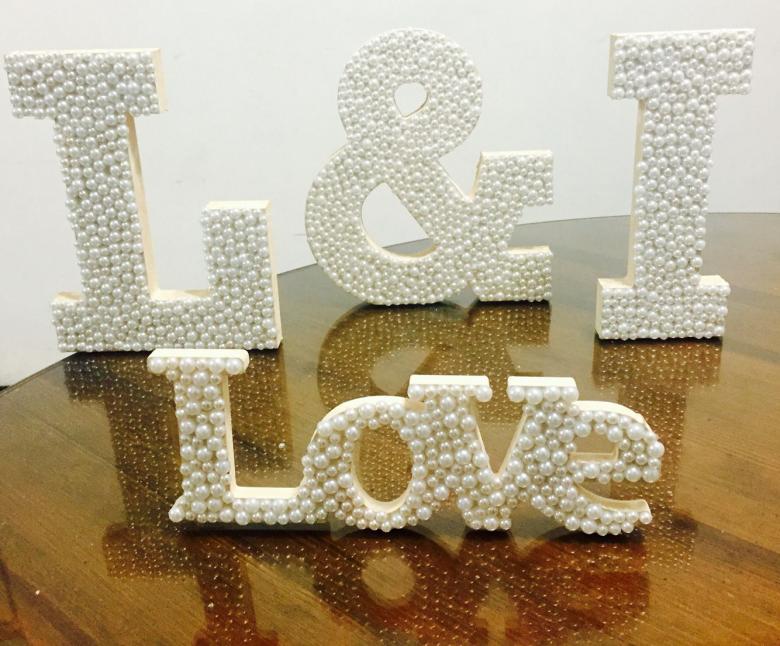
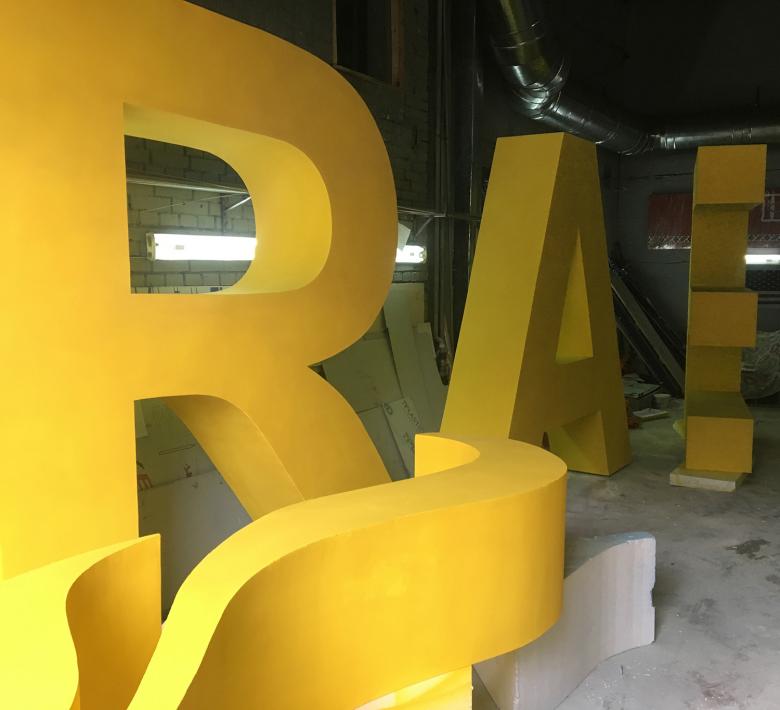
It is recommended to process the blanks using the "papier-mâché" technique. This means that the paper is torn into small pieces, then they and the base are well coated with glue, and applied to the foam in three to four layers. After that, you need to wait for the product to dry a little and fix it with another layer of glue, and then leave it to dry. Now the base is ready completely and you can start decorating.

Decorating foam letters
First of all, be sure to wait until the glue dries completely. When decorating the letters, you need to show imagination and creative talent. As garnish many items will do, here are some examples:
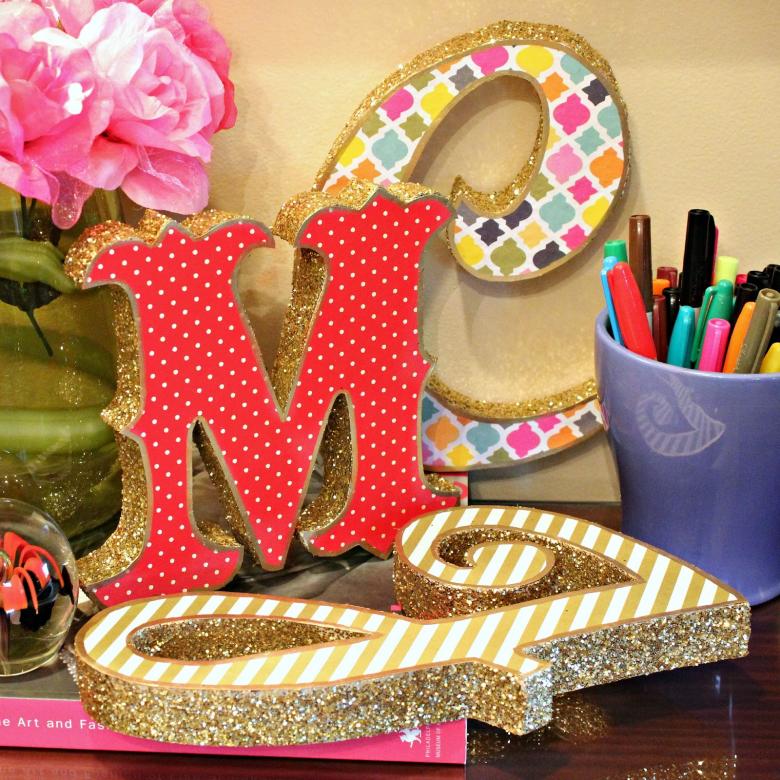
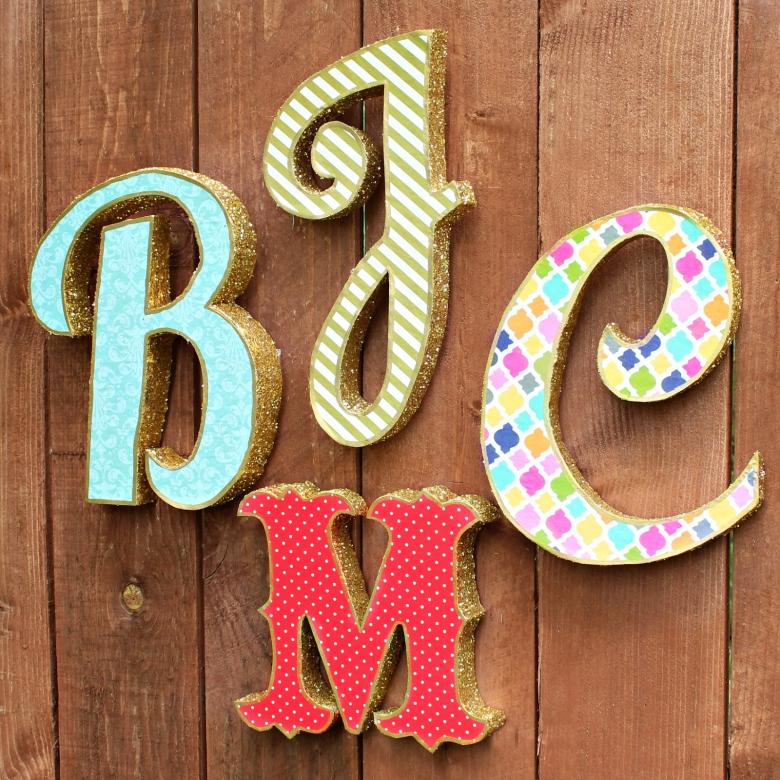
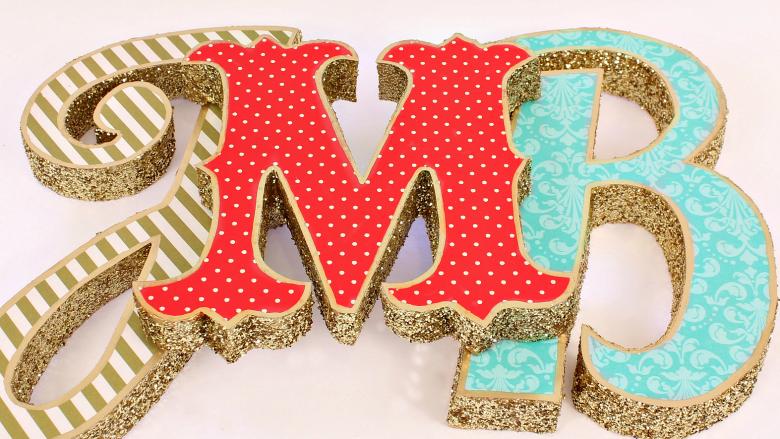
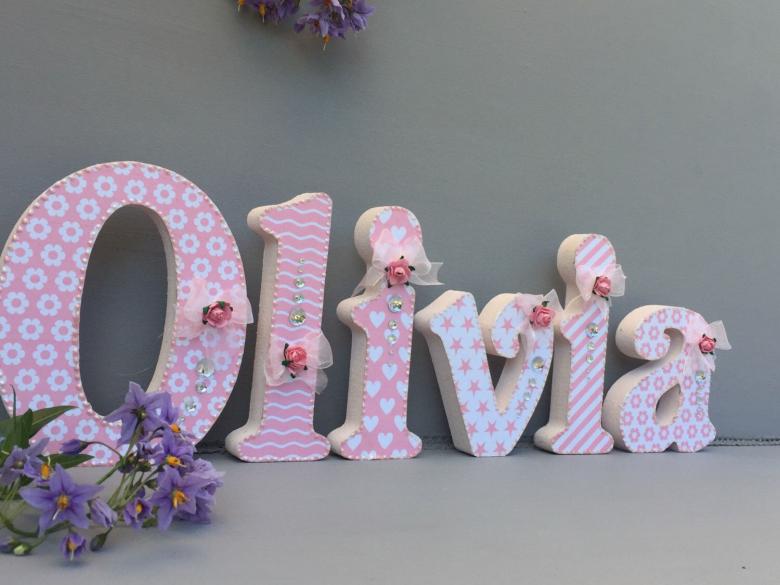
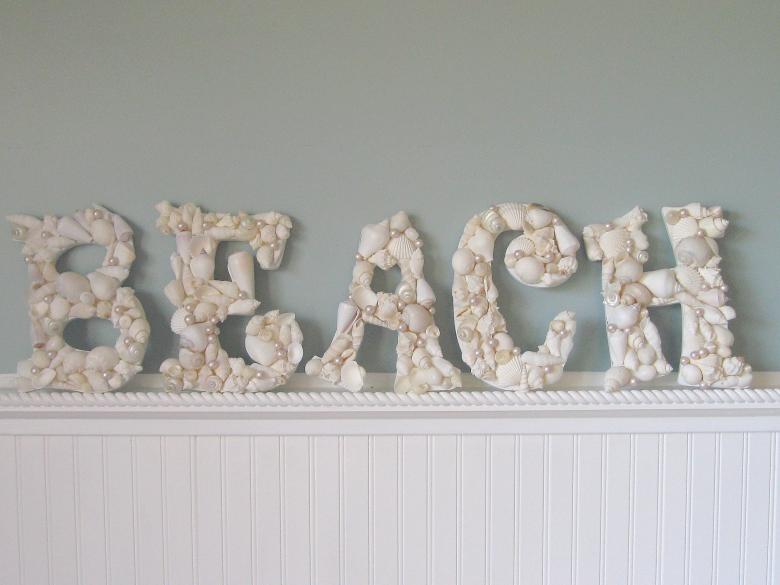
- Bright wallpaper, cut out pictures, ornaments, colored paper;
- bows, ribbons, details of toys, shoes, clothes;
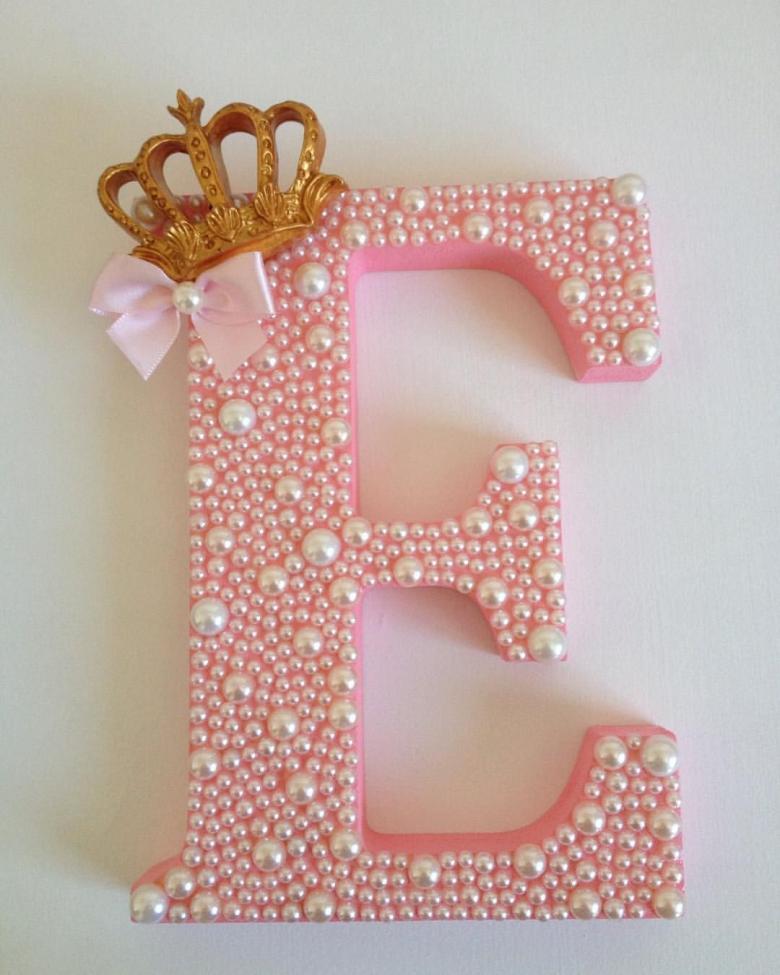
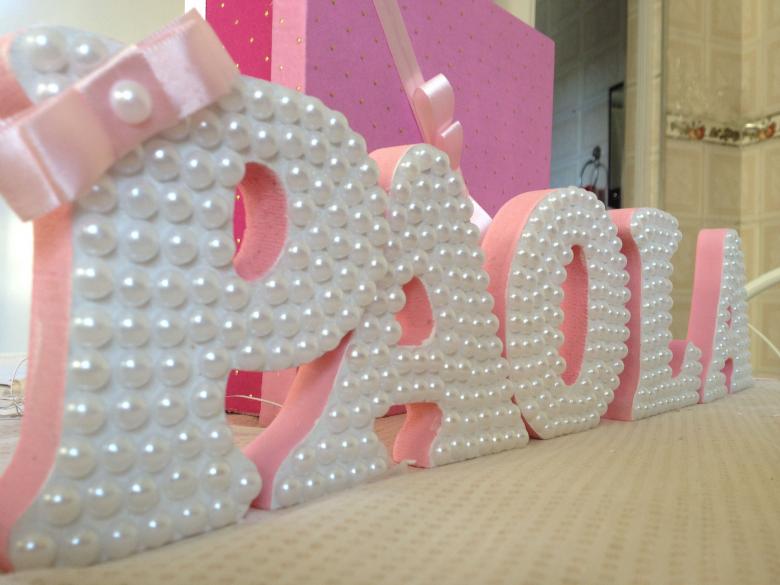
- rhinestones, colored stones, beads, metal items;
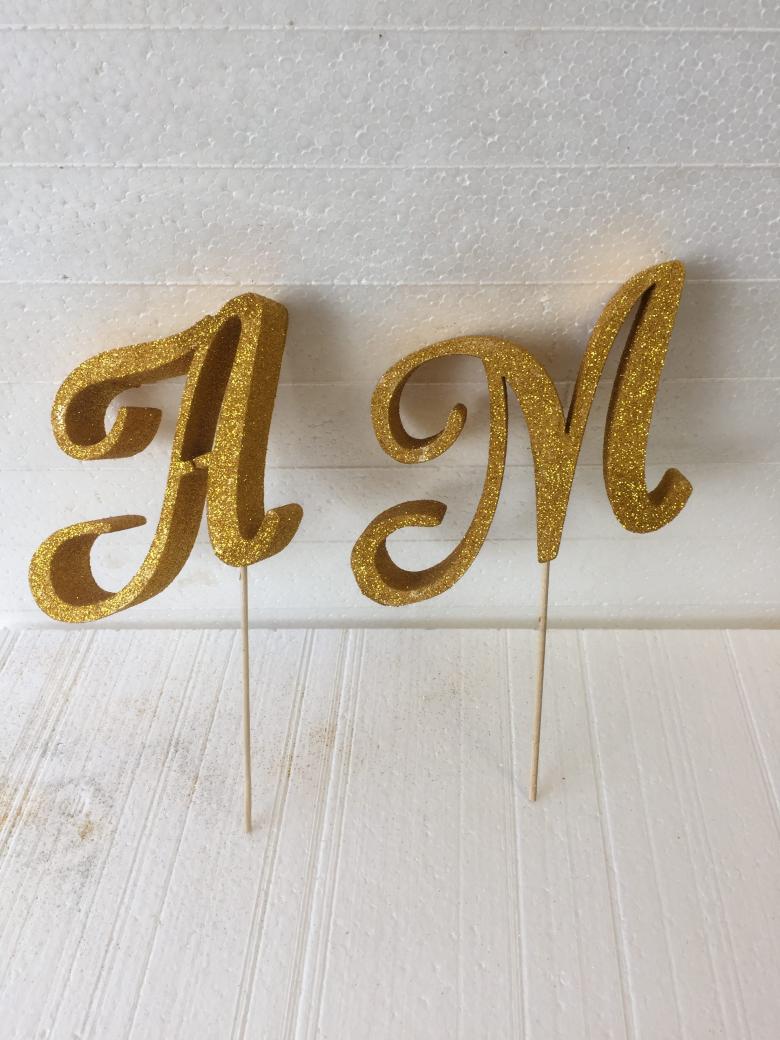
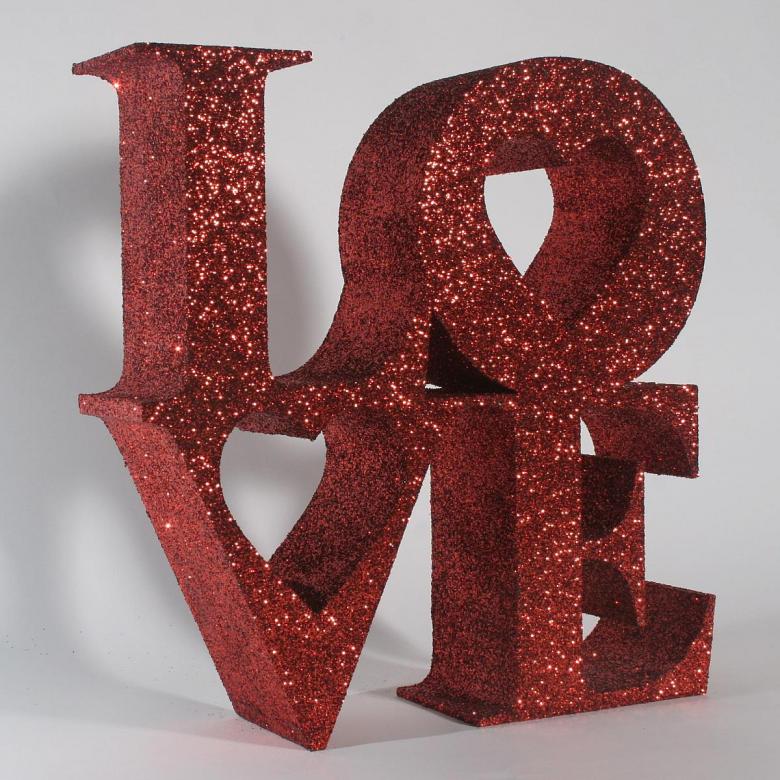
- sequins, foil, fabrics and more.
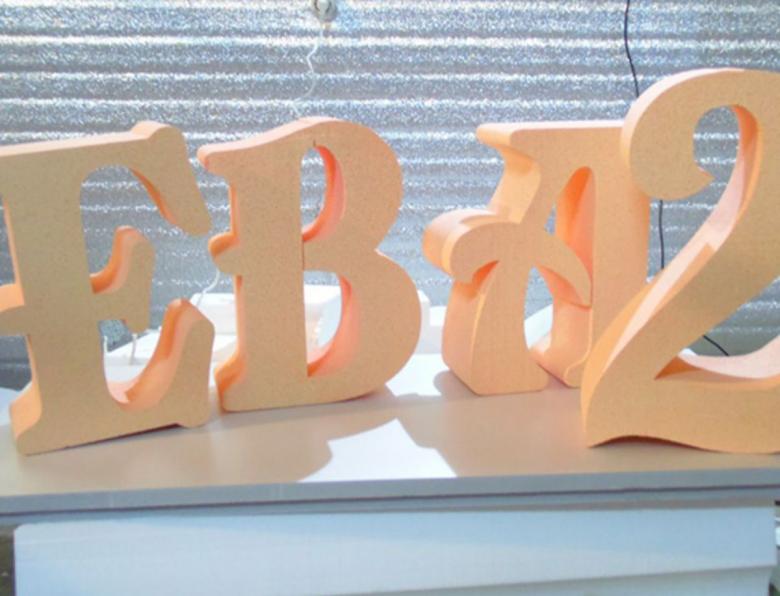
When the components of the decor are thought out, selected and prepared, you can proceed to the second stage of work. Start carefully covering the sides of the base and gradually move to the front. The process is quite long, but fascinating and the result is sure to please you and impress your friends. And, of course, no guest of the event will be able to pass by and will definitely want to make a photo on such a beautiful background!
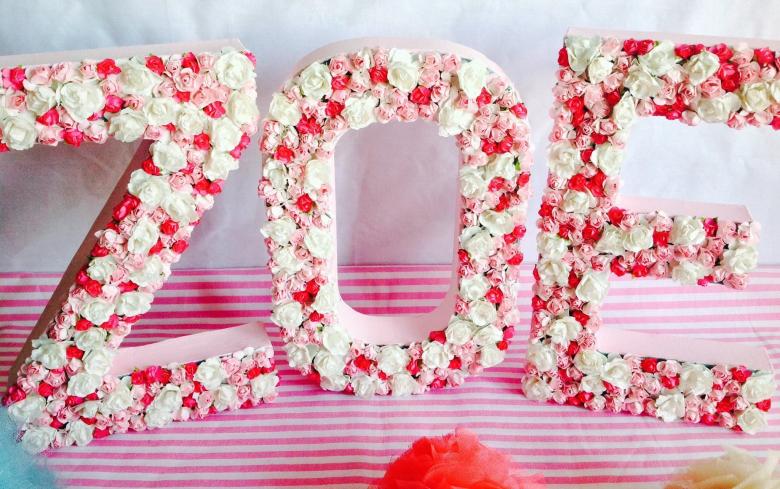
How to make the letters from foam plastic original
Any decorated Styrofoam products look especially spectacular. But they will look even more original if you make a winding of multicolored threads. A very important role will be played by the density, evenness and neatness of laying the layers.
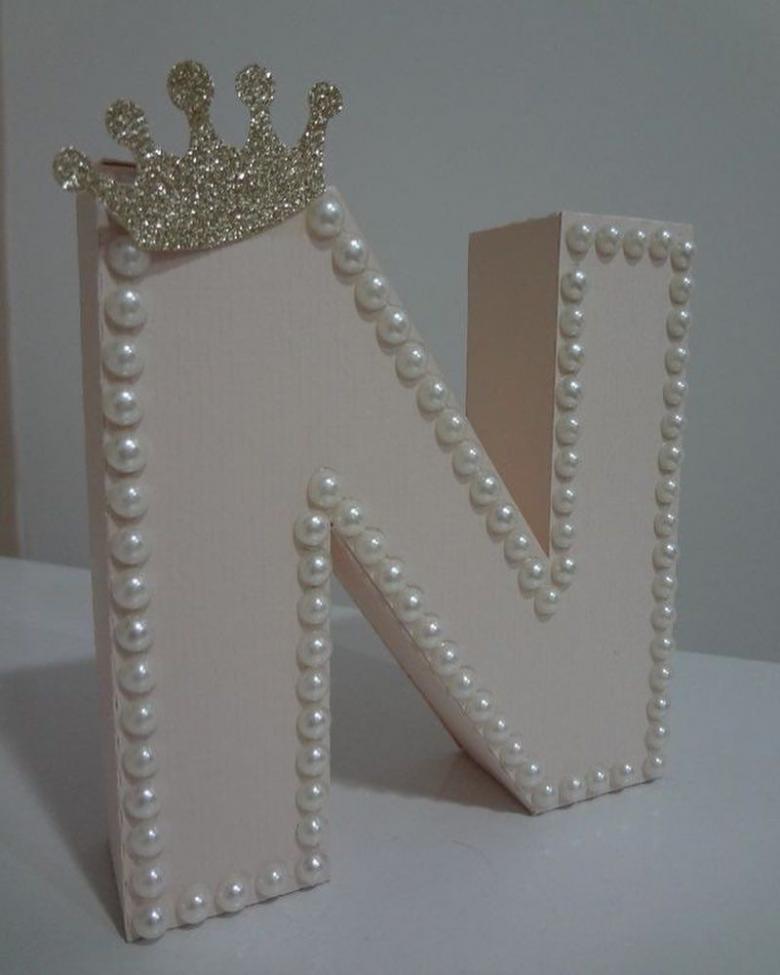
Unusually and beautifully look the letters, pasted with colored self-adhesive film or a special shiny scotch tape for decorations. These components can be found in retail outlets for handicrafts and needlework.
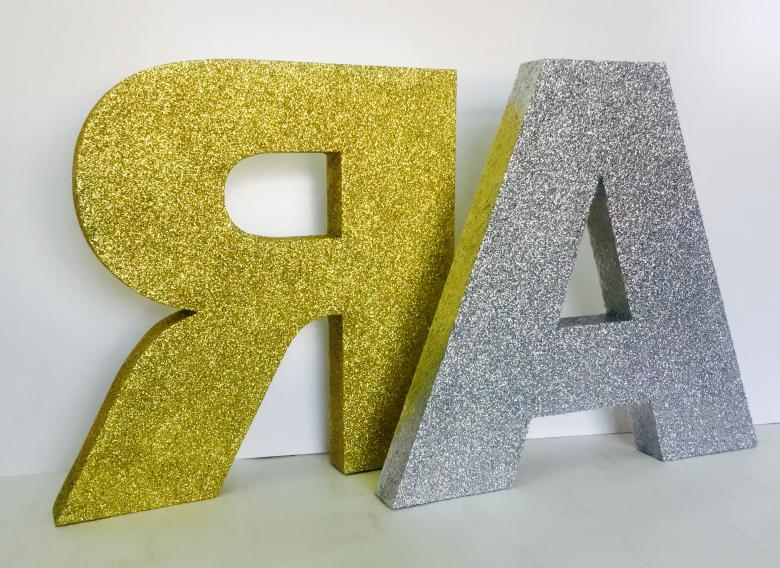
Luminous letters from foam plastic
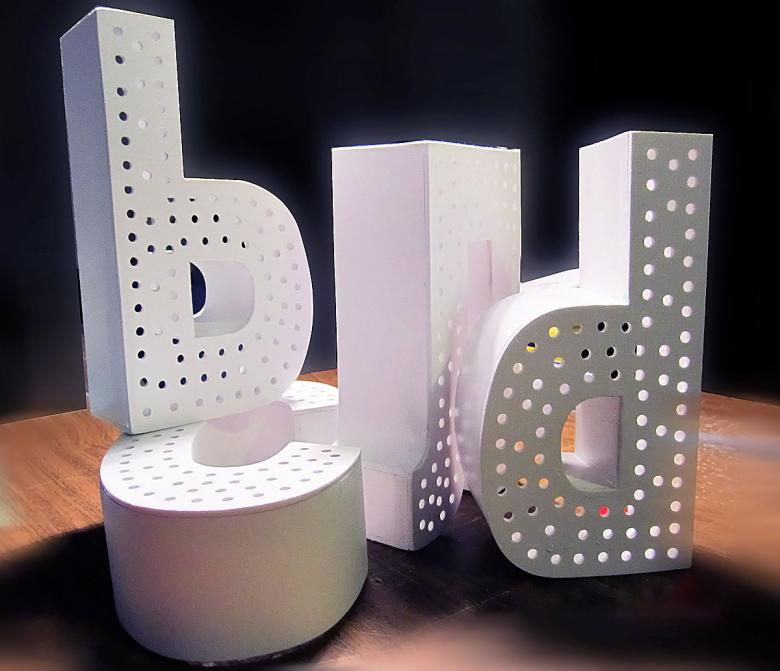
Styrofoam forms with multicolored bulbs will look especially spectacular. The process of making them is identical to the one described above, except that you need a Christmas tree garland or a ribbon with LEDs, which is much more convenient to work with, and it looks prettier.
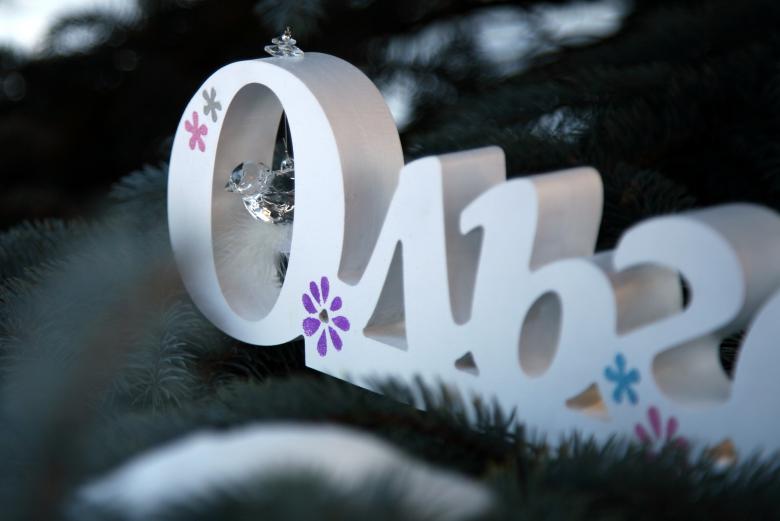
Fix luminous elements should be the contour of the basis with tape, which is masked on top of other elements (ribbons, glitter, etc.). It is recommended to use individual illumination for each letter, so that if there are problems with wiring, they do not go out all at once and you do not have to look for the cause of the problems in the entire system.
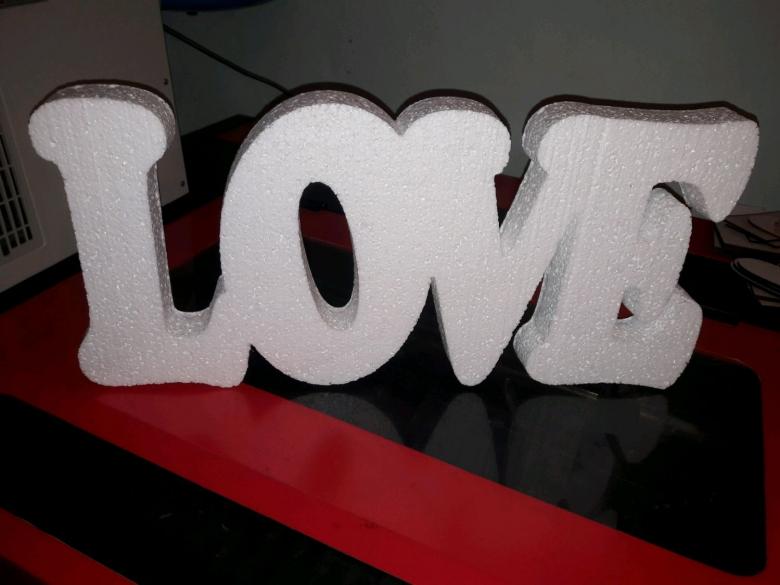
The advantages of foam plastic letters
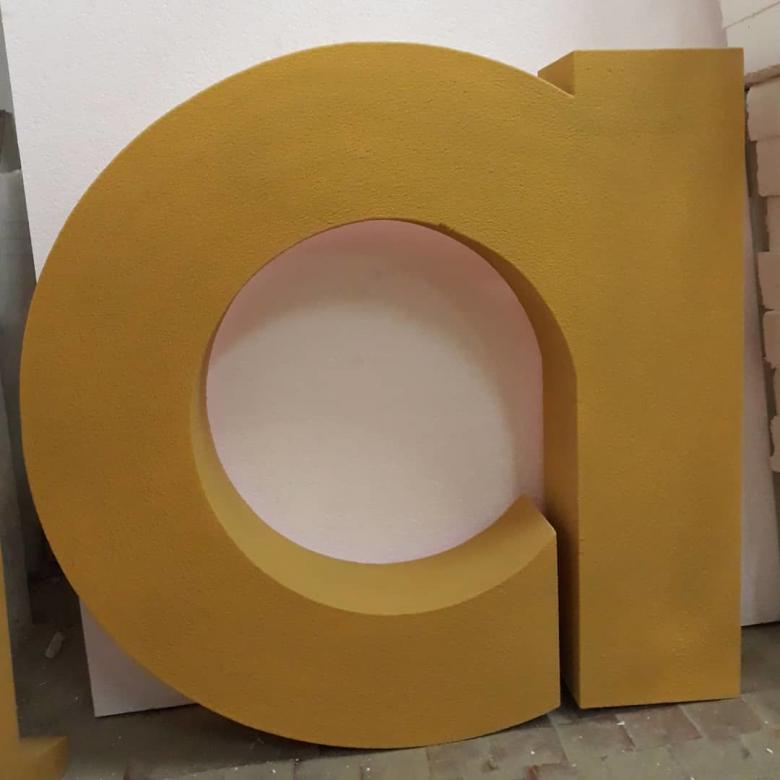
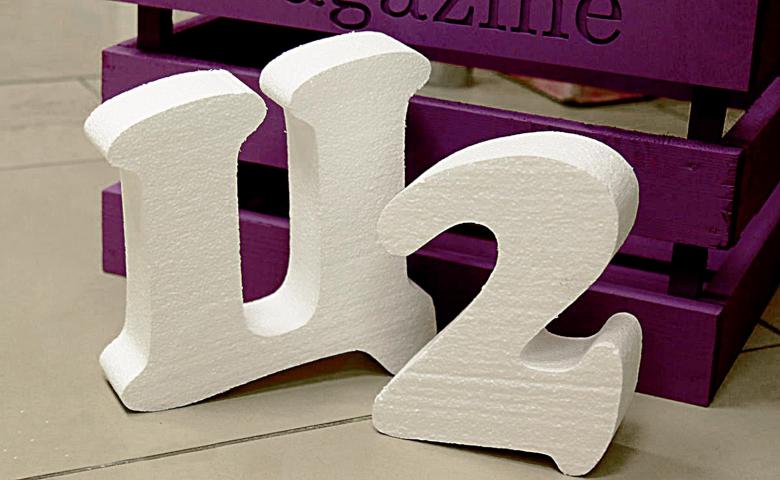
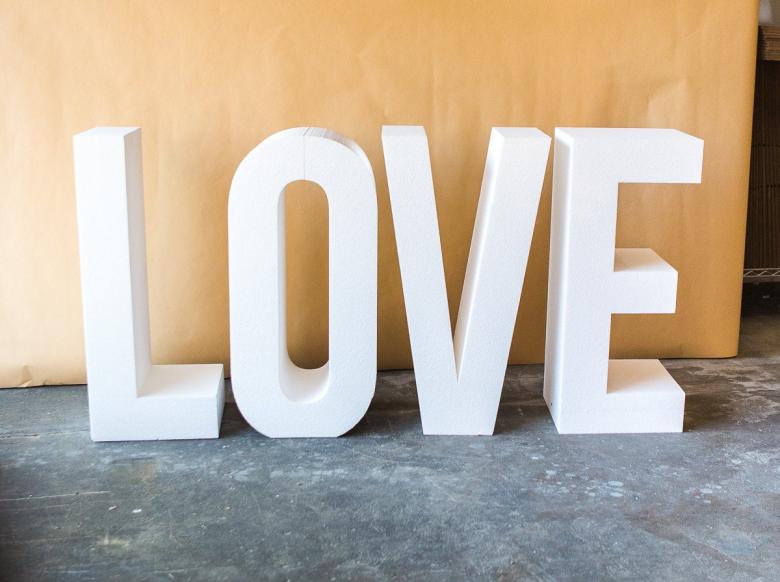
Decorations of foam plastic are especially good because they can be made in any shape, size, color and design. In addition, products are quite lightweight and even large forms do not give too much inconvenience when moving.
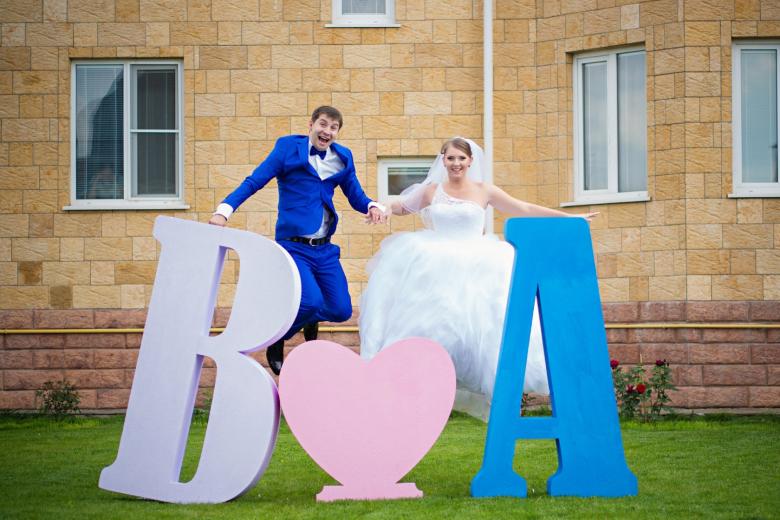
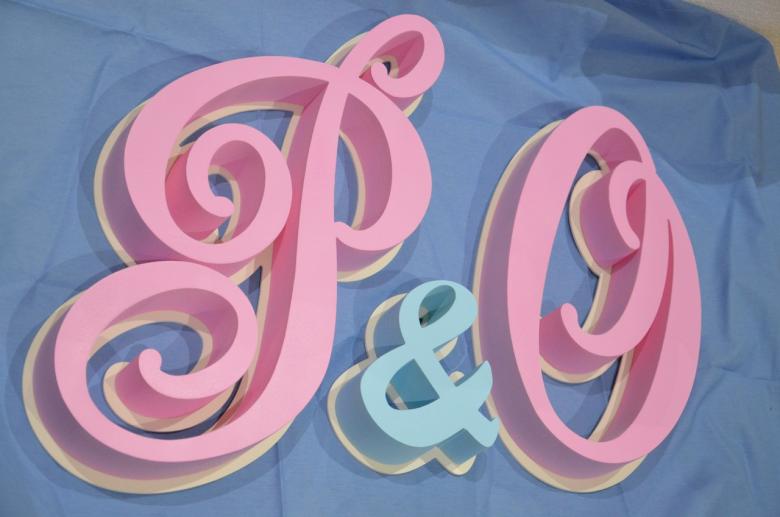
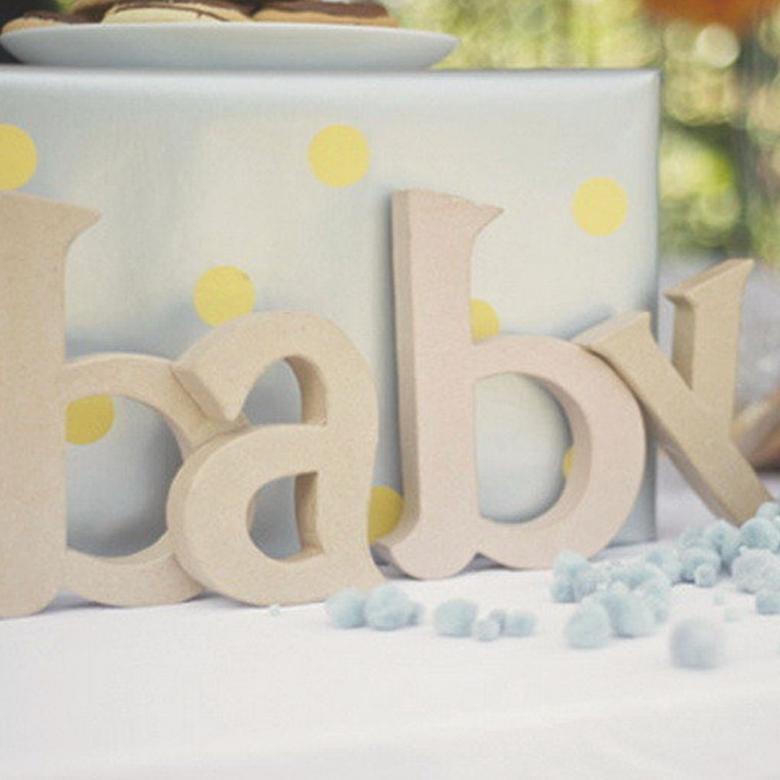
When creating letters from foam plastic it is possible to show imagination and realize any own ideas or look for inspiration elsewhere. They can be decorated in the tone of the surrounding interior or vice versa, to make a bright accent in the design of the festive area.
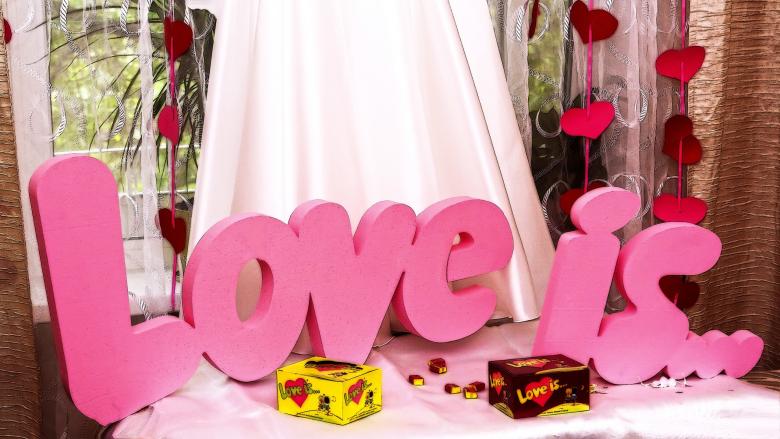
In any case, such a decoration will advantageously distinguish the event from the rest and will become not just a successful photo area, but a real highlight of the holiday, which will surprise and inspire everyone who sees them for a long time!

