Chestnut crafts - peculiarities of work with the autumn material, master classes, photo ideas
The onset of autumn pleases not only with the bright multicolored shades of the surrounding nature, but also with the abundance of natural materials for the realization of creative ideas. Chestnut alleys can be studded with fallen fruits in an unusual prickly shell. They are easy to work with due to their strength and dense structure. Chestnuts retain their freshness for a long time, so these autumn gifts are successfully used to create children's crafts and interior items.
Preparation of materials
Before you begin, you should decide whether you will need chestnuts peeled or encased. The collected chestnuts should be washed and dried. The necessary holes are made with an awl or a knife. If the shells are very hard, they are used as a whole.
Making chestnut crafts with the children
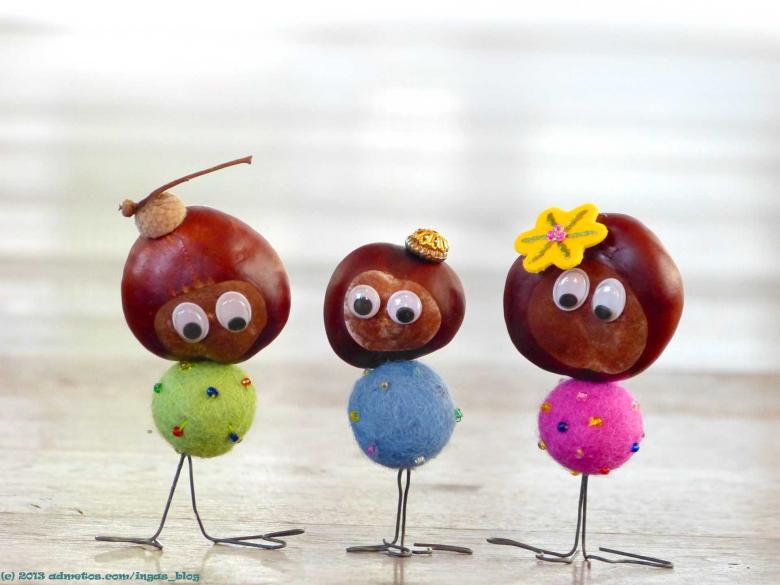
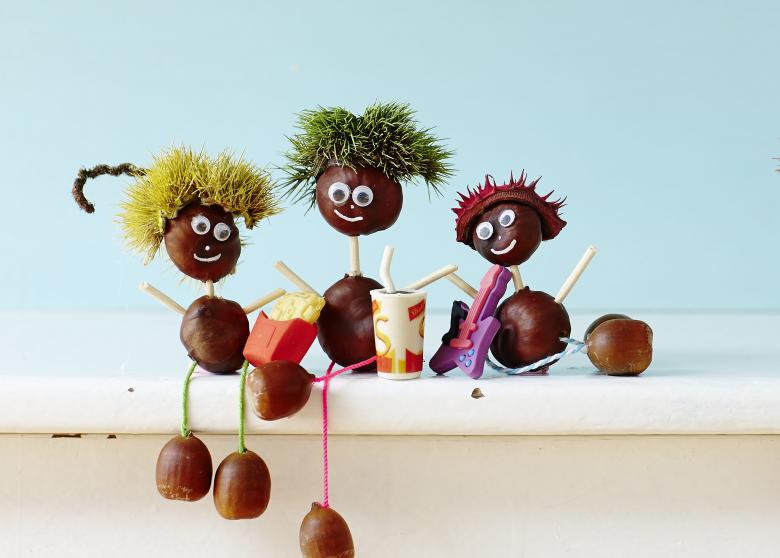
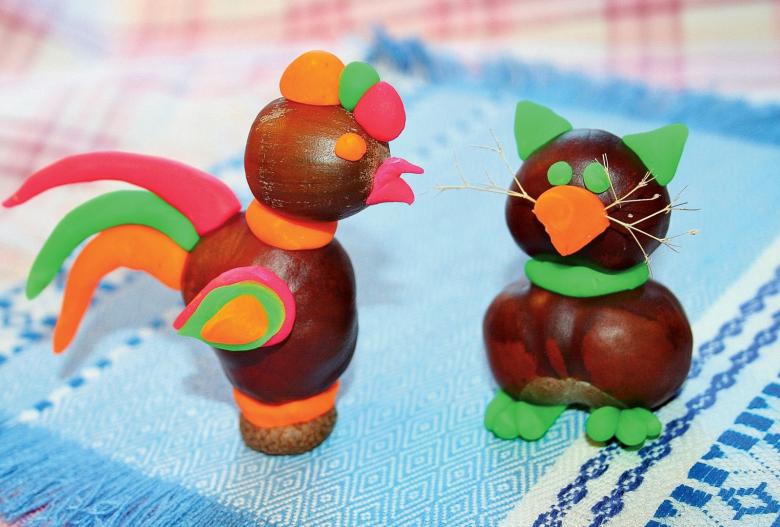
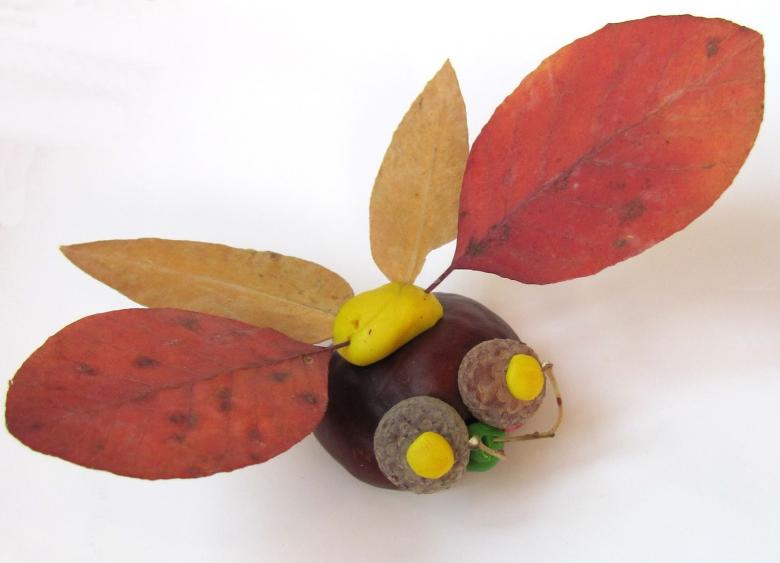
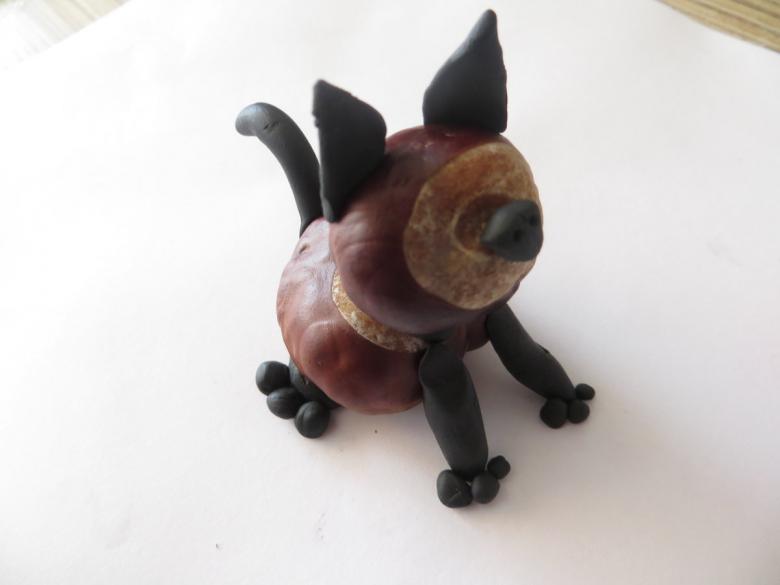
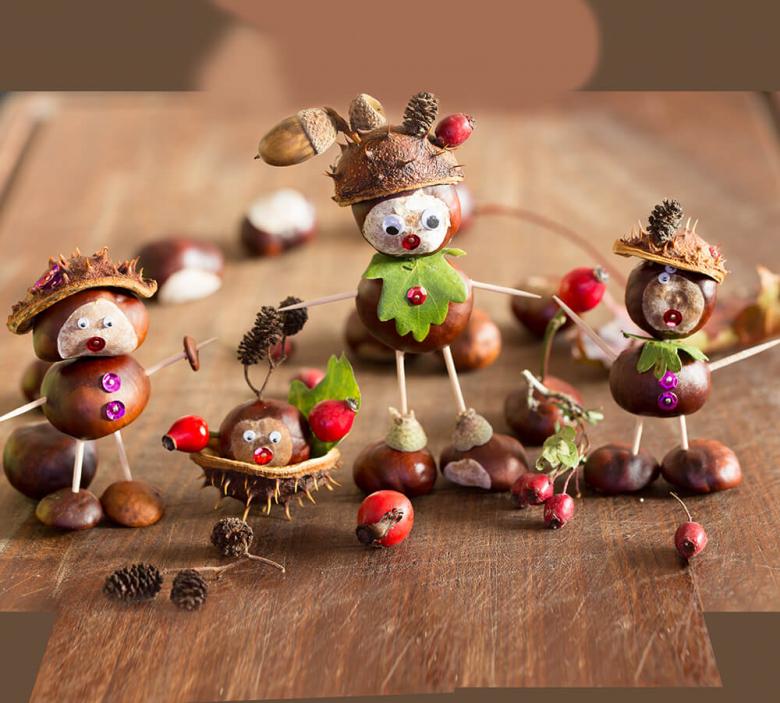
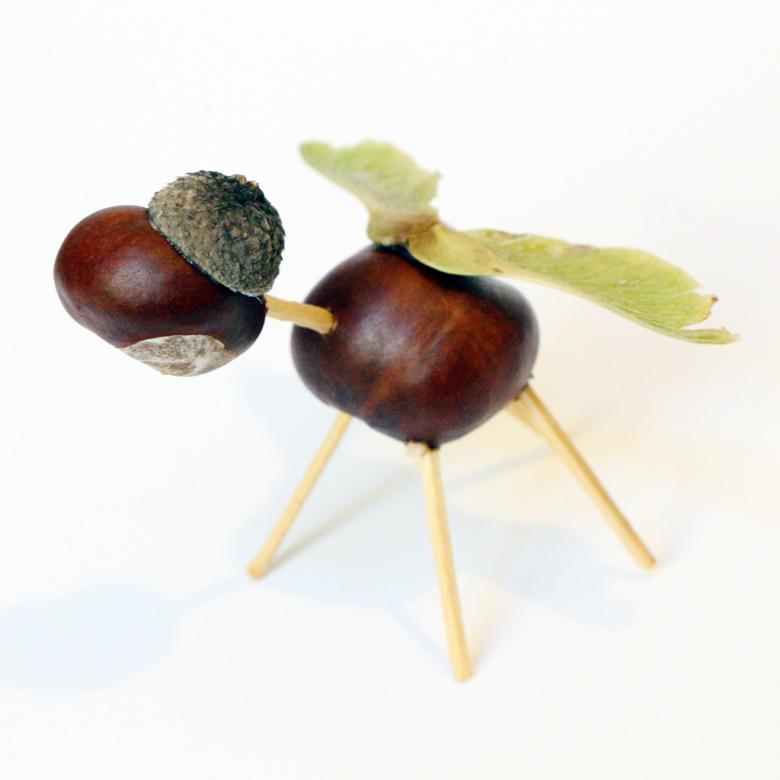
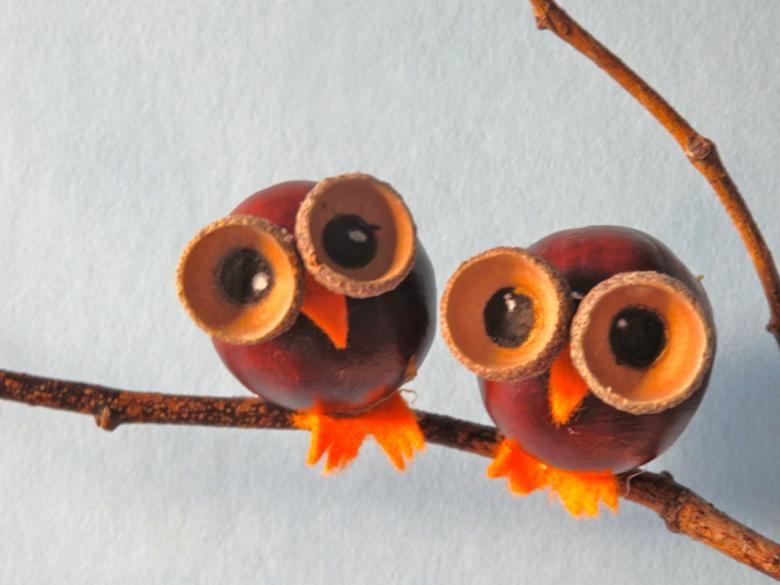
The most active imagination begins to appear in children during walks with their parents in the park. They begin to imagine animals or characters from their favorite cartoons in the collected cones, leaves or dried flowers. Chestnut fruits, which resemble chocolate candies, are the most attractive to a child.
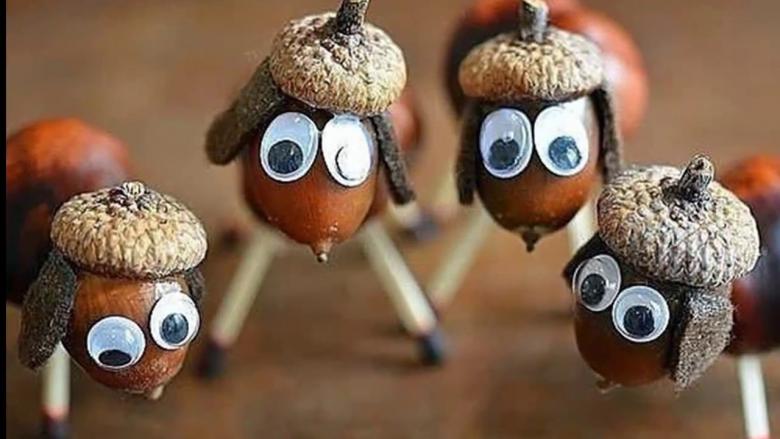
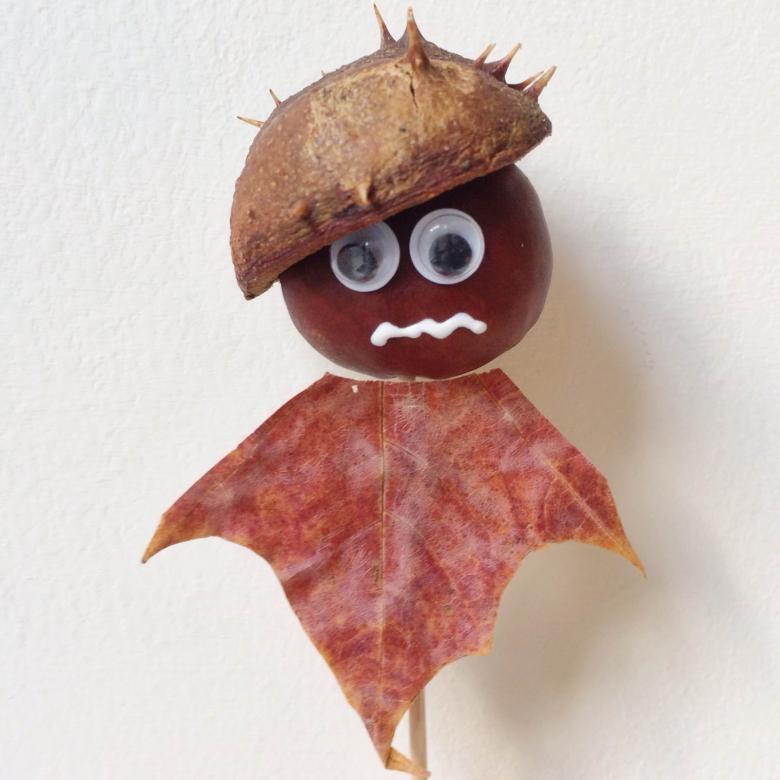
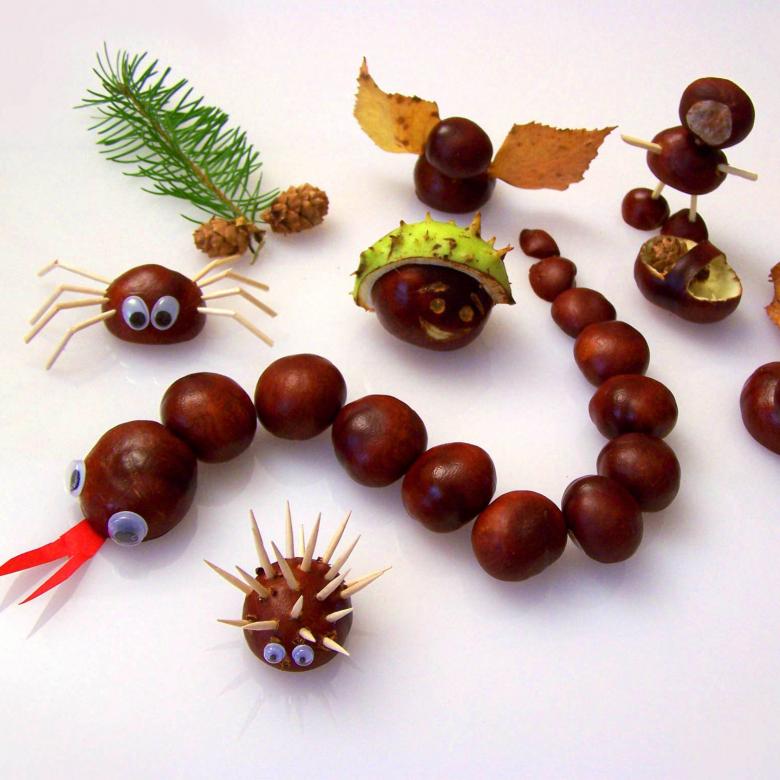
Consider the use of chestnuts in the construction of simple crafts for children.
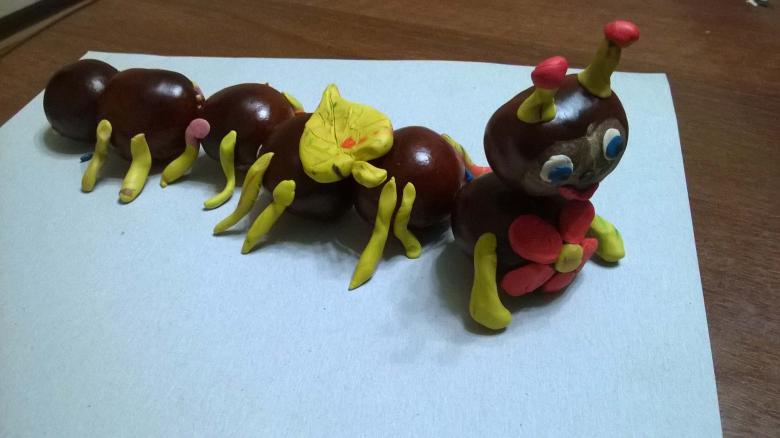
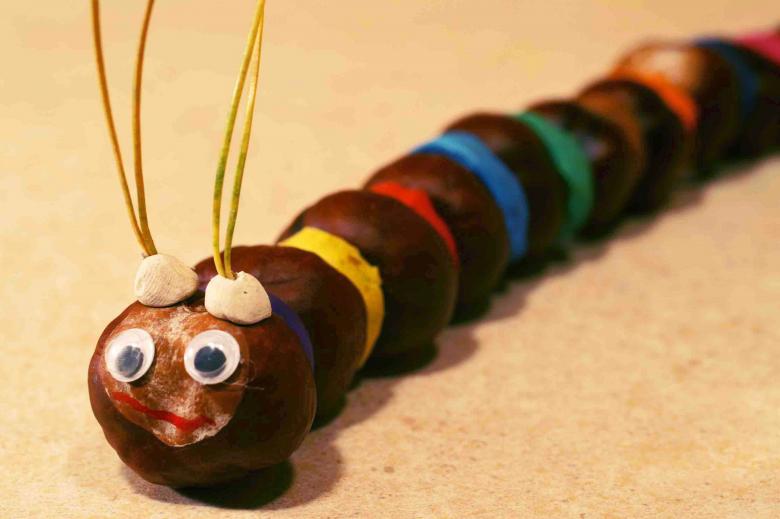
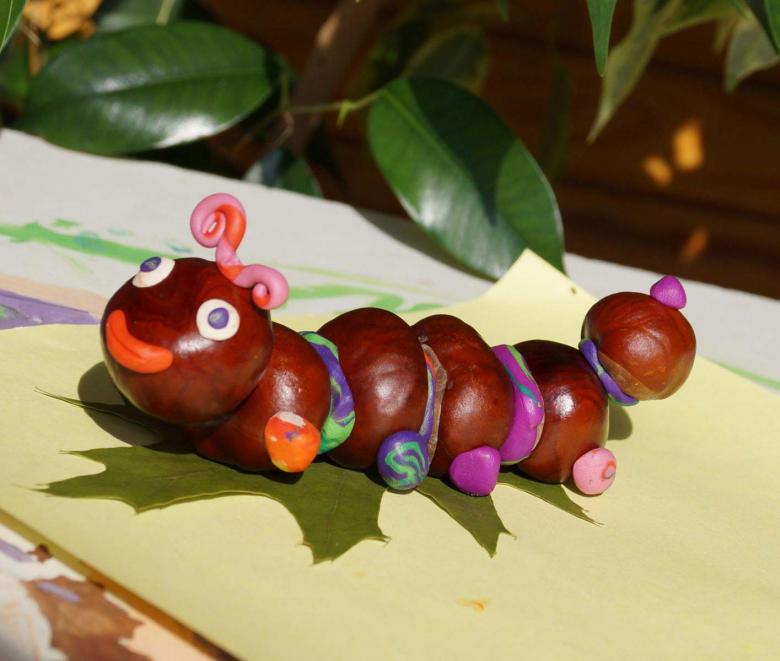
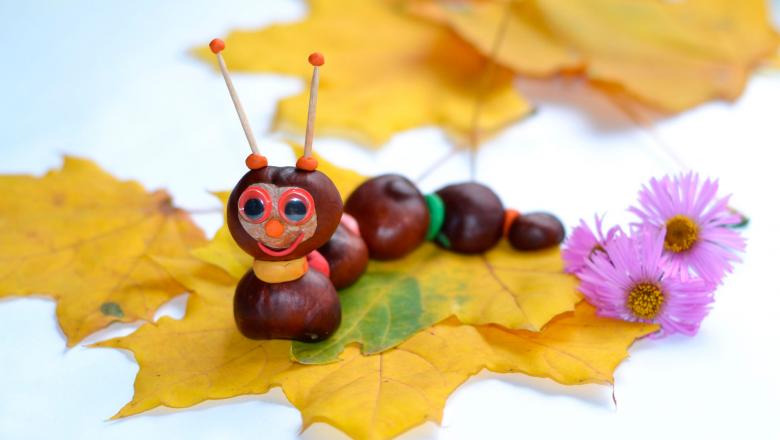
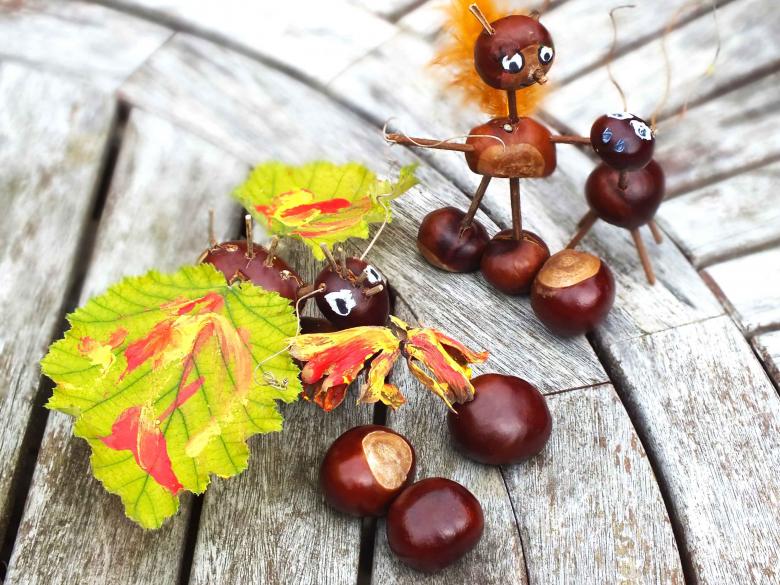
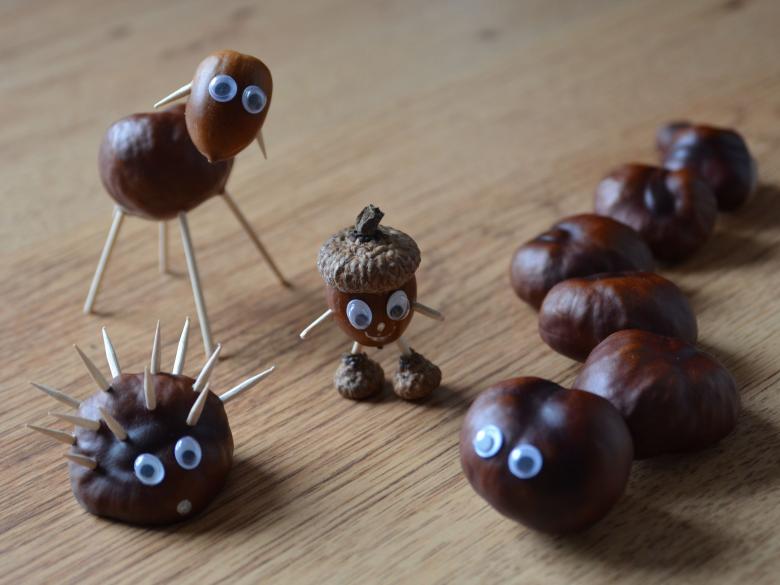
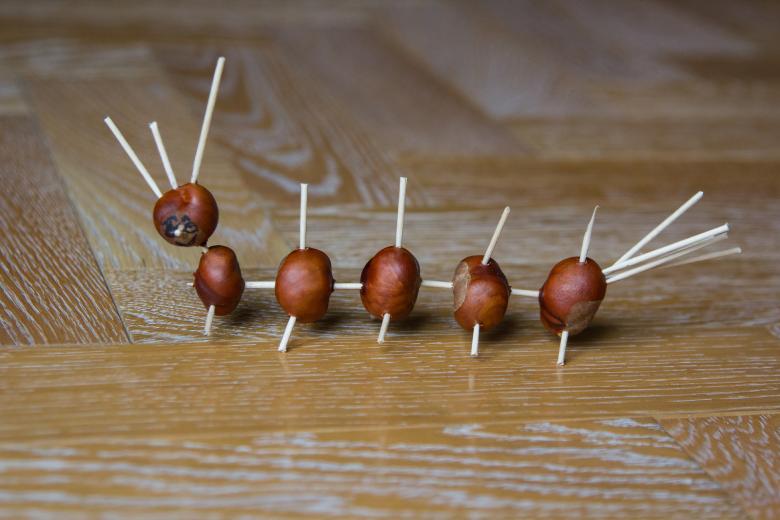
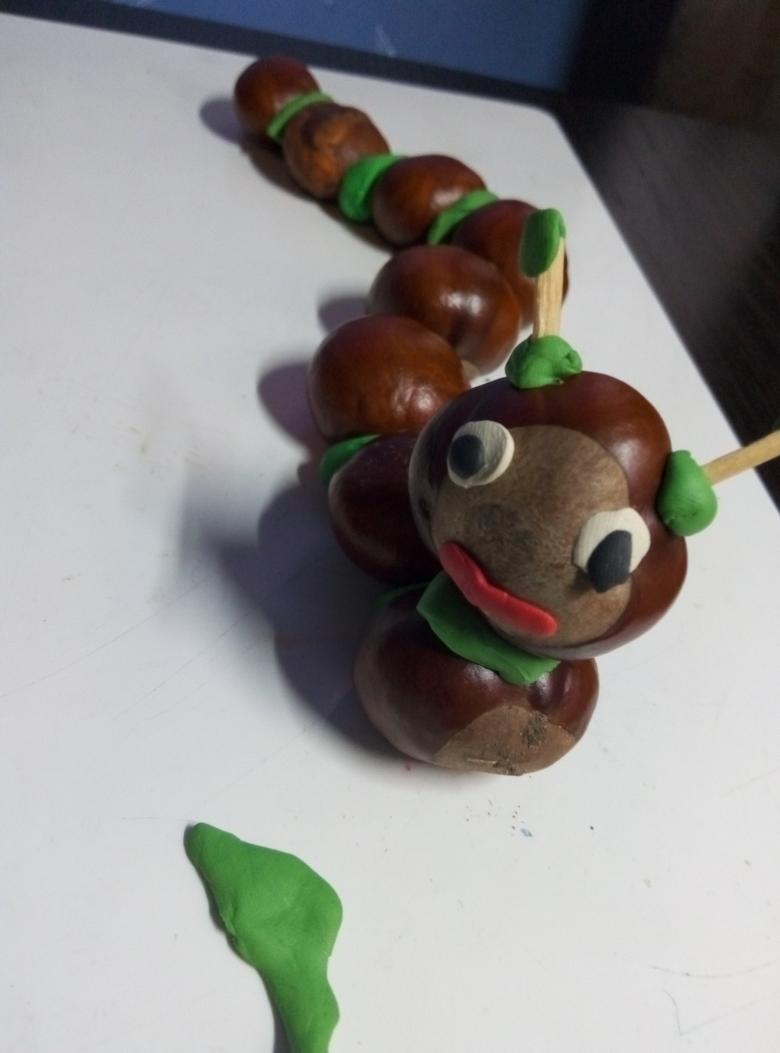
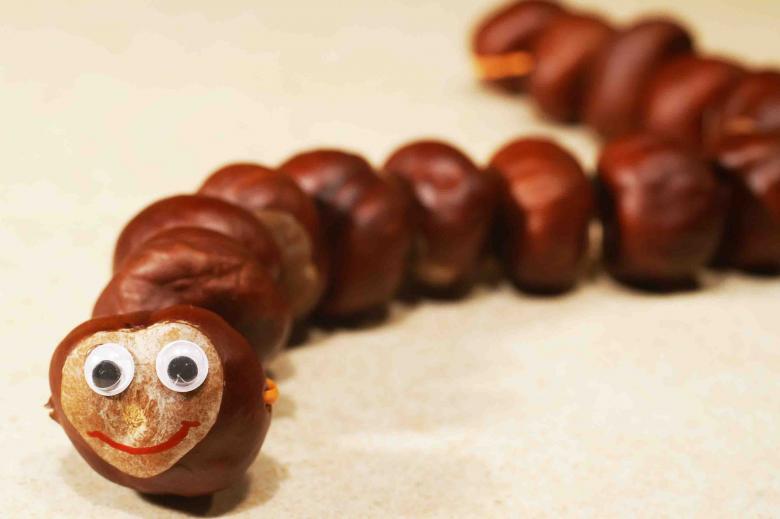
Caterpillar
Prepare:
- several chestnuts;
- some plasticine;
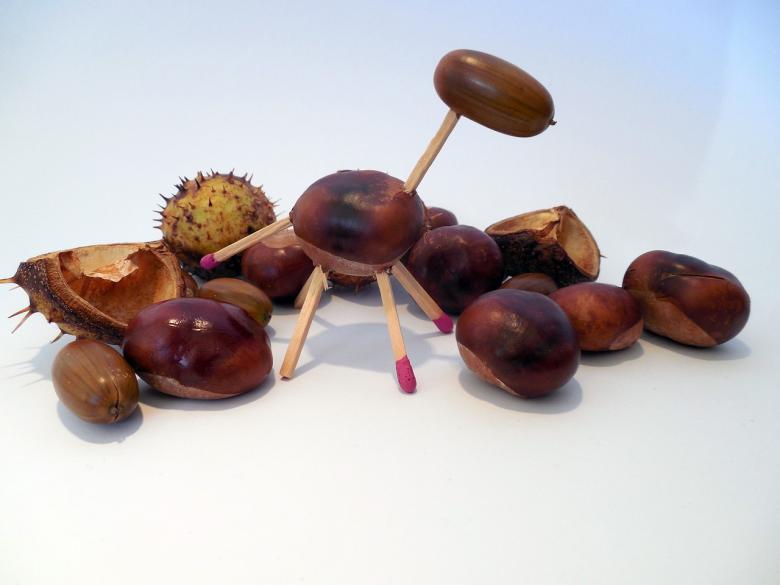
- Matches or toothpicks.
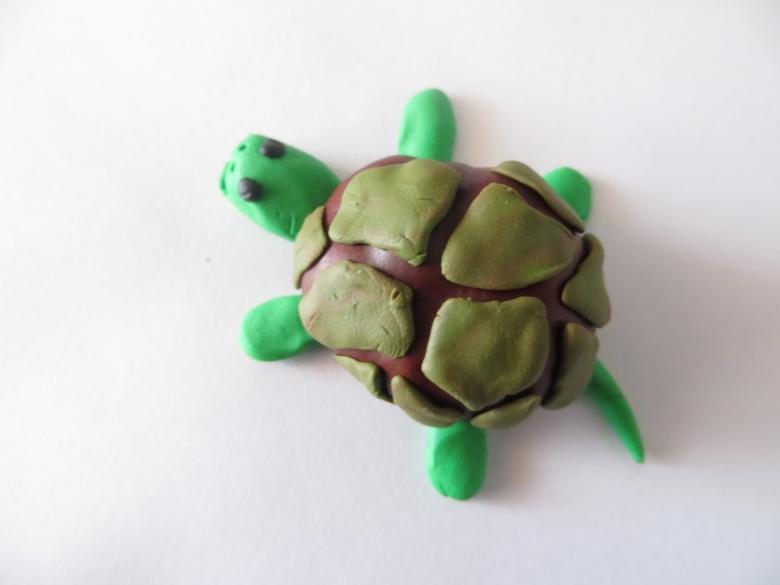
Step by step instructions:
- We fasten the chestnuts together with plasticine.
- On the future muzzle make plasticine eyes and mouth. On top of the holes made, insert the antennae of half matches (toothpicks), hook the ends of plasticine balls.
- Make paws from plasticine and attach them to the body of the caterpillar.
- As decoration of the composition, take a sheet of cardboard and glue it to the autumn leaves, on which to set the ready-made caterpillar.
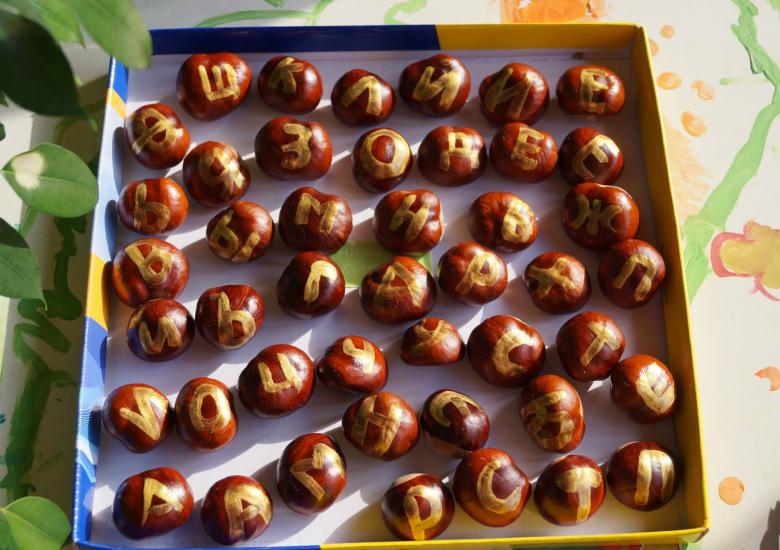
Beads .
Surely the girls will love to make such jewelry with their own hands.
We will prepare:
- chestnuts;
- String or strong thread;
- nail polish or streak;
- beads.

Step by step instructions
- Using an awl, we make through holes in the chestnuts.
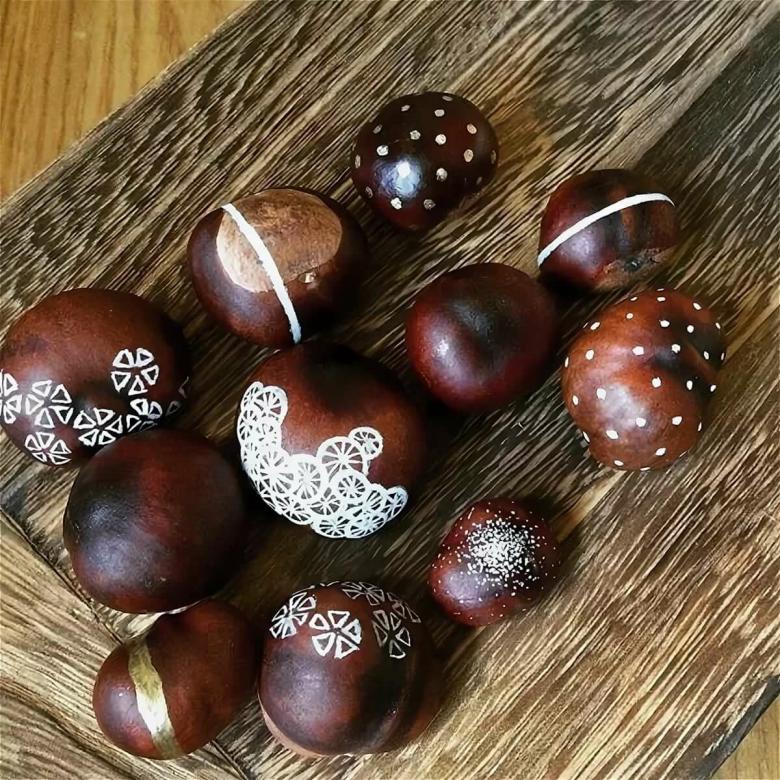
- Decorate the fruit in the form of ornaments or drawings.
- String chestnuts on a thread, alternating with beads.
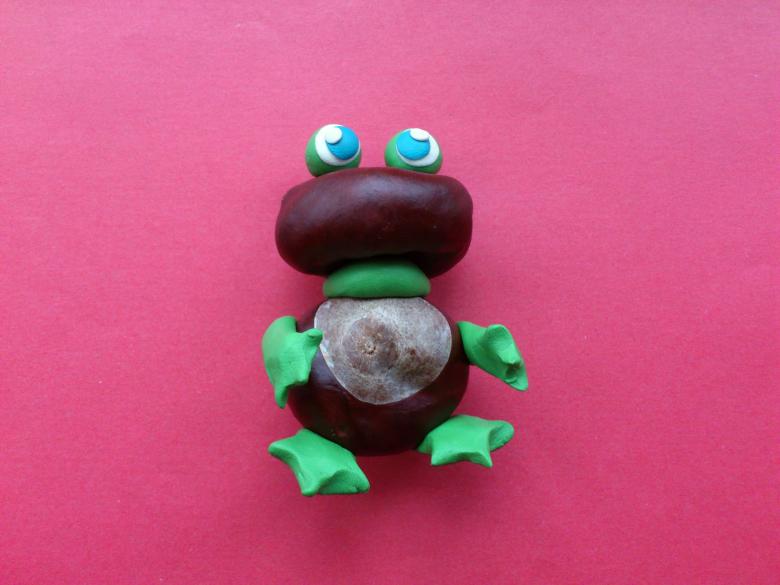
Alphabet .
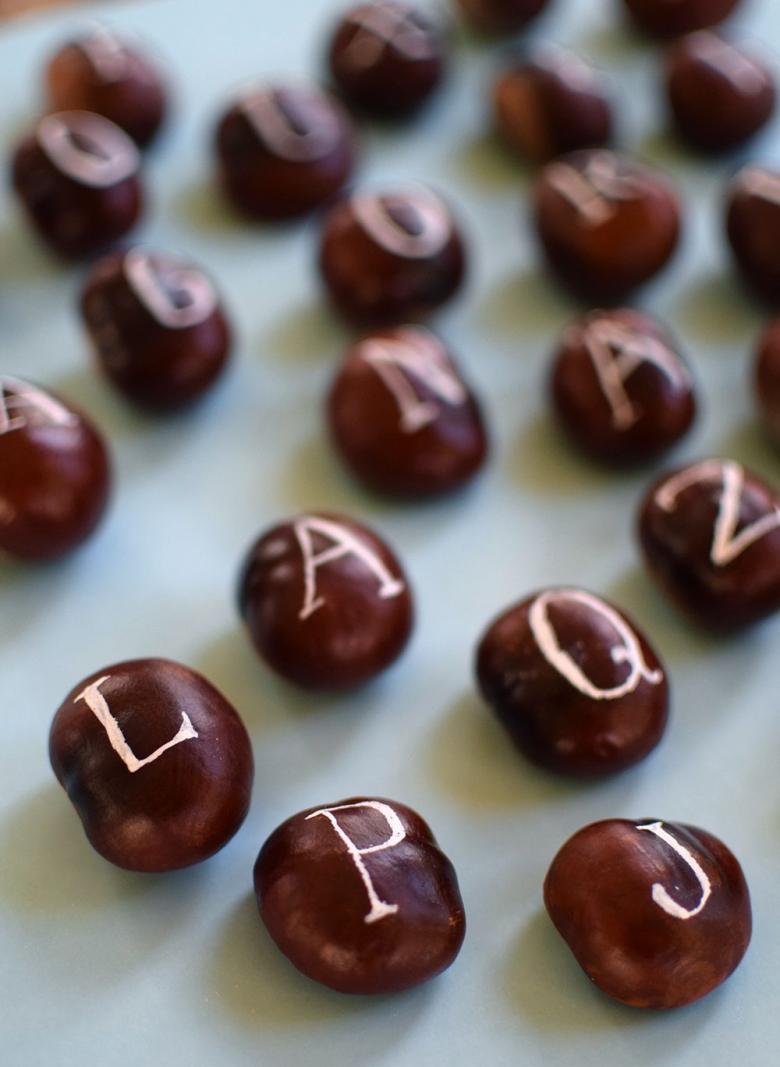
Working on this craft will allow you to quickly master learning the letters of the Russian or English alphabet with a child.
We will prepare:
- chestnuts (according to the number of letters);
- Marker or nail polish.
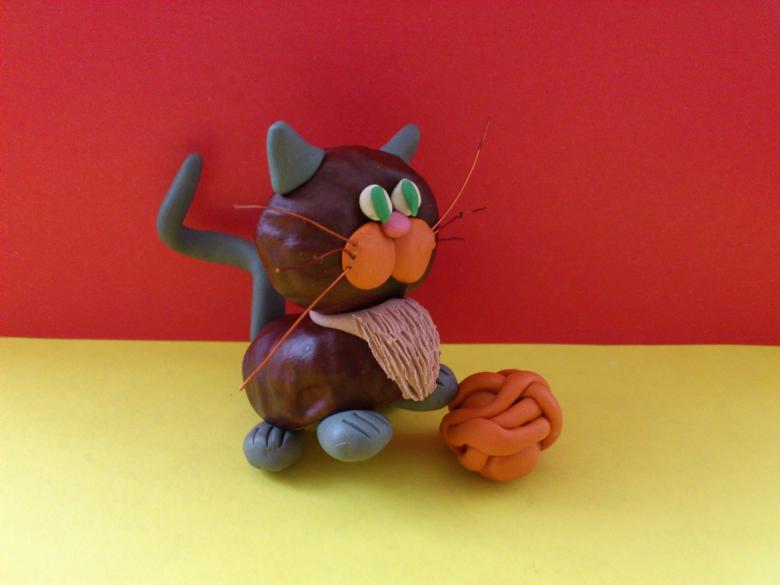
Write the letters on the chestnuts. In this case, for convenience, the fruits should be flat.
By analogy, together with children, you can make numbers with the signs of addition and subtraction.
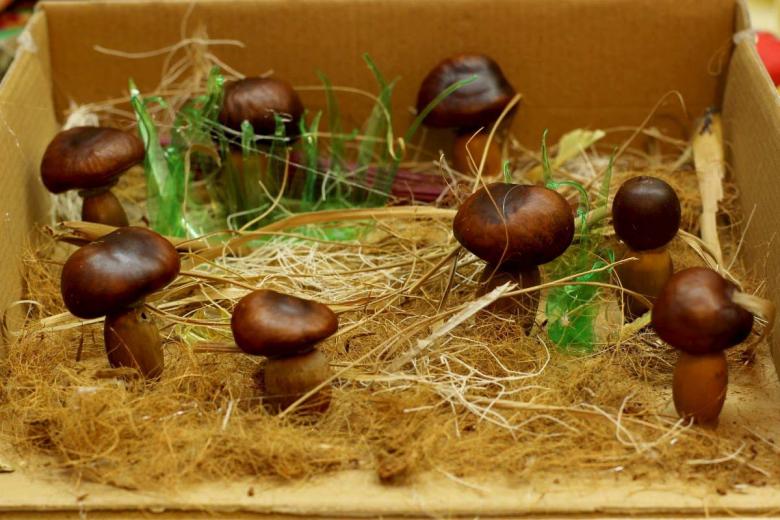
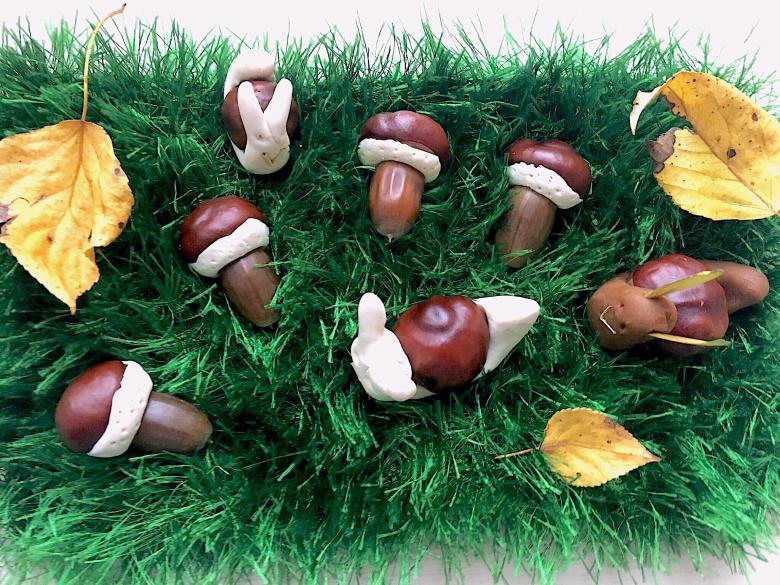
Mushrooms .
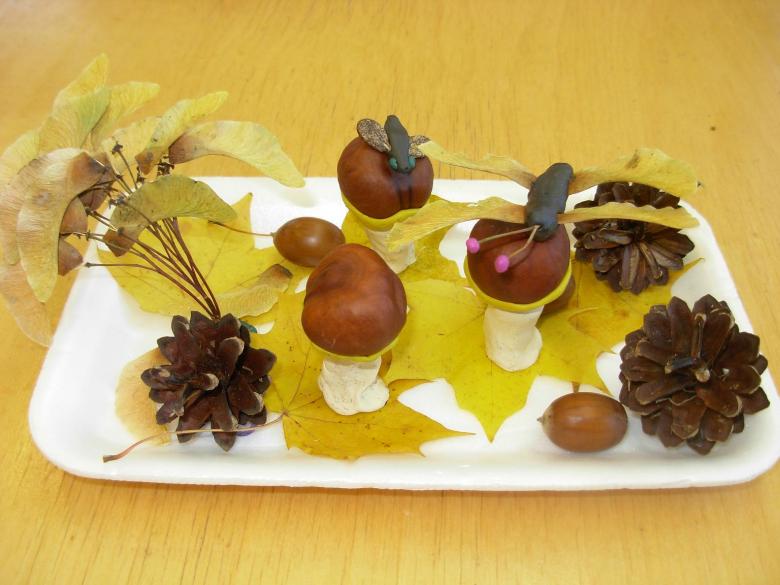
This is such a simple craft, that even a baby can cope with it independently.
We will prepare:
- a base of plasticine rolled out on a sheet of cardboard;
- chestnuts;
- plasticine;
- Autumn leaves, berries, needles for decoration.

Step by step instructions:
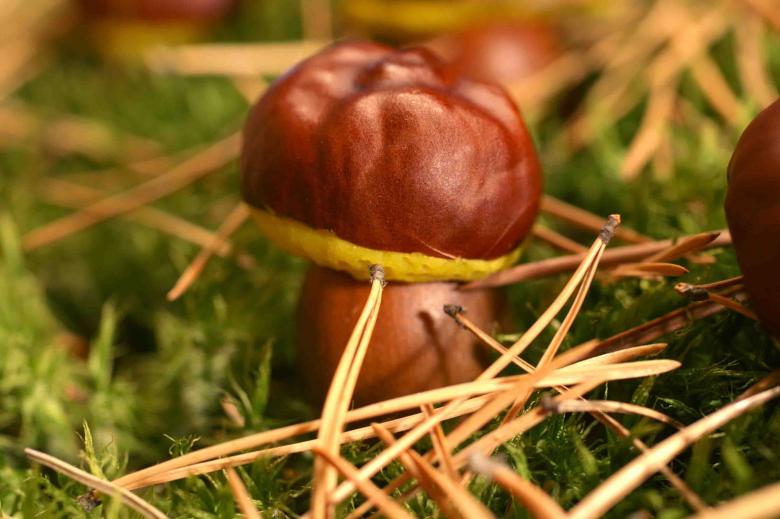
- On the plasticine base mount a small chestnut, which is the leg of the future mushroom. Instead of a chestnut, you can use Acorn ..
- With plasticine to attach the chestnut leg - the cap mushroom.
- Decorate the hat with berries or leaves.
- Sprinkle the base with leaves, pine twigs and other gifts of nature.
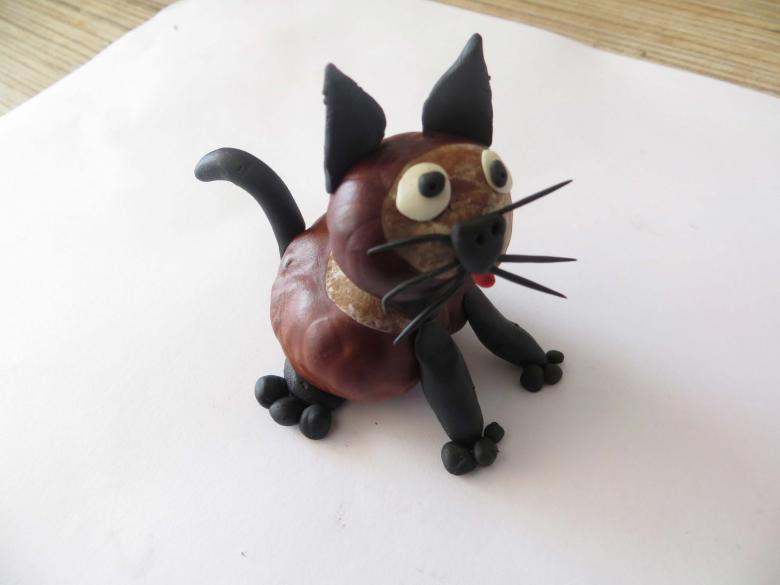
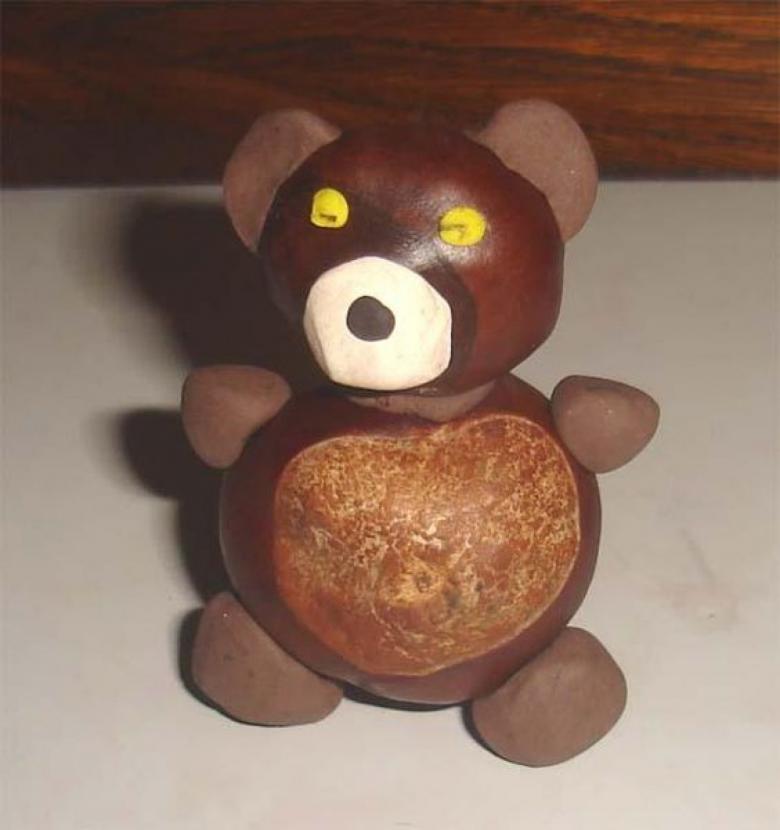
Cheburashka.
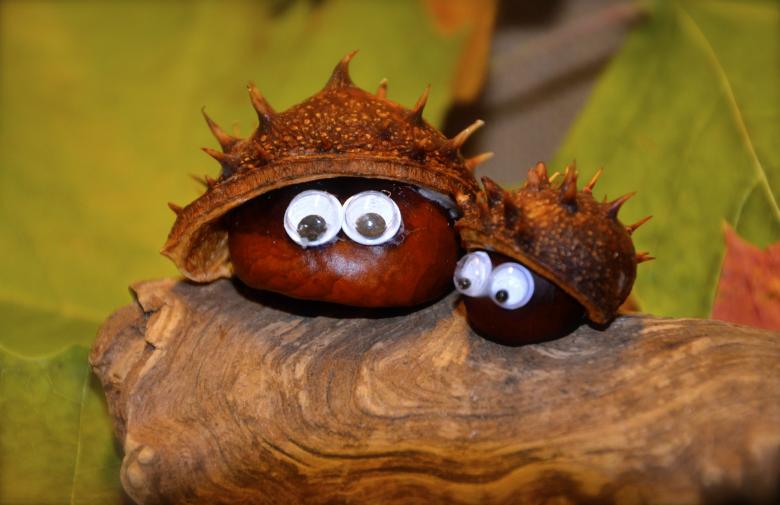
When procuring materials, you need to take into account that for the head, ears and torso will need larger fruits, and for the paws - smaller.
We will prepare:
- chestnuts (8 pieces);
- Toothpicks or matches;
- plasticine.
Step by step master class:
- Needle punch holes to connect.
- Use matches to assemble the craft.
- From plasticine make eyes, nose and mouth.
The idea of this work can be applied to make a bear. For this, it is enough to make the ears small.
Using chestnuts to decorate gifts
Basket
Great for putting a gift or a bouquet of fresh flowers in it.
Let's prepare:
- Base (basket with or without a handle);
- chestnuts;
- decor (beads, bows, flowers, sisal);
- glue, paint, varnish.
Step by step master class:
- We glue chestnuts to the outside of the basket and its handle.
- Decorate the handicraft, filling the empty spaces between the fruits.
- Cover the product with paint and varnish.
- Inside the basket we distribute sisal.
In the same technique, you can decorate a wicker casket. After the gift, it can be used to store small items or jewelry and at the same time pleasing to the eye, decorating the dressing table.
Chestnut products in the interior
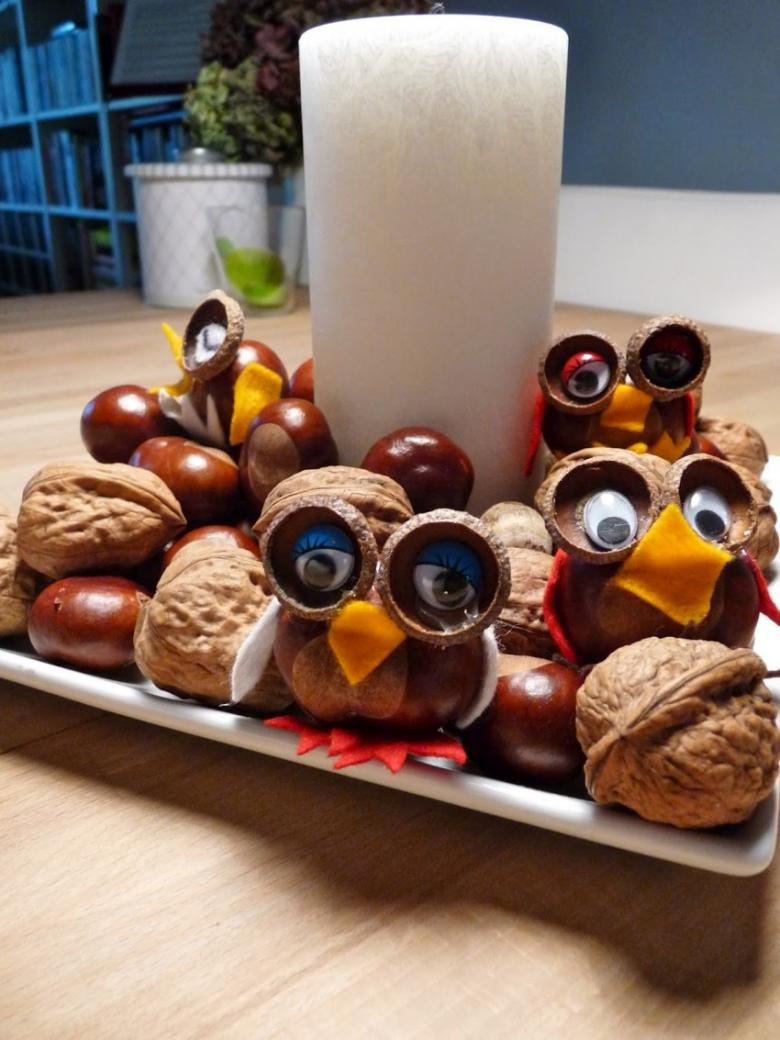
The theme of using the fruits of chestnut trees in the creation of handicrafts is actively used by masters of applied art. It is easy enough and without cost you can decorate the garden, porch of the house or a room. Below are the most popular decorative items.
Vase
Prepare:
- base (jar, bottle or vase);
- chestnuts;
- Paint, varnish for finishing;
- decor (beads, coffee beans, ribbons, dried flowers)
- glue gun.
The step-by-step master class:
- Let's glue chestnuts to the base with hot glue using a glue gun.
- Fill the empty spaces between the chestnuts with decor elements, using glue.
- Paint and varnish the resulting product.
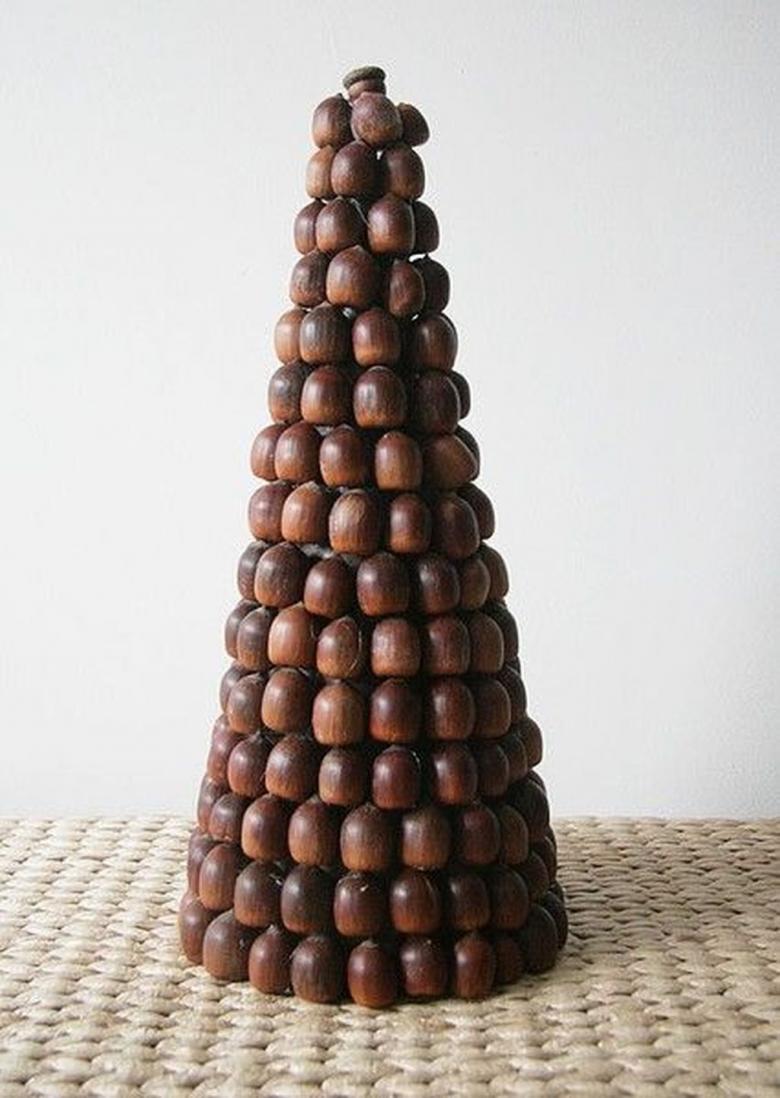
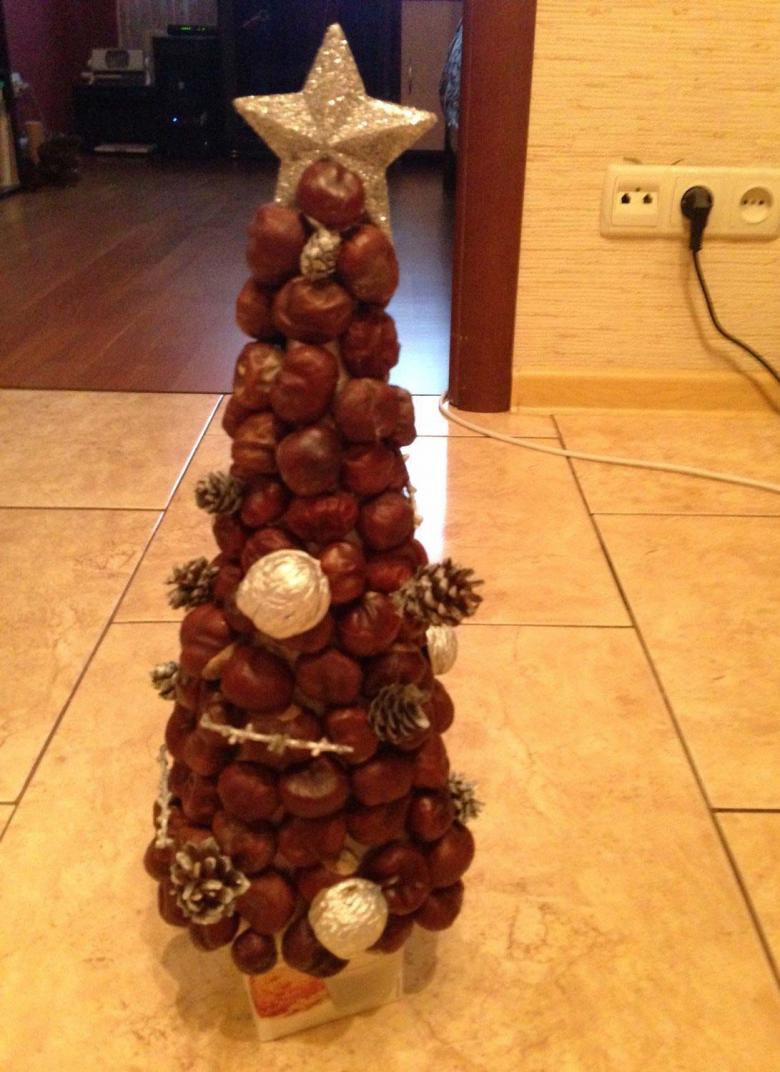
Similarly, you can make a Christmas tree for New Year. For this, the base should be in the form of a cone. You can use cones as decorations, and on top attach a star.
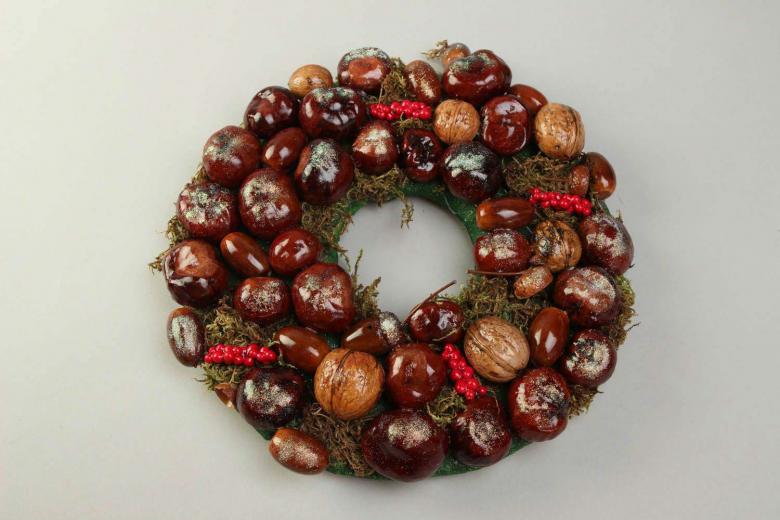
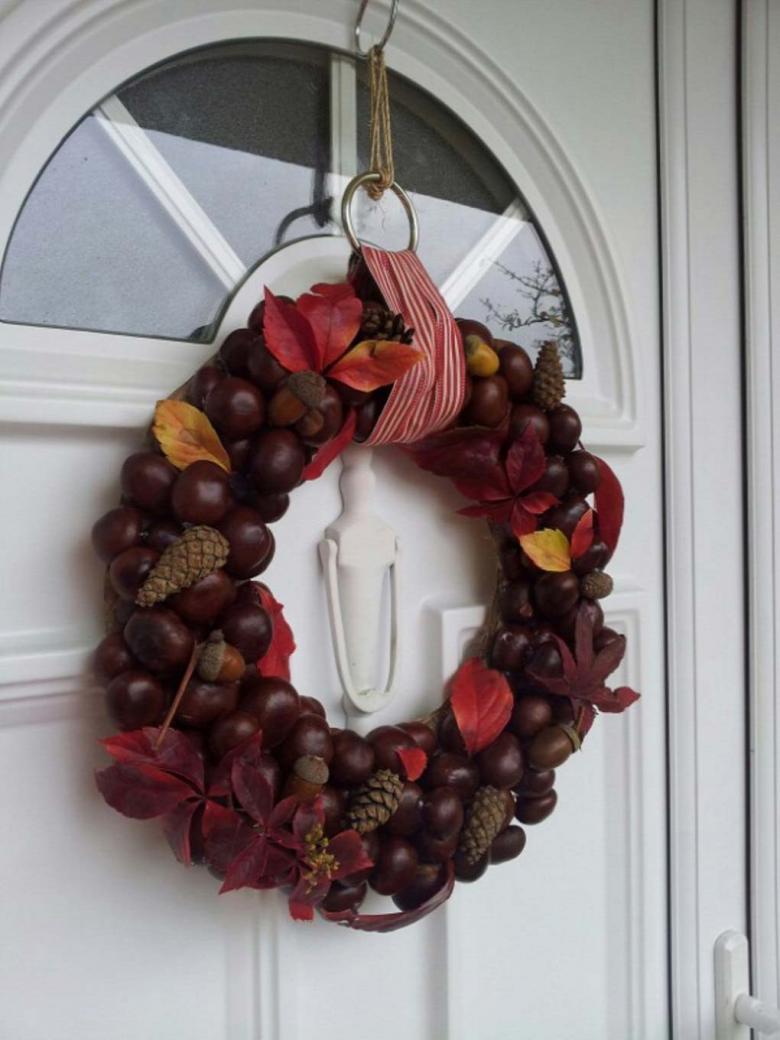
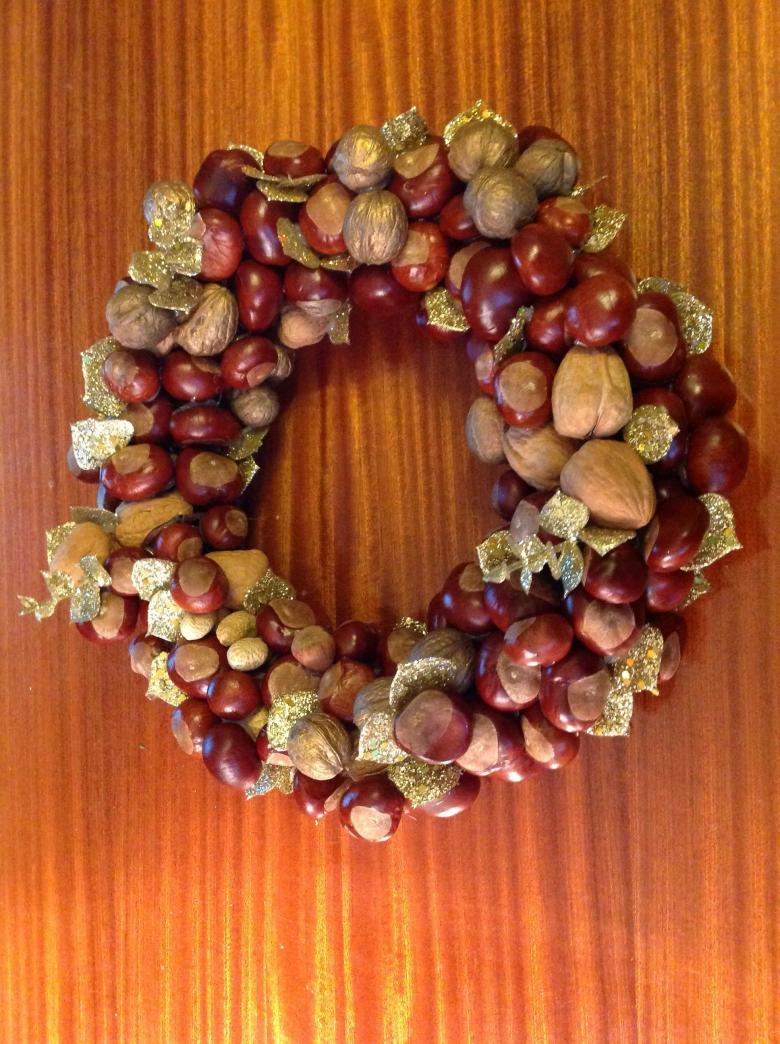
Wreath
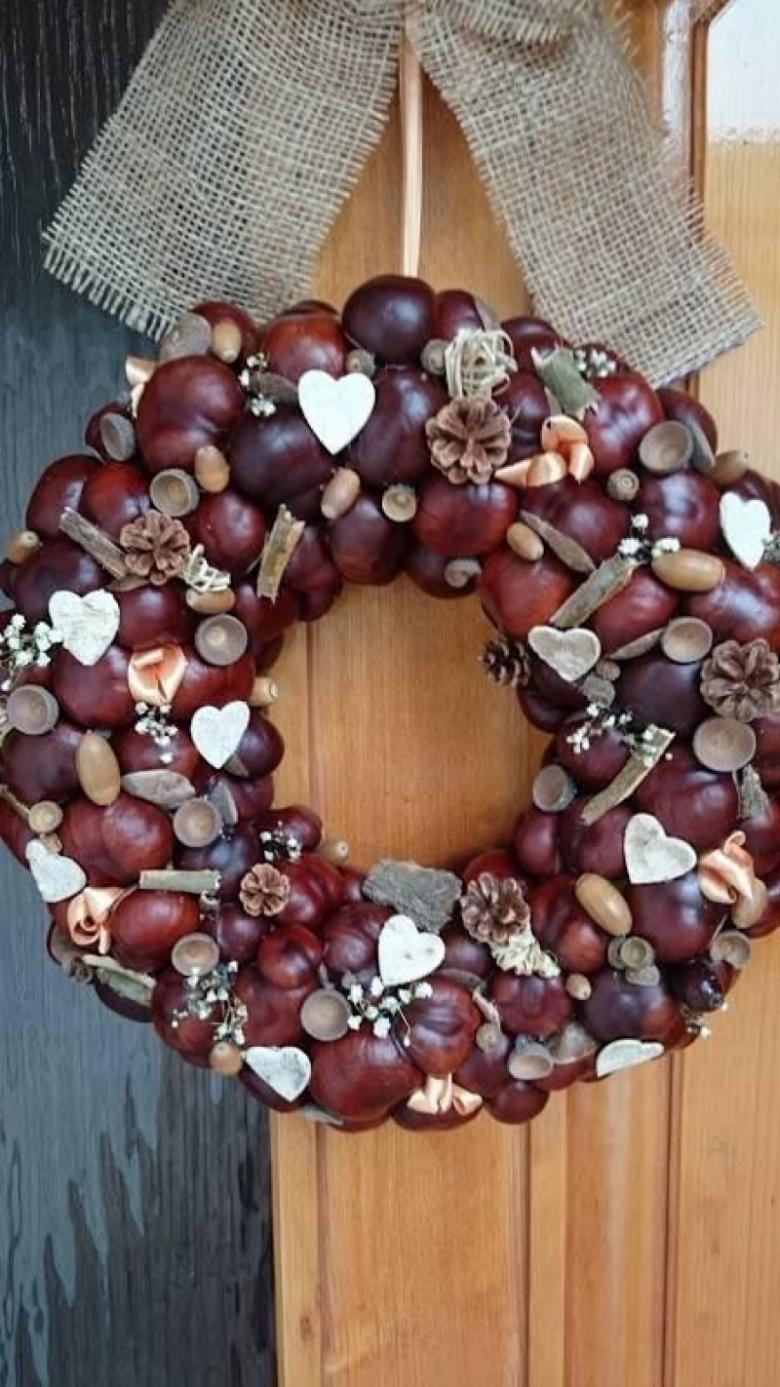
This stylish decoration will look great on the front door.
Prepare:
- A paper base in the form of a bagel;
- Chestnuts;
- decorations (cones, dried flowers, berries, ribbons, etc.);
- glue.
Step by step master class:
- From unnecessary newspapers we make a dense blank for the future wreath.
- With the help of hot glue, fasten the chestnuts to the base.
- Decorate the handicraft.
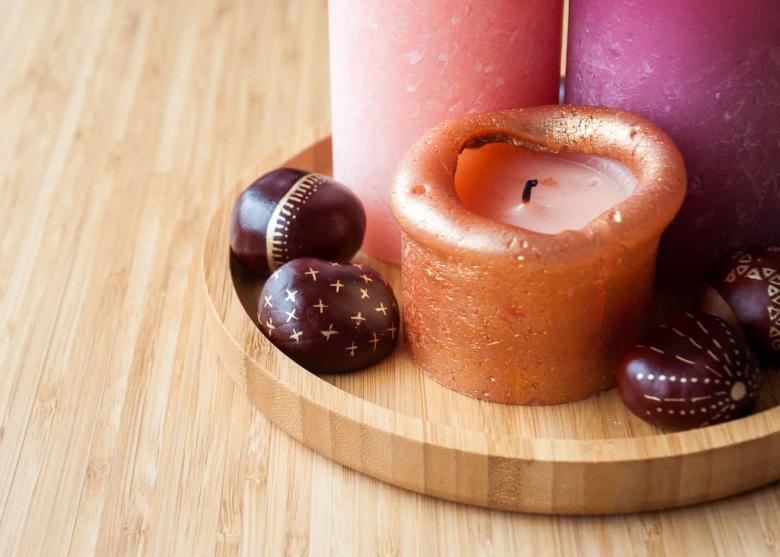
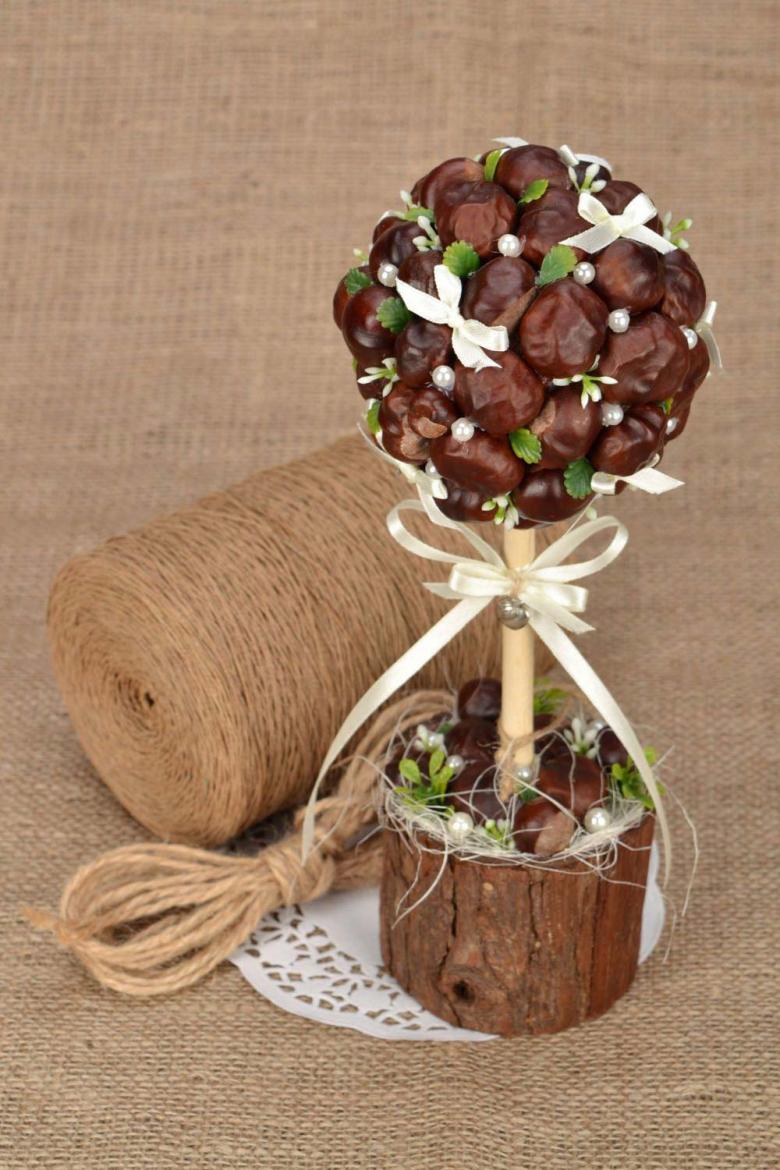
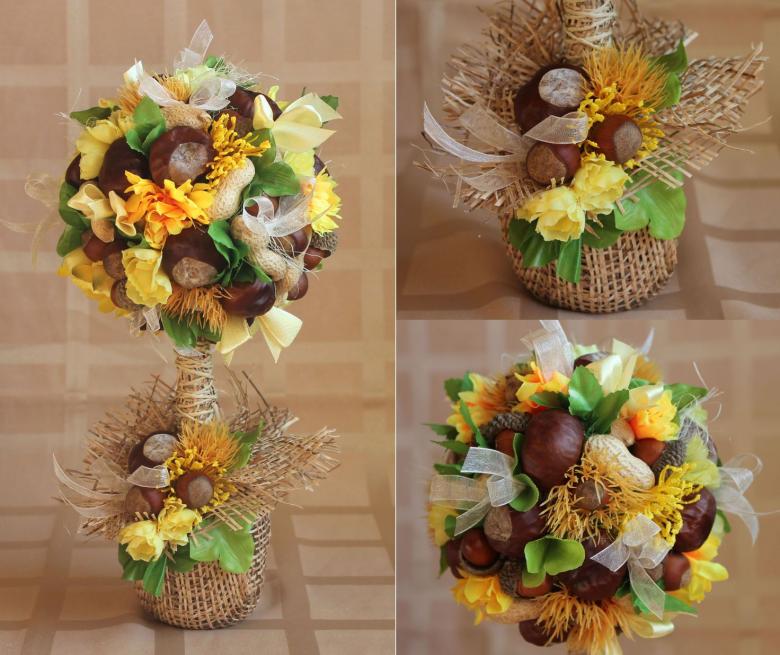
Topiary .
These trees are no less colorful than the living plants. Especially often nowadays such handicrafts are made as a gift.
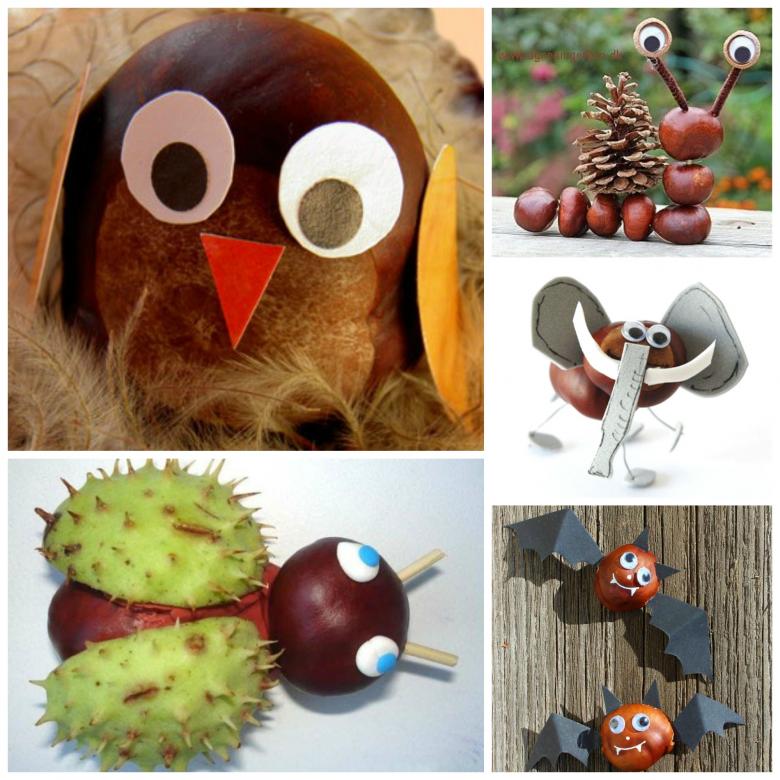
We will prepare:
- ball of foam (paper)
- chestnut fruits;
- A thick stick or branch;
- pot;
- plaster;
- cones, beads, bows, berries and other elements for decoration;
- glue, paint, varnish.
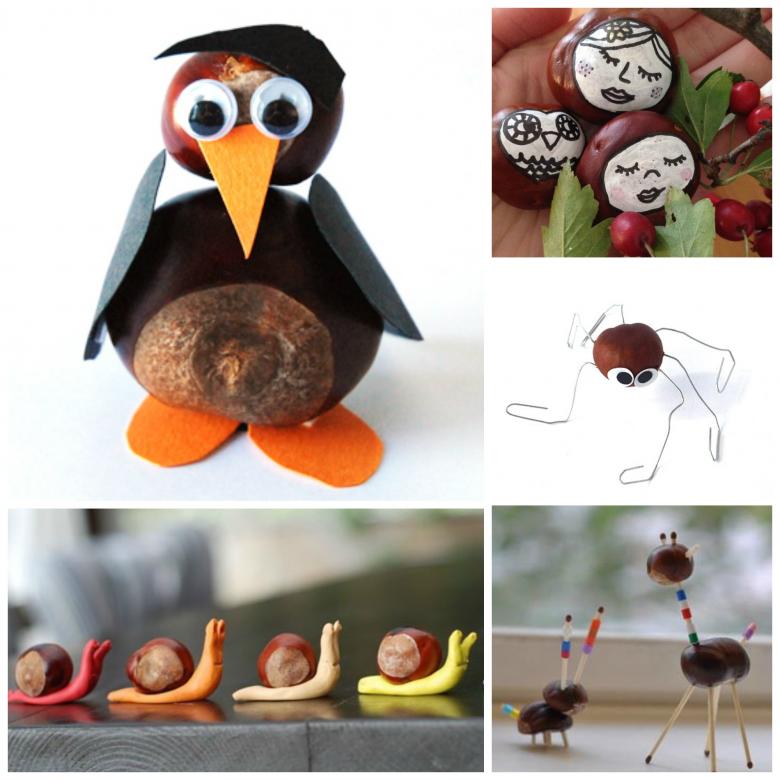
Step by step master class:
- We glue the blank in the form of a ball with chestnuts, filling the voids between them with decorative elements.
- Dilute the gypsum with water and pour it into the pot, setting the stick vertically in it. We wait for the mortar to harden.
- On the stick we attach the decorated ball.
- Decorate the plaster surface of the pot with leaves and berries.
- Paint and varnish the necessary elements.
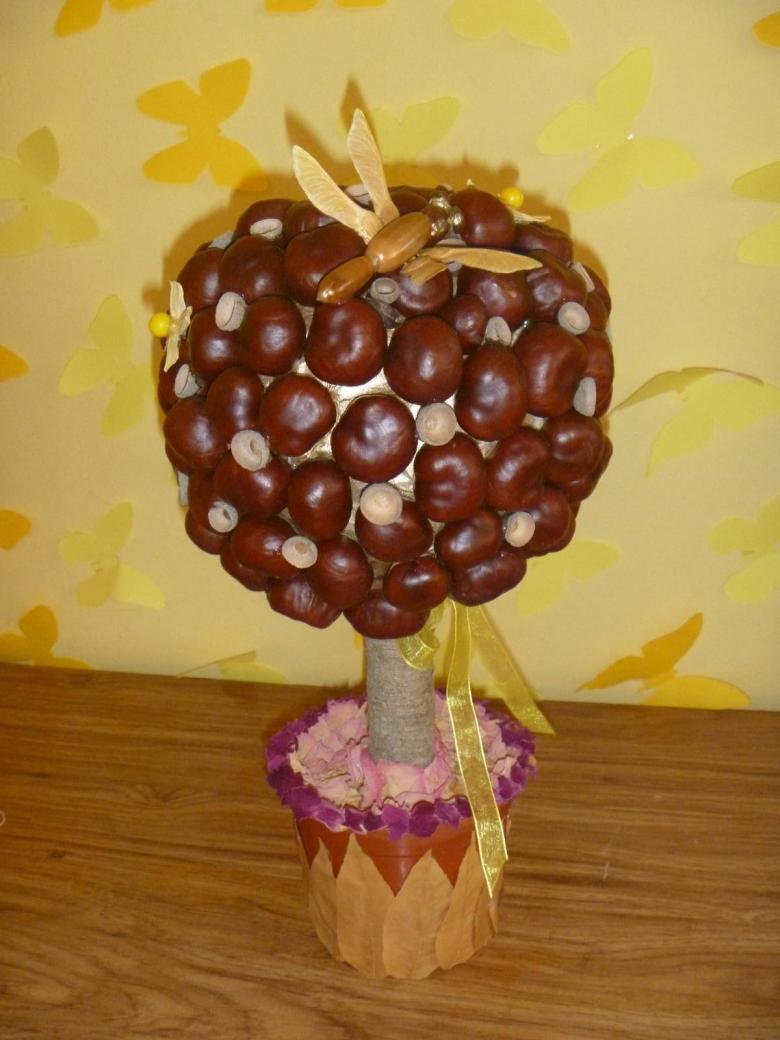
There are still a great many beautiful chestnut crafts. Looking at photos of handmade works you can be inspired to create your own unique creation. This type of art is not expensive at all.
You can go to the park and pick up the necessary amount of material for the creation of children's animals or a more time-consuming creative project. The fascinating process of creating handmade chestnuts is sure to appeal to children and adults, and the gift will warm with a piece of your soul invested in the work.

