How to Draw an Ant and a Wise Turtle in Pencil - Step-by-Step Master Classes for Beginners
We all remember how we loved to draw as children. "Under the hand" came across everything: wallpaper, furniture, flooring, clothes and even our body parts.If you delve into the psychology of children's drawing, you can learn a lot of interesting things. Some researchers believe that children express their need for constant motion, others say that the urge to draw is a collective action, that is, it involves everything at once: self-expression, motor skills, and imitation of adults.

When the child draws, he or she identifies him or herself and sees the results of his or her work. This has a positive effect on his or her development. But what to do if the child is not drawn to drawing? You can try to get him interested in his favorite book and cartoon characters.

Most preschoolers are familiar with Ant Question and Wise Turtle, which help them explore and learn about the world. We will tell you how to draw an ant and a turtle simply, and most importantly, quickly.
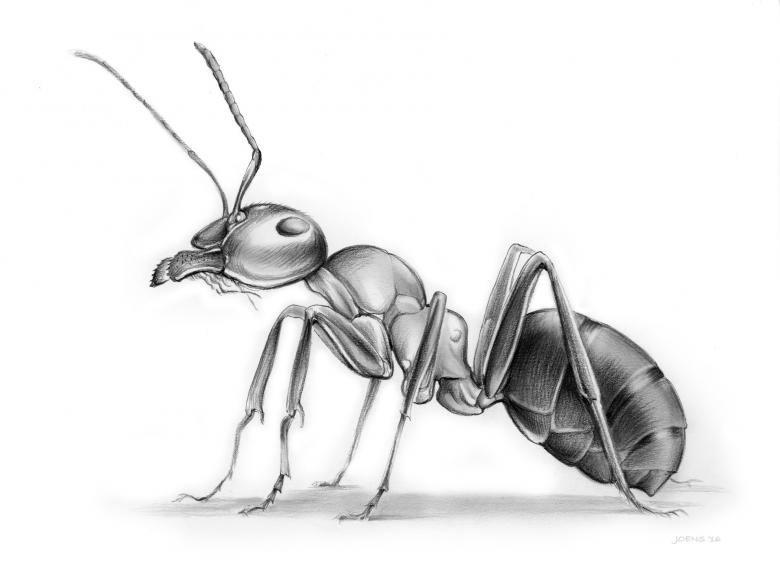
We will start with a realistic representation of this insect, and then move on to cartoon characters.Children learn the world through many channels: communication with the world around them, with nature, with loved ones, as well as through various books, cartoons and encyclopedias.

Pencil drawing basics
In order to master the intricacies of drawing an insect step by step, you will need:
- a pencil;
- eraser;
- sheet of paper.
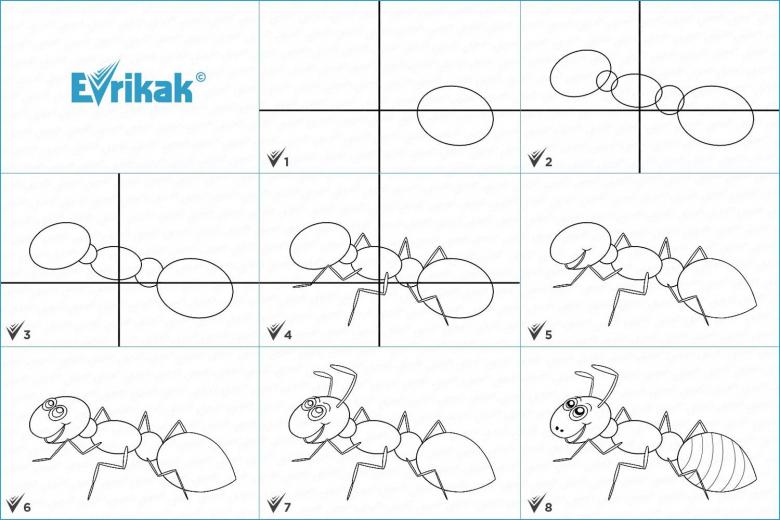
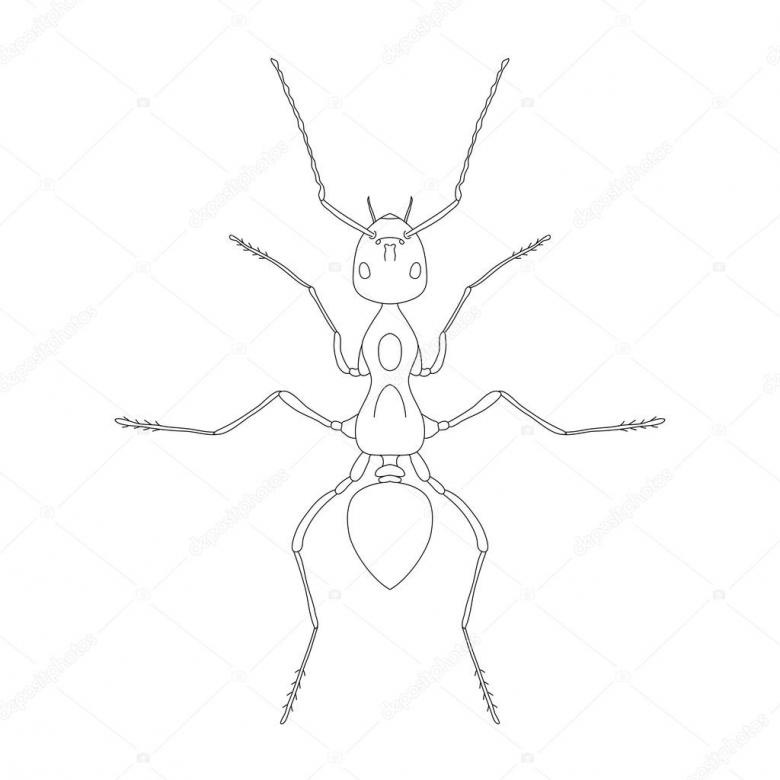
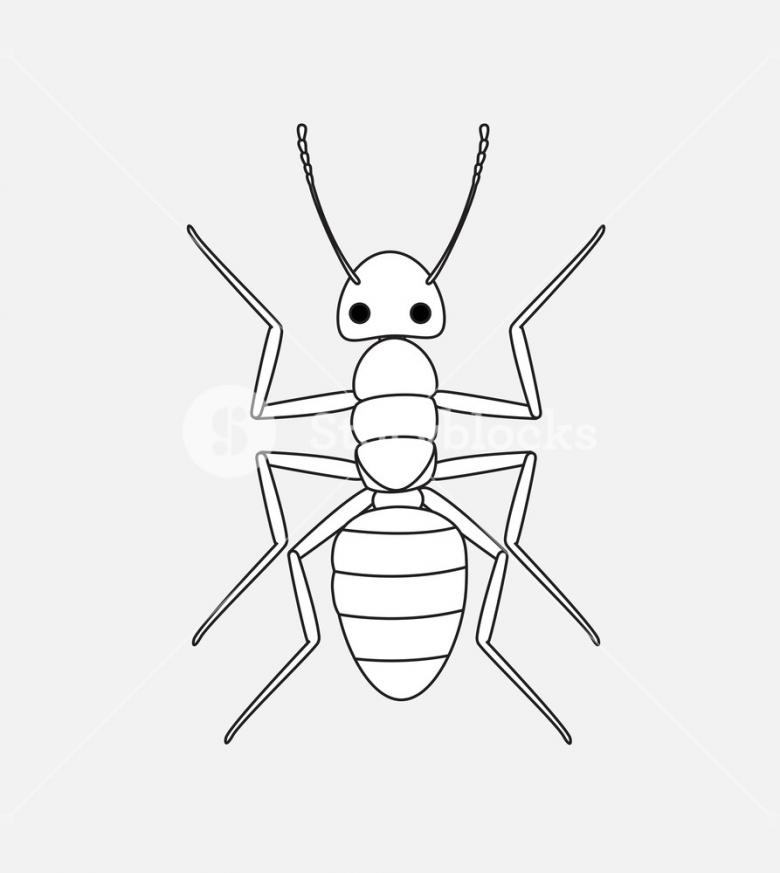
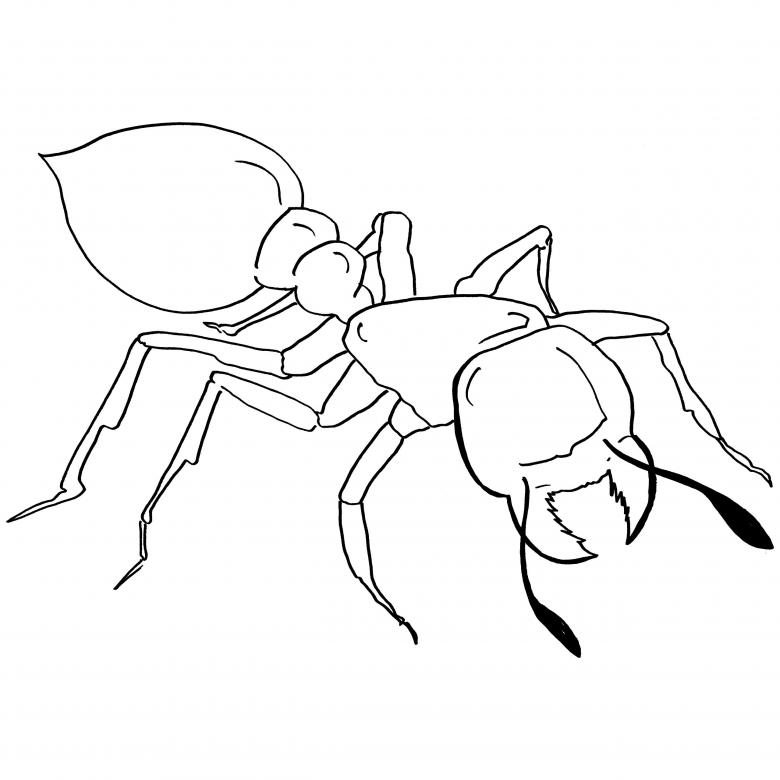
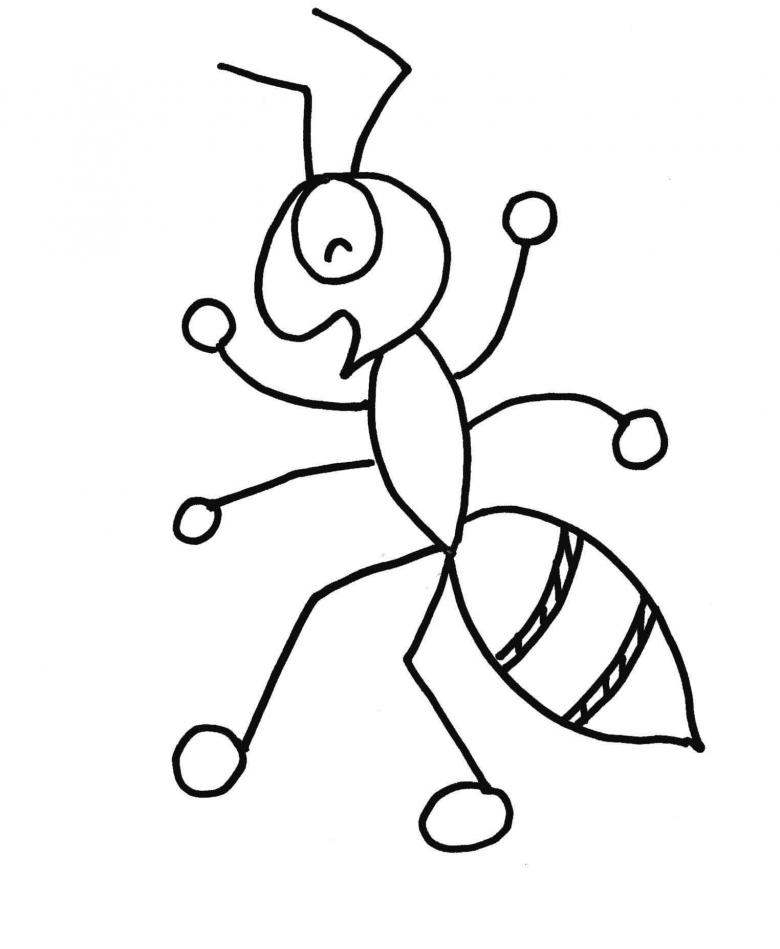
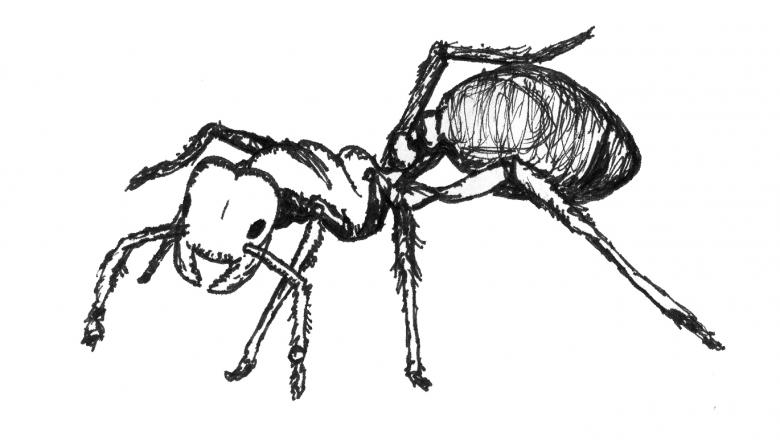
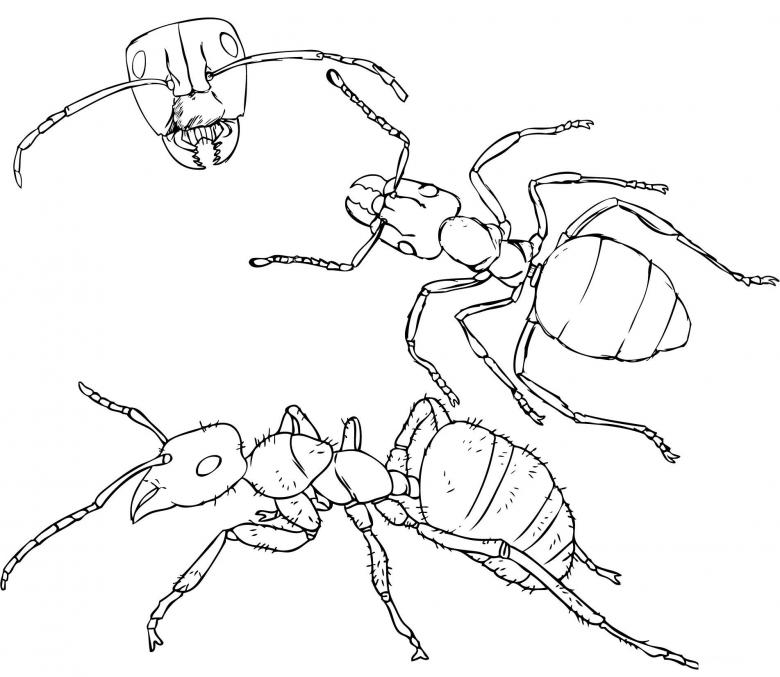
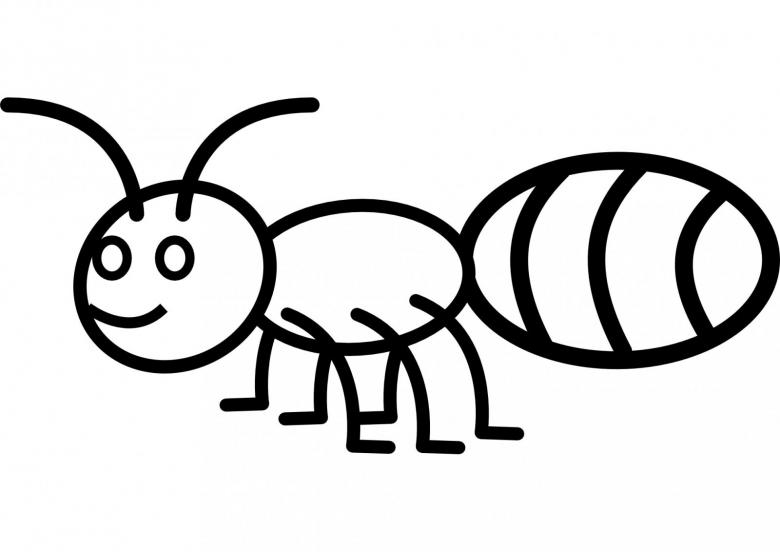
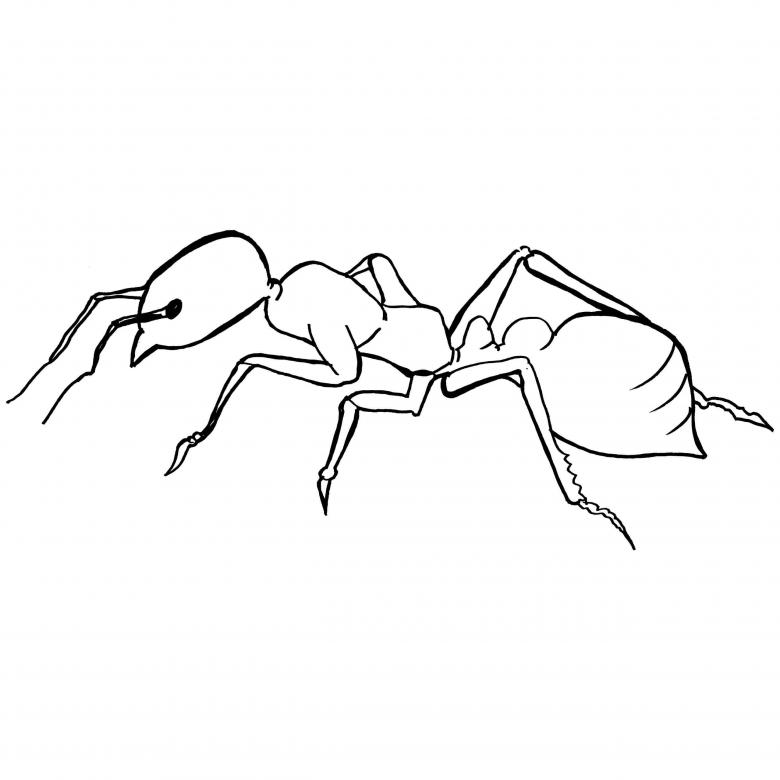
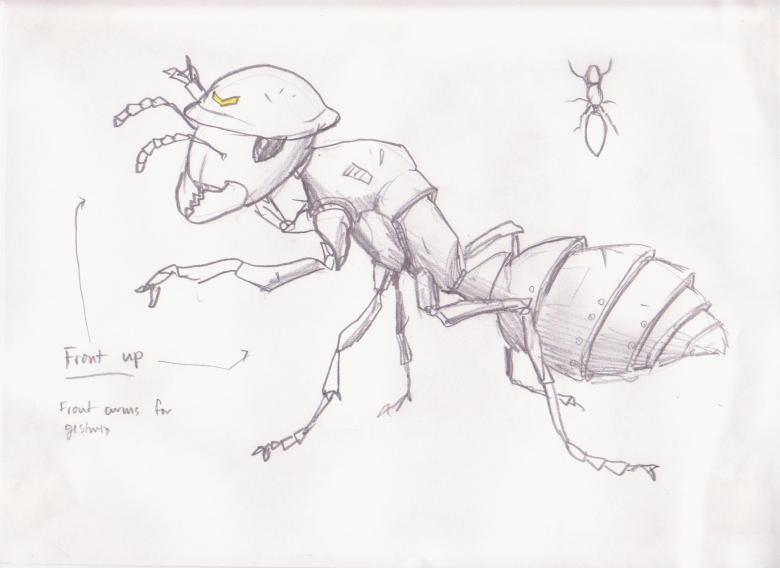
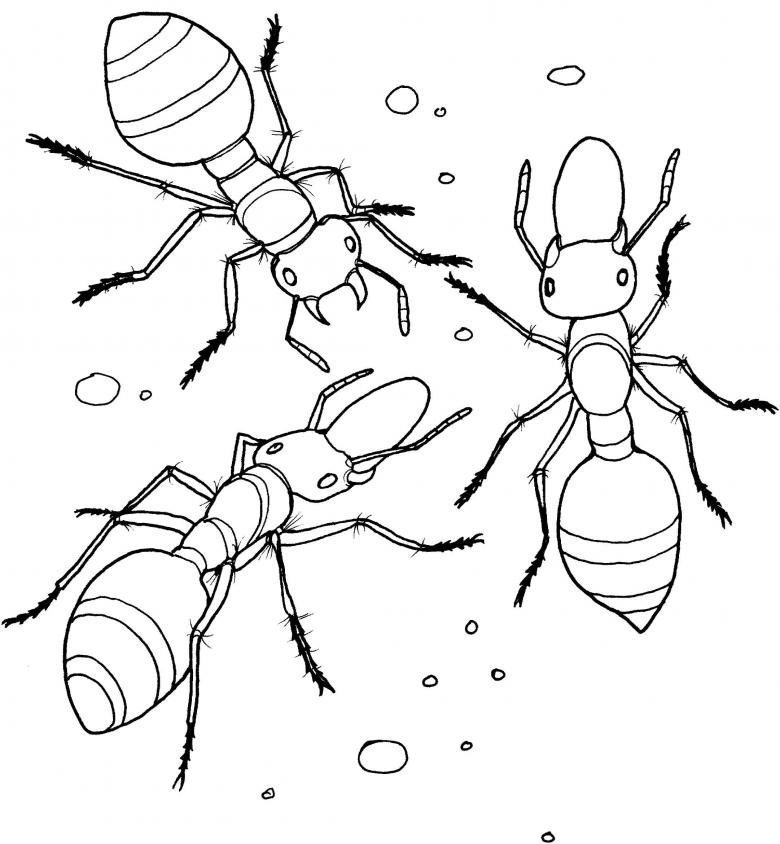
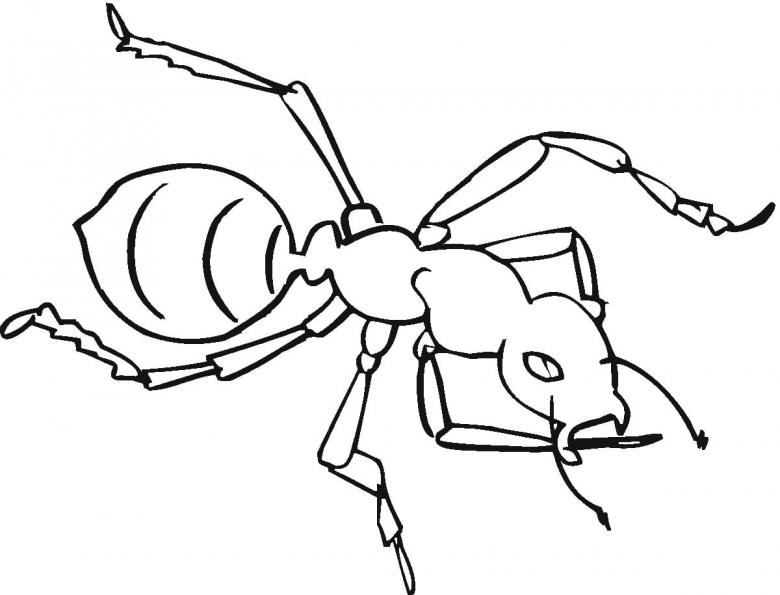
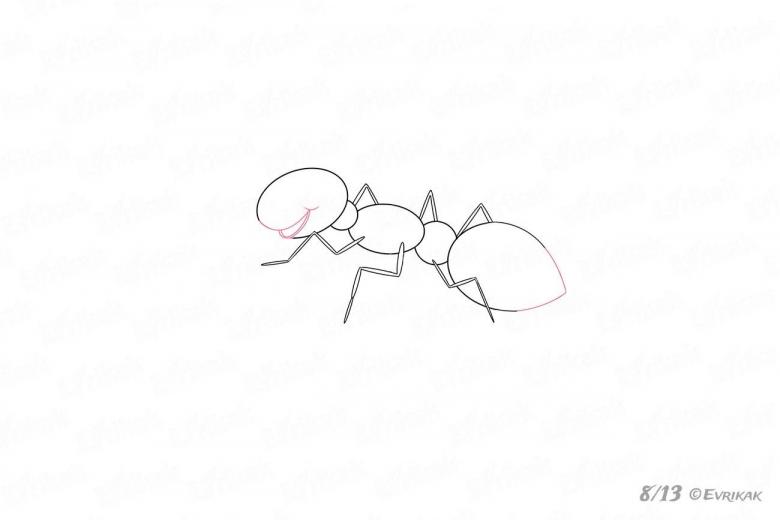
To draw a real ant is not difficult, the main thing is to understand the principle of its body structure. Let's demonstrate this in detail.
- Draw five circles of different shapes on a sheet of paper: a figure with a pointed end is good for the head; one circle of medium shape; two small ones and a large figure for the tail of the insect.
- Draw feet, which grow out of the second and third figure.
- On the tail of the insect add stripes to make the figure more realistic.
- Add whiskers, eyes and a smiling mouth to the head.
- Use the eraser to remove all unnecessary lines and make the drawing neat.
- Add color to the ant.
This drawing can be drawn by an adult as well as a child, as it is very easy to do. Drawing together will allow you to spend more time with your child and find out what they like best and what their preferences are. And now, as promised:
Drawing the Question Ant - step-by-step instructions
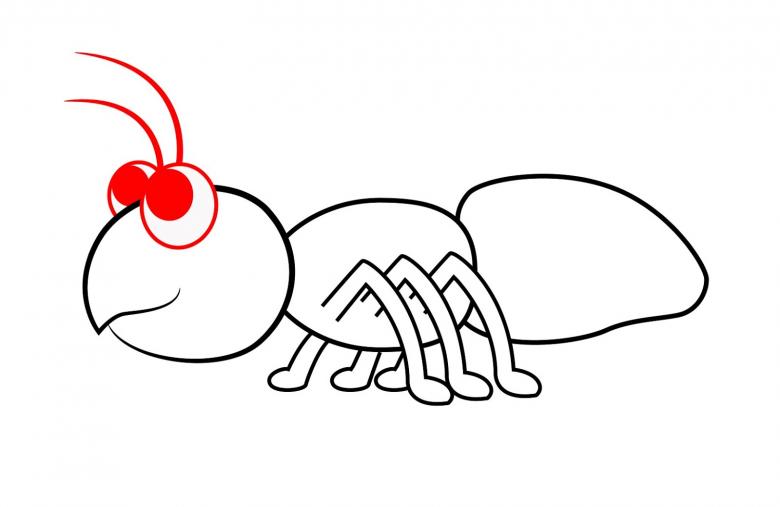
- The first thing we'll start with is drawing the outline. Let's represent it in the form of simple shapes - an oval and a circle. One oval will serve as the head and the other as the torso, and do not forget about the back. The head should be similar to the seed. The torso ant elongated, not wide. The back part is represented in the form of a circular figure, more like a drop.
- Torso ready, then it's time to trace the details. Pencil draw a cap Ants question. Take the eraser and erase unnecessary line. Now draw the eyes - they will look like two circles and dot. And finally - the mouth. Just draw the ant a friendly smile.
- Now, take a pencil and draw the limbs. Let's start with the upper legs. The photo shows how graceful feet can be obtained Ant Question. Next, we draw the lower legs and shoe Ant in boots.
- As you remember, ant Voprosik - first grader, and he needs a comfortable and roomy backpack. Draw it and pay special attention to detail. A variant of the school backpack is shown in the photo.
- Ant Question is ready to go to school from a sheet of paper, but you need to add colors. Take colored pencils, felt-tip pens or paints. There is no step-by-step tutorial here - use your imagination and your preferences!
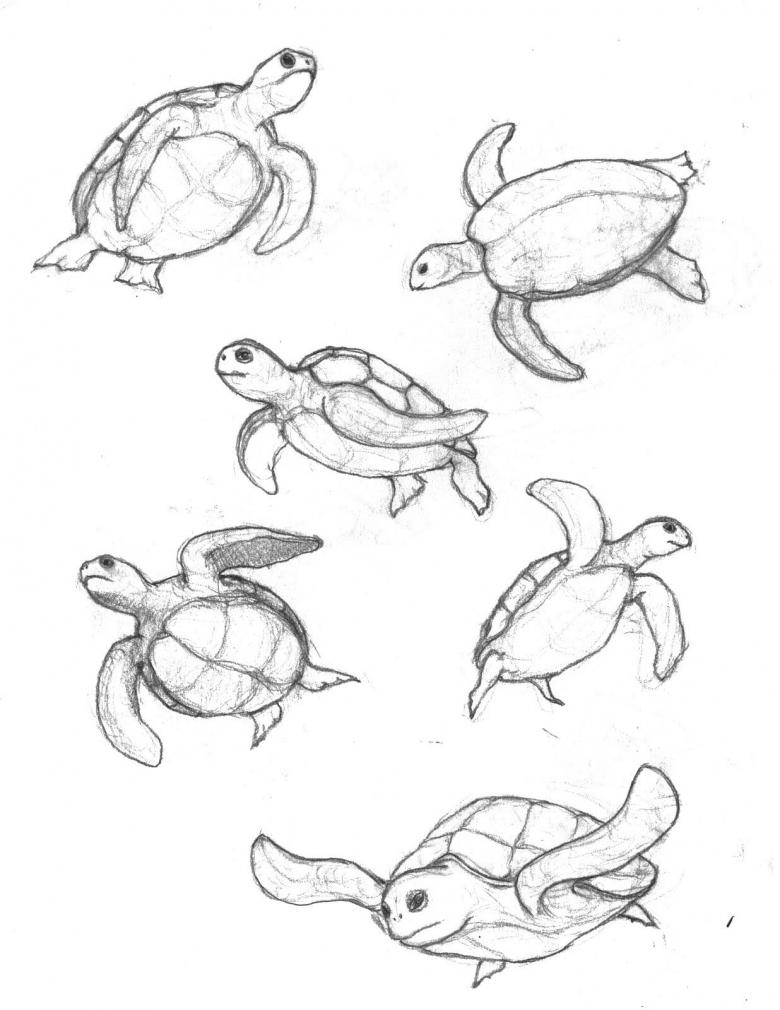
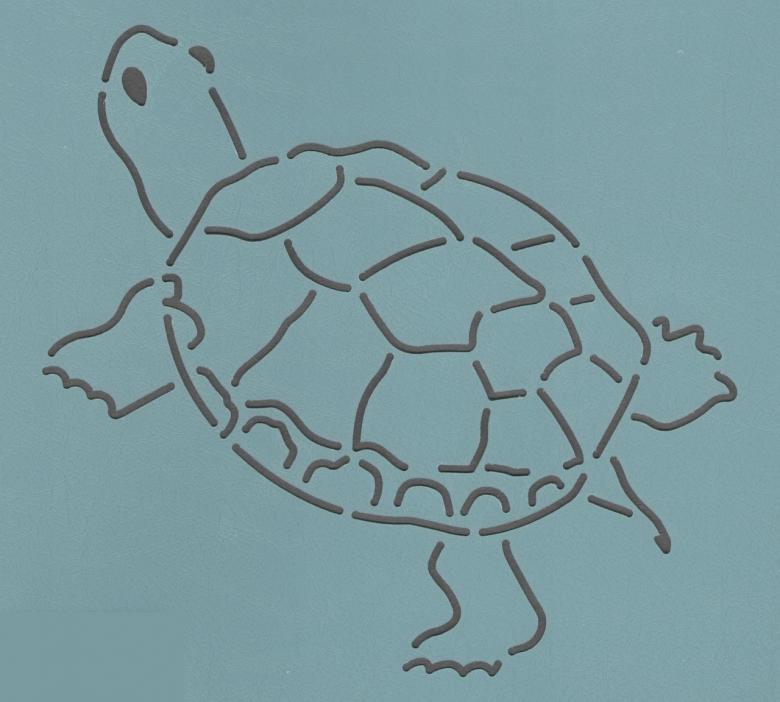
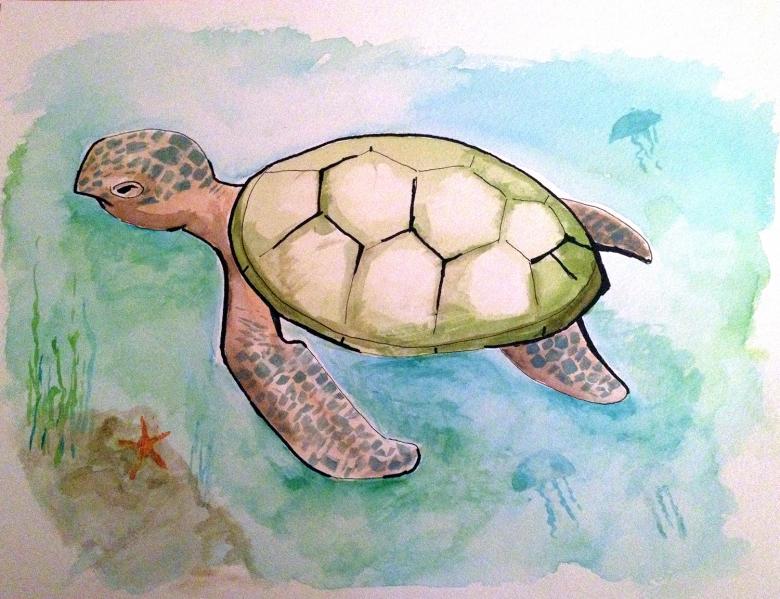
Drawing the Wise Turtle - step by step instructions
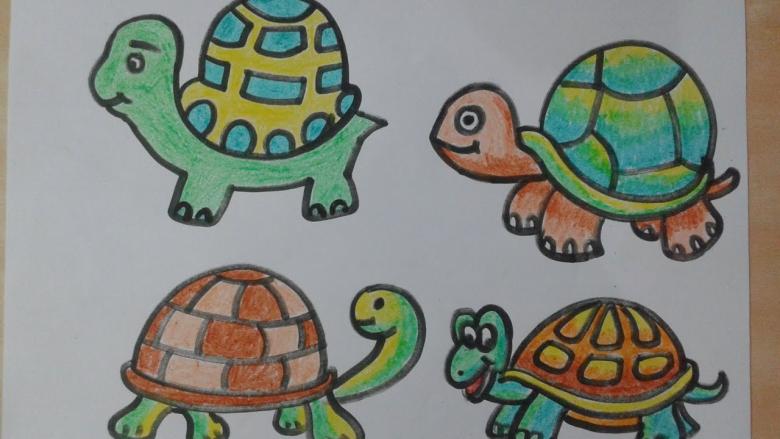
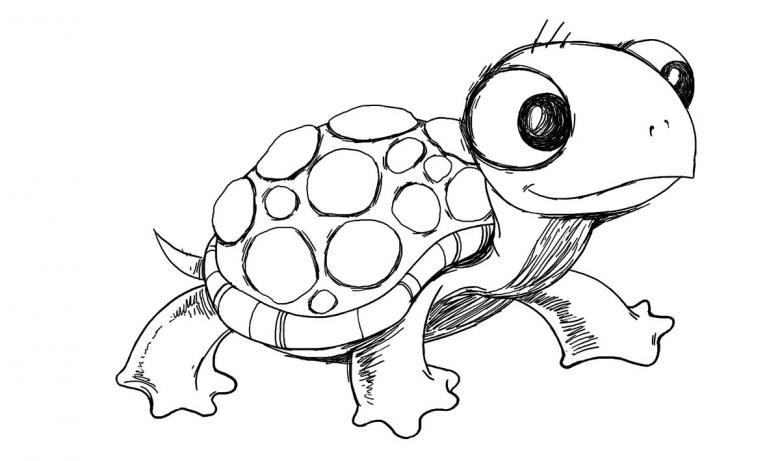
- We start drawing from the head. Draw a semicircle, and then draw the details: the lower part of the jaw and the mouth. In the picture below you can see how it will look like as a result.
- Turtle is very clever and that's why he wears glasses. Work on this part, and in the glasses depict the eyes - two small dots. Do not forget about the important detail - the scarf on his neck, without him nowhere.
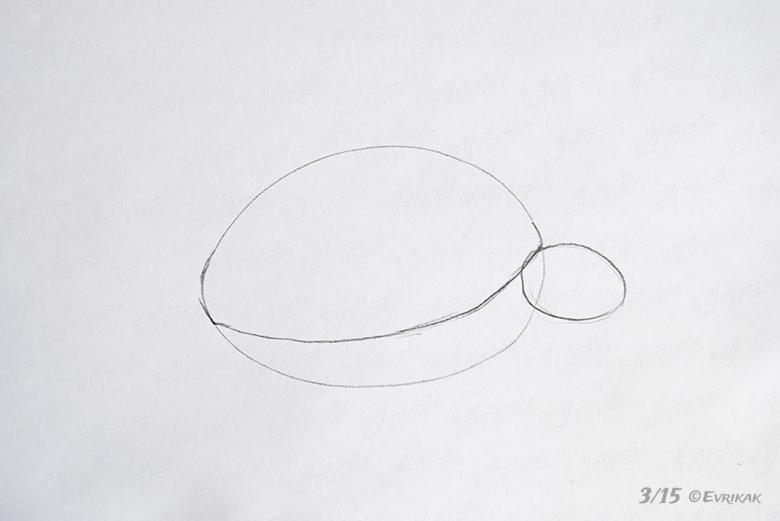
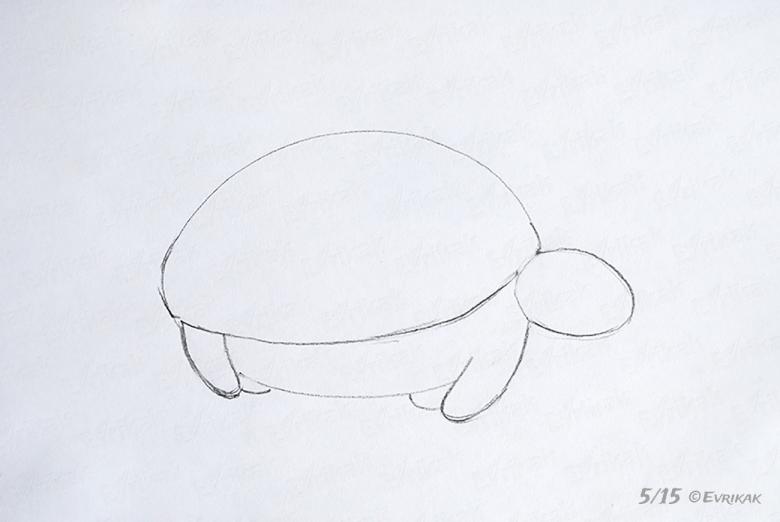
- Now draw the shell. Your little artist knows that it serves as a house for turtles, right? And so, bypass this point in the drawing simply can not. Let's represent it as a semicircle, and then draw a transitional line between the back and stomach. Be sure to leave an exit for the legs.
- Draw paws. We will start with the upper ones and then add the lower ones. You can see what they look like in the picture. Use the eraser to remove unnecessary lines and make the drawing neat.
- Draw the tail at the bottom under the shell. There's just one little addition left to make the Wise Turtle look like itself. Guess what this is? That's right - it's a backpack! It carries a large baggage of knowledge and wisdom that fits in its carry-on. Its outline can be represented as an irregular figure - a quadrangle. Now let's add details: side folds, rivets, zippers and a handle all adorn the briefcase.
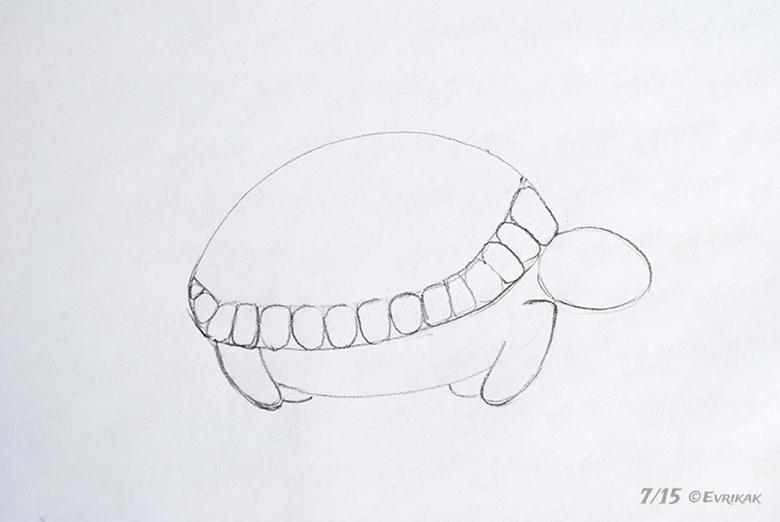
- Not only the briefcase needed details, but also the shell. Draw it with an uncommon ornament and the drawing is ready! All that's left is to paint it.
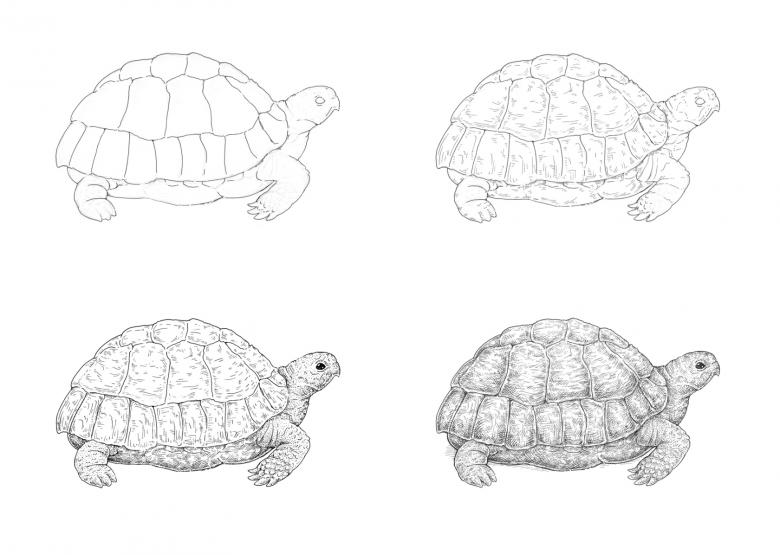
We showed some lessons on how to draw an ant and a turtle. If your child has never drawn before, offer him ready-made pictures to copy. This will allow him to learn to master the pencil, and to strengthen his drawing skills by transferring lines and images to his sheet of paper.


