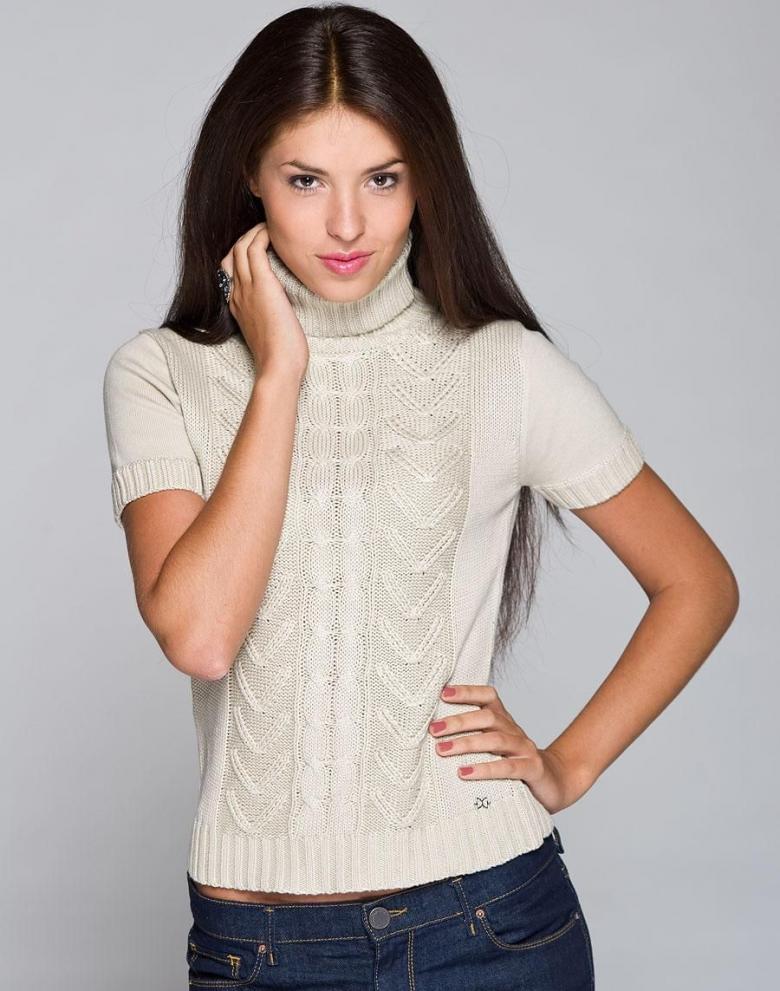
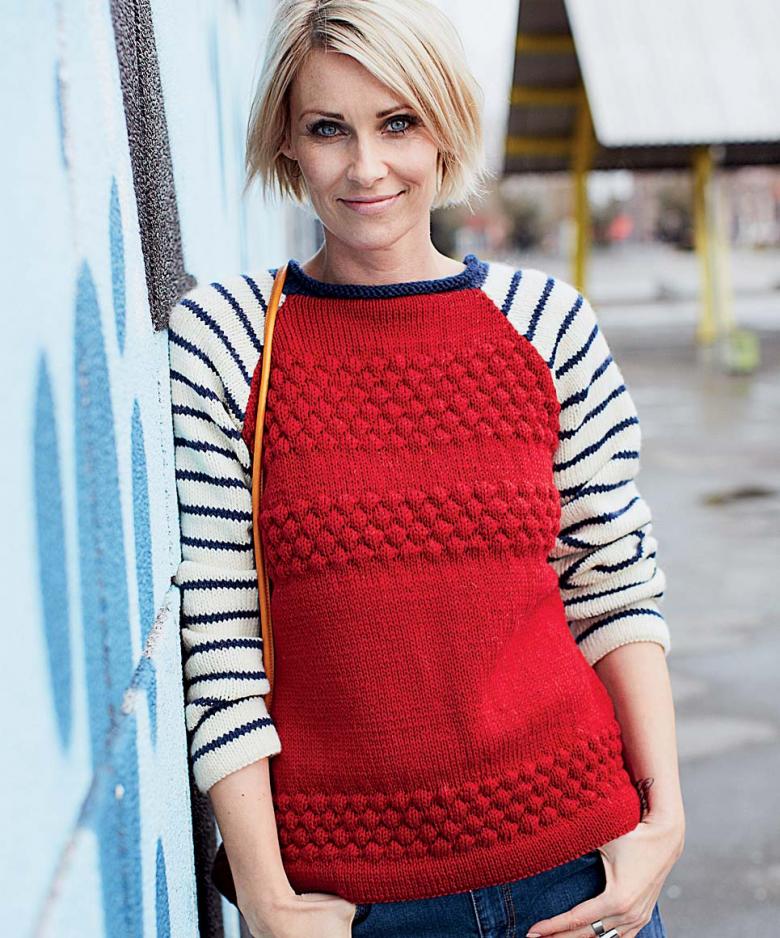
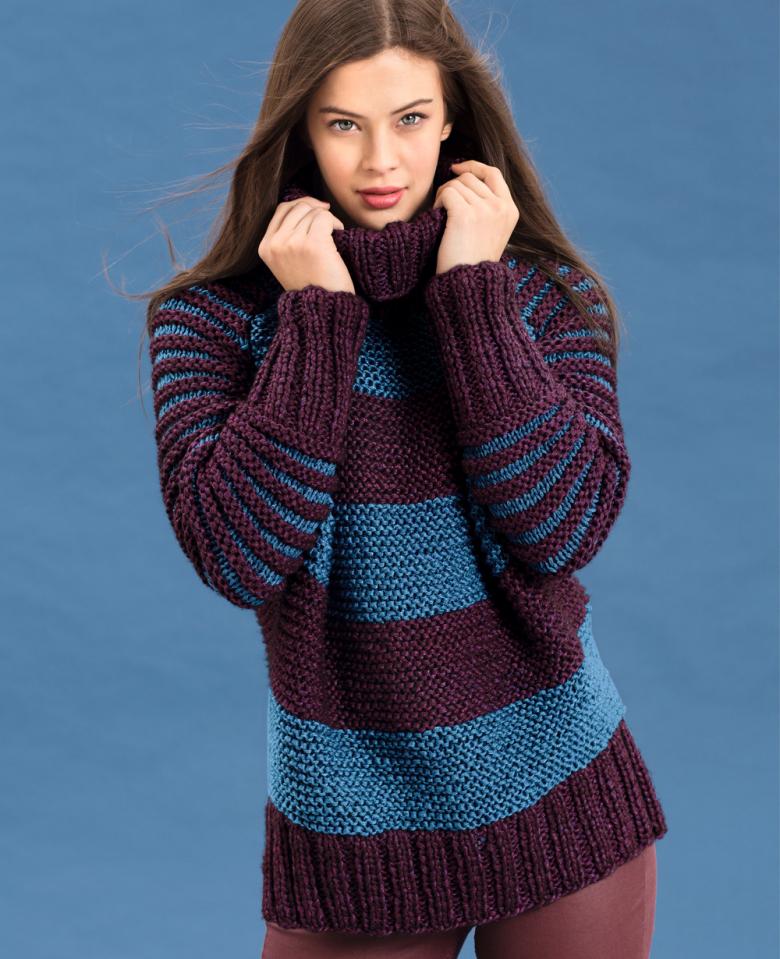
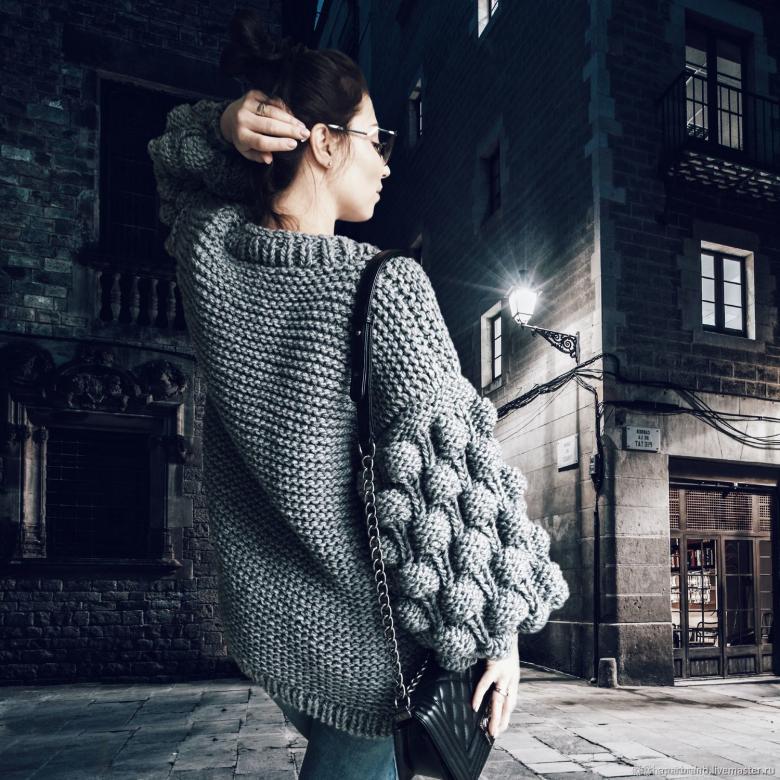
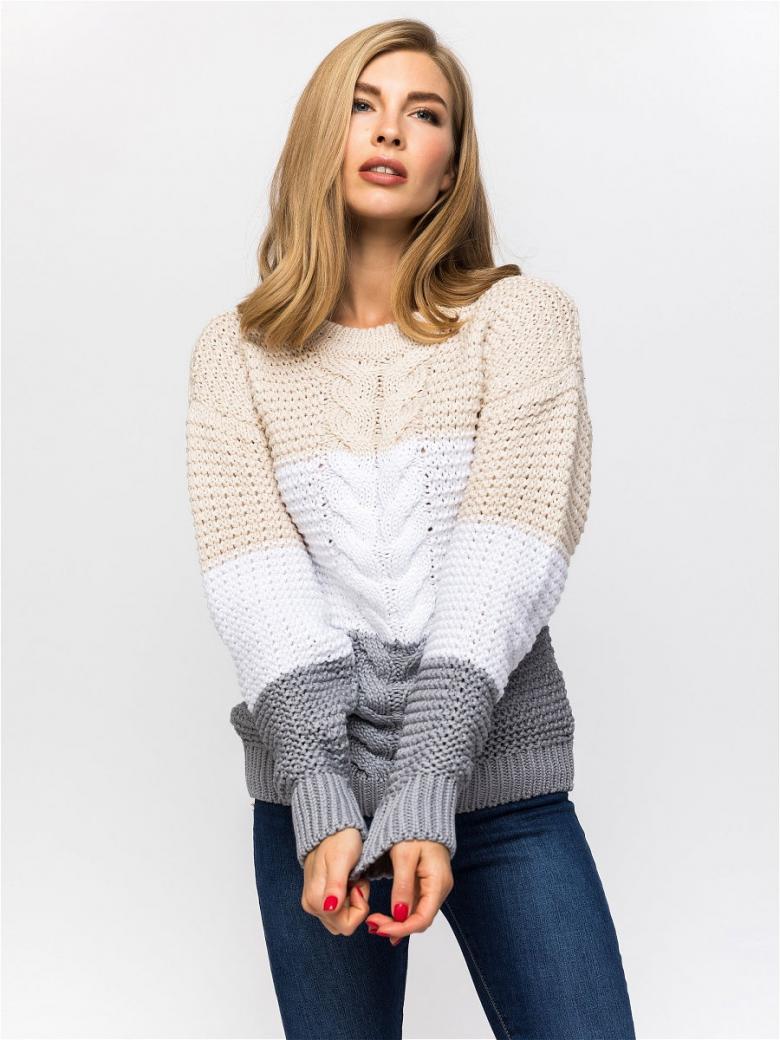
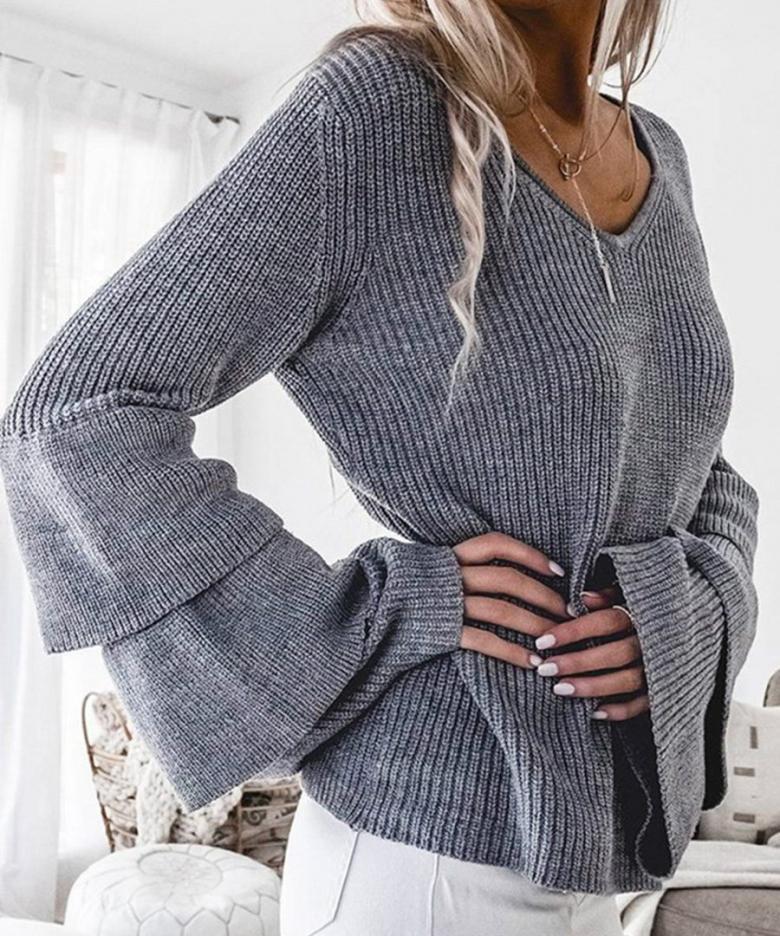
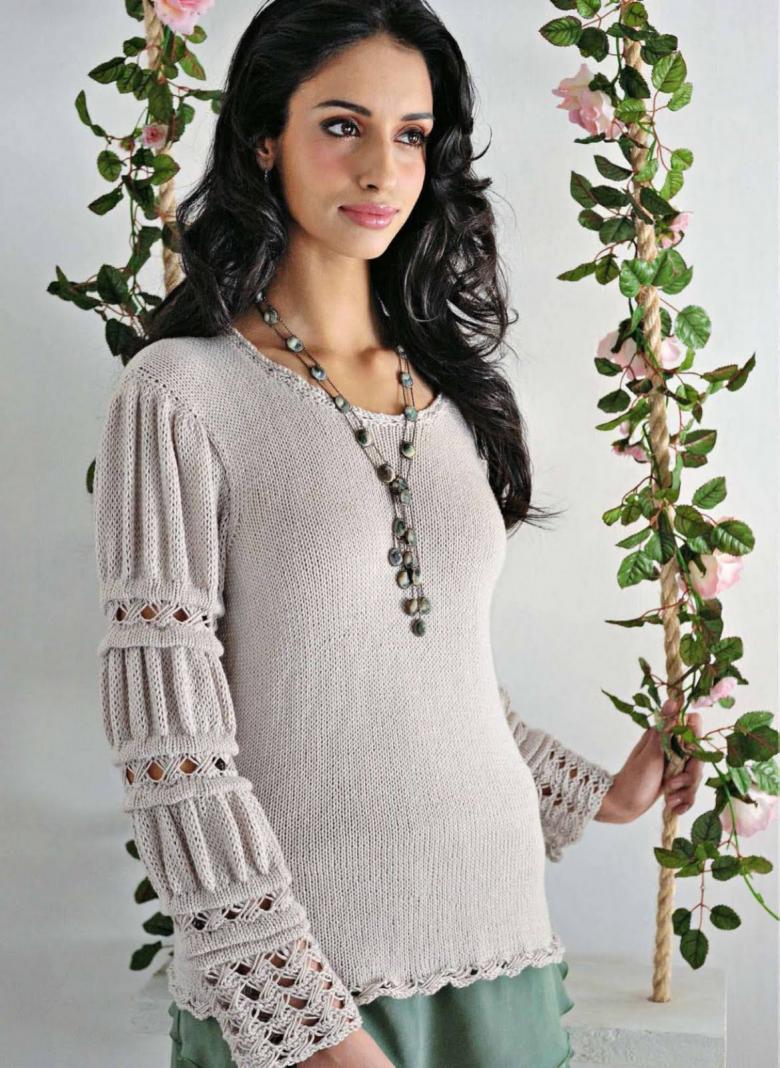
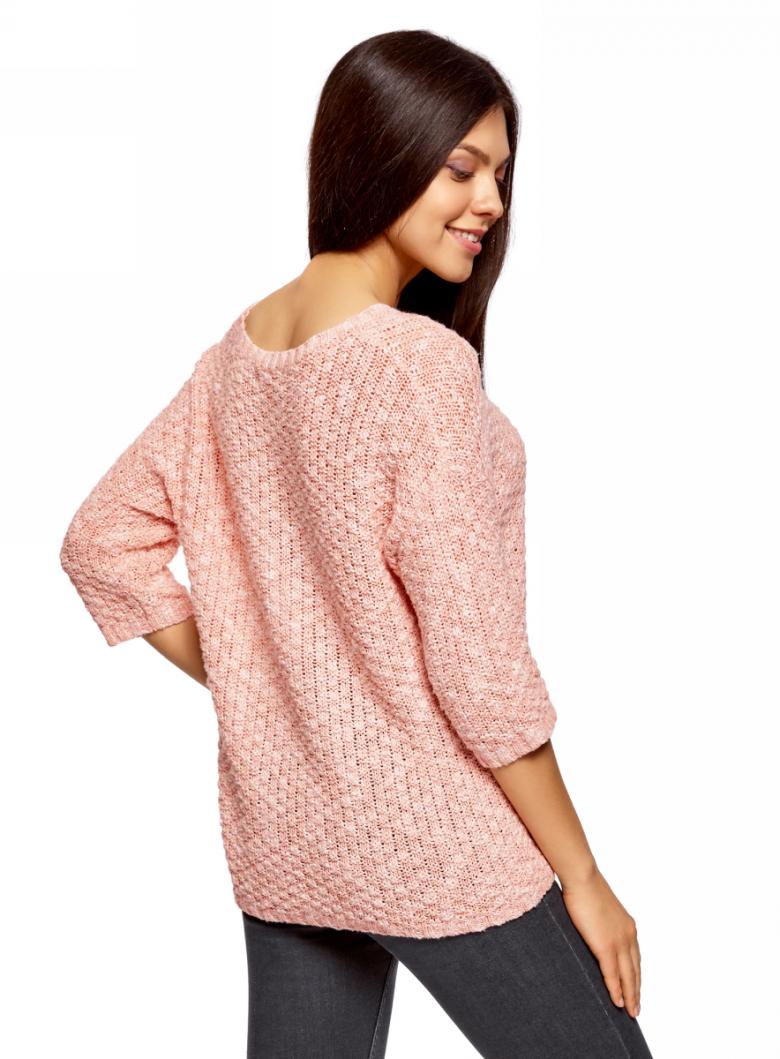
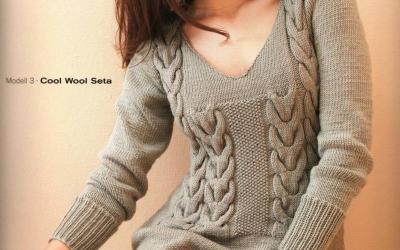
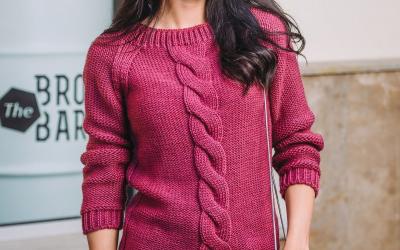
How to knit a sleeve sweaters - a selection of step by step schemes-instructions
The sleeve is an obligatory component of many accessories: warm dresses, sweaters, cardigans. Every needlewoman knows that large knitted items are knitted by details: back, front, collar, sleeve. Today you and I will explore different options for creating a sleeve with your own hands using knitting needles.
What you need to know about the sleeve as a garment accessory
We have selected a series of informative facts intended primarily for beginners.
Making patterns
Yes, there are dimensional rows in knitting clothes. Here are your step-by-step instructions:
- Armed with a tape measure, take measurements: sleeve height, shoulder circumference, wrist circumference.
- According to the data we make patterns that are actively used while working on the product.
Choose a mounting method
In addition to the knitting process itself, the way of connecting the parts of the product is important. There are several of the most common options:
- Watted element.
- Sleeve without the ocate line.
- Sleeve with an armhole of small size. A distinctive feature is the narrowing of both the armhole and the rim.
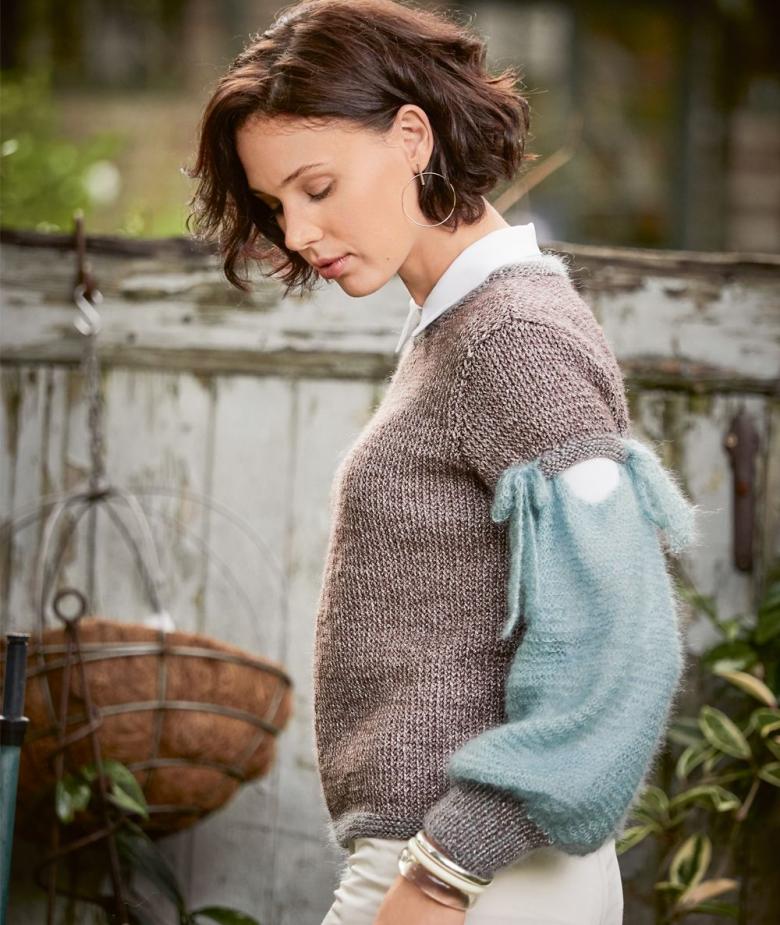
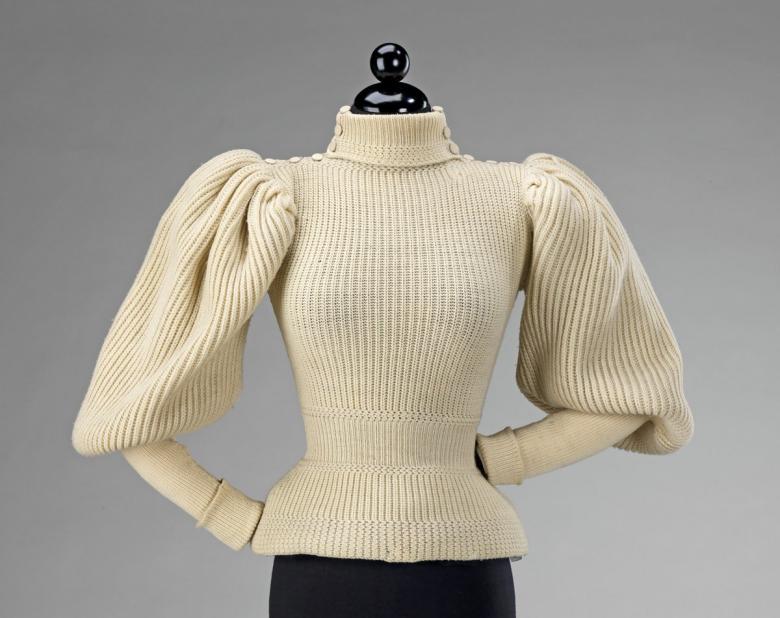
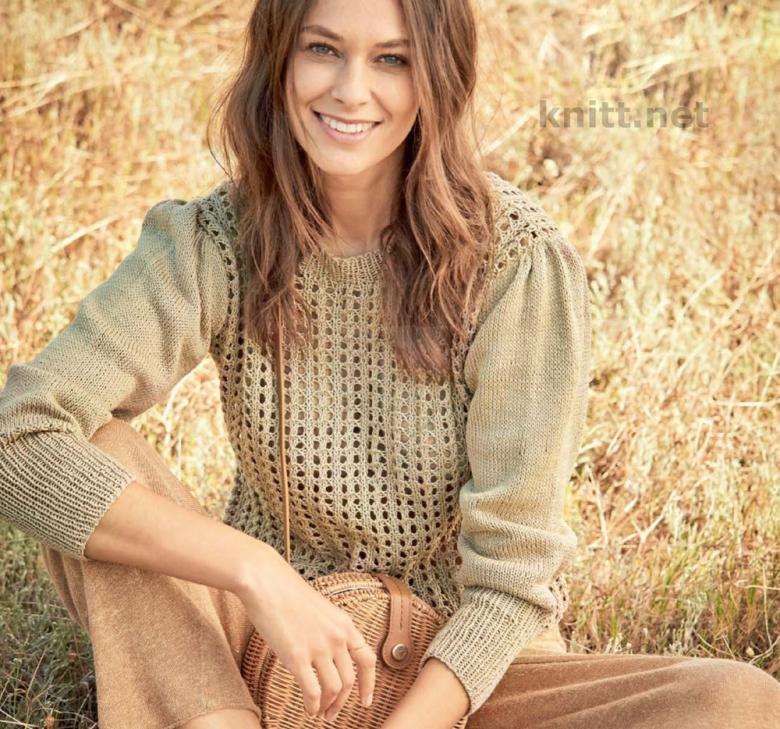
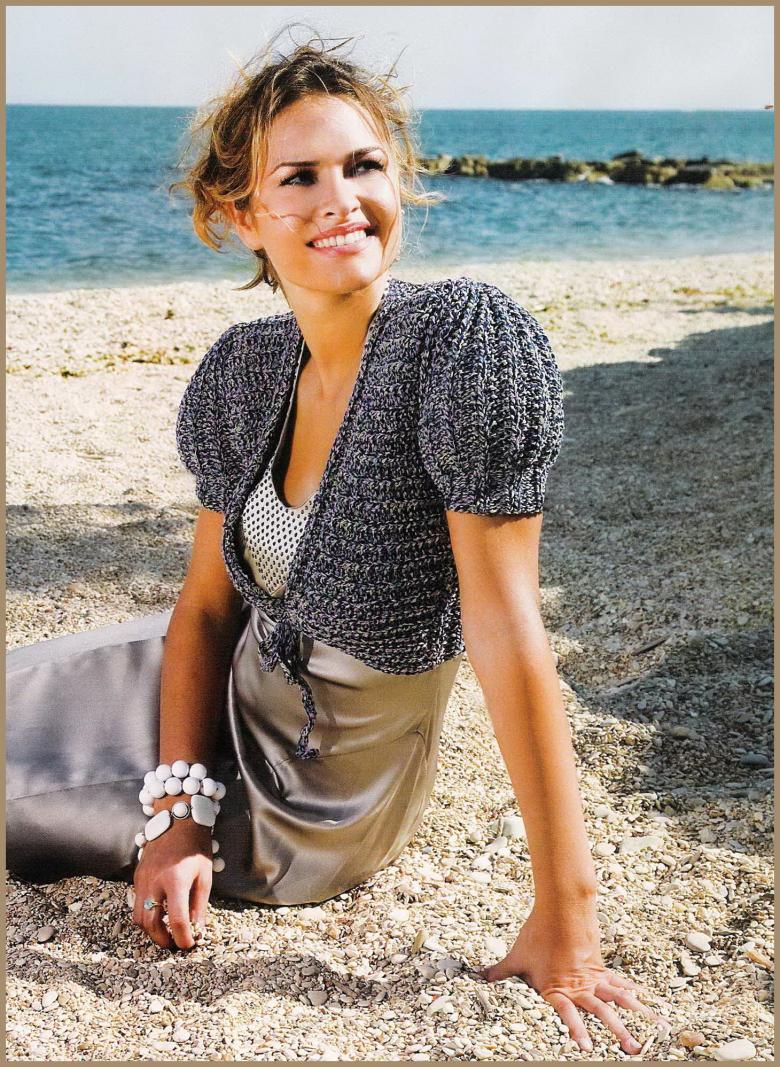
- Sleeves with a shaped epaulet. This method is often used to create puffy shoulders. The epaulet pattern goes from the back fabric to the sleeve line.
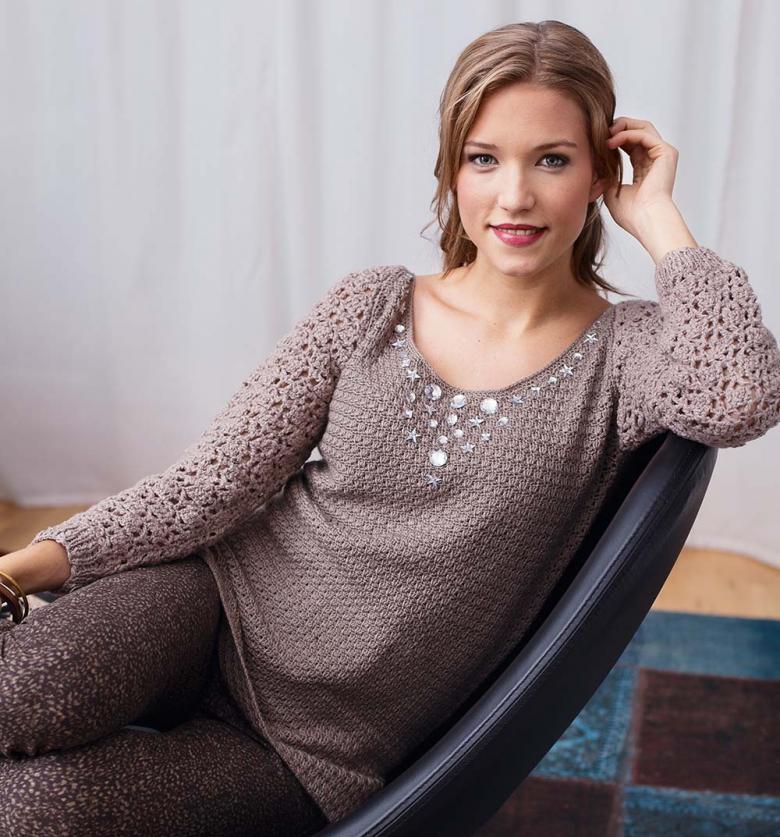
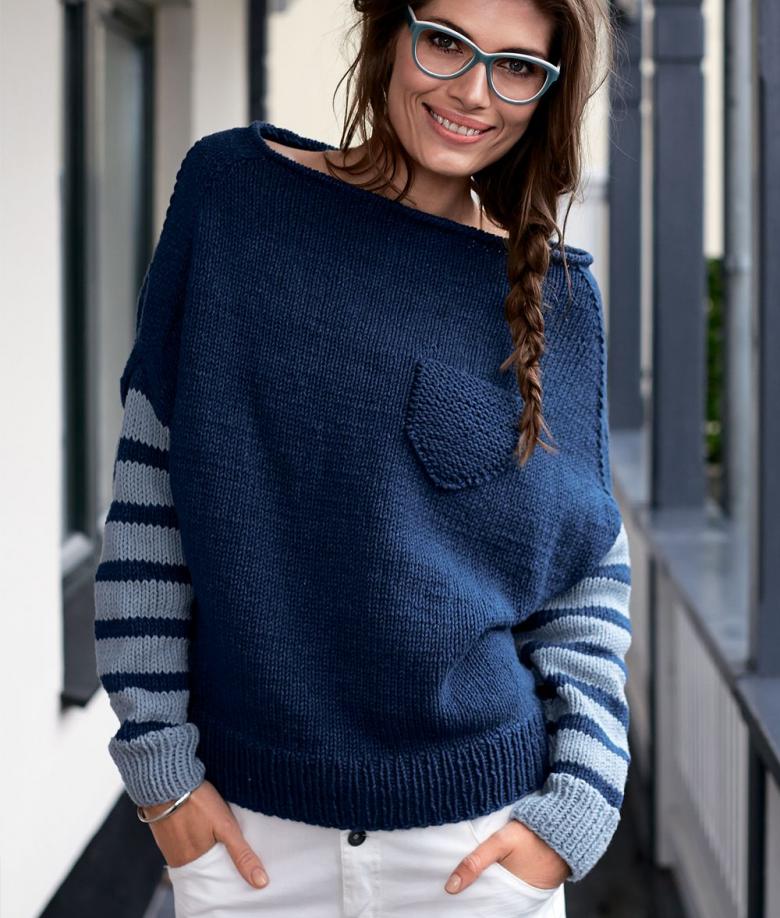
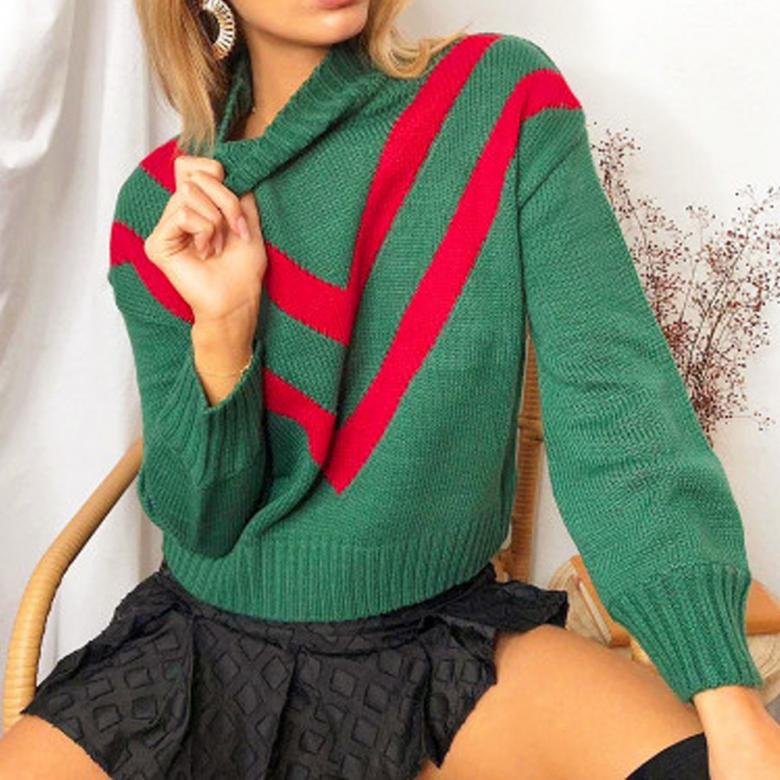
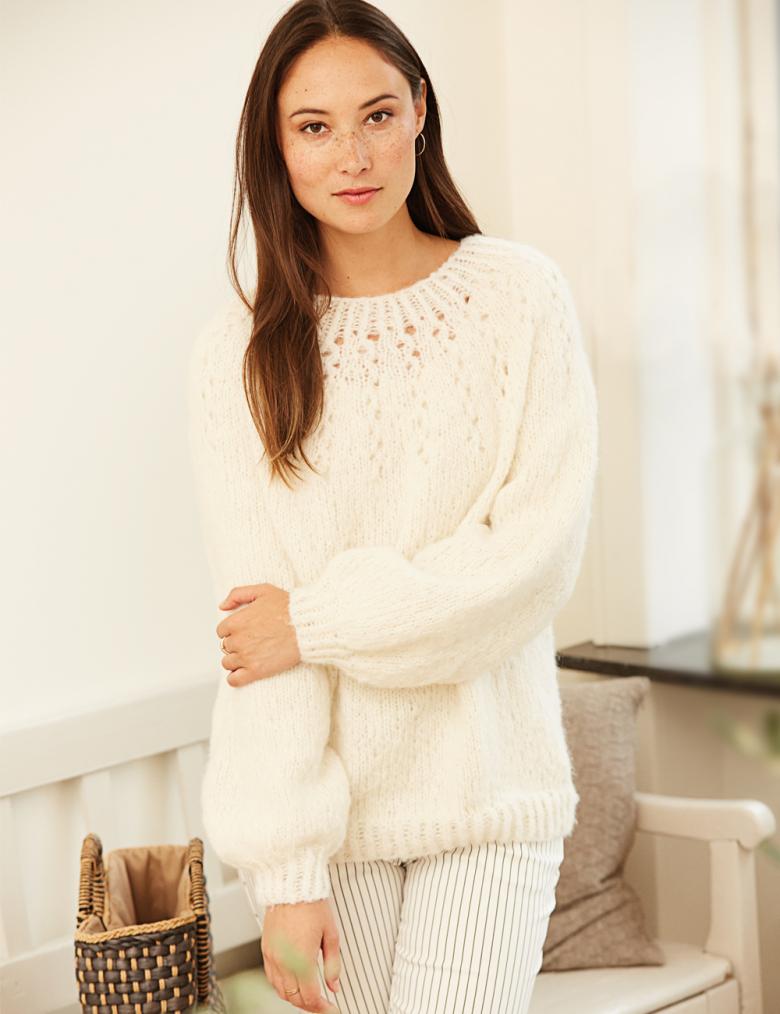
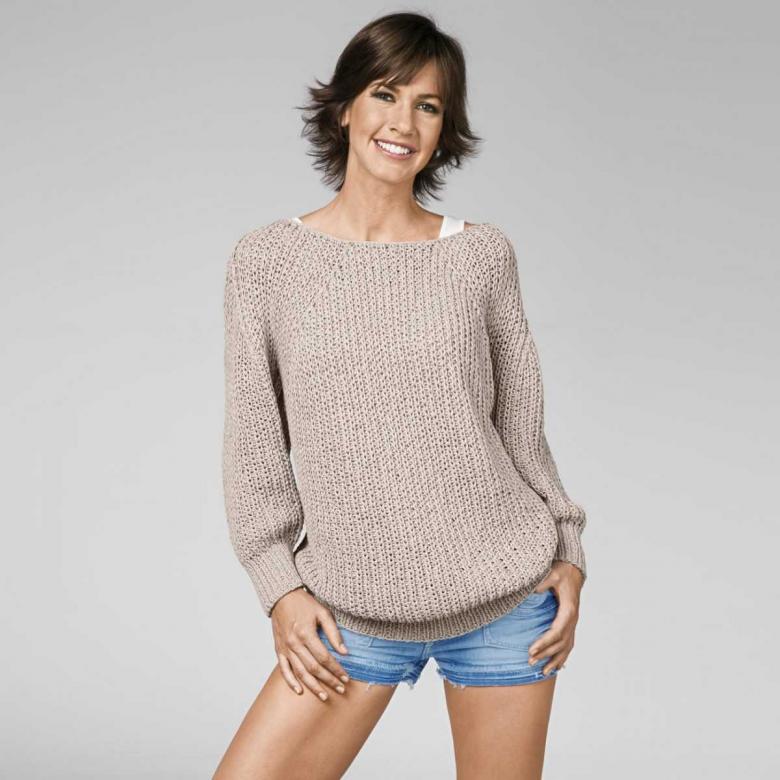
- Raglan Sleeve. The method avoids time-consuming calculation of armhole and rim. Quite easy to perform a method that has gained popularity among aspiring needlewomen.
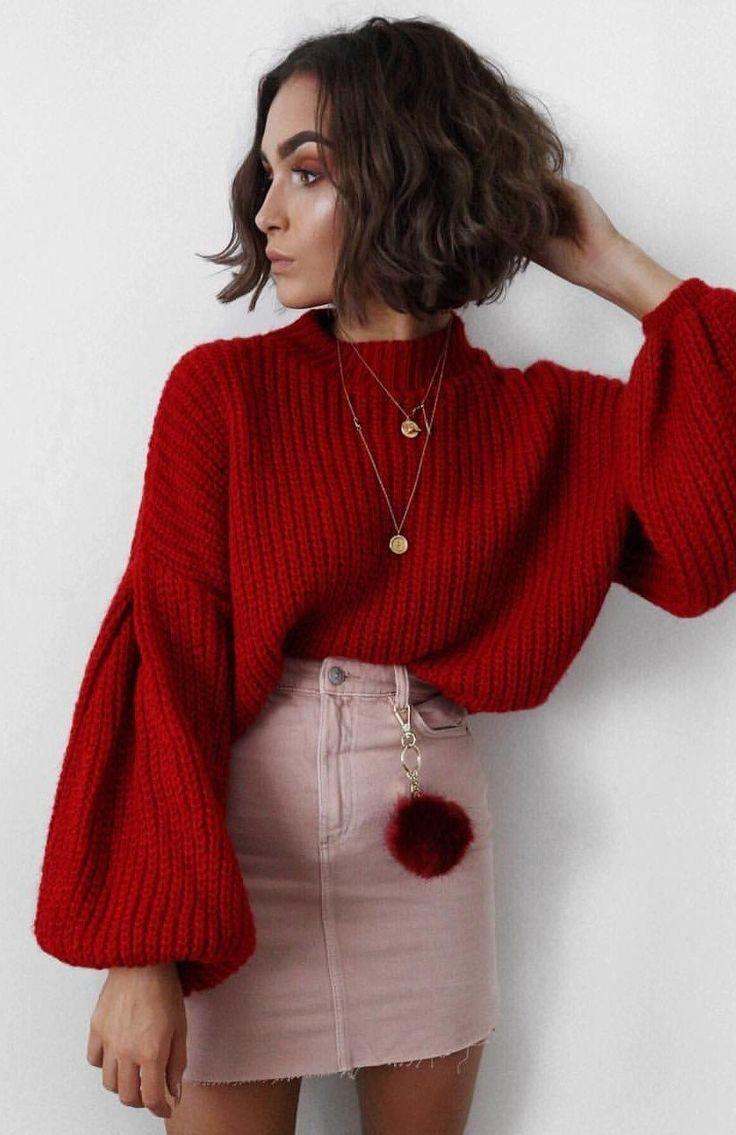
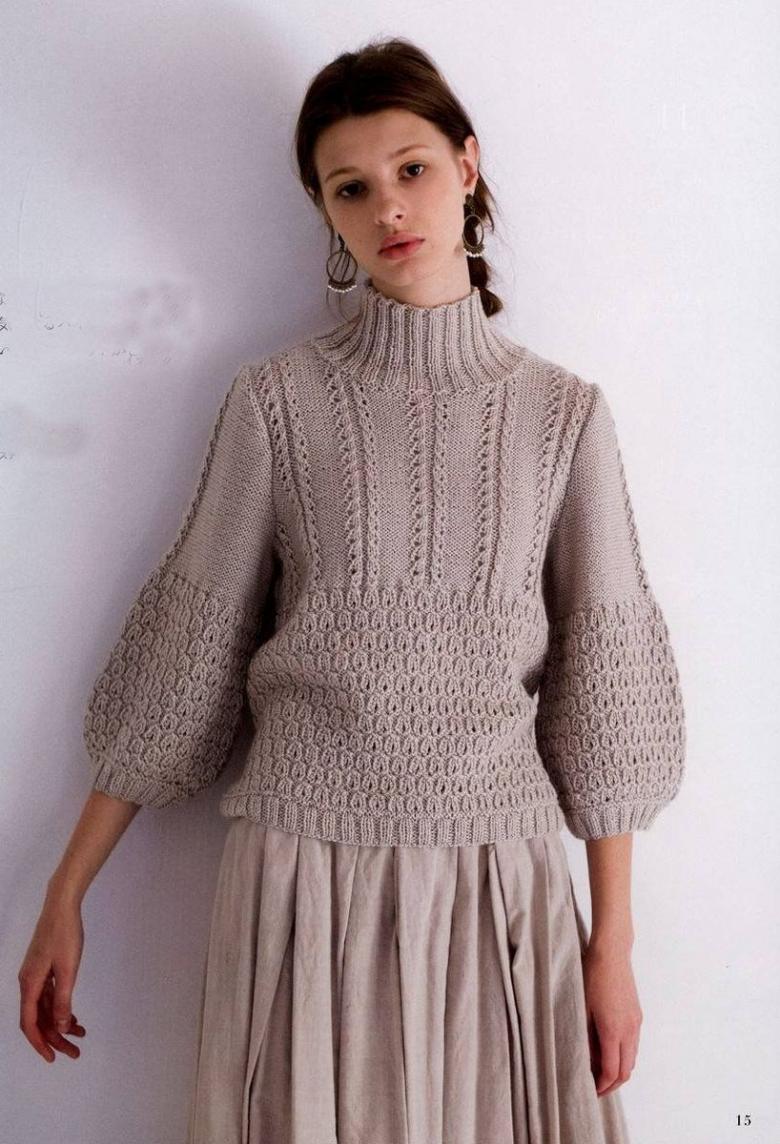
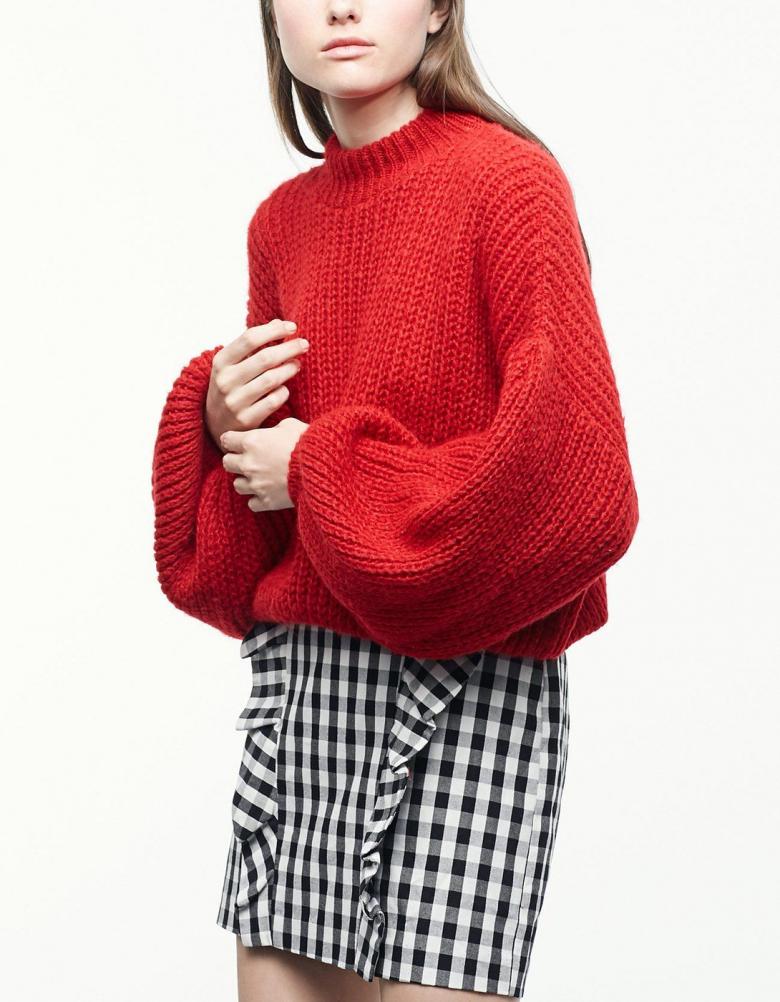
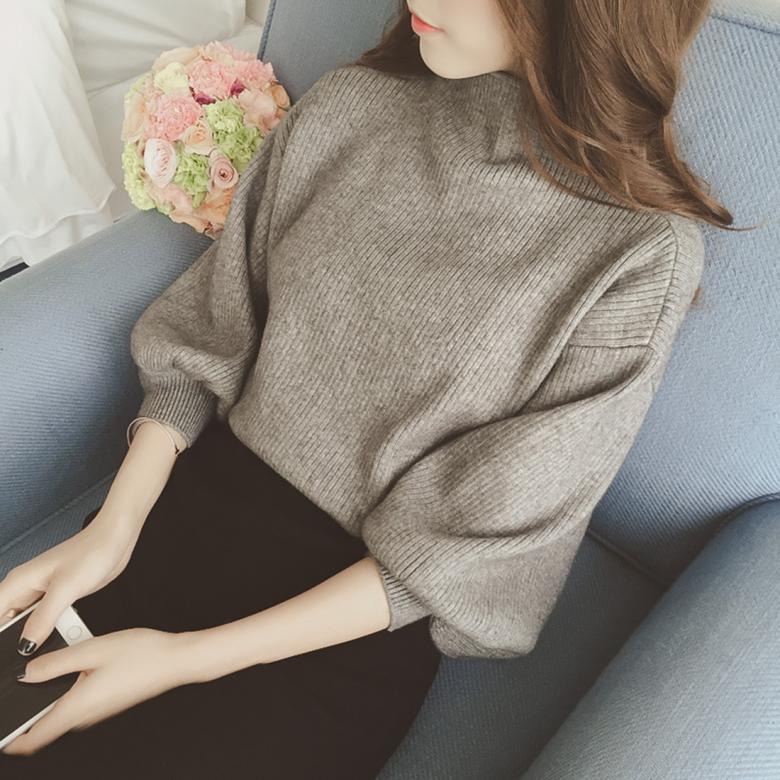
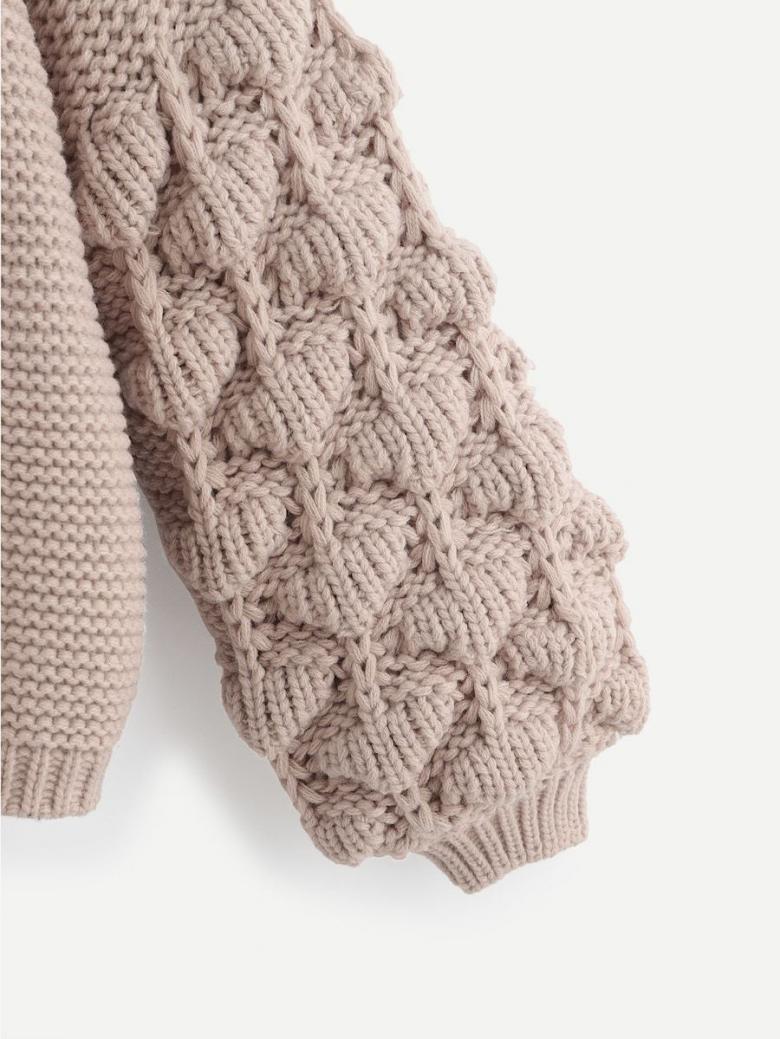
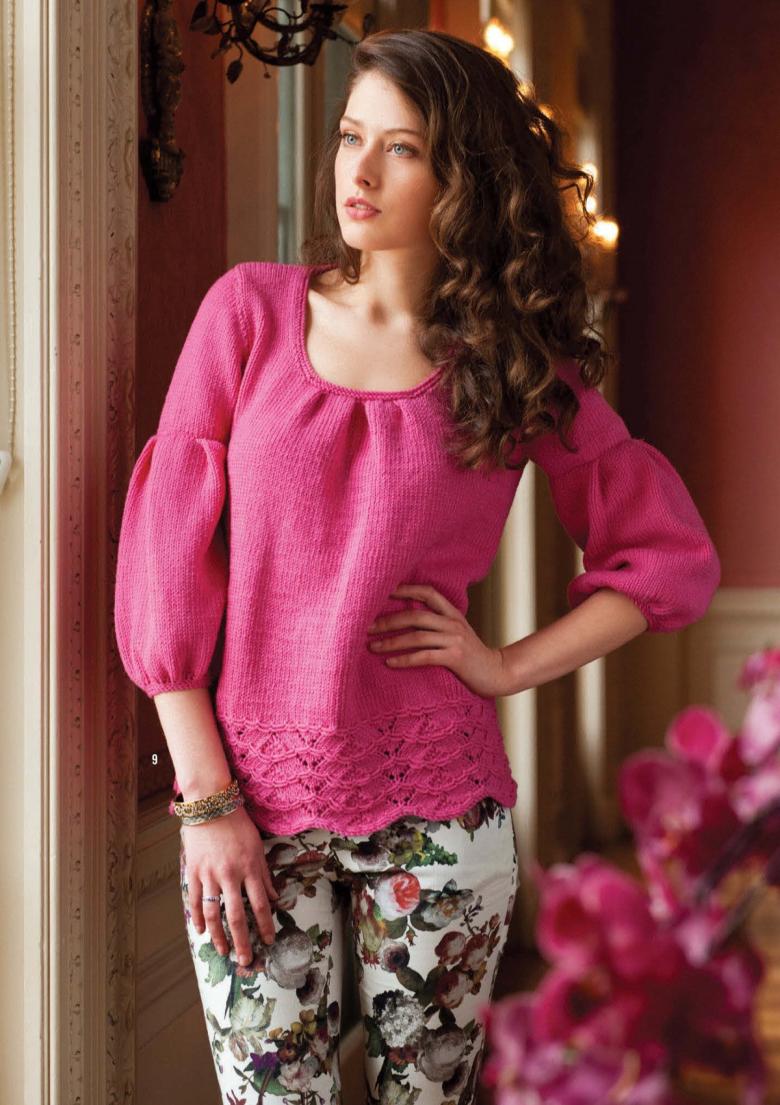
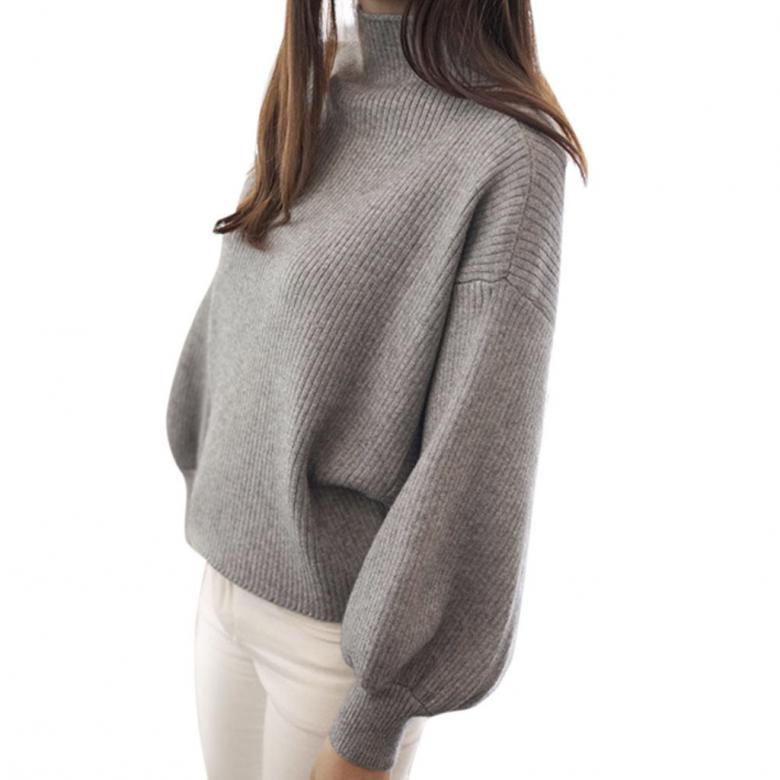
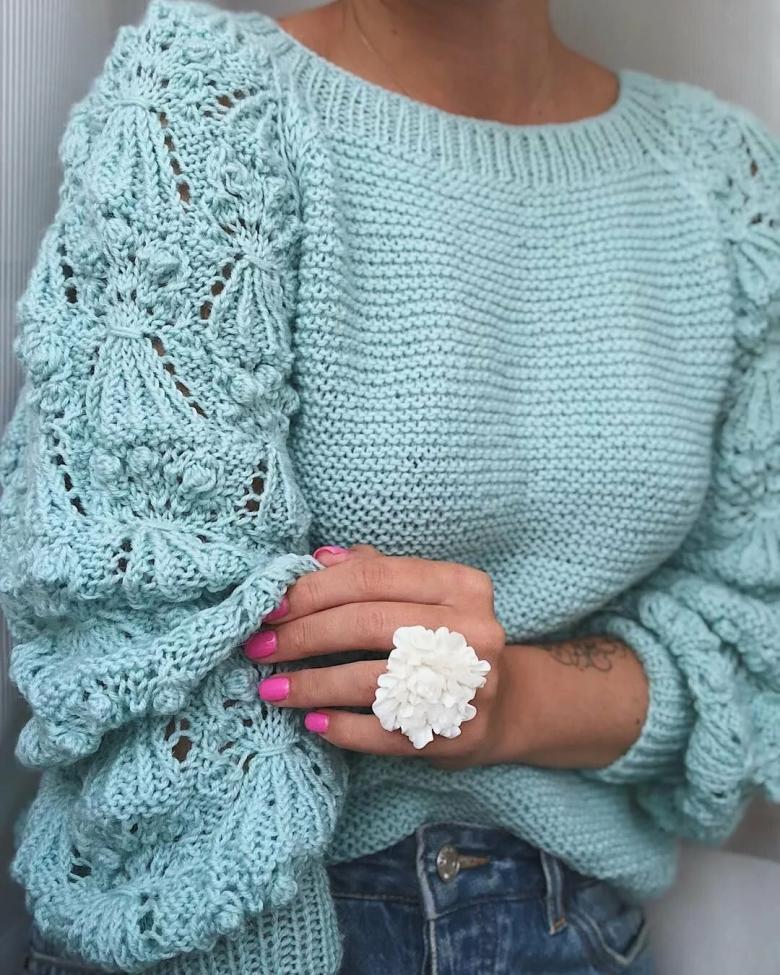
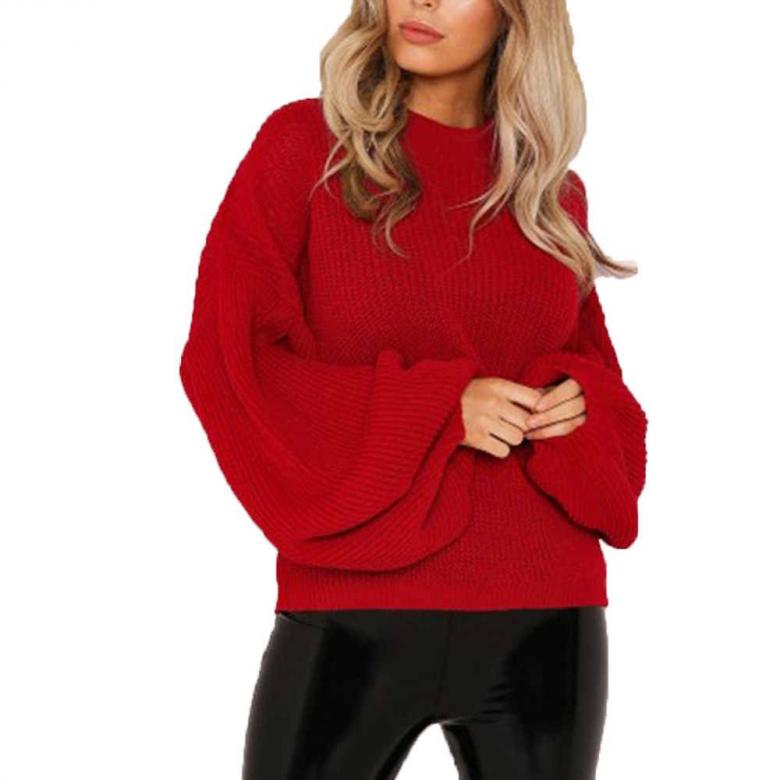
- Lantern. The knitting implies a high-density cuff and extended sleeve top.
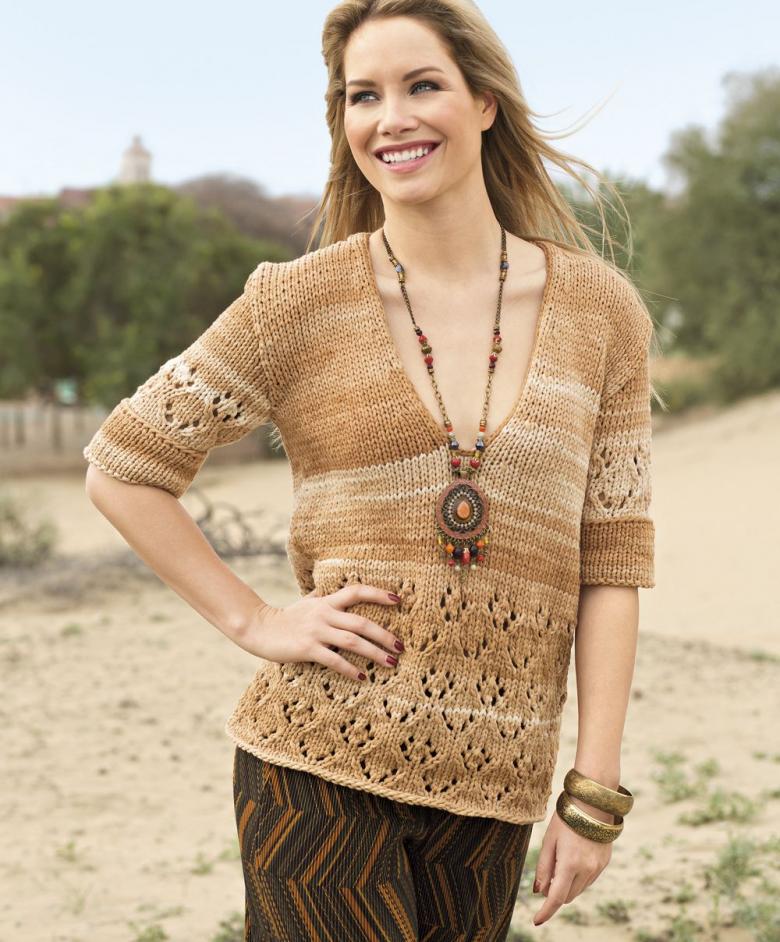
- Kimono. Sleeve details are knitted at the same time as the back of the piece.
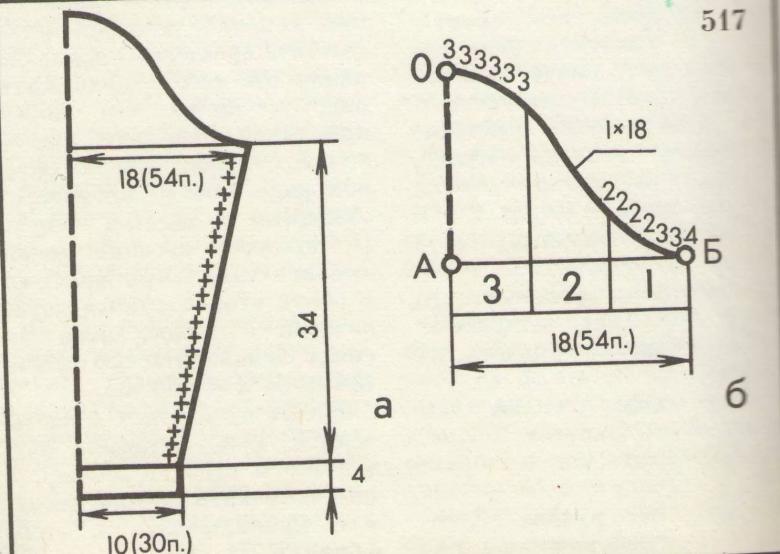
Proceed to connect the detail to the main body of the product:
- Mark the middle of the oculus.
- Turn our sweater/dress/cardigan inside out.
- Bring the marked center of the sleeve with the seam line.
- Using a knitting needle, connect the piece to the main piece along the circumference. Guide the needle to the rounded part of the oaklead.
- On the outer part we stitch with a straight stitch.
Materials required for work
Beginning your activity in the creation of the sleeve, let's prepare all the necessary materials:
- Yarn. If you do not have much experience in knitting winter products, it is better to use semi-synthetic threads (wool with a high percentage of acrylic).
- Spokes: wood, metal, circular on fishing line, plastic models. Choose working tools for yourself personally.
- Needle stoppers. These are special tips to prevent the loops from shifting.
- A knitting plastic needle to connect the composite parts of the product.
- Patterns (how to make templates for work, we have already considered).

Simple tips for beginners
Before starting work, we advise you to familiarize yourself with them:
- Calculate the proper number of loops, so as not to make a mistake with the size of the product.
- Practice on a small sample, it will improve your practical skills and avoid serious errors in the main work.
- Lead the knitting of both products at the same time. This way you will notice if the parts are asymmetrical.
- First make the armhole and only then proceed to knitting the fabric itself.
- Work with patterns. If you decide to create a complex product, do not forget about the set of additional loops.
Master classes with step-by-step instructions for masters
We got acquainted with the main aspects of working with the product. Now let's proceed directly to creating the sleeve in different ways.
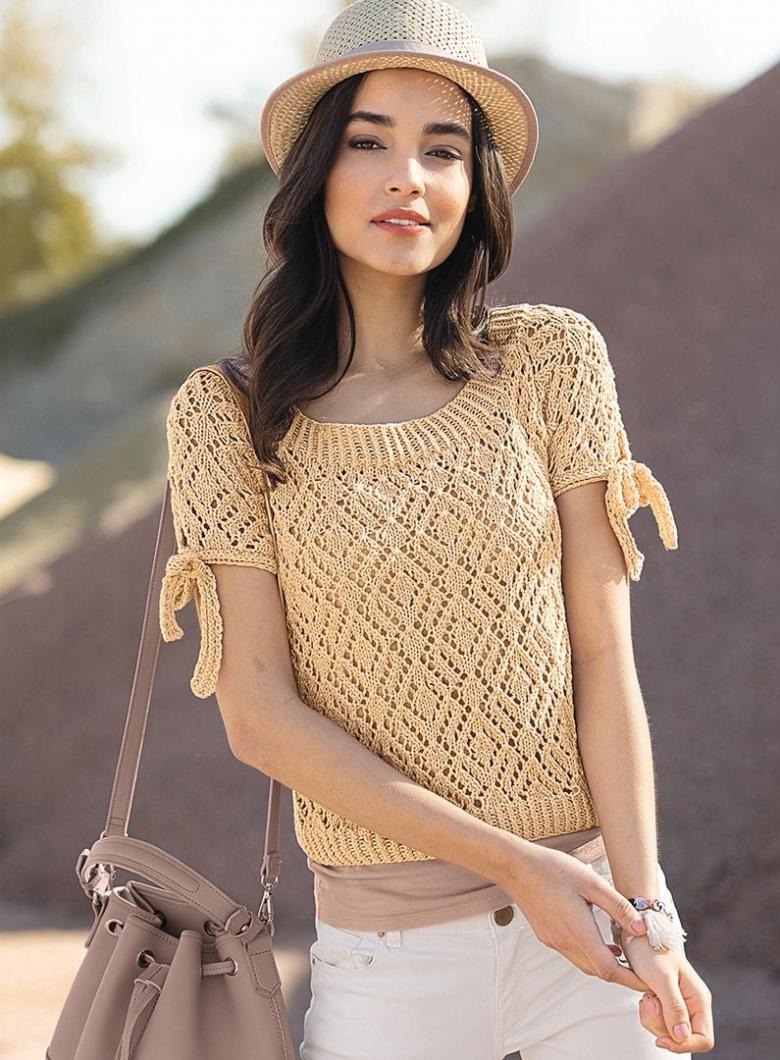
The models we are going to practice today:
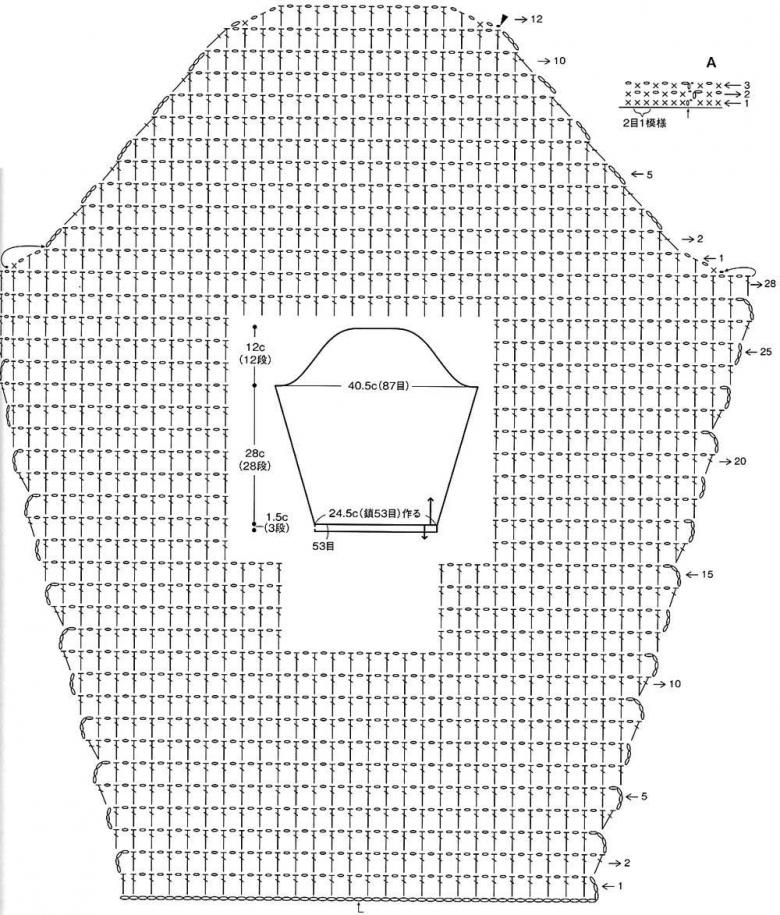
- An armhole knitting diagram and the calculation of the ovate.
- A simple knitting of the fabric with a front smooth.
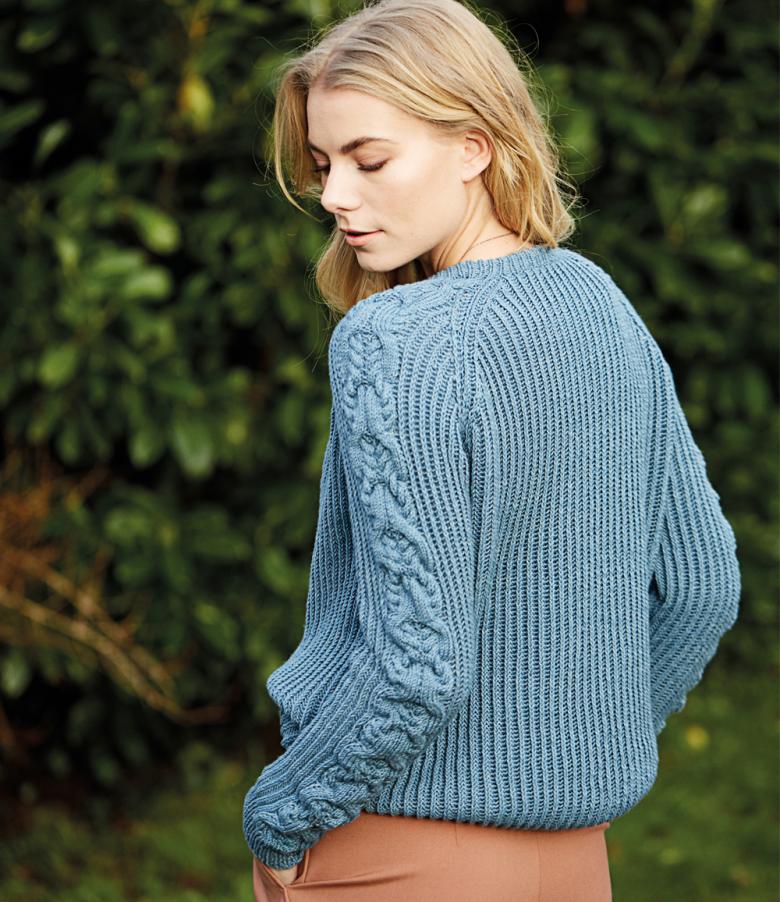
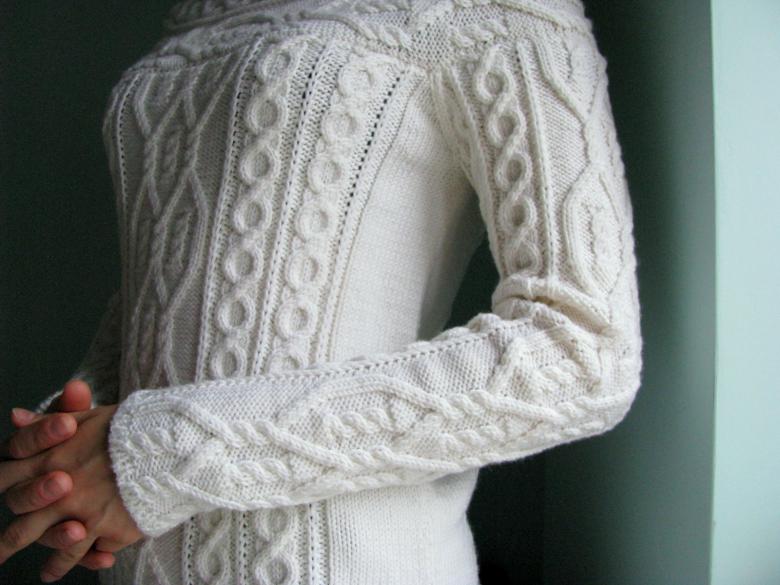
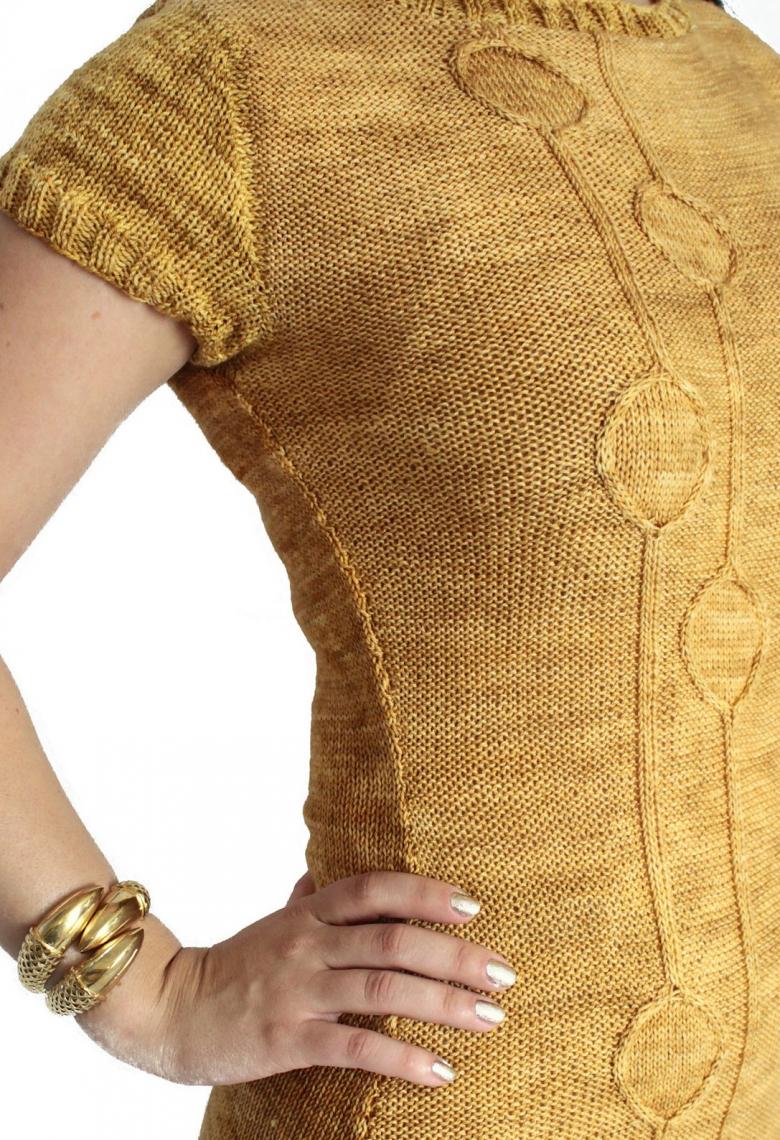
- Knit a sleeve with ornament "braid".
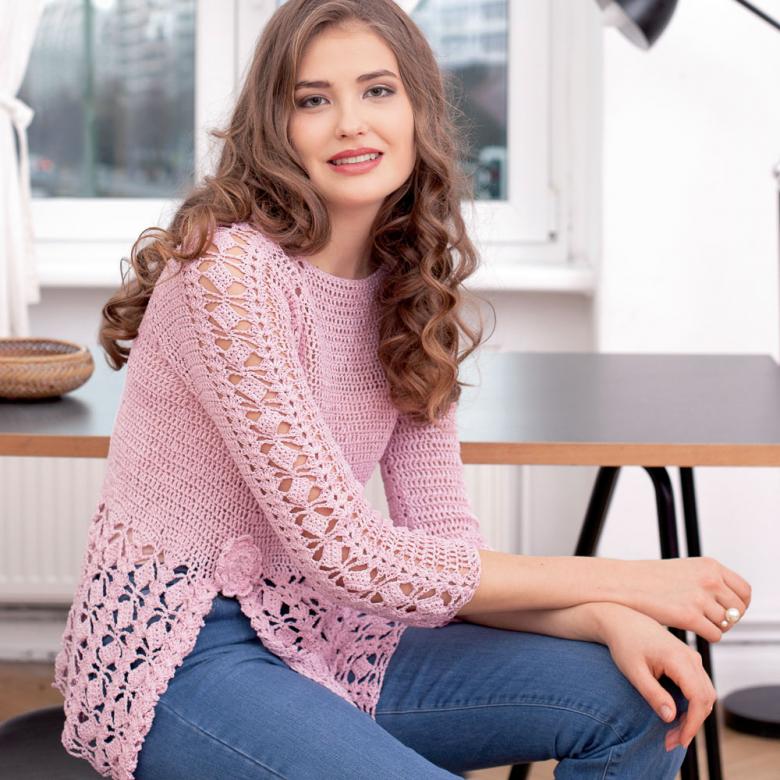
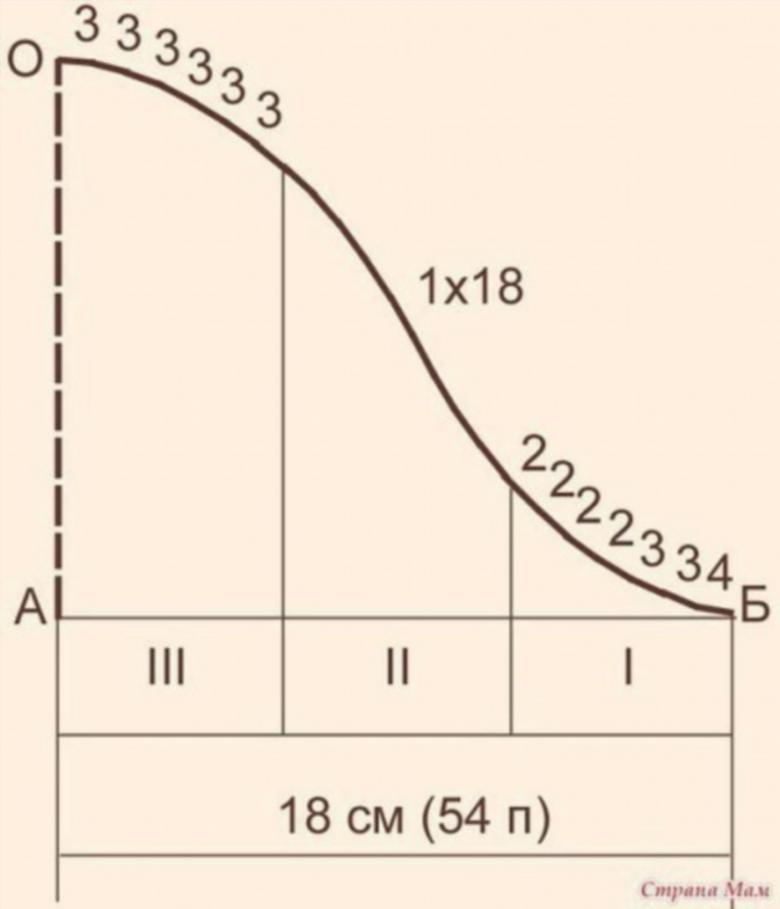
Knit armhole and calculate the lapel
Step by step instructional scheme for the master:
- First, we need to decide on the width of the armhole. For standard sizes, it is 5-7 cm (sometimes up to 6 cm).
- "Translate" centimeters into loops, using an ordinary ruler.
- Divide the resulting number by 3, the possible remainder we add to the first part of the elements.
- Then proceed to work with the resulting groups. The first group is closed all together by one knit.
- The second block is divided into two parts and each block is closed with one knit in every second row. How to deal with the indivisible remainder, we already know.
- Work with the third group of elements: in every second row we reduce the loops (by 1 piece in each row).
- Repeat all steps once.

Proceed to the calculation of the oculus:
- To work, take 50% of the loops in the widest part of the sleeve = 48-50 loops.
- Divide the number into three parts. Keep in mind the action with the extra elements.
- We work with the first group of loops: divide into two components, knit the loops three together.
- Our actions with the second group: knit 1 stitch on both sides in every even row.
- The third block of elements we divide into three groups. We close four times three stitches together.

We knit the canvas using front smoothing
We have finished the armhole and calculated the roll. Now let's proceed to the direct knitting of the fabric.
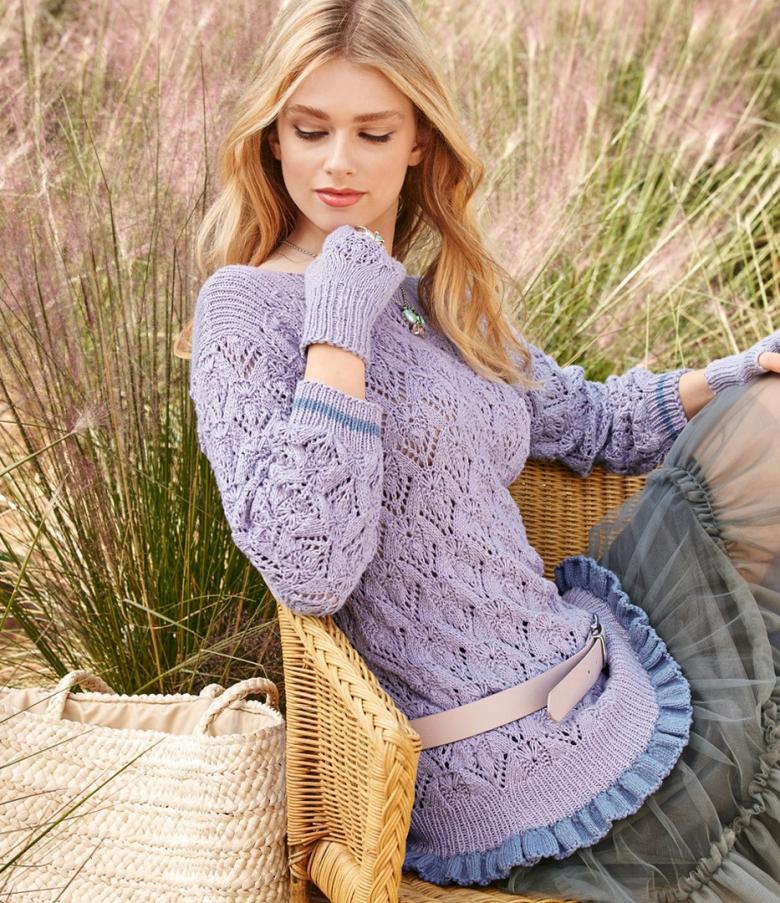
Step-by-step scheme-instruction for the master:
- We continue knitting with a simple front seam down to the wrist, using the patterns.
- Features for the widest part of the sleeve: you need to do the stitches after the first stitch and before the last stitch of each row.
- In this way, work until we are at the level of the widest part of the piece.
- Next, knit the rows without change for 4-5 cm, then begin to reduce the number of elements by knitting a few loops in one go.
- Gradually reduce the number of pieces, moving up to the wrist. Wrist knit with a rubber band with the alternation of 2 right and 2 wrong stitches.

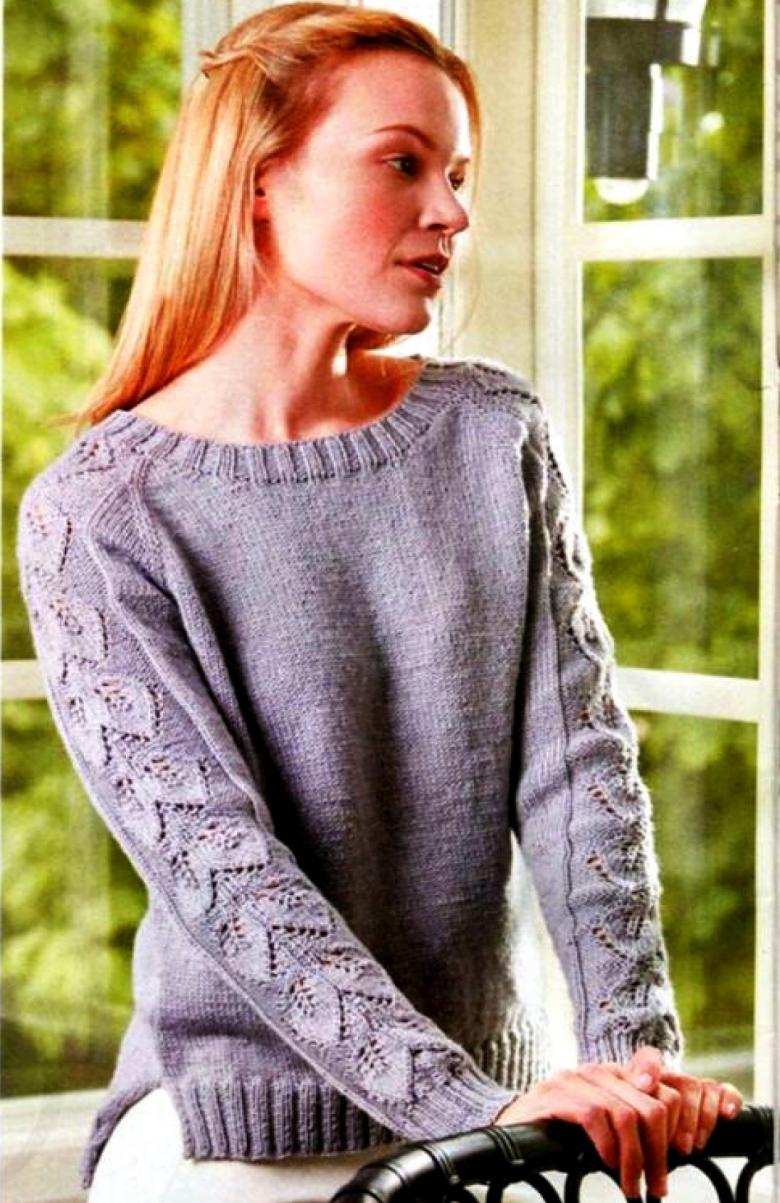
Knit fabric with a "braid" pattern
For elegance, let's decorate our product with elements of the pattern.
Step-by-step scheme-instruction for the master:
- After working with the armhole and the ocate, we begin to form the pattern. We will need an auxiliary needle.
- In each row, we will knit three right-handed loops, three left-handed loops, then carry out the transfer of 3 elements on the left shoulder. Next, we need to knit three left-handed loops, and then return the removed loops back into the working row, slitting them with a right or wrong knit (depending on the variation of the ornament).
- In the next row repeat all the actions with one difference: three stitches are removed on the right shoulder. In this way, we form the ribbons of spikelets.
- We knit the pattern all the way to the wrist.
The work of creating the sleeve may seem extremely difficult to a beginner. In fact, it is not. Check out the video tutorials and master classes on working with knitting details, it will help you in practical training. Don't doubt your abilities, and we'll teach you the rest!

