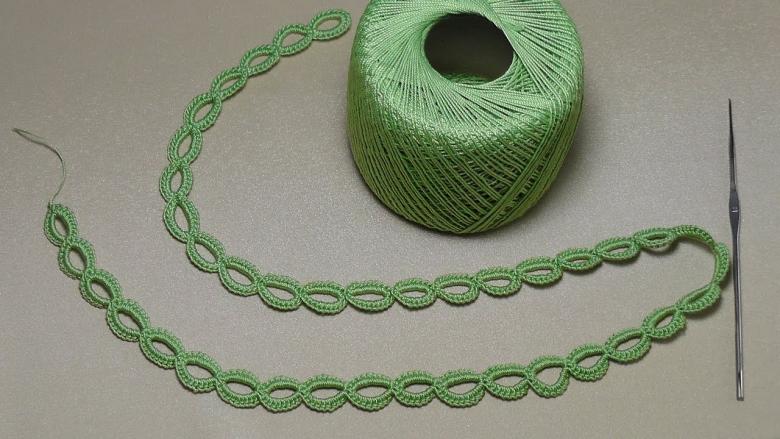
Crochet and knitting cords - peculiarities of the technique, step by step master classes, photo examples
We continue our series of master classes on needlework. Today we will get acquainted with the techniques of crochet cords. As always, we will pay great attention to practical lessons, but theory will also take its due place in our topic today.
Getting to know knitting techniques
So, why do we need to learn knitting these patterns at all? The answer is simple - it is one of the most important moments in practical needlework. It is very important to master this technique, because in the future when creating more complex models, you will encounter elements of design in the form of a cord.

We have compiled a list of the most famous cord patterns:
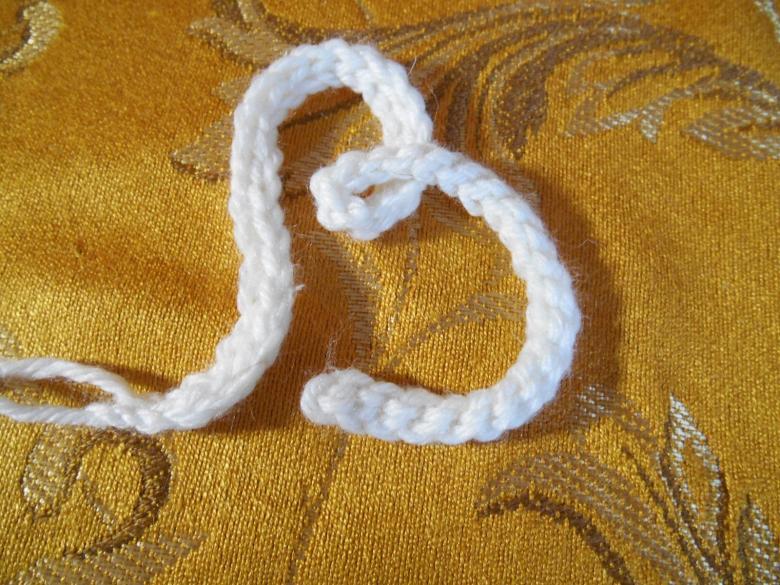
- Chain of air loops. If you've ever tried crochet, you know that such a chain is very fragile and easily damaged. Therefore, when choosing this method of creating cords, take a stronger thread or knit with several layers of thread.
- Chain with extra stitches.
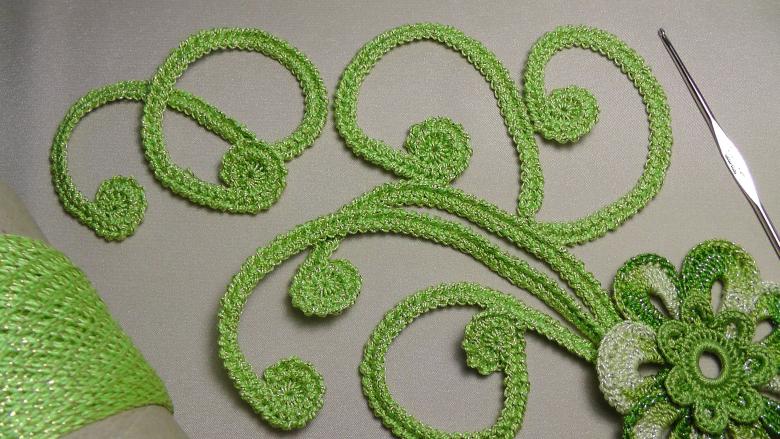
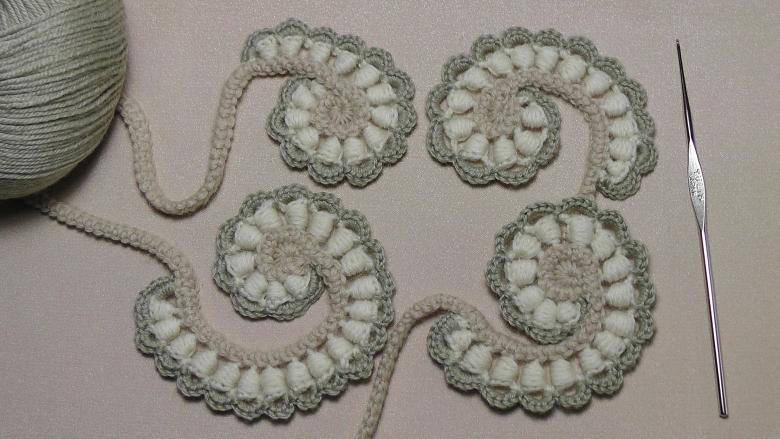
- Air loops enriched with columns with hooks (sometimes columns without hooks are used). These products turn out openwork and with an original pattern.
- The product of air loops in a double technique.
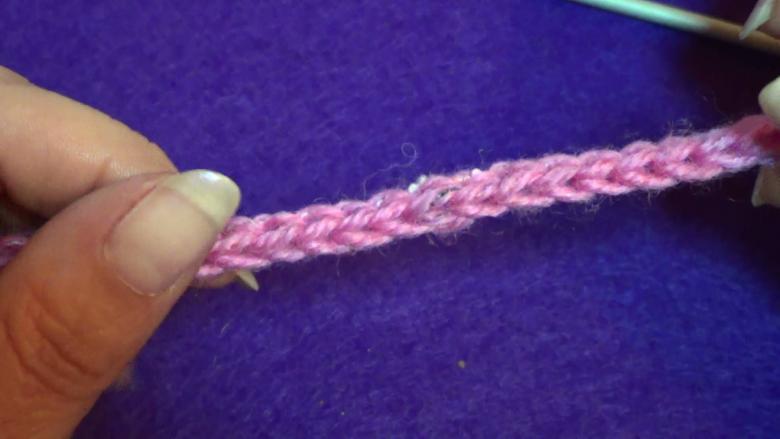
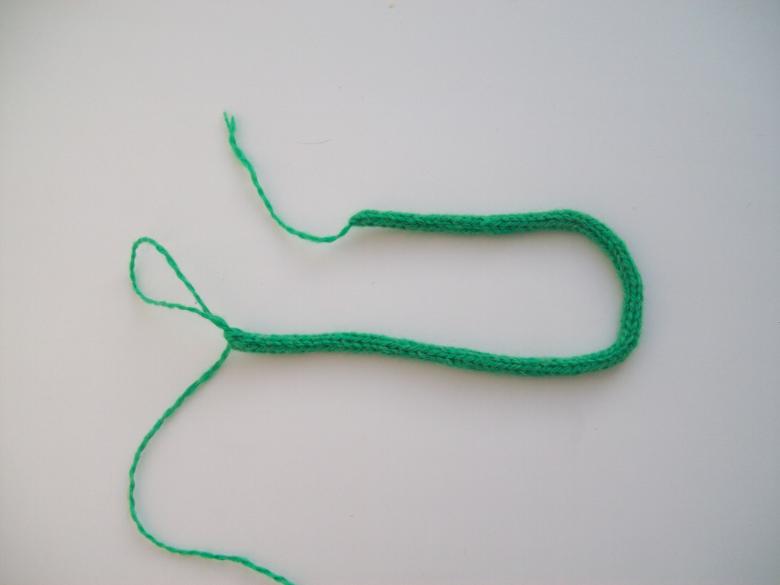
- Ornament "caterpillar".
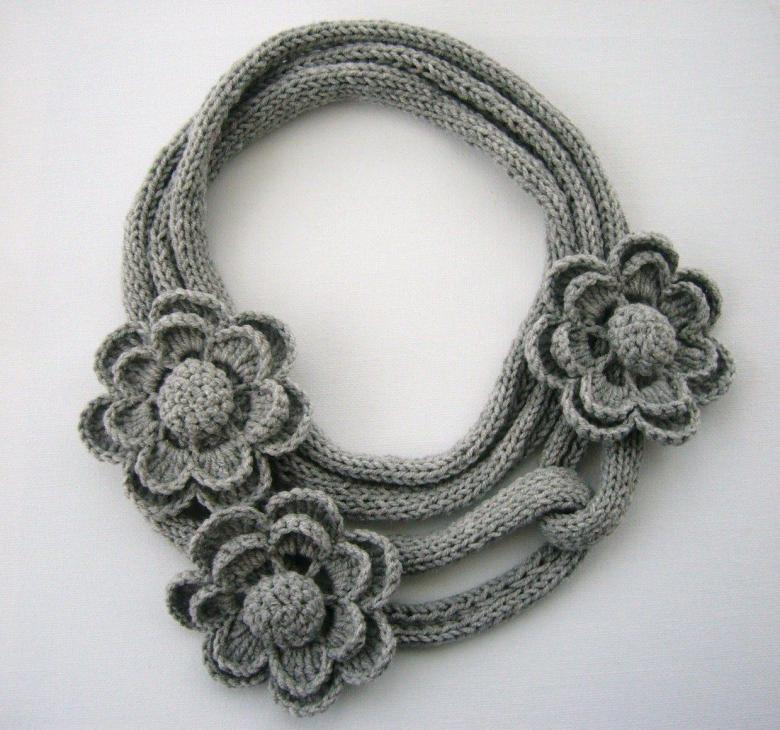
- Hollow cord connected by needles.
- Model for edging finished products.
- Detail of the sealed edge.
- Tricky flagellum.
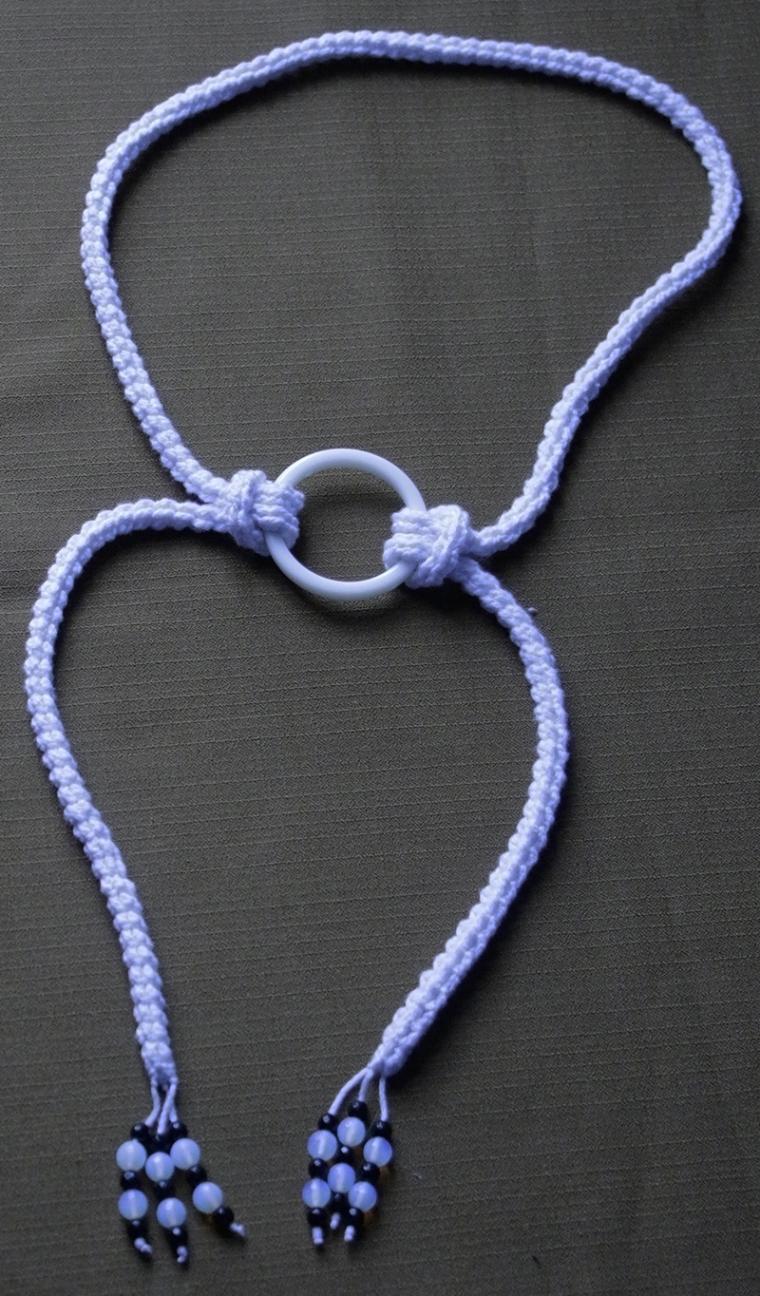
Where we can use crocheted cords:
- A trim pattern for crocheted yarn pieces. Any homemade accessory requires mandatory framing with patterns or extra loops. This will protect the piece from dewy edges and add a sophisticated newness.
- Patterned buttonholes. An original approach to product design that is an alternative to the standard slits on the sides.
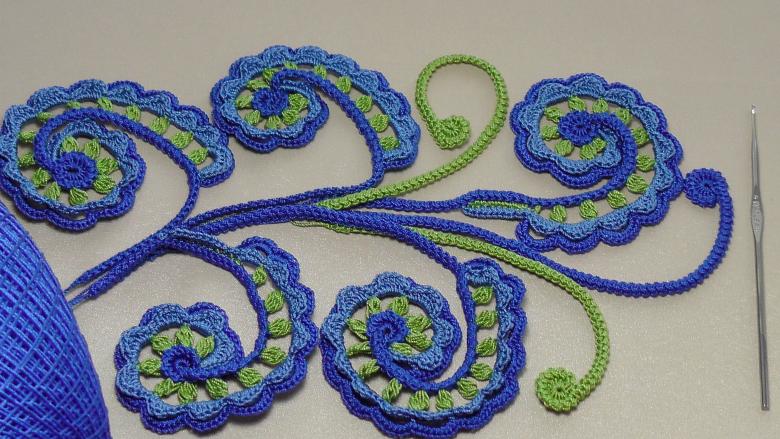
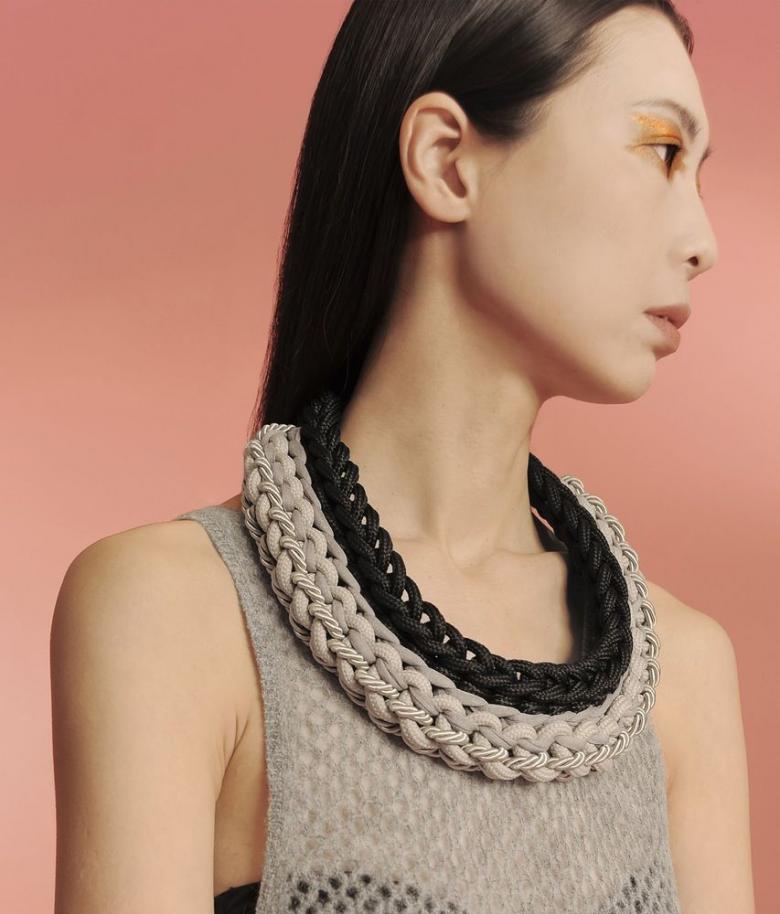
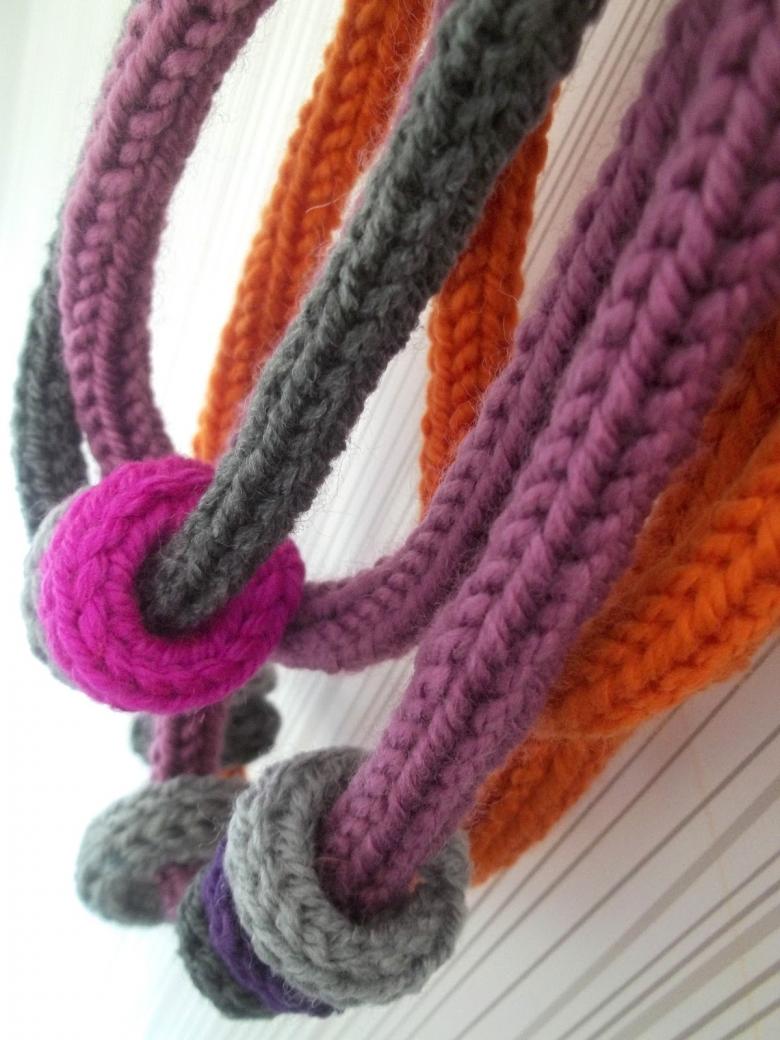
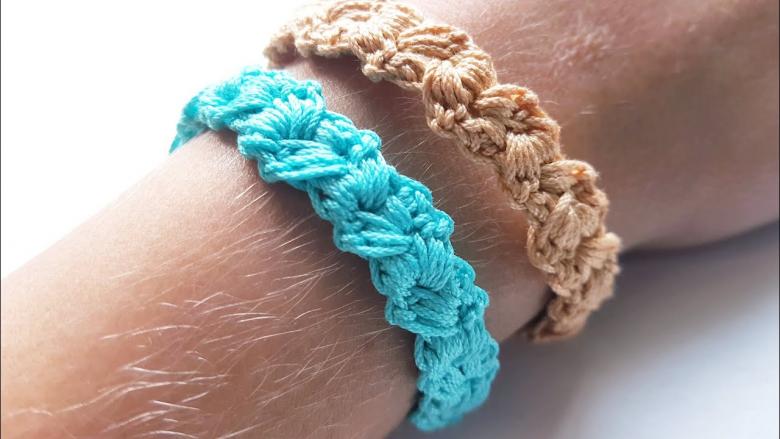
- Decorative embellishments for crafts, bags, panels and accessories for your closet.
- Knit straps for tops and summer sundresses.

Master-classes with step-by-step instructions
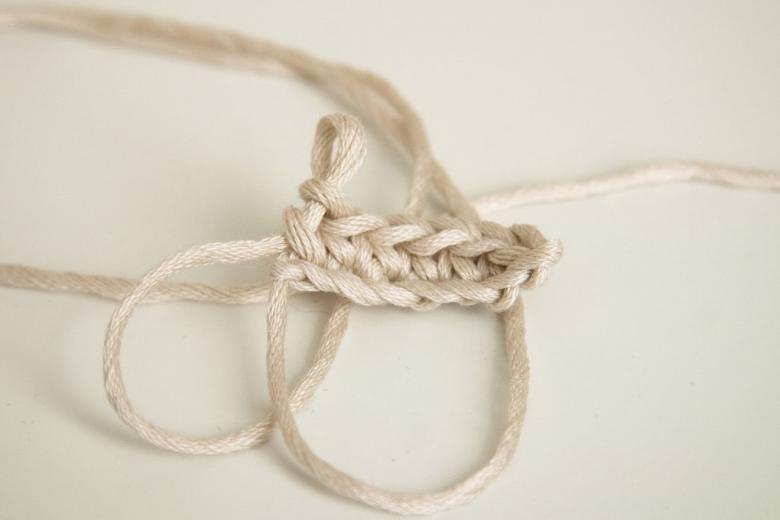
Making a volumetric "caterpillar"
This is the most common version of the decorative model.
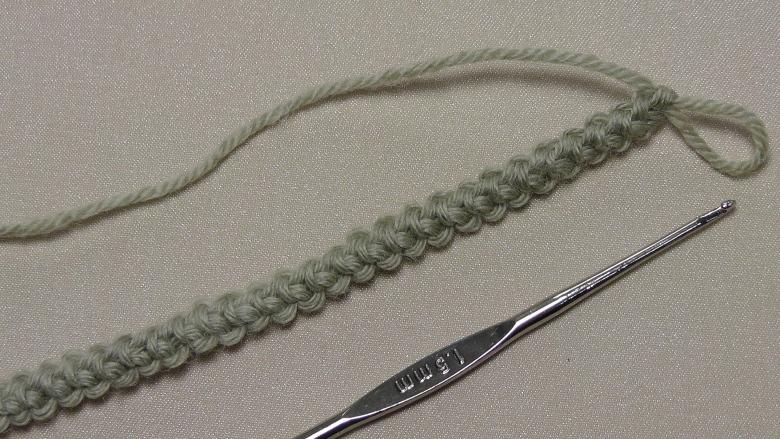
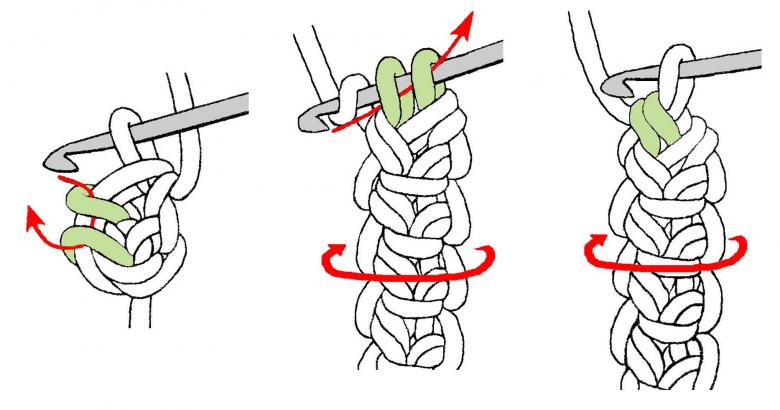
Step-by-step scheme-instruction for the master:
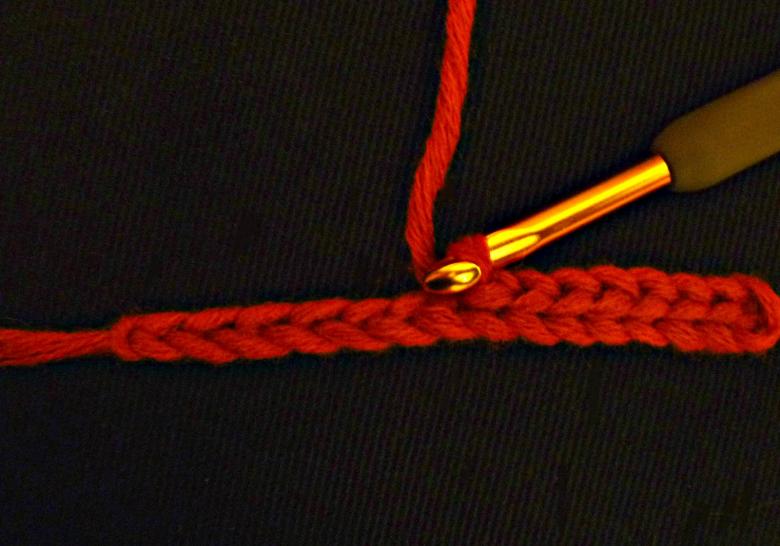
- Dial two air loops by crochet.
- Through the second element we pull the yarn and make a column without a stitch.
- Capture the two parts remaining after knitting a column, and we get three elements on the hook.
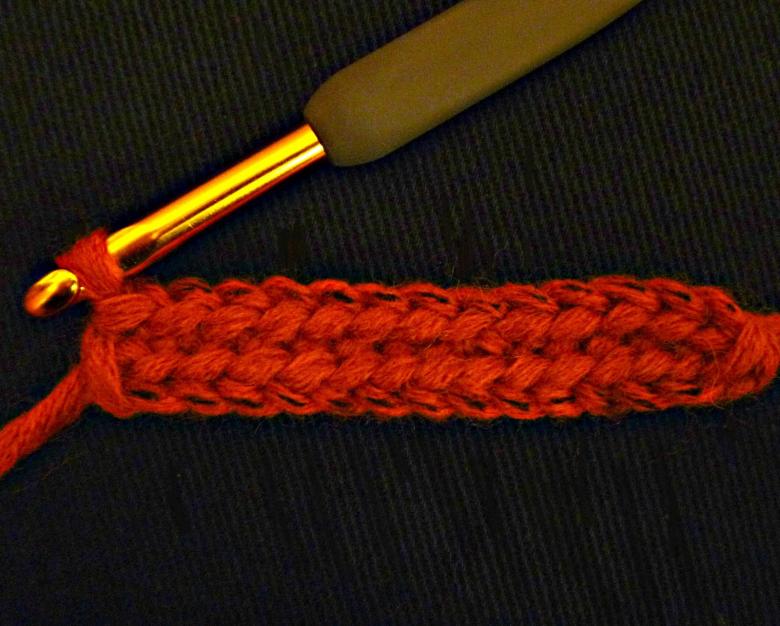
- Now work in the opposite direction. We need to get three stitches, which in the next row we will tie with a single thread.
- Repeat the procedure, increasing the length of the "caterpillar".
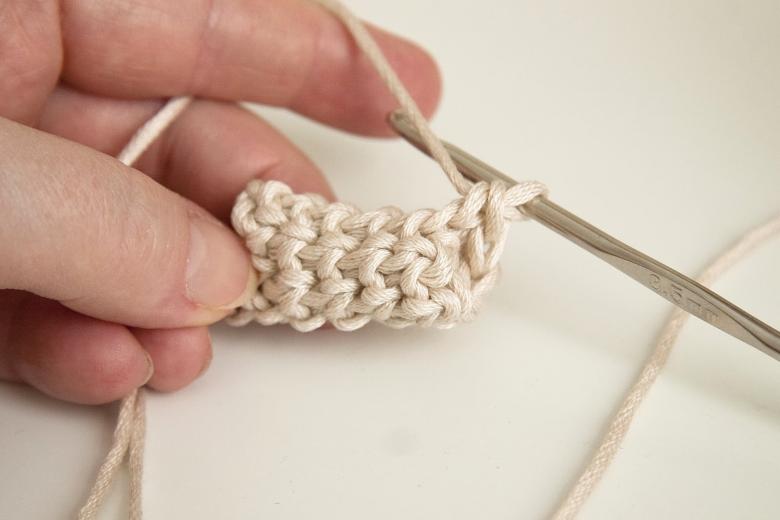
The ornaments created according to the presented scheme have a relief surface and a rich pattern.
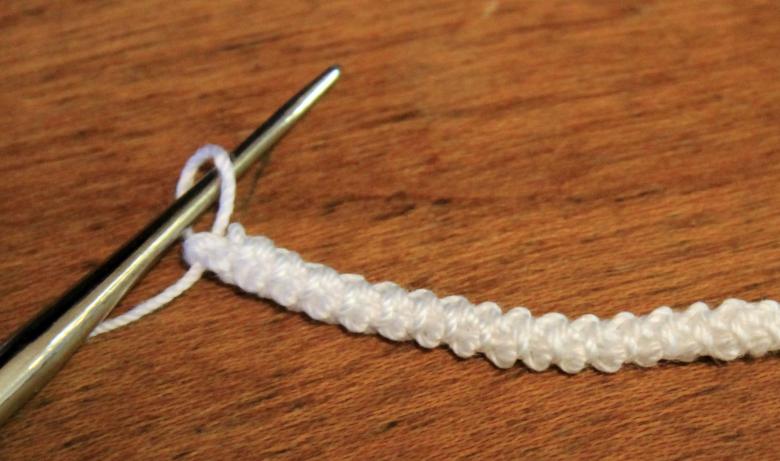
Getting to know the double galloon pattern
This is a representative of the decorative elements. We often mention with you about creating a border for things created on needles, about finishing with decorated accessories. Here in front of you is a typical version of such a decor.

Step-by-step scheme-instruction for the master:
- Dial two air loops.
- Through the first element we grab a thread of yarn and bring it to the hook.
- Again capture the working thread, but now our task is to pass it through all the loops of the future cord. At the output we get 1 piece.
- Again capture the thread through an air loop and lead it to the hook.
- Repeat all the above steps until we reach the desired length of knitting.
- The one-layer galloon ornament is ready. But the actual work is not over yet.
- Let's start creating the second layer of our model.
- Dial three air loops.
- Then follow the way we already know.
Double galoon cord is used to create decorative elements, it is perfectly combined with various models of clothing.
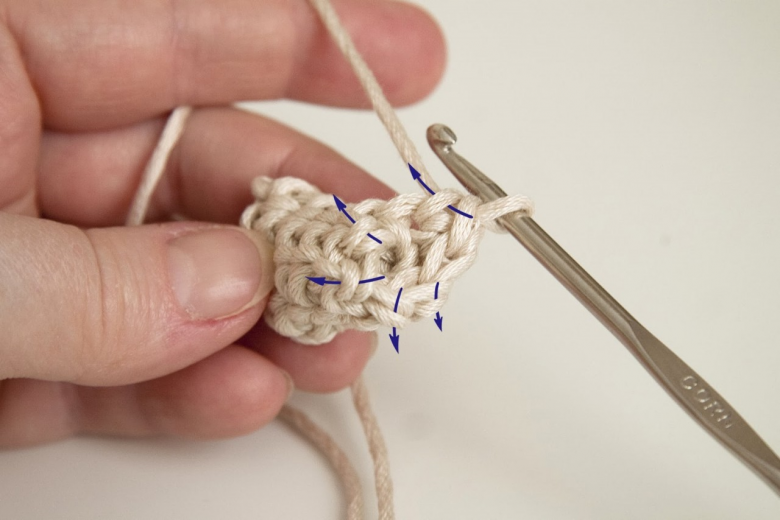
Model with the "knot" ornament step by step
Before you begin, it should be clarified that the knot is not just a pattern, but an independent detail of this model. This property is successfully used by fashion designers in the manufacture of openwork. In this case, we work with knitting needles.
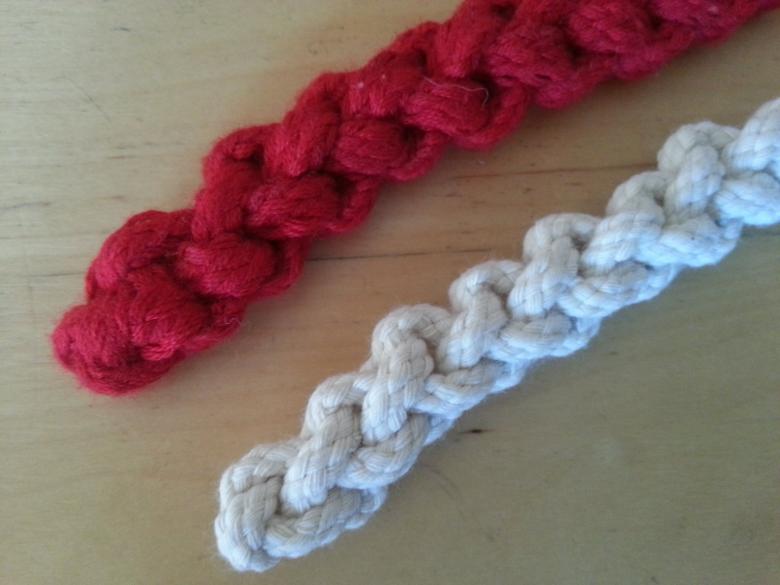
Step-by-step scheme-instruction for master #1
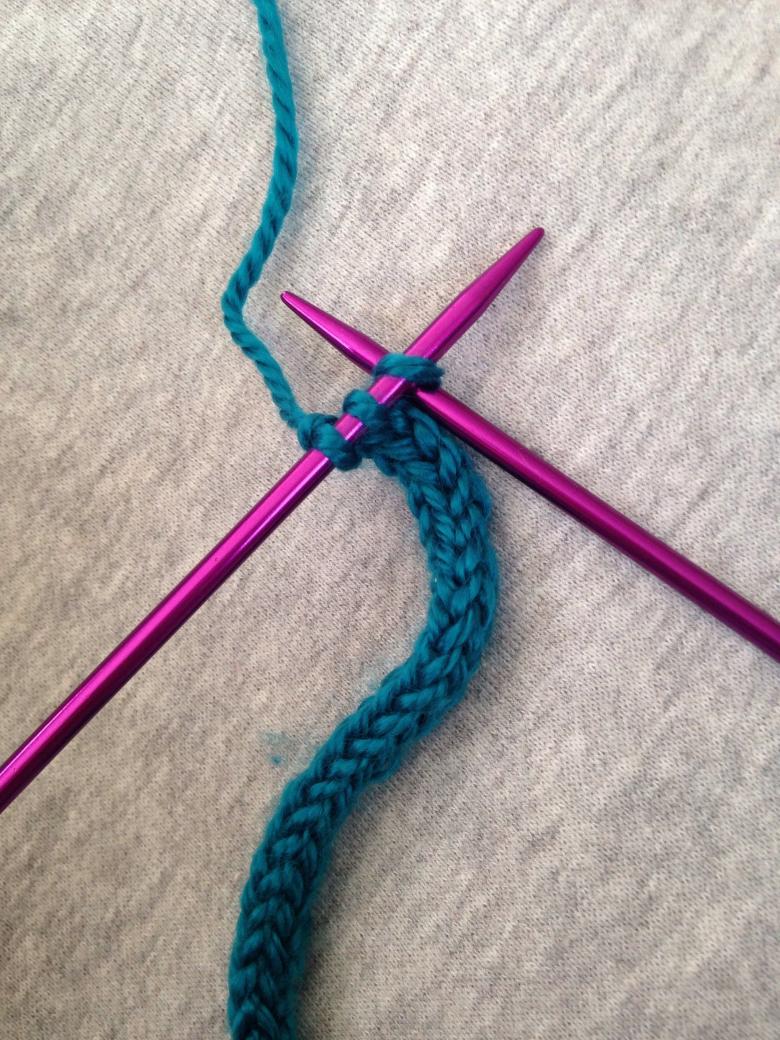
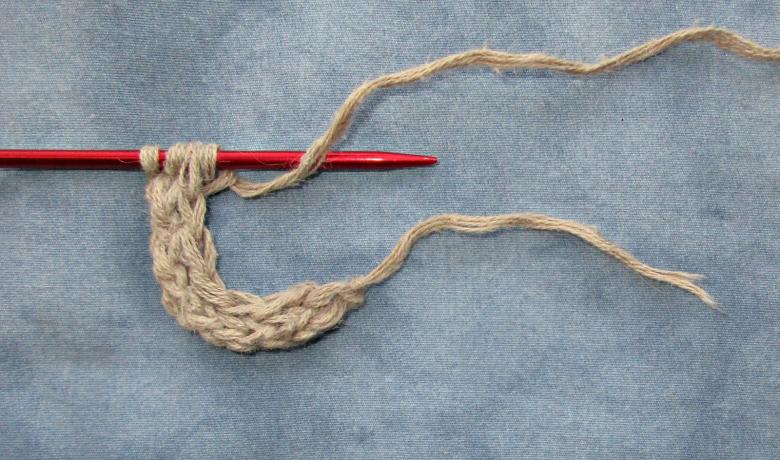
- We dial two loops on the spokes, then work with front smooth for one line.
- Take off the first element of the row, but the thread is not straightened. With the second stitch we work with the right knit.
- We continue to work to the length we need.
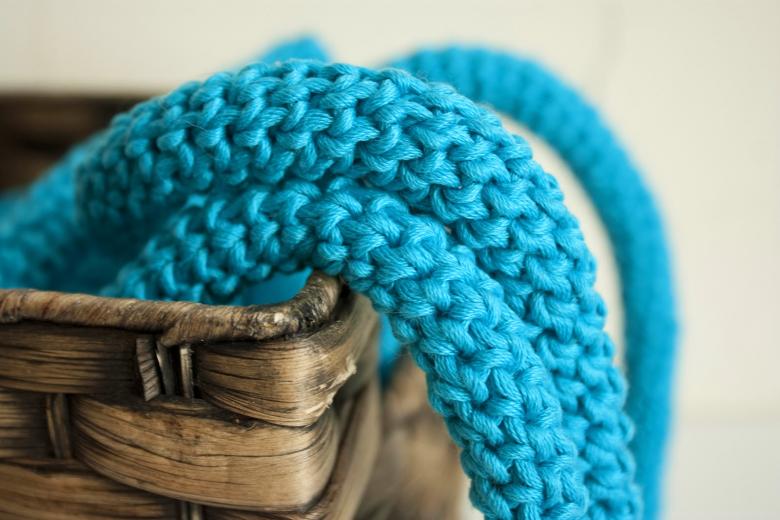
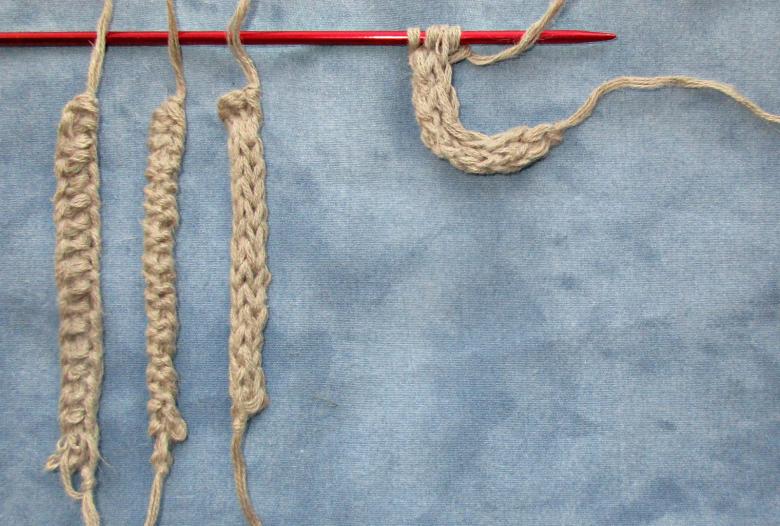
So, technique #1 is used to make a very dense cord with side patterns. Consider the second technique - work on flat knots.
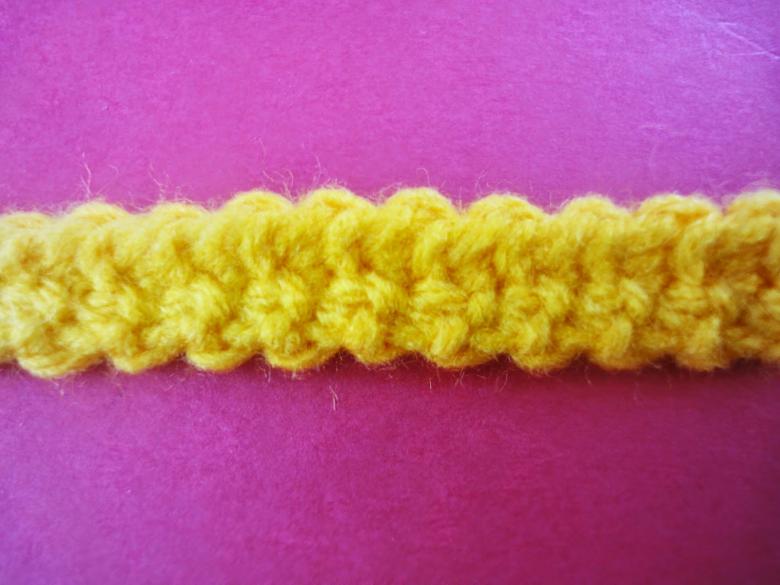
Step-by-step scheme-instruction for master #2
- On the spokes we dial three loops and go the first row of front smooth.
- Then follow the scheme proposed above.
This version has a relief surface and is characterized by increased density.
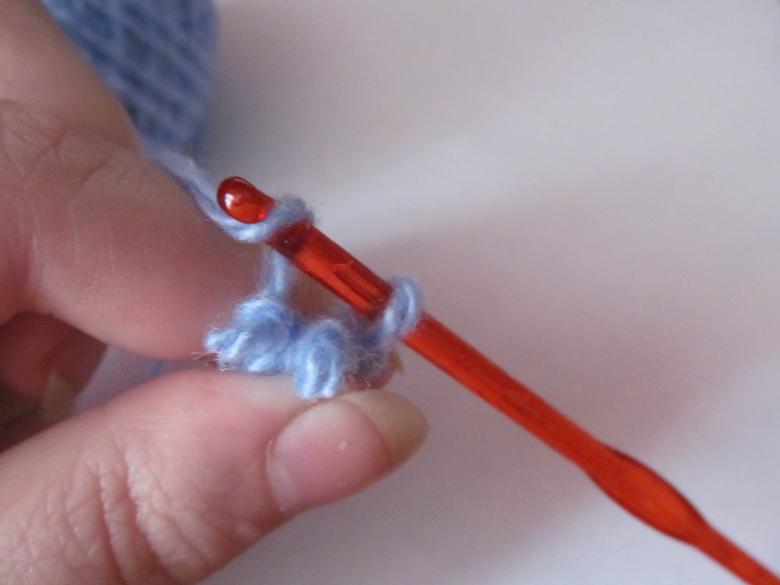
Cord for edging
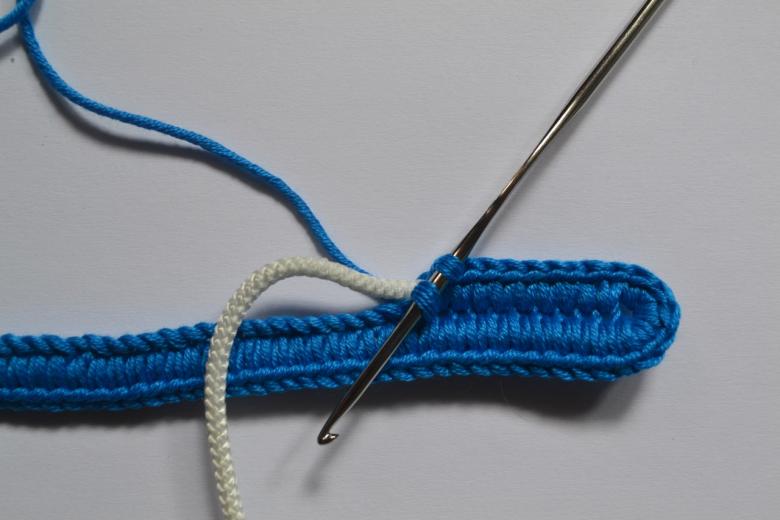
We have already encountered this accessory, but the method of its creation has not been parsed. Bounding is used when making sweaters, scarves, tunics with the help of needles. Additional crochet framing allows you to strengthen the edges and decorate them.
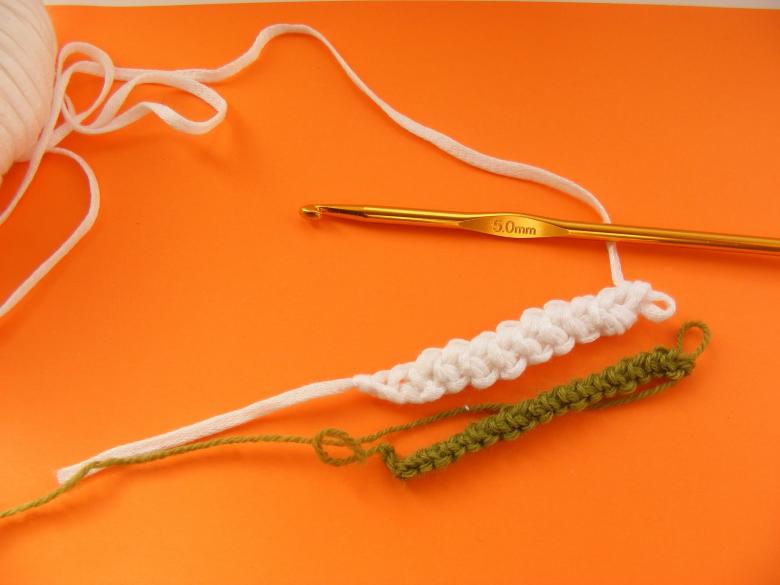
To work we will need:
- A crochet hook for fine work.
- Crochet needles.
- Yarn.
Why do we use both crochet and needles? There are two ways to work on edging. Let's look at each of them.

Step-by-step scheme-instruction for master #1
- After finishing knitting, we proceed to the edging. Dial in an extra row of loops in the back knit. Turn the knitting 180 degrees.
- To form a new row from the bottom line of loops pull yarn, add one front element.
- With the new stitch we start knitting the next row, which is the final one.
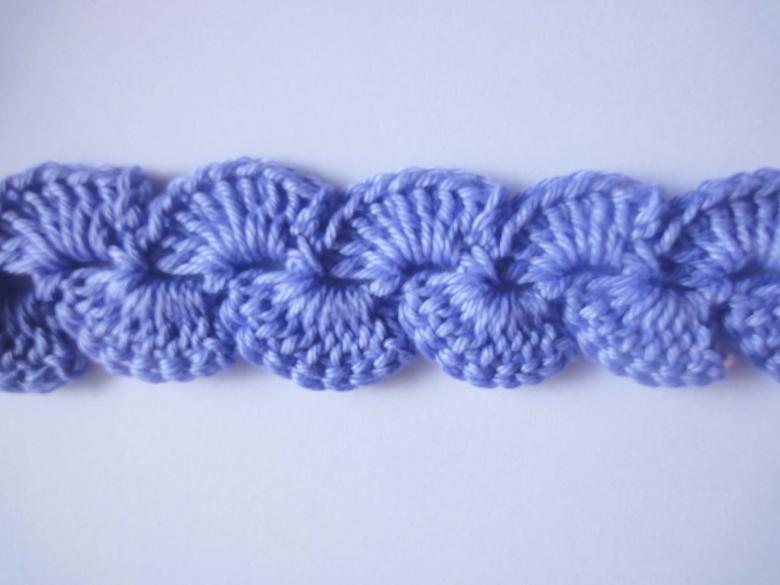
Step-by-step instructional diagram for master # 2
- Close the loops of the last row of the model.
- Proceed to the creation of the edging. You can use the same yarn, or you can replace the working thread with a yarn of a different shade.
- Thread for edging through from under the bottom row of loops, knit a column without a stitch.
- Dial in 1 row of loops, and then form either a double galunky cord, or a fishnet pattern, or any other ornament.
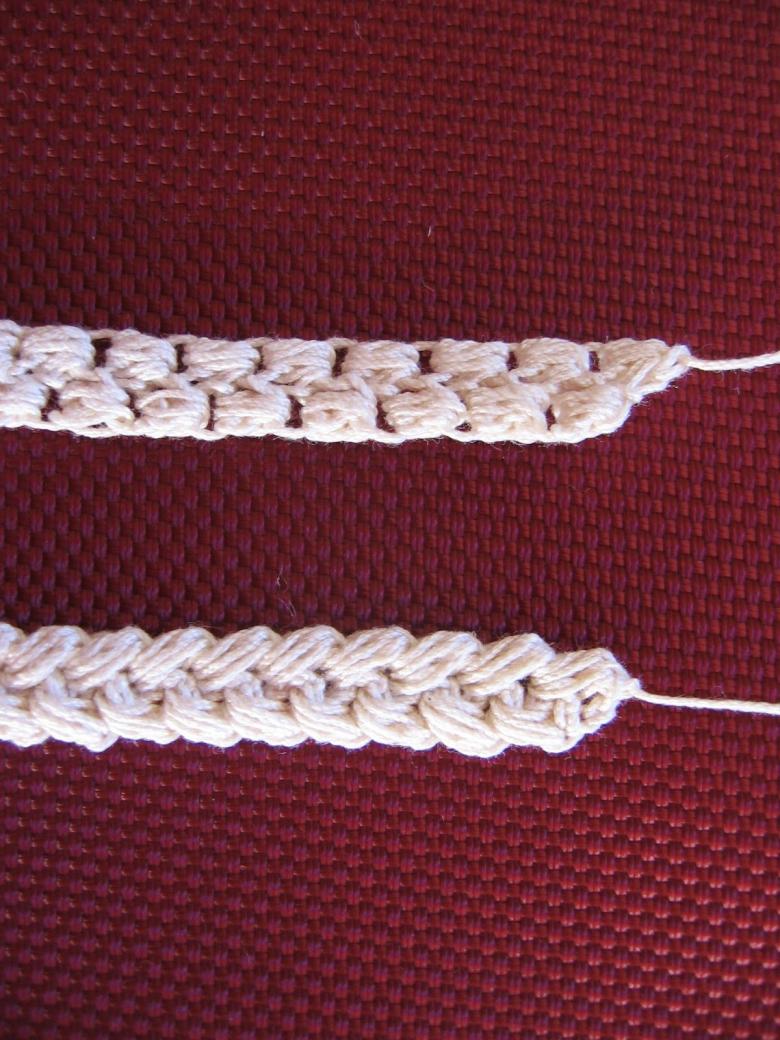
We create a multicolored lace
For the work we will need:
- Knitting needles.
- Yarn of two colors.
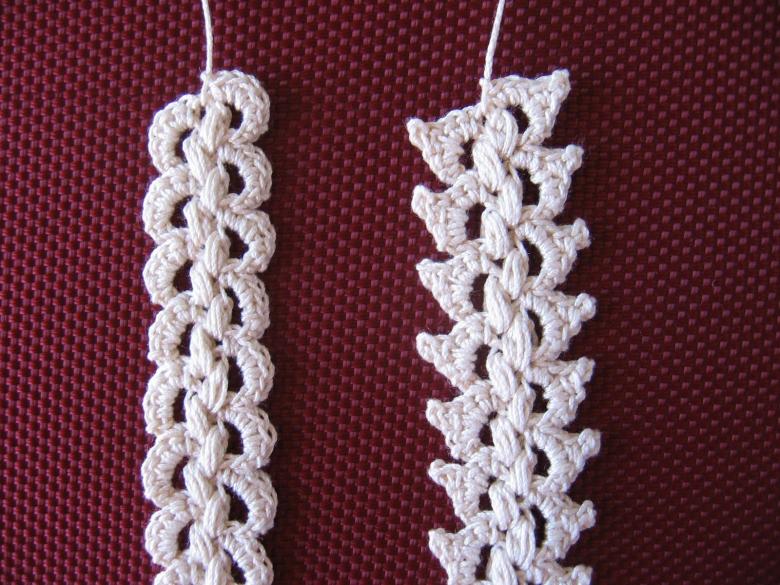
Step-by-step scheme-instruction for the master:
- Dial a row of loops.
- The second row is worked through the front smooth.
- In the third row we introduce a new color yarn, and leave the main yarn behind the cloth.
- After completing each row, be sure to tighten the yarn strands.

Colored cords are actively used in children's knitting. Using this technique, you can create a bright children's top with multicolored straps, a handle for a woman's purse. Also often the technique of colored cords is used by leaders of children's needlework groups for practical work.

There is still a huge variety of different patterns and techniques for their creation. We got acquainted with just a few of them. You can view a number of video tutorials and practical master classes on creating decorative patterns. Learn, be creative in your endeavors and bring your ideas to life!

