How to draw a parrot in pencil drawing - three interesting workshops for children
A normal person besides daily bread needs spiritual food. The ability to appreciate the beauty in art and nature, to teach a child must be from an early age. One of these ways is to inculcate a love for the animal world and the image of birds and animals in the drawings.
If there is one thing you can do to get a modern child away from a computer or cell phone, it's to give him a pencil and a piece of paper. There is a well-known expression - if the child is quiet - wait for trouble - is sure to do something. Calm parents can only be in one case, if a favorite child is busy drawing.
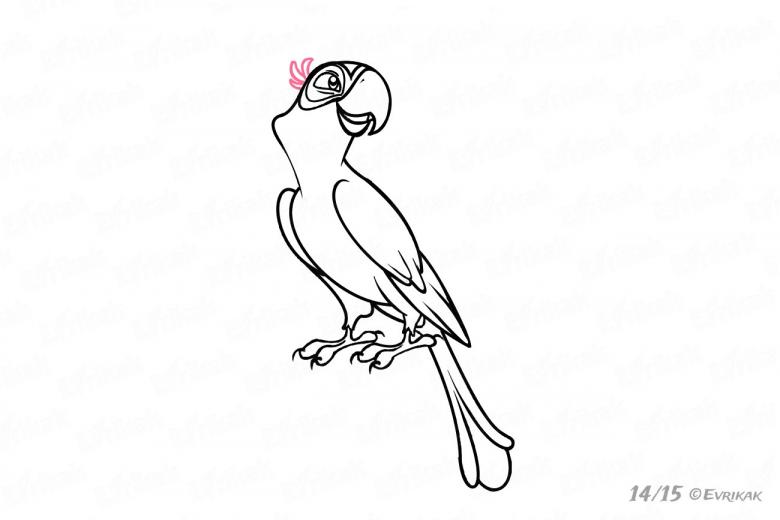
In addition to the sun, houses, mountains, one of the favorite objects for children to draw are animals and birds. You should start to teach drawing with the simplest things. To start with a lesson, let's take a simple example - how to draw a parrot.
A bird with bright plumage, able to imitate the sounds of human speech, is one of the most common pets found in urban apartments.
The process of teaching a child to depict a beautiful bird can be a very interesting and fascinating activity.
Step by step instructions
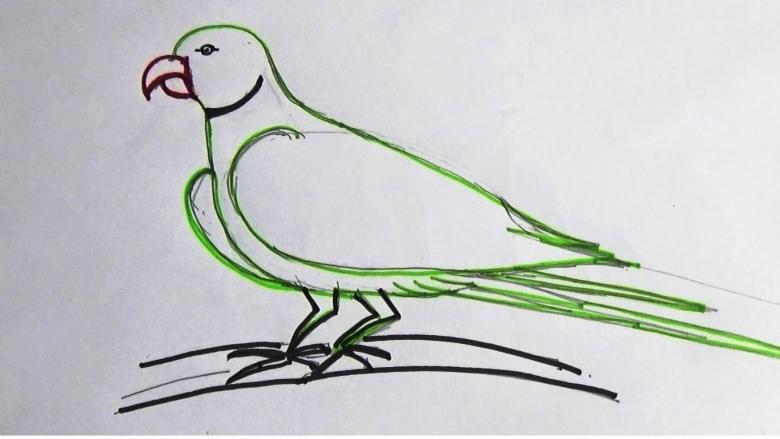
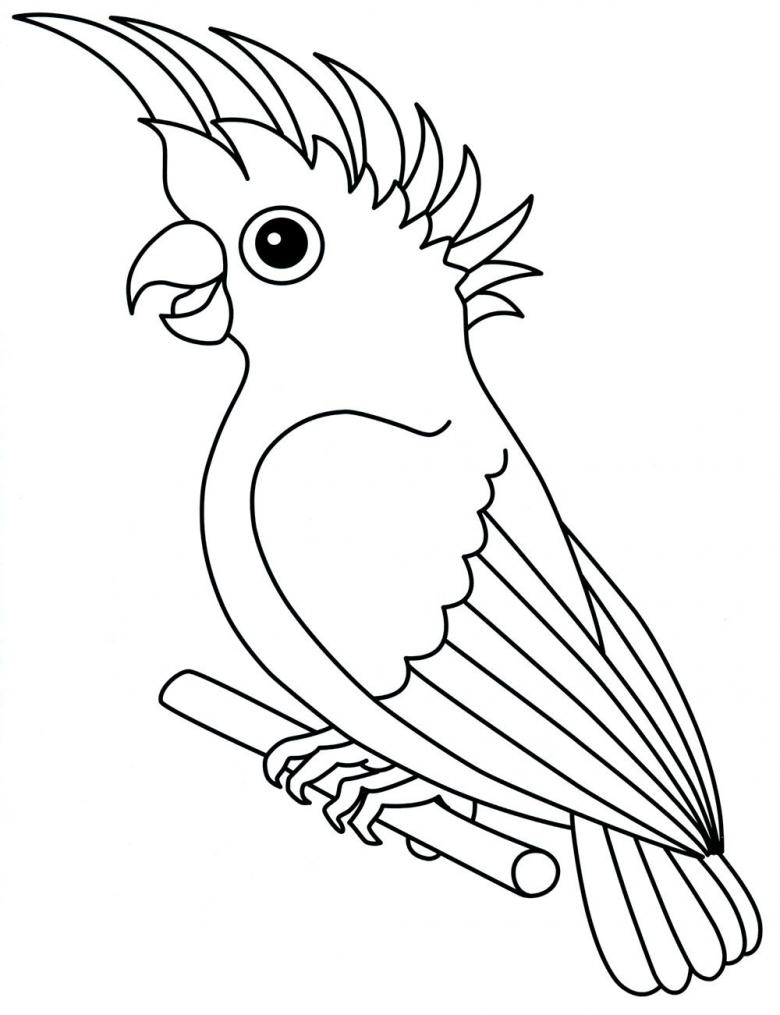
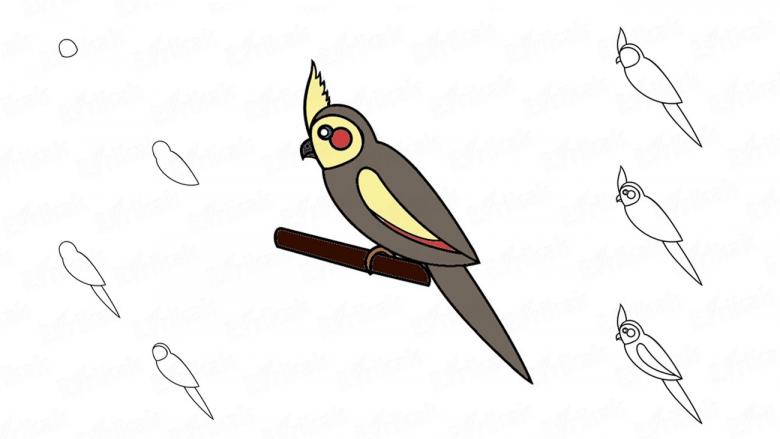
Having armed the child with a pencil, the following steps should be made:
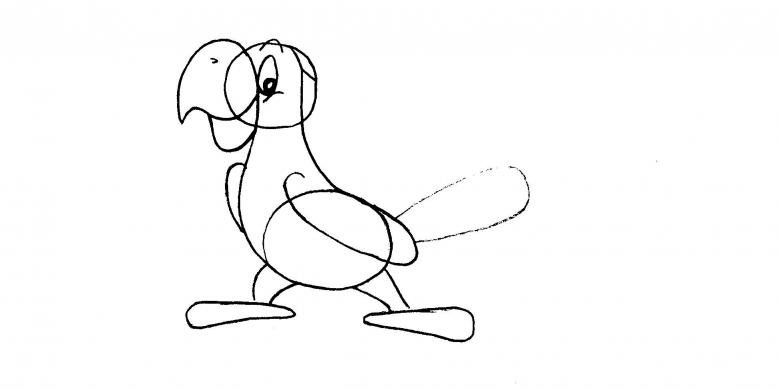
- Draw a small circle and outline it with another, slightly larger one. Inner circle we paint over black, outer leave white and we have an eye;
- To the left of the eye we draw a triangle with a slightly concave line and we get a bird's beak;
- Over the beak we draw an arc, marking in this way the parrot's head;
- from the top arc of the drawing Draw a zigzag line;
- to draw a breast from the head, in its lower part we depict small legs in the form of rectangles;
- to draw the "fingers" of the parrot, the bottom of the rectangles are drawn as triangles;
- To the right of the body, draw a relatively large and slightly curved triangle, which will become one of the parrot's wings;
- On the left side, draw the second wing. It should be slightly smaller than the first one;
- On the wings do a few strips, indicating the plumage.
The final step is to paint the bird. To get a beautiful image, use red, yellow, blue pencils.
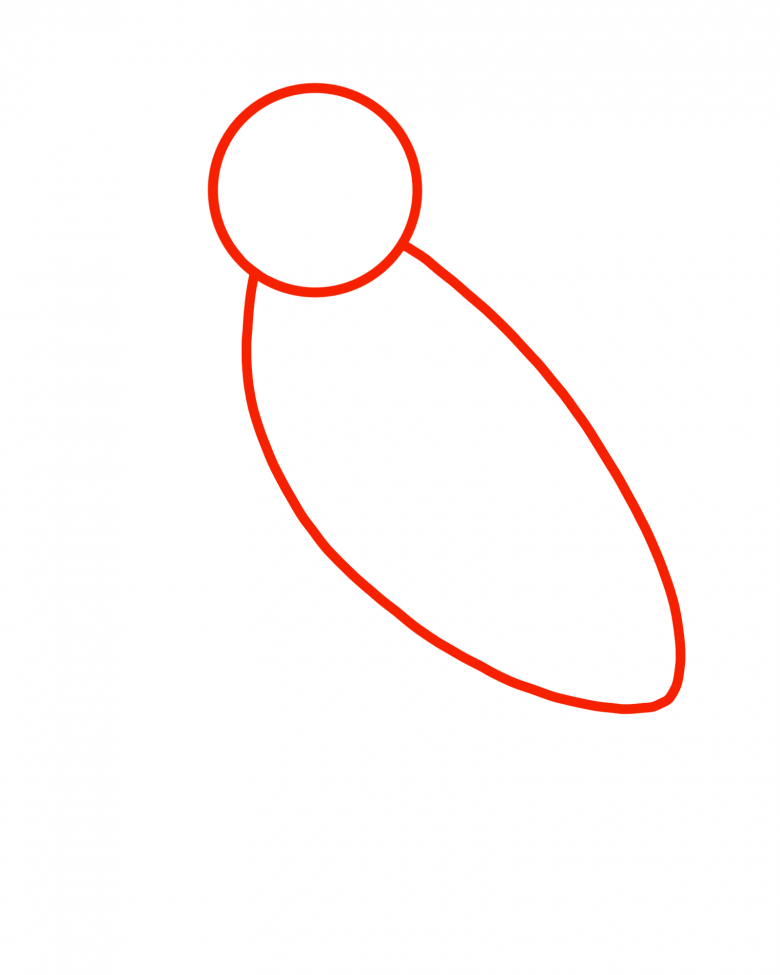
So, following the above recommendations, you will teach your baby to draw a parrot step by step.

The medium level of difficulty
Having mastered the simplest way of depicting the bird, you can proceed to a more difficult level. You begin by preparing the necessary materials. You will need:
- colored pencils;
- a pen with black paste;
- a sheet of paper;
- rubber eraser.
Even in this case, a novice artist should be taught step by step.
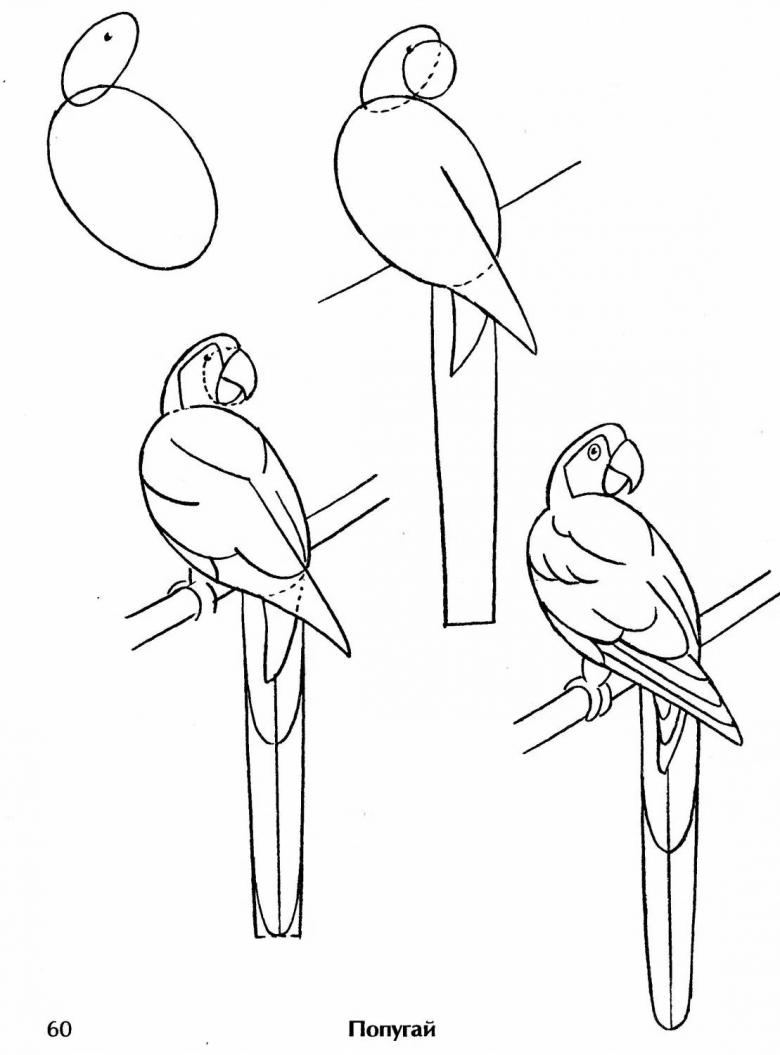
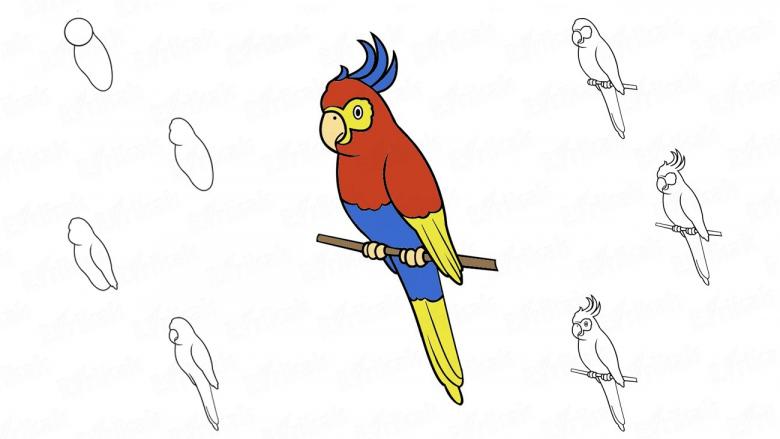
Stages of work
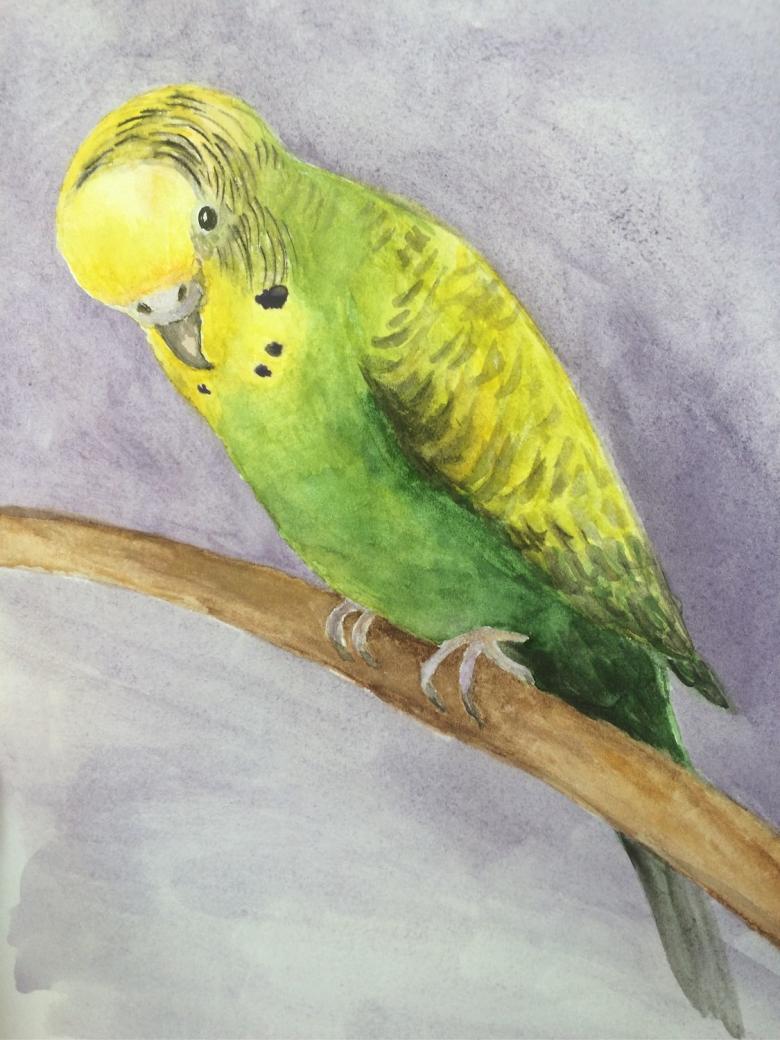
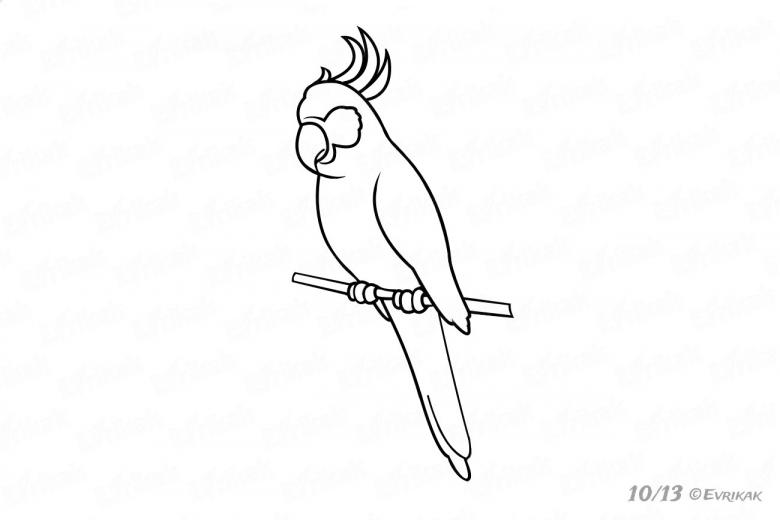
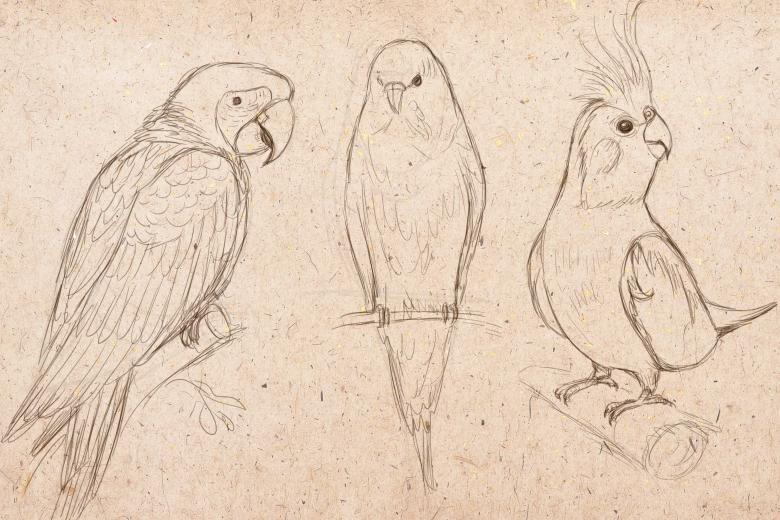
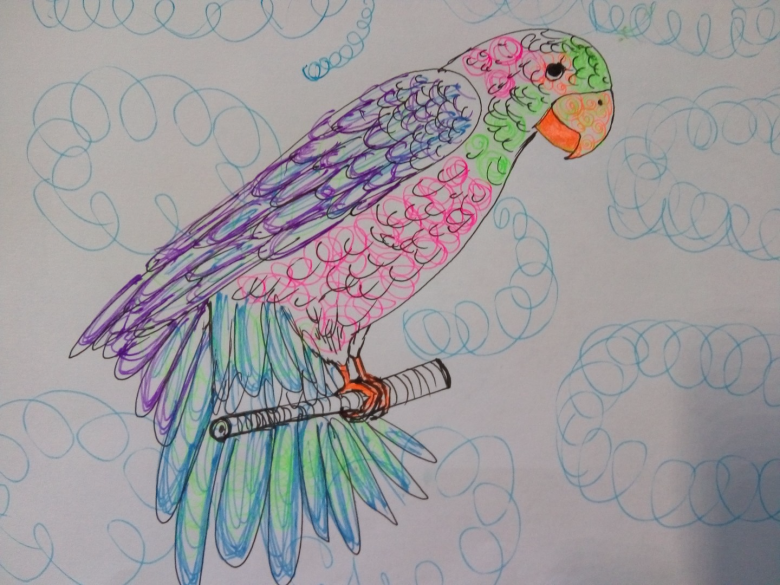
- The future head and body of the bird are designed as an oval and a circle. Circle for the head fit into the top of the oval. Inside the circle draw two small circles, between which we place a triangle. This future bird's eyes and beak. Circles for the eyes make out black dots. Be sure to pay attention to the beak and eyes were approximately the same size. Otherwise, instead of a wavy parrot you may get a pigeon!
- Start drawing the wings. On the left side the wing should be more convex, so on the right side of the less visible wing, you need to draw an additional line. Having finished the work on the wings, we depict the tail under the body.
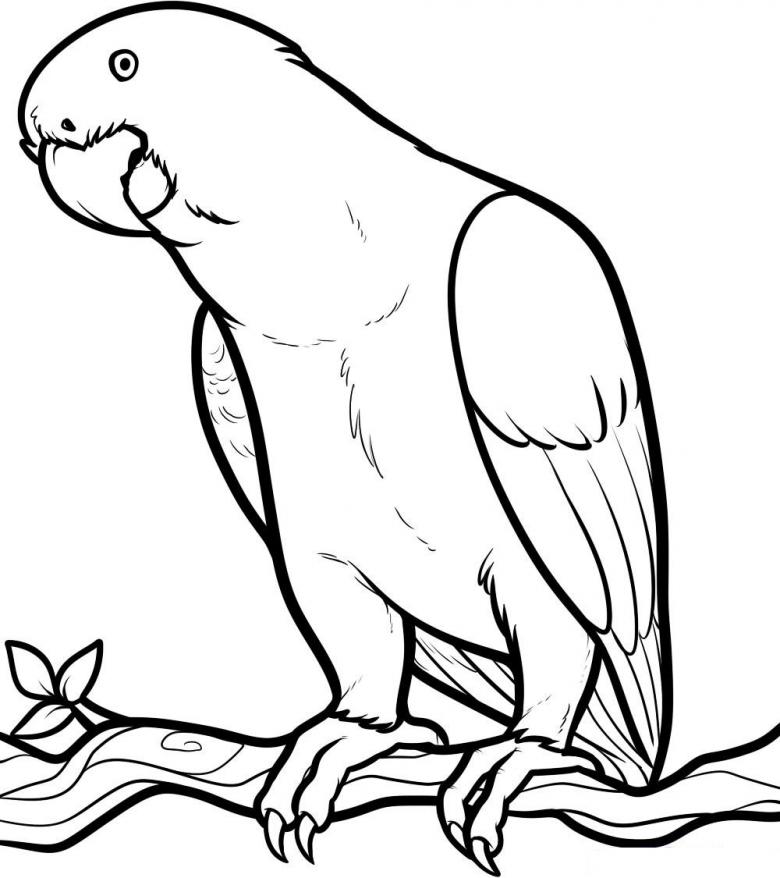
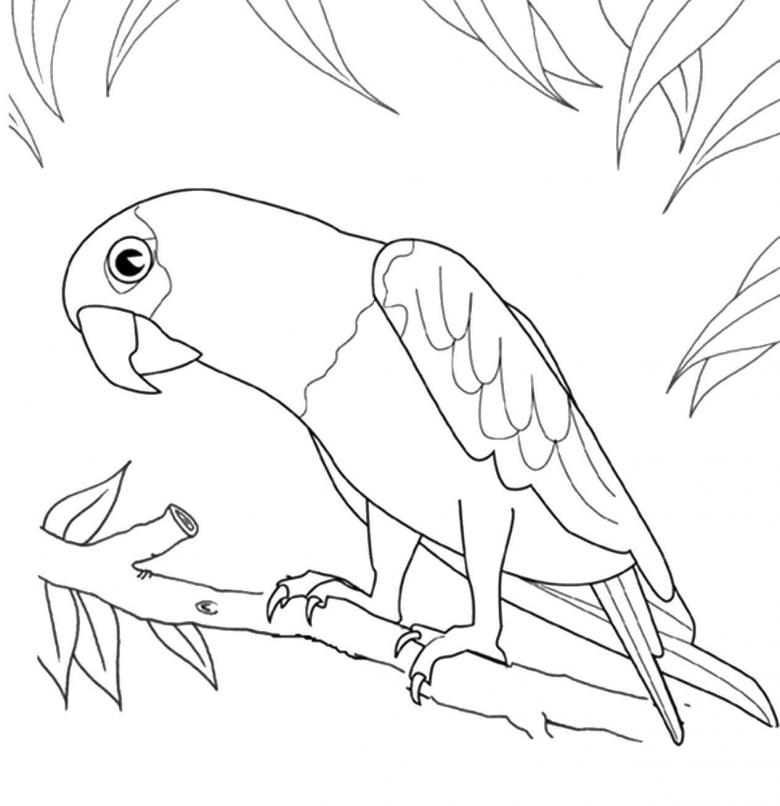
- Birds are usually located on branches, so a schematic sketch is made of a branch with leaves in the place where the parrot's legs are. The claws on the paws are drawn so that it looks as if the bird is sitting on a tree branch.
- Using pencils of different colors - green, yellow, lettuce, red - painted parrot, branch and leaves.
That's how easy it is, using the step-by-step instructions, to teach a child to draw a bird.

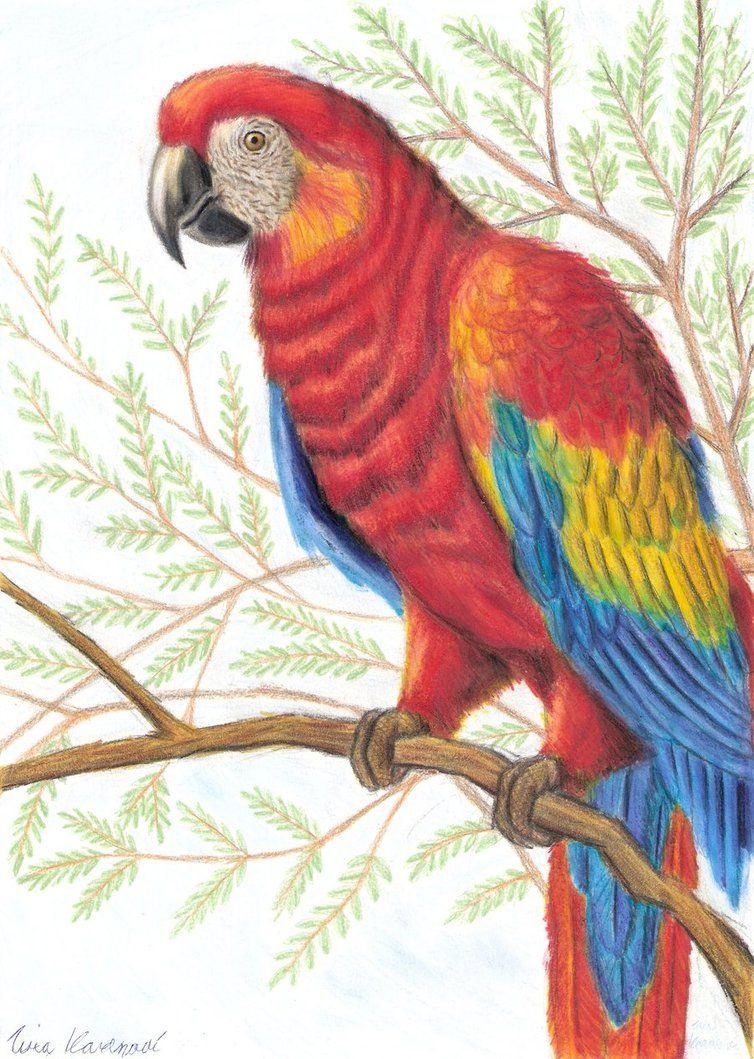
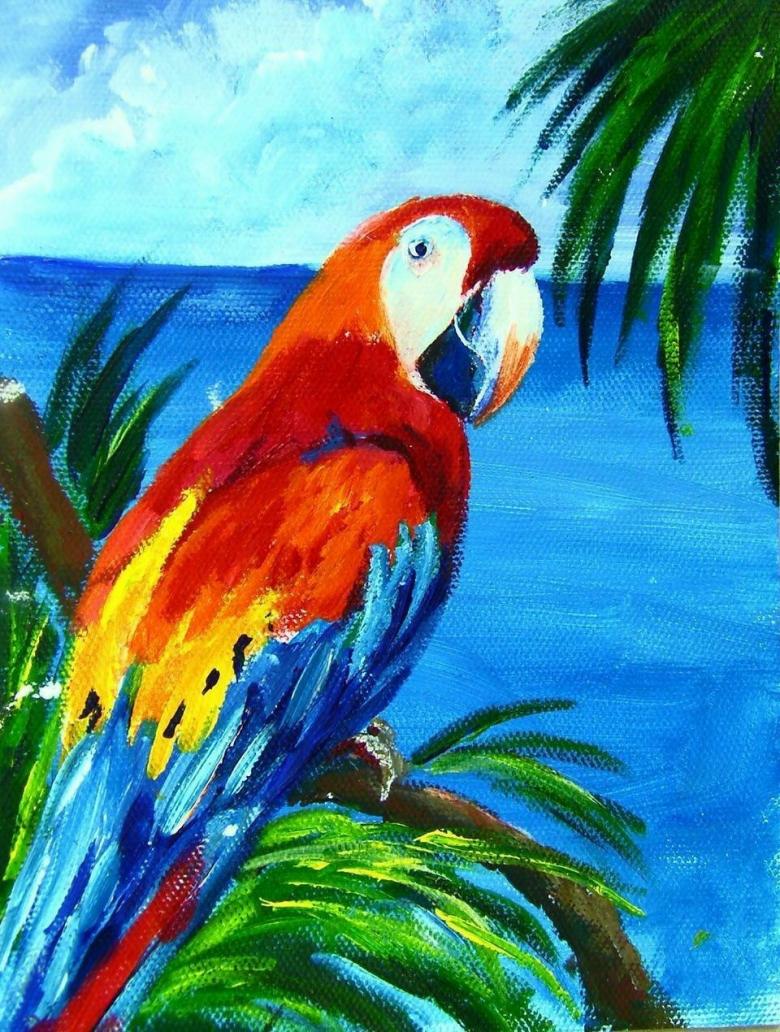
Drawing a parrot Ara
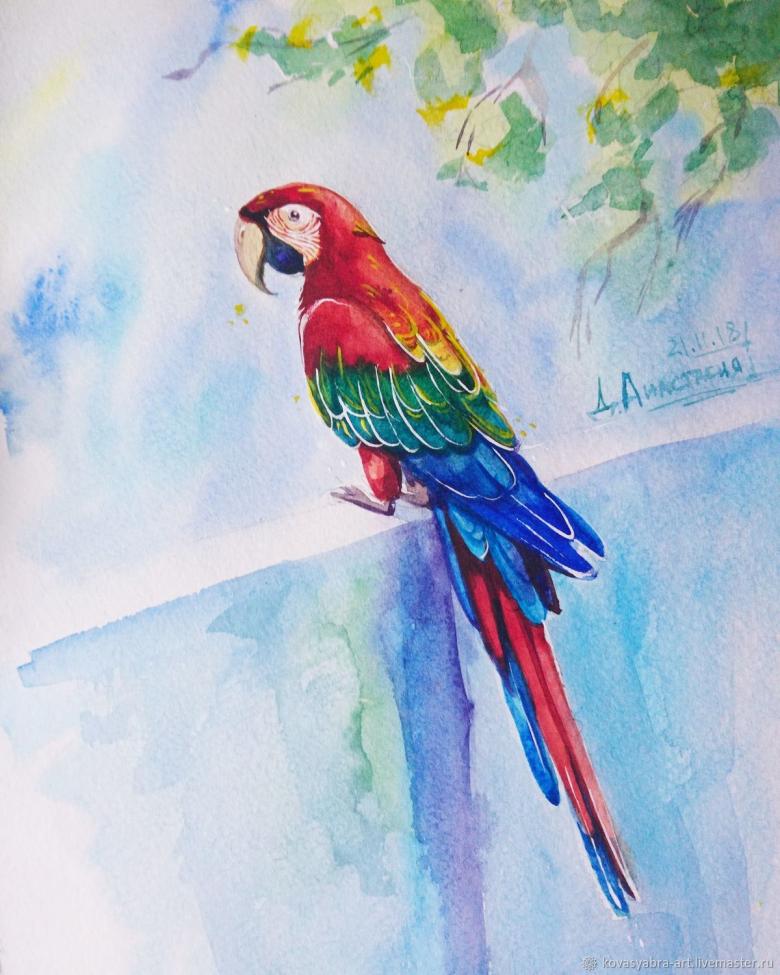
To date, there are very few parrots of this species left. Every year the situation in this respect is only getting worse. There is a probability that the parrot ara will soon be possible to see only in pictures. Therefore, before it is too late, it is worth teaching your child to draw this magnificent bird.
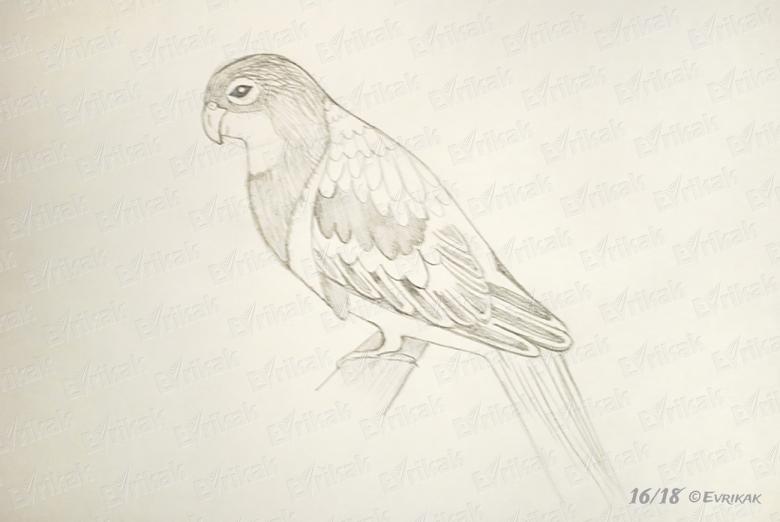
Step by step instructions for drawing
The work, as in previous cases, we will perform step by step.
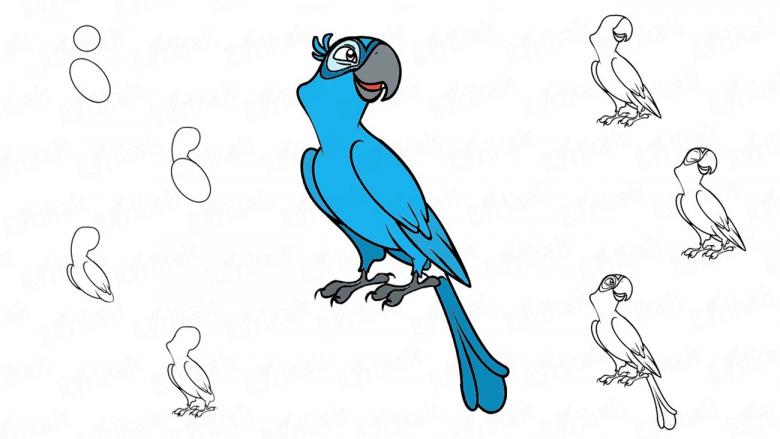
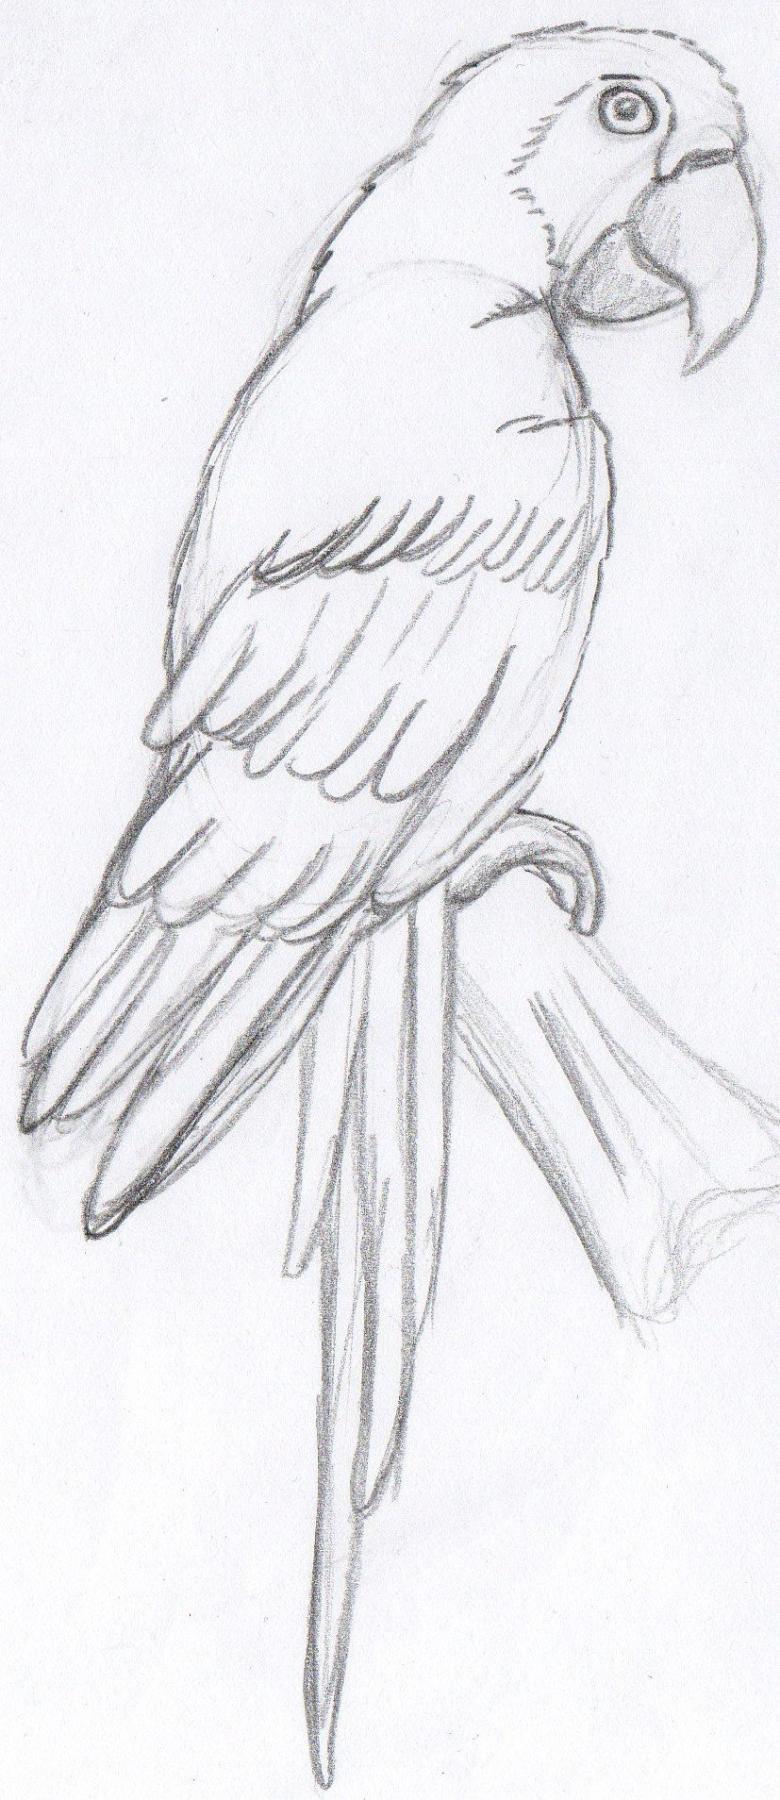
- On a sheet of paper, we draw two circles. One, smaller in size, for the head, the other for a larger torso. Large circle should be complemented by a semi-oval.
- In the circle for the head draw two lines. Then connect the "head" with the "body". From the body of the bird derive lines that will mark the tail of the parrot.
- Shape the eyes, pupils and beak of the bird.
- On the body of the bird we draw a few rows, thus marking the feathers of wings and tail. It is desirable to represent a tree branch in the area of legs. Eraser erase all auxiliary lines.
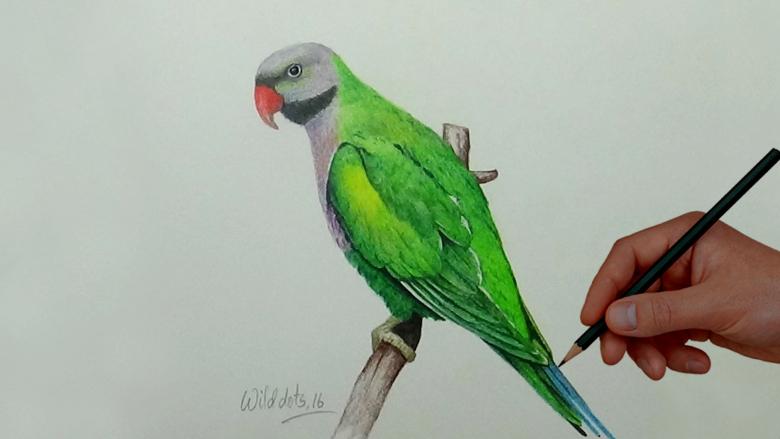
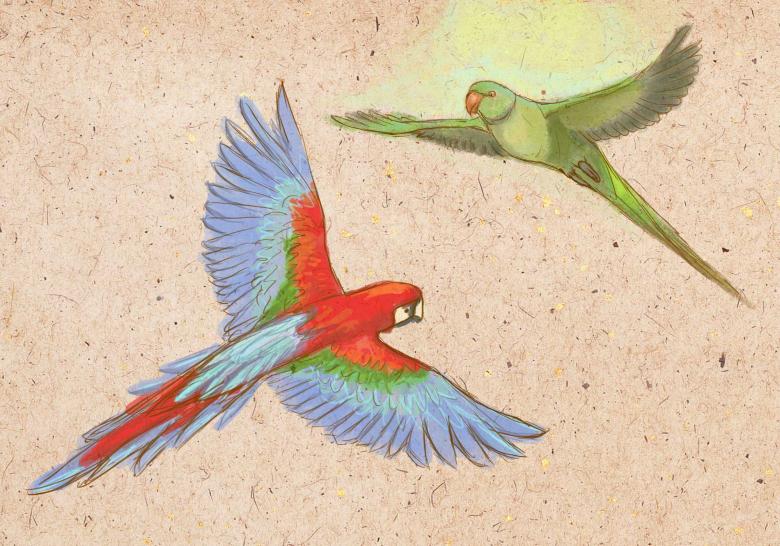
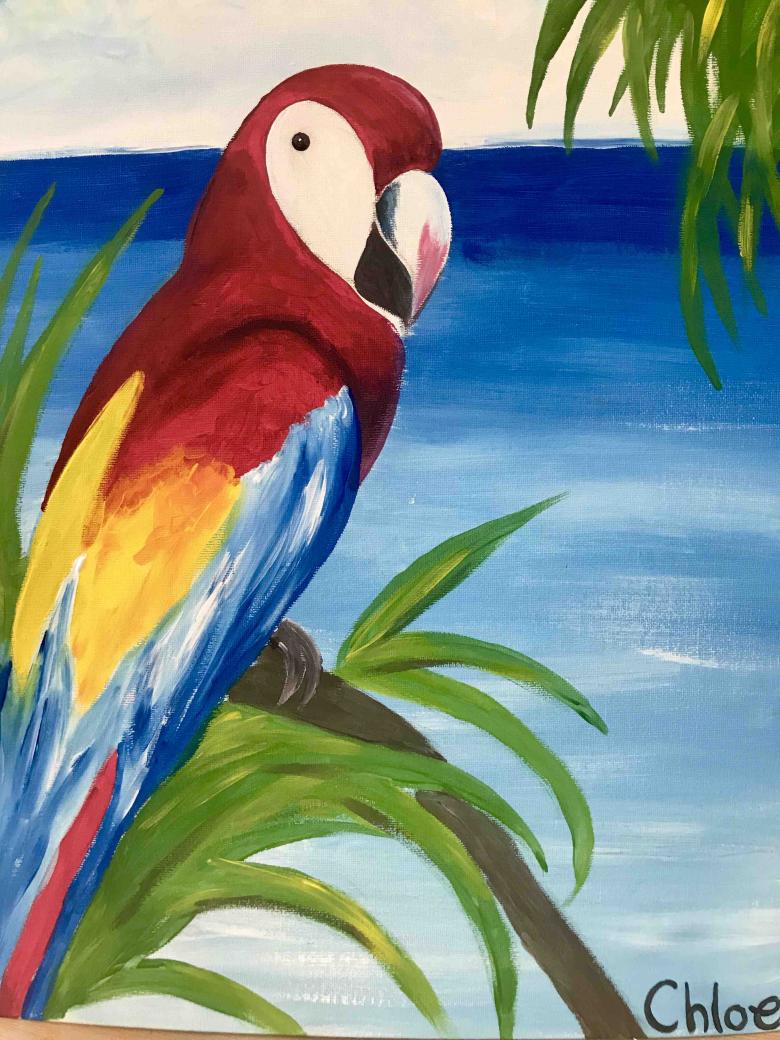
- Beak and lines near the eyes are painted in black. Top bird painted green, and the wings - blue. Breast can be painted yellow, or any other color to suit the artist.
Don't forget to paint the branch in brown and the parrot's feet in gray.
The drawing of the magnificent bird is ready!
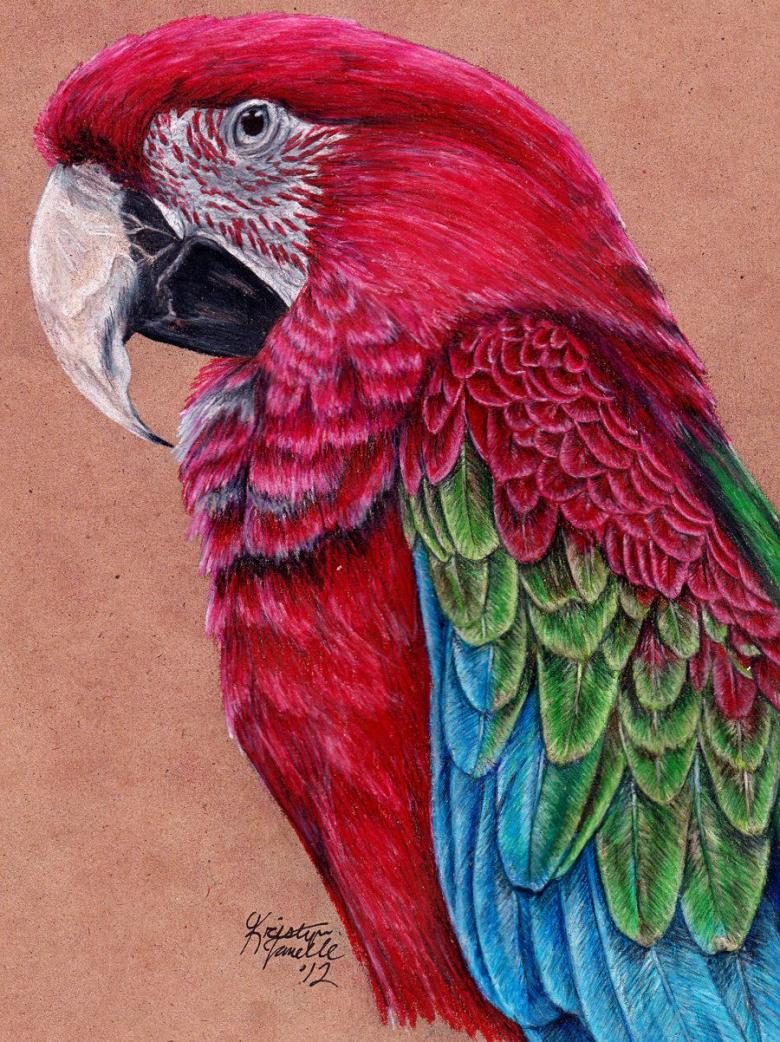
Once again we want to emphasize that drawing is one of the favorite activities of children. With the right approach to work, skillful planning of activities, teaching your child to draw birds on their own is quite possible. Patience and following step-by-step instructions will produce impressive results.


