How to knit a scarf - crochet and knitting diagrams
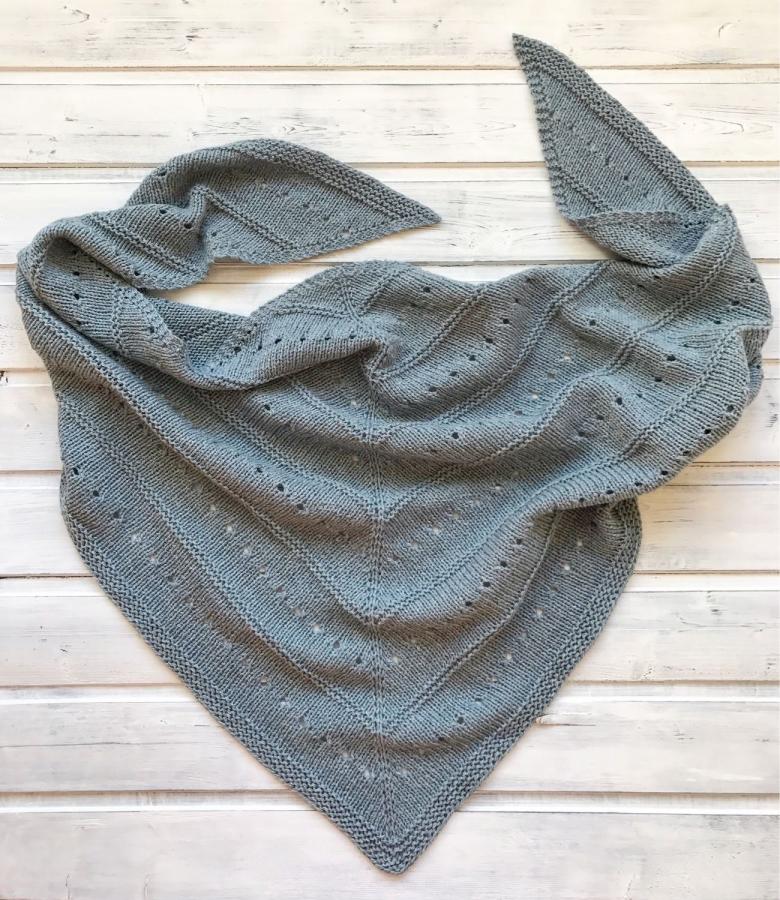
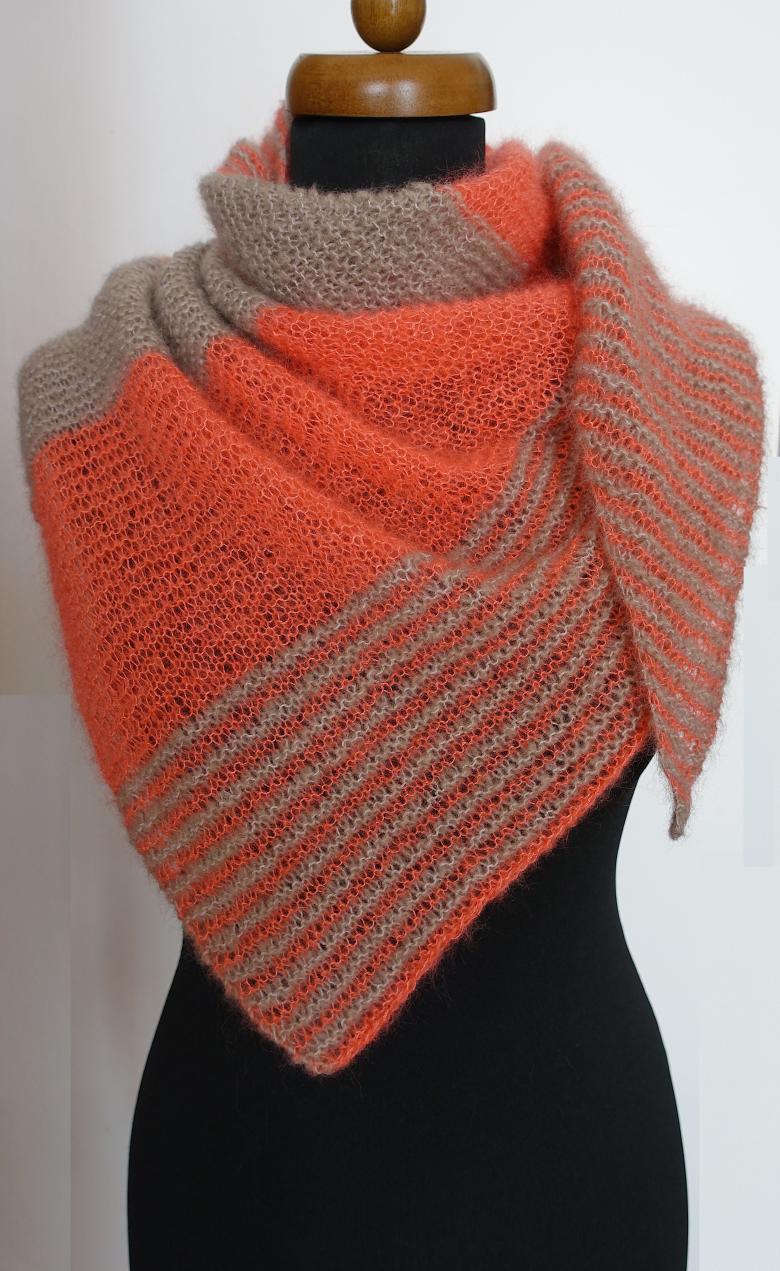
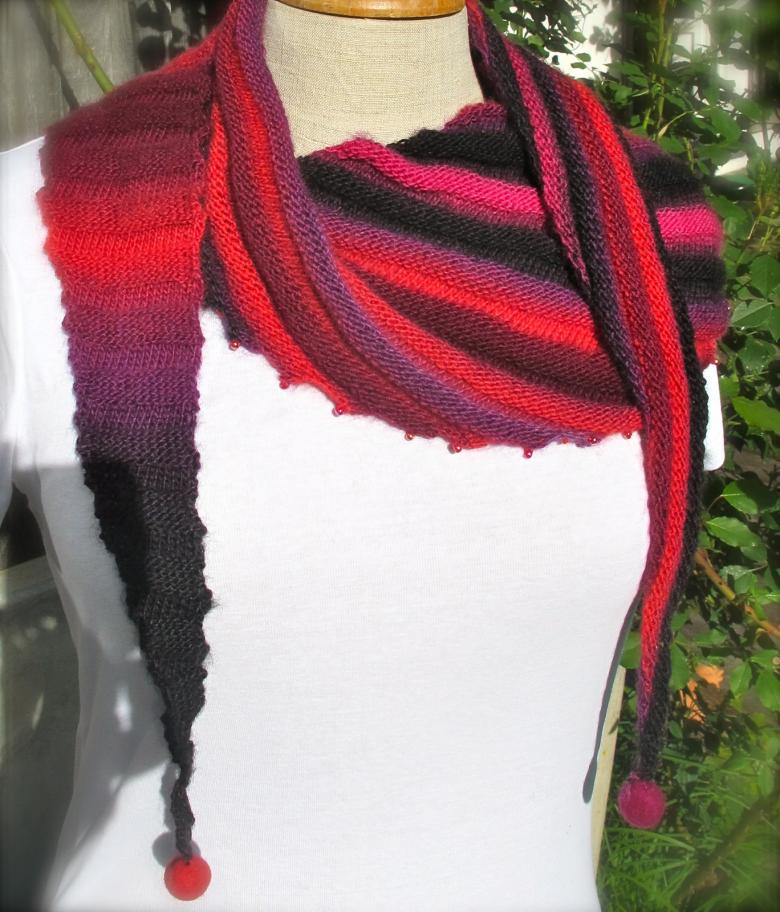
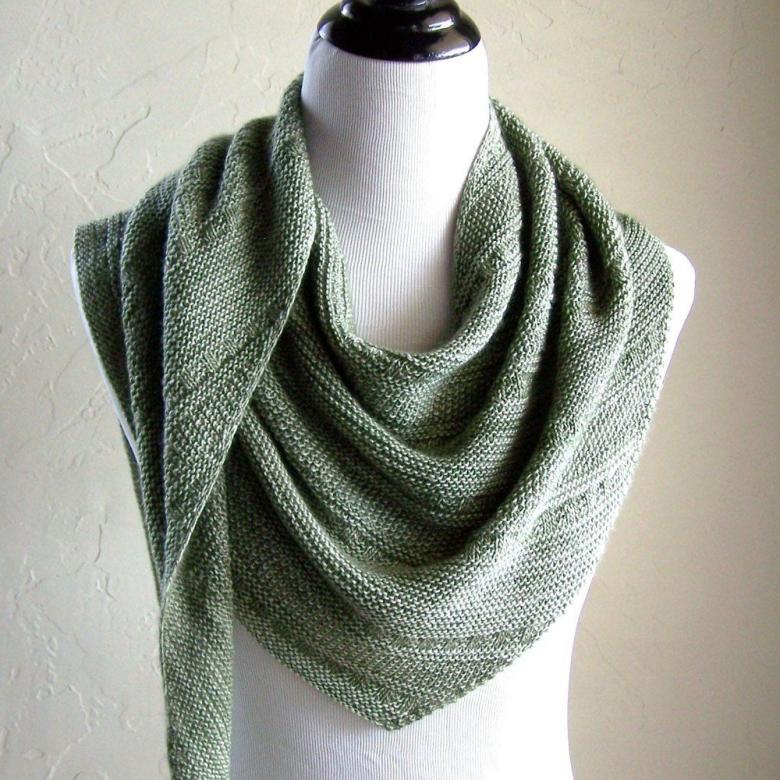
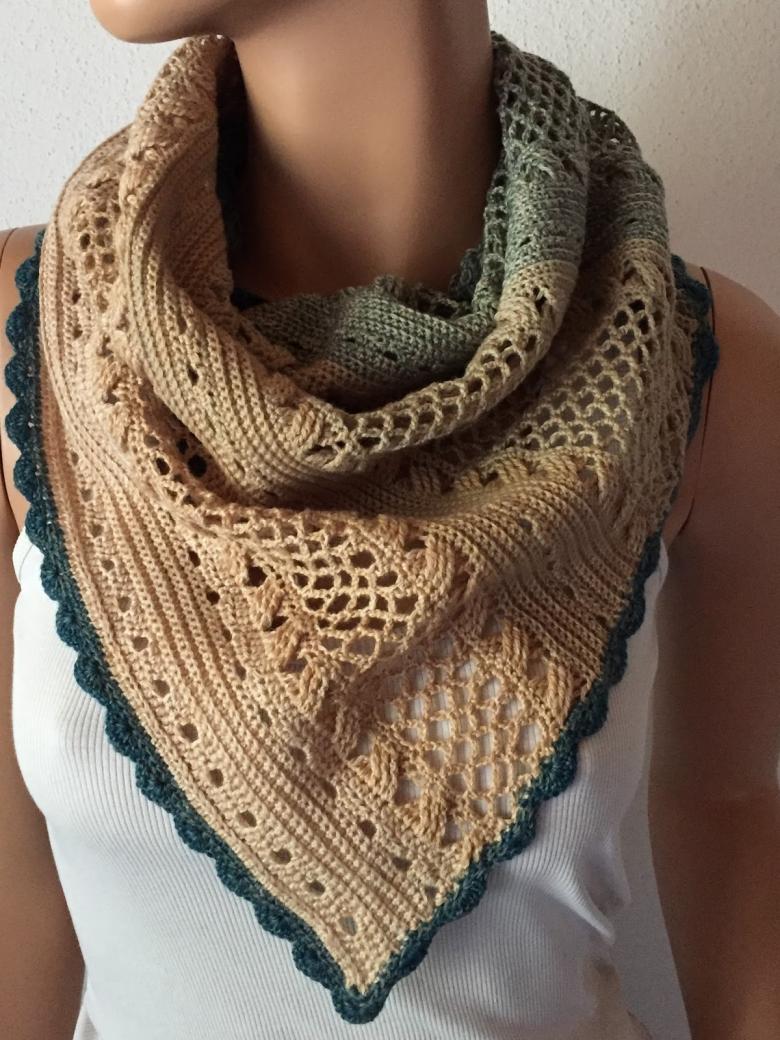
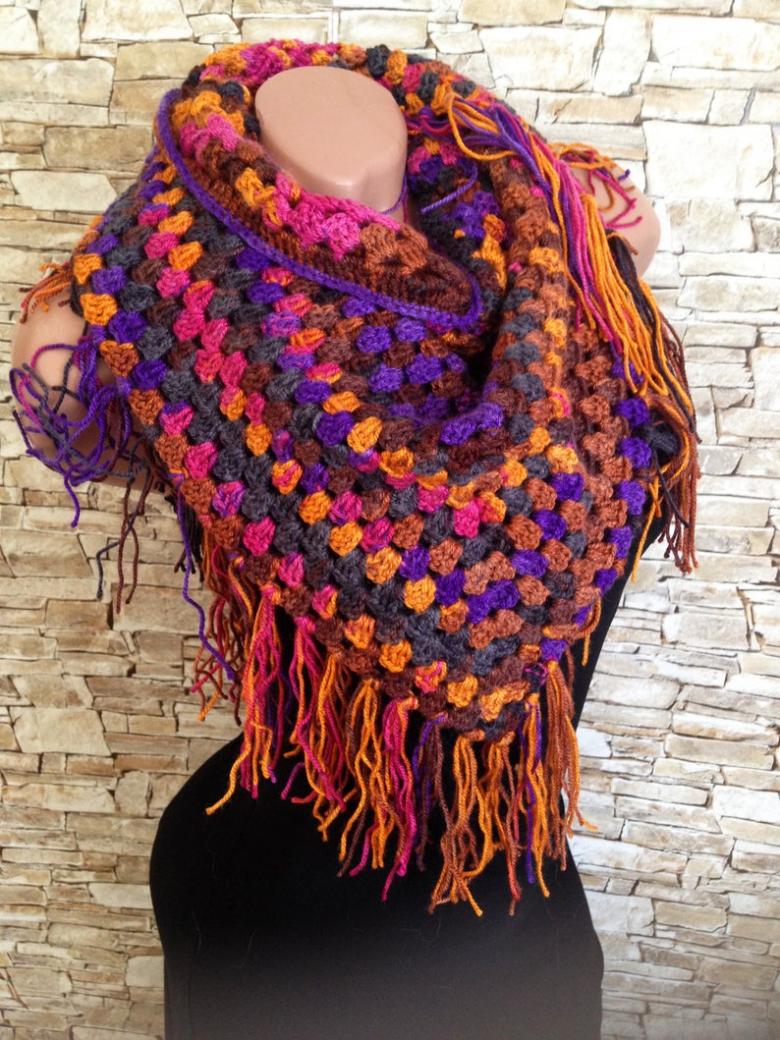
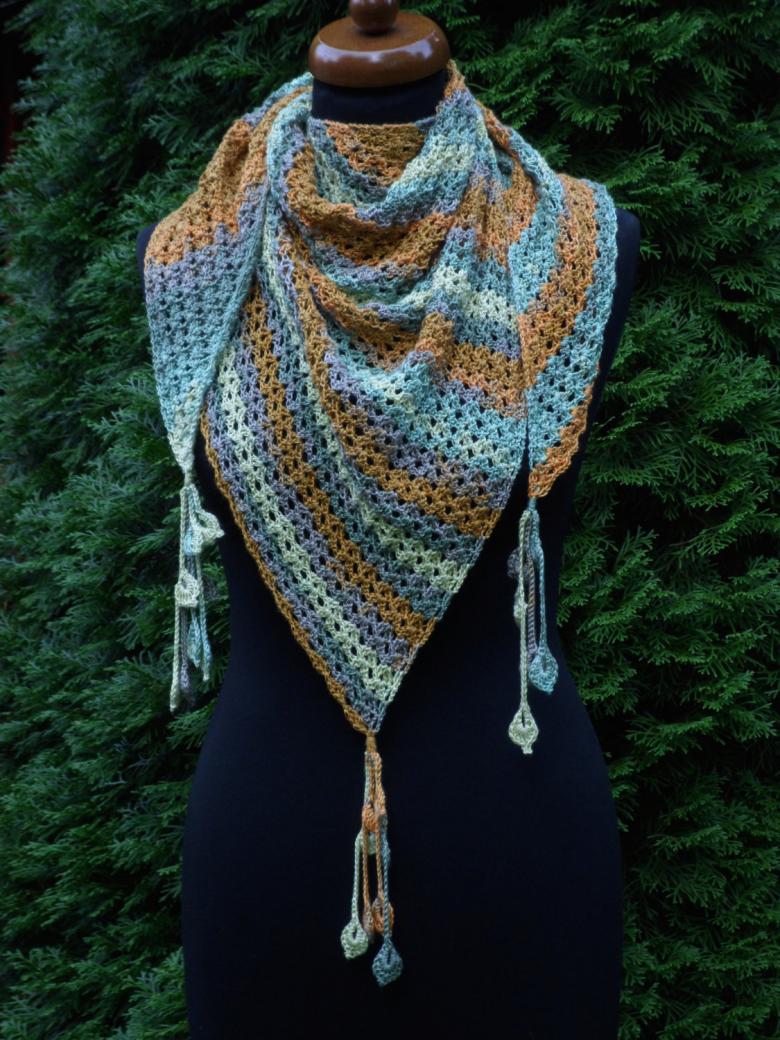
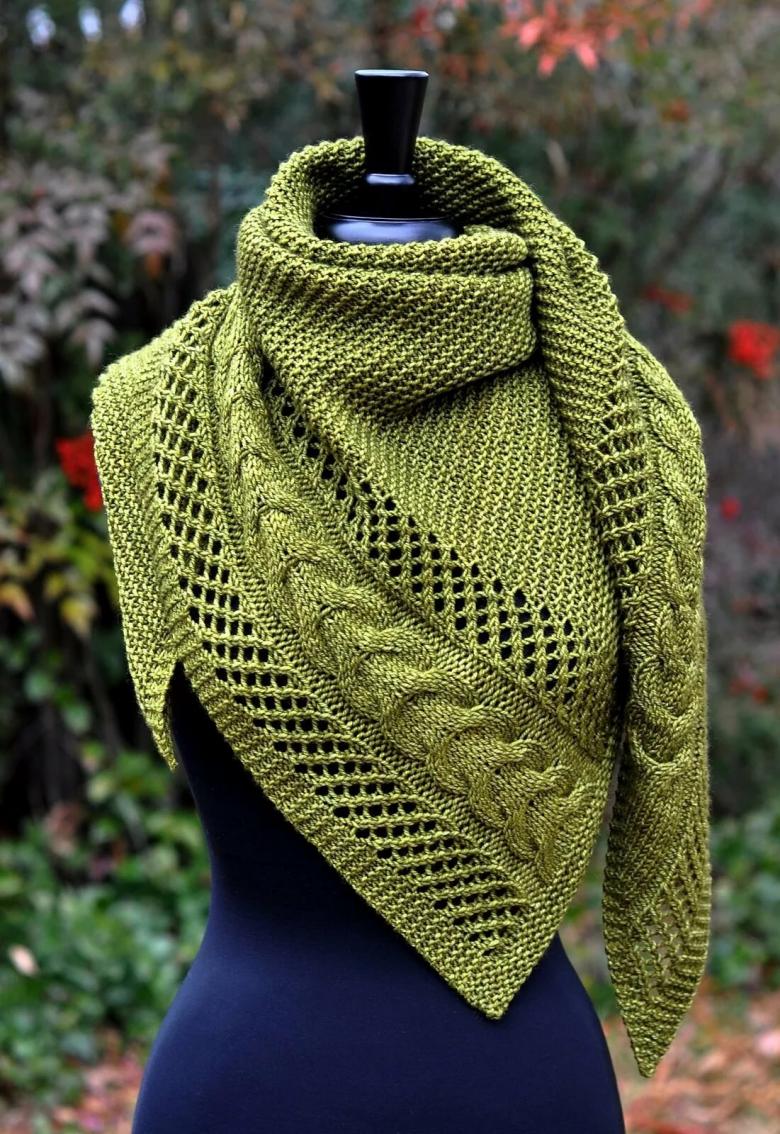
Every fashionable woman dreams to have an original scarf in the form of a triangle in her closet. The new accessory of Norwegian origin is quickly gaining popularity among young people. Today you and I will learn how to knit a neck scarf on our own, using a variety of techniques.
Useful information about cactus
Where it came from
On the world's catwalks the accessory appeared quite recently. Originally a part of the cultural heritage of the Norwegian peoples, the buckskin shawl was actively used in everyday life as a warm scarf.
How to wear it: tips for fashionistas
There are several options:
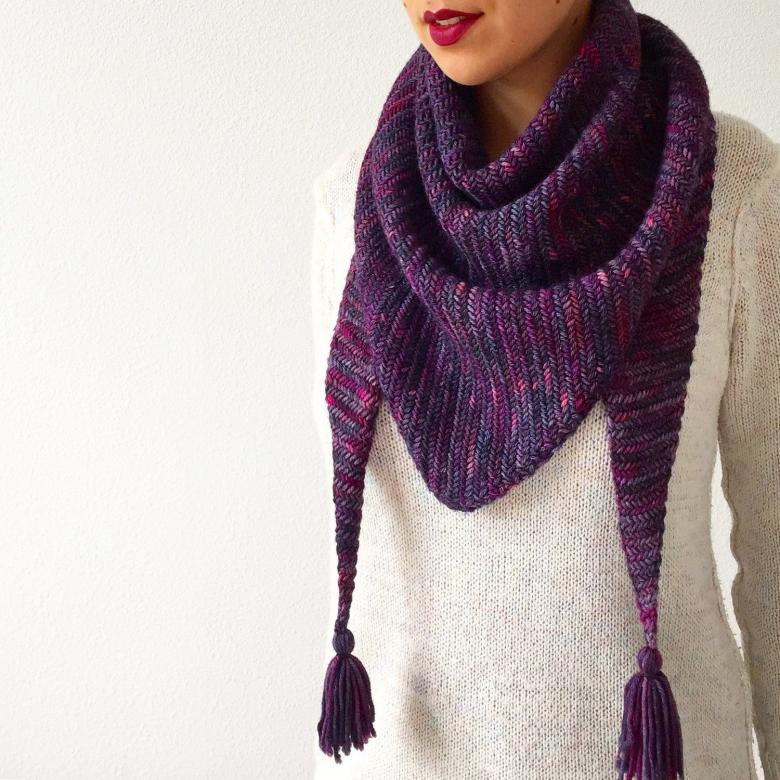
- Cover your neck with a shawl. At the same time, learn how to tie the accessory correctly: place the corner of the scarf on the front surface of the neck, and the ends are led to the sides. Hide the side ties under the bottom edge of the product.
- Second option: do not tie the scarf, leaving the ends hanging freely. This is a loose style for street walks.
- The third model for fashionable women: fold the corners of the bktusa inside the ring of the main part. Quite an original way to wear a neck scarf.
What are the ways we are going to get acquainted with today?
Our plan of action for today:
- We will get acquainted with step-by-step schemes for making the pieces.
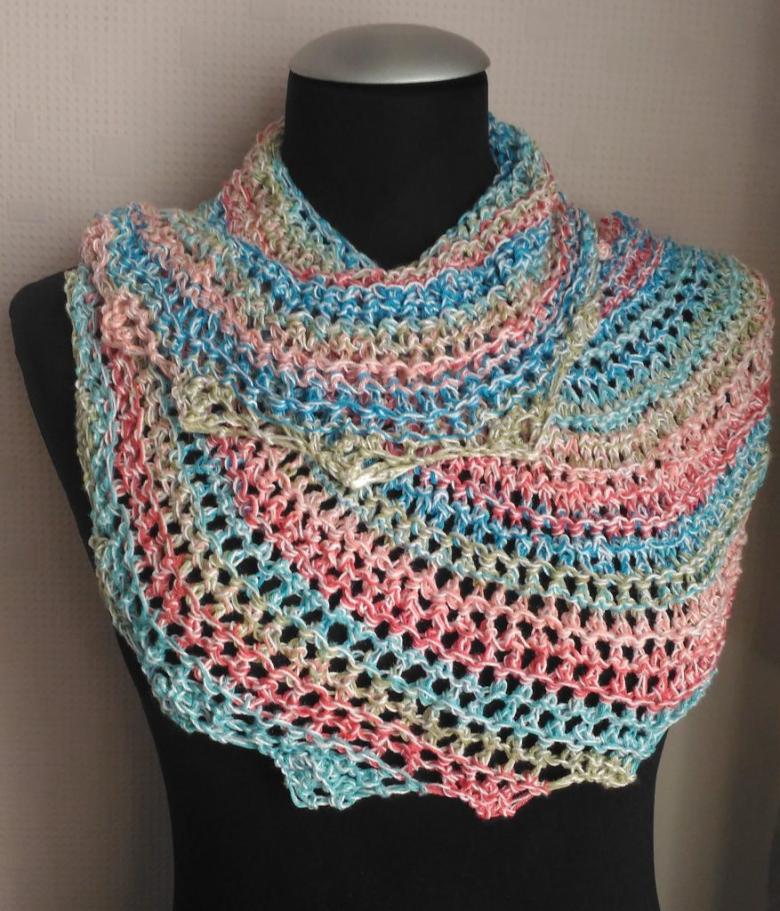
- We will learn how to work on a fishnet shawl.
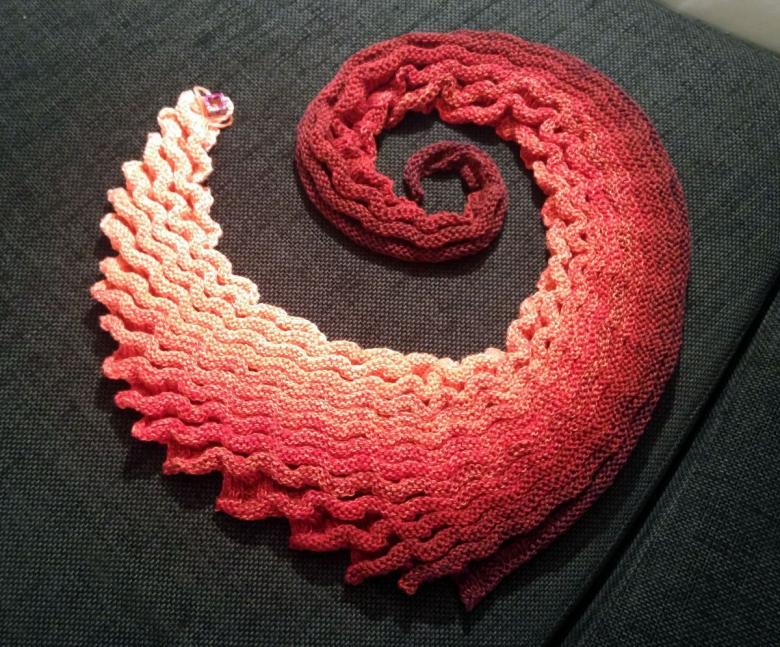
- We will show you the work "bactus wave cutter".
- Consider knitting a headscarf with shawl knitting.
- We will get acquainted with the peculiarities of creating a children's Norwegian shawl model.
Master classes with step-by-step instructions
You are already inspired by the idea of creating a fashion accessory, but do not know where to start. We will help you to realize your wishes, to turn the desired into reality.
Learn how to make a scarf
It is always difficult for a beginner master, so do not start with large products. Learn on an ordinary cloth - it is important for you to understand the essence of the technique, as well as gain the necessary skills.
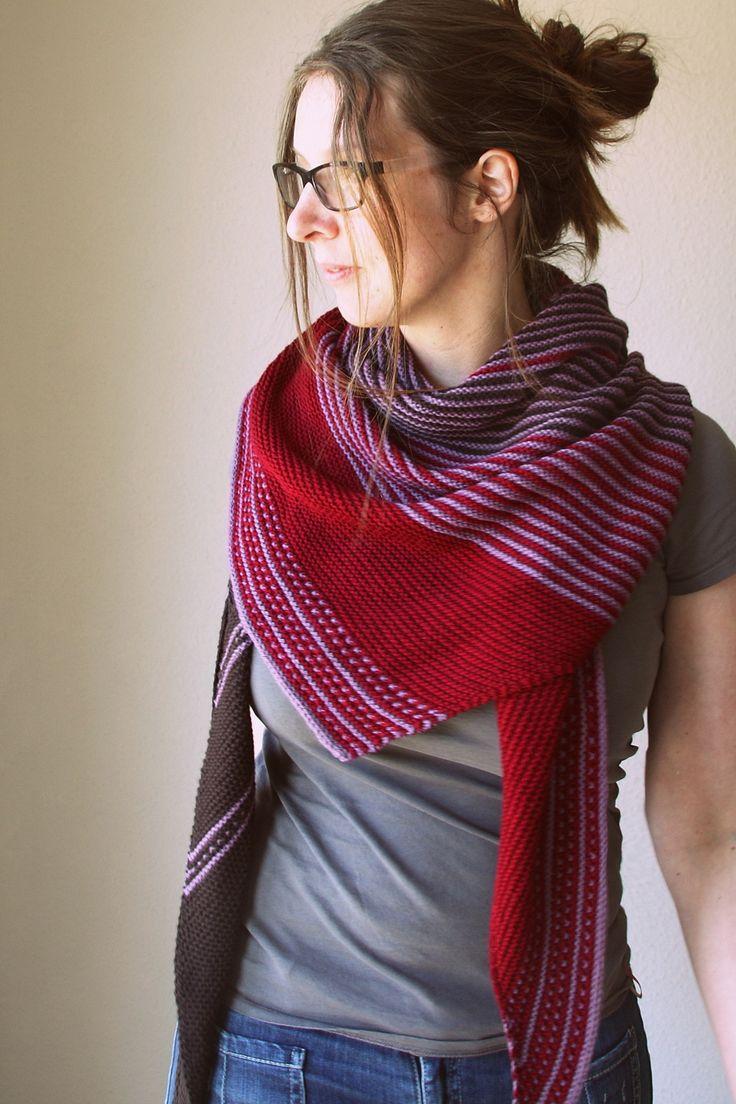
A step-by-step scheme-instruction for the master:
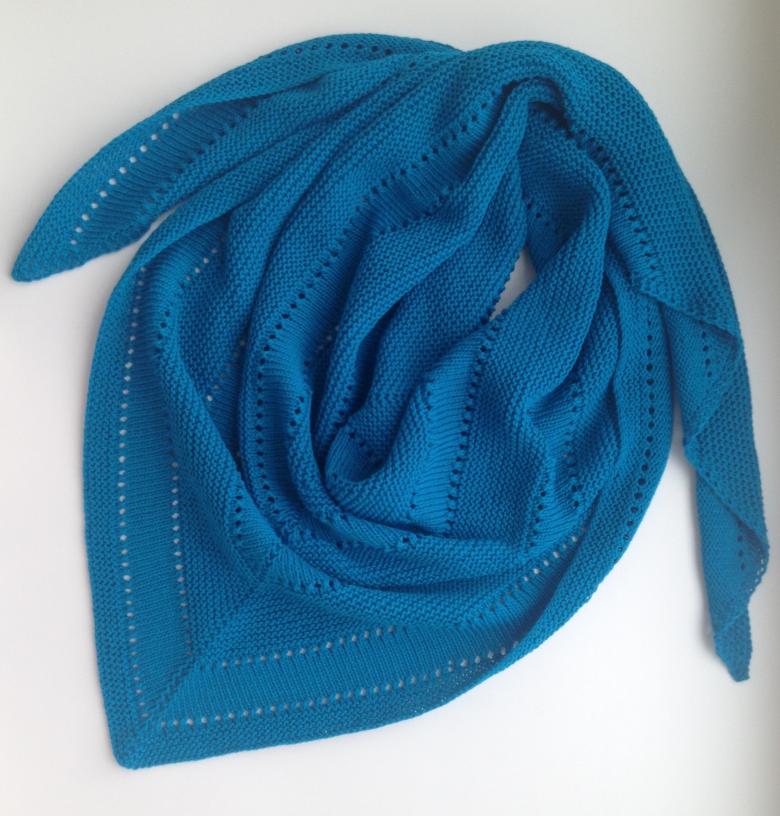
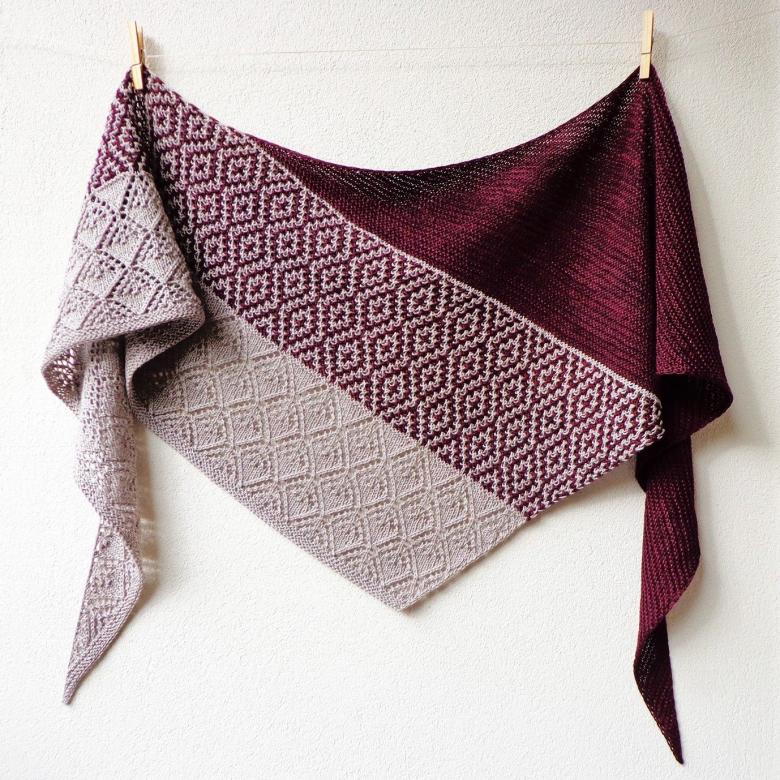
- The presented model is knitted from the top edge. The essence of the technique is to gradually increase the elements in each row.
- On the spokes pick up 9 loops. We are doing it with the edges by crochet, and in the middle of 1 stitches we have to stay in the wrong side.
- Next, in all the front rows there is a build-up of elements: six on each side.
- Approach the fabric to the maximum width = 170 cm. Close the knitting of the fabric.
- You can decorate the product in any way you are used to.
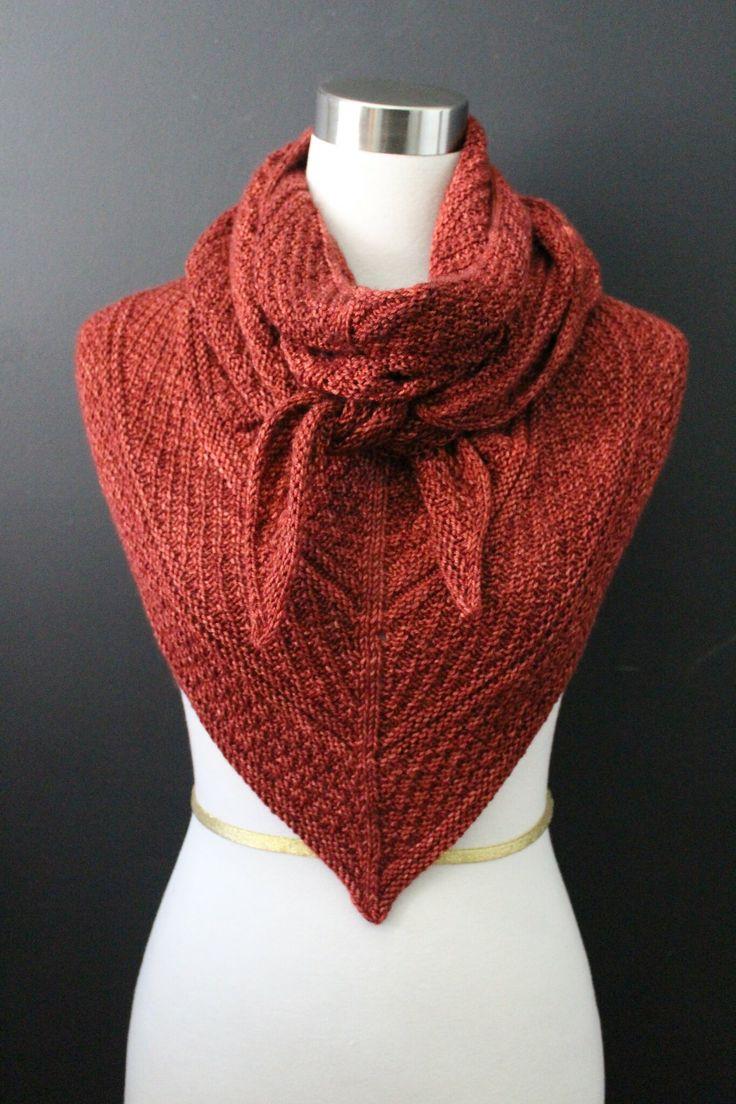
There is nothing complicated in creating a Norwegian shawl, you have seen it for yourself. Practice, hone your skills, and get to work on your new product. And we will start the next master class.
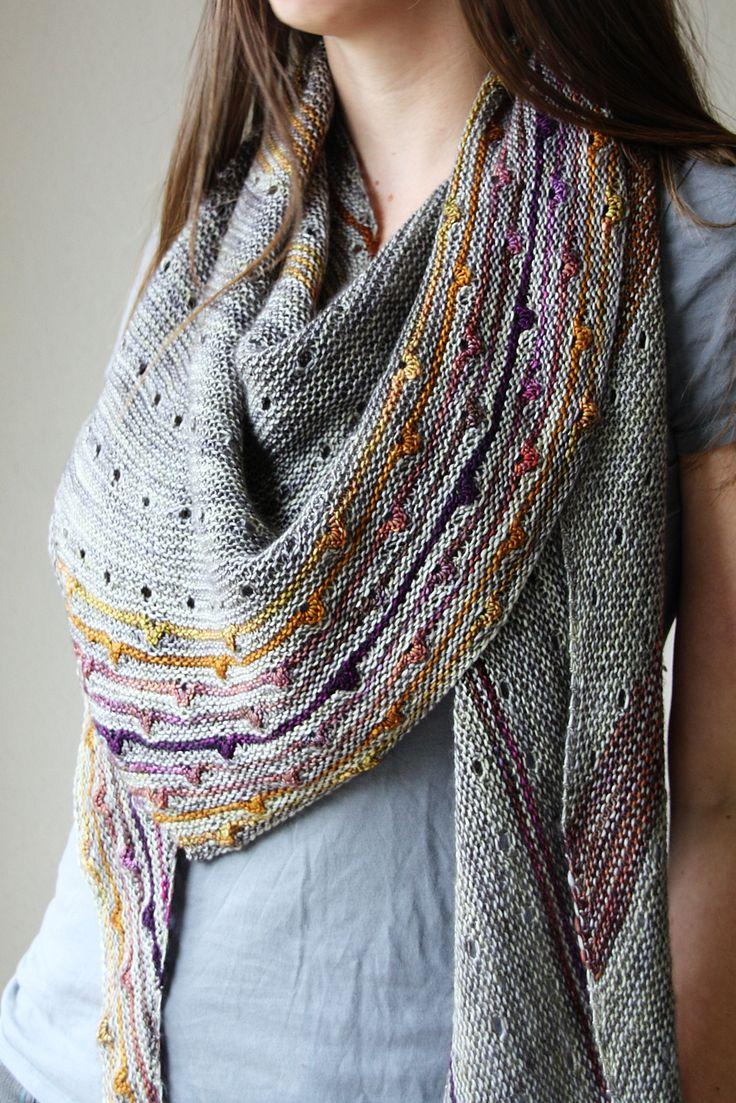
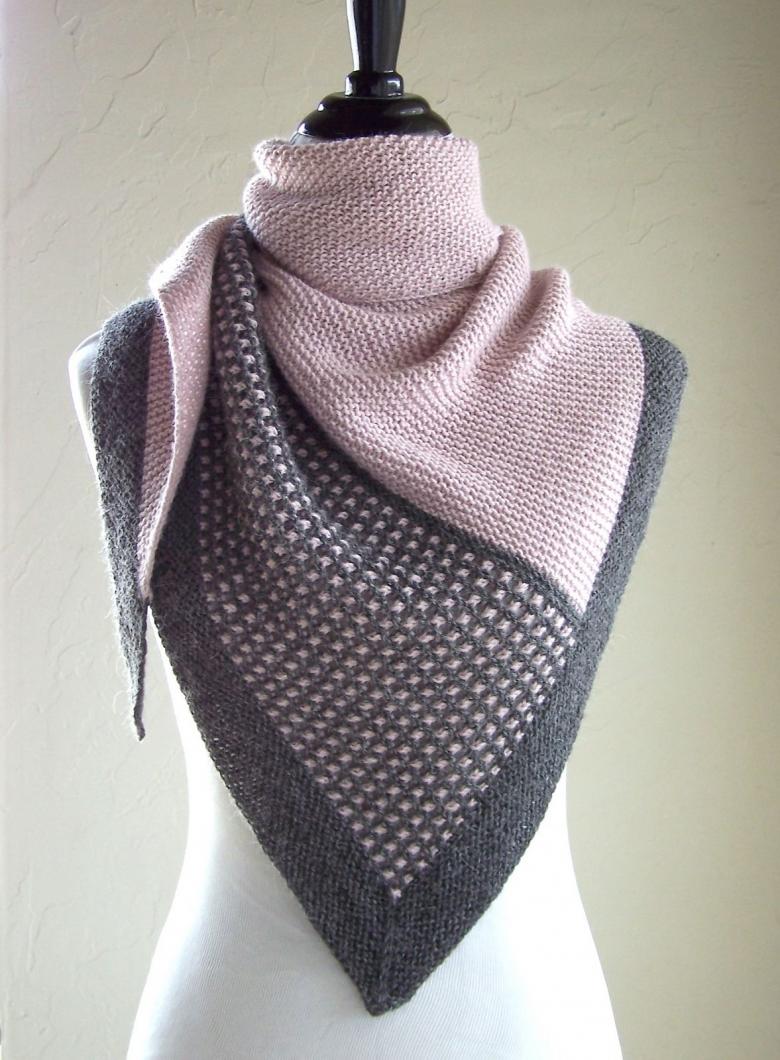
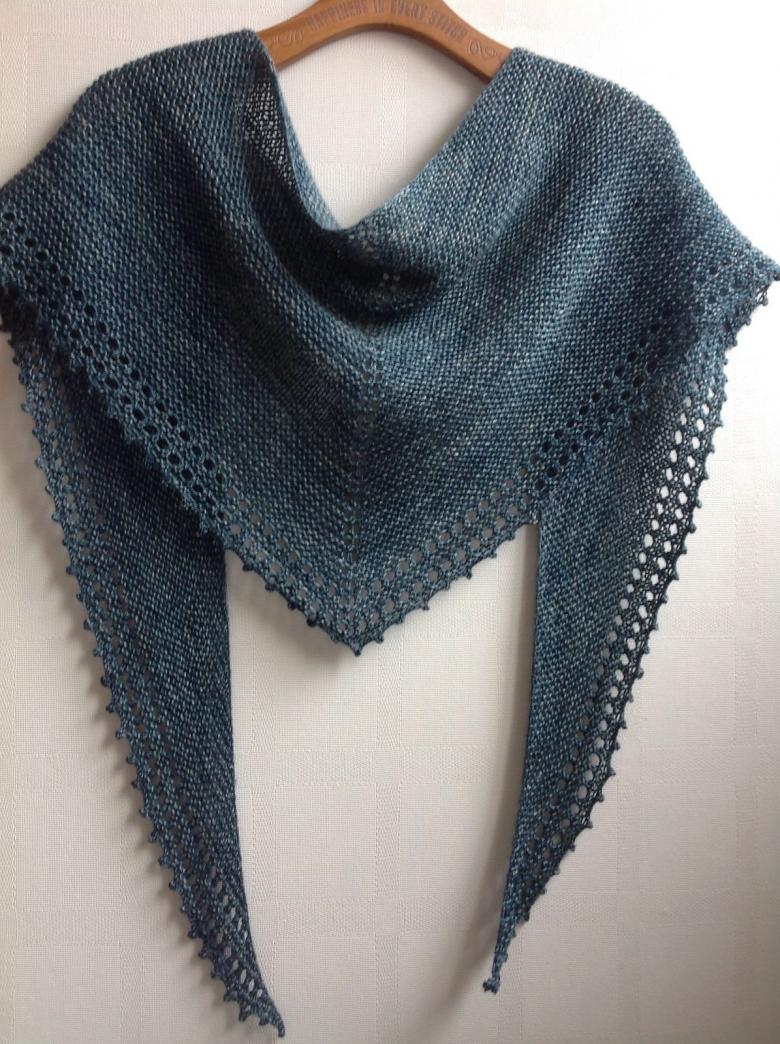
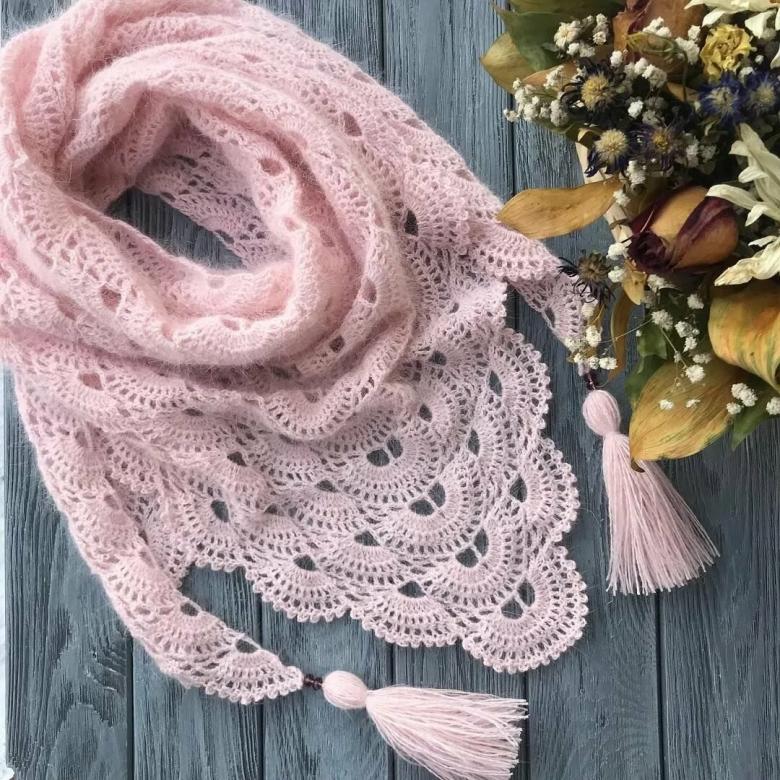
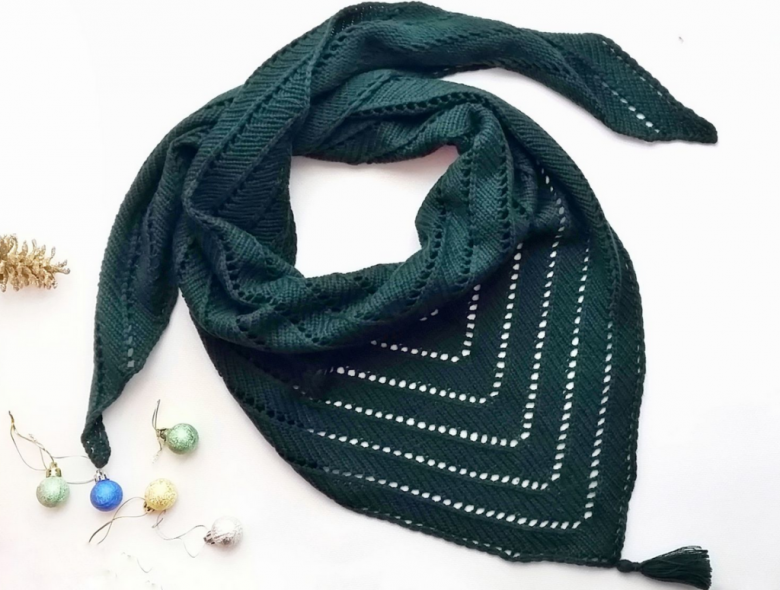
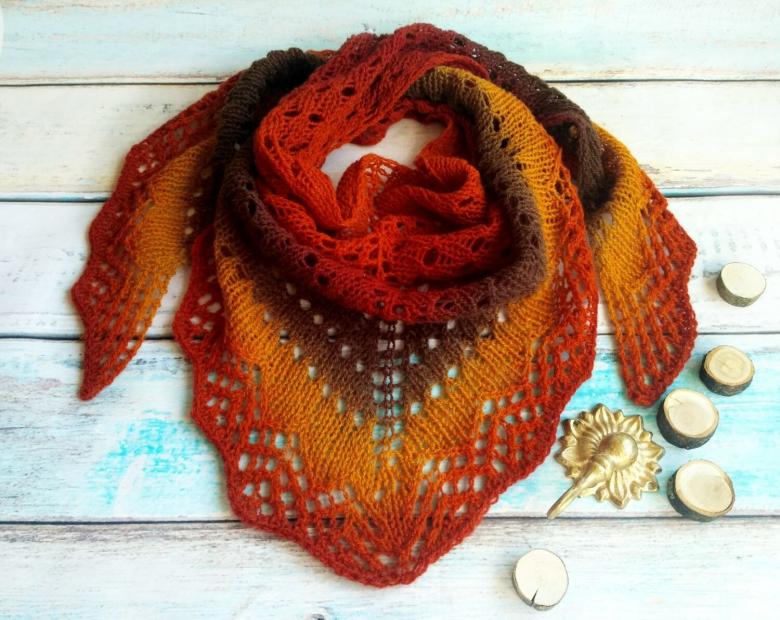
Openwork knitting with needles
Here comes the time to learn new patterns and techniques. We will prepare the needles and yarn. It is better to buy yarn made of natural fiber. It does not keep your skin warm in winter colds, but it lends itself very well to the fingers of needleworkers.
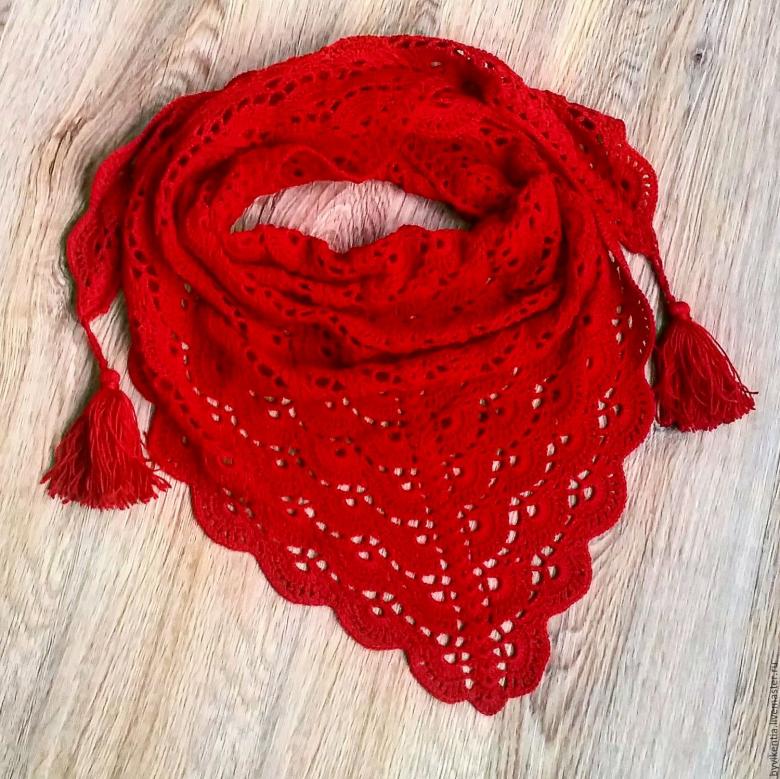
Step-by-step scheme-instruction for the master:
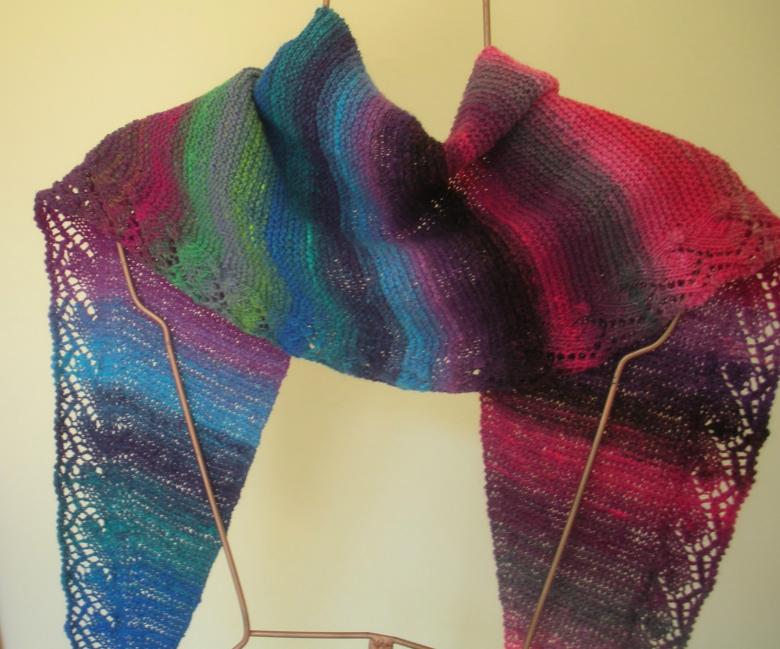
- Carefully study the existing schemes of openwork weaving. Choose the pattern that you like or come up with your own. Download the selected scheme - then you will knit the pattern strictly according to the presented model.
- We work on all the patterns with shawl knitting.
- Start the set of loops on the working needles, as in the previously presented scheme, and then proceed to the formation of the ornament.
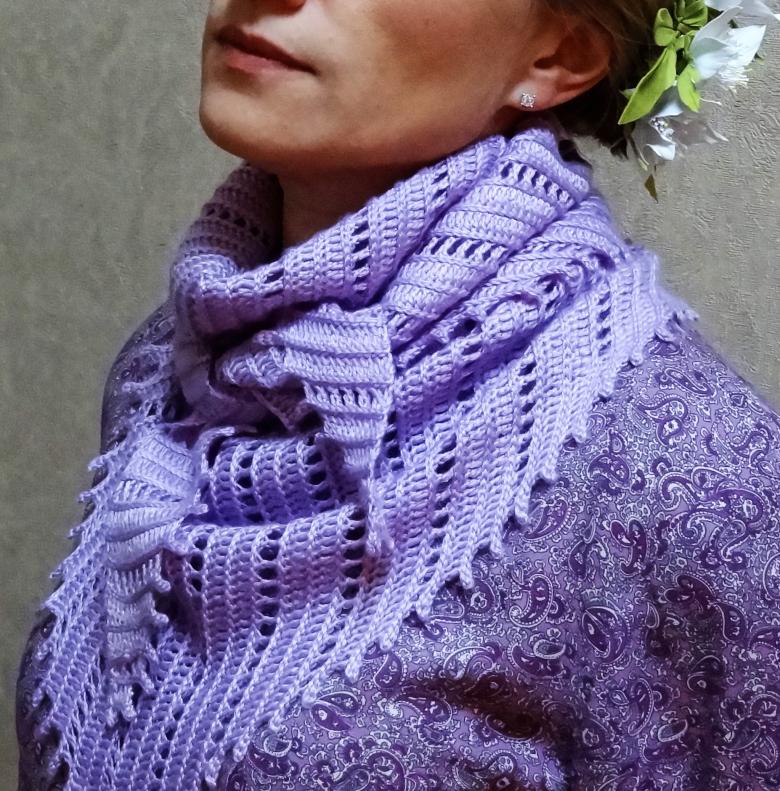
- To create an openwork shawl, the most commonly used principle is to form the knits and drawstrings.
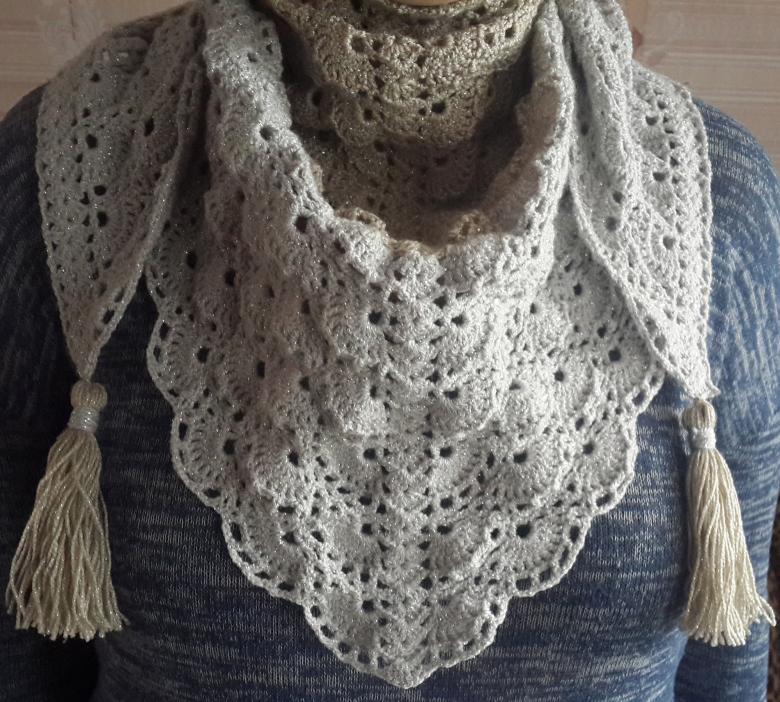
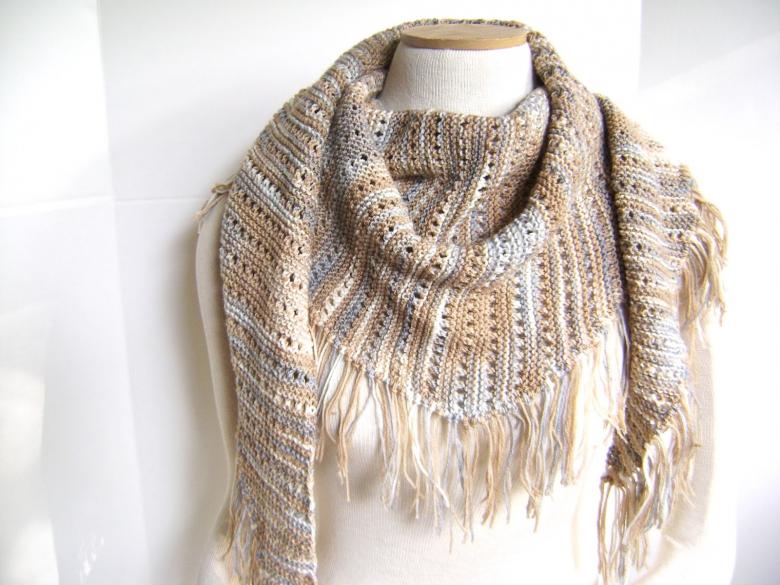
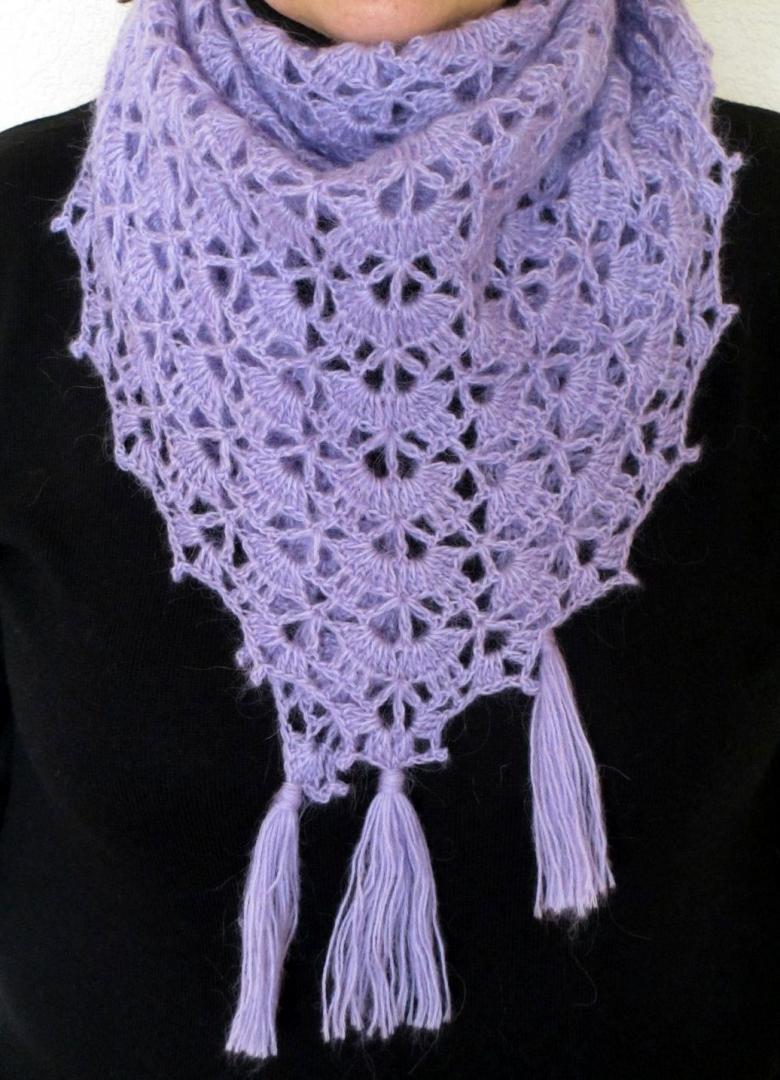
- Once you have finished working on the pattern, take a hook. It is necessary to create a fringe. At your discretion: fringe, patterned trim, fluted tassels in the corners.
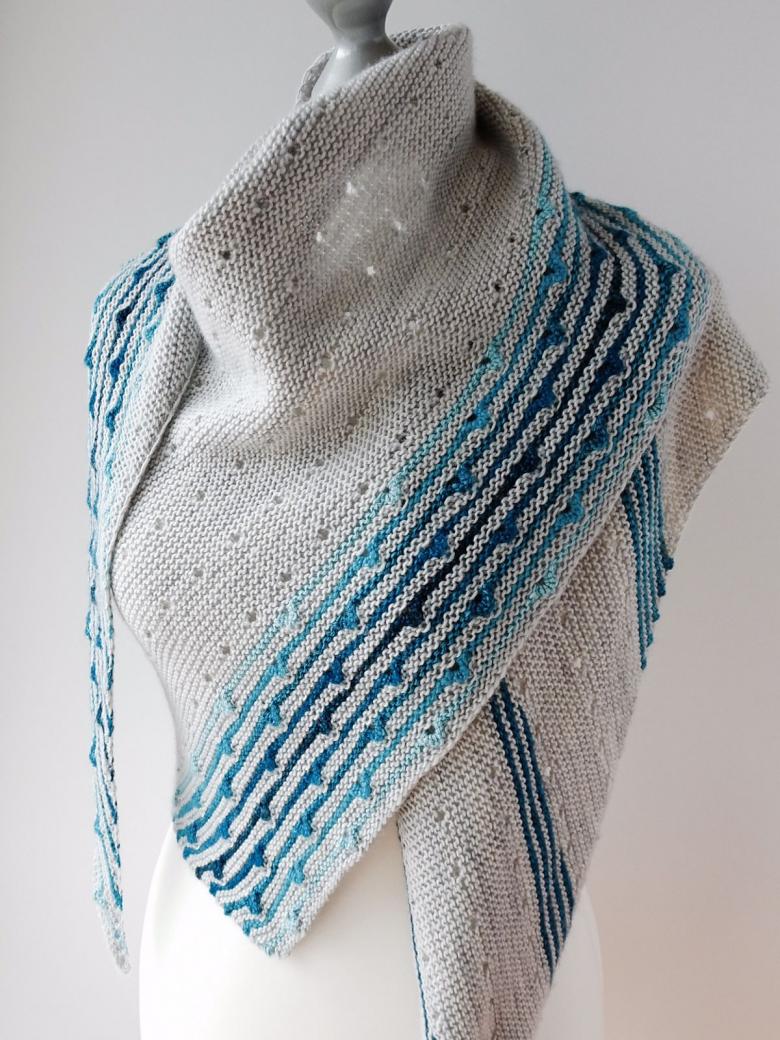
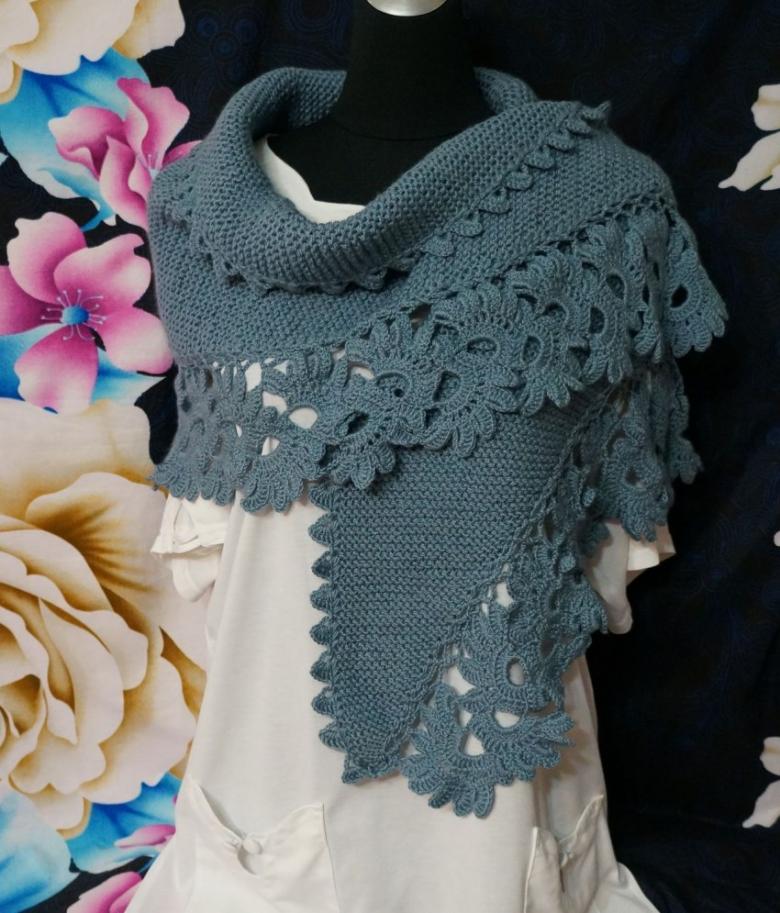
Such a shawl cape will go perfectly with evening dresses, keep your back warm during a long walk and add a zest to your personal style.
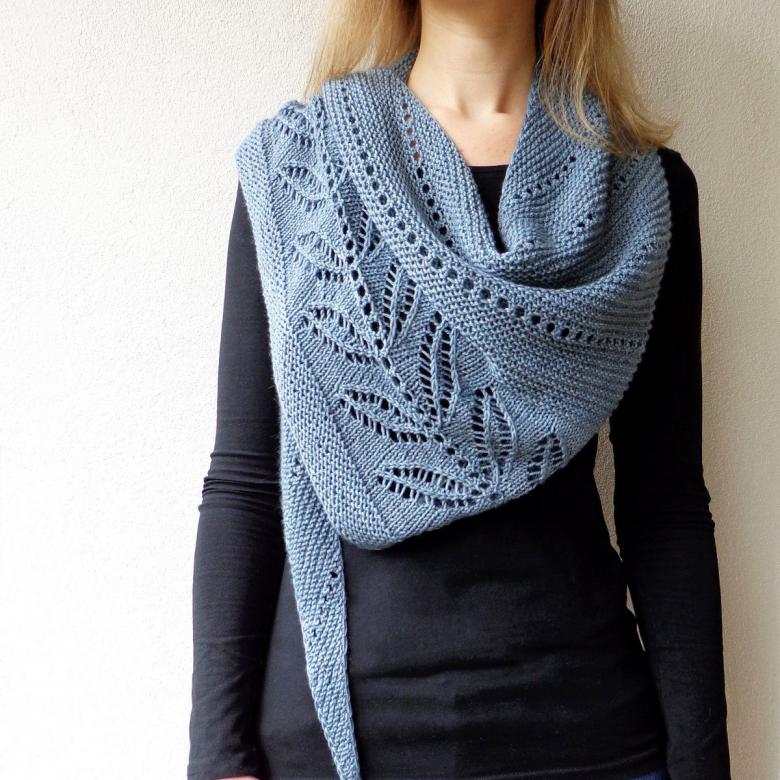
Creating a wraparound headscarf
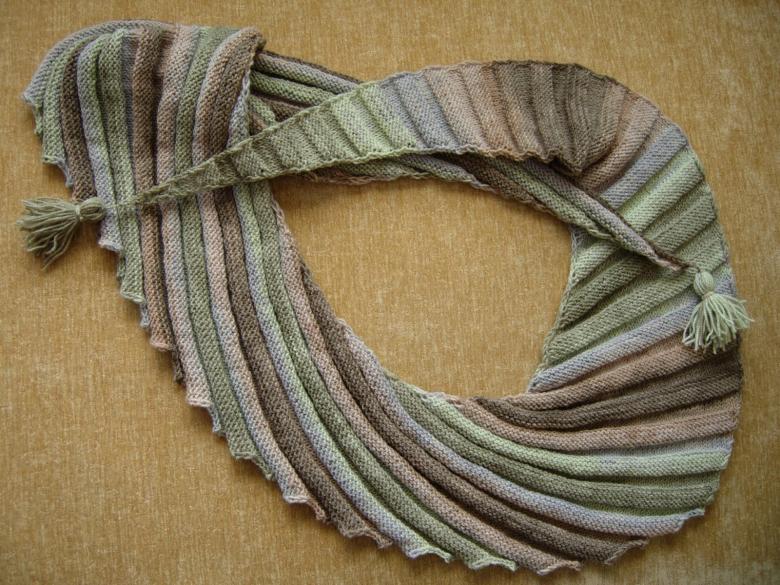
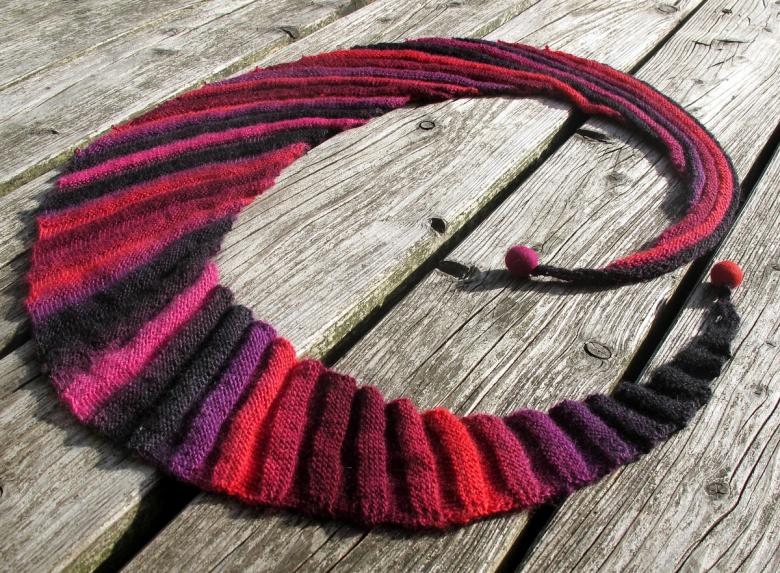
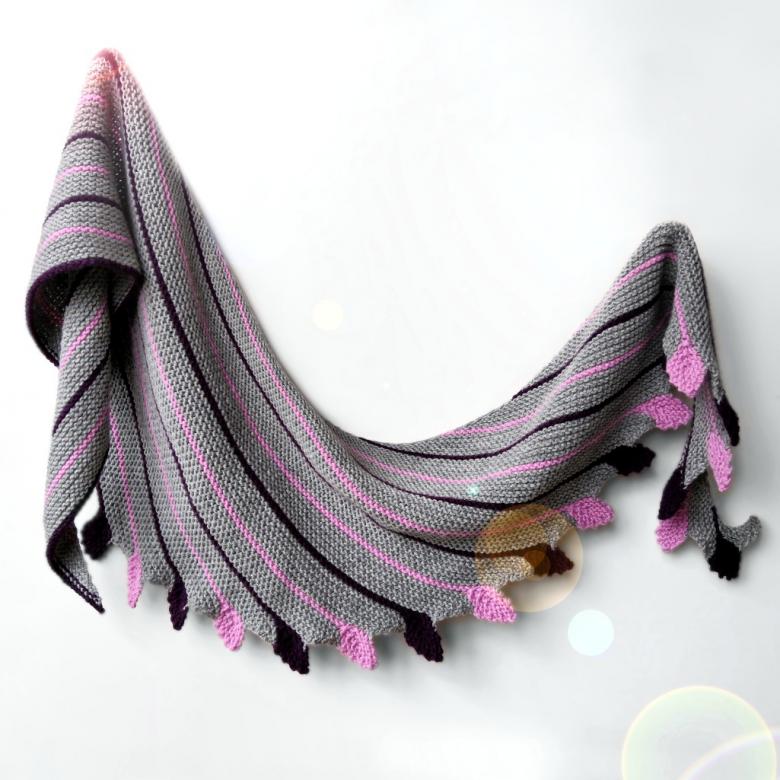
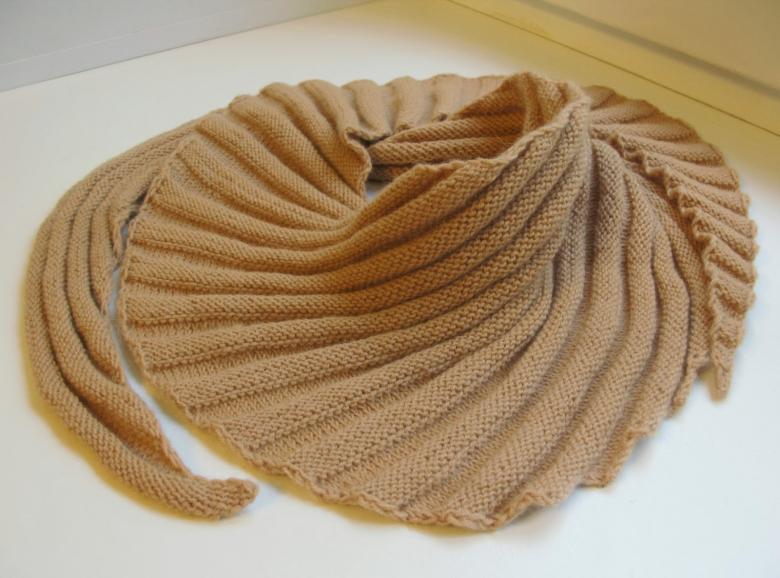
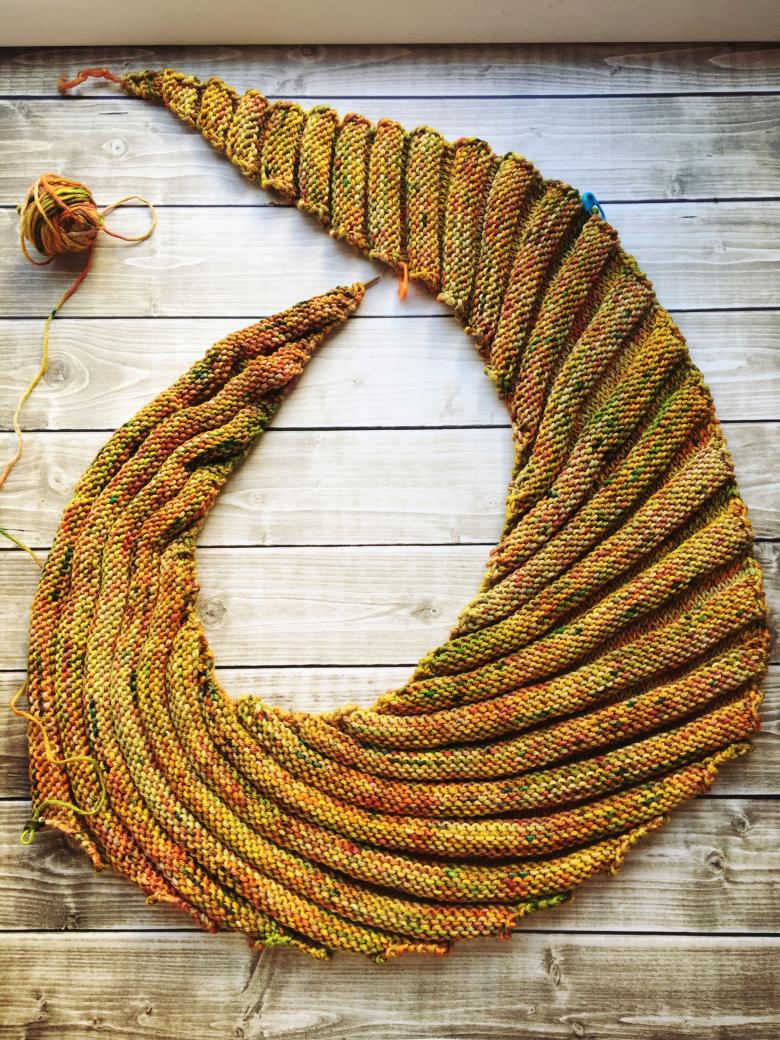
This method is much easier than the previous one. But it also requires skill and practice with it. Also, simple in execution does not mean simple in appearance at all. Wavy-cut is an original product made of natural yarn, which will stylishly emphasize any detail of your outfit.
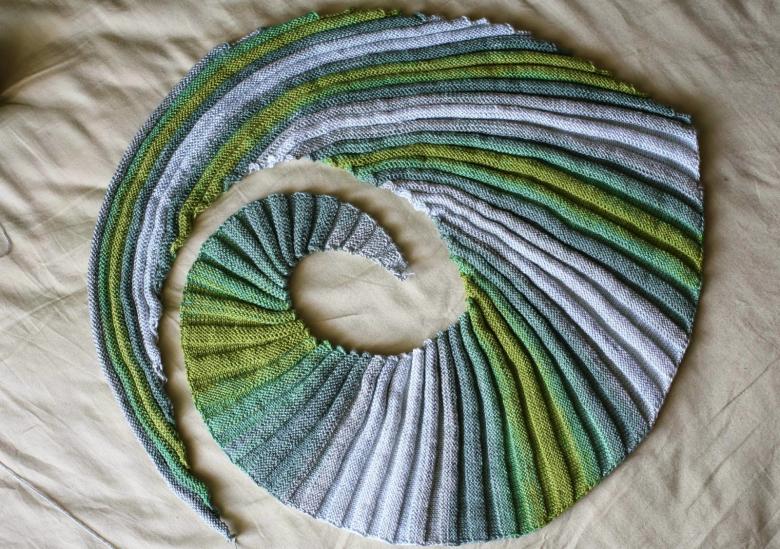
Step-by-step scheme-instruction for the master:
- All our work we will divide into three blocks.
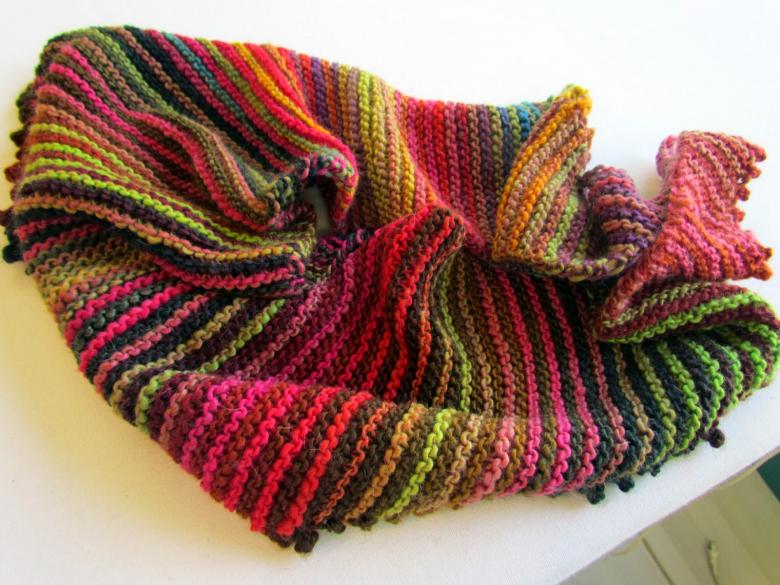
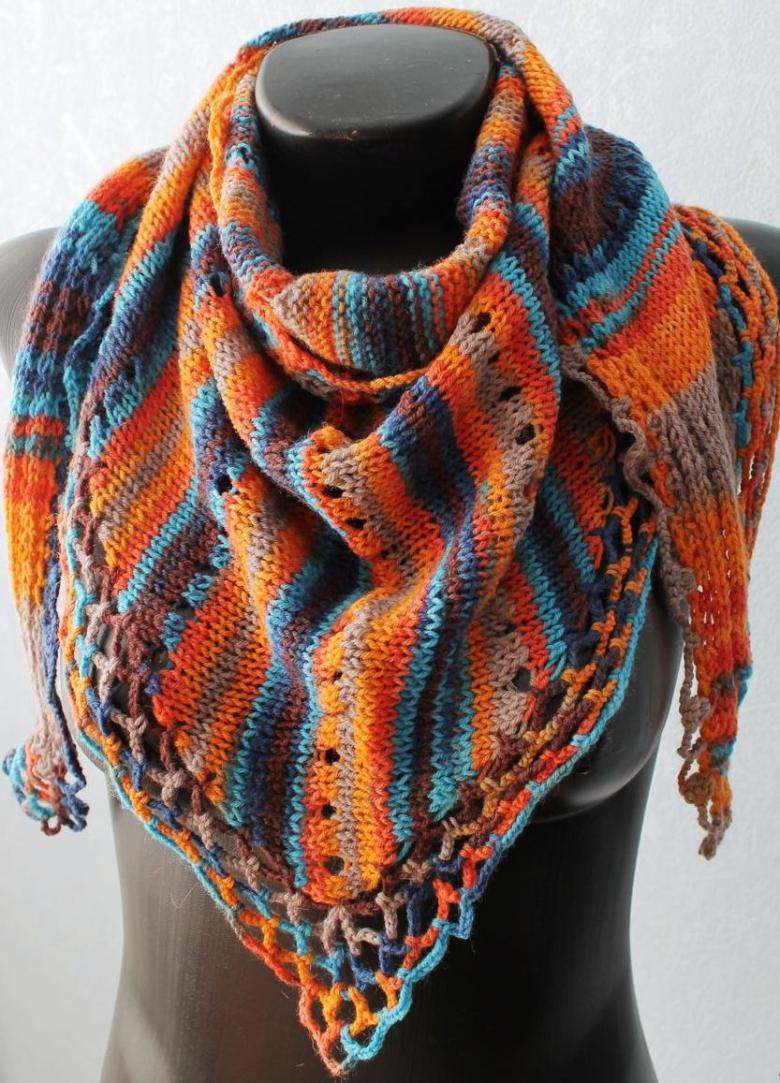
- The first stage of the work. Alternate 8 rows of alternating right and wrong stitches. After every fifth row add one stitch, and only on one side. Add elements of the fabric until the length of our shawl is 38-42 cm.
- The second stage of the work. Now we need to give the product the desired shape. On one side we increase the number of details through one row. At the same time, we remove one stitch after every fifth row.
- Repeat the procedure for 38-42 cm.
- The third stage of work on the product. Our task at the final stage is to narrow the width of the braid of the wave cut. To do this, we remove four loops at once after every fifth row. In addition to the narrow corners of the scarf, we will get a stylish staircase along the edge of the product.
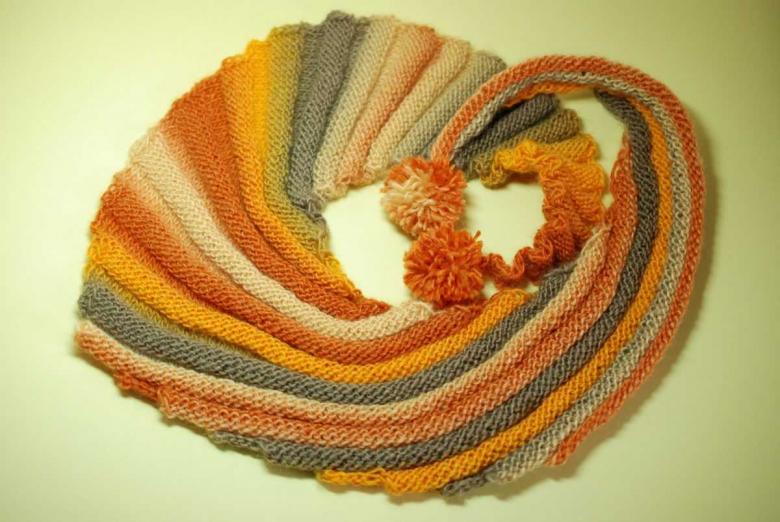
The presented model differs significantly from the previously studied, but after all, the fashion world does not limit our creative ideas. On the contrary, the creation of new original models is welcome. The wave cutter is one of such models.
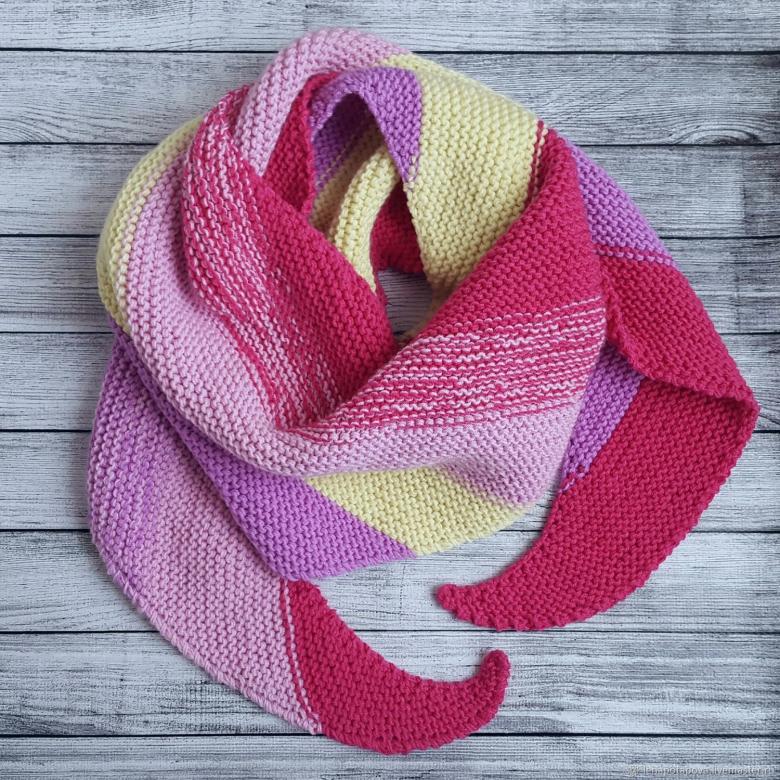
Knitted models of children's neckerchiefs
Mastering the technology of knitting a baktus, you will not only provide your child with a stylish accessory, but also protect him from the winds and colds of the winter season.

Step-by-step scheme-instruction for the master:
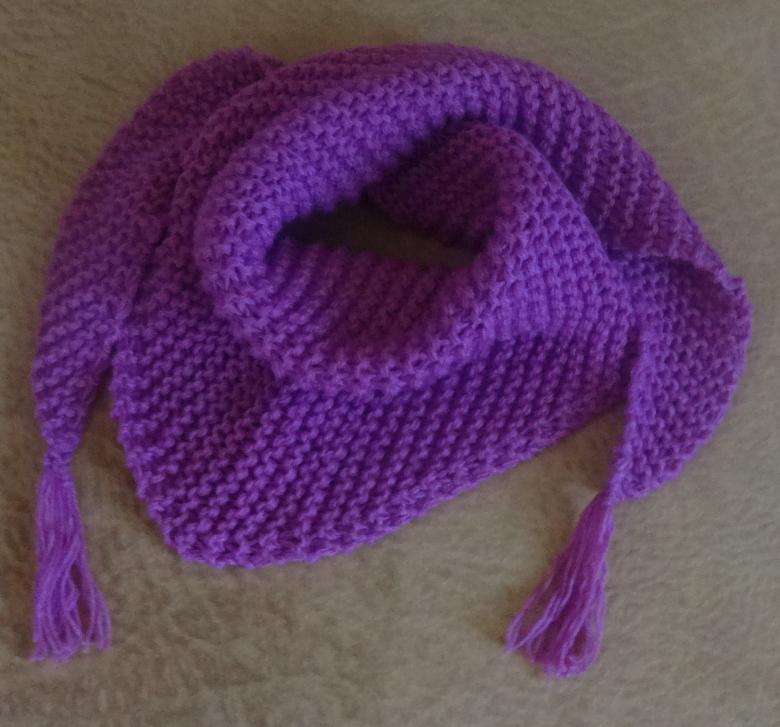
- We start knitting the product with a set of 7 loops.
- Then in each row, we alternate the front and back elements with alternating cast-offs.
- The stitches are added in each row on either side of the center knit.
- After the 54th row, all stitches must be closed. The yarn can be used to make tassels or fringes to decorate our neckerchief.
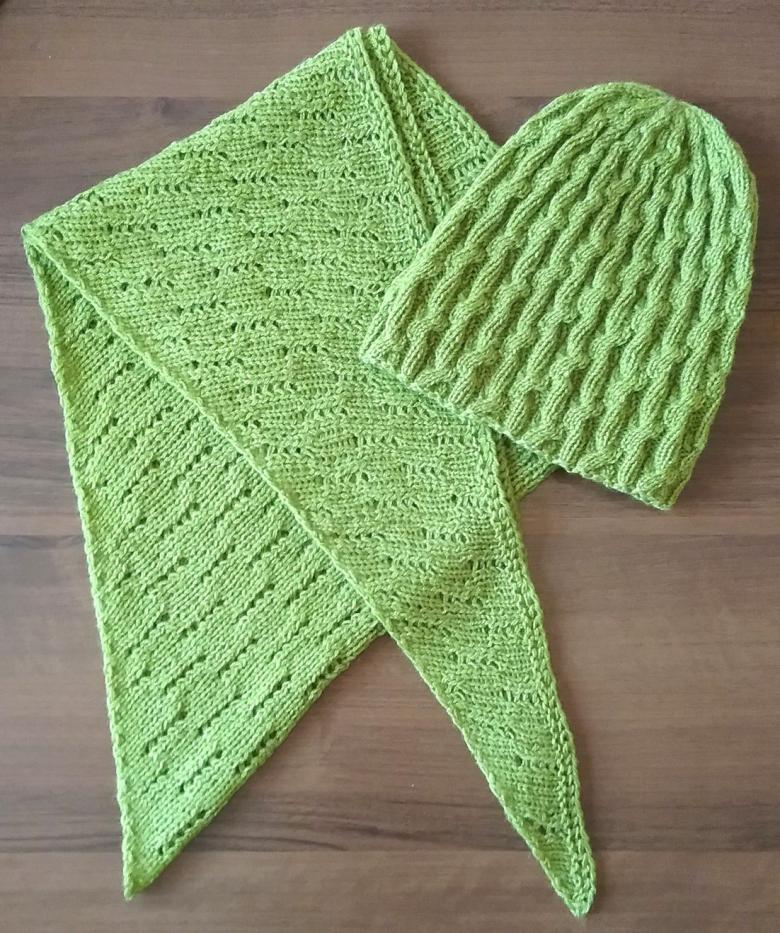
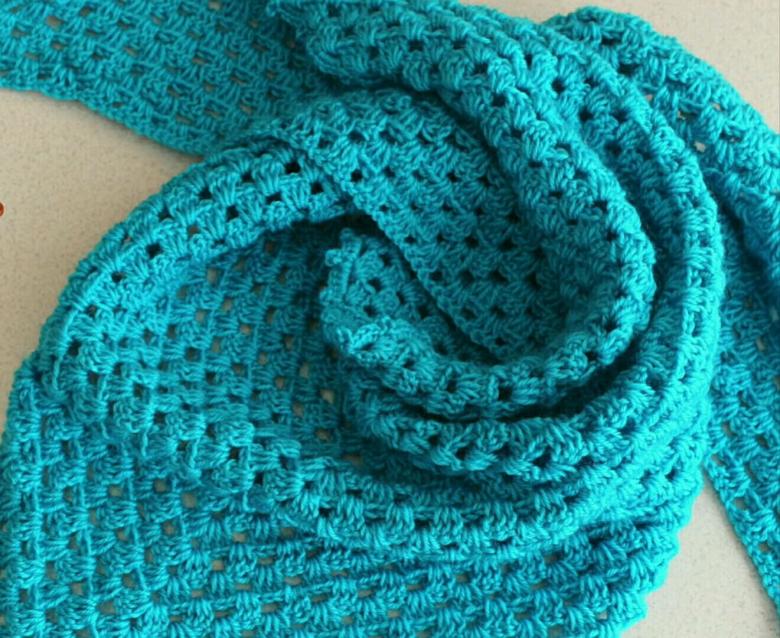
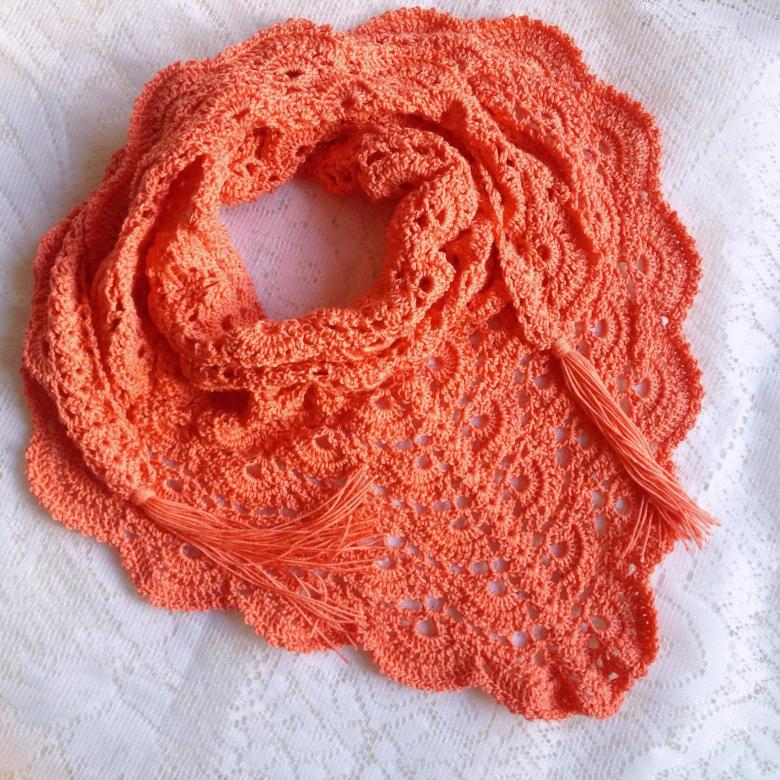
Here is a step by step crochet scarf.
- Assemble a chain of air loops.
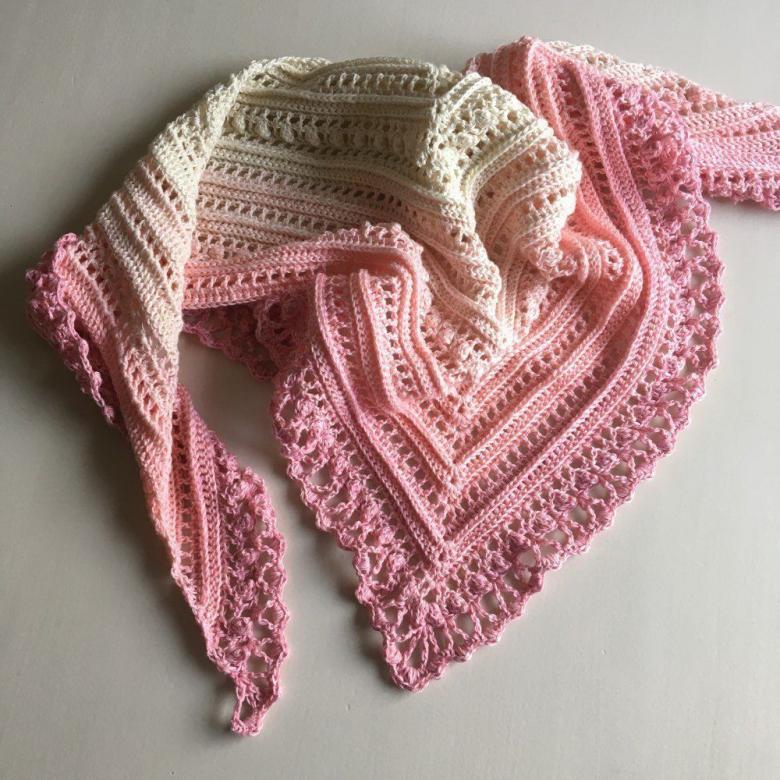
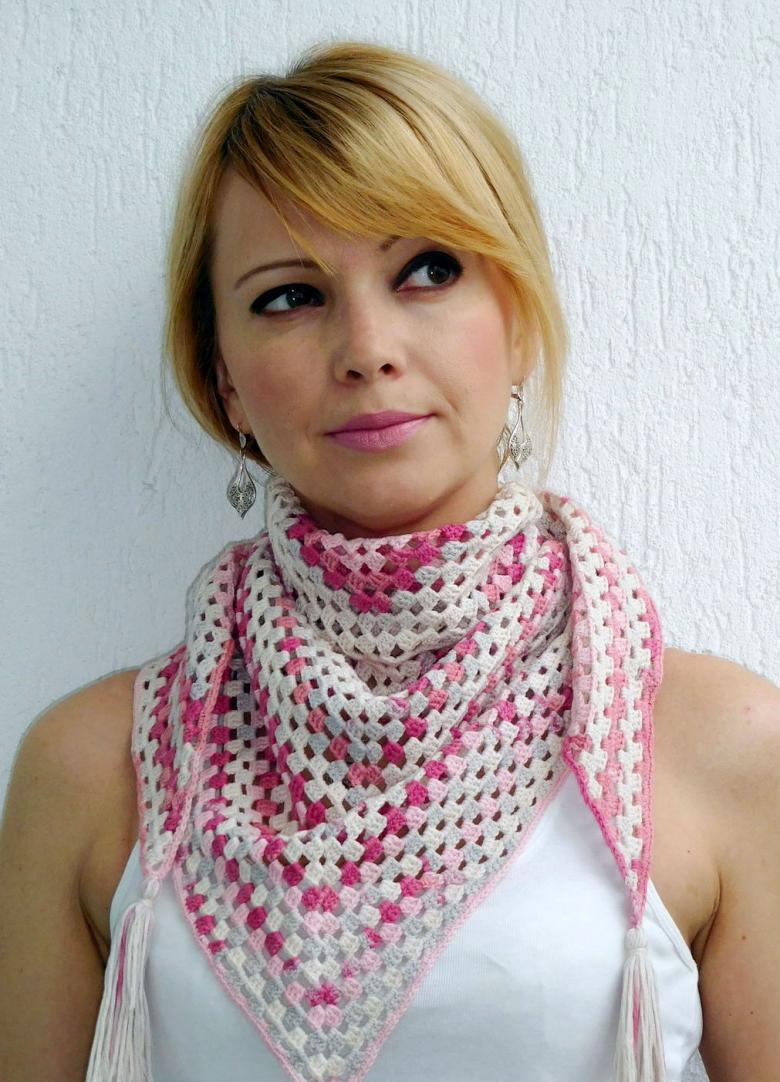
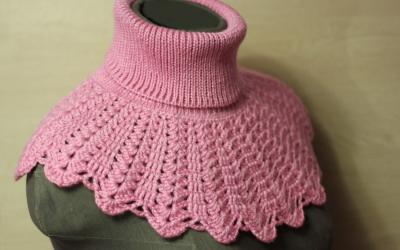
- Knit the product according to the downloaded scheme. The basis of the formation of the pattern is to crochet columns with miniature "windows" between the main elements.
- The crochet will help you beautifully design the border of the product.
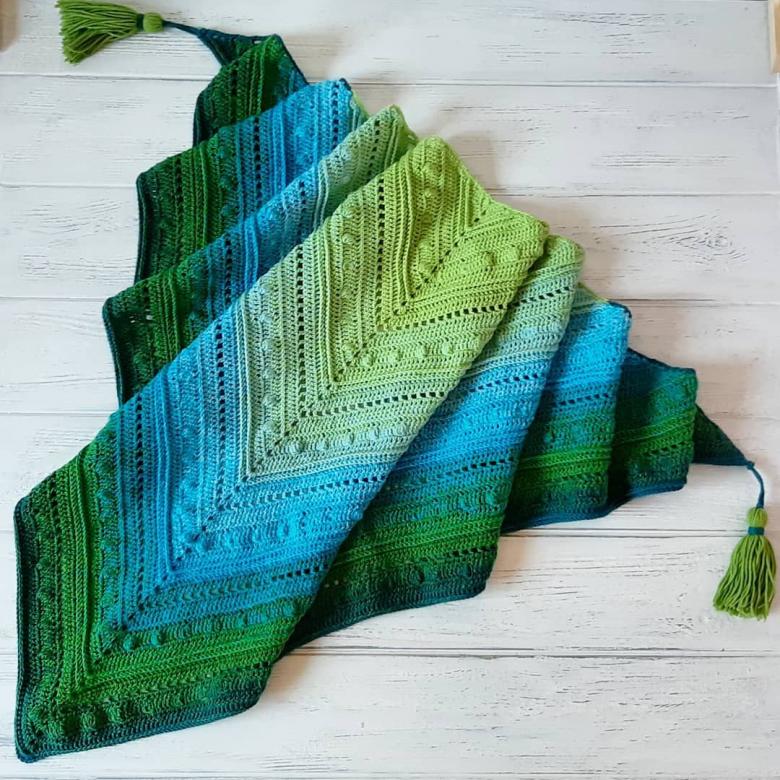
We have studied with you the basic ways of knitting a baktus - a Norwegian neckscarf. We think the new fashion accessory won your heart as quickly as you learned how to knit the basic elements of the piece.
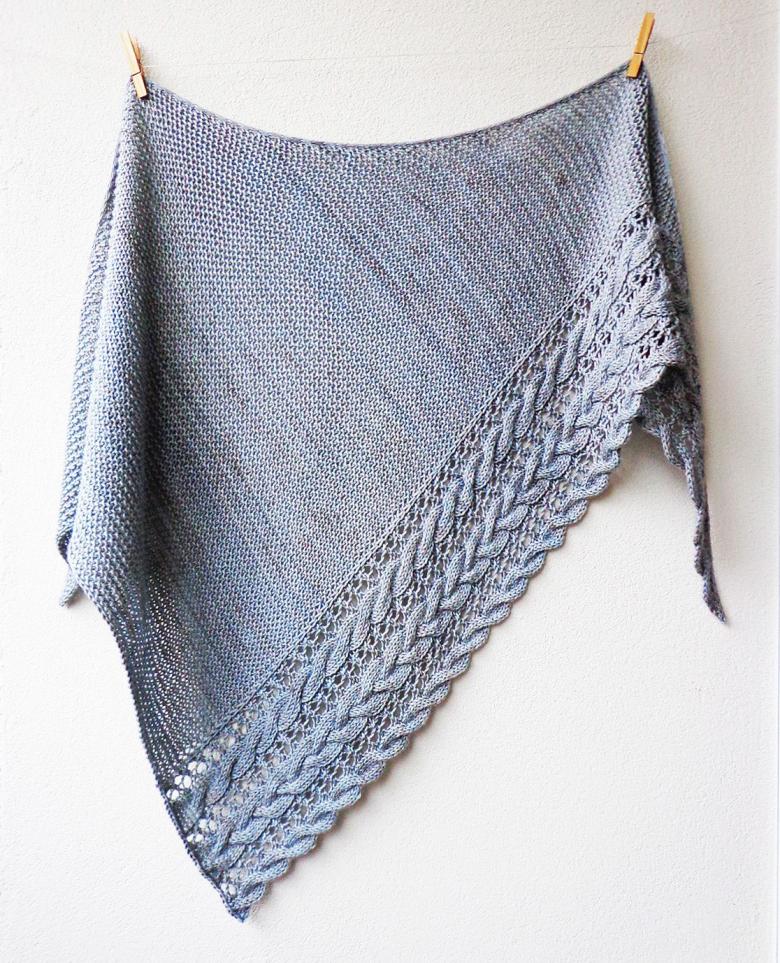
Techniques are constantly improving in the world, new technologies are created, and Internet resources are replenished every day with original schemes. Explore those not included in our master class. For the convenience of needleworkers, there are plenty of open video tutorials for beginners. Get to work and please your relatives with new original products!

