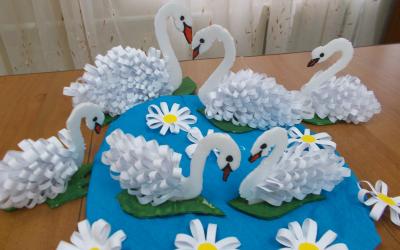
How to make a topiary with your own hands - simple and clear instructions for beginners
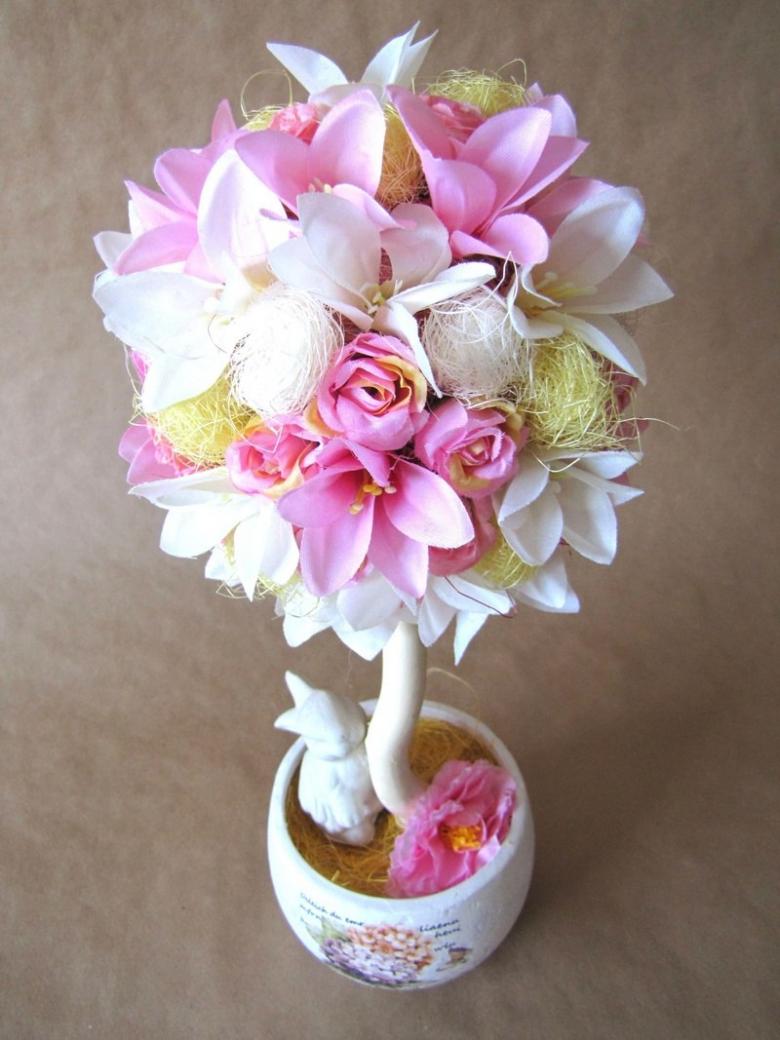
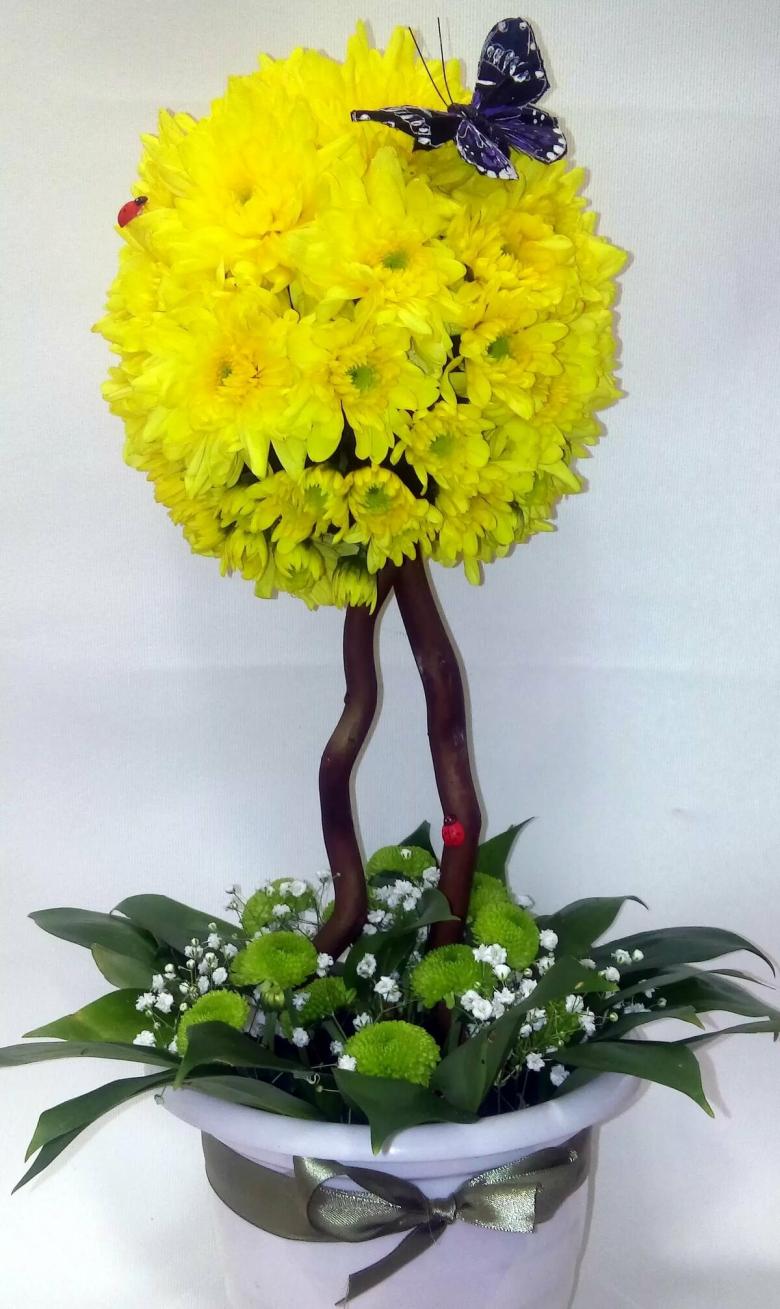
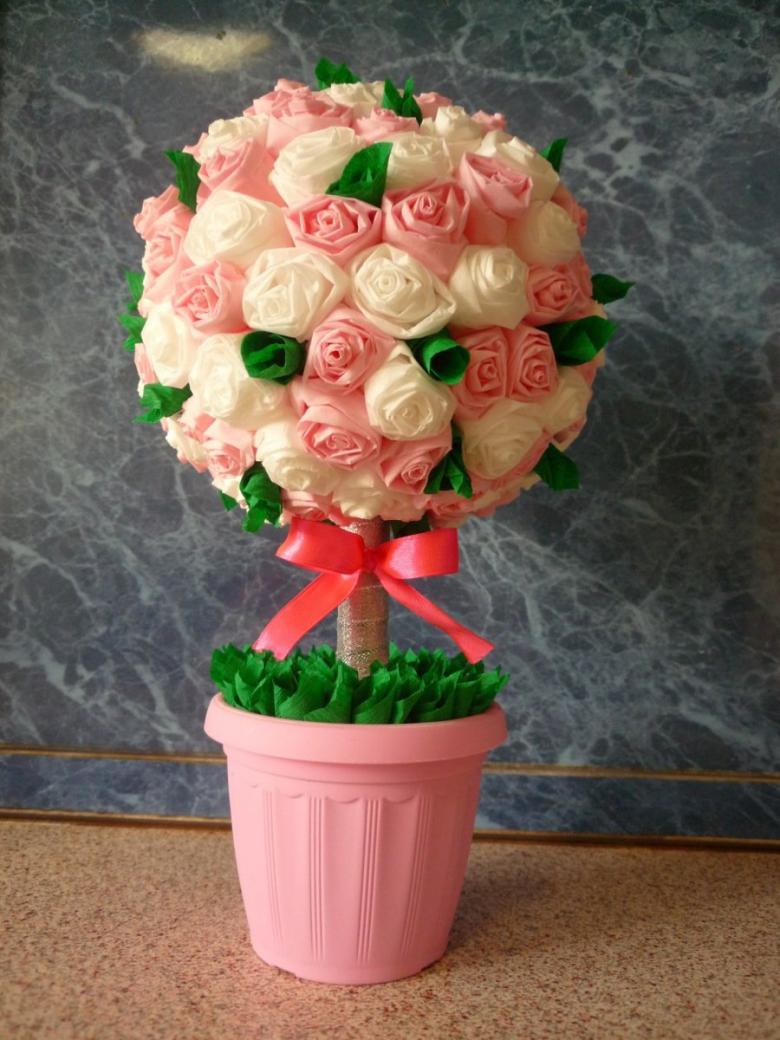
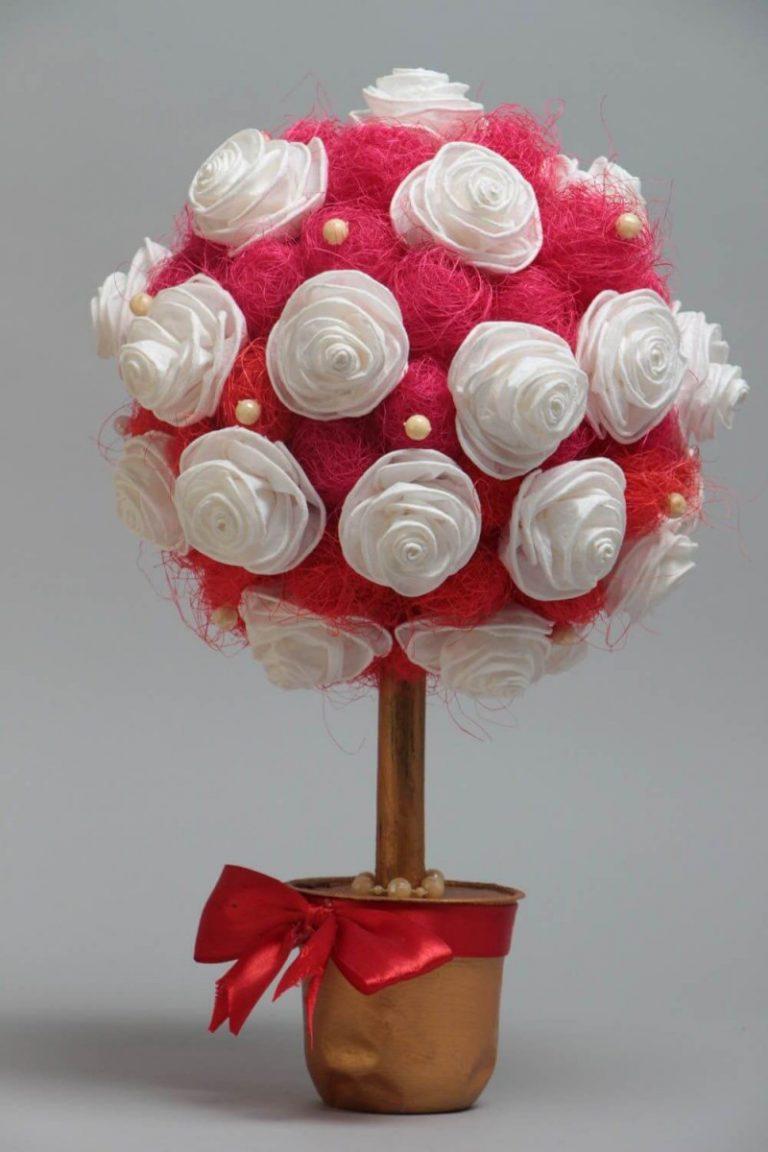
Topiary successfully fits into any interior and immediately attracts attention. Modern topiary art involves the use to create the product a variety of blanks of both natural and artificial origin. An unusual "tree" does not require special care, it is only sometimes necessary to remove dust and protect it from direct sunlight.

Make such a peculiar decorative tree can be made by yourself in the home.
Simple topiary for beginners
The basic principles for realizing the idea:
- Choose a solid base for the trunk,
- Take care of a stable base,
- Paint and glue must not smell after drying.
There are many creative ideas and tools for their realization.
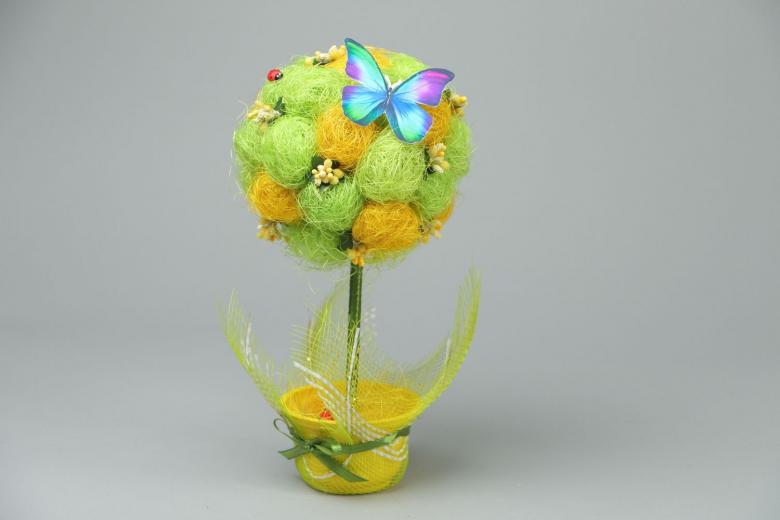
Understand the principles of how to make a topiary, will help step by step instructions for beginners.
- The first thing to do is to choose a base for the future construction. Traditionally a flower pot or similar to it container is used.
- For the trunk you can find a knot of wood, twist it out of wire, take a metal rod of appropriate diameter (in short, any strong piece, suitable in shape and size).
- The trunk is decorated and fixed in the stand with silicone, rubber, foam plastic.
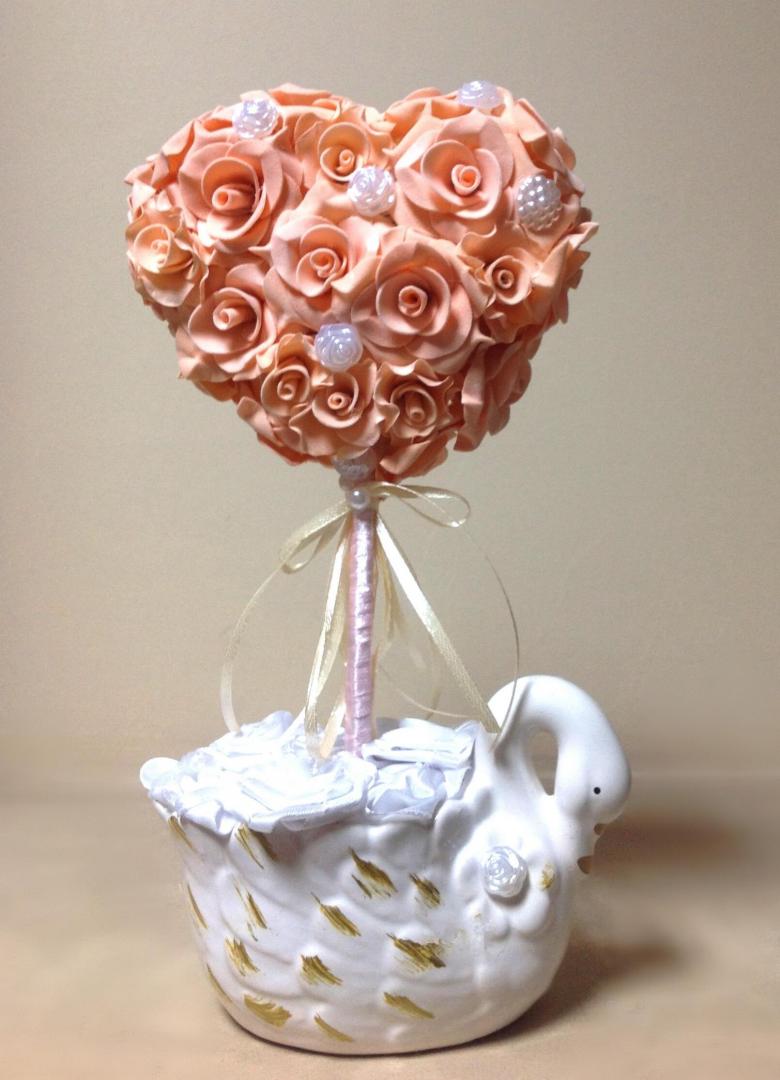
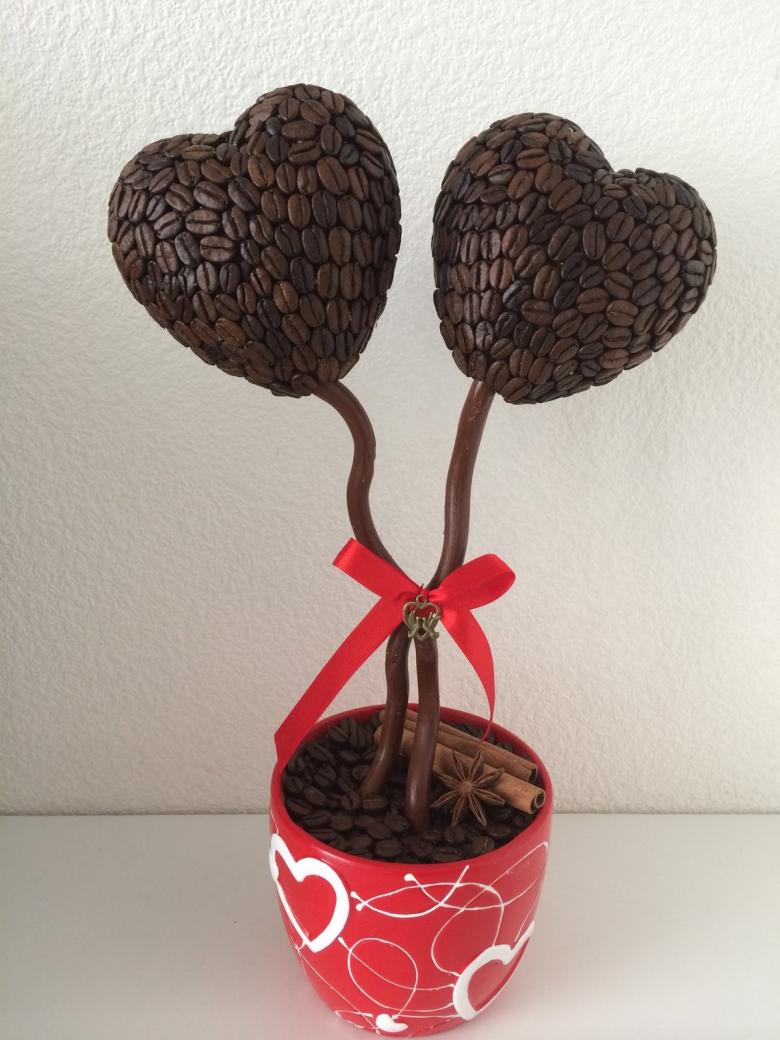
- To form the crown, you can take an object made of plastic, rubber, foam plastic. It can be round, star-shaped or heart-shaped, depending on the idea of the master.
- The base is attached to the stem and supplemented with decorations in accordance with the idea.
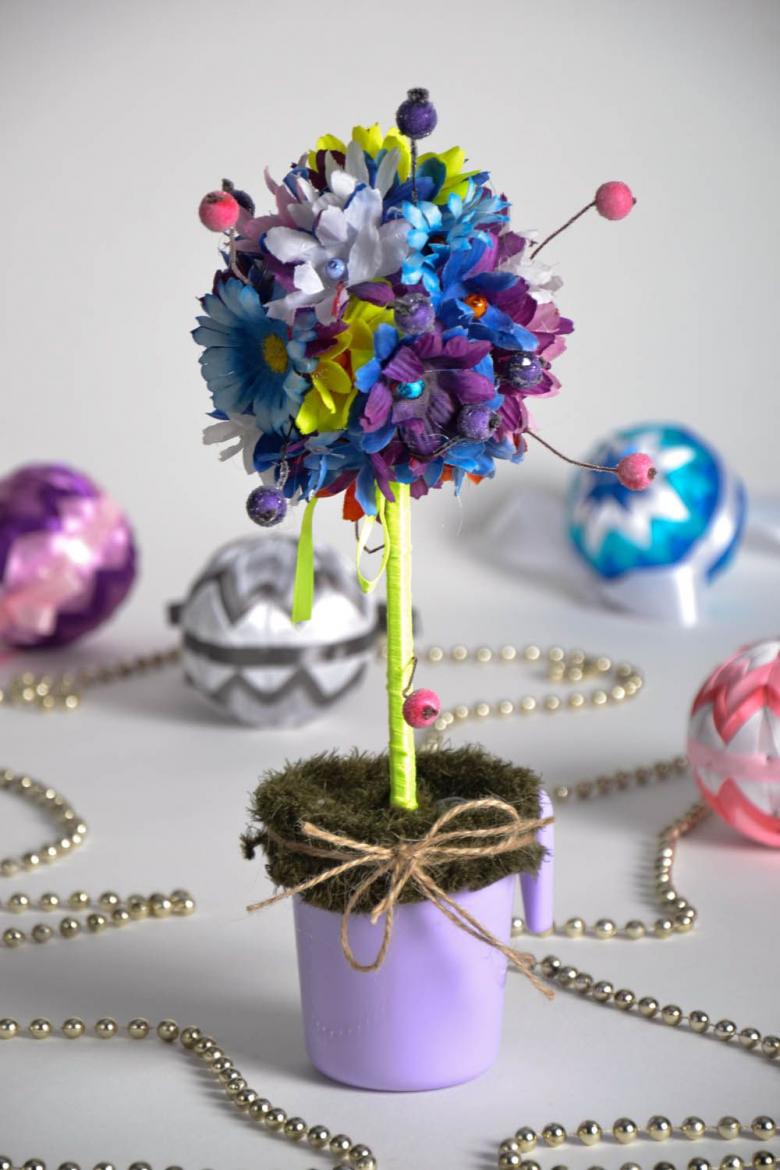
The original tree can decorate the room, fill it with a pleasant fragrance, serve as a talisman that attracts the house prosperity, and it's also a good option for gifts.
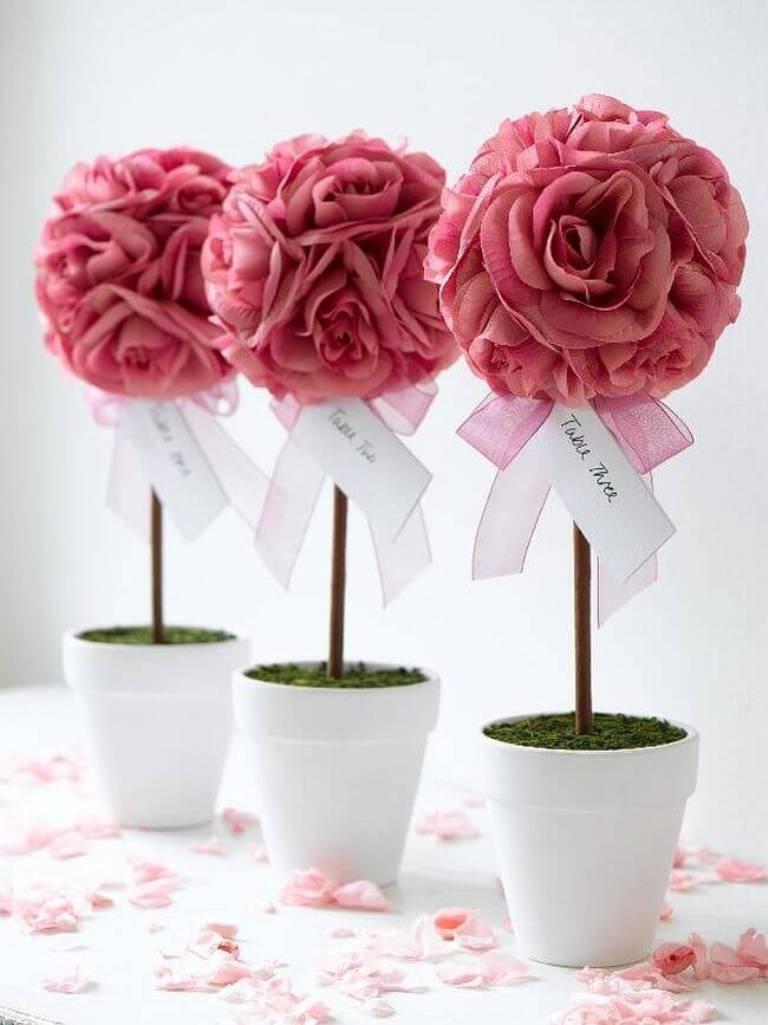
Topiary tree with their own hands
To begin with, you can make a beautiful "European tree" from available natural materials. This task is not difficult, it is also accessible to the novice master.
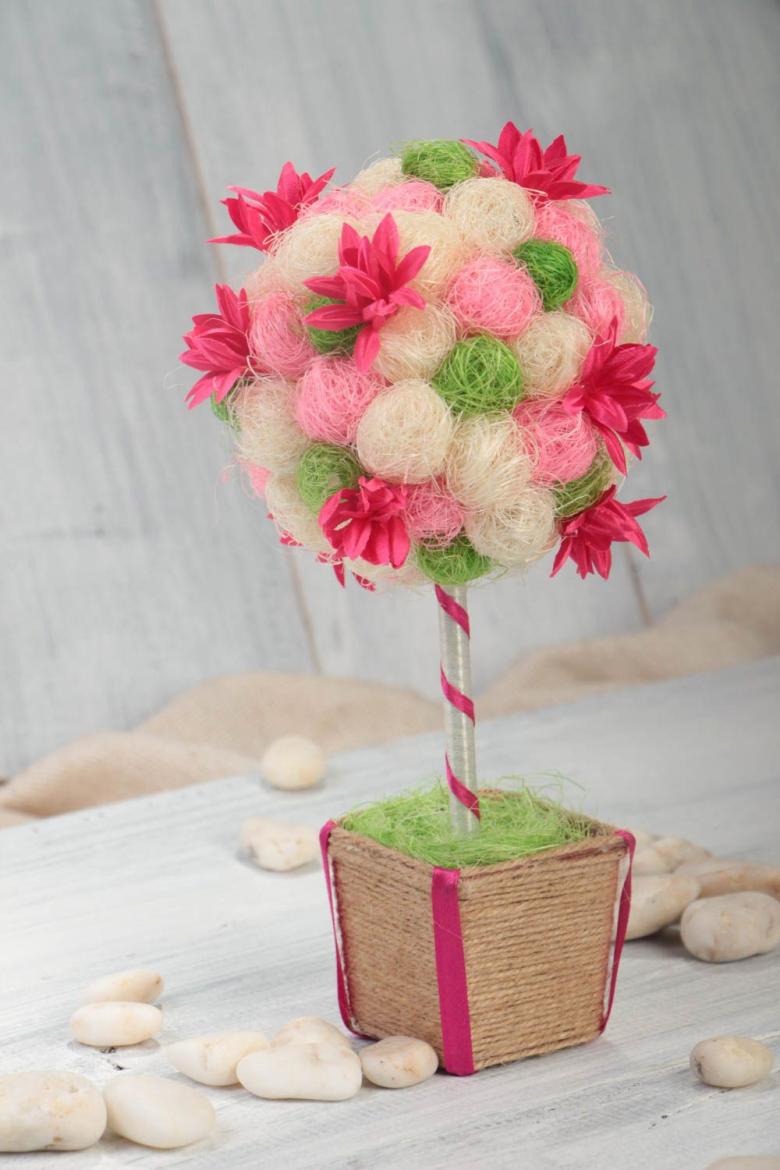
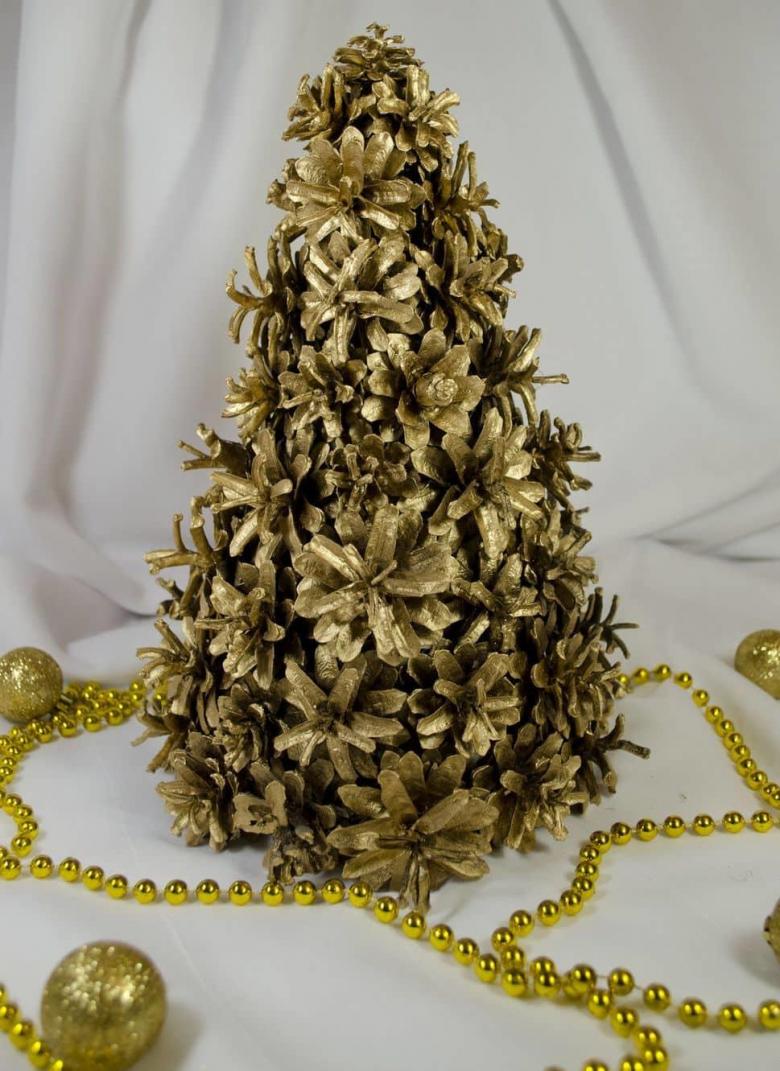
How to make a topiary from cones
To implement the idea, it is necessary to prepare:
- A container for the "tree",
- A knot or a stick for a trunk,
- Styrofoam ball (can be made from construction foam or crumpled newspaper),
- cones (pine, larch, fir, cedar),
- acrylic paint and brown tint,
- fixing compound (chalk, gypsum, building foam, etc.)
- The fabric for the decoration of the pot and accessories for decorating the handcraft (rhinestones, ribbons, beads),
- glue,
- brush,
- scissors.
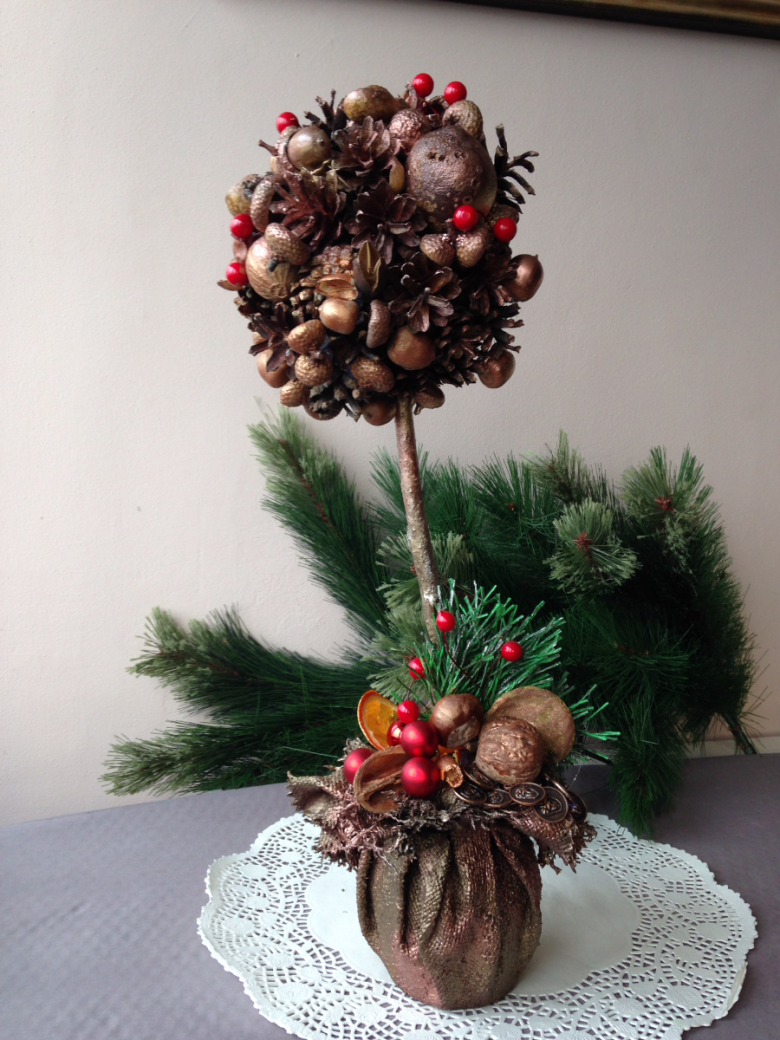
Step by step master class
- The first thing to do is to decorate the stand. To do this, it is covered with fabric or wrapped in thread, painted or painted. It all depends on the author's idea. Not bad combined with cones fabric like burlap. It is better to cut along the slant. Glue the fabric is recommended on the bottom and inside the pot.
- Then paint the trunk and glue the ball to it. It is not bad to paint it with brown paint.
- On the ball glued cones.
- After the workpiece dries, it is fixed in the pot with the prepared mixture. While the mixture dries, it is necessary to fix the "tree", so it does not bend.
- The work is completed by decorating the product. Mask the mixture in the pot, decorate the top of the craft. Elements for decoration can serve as beads, ribbons, stones, moss and so on.
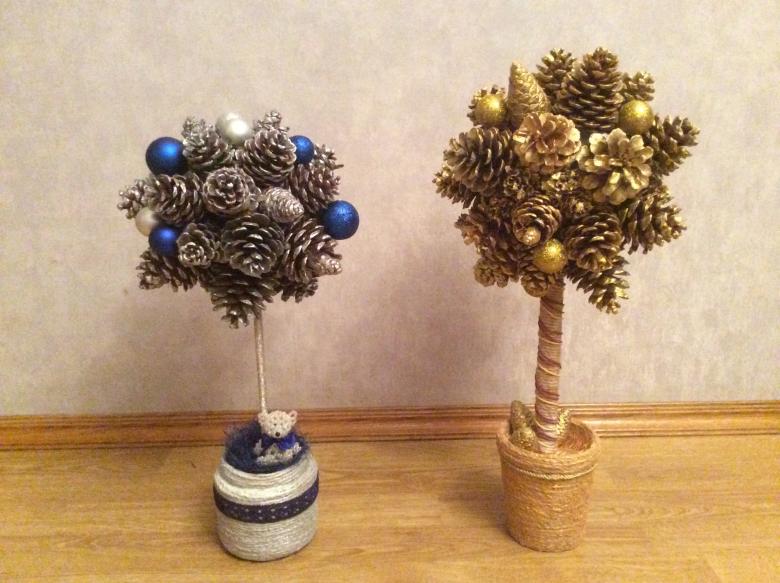
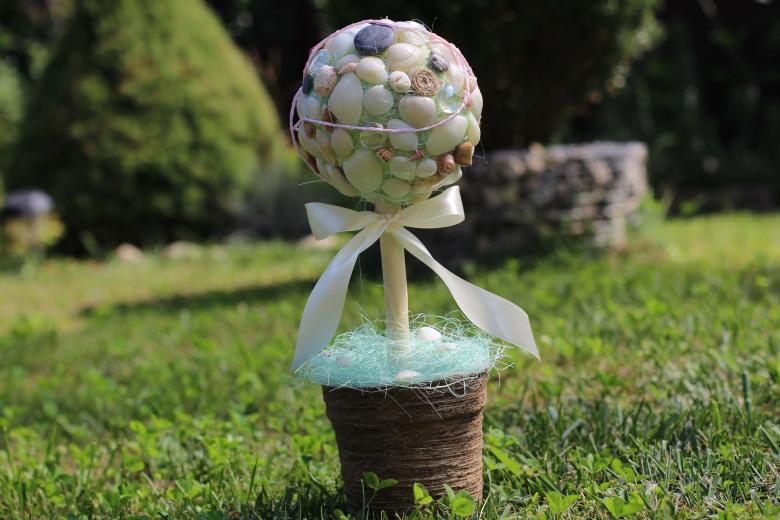
The result is an original small tree of cones, which will fit perfectly into the interior or serve as a great exhibit at a school themed exhibition.

How to make an autumn topiary
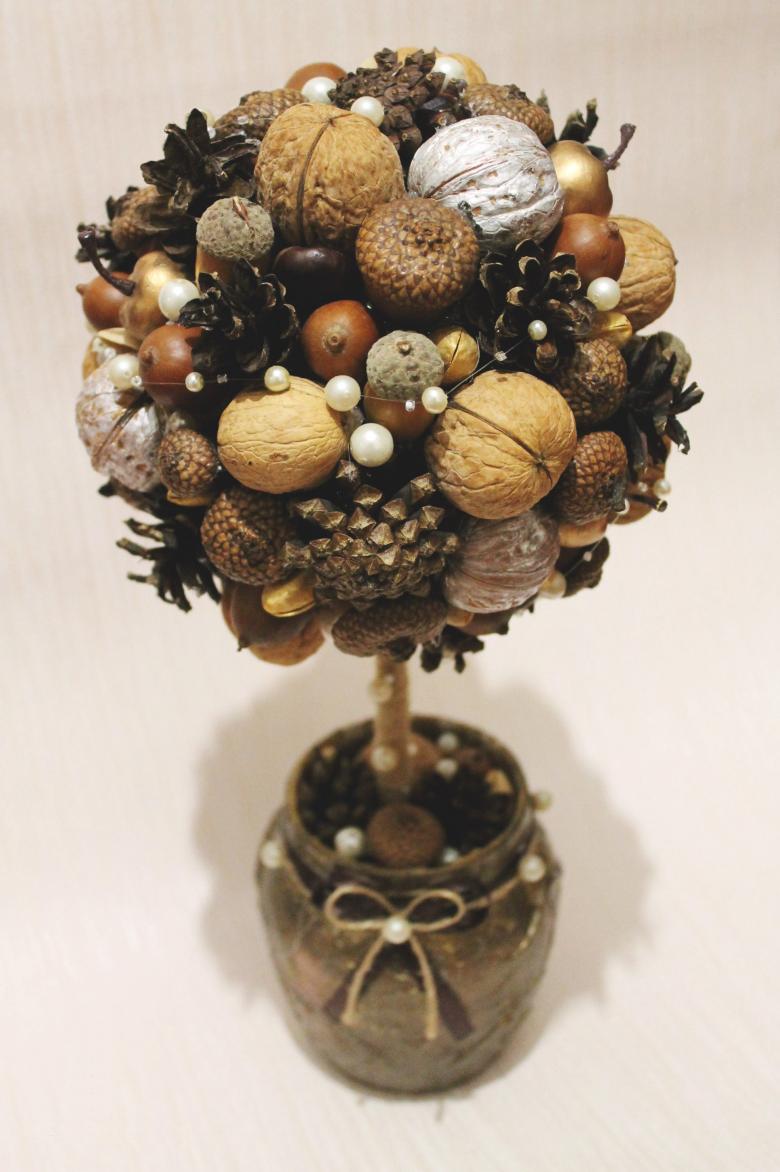
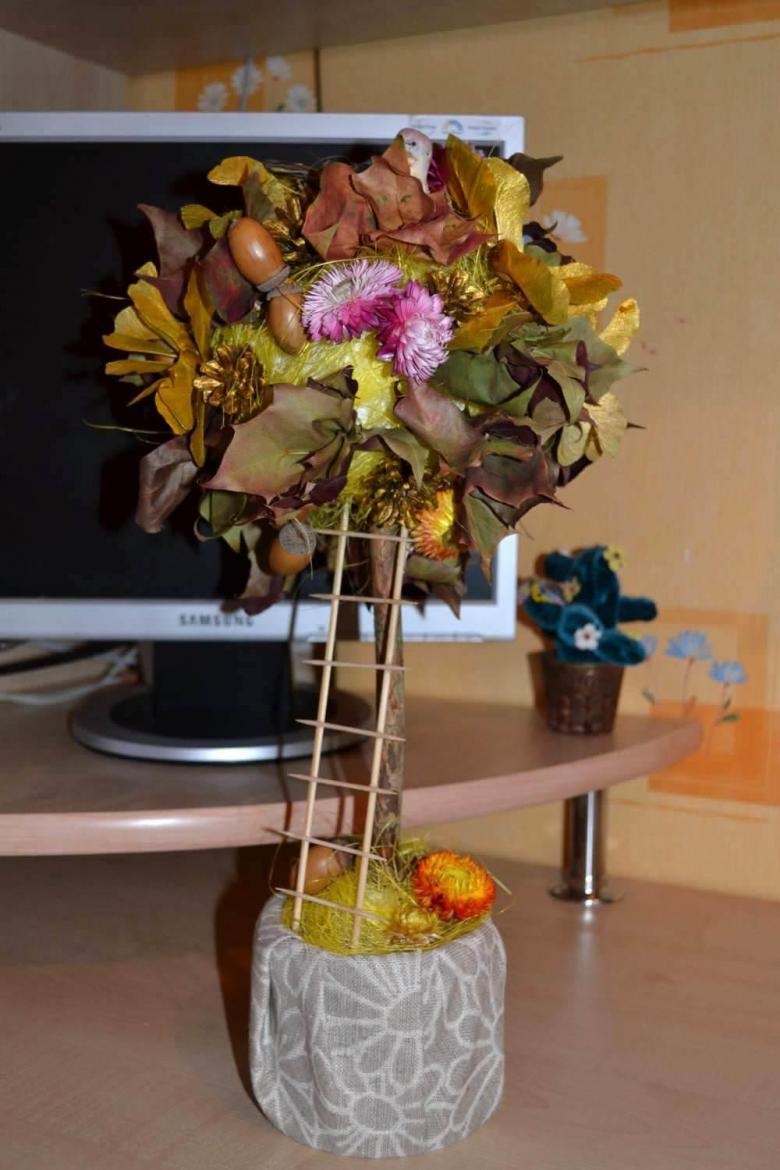
The beauty of autumn nature can inspire the creation of an unusual autumn topiary tree.
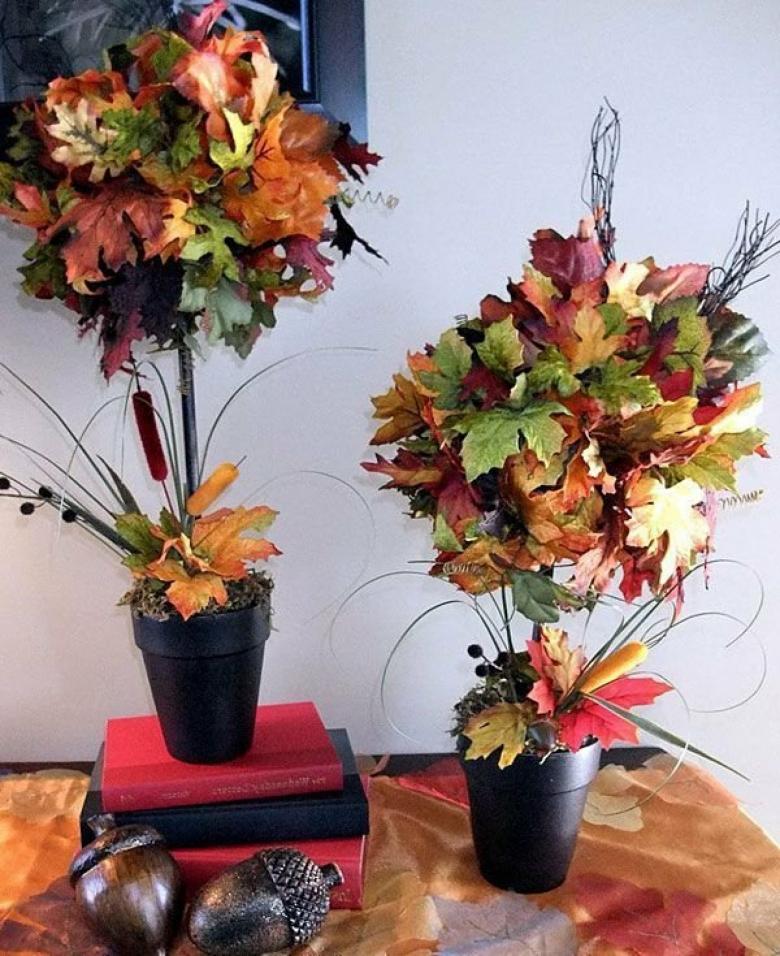
Acorns can be used for decoration, chestnuts, cones, leaves and other natural materials.
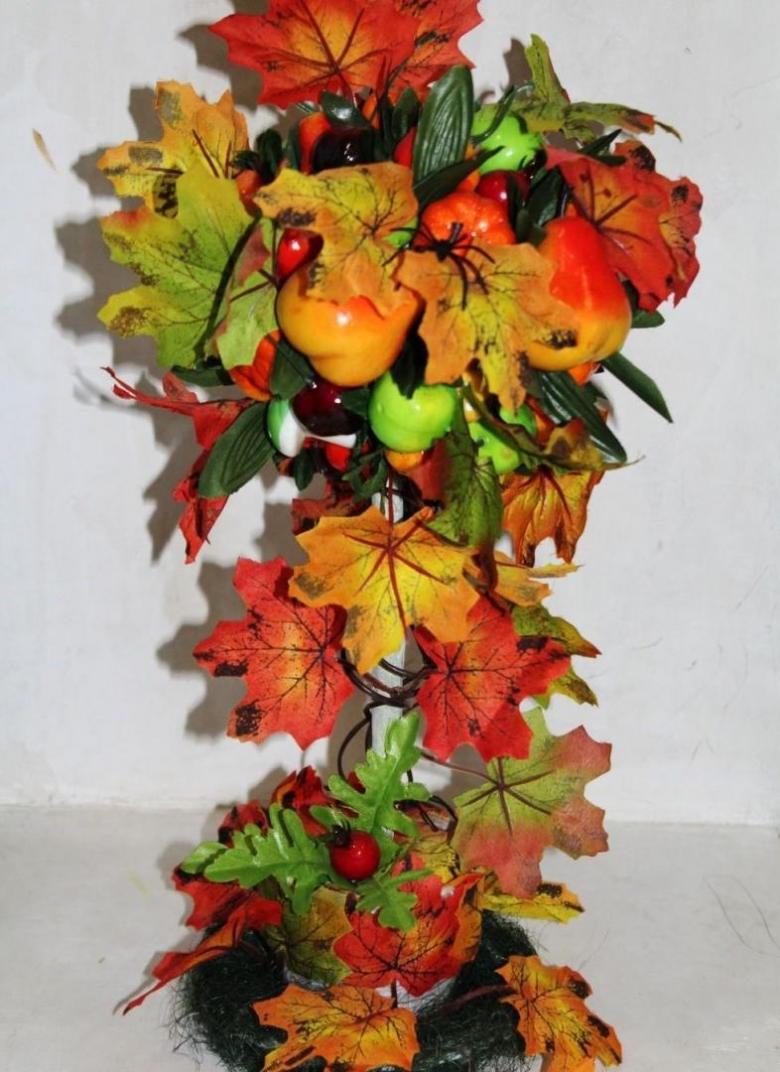
Also need to prepare:
- pot-base,
- Stick for the trunk,
- A round base for the crown,
- Materials for decorating the piece,
- glue,
- paint,
- brush,
- scissors.
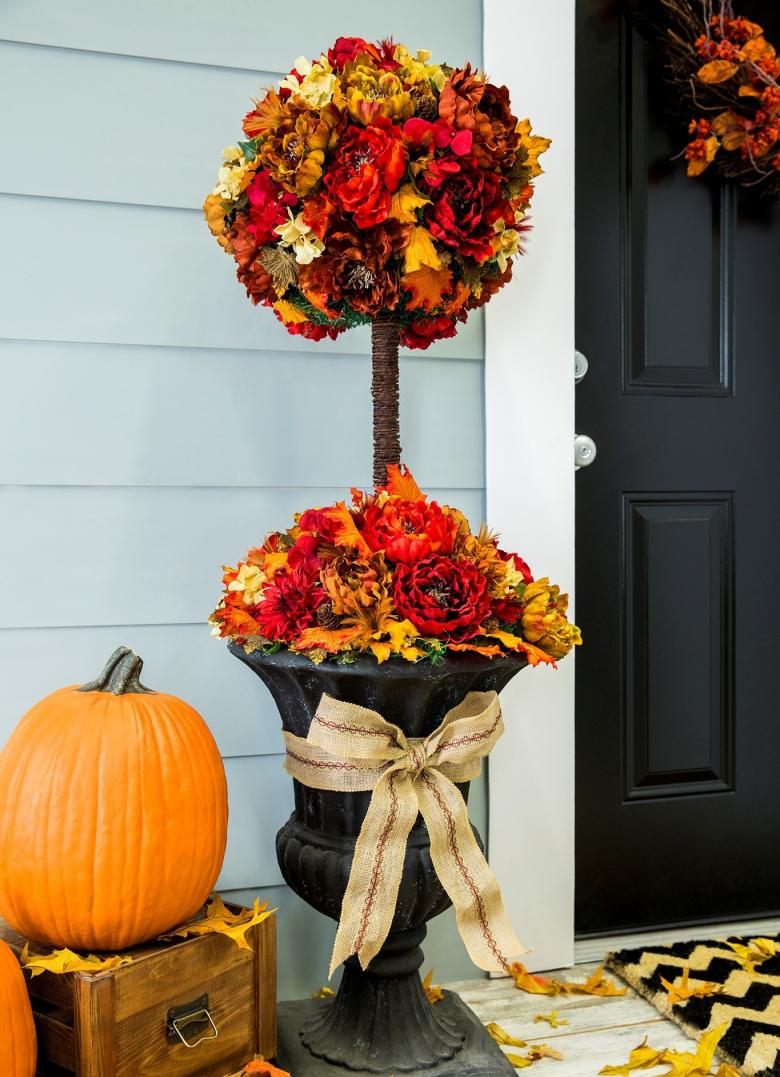
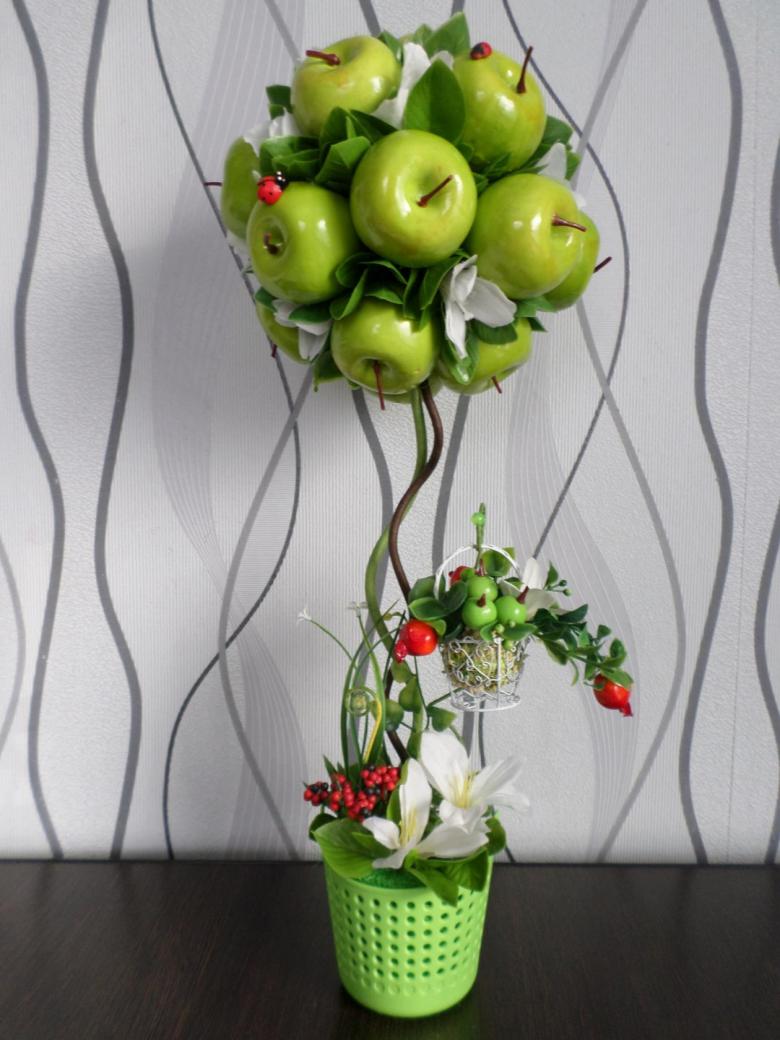
For decoration you can use artificial berries, moulage vegetables, beads and so on. For convenience in the work, it is recommended to think through the product in advance to prepare all the necessary elements.

Step by step master class.
- The work begins with the decor of the pot-holder. It can be wrapped with twine, covered with burlap or glued with decorative elements. For decoration, you can use twigs or popsicle sticks.
- Then prepare the trunk and attach the base of the crown. As a rule, the base has a rounded shape. It can be made from crumpled newspapers, wrapping them with thread. Or use a ready-made ball of Styrofoam or construction foam.
- The ready-made ball of newspaper is pasted with tissues and decorated according to the idea. It can be painted. For an autumn theme, moss can be used as the main background.
- The finished trunk with a crown is fixed in the pot with a quick-drying mortar.
- After the workpiece dries, you can proceed to decorating the "tree". Its crown can be decorated with chestnuts, leaves, adding as a highlight of moulage of berries or vegetables.
- It remains to camouflage the base. "Ground", in which the trunk is attached, can be hidden under a layer of pebbles, covered with moss, artificial grass or painted.
The fall topiary is ready.
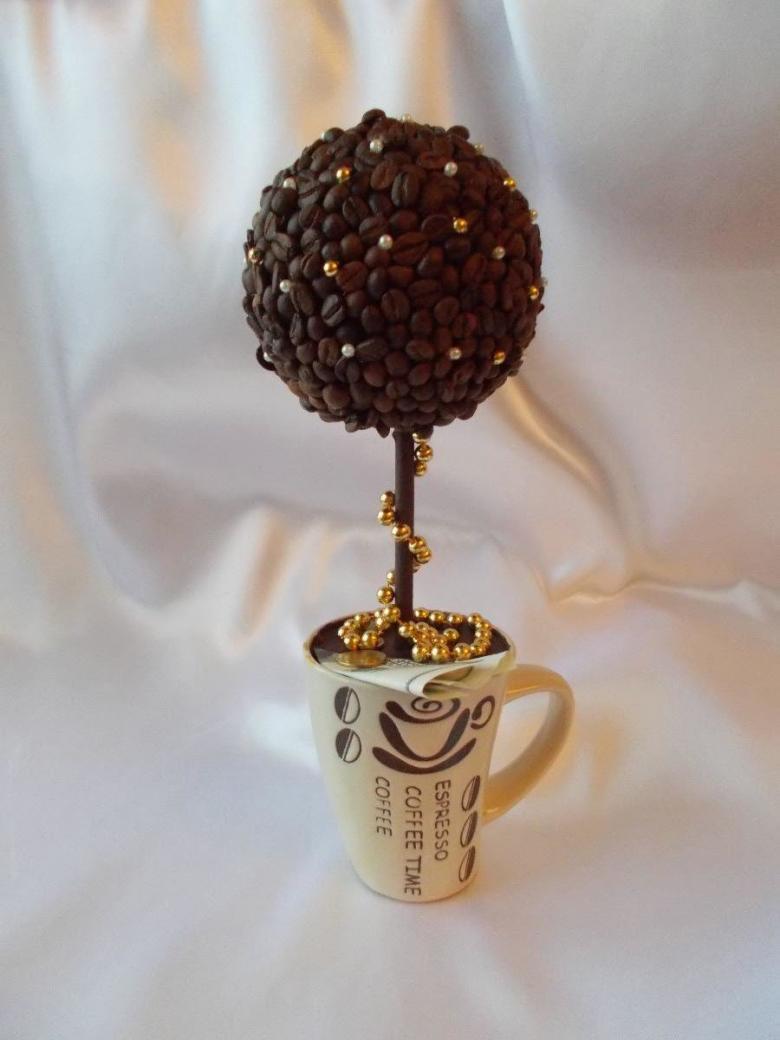
How to make a coffee topiary
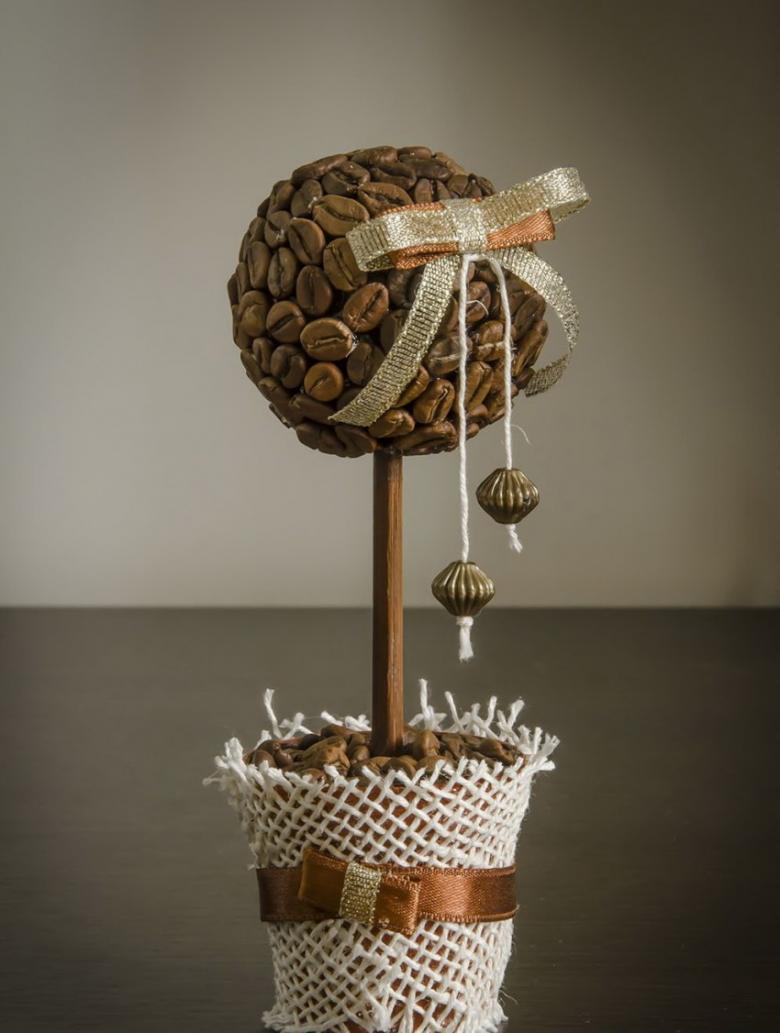
The original coffee tree is also easy to make with your own hands.
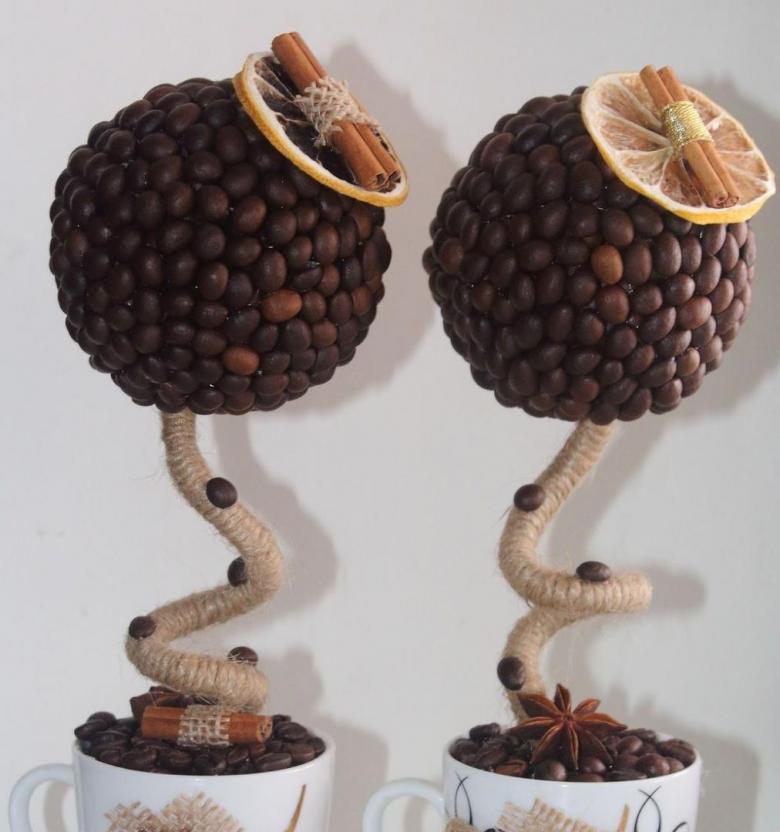
For the work you will need:
- The basis for the crown,
- trunk,
- A pot or a glass,
- Aromatic coffee beans,
- mortar to hold the trunk in place,
- decorative elements to decorate the product,
- paint,
- glue,
- brush,
- scissors.
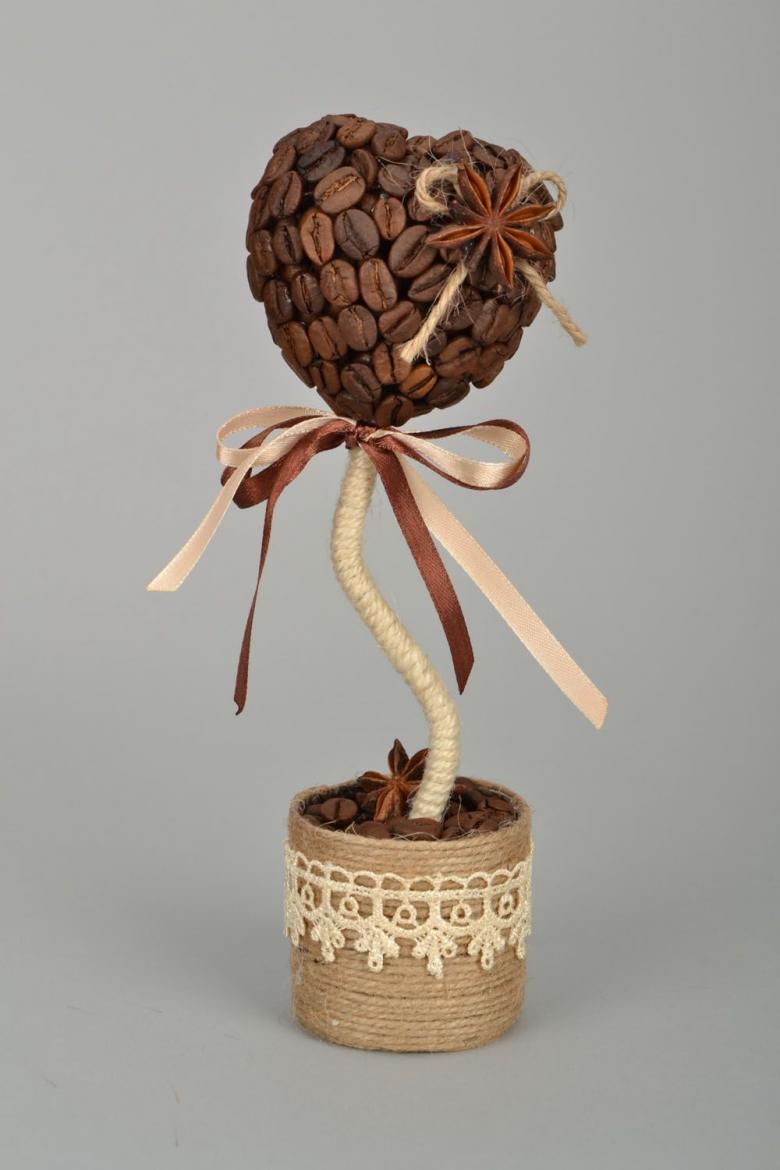
Step by step master class.
- It is more convenient to begin the work with the design of the stand.
- Then attach the base of the crown to the trunk, painted brown or beige.
- After drying, the blank is decorated according to the idea with coffee beans.
- The trunk is fixed in the pot with mortar.
- After drying, additional decorative elements are applied.
- The fragrant tree is ready. It should be noted that such a product will not only fill the room with the invigorating smell of coffee, but will also neutralize other unpleasant "aromas".
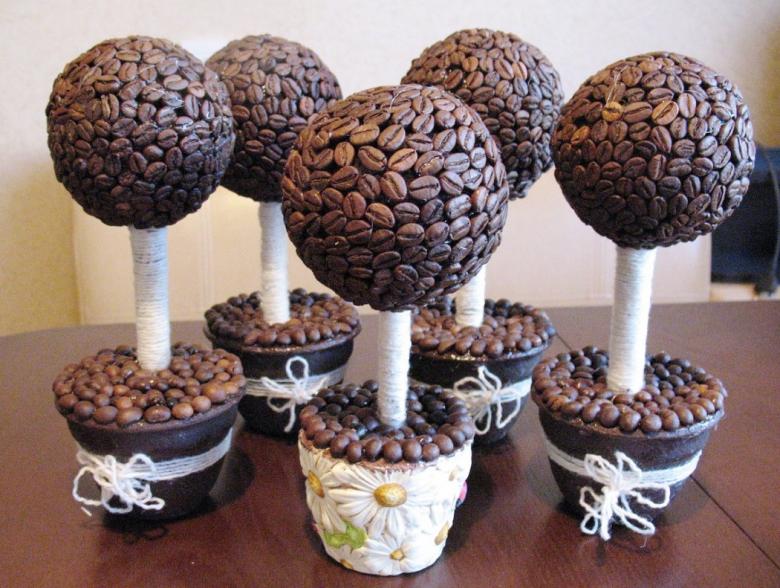
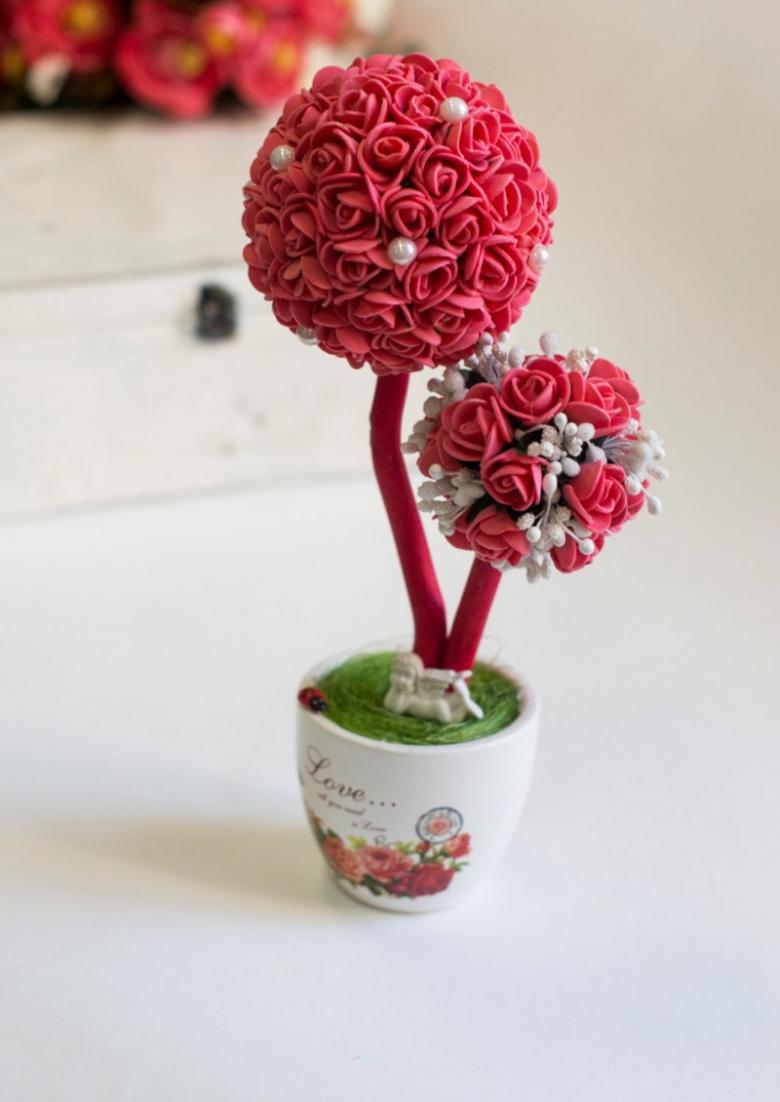
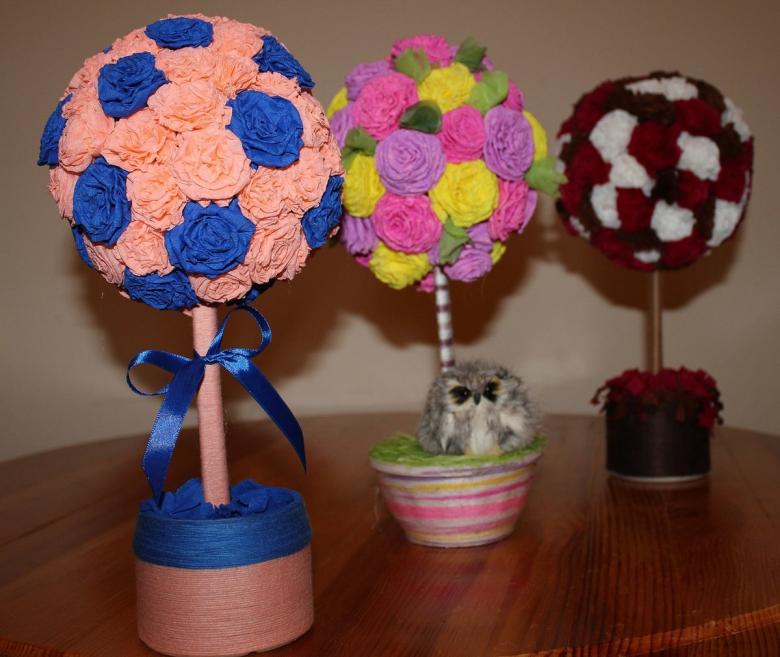
There are a lot of options for decorating the "European tree". Such handicrafts, having two or three crowns of different sizes, look original.
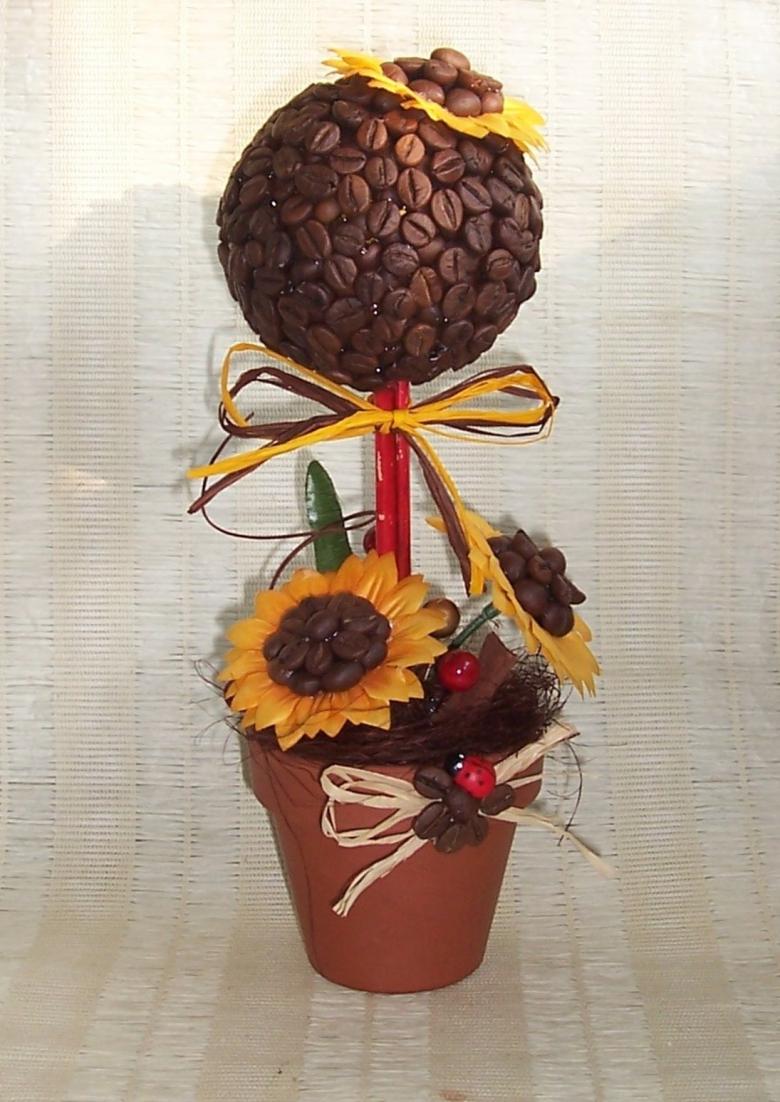
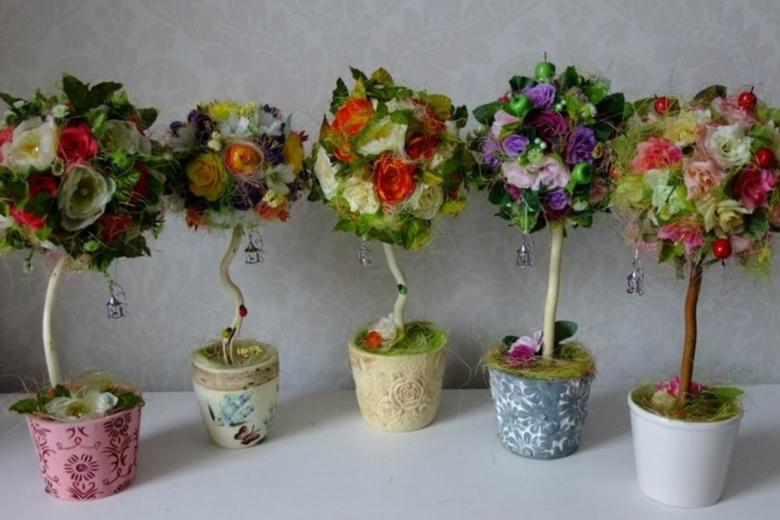
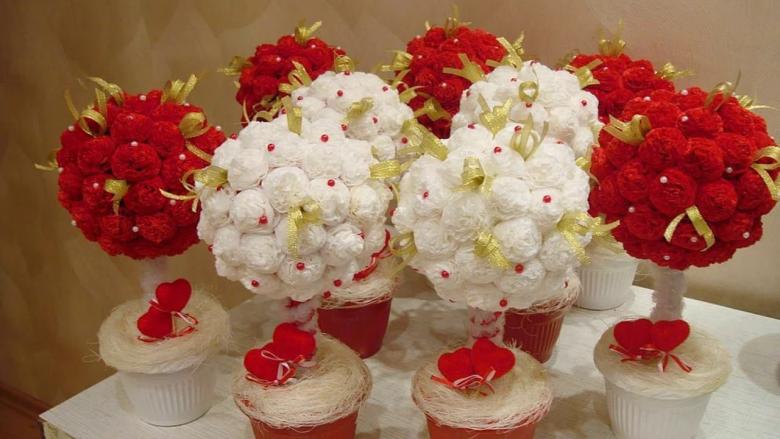
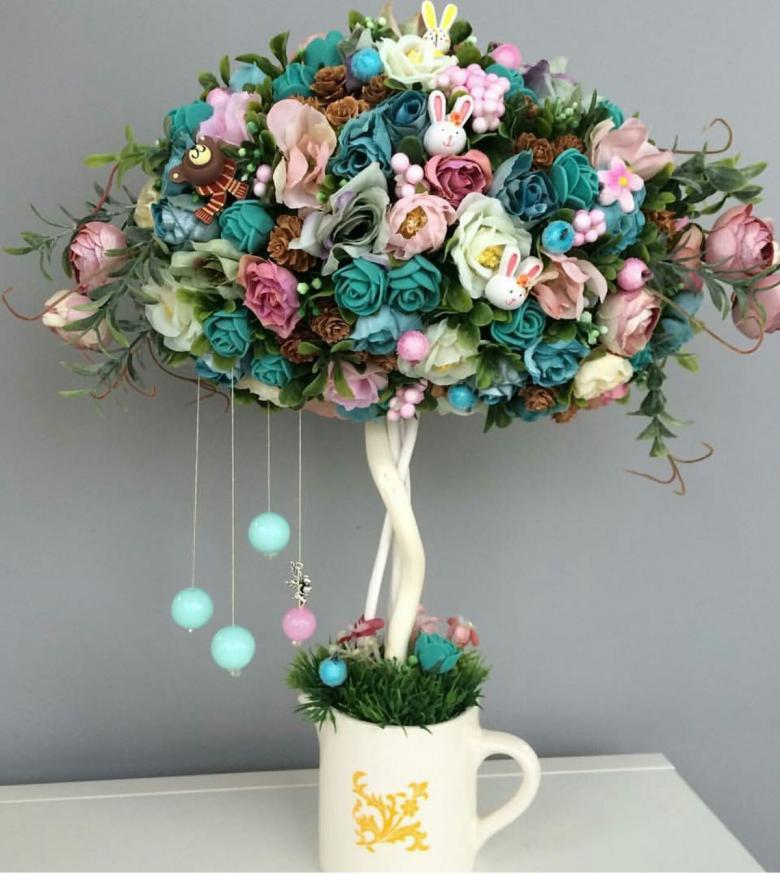
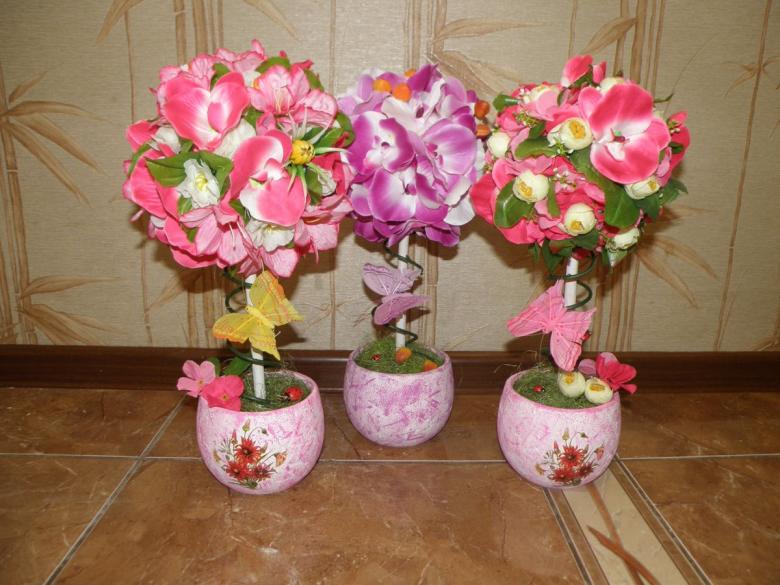
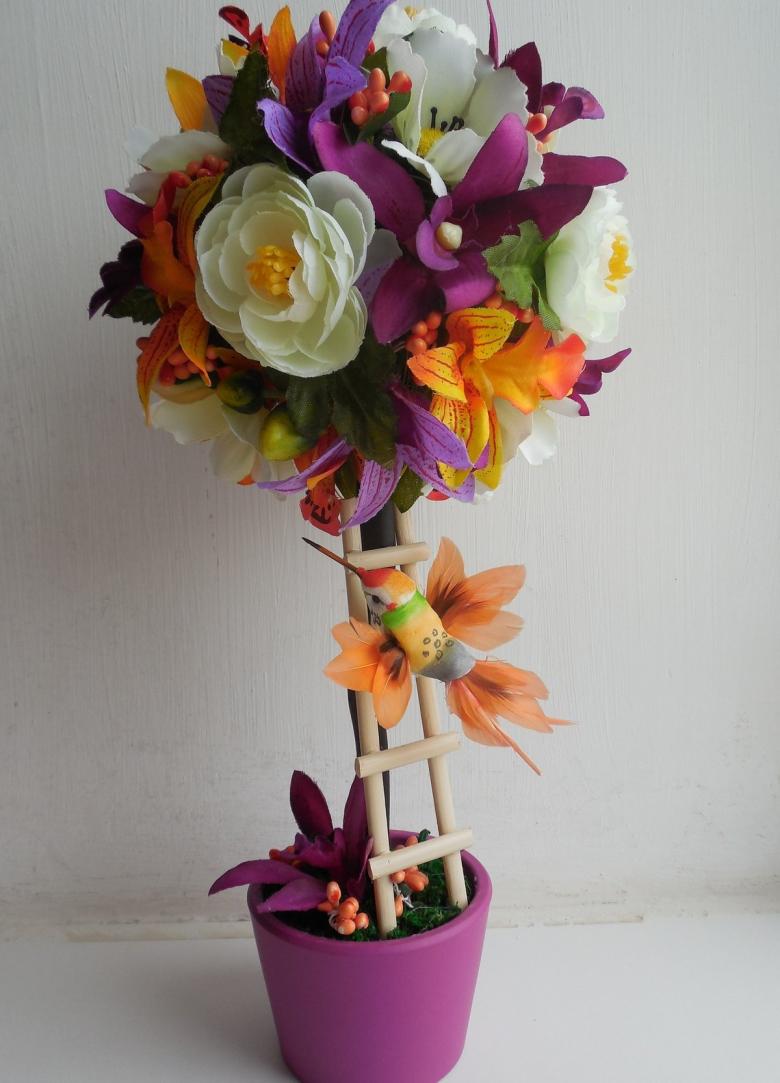
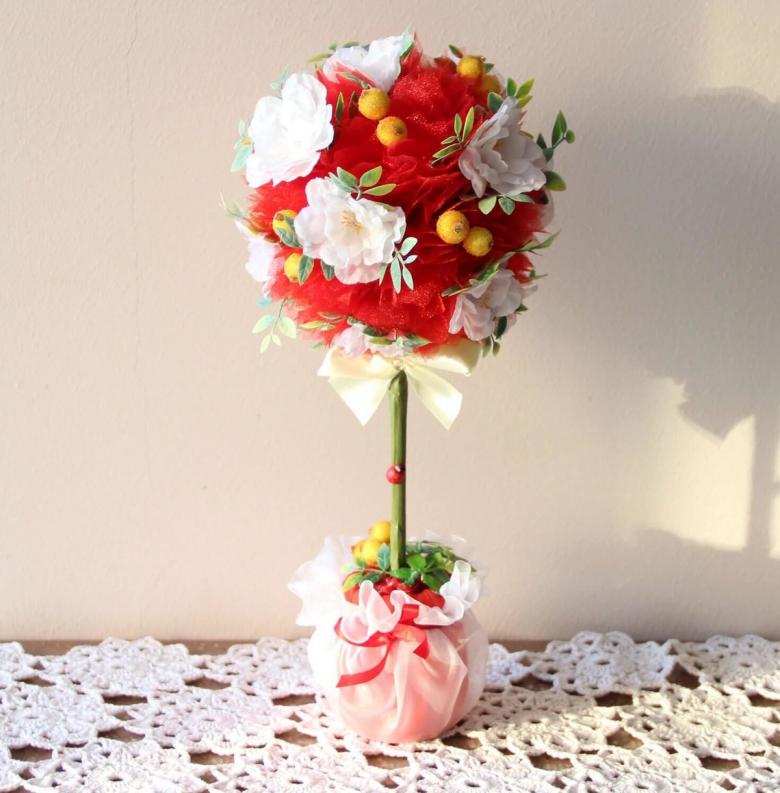
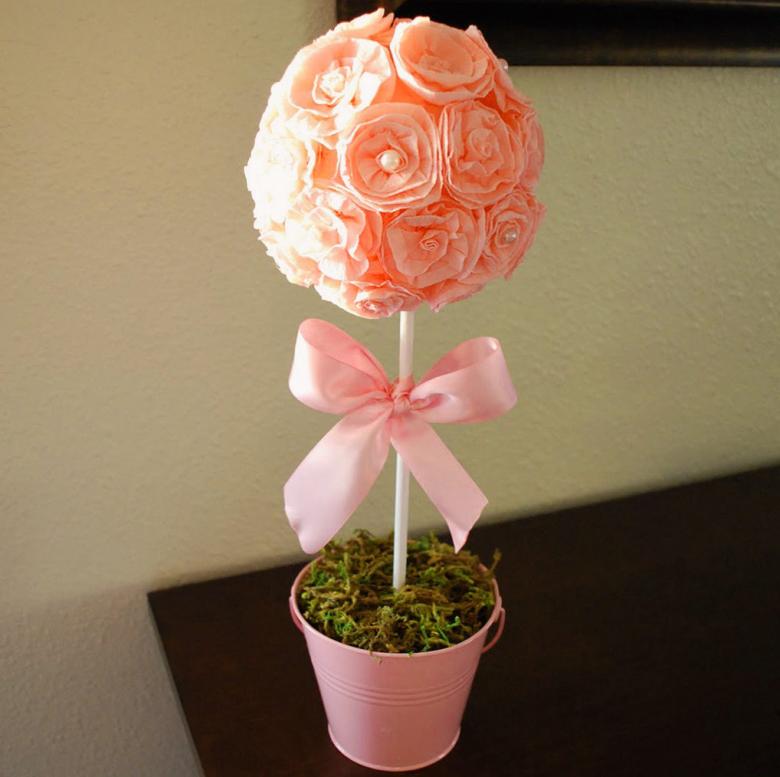
For decoration, you can use satin ribbons and artificial flowers, beads and beads, bills and coins, natural materials and artificial jewelry. Any product made by your own hands will be unique.

Topiary tree will serve as a good option for a gift, will help decorate the interior for the holiday.
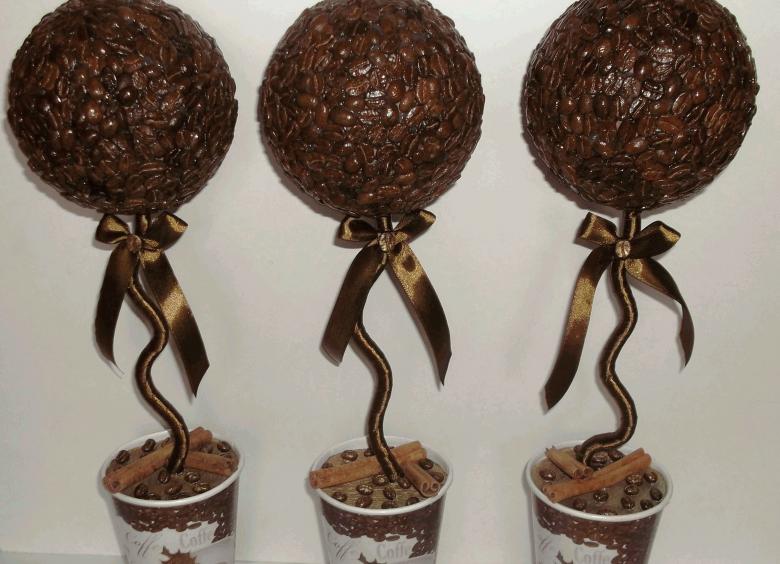
How to make a topiary tree
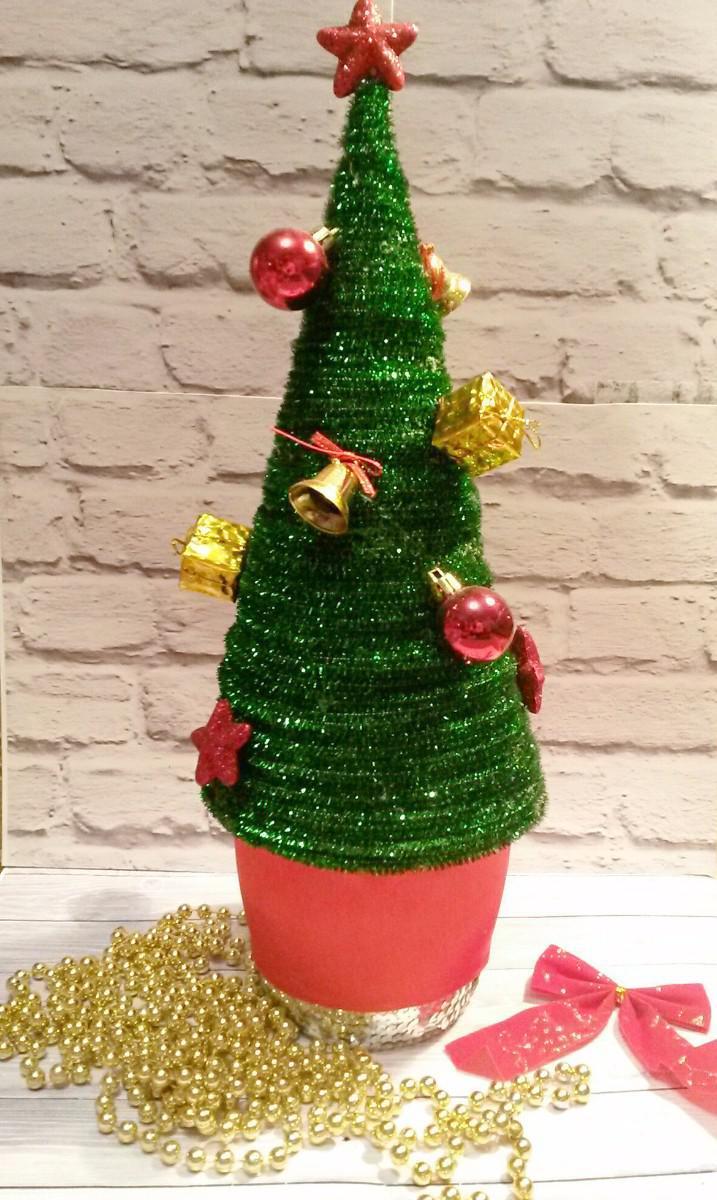
To create a New Year's atmosphere, you can make a topiary tree in a couple of evenings.
The technique of making such a topiary is slightly different from the classic scheme, but also easy to perform.
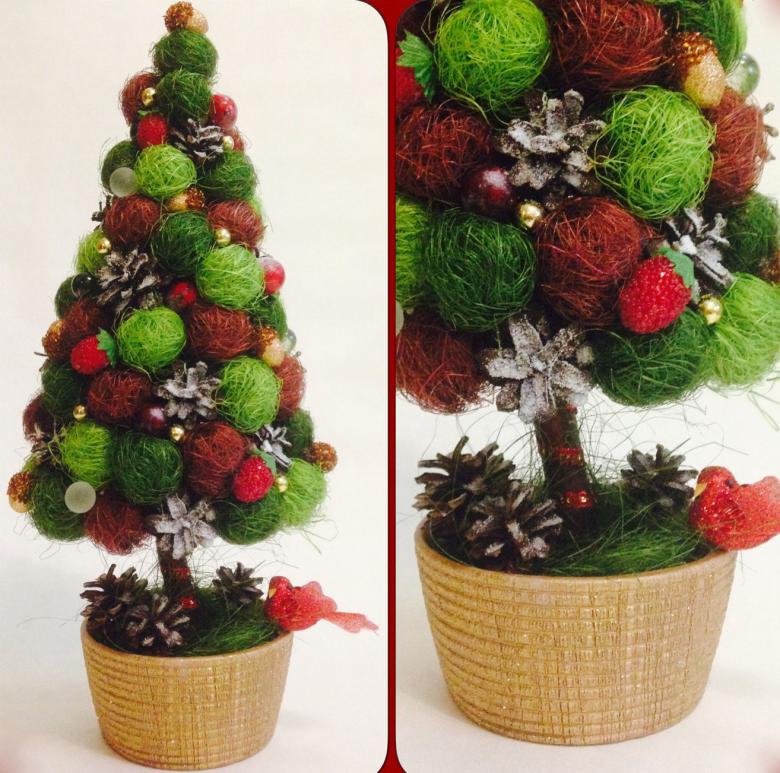
To work use:
- cardboard,
- the basis of the newspaper,
- netting,
- The basis of the plastic.
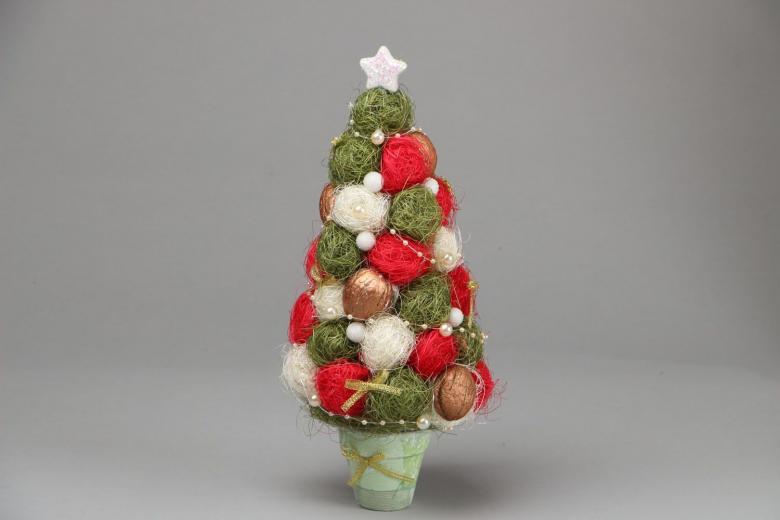
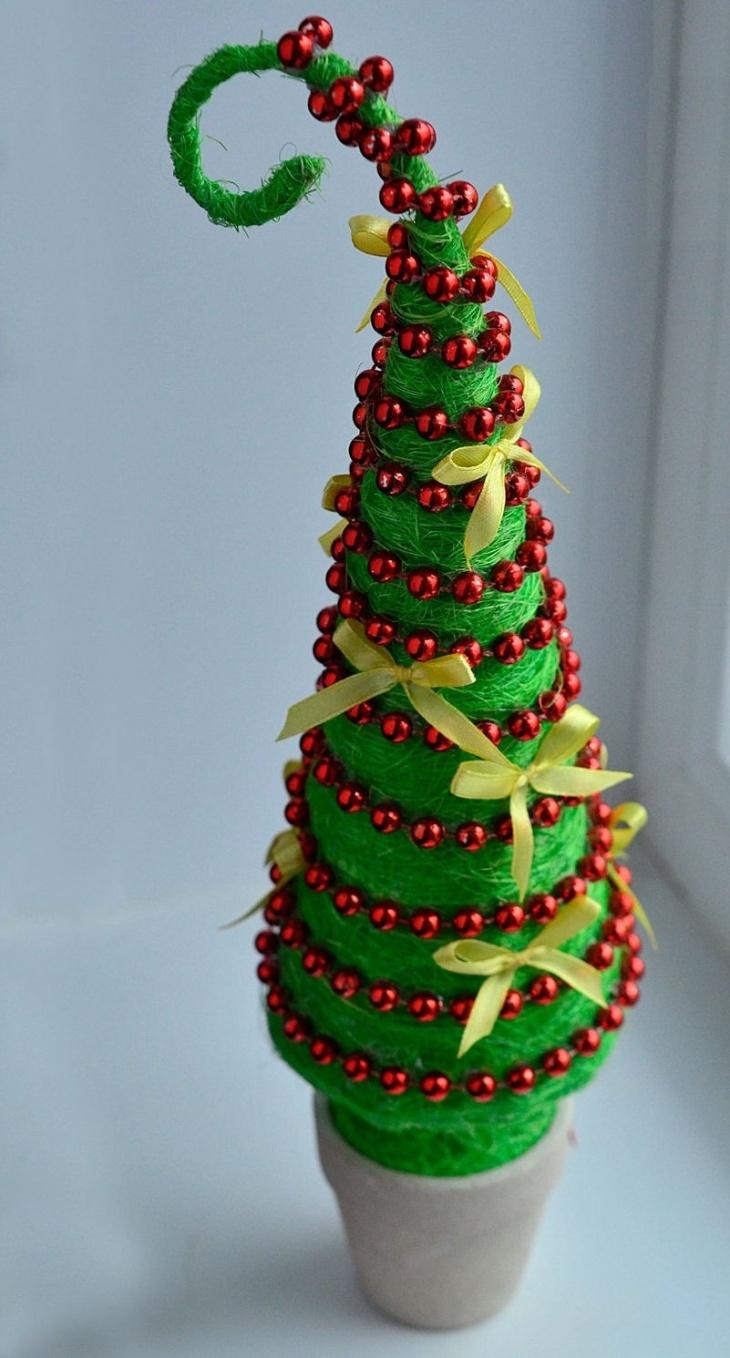
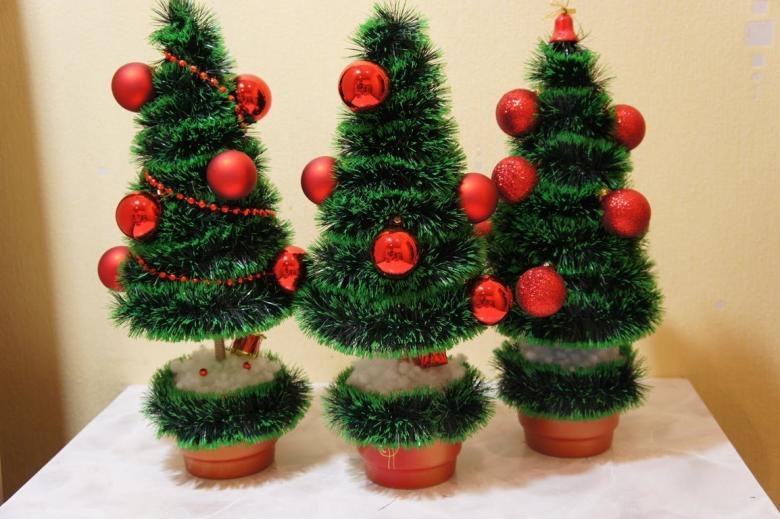
The base for the topiary Christmas tree can be purchased in a craft store or glued from cardboard. The appearance of the product will depend on the shape of the base. The herringbone can be a classic or non-standard design.

Instructions for beginners
Before you begin to implement the creative idea, it is necessary to stock up on all necessary materials.
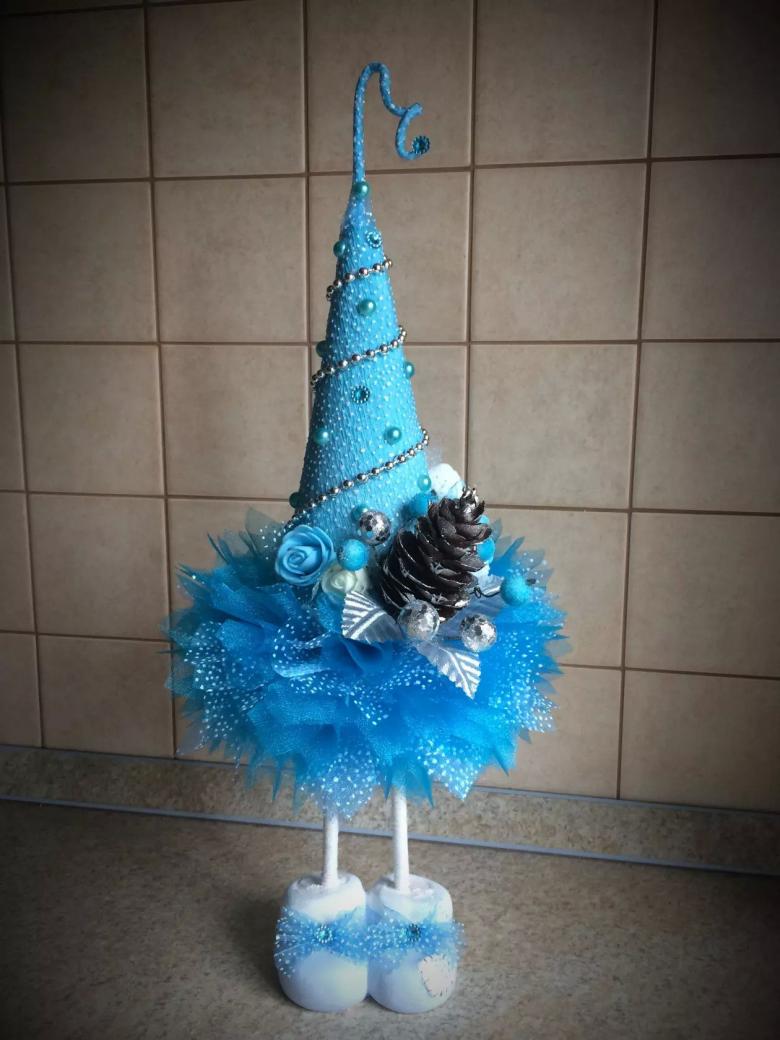
For work it is necessary to have:
- cardboard,
- absorbent cotton,
- a pot-base,
- trunk,
- a mixture for fixing the product,
- glue,
- paint,
- paintbrush,
- scissors,
- decorative elements.
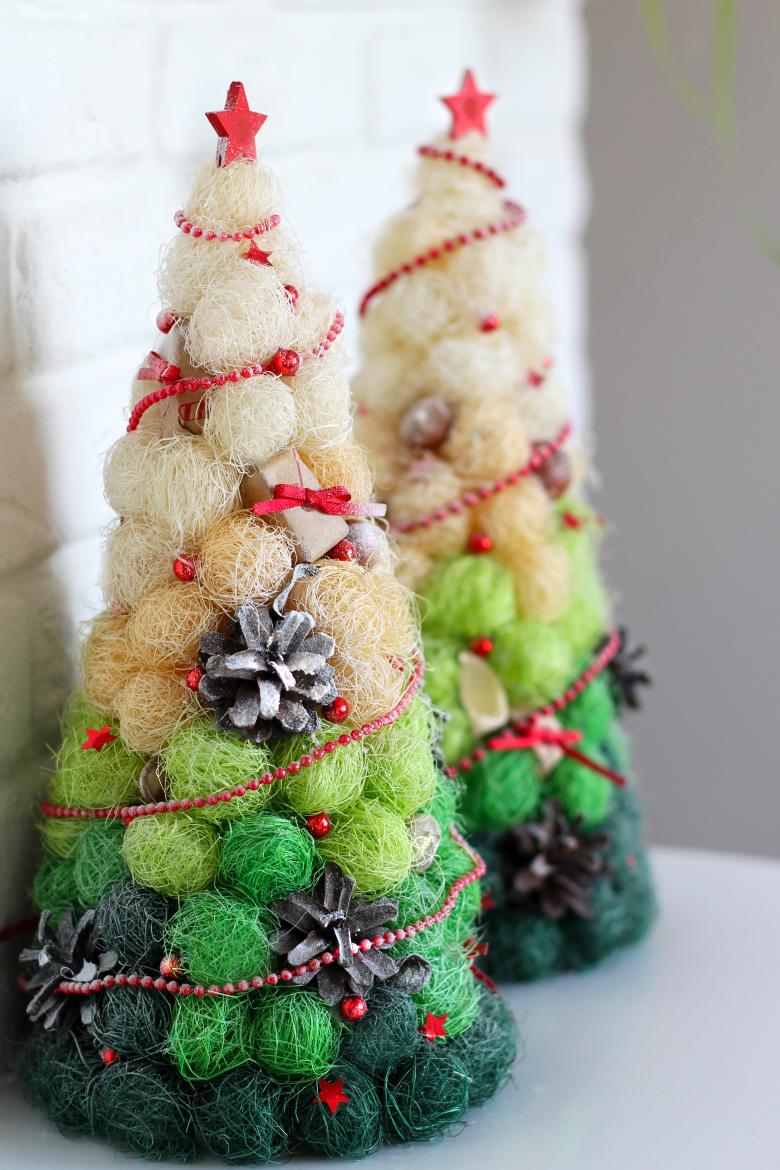
Step by step instructions.
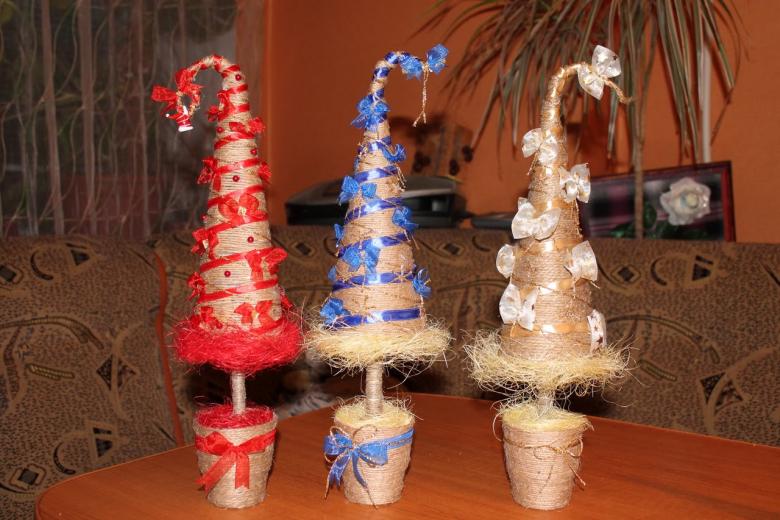
- It is rational to begin the work with making the base of the Christmas tree. It can be a volumetric classic Christmas tree, a cone made of cardboard or plastic, a product of unusual shape.
- The finished base is attached to the stem-stem.
- Decorate the pot.
- Fix the Christmas tree with a building compound in the pot.
- After drying, complete the decoration of the Christmas tree, decorating it with ready-made elements according to the idea.
In this way you can make an excellent decorative element to create a festive mood.
Alternative topiary Christmas trees
The beauty of homemade art lies in its freedom from traditional frameworks. Topiary in the form of a Christmas tree can be made of different materials.
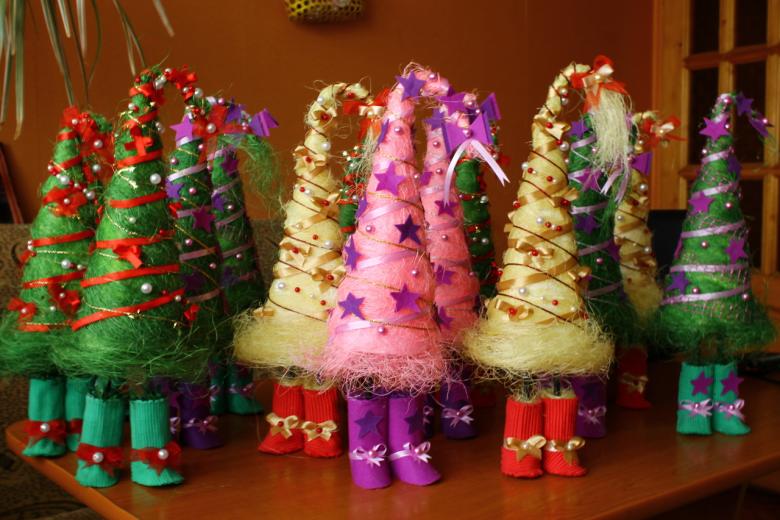
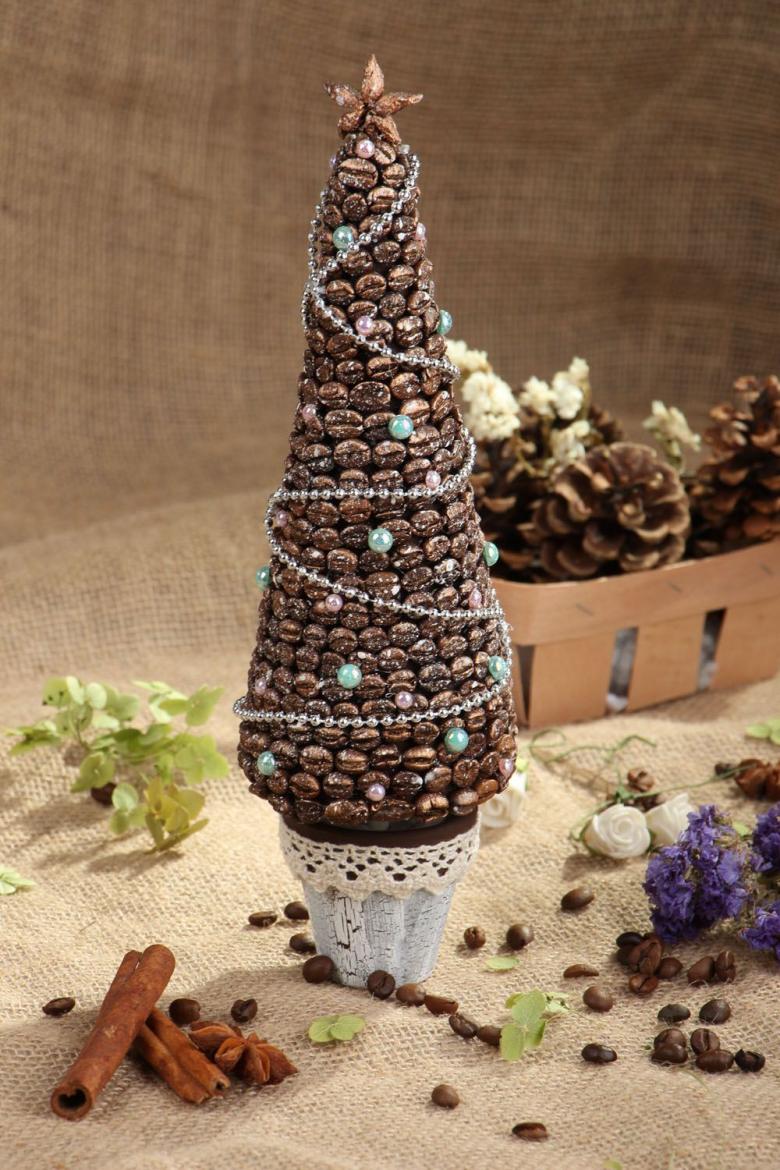
Unusually look coffee Christmas trees, products from glass Christmas beads and tinsel. The original solution will be a topiary made of twine, decorated with bright ribbons and miniature toys.
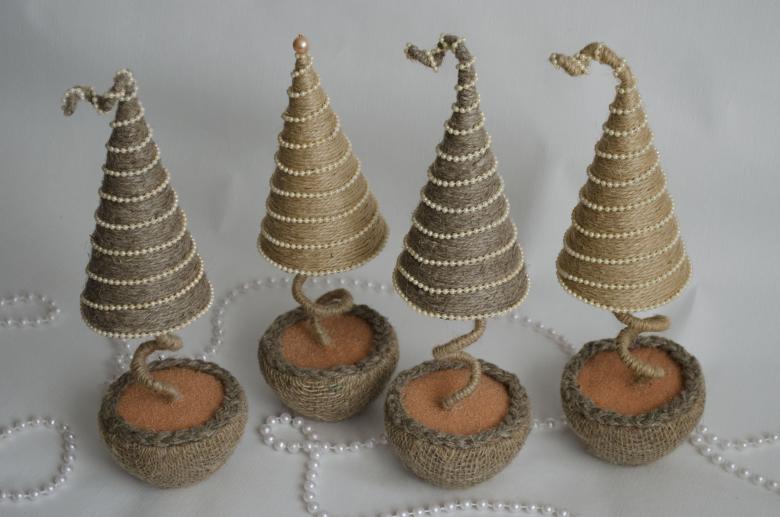
There are so many ideas for making decorative trees that it is impossible to list them all. Any idea, executed carefully, will look like an original product.

