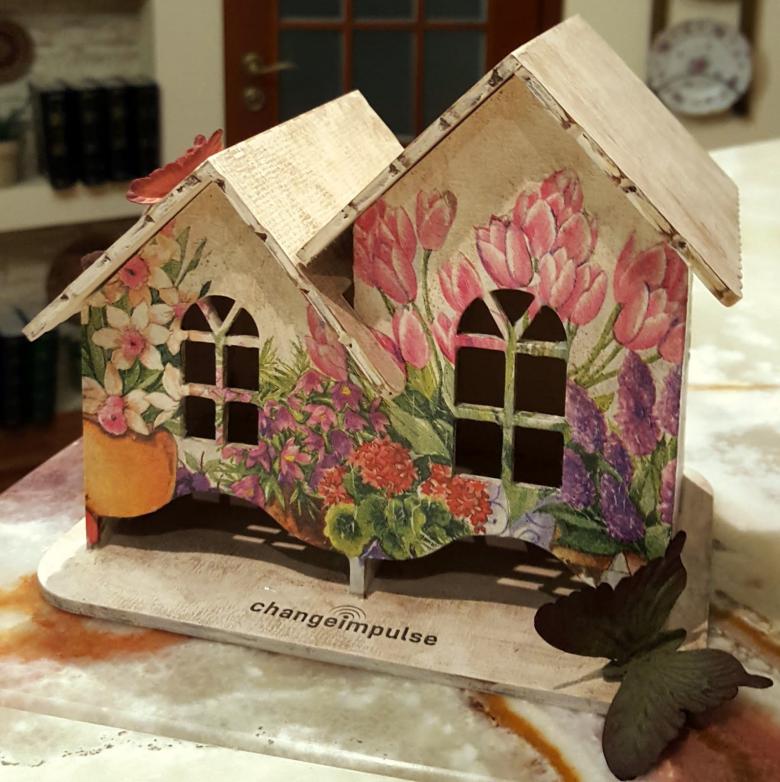
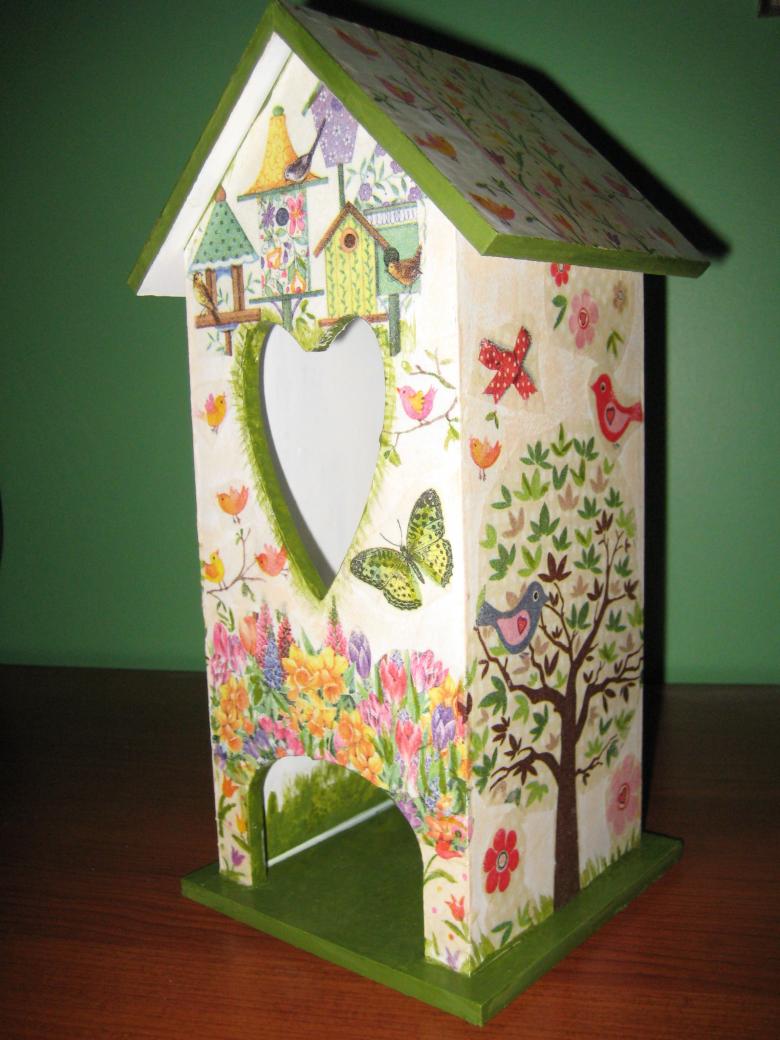
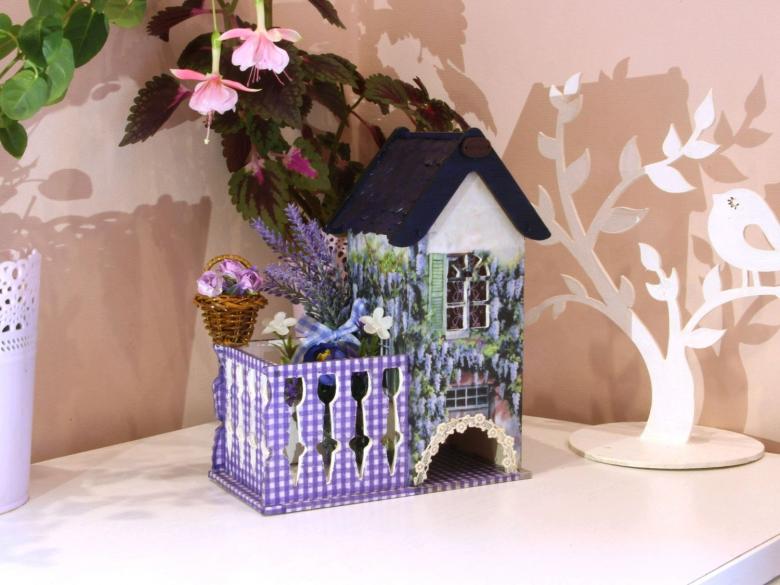
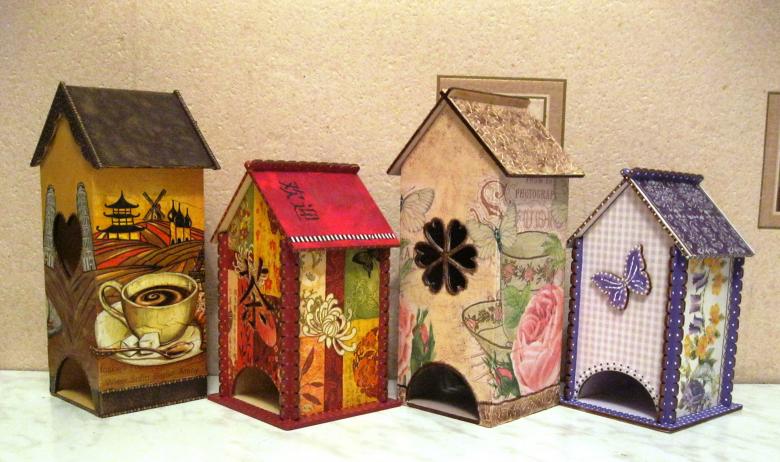
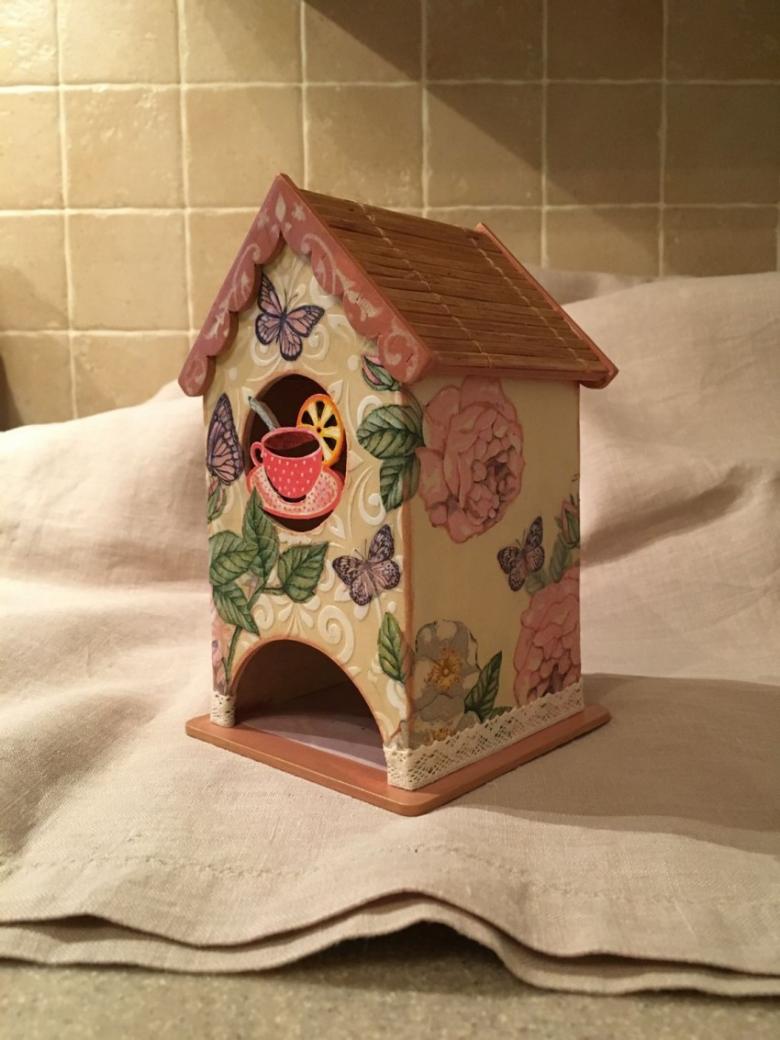
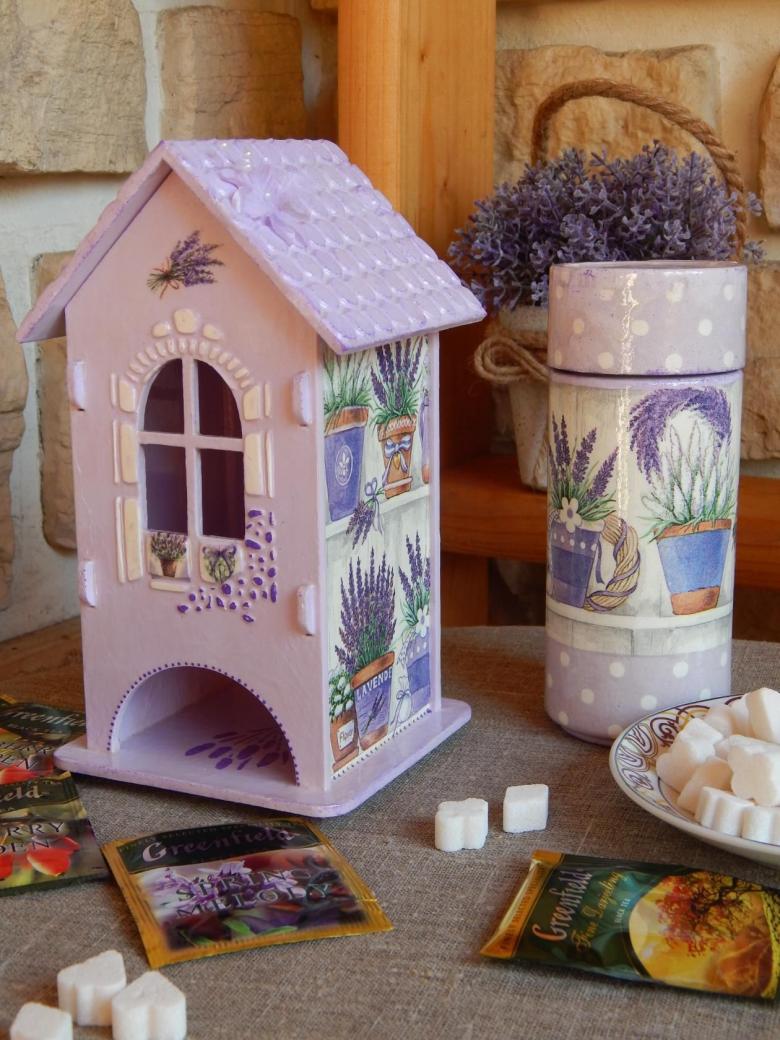
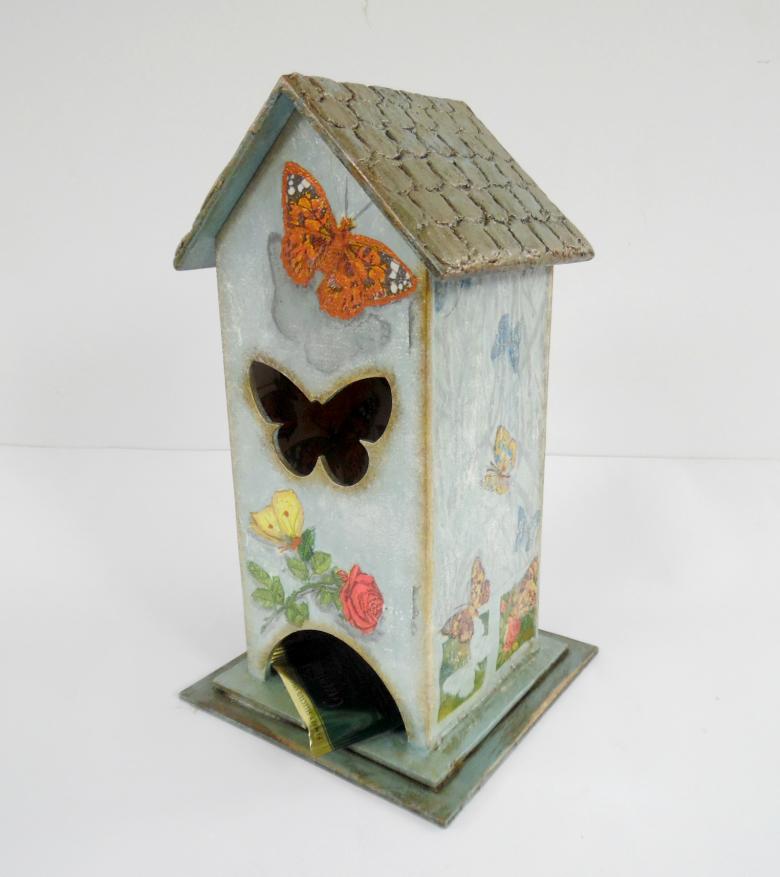
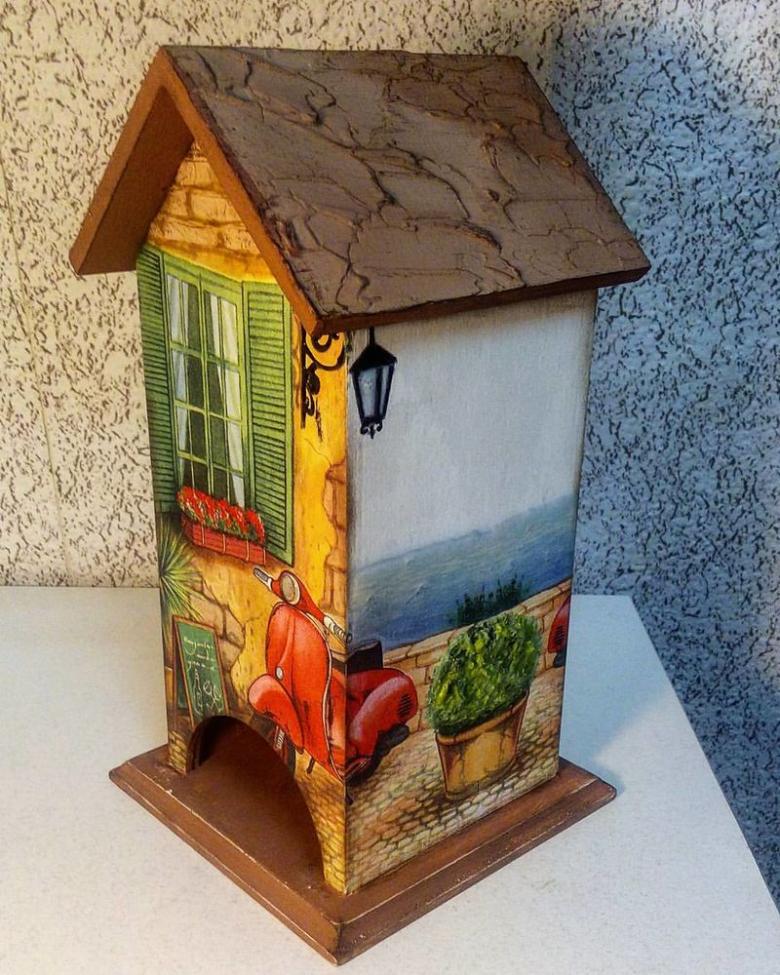
Decoupage tea house - a detailed master class for beginners with photo ideas
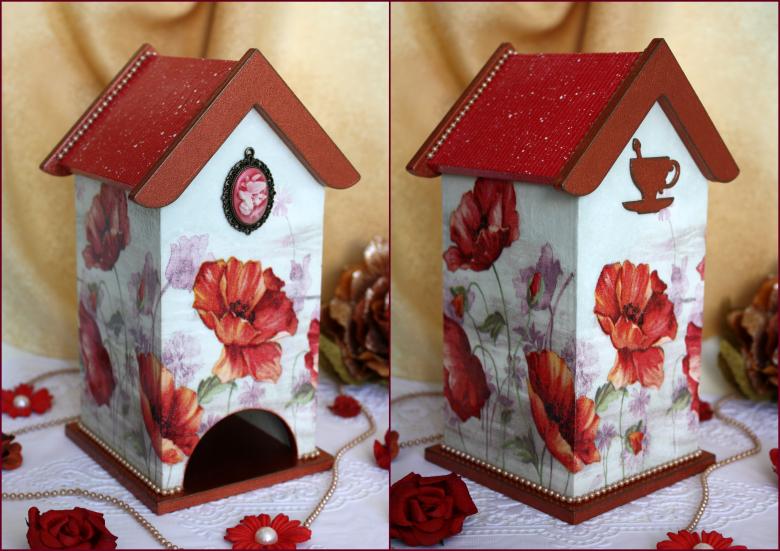
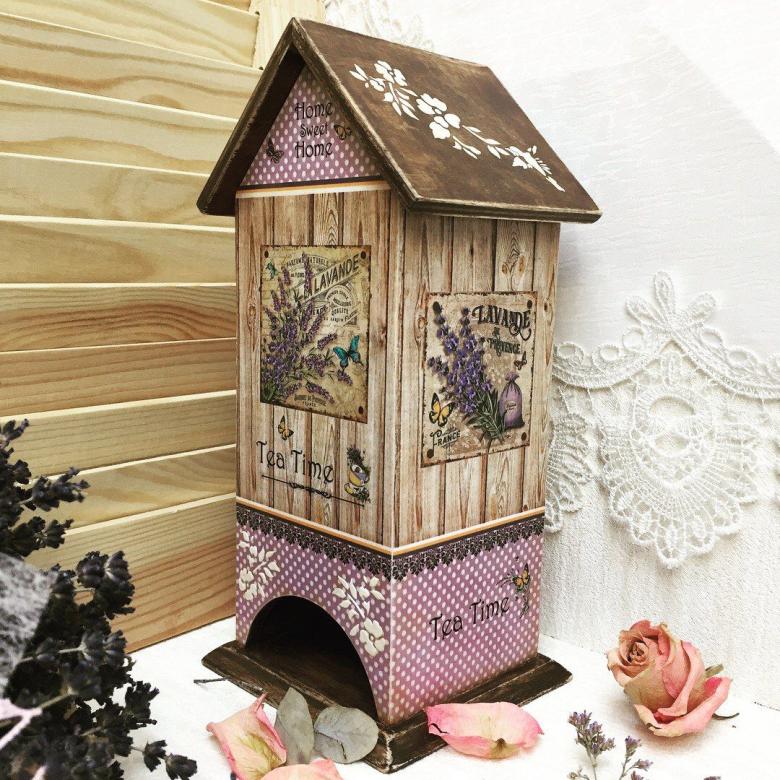
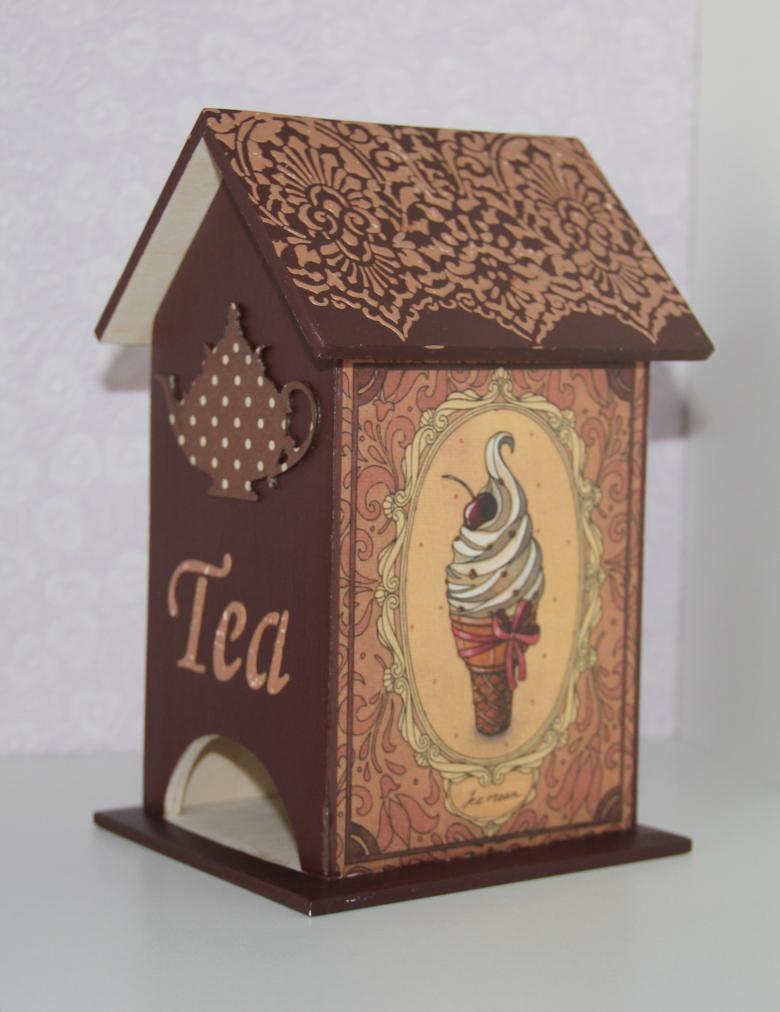
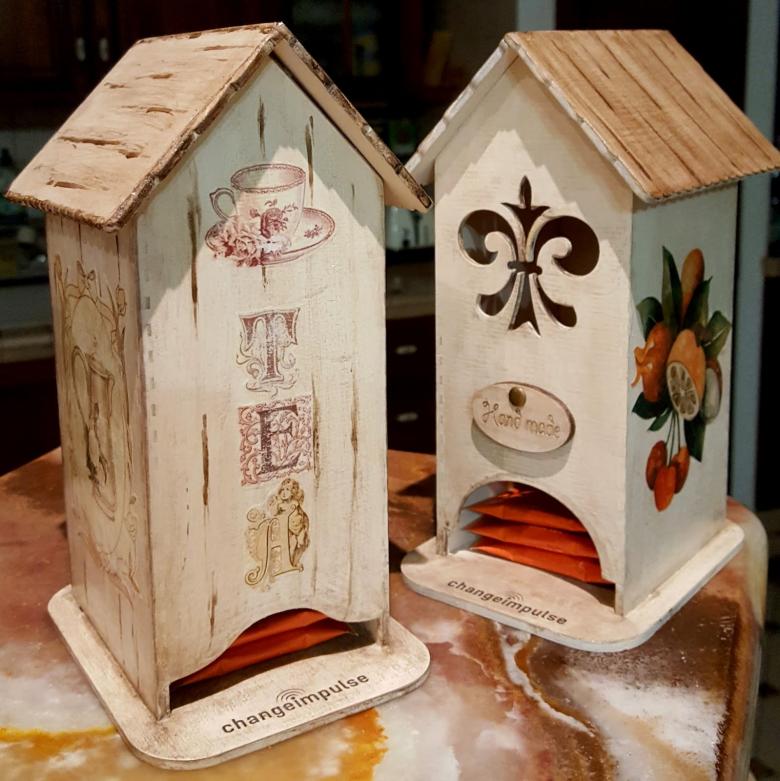
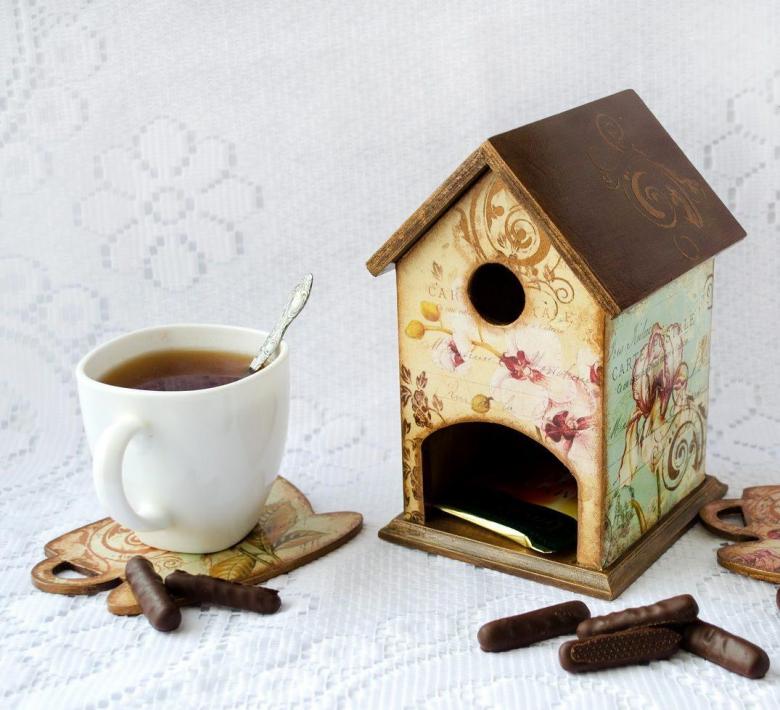
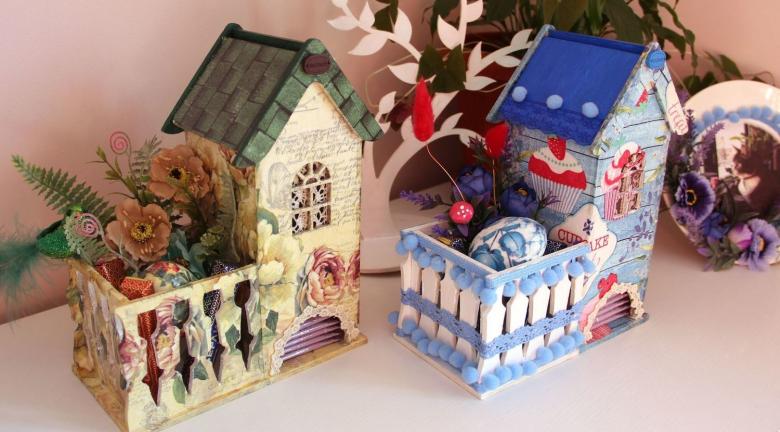
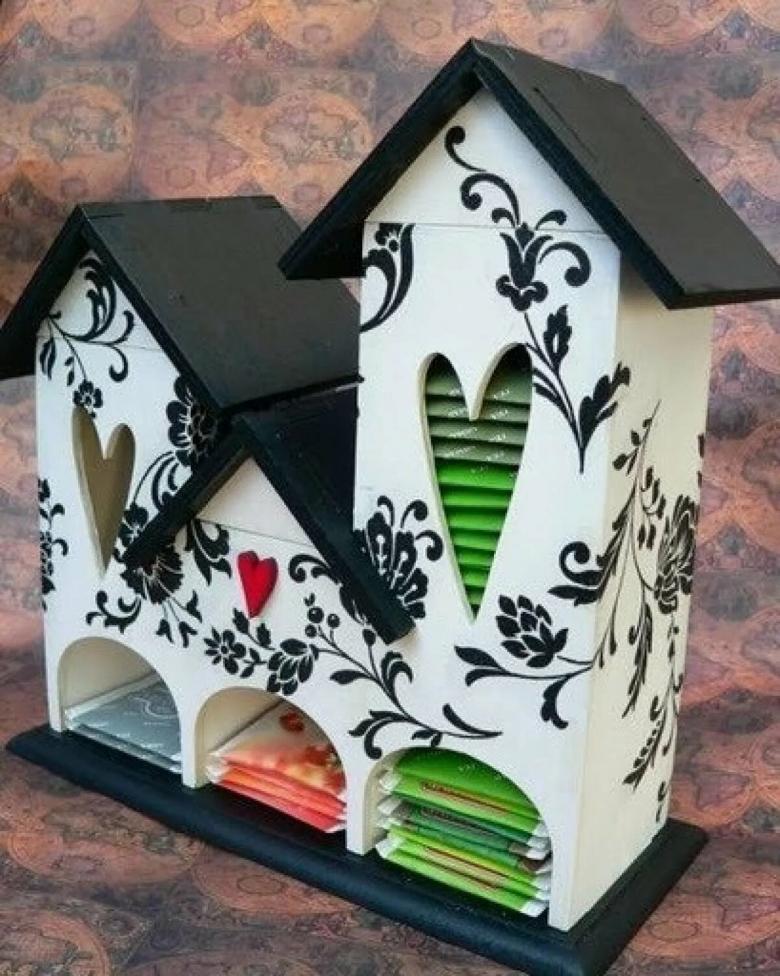
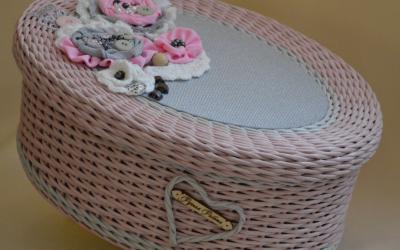
A tea house is an original gift and a successful way to decorate a meal with an interesting accessory. Traditionally, it is a dense decorated blank with a hole for taking bags at the bottom and a hinged roof, through which they are placed. Additionally, many houses have a "courtyard" used as a vase for candy, cookies and other sweets - you get a set for the tea ceremony.
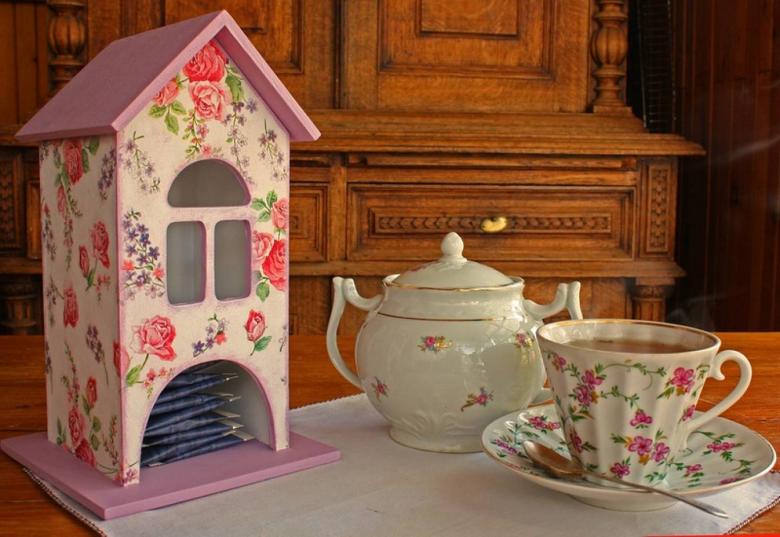
You can find the right product in the catalog of the online store and order delivery for a couple of clicks, but the handmade house looks much cozier. The following master class will help make sure that it is easy and very interesting to please yourself or a loved one!
Getting ready to work
Materials:
- The billet of the cottage - a wooden or plywood version is ideal, as it is of higher quality, practical and durable. When choosing a model, you should pay attention to its complexity - for beginners it is better to refuse from "cottages" with openwork windows and fences. You can also make a cardboard frame - affordable, but uncomfortable in service.
- Acrylic paints of any color, white is considered basic, bright shades will do for painting. It is desirable to choose hypoallergenic products without a pungent smell and toxic compounds.
- Primer and sandpaper ("sandpaper"), if the craft will be made of wood.
- Brushes.
- Tissues with the necessary pictures.
- PVA glue.
- Transparent water-based paint.
The technique of making differs from one craftsman to another, so you may need additional tools.

First, you should look at photos of finished work for inspiration, decide on the decor and buy everything you need. It is important to free the workplace, provide it with good ventilation and lighting. Also, you need to take care of the safety of pets, children - remove vials from the edge of the table, explain the safety techniques.
House decoration
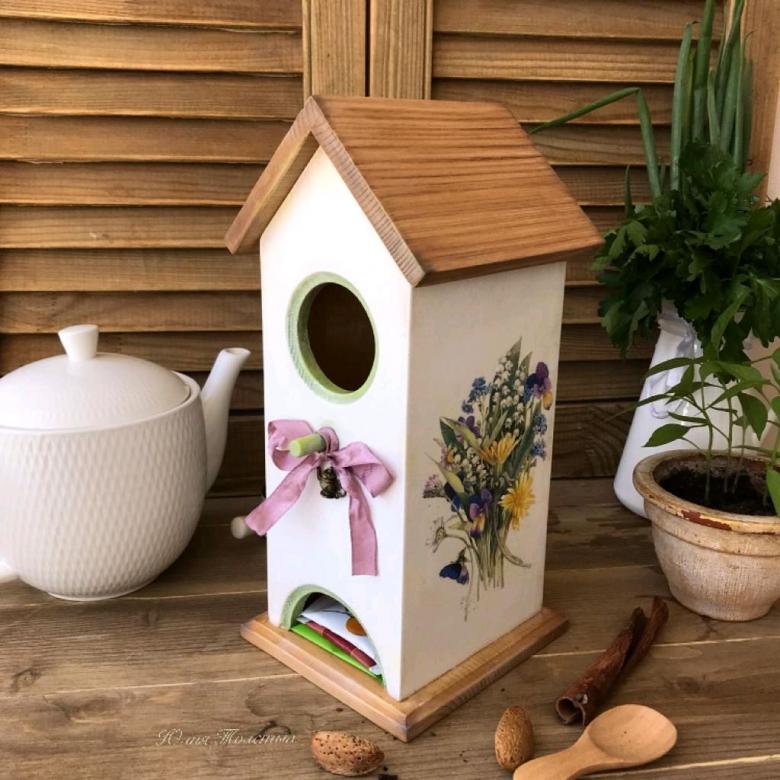
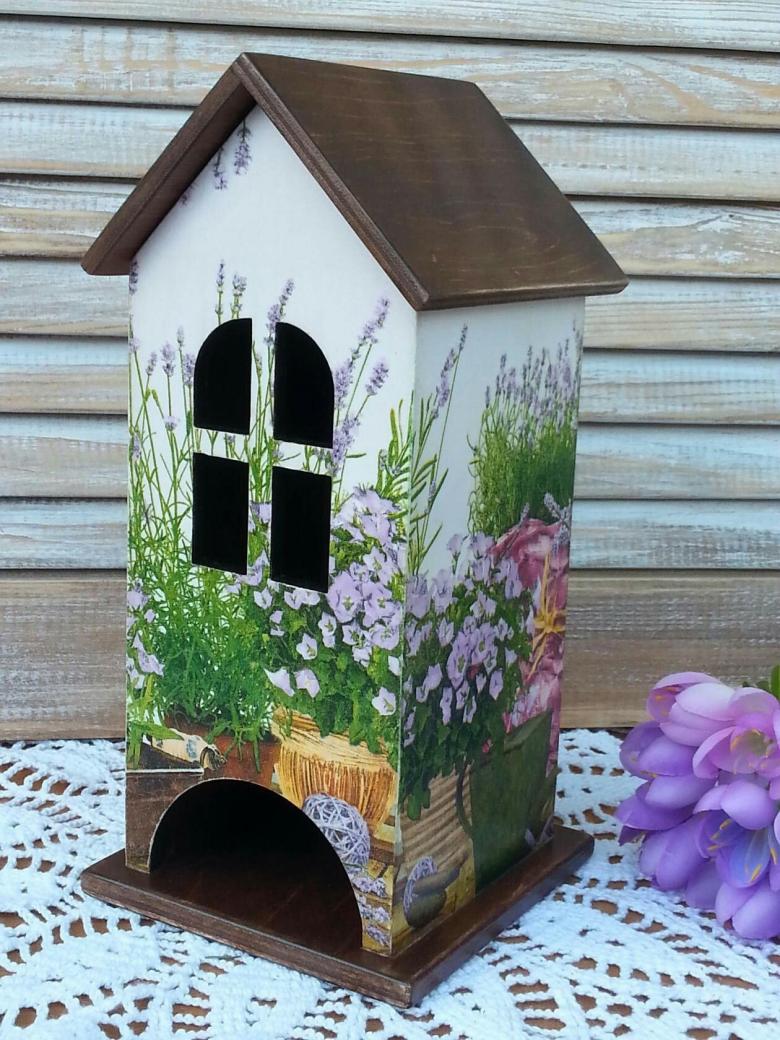
The design can be any and depends on the imagination of the craftsman and the occasion for which the house is made. For example, popular styles are:
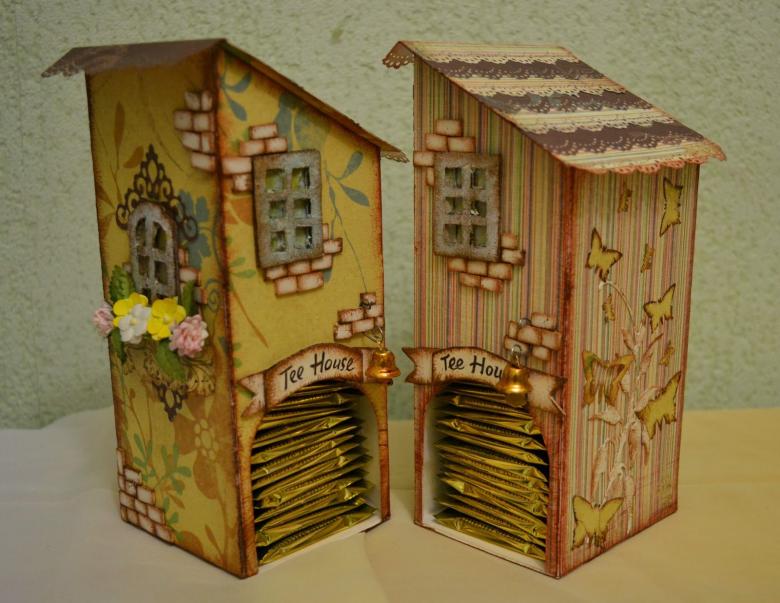
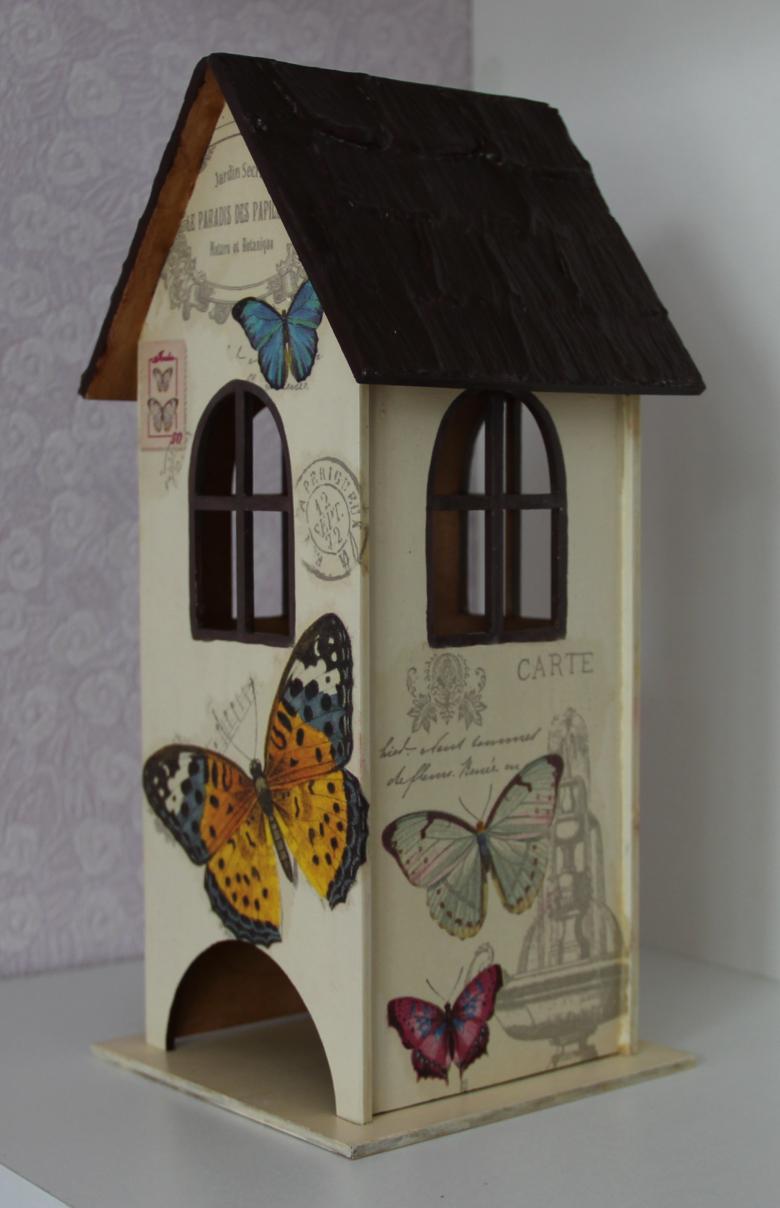
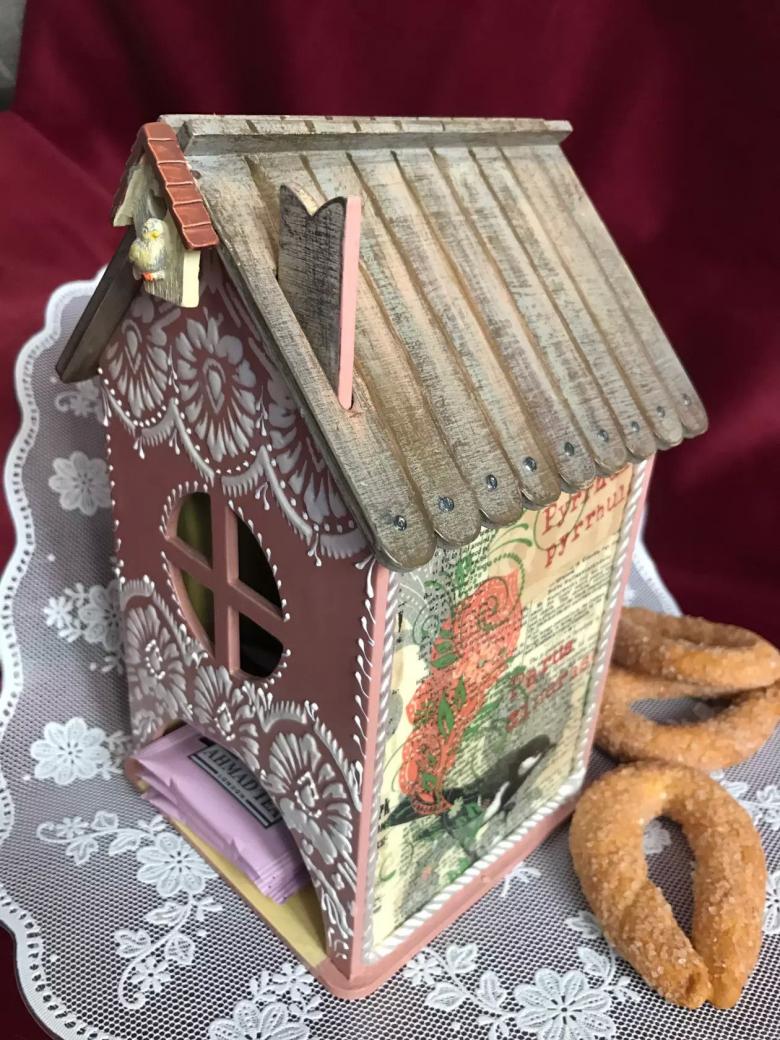
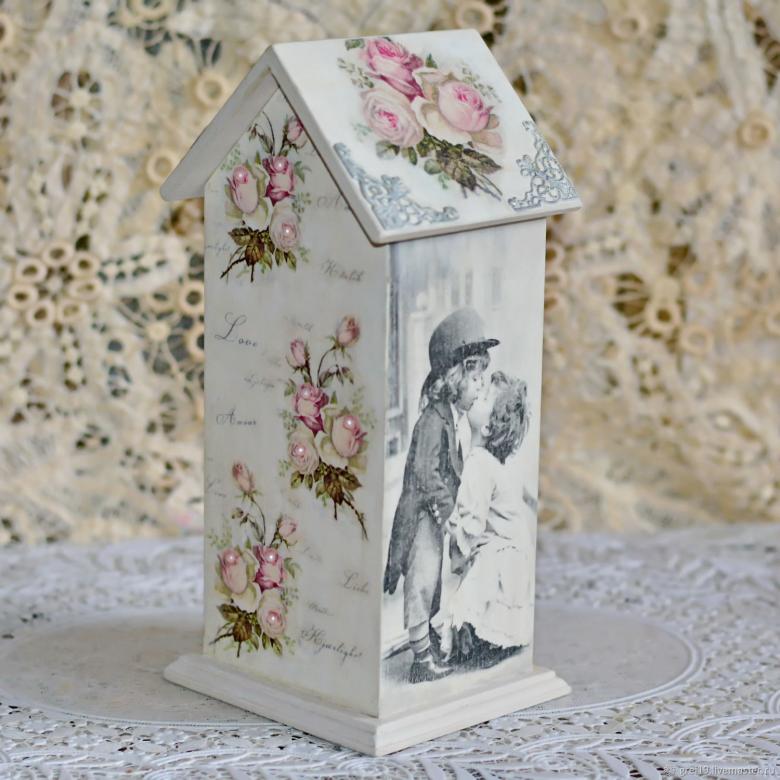
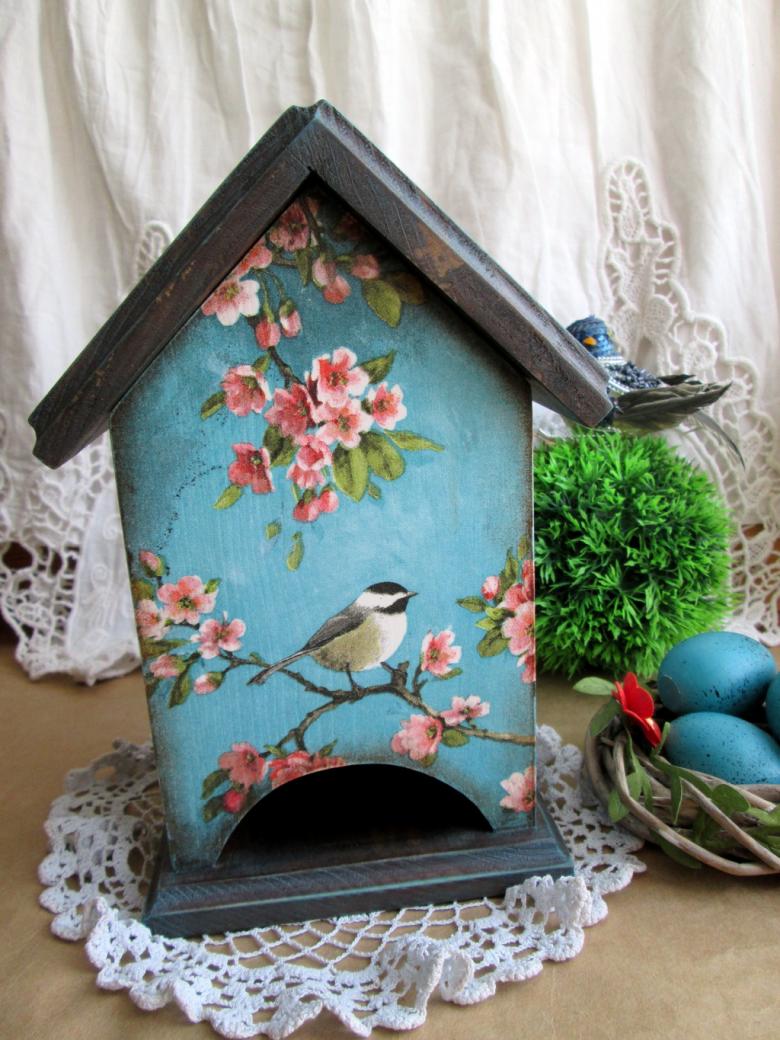
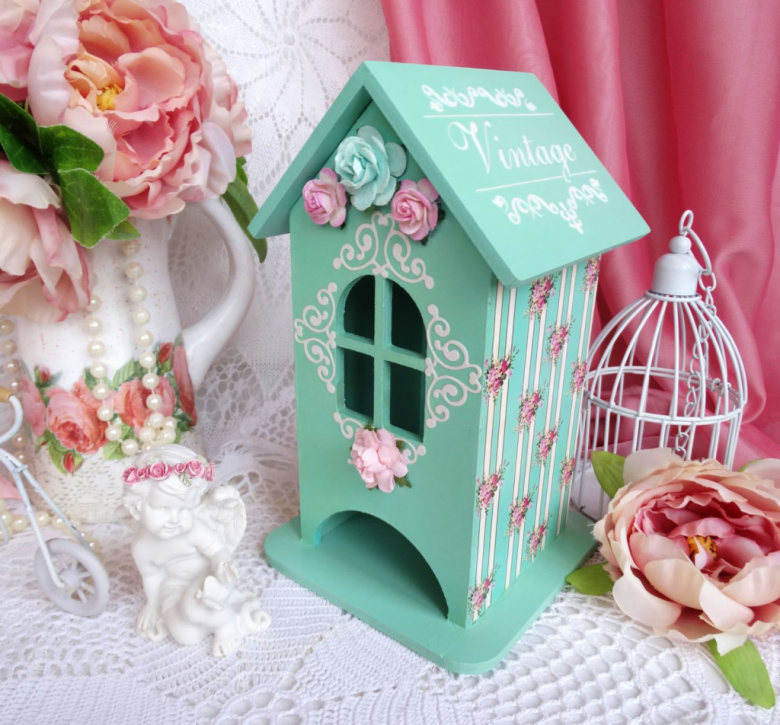
- Vintage - with the use of beautiful colors, artificially aged elements and retro pictures;
- Romantic - if a gift is planned for a wedding ceremony or wedding anniversary;
- modern;
- Classic British - small roses, cups, words in English, imitation newspaper clippings will do;
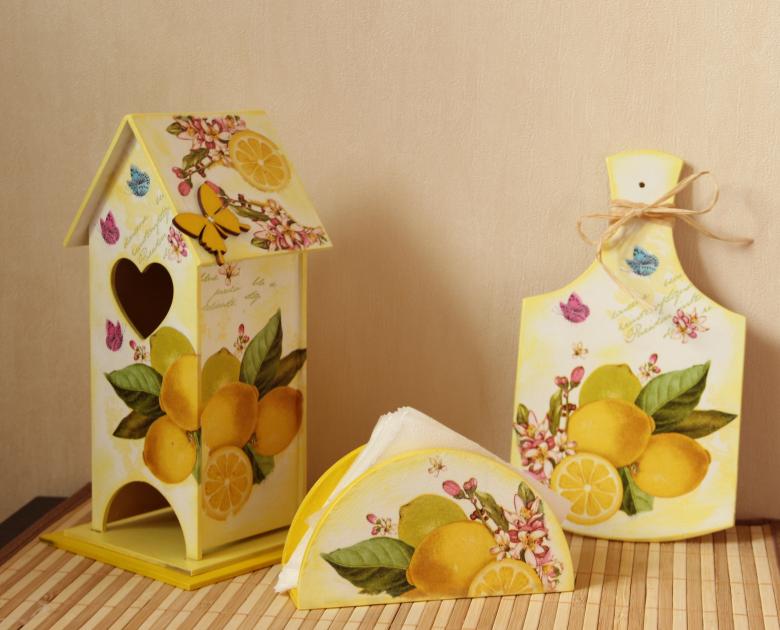
- kitchen - with images of fruits, berries, vegetables, desserts.
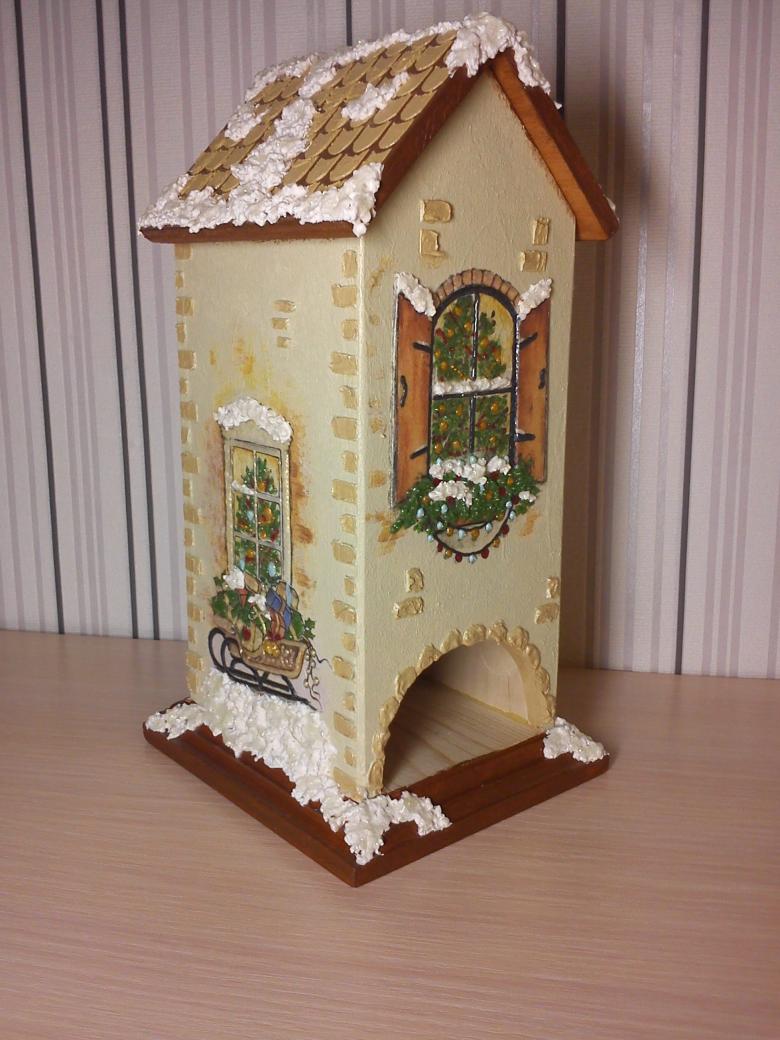
If the craft is prepared for a holiday, you can decorate it with thematic recognizable elements - decorate the New Year's billet with Christmas trees and snowflakes, and the gift for Teachers' Day is appropriate to complement the autumn leaves, school paraphernalia.
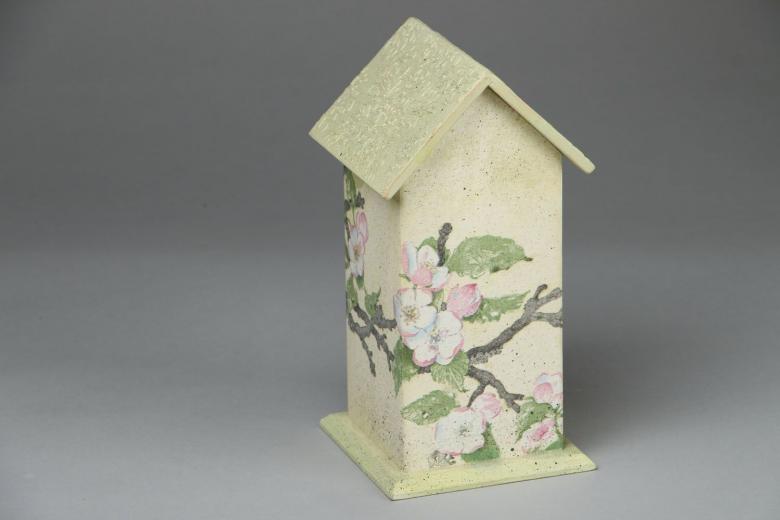
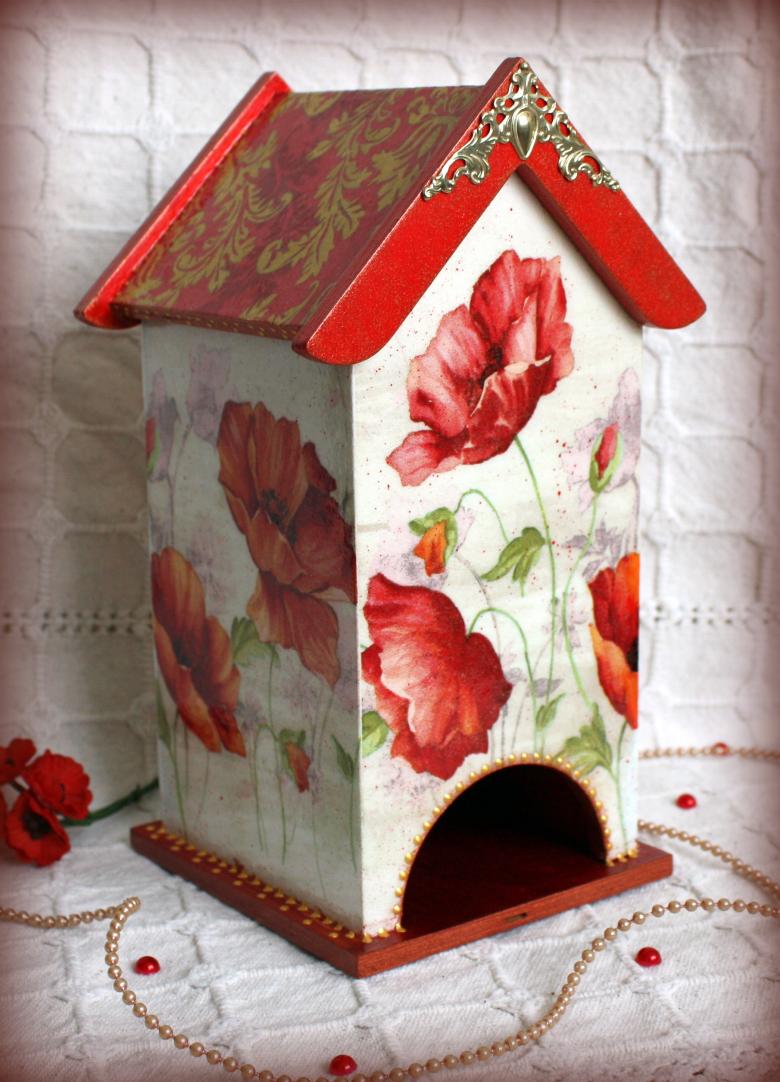
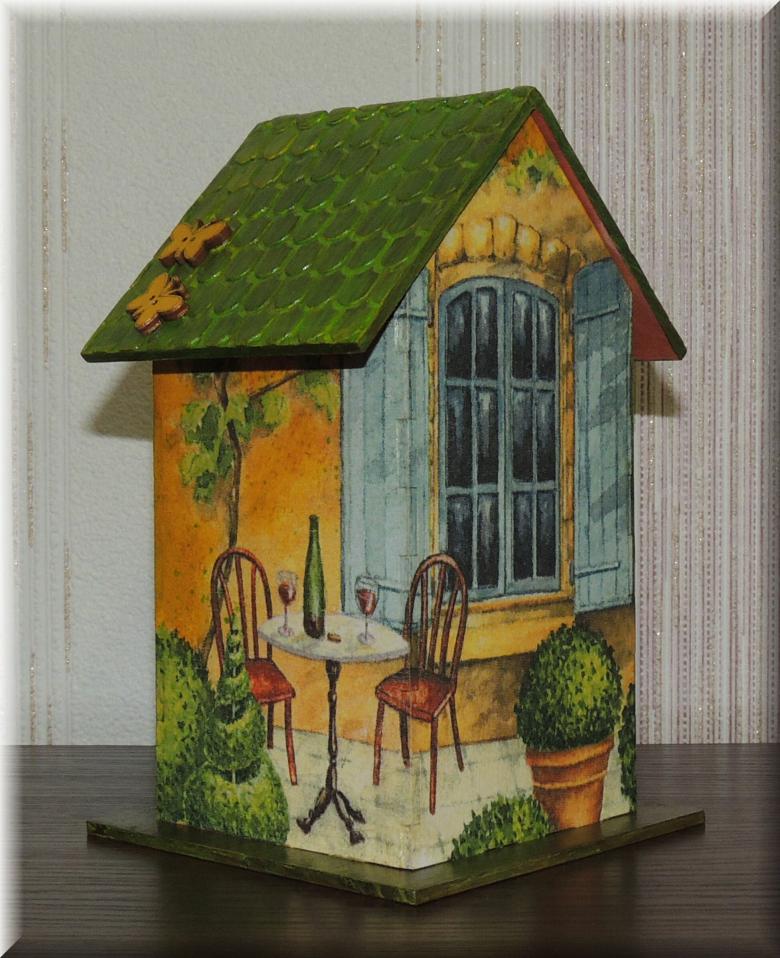
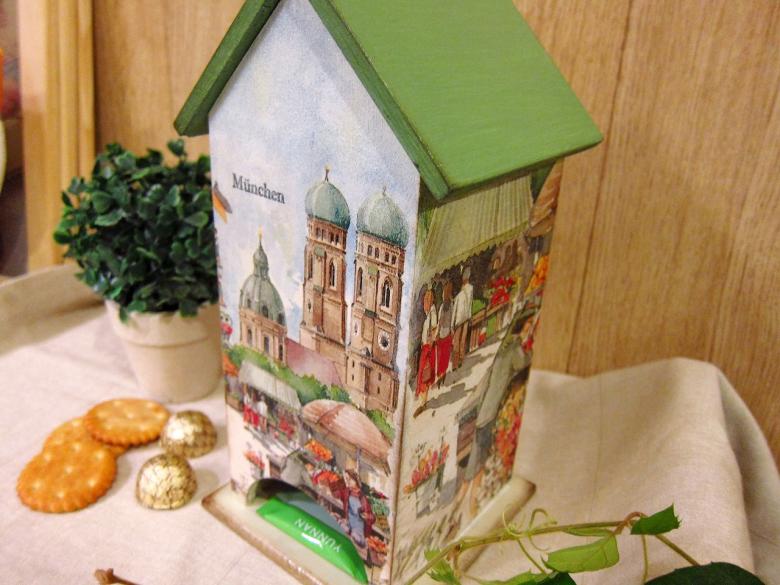
Pictures for decoupage are sold in stores and departments for creativity, the price varies depending on the brand. You can also use paper multi-layered beautiful napkins used in table settings. There is a huge selection of different templates on the Internet, cards for all tastes - just choose a suitable pattern and print it out. If there is inspiration, you can draw the necessary elements yourself - you will get an absolutely unique author's design.
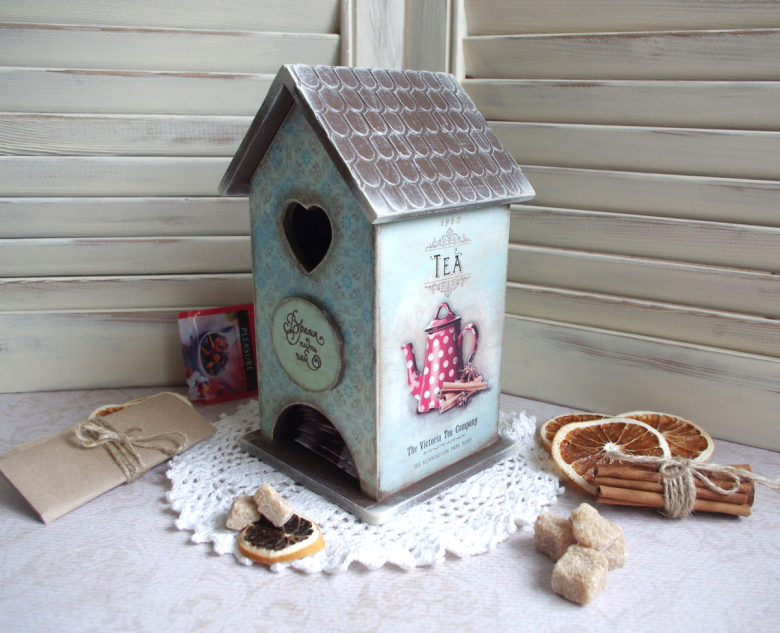
Step by step instructions
When an approximate idea of the form of the finished product is made and the basic materials are prepared, you can begin.
- If you use a wooden workpiece, it is necessary to carefully but carefully "sand" and grind it, eliminating all the irregularities. On a smooth surface, all the following layers will lie flat and aesthetically pleasing. It is important to pay attention to all surfaces - exterior, interior, work through all corners, the roof.
- Carefully coat the house inside and outside with a thin layer of primer. Usually it can be easily washed off with running water, but you can not leave a dirty brush for long. It is convenient to apply the primer gradually to put the workpiece to dry on different sides. Experts recommend making broad strokes from top to bottom along the entire height of the wall.
- From the decoupage napkin peel off the top layer, cutting out the required elements with manicure scissors. It is important to remember that the paper is very thin and easily torn, so it is desirable to make all further steps carefully, without haste.
- According to the instructions, attach the pattern to the workpiece. Make a solution of PVA glue and water, the consistency should be close to cream, milk. Apply the adhesive mixture with a brush, gently smoothing. Make sure there are no bubbles, wrinkles, tears. You can remove the excess by wiping with a clean cloth.
- After drying, coat the product with acrylic clear varnish. Paint on the remaining details.
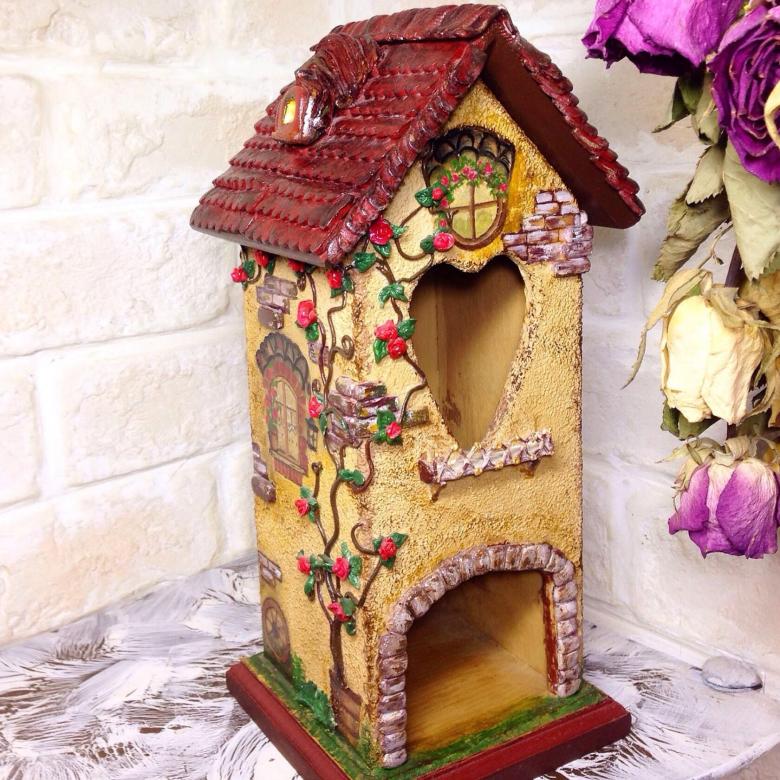
It is important to remain calm, even if something goes wrong - a torn napkin can be removed and replaced with another image, excess glue, primer also easily removed with water.
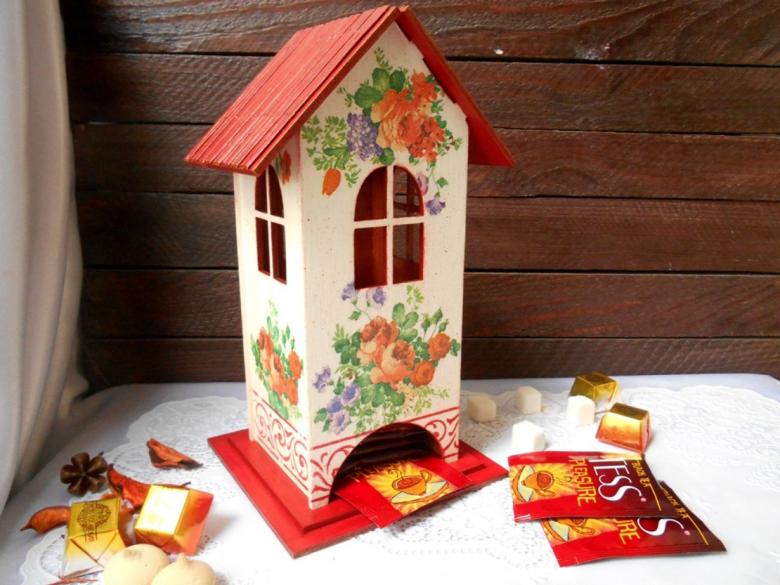
Other tips
There are no strict rules for making, decorating a house - everything is individual and depends only on inspiration. With the ability to work with dense materials, you can make the frame yourself, assembling it from sheets of plywood. In this case, you will need a drawing with the calculation of all sides, usually the height of the house does not exceed 15-20 cm with the platform-foundation. Other billets, decorated in the technique of decoupage, can perform the functions of a house - a stove, a teapot or even a sofa.
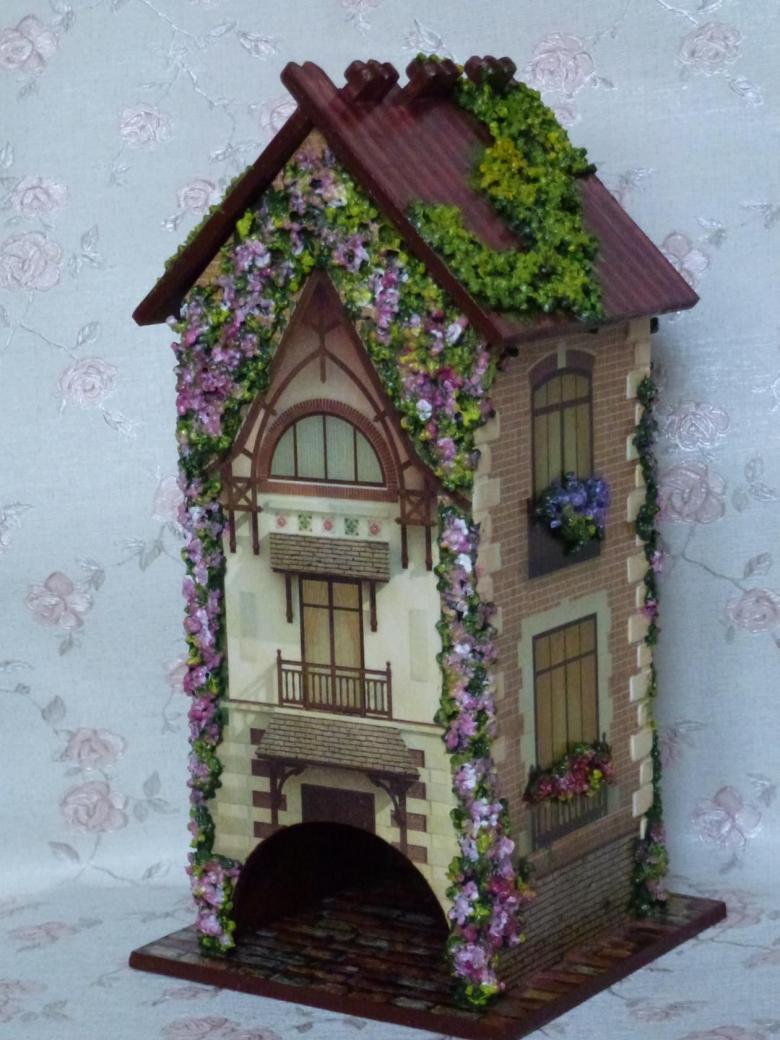
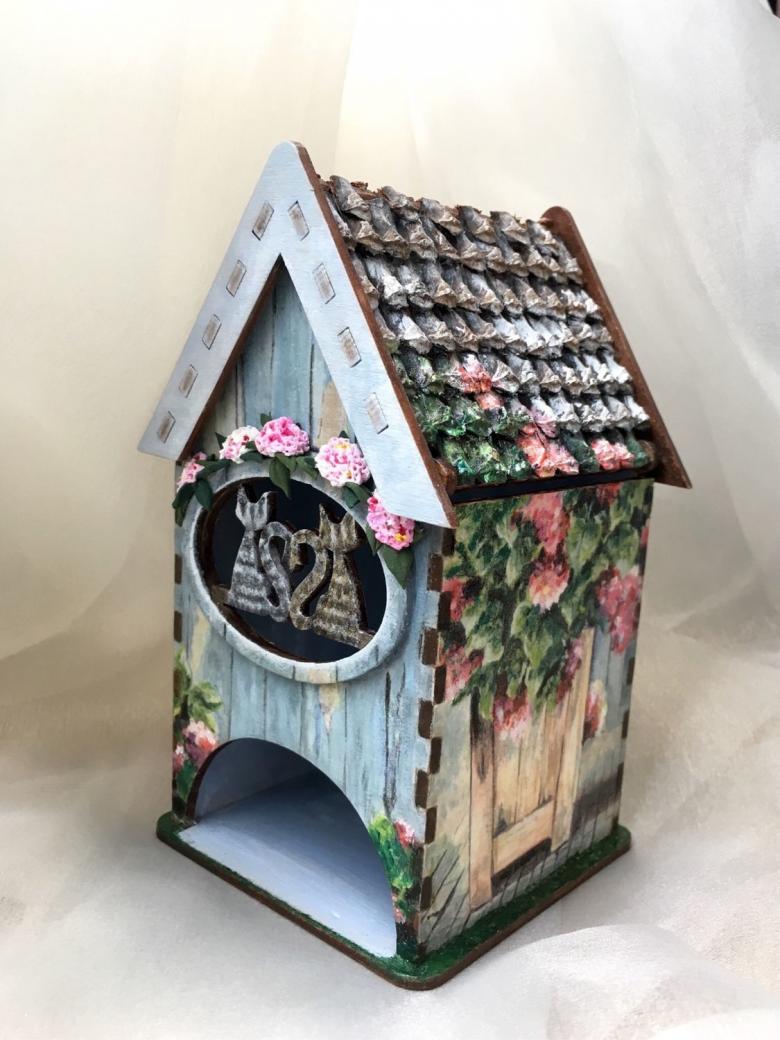
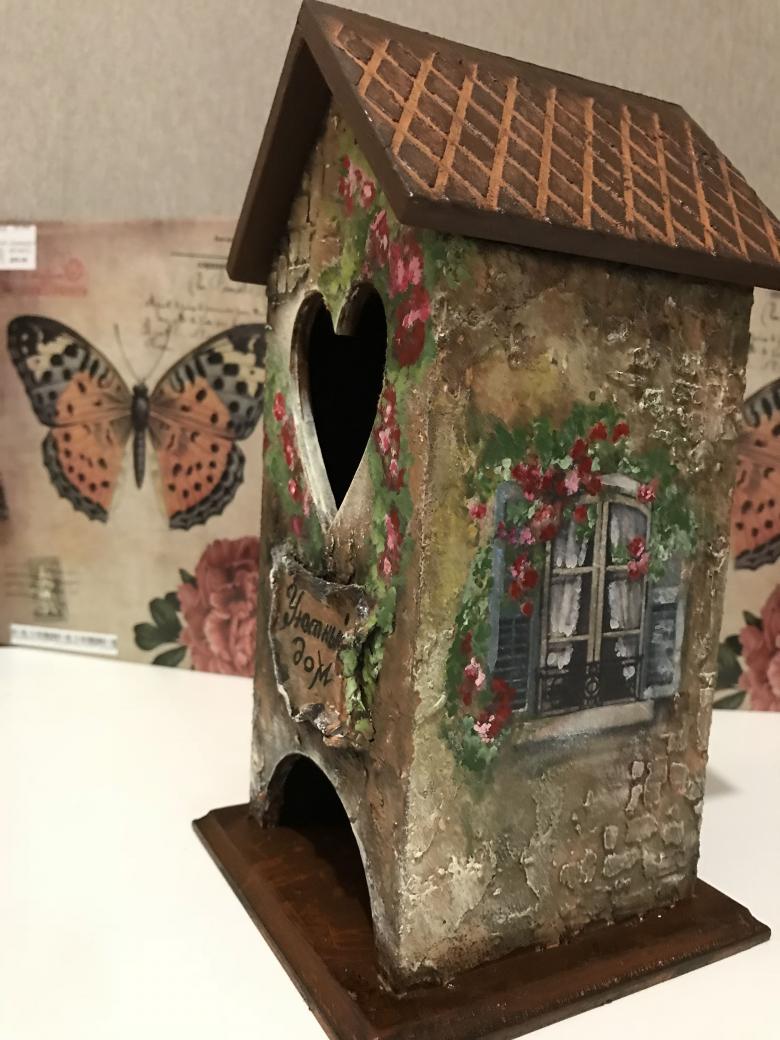
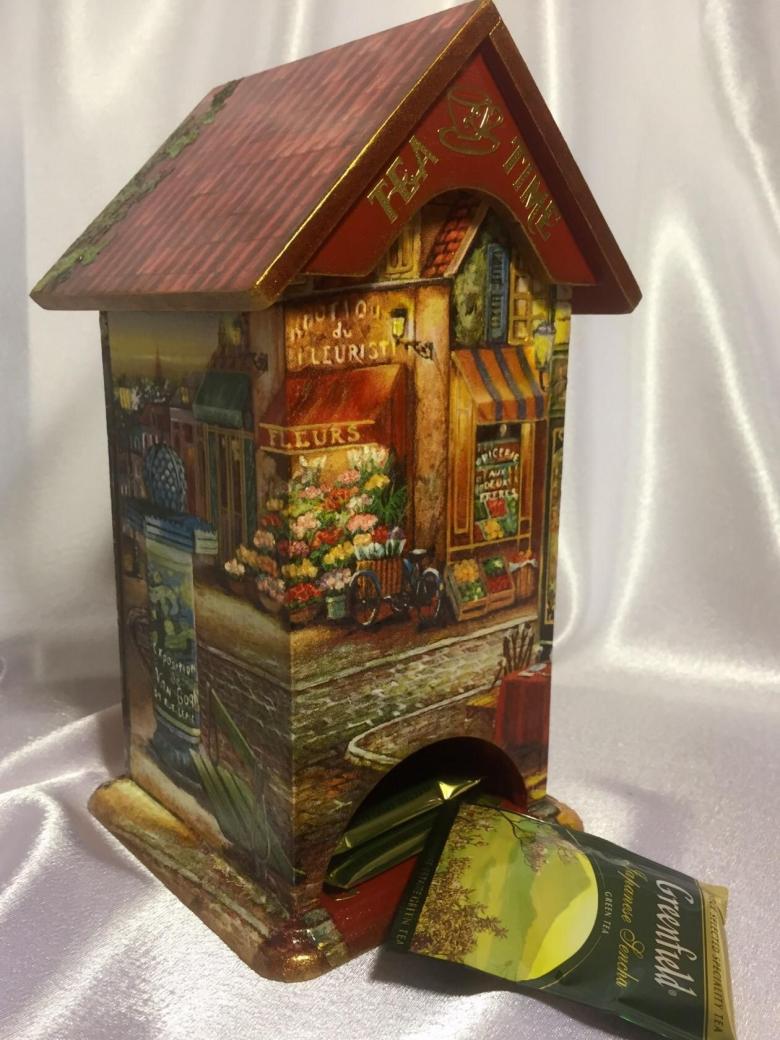
Tiles on the roof or volumetric bricks will help to create a relief paste of a suitable color - after drawing each element is highlighted, the cells are filled with paint and varnished after drying.
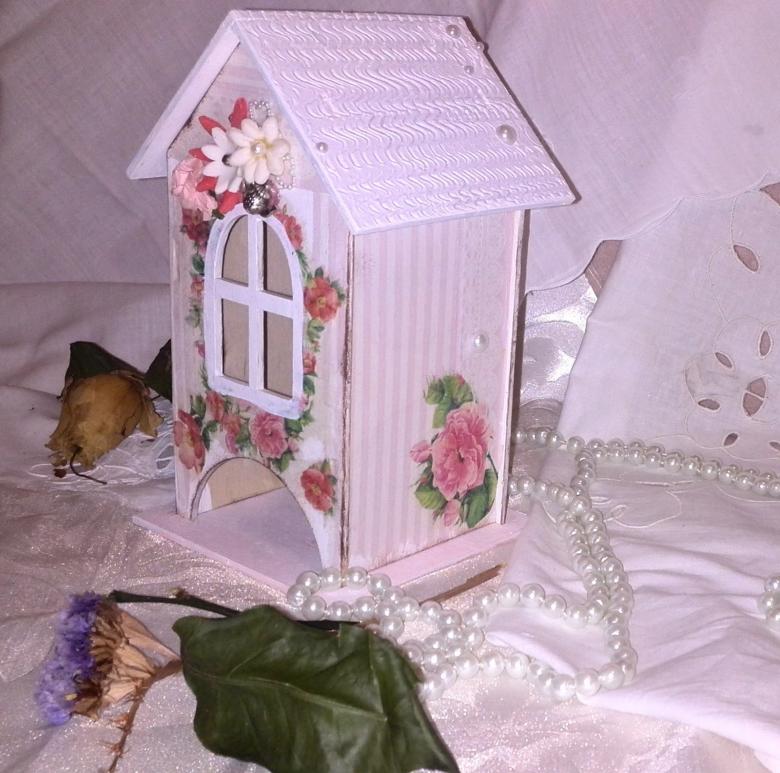
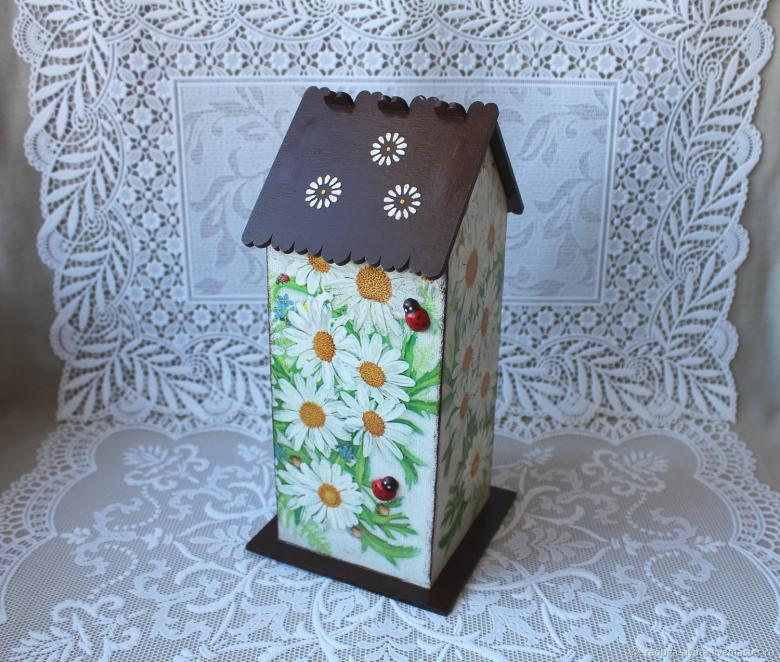
Polymer clay can be used to make flowers or a wheelbarrow with vegetables in the patio-pallet, a cat in the attic. Another option for "enlivening" the composition - toys from Kinder-surprises or simply miniature figures.

Creativity is always useful, especially if it's easy to be born and decorate your life with masterpieces. The main thing is to be self-confident and everything will work out for sure!

