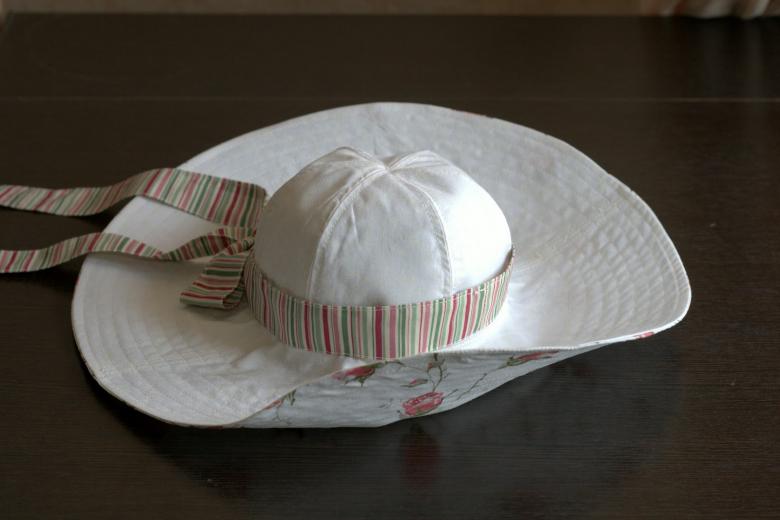
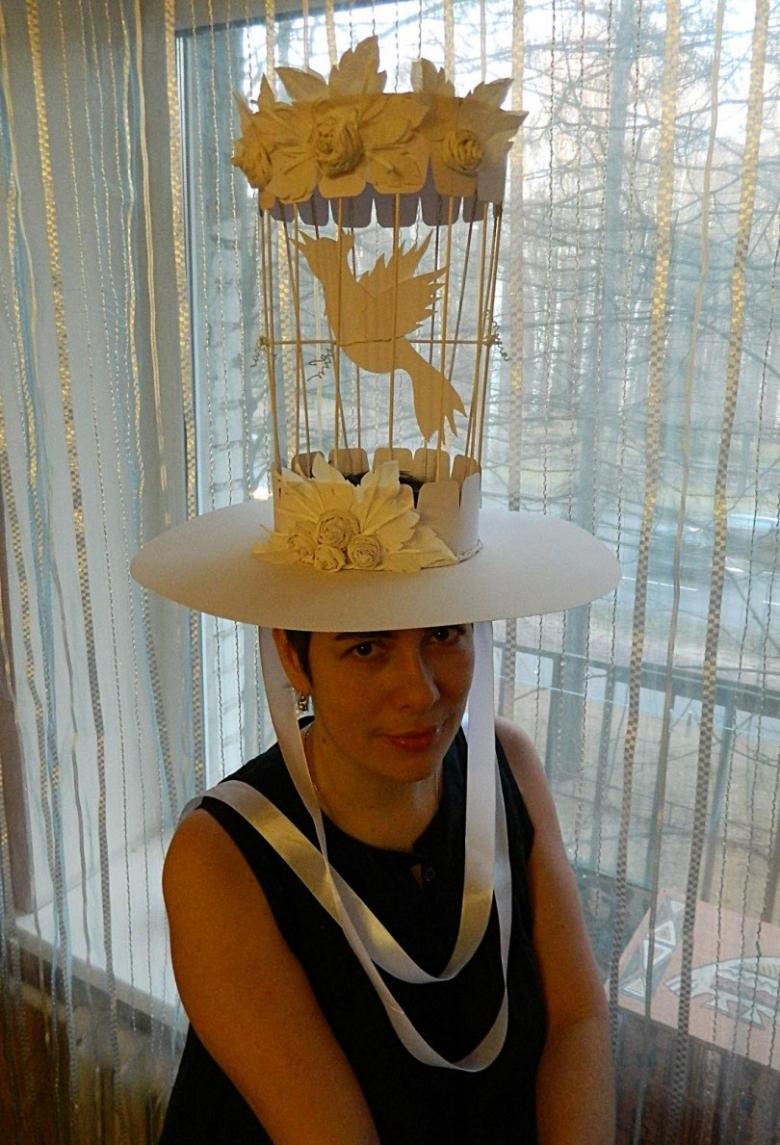
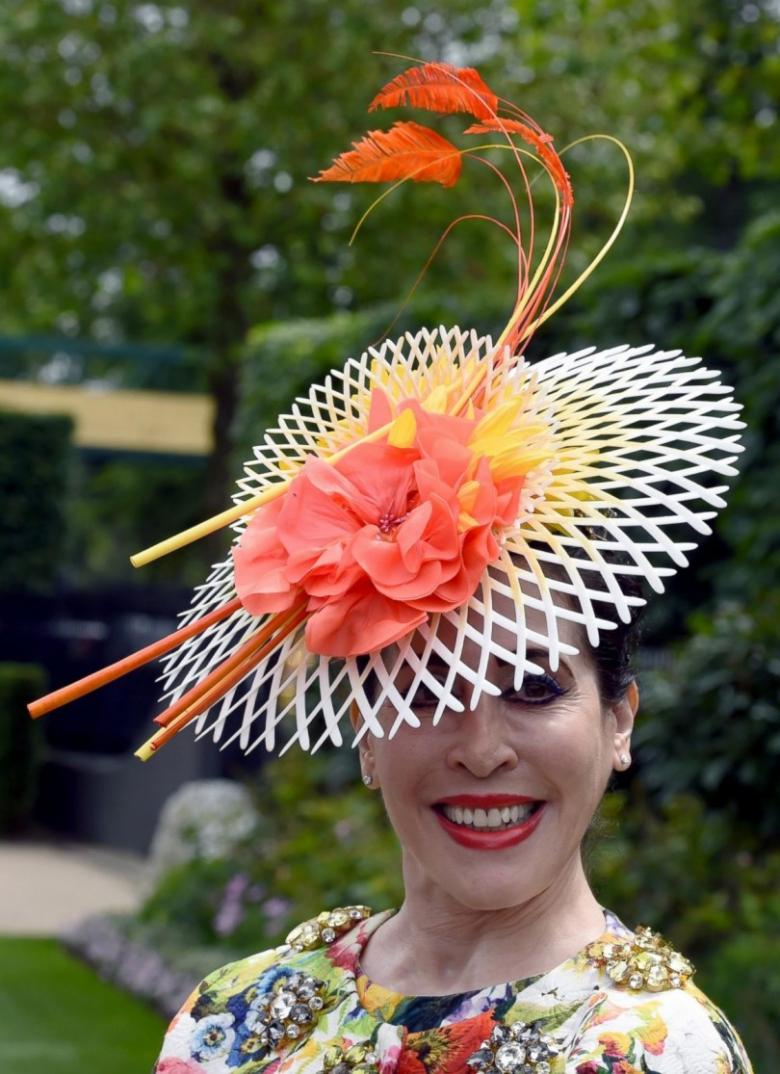
How to make a hat with your own hands - tips on materials selection, master class on making and photo ideas
The presence of children in the family, encourages parents to show imagination and become needleworkers, even if previously they lacked the slightest skills. A child constantly needs something to do, so he should be given as much time as possible.
Getting older, children are bursting with curiosity, they want to know everything at once. We have to give the child knowledge of what he himself did not know before. One such task is to make a headdress out of simple material.
Material
Make a hat with your own hands is simple enough, in addition, that her pattern can be made from almost any material:
- paper;
- cardboard;
- dried leaves;
- cloth;
- leather;
- plastic, etc.
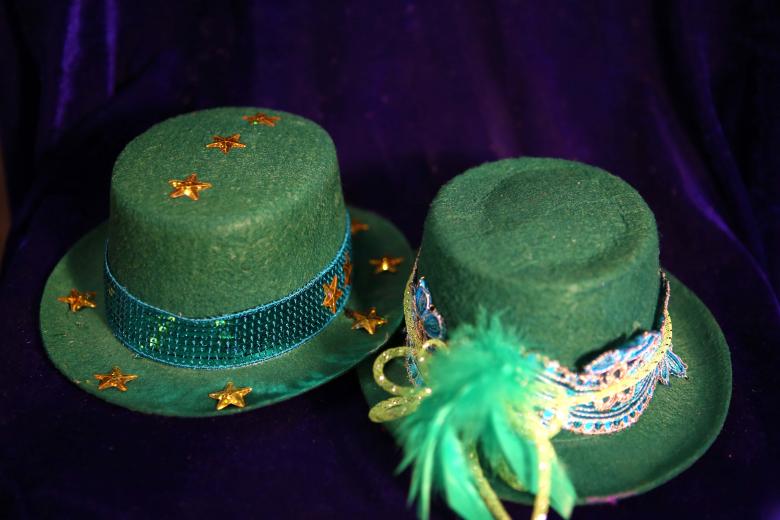
You can also use old clothes for this. There are also many approaches to making, patterns can be stitched, knitted, including using crochet, glued, etc.

Making
Often a child for an event needs a certain hat to the outfit. It is expensive for parents to buy a ready-made hat, considering that they will only need it once. Ingenuity and a little information about how you can make the necessary thing yourself will help to get out of this situation. As a source of information can be:
- various master classes;
- step by step instructions with pictures;
- photos with realized ideas, etc.
There are many options for making, let's consider some of them.

Sawtooth
If you need a piece of clothing in the form of a pilot's cap, all you need is:
- A scrapbook sheet - 2 pcs;
- a little patience and neatness.
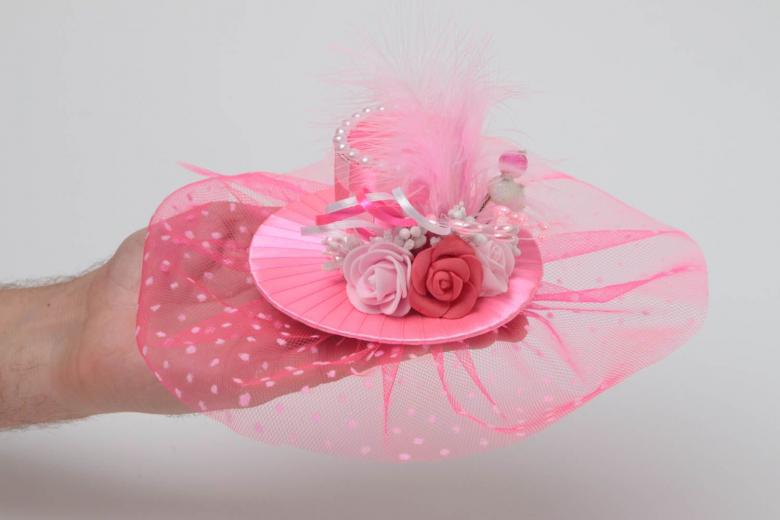
The steps of making, are also very simple, you need:
- Put one sheet on a flat surface and cover it with the second sheet on top (they should lie horizontally);
- Bend the top edge of the sheets about 2.5 cm;
- Fold the top corners of sheets so that their edges touch in the middle, as in the manufacture of a paper airplane;
- The lower strip of upper leaf to bend upward;
- Corners of the strip to bend and fasten:
- Do the same with the lower sheet;
- Smooth the product.
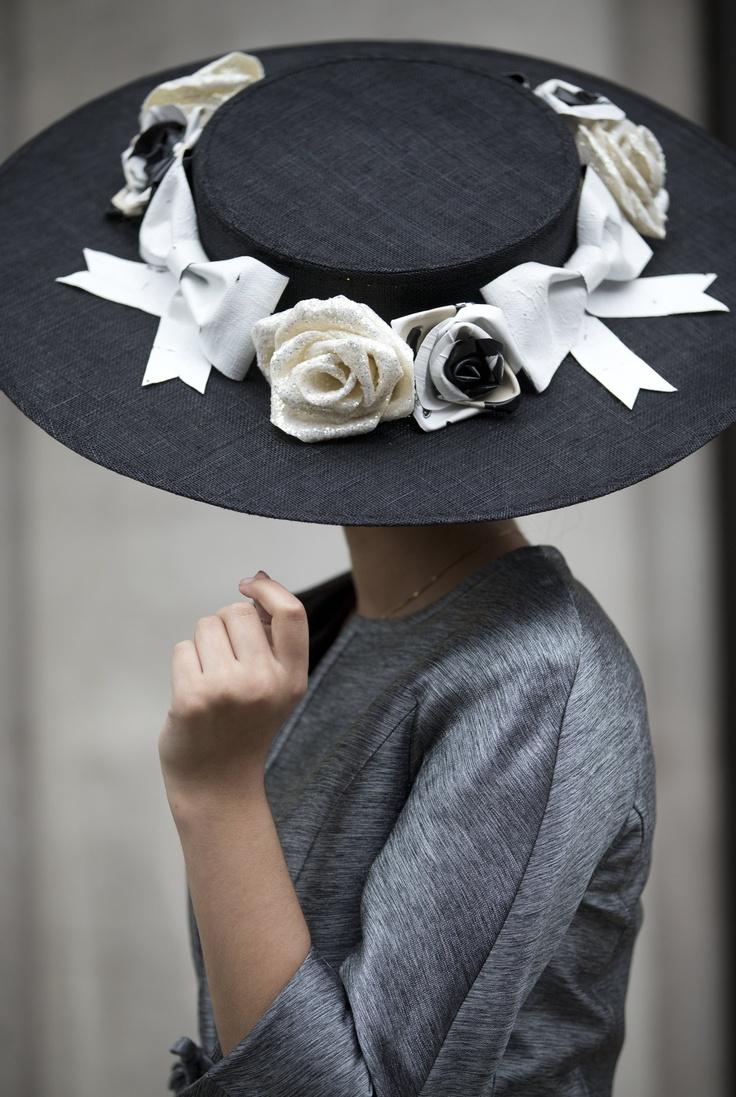
If the edges of the product are sufficiently secured, this headdress will not disintegrate for a long time. This is a good way to make protection for the head from various dirt, when making repairs.

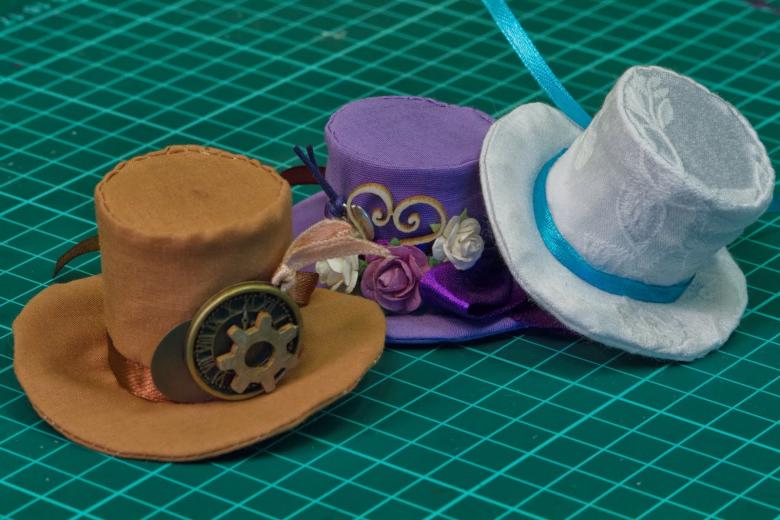
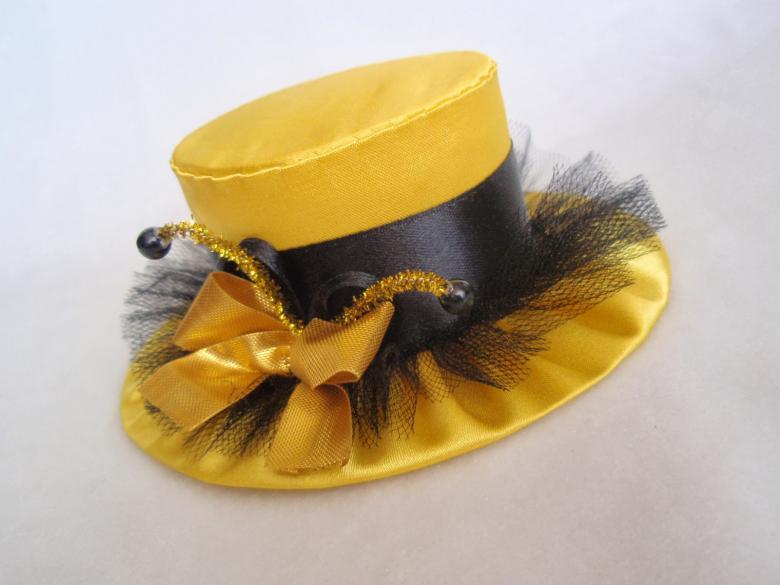
Cylinder Hat
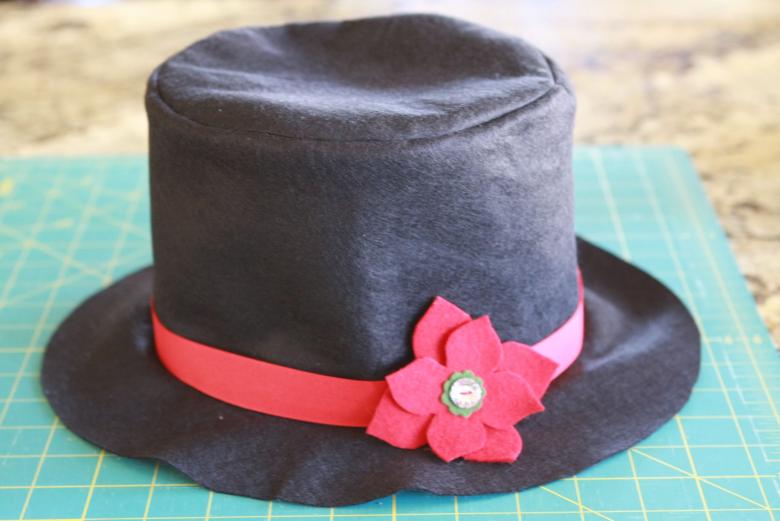
If you need a hat-cylinder, there is no need to panic, because if you approach this matter wisely and find the right method of manufacture, it turns out that there is nothing complicated here. Such a product can be made of cardboard.
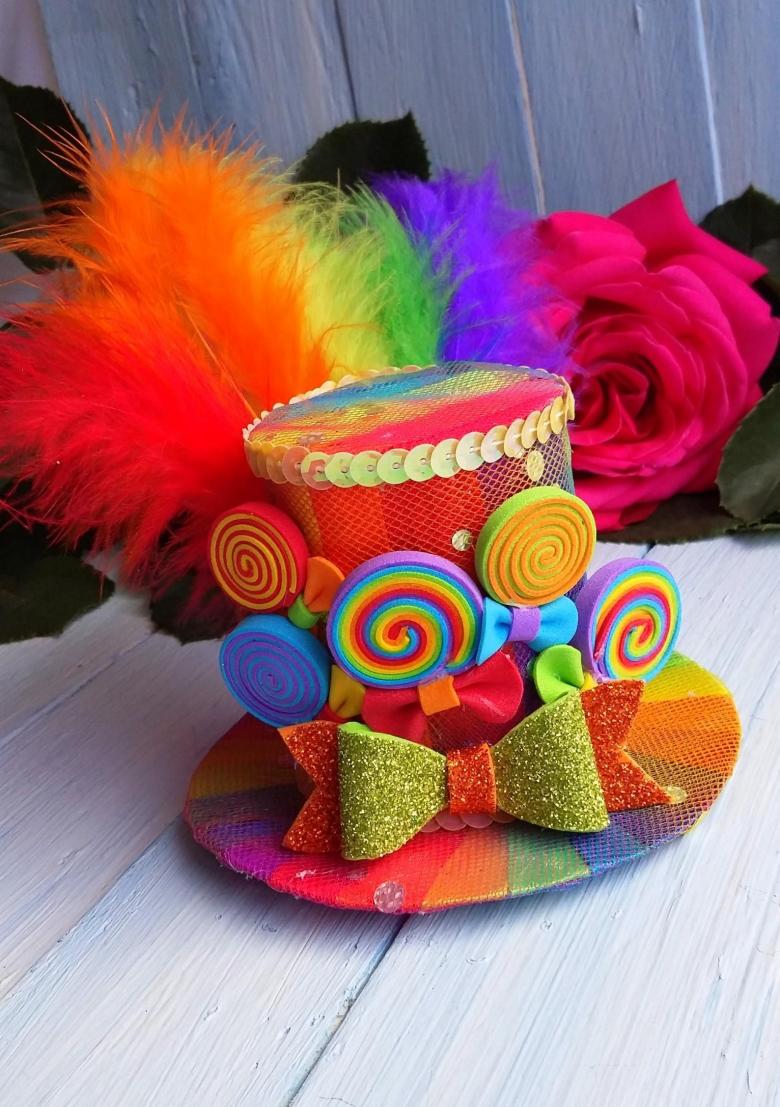
First it is necessary to determine the tools and material that may be required in the work:
- Two sheets of colored cardboard commensurate with the product;
- A decorative ribbon for a bow or some flower;
- scissors;
- pencil;
- compass;
- eraser;
- glue.
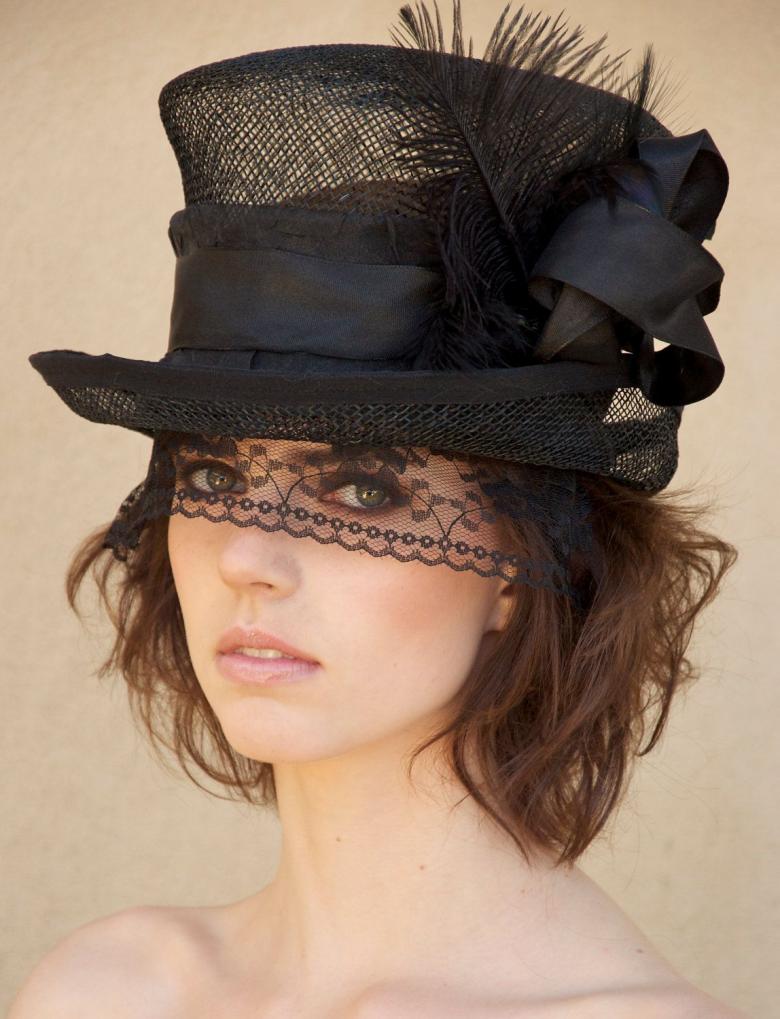
Let's proceed to manufacturing:
- By means of a compass, it is necessary to draw on one sheet of cardboard the basic circle, the diameter of the required cylinder, from the center outline one more circle, larger in size;
- On the second sheet also to draw the main circle and a circle twice as big as the drawn circle, in the center we draw another one smaller than the main one by three quarters;
- The first sheet to cut out on a large circle;
- To the contour of the main circle, cut strips with scissors, forming a fringe;
- Bend the strips down (Worksheet 1);
- The second sheet also cut to a large contour;
- Cut out of it a circle of the smallest diameter;
- Cut strips (fringe) to the inside of the main circle;
- Bend the strips up (blank 2);
- From a piece of cardboard to cut a strip of width equal to the height of the proposed shoyape-cylinder, length equal to slightly larger than the main circle;
- Wrap the strip in a cylinder with an overlap for gluing, glue the cylinder so that it is equal in circumference to the main circle;
- Dab the glue on the fringe of the second workpiece;
- Glue the fringe to the inside of the cylindrical piece;
- Glue the fringe of the first piece;
- Glue the fringe to the inside of the cylindrical piece on the opposite side.
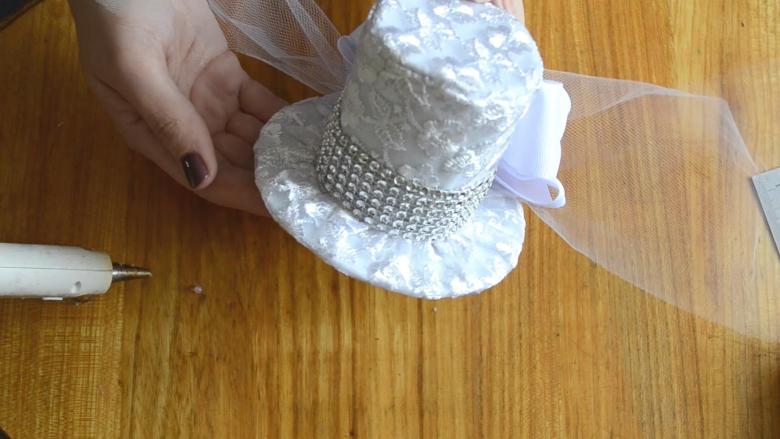
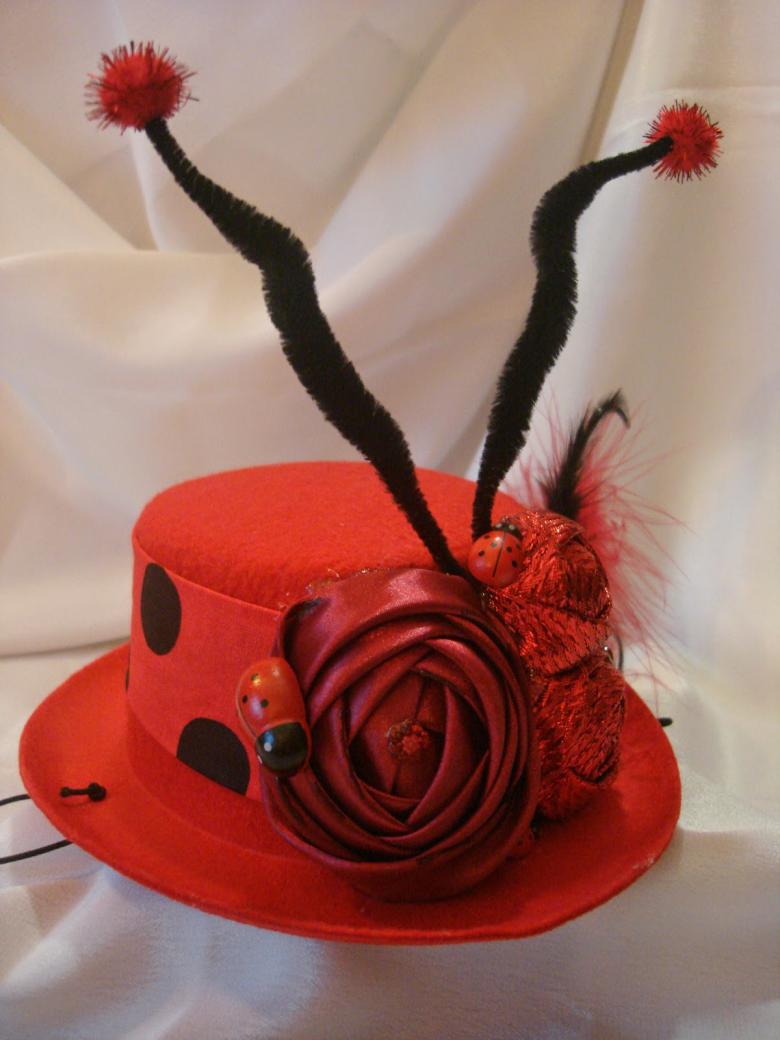
The main part of the work is done, now you can start decorating the product. You can simply decorate the hat with some ornaments, but the best way is to make a ribbon with a bow on it:
- You will need a decorative ribbon of any color and width, depending on personal preference. If the product is intended for men, you can choose a black satin ribbon.
- Tie a bow on the ribbon, any way you like, most importantly, that it looks neat.
- The ribbon should be glued or tied so that it will be put on the cylinder together with the bow.
You can decorate the product in different ways, especially if you include your imagination.
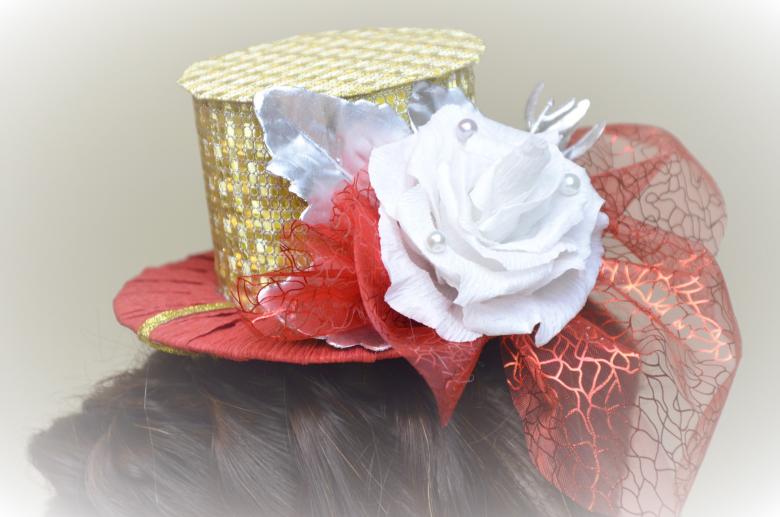
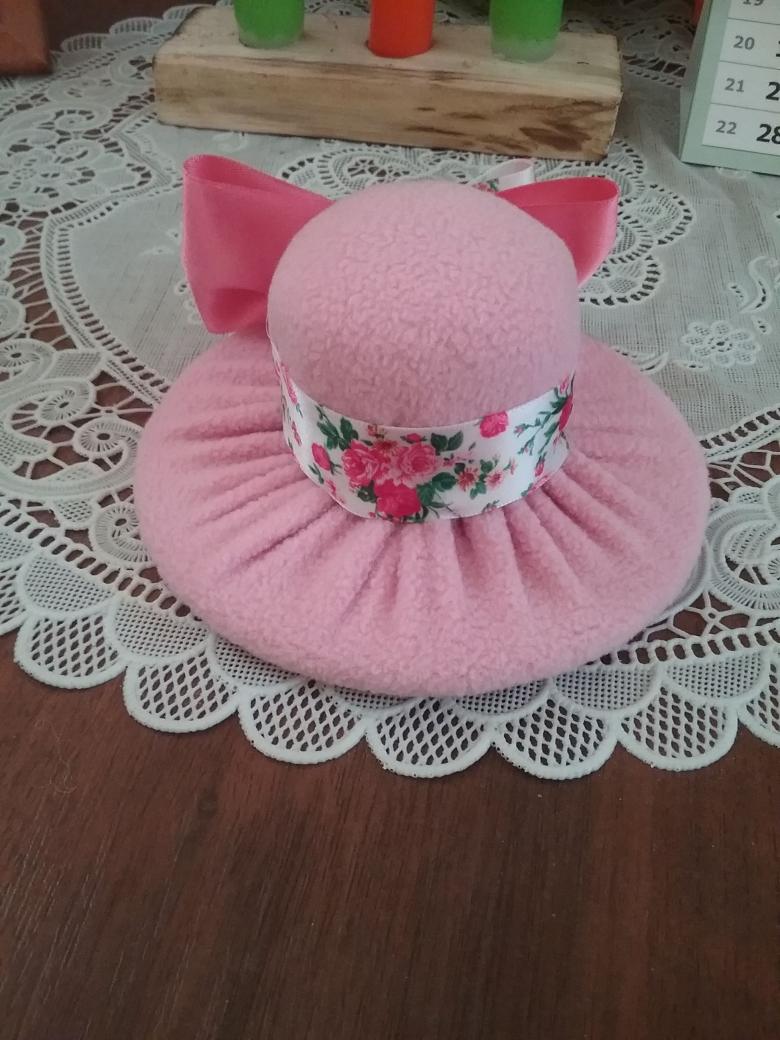
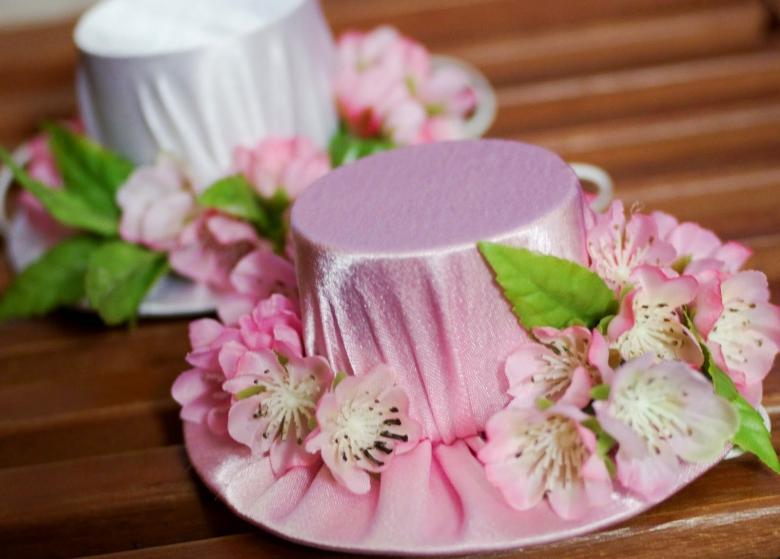
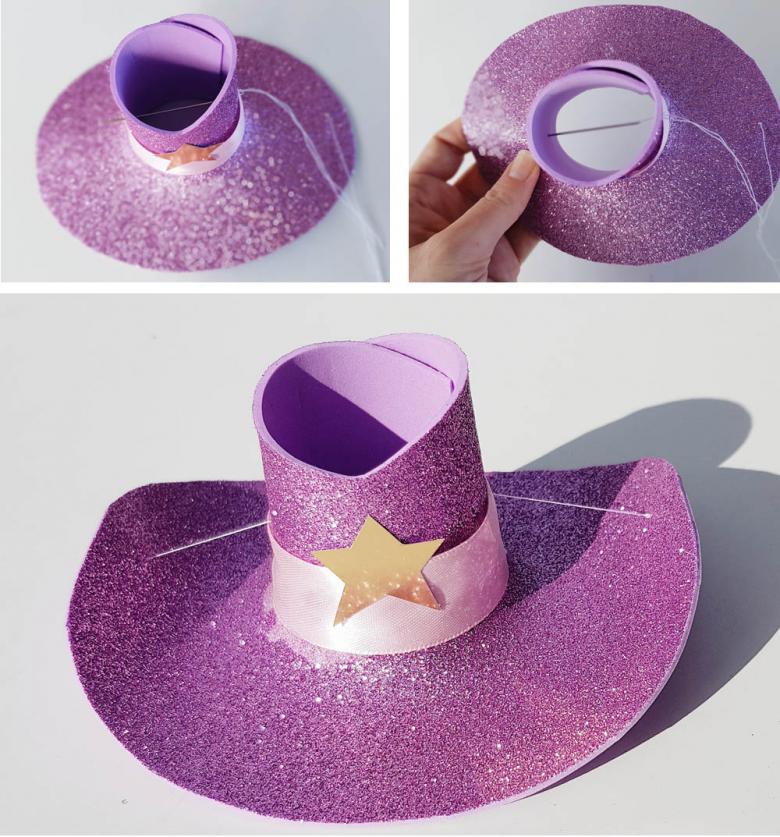
For the doll
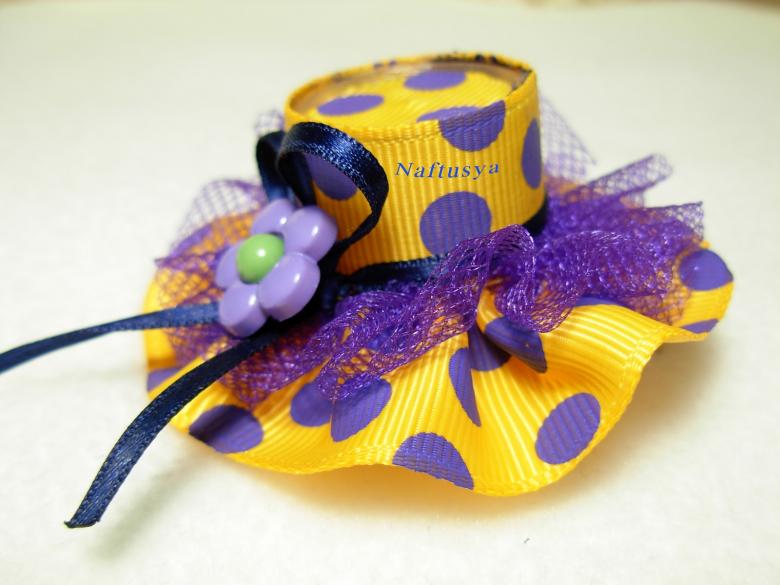
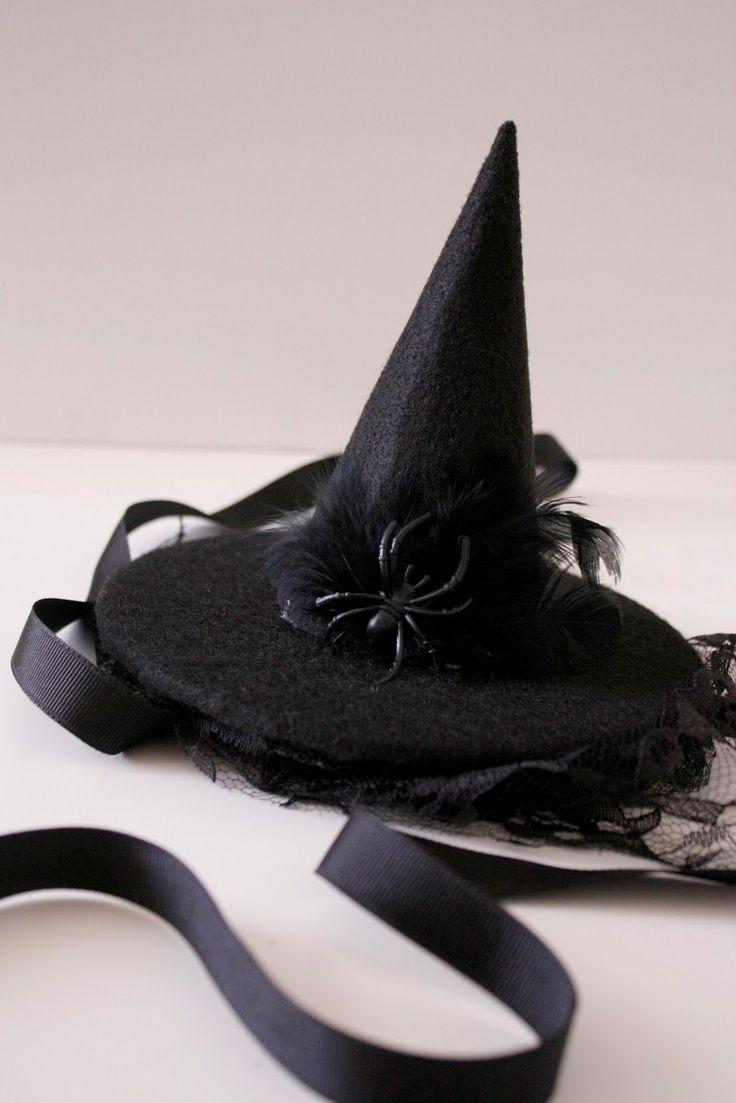
Making a hat for a toy girlfriend is quite easy. For this purpose, you will need small containers: plastic cups, yogurt containers, baking molds, etc., as well as cardboard, a pencil, a compass, scissors, duct tape or duct tape, a lining fabric, and decorative elements.
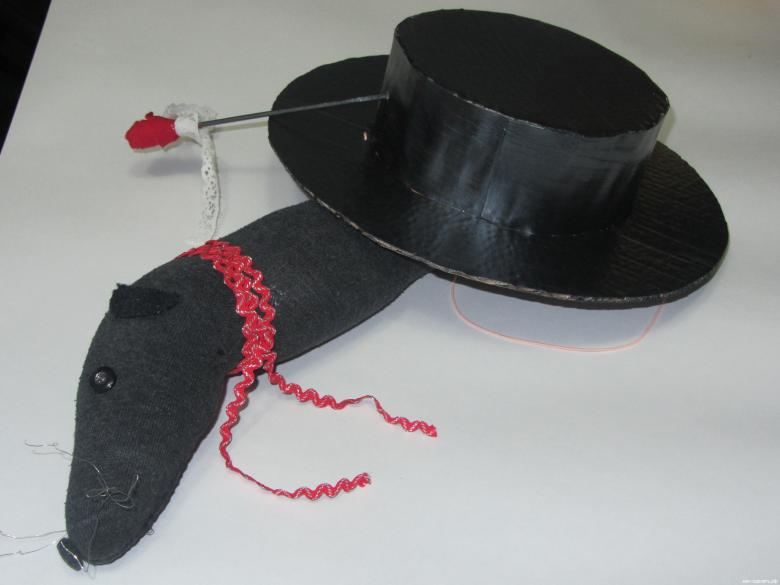
To make a small headpiece, you need:
- Trim the cup, leaving only a cone, the lower diameter of which should be equal to the volume of the doll's head;
- Use a compass to outline a circle on cardboard, three times the diameter of the cone;
- Cut out a cardboard circle;
- Place a cone in the center of the cut out circle, outlining it with a pencil;
- Cut out the resulting inner circle;
- Plastic cone and cardboard ring connect with scotch tape;
- Stitch or glue the craft with cloth;
- You can decorate the hat with bows, ribbons, rhinestones, beads, florets, etc.
Make a similar hat and you can do for a child, just pick up the appropriate size, materials.
It all depends on the volume
As you can see, there is nothing difficult in the manufacture of hats, it is quite possible to do it with your own hands. Any of the above methods will help in this case. The main criterion is the size of the head of the object to which the future product is intended. It can be:
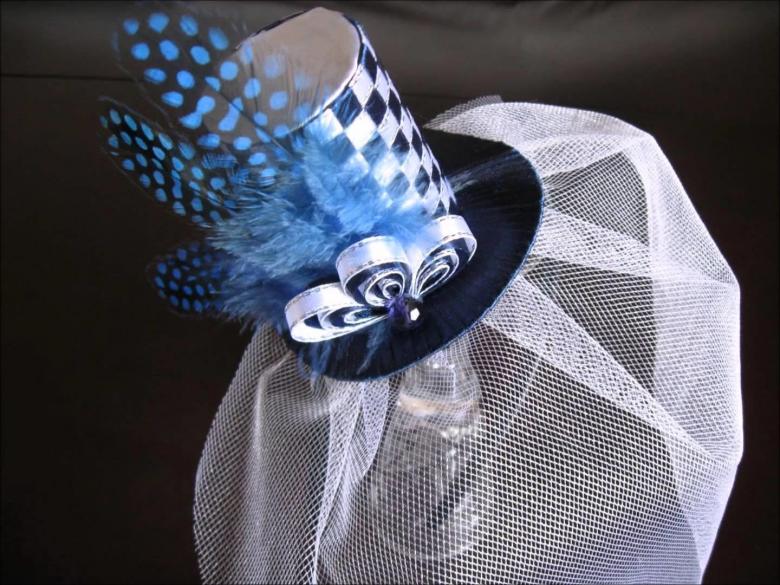
- A hat for a champagne bottle;
- child's;
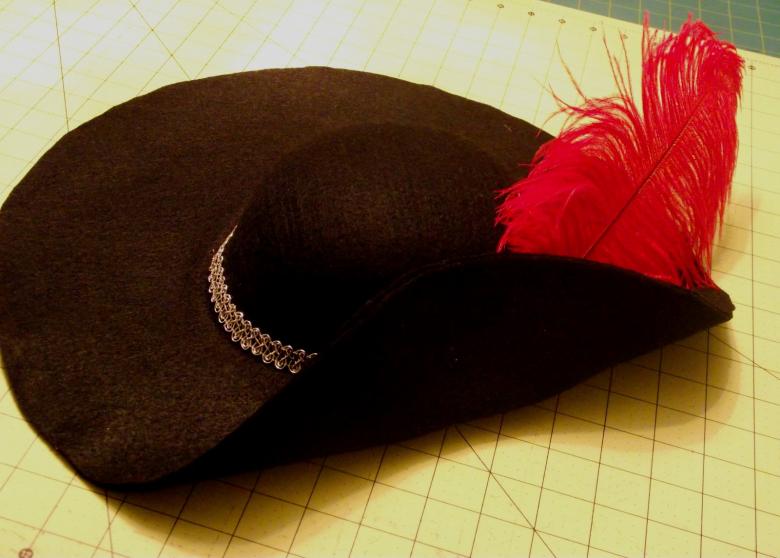
- cowboy;
- for the doll;
- like a Know-It-All;
- sombrero and many other types.
The decorative elements and materials used to make a hat depend mainly on availability, possibilities and preferences.

The most important thing in needlework is to have a desire. A helper can serve as articles on the subject, video lessons, master classes and other sources. It is also important to correctly measure the volume of the future headgear.

If you are not lazy, experiment and strive for the desired result, you will create beautiful, neat handicrafts, and this activity can even enjoy it.

