How to make a stencil with your own hands - step by step master class with a step-by-step description
Creating original drawings with the help of a stencil is an interesting and quite accessible type of home creativity.

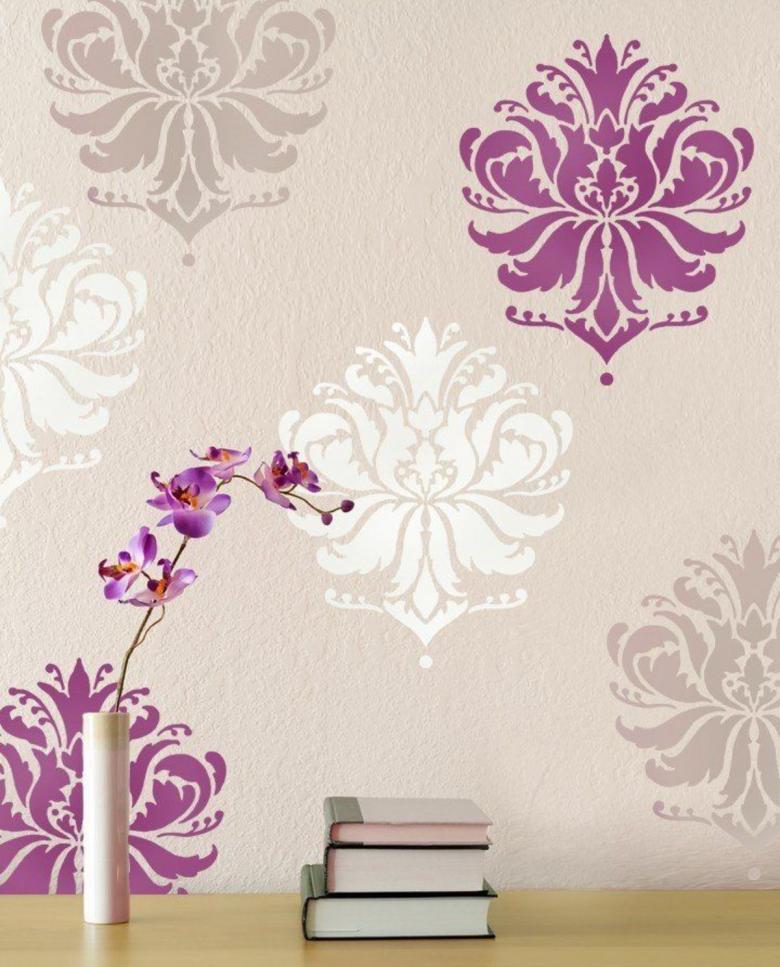
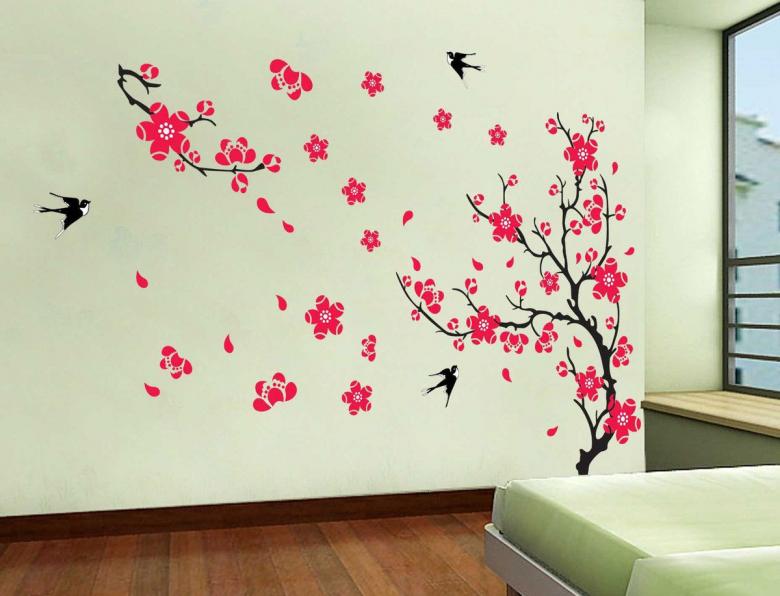
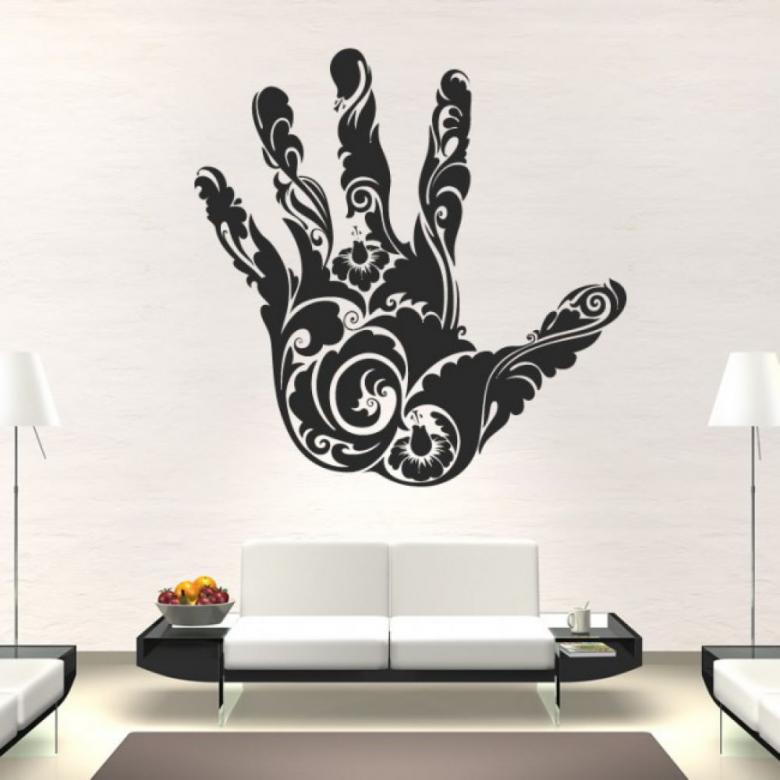
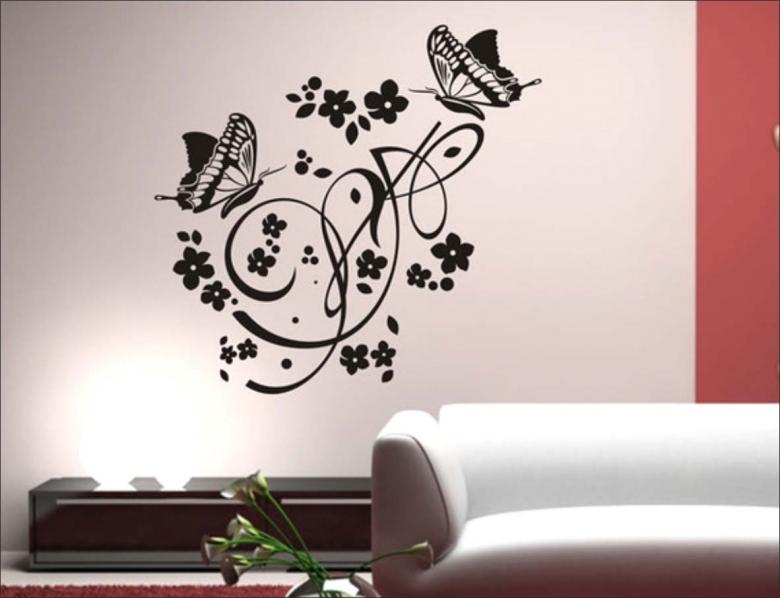
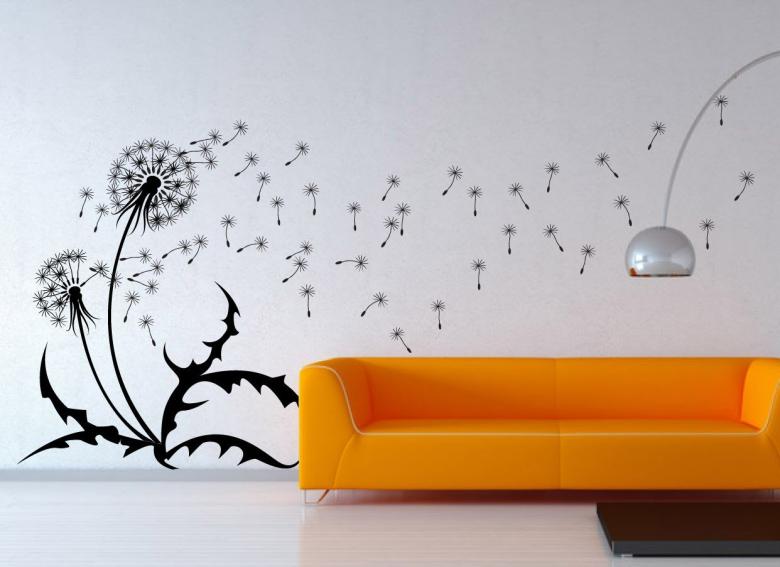
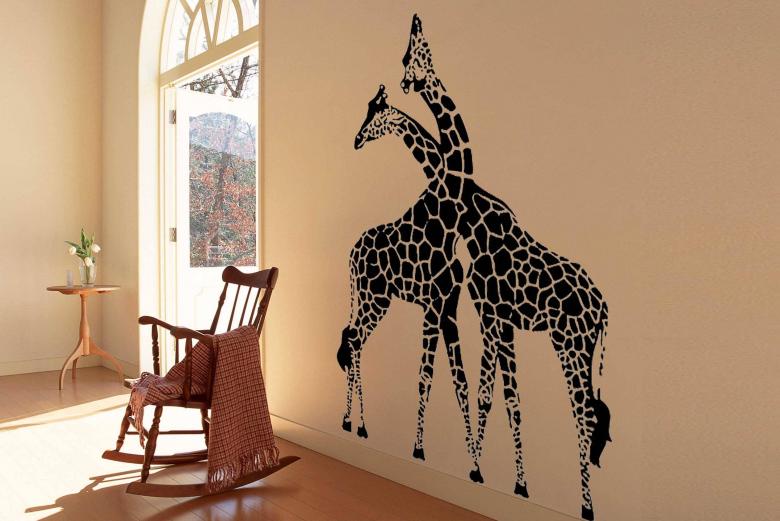
Using a stencil, you can apply any decorative elements on the flat surface of the walls, decorate a T-shirt, bag or other product with the author's print.

Stenciling does not require a large financial investment and is easy to perform.
Varieties of stencils
The most important and difficult thing to do at the beginning of the work: it is necessary to decide on a sketch of the drawing and choose a suitable type of template for it.
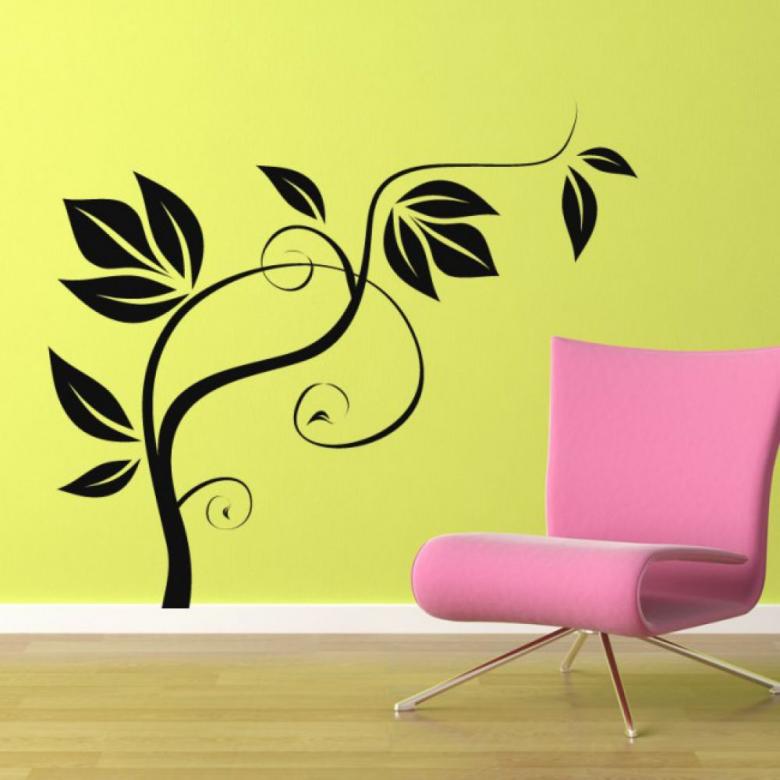
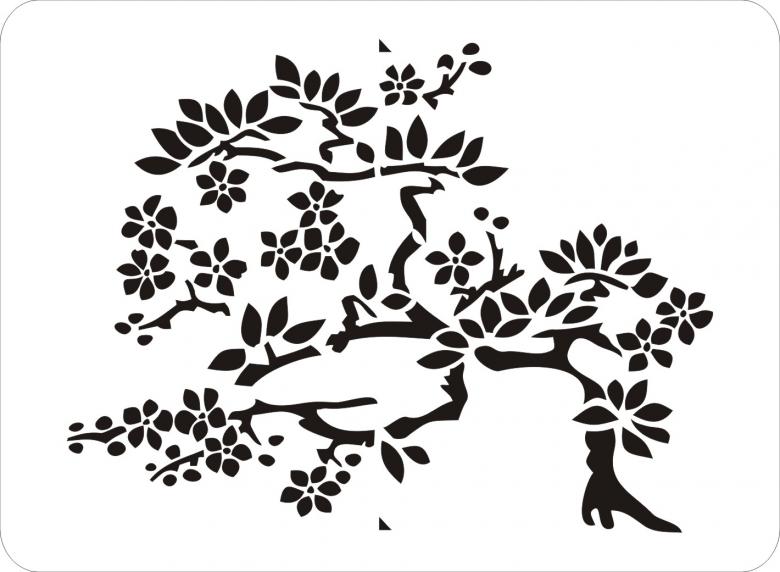
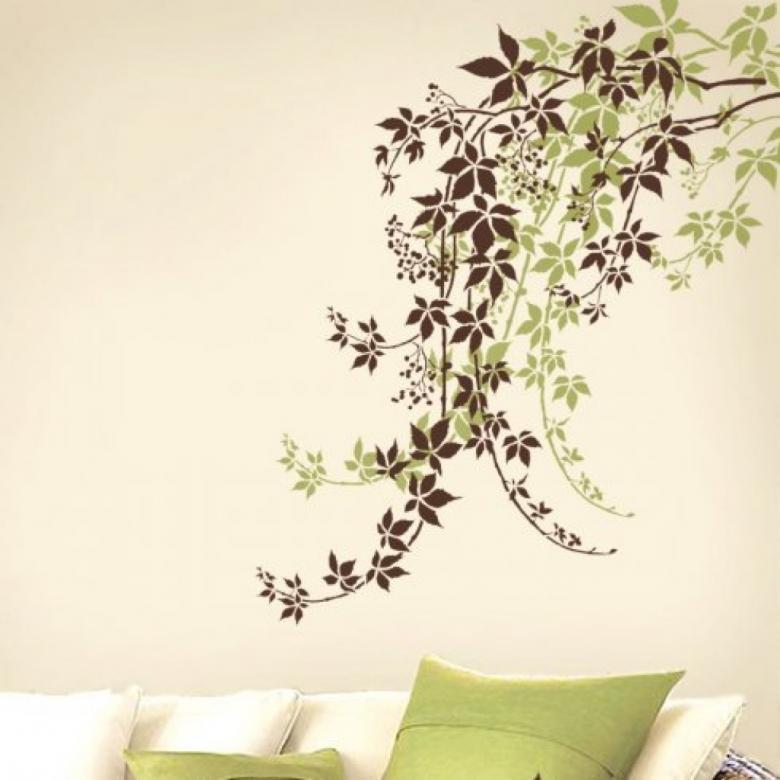
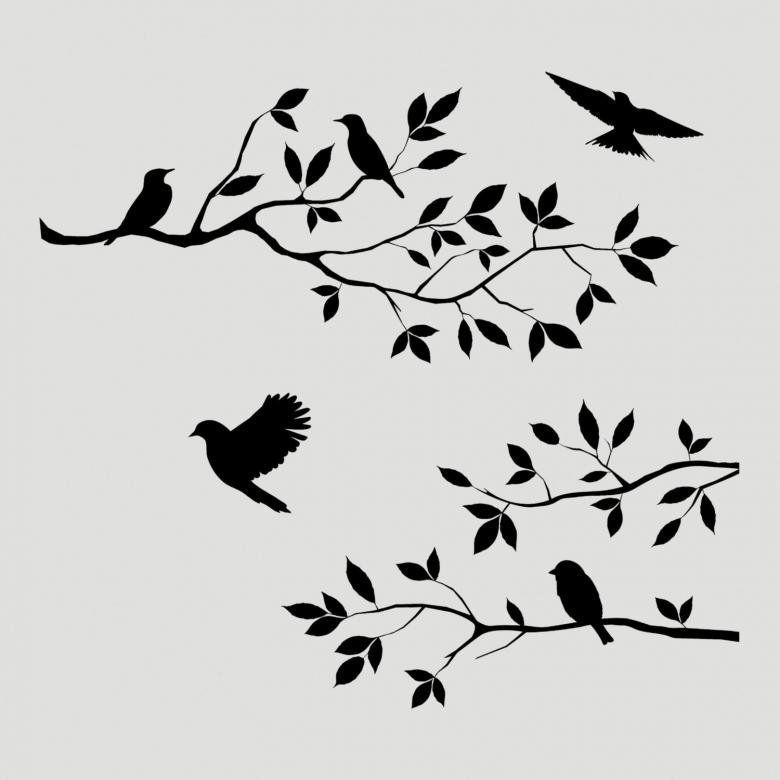
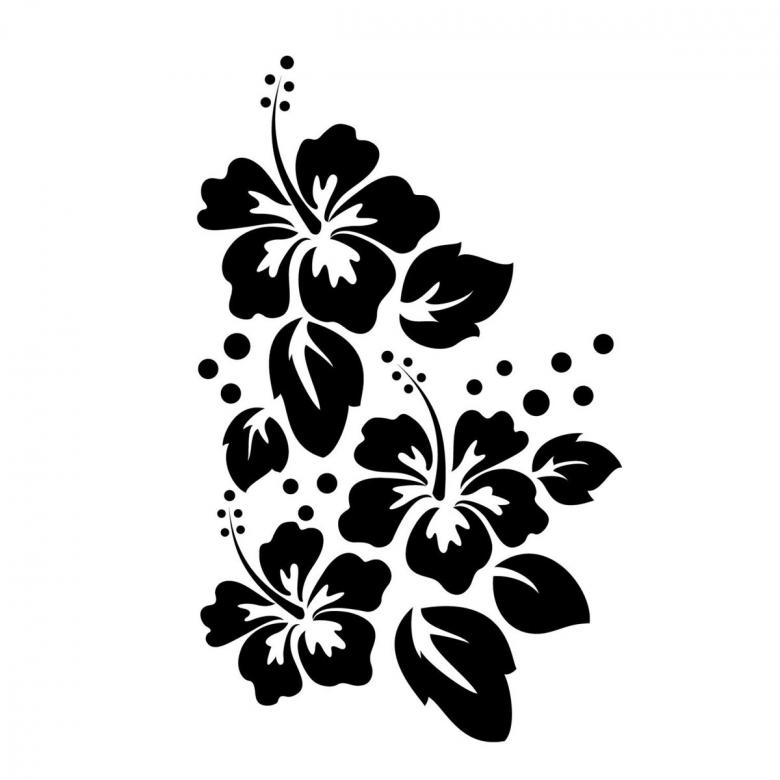
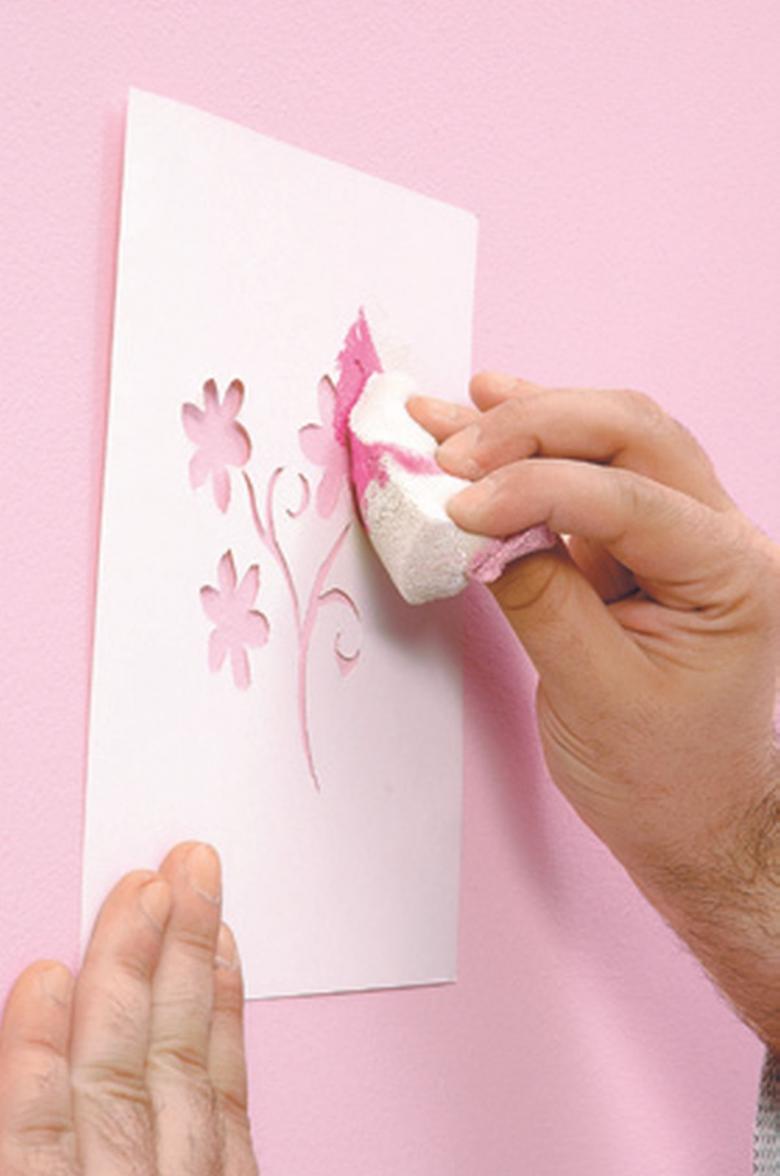
- The one-color stencil is convenient for drawing with paint of one color. It is intended for interior decoration.
- The multi-colored stencil assumes the use of different shades of paint for further use. The method presupposes making several templates depending on the color scheme of the image.
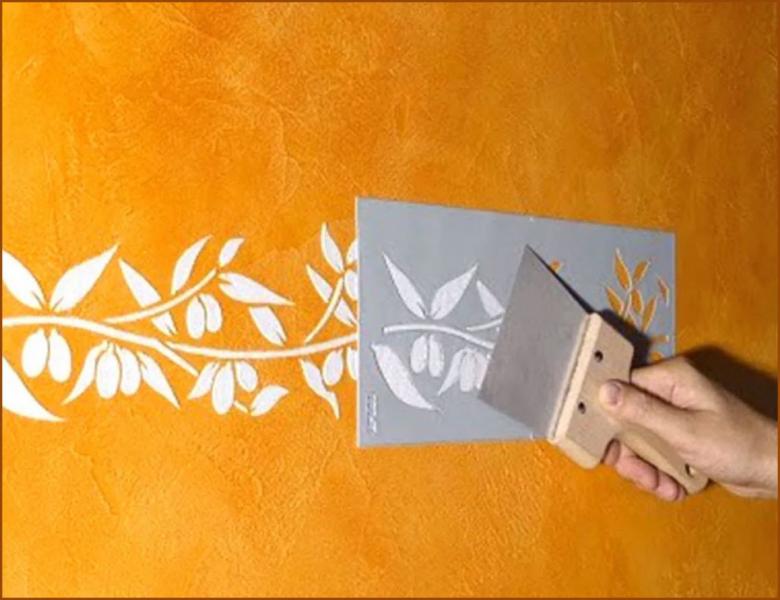
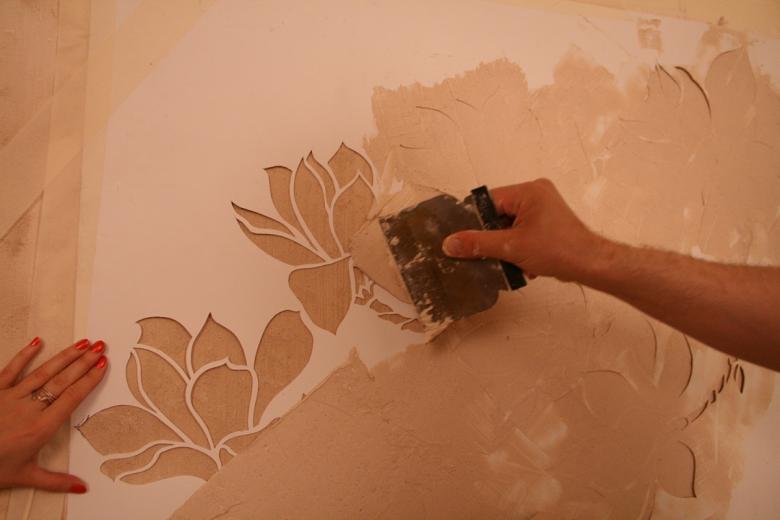
- Volumetric template is used when performing the elements of the pattern with putty. With the competent placement of lighting devices, such a picture will look very effective.
- Reverse stencil allows you to formalize with paint the background of the image.
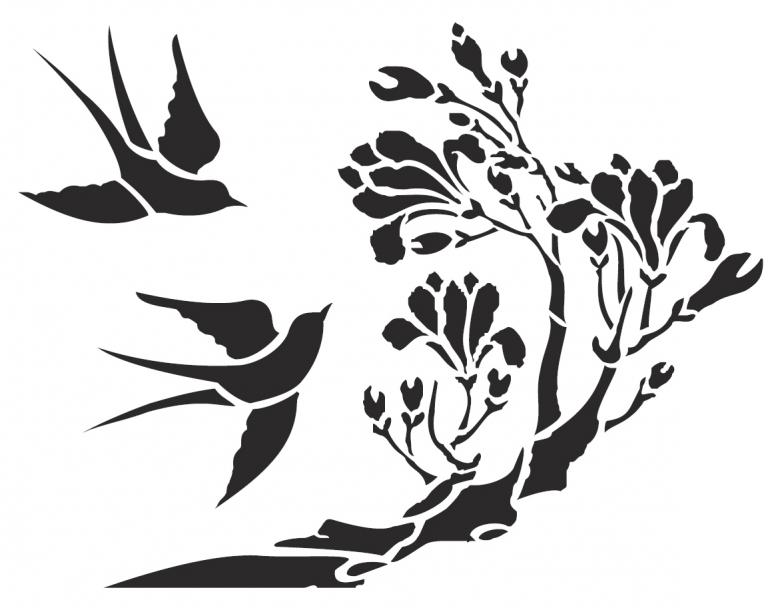
According to their purpose, stencils can be disposable or reusable. Depending on this, different materials are used for making the base: paper, cardboard or plastic.
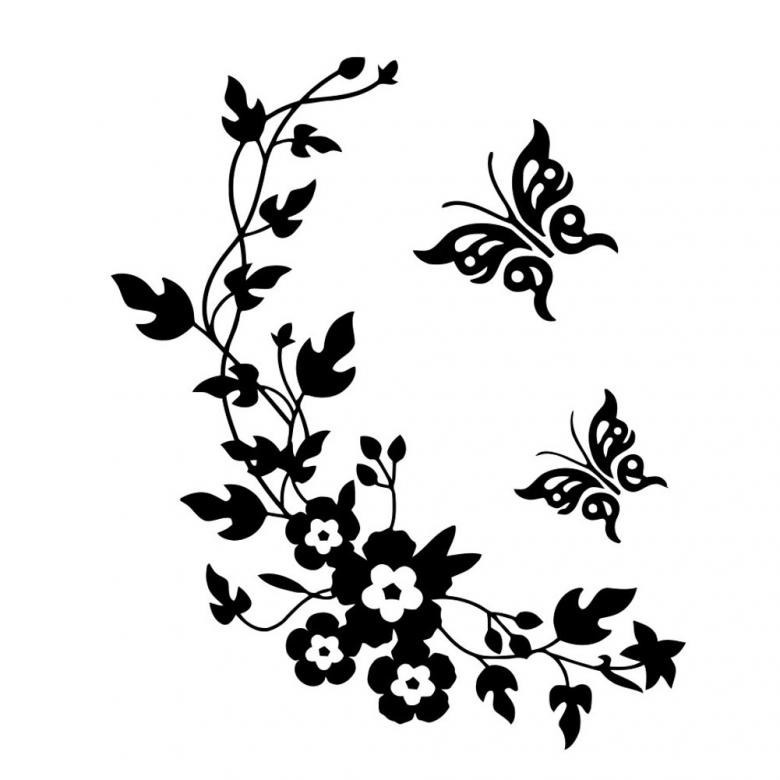
When selecting a pattern, it is recommended to adhere to a few simple rules:
- One style of patterns is used on the same area,
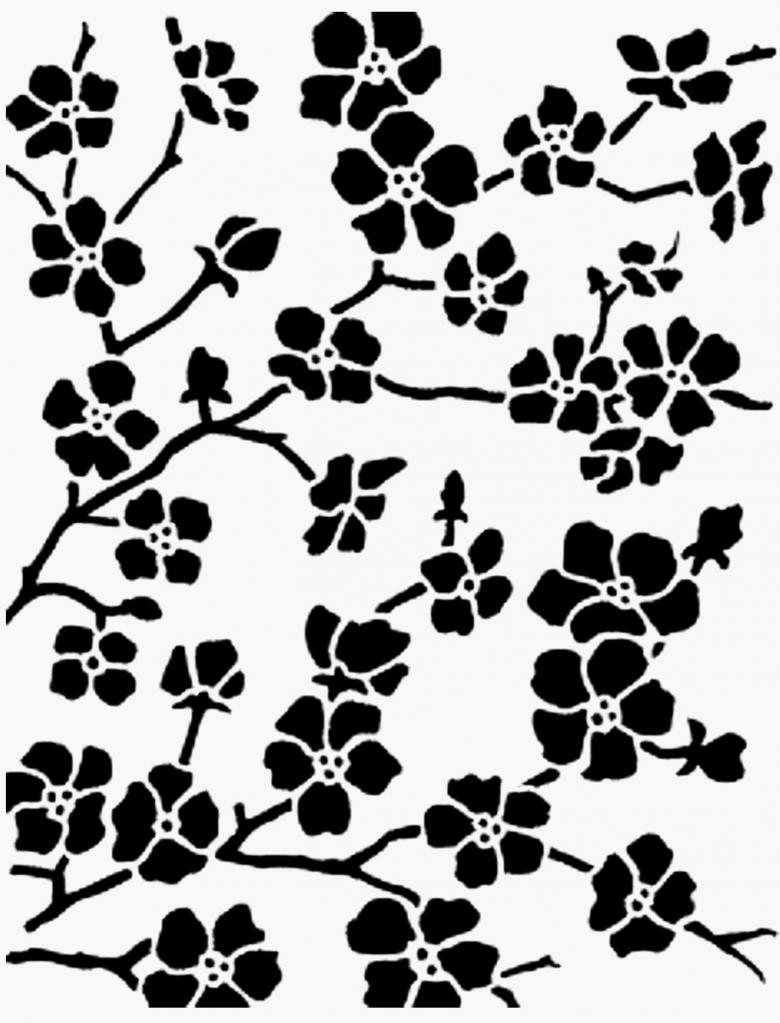
- too small elements of the pattern are difficult to paint, so it's better to choose a pattern without such details,
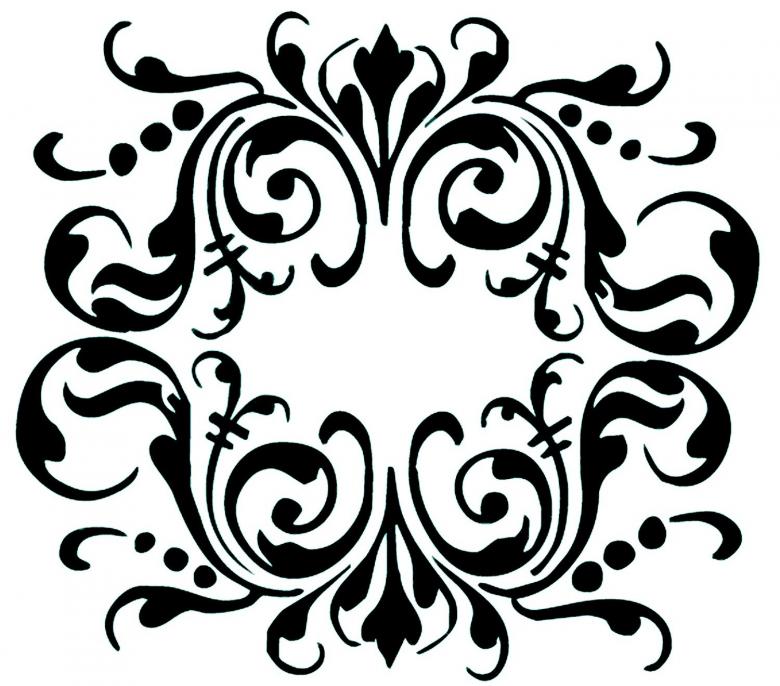
- A large number of lintels and lines make the result of the work more effective and clear.
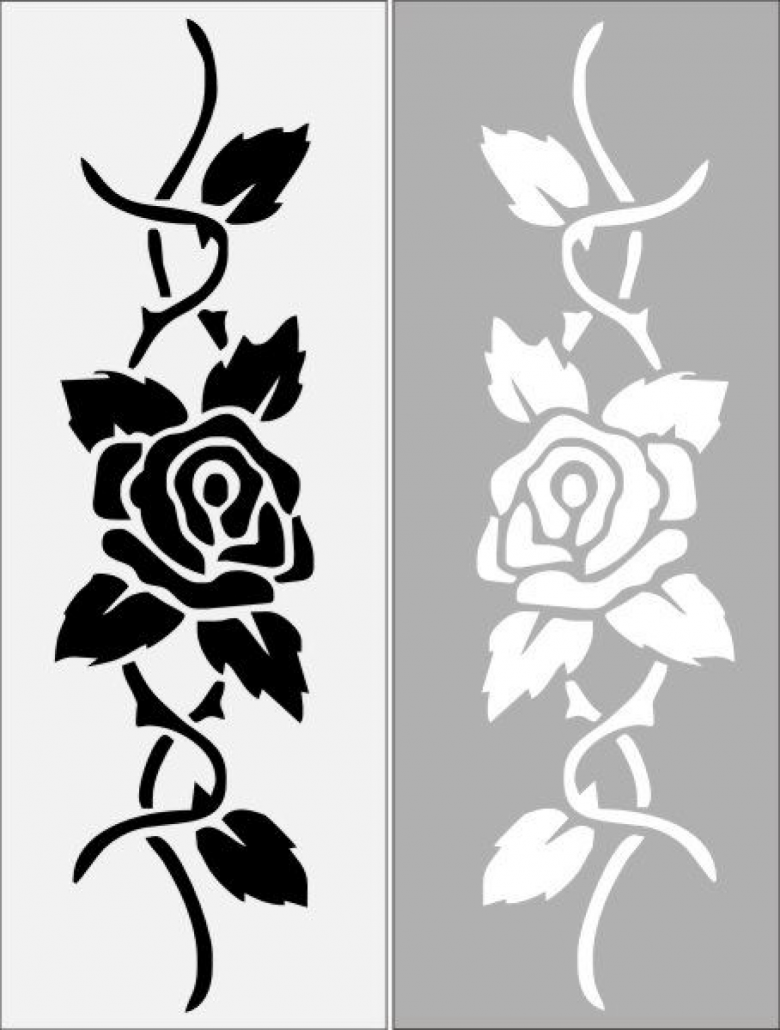
The creative process of choosing a pattern and its place of application is a purely individual matter and opens up a wide scope for the realization of various ideas. The modern market of building materials has a wide range of ready-made stencils. The possibility to produce individual templates allows obtaining unique decorative elements.
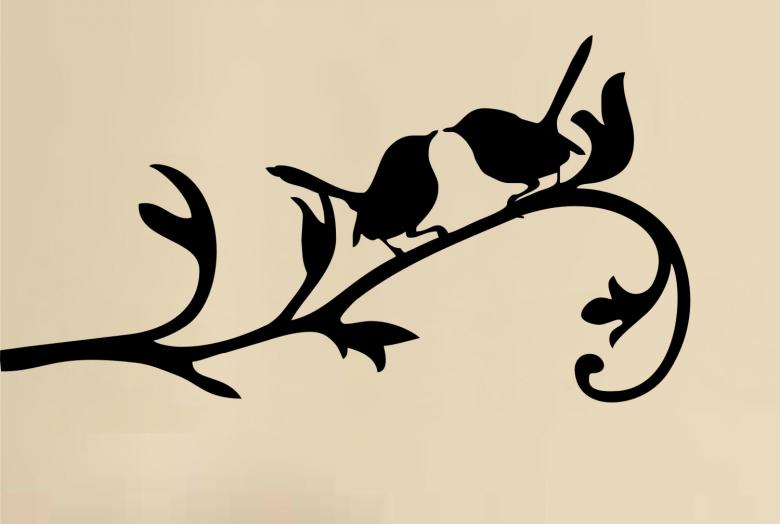
How to make a stencil at home
Preparation stage
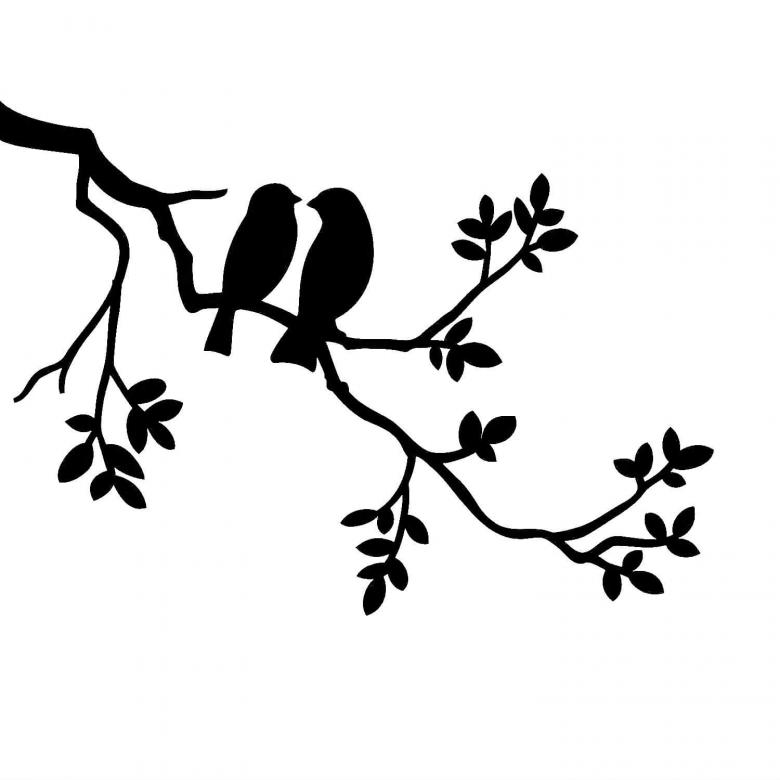
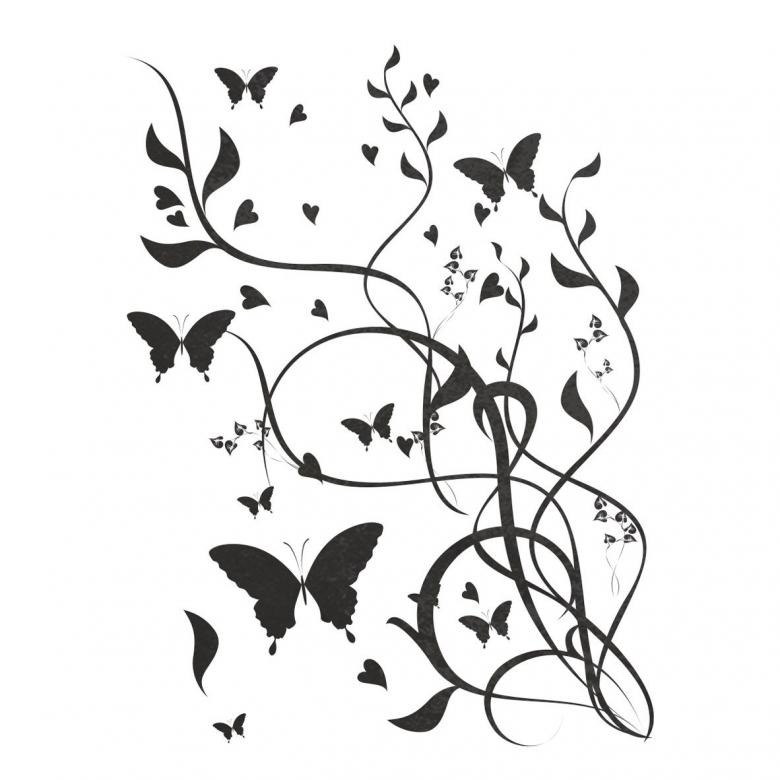
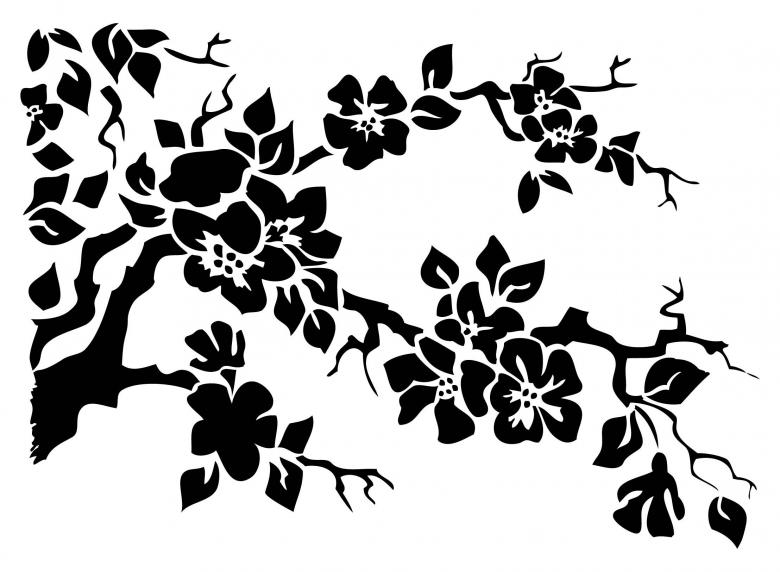
The first thing to do is to choose or come up with a sketch. It can be developed independently or print out a ready-made template from the Internet. The large-sized sketch is made on the printer in parts, which are then glued with scotch tape.
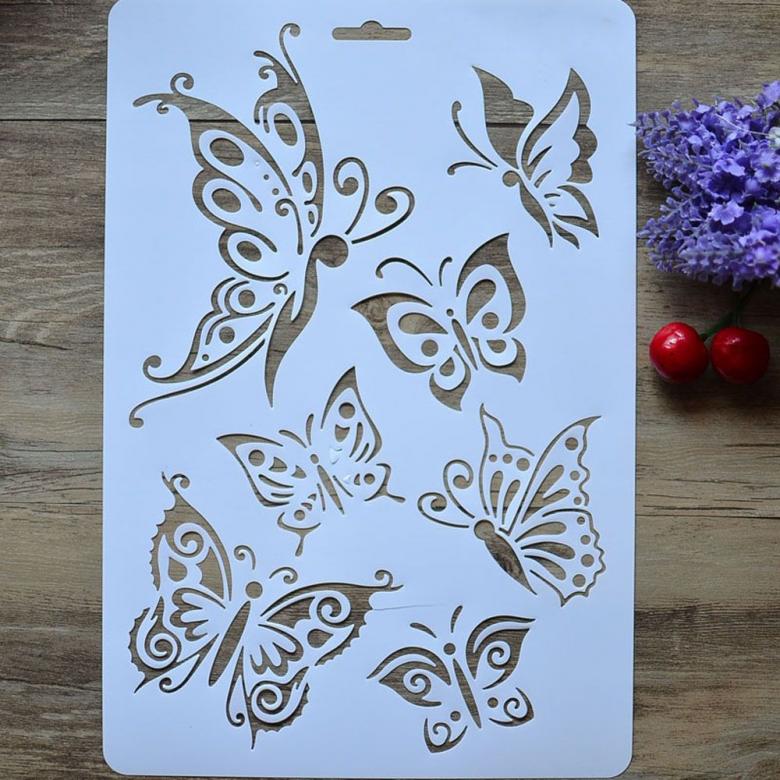
The second important step in preparation for the work is the selection of material to cut out the pattern. It is rational to make a one-color template from paper or cardboard. It is more practical to make a reusable one out of plastic.
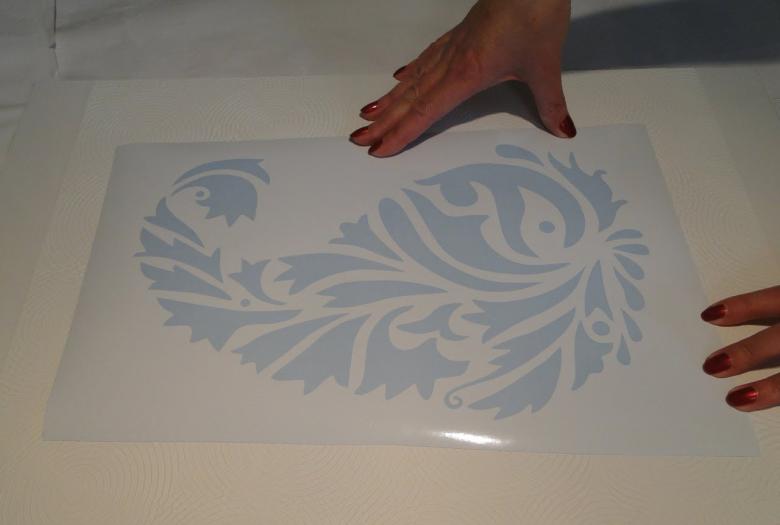
In order to make your own stencils, you must prepare:
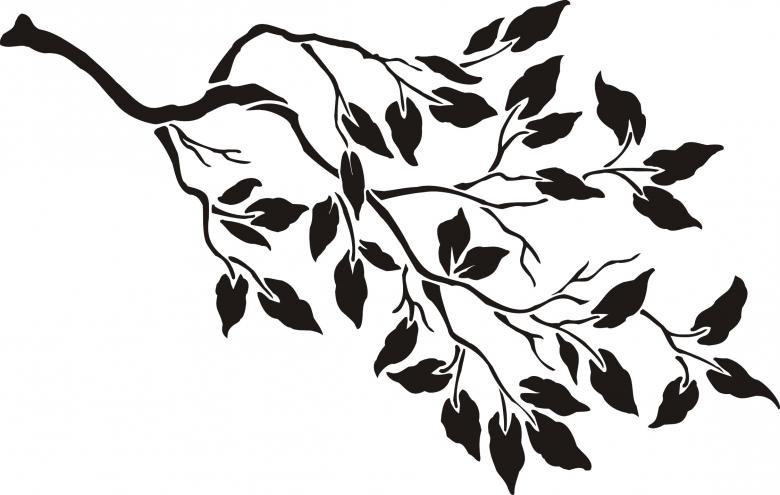
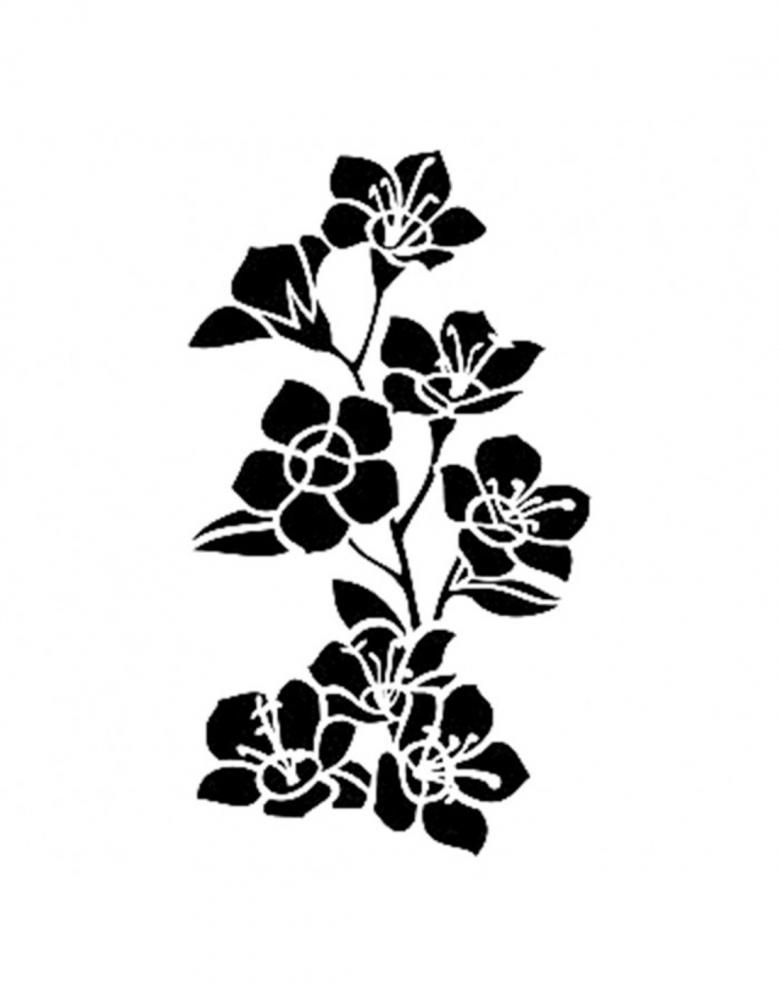
- a sketch of the drawing (with clearly drawn elements),
- material for cutting out the elements of the drawing (paper, film, cardboard, plastic),
- a soft pencil and a thin marker,
- scissors,
- sharp knife,
- a roll of duct tape,
- paper clips,
- a backing of smooth material (so as not to spoil the tabletop).
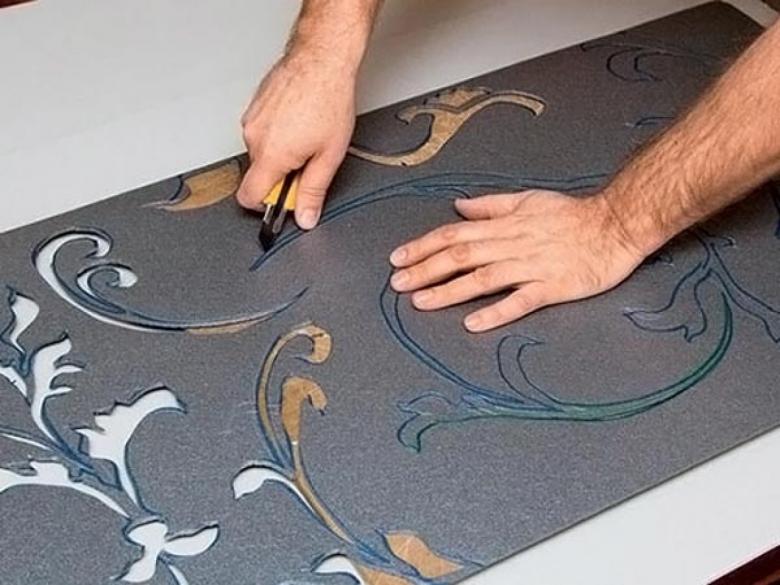
Making a stencil
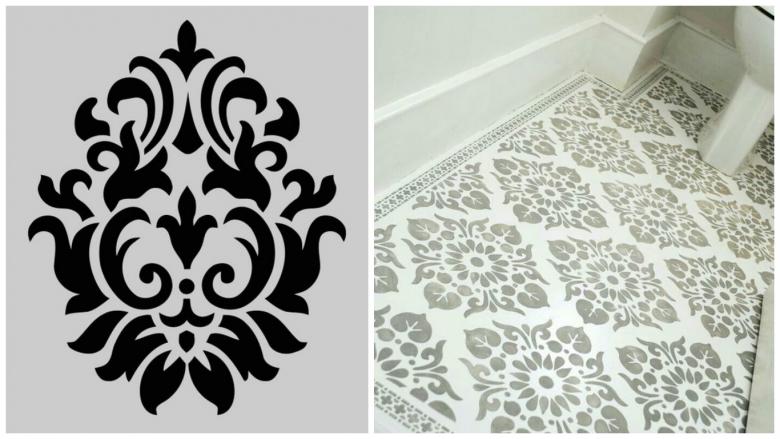
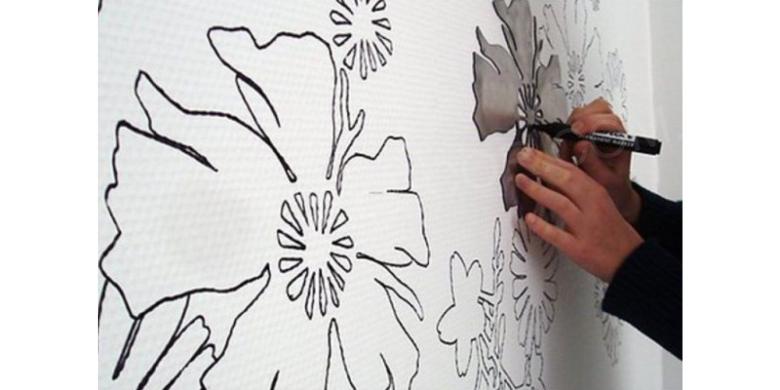
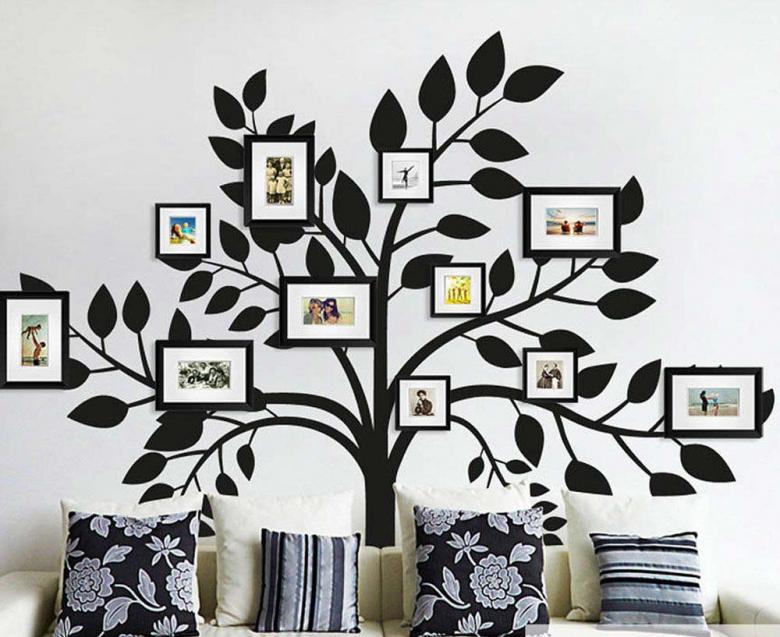
Usually at home, single-layer stencils are made to decorate flat surfaces. With the help of this uncomplicated technique, you can refresh the interior of a room, kitchen or bathroom. The ornament can decorate not only the walls, but also the floor or ceiling.
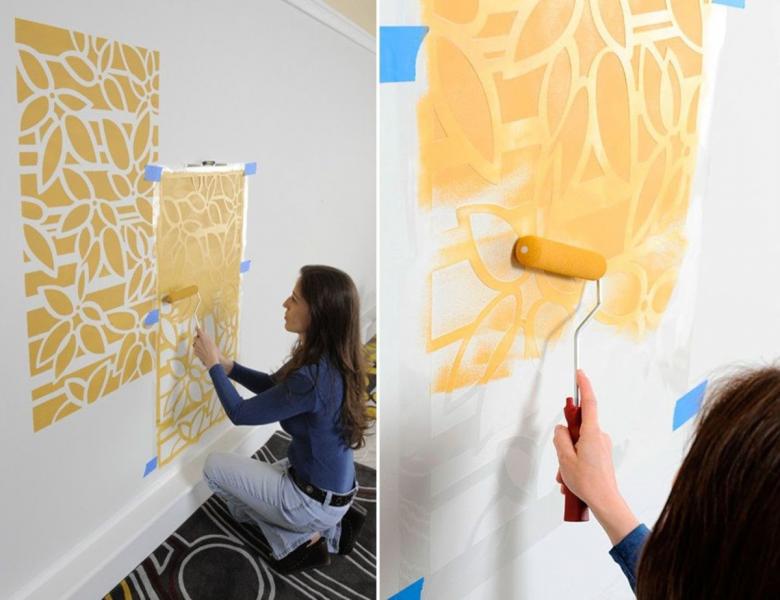
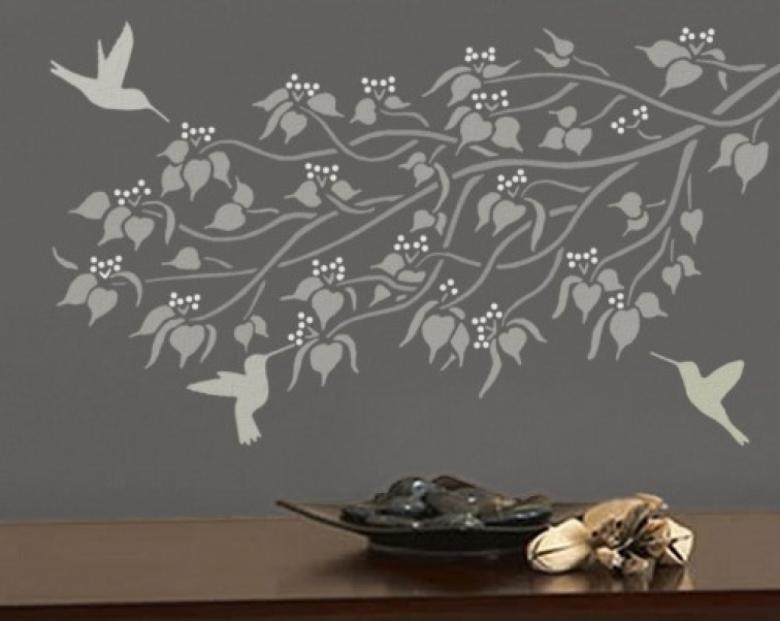
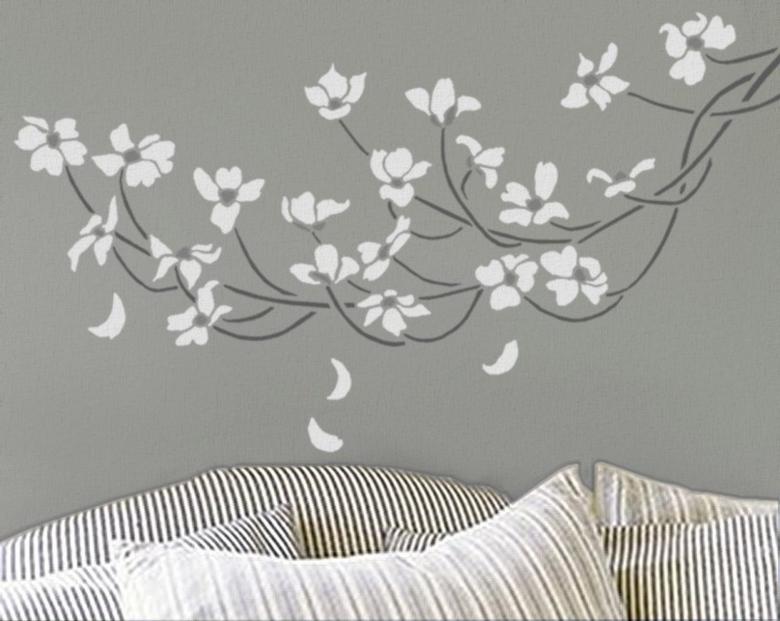
The technology of work can be mastered on the example of how to make a stencil for the walls.

A manual on how to make a single-layer paper stencil.
- First of all, it is necessary to clearly mark the lines of the drawing on the sketch. It is important that the gaps between the future cuts on the template (bridges) are wide enough. Otherwise, the paint can seep through and ruin the pattern.
- The image should be carefully transferred to the base for the template. It is convenient to use tracing paper or tracing paper. To avoid displacement of sheets when copying the drawing, the parts should be fixed with staples or tape.
- Inspect the copied drawing carefully, so that all lines are clearly visible on the base. If necessary, highlight elements of the drawing to facilitate further work.
- Carefully cut out the stencil. Remove all the imperfections and burrs, carefully cut out all sharp corners, otherwise they will negatively affect the final result.
- The easiest way to make a stencil for walls is from paper or cardboard. For durability it is recommended to cover it with food film or scotch tape. Then the paint will not soak into the paper, and the bridges (crosspieces) will not be deformed when working.
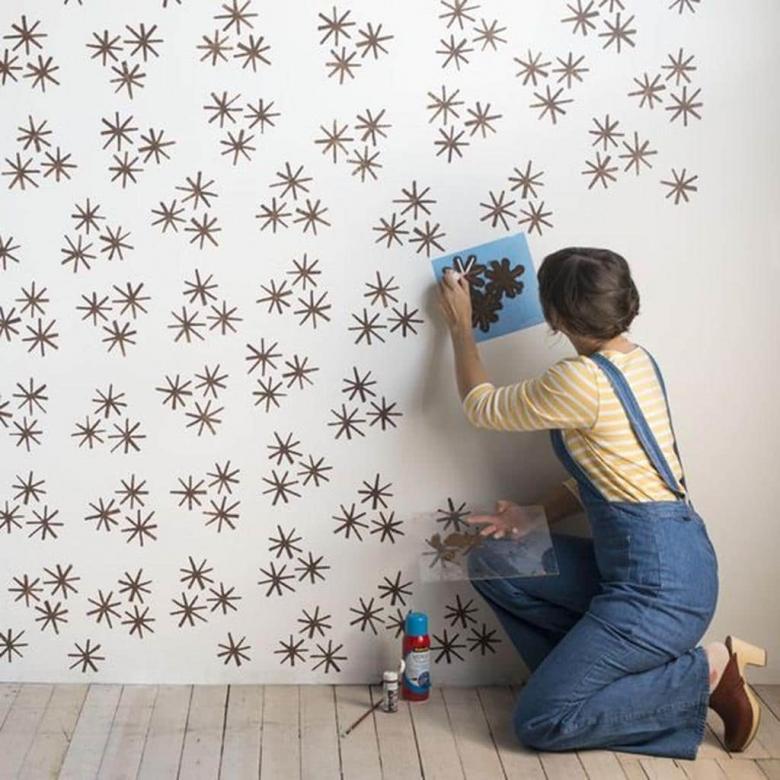
Using this algorithm, you can make templates for decorating a room, drawing a pattern on textile things and different objects.
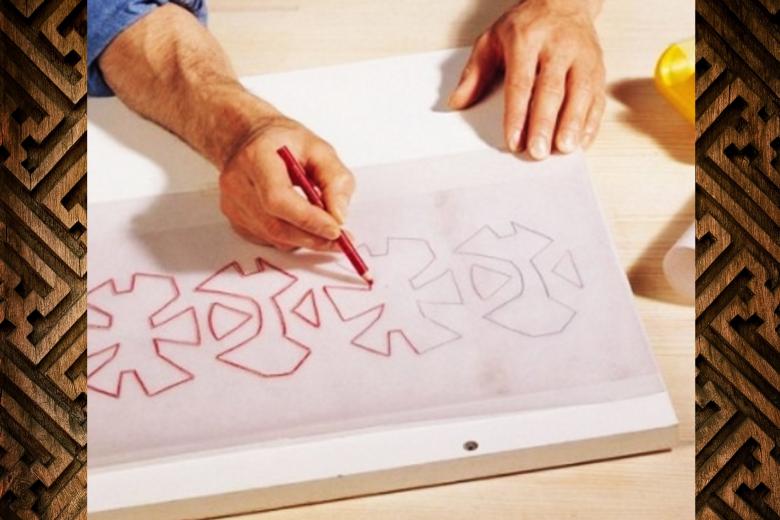
Planning to use the template repeatedly, it is better to make it from sturdy cardboard (glued with tape) or plastic.
Making a stencil from plastic with your own hands
As a material, you can choose acetate plastic or "Mylar". Both types are sold in sheets or in rolls. Sometimes they have an adhesive base. It is better to give preference to the material with a matte surface, it is more convenient to draw on it. You can also take old X-rays.
- For drawing a picture on a plastic base, a marker is best. The lines should be clear and thin enough not to distort the drawing when cutting out the template.
- A smooth surface and a convenient sharp knife will ensure success in the manufacture of the stencil. The work is performed accurately, it is more convenient to attach the edges of the plastic with scotch tape (or glue) to the base for cutting. This will make working with the plastic easier.
- It is more convenient to remove small elements of the pattern with sharp corners after cutting with tweezers.
- The edges of all the cuts should be slightly trimmed with fine sandpaper. They should be smooth, otherwise the applied drawing will look blurred.
- After sanding the plastic template should be cleaned from dust and traces of glue.
- A stencil made of plastic can be used many times, it is more durable than cardboard and is easily cleaned from stuck-on paint.
A multilayer stencil is made in the same way, but one for each color.
How to make a flip-flop stencil
This portrait technique refers to a fashionable trend in art. Using it, anyone can create a portrait with their own hands, not knowing how to draw.
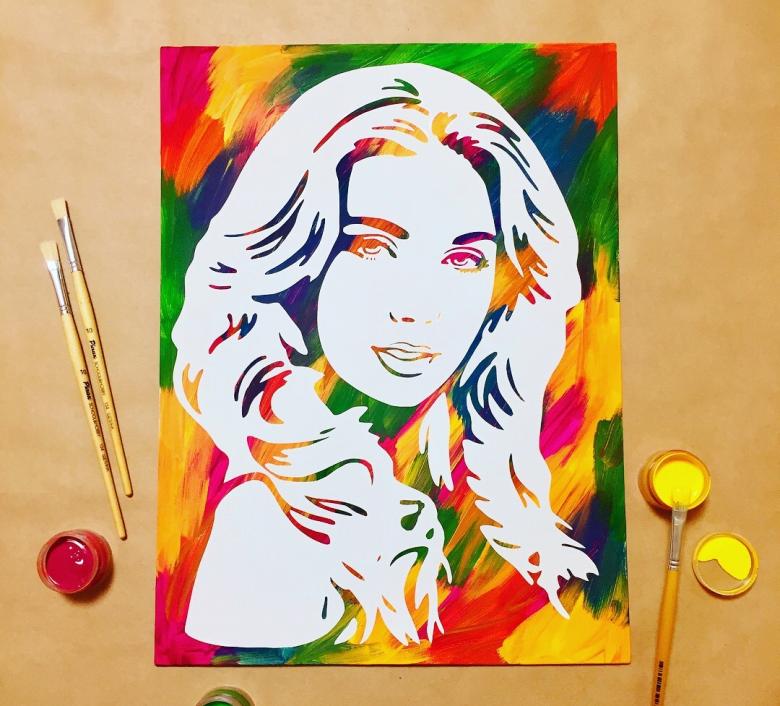
Several shades of paint and a special film are used.
- The picture is retouched with a photo editor to get a clear image without glare.
- The image is transferred to a special film with an adhesive backing.
- The canvas is stretched over the frame, primed and allowed to dry.
- The film with the image is glued and painted.
- After the coating dries, the film is removed.
The portrait remains on the fabric, the role of the template in this case is performed by the film.
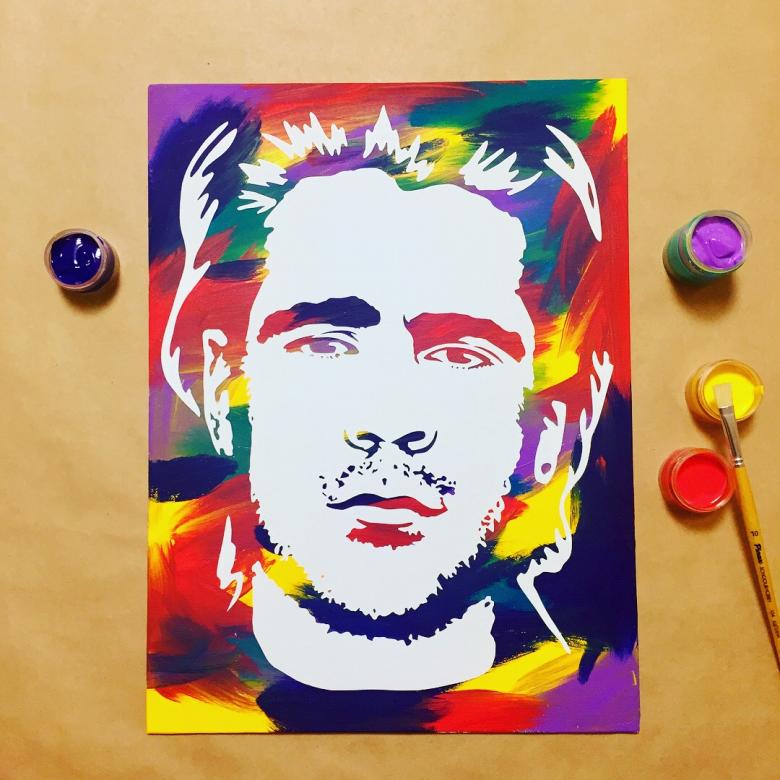
It is very difficult to make such a work with your own hands without a special film. The film can be purchased in stores for creativity or ordered in a printing house.
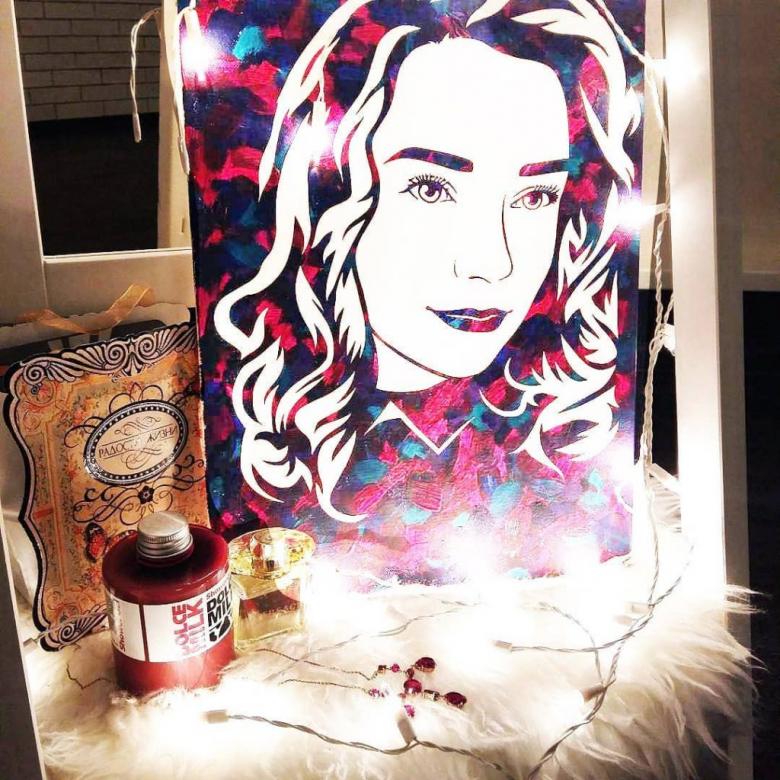
The ready-made film should be fixed on a flat surface (for example, on the wall) with tape. Then paint it. You can paint with acrylic paint or spray can paint.
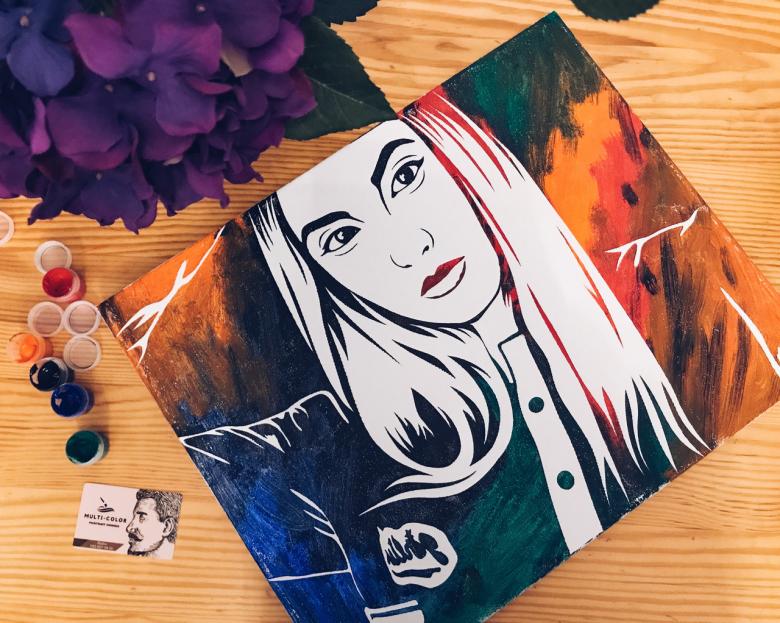
The result is a unique portrait, made with the most modern technology.
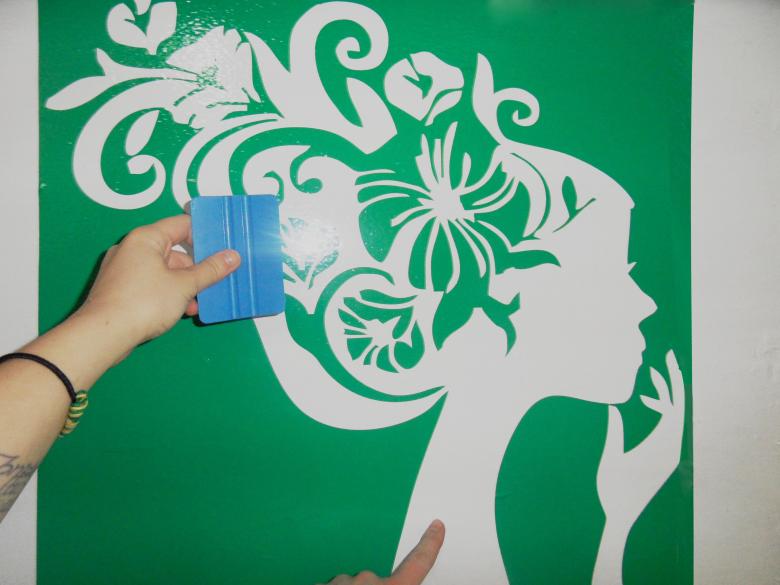
Stencil, made with his own hands, will help to give the interior personality, to embody any creative solutions. It is not difficult to make it with your own hands, and the result will delight the master and pleasantly surprise your guests.

