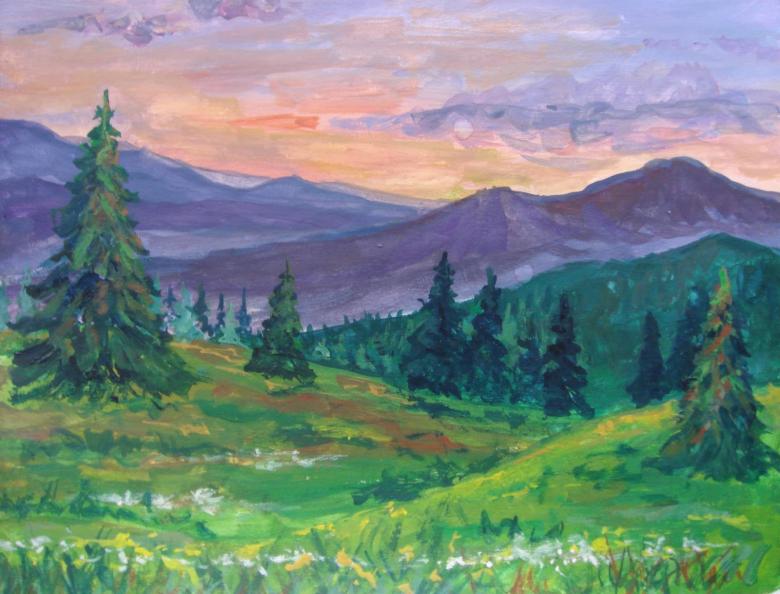
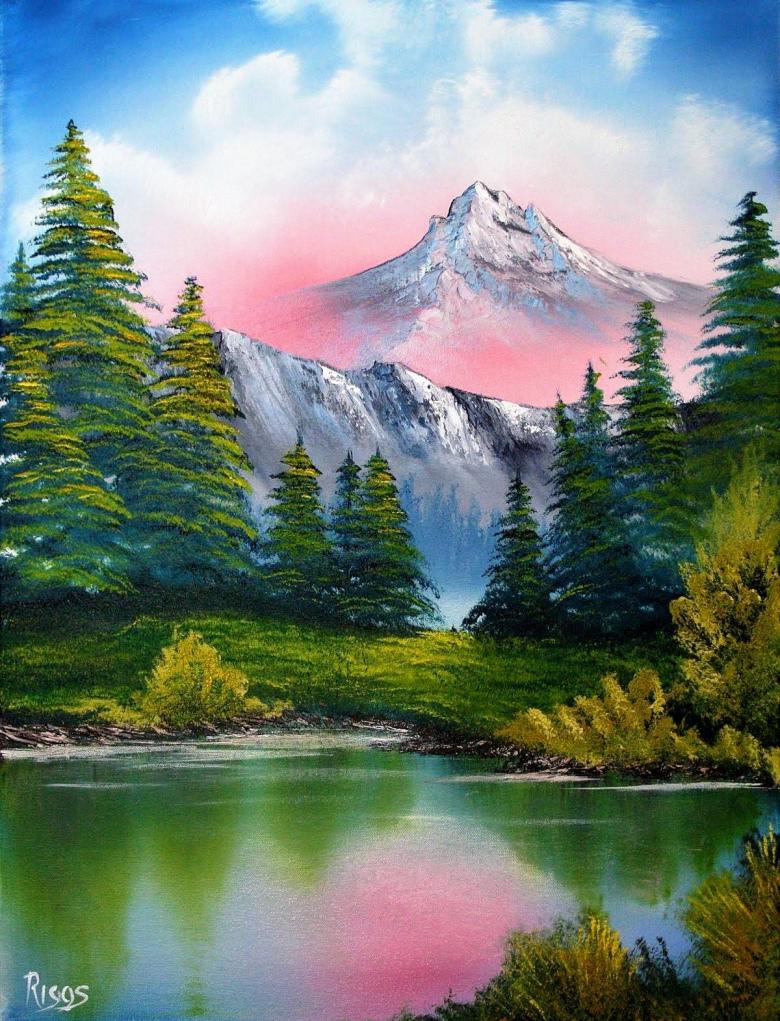
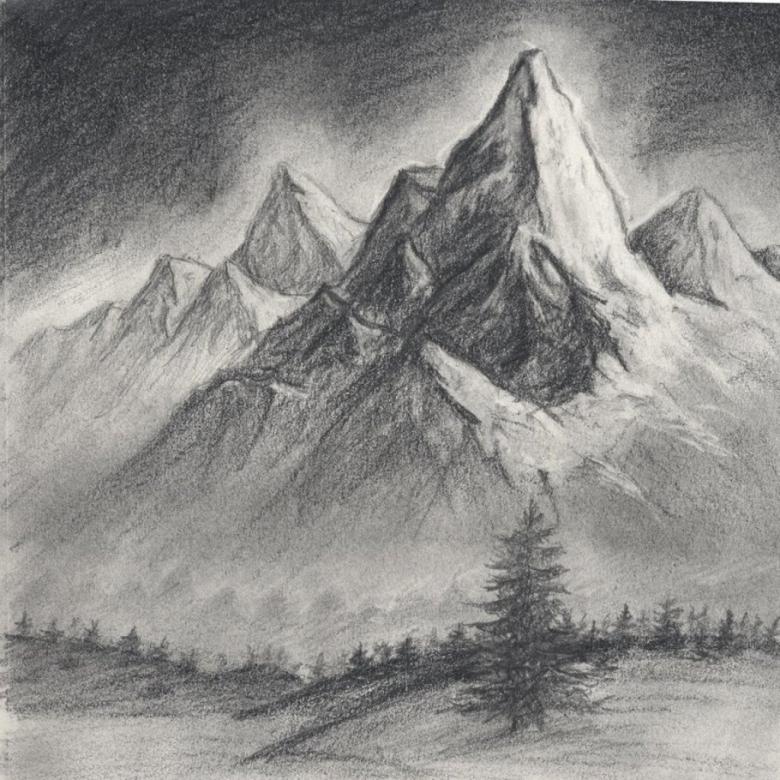
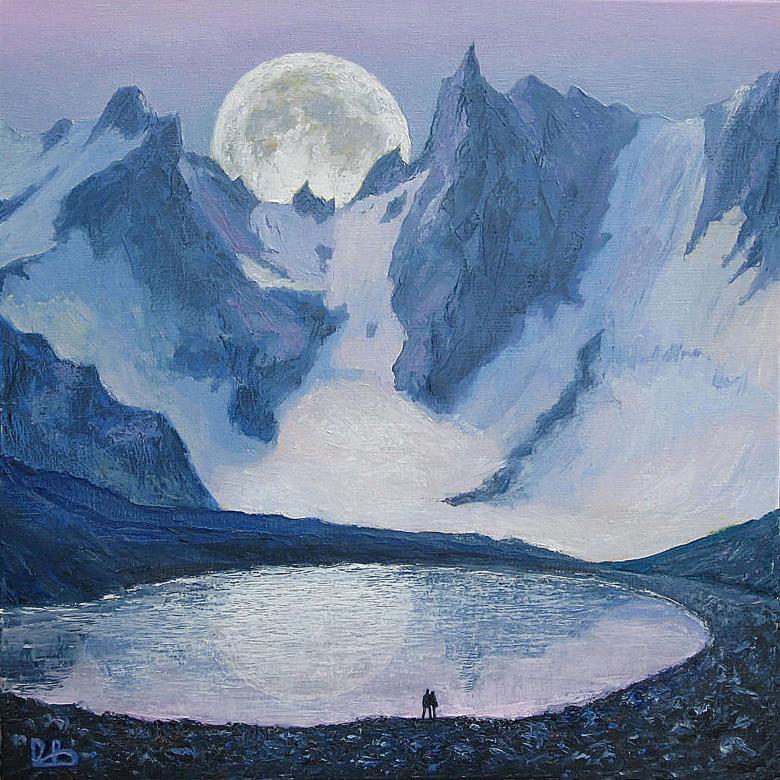
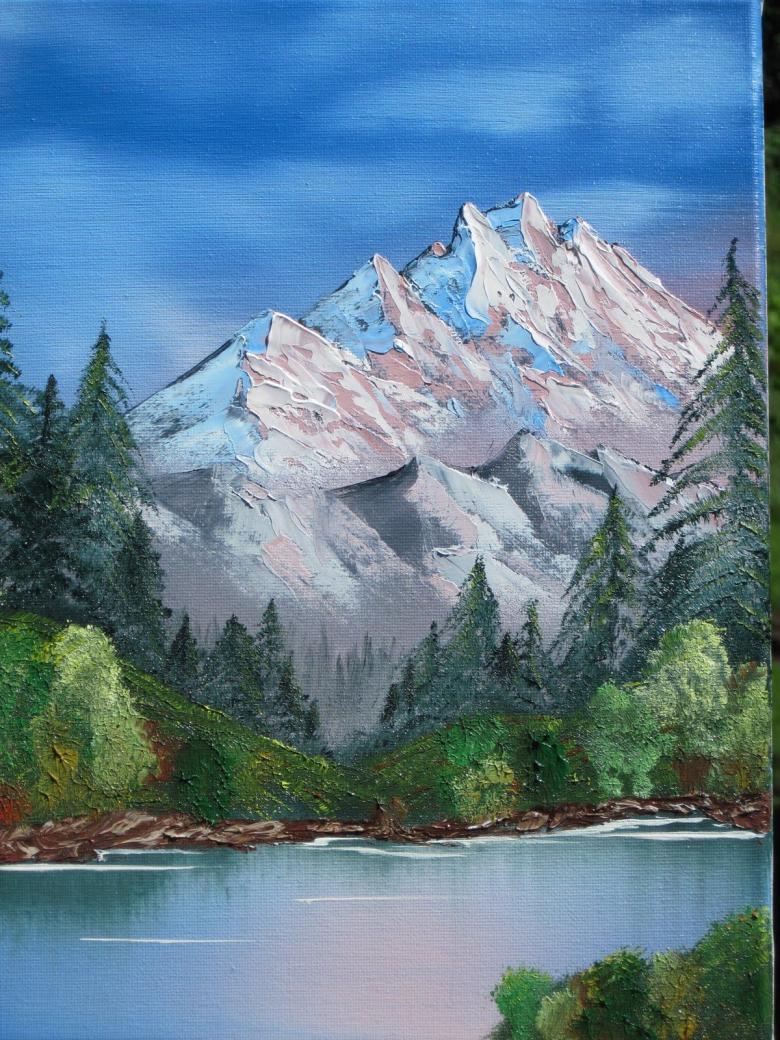
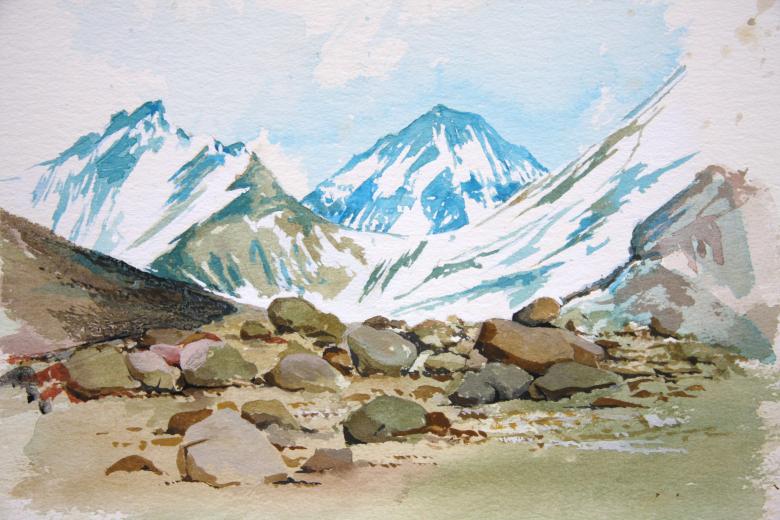
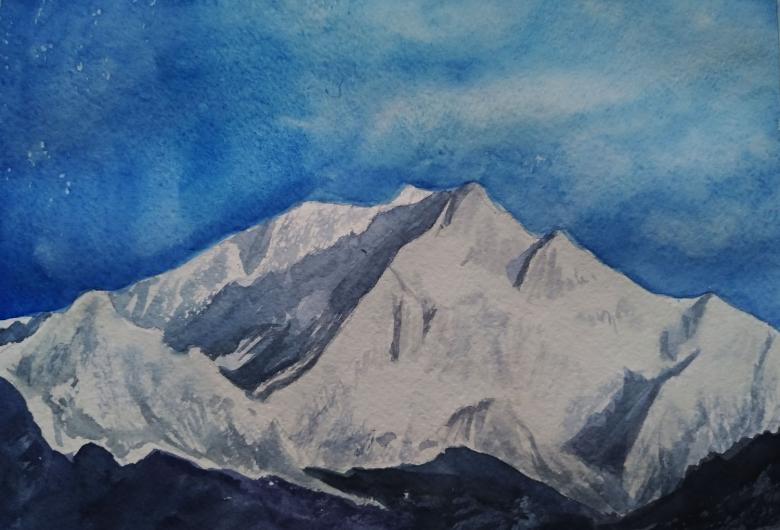
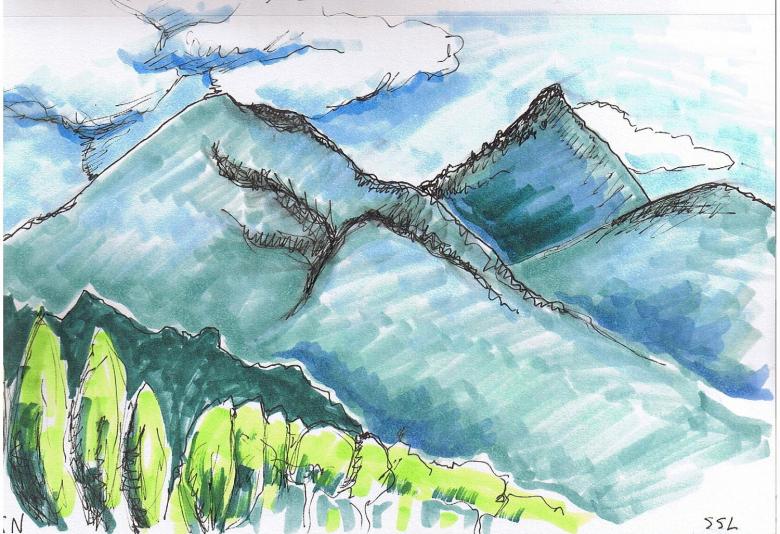
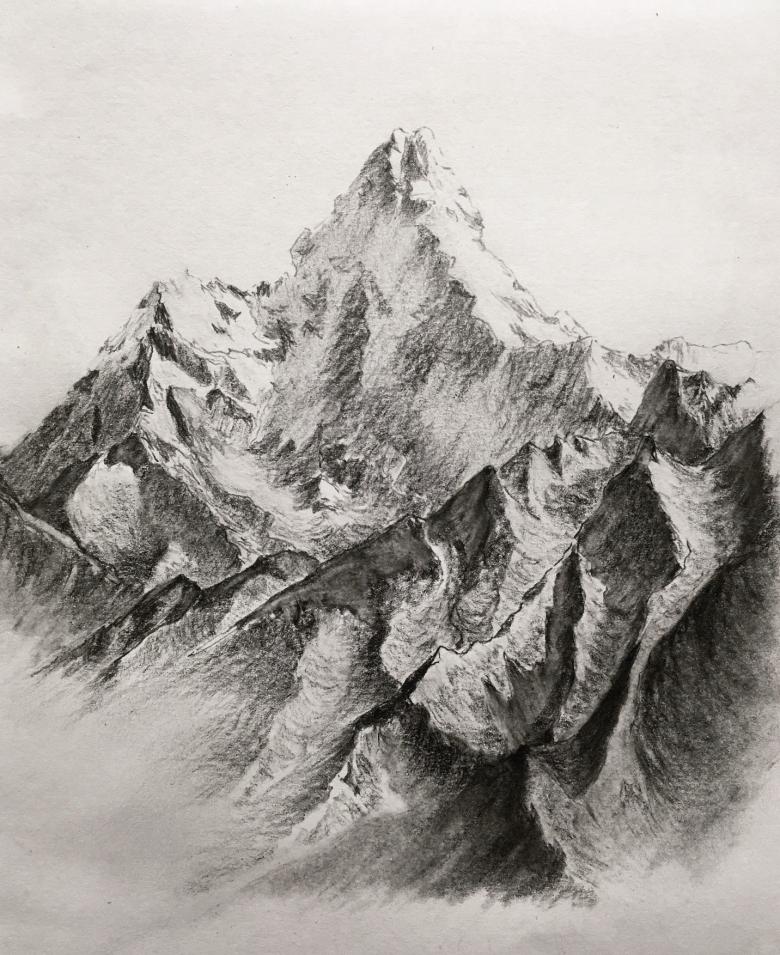
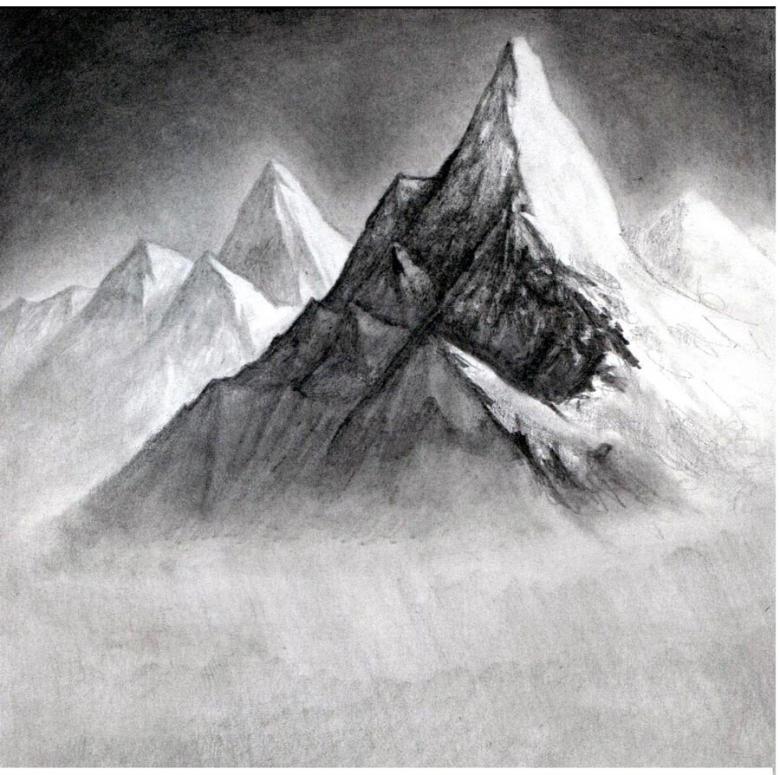
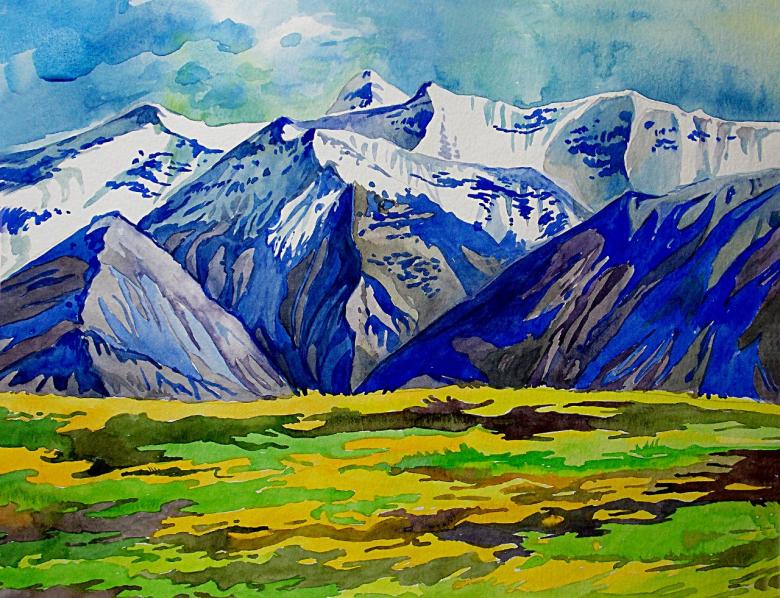
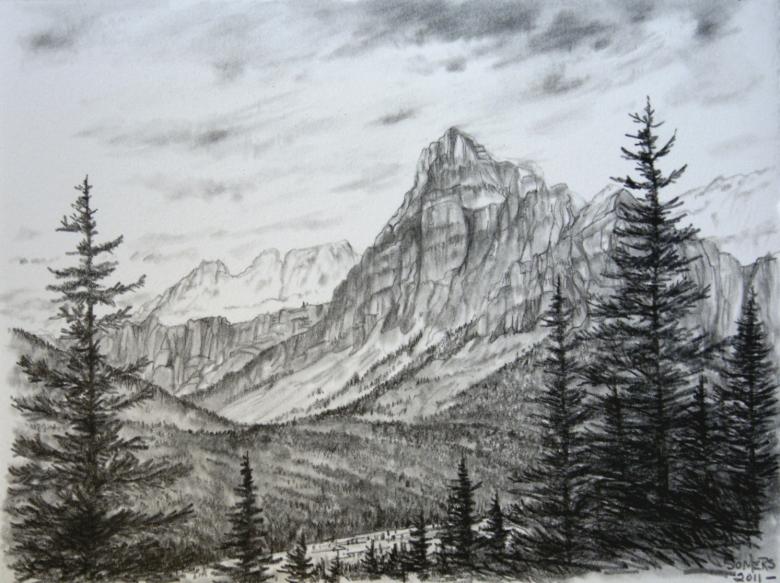
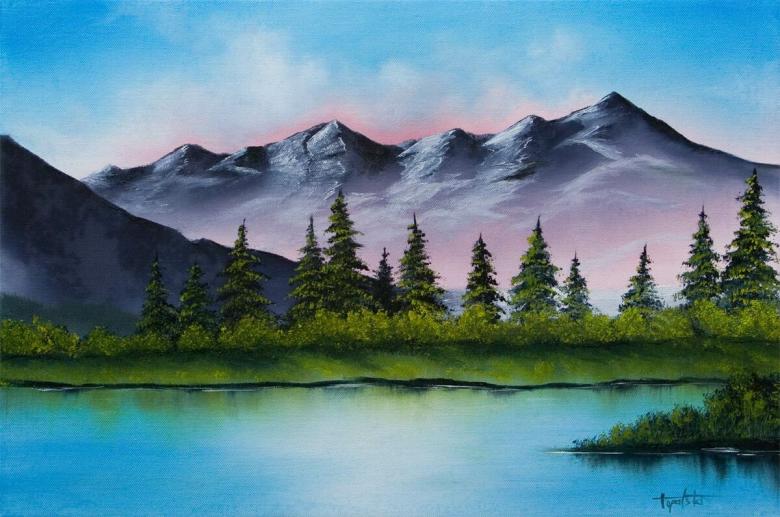
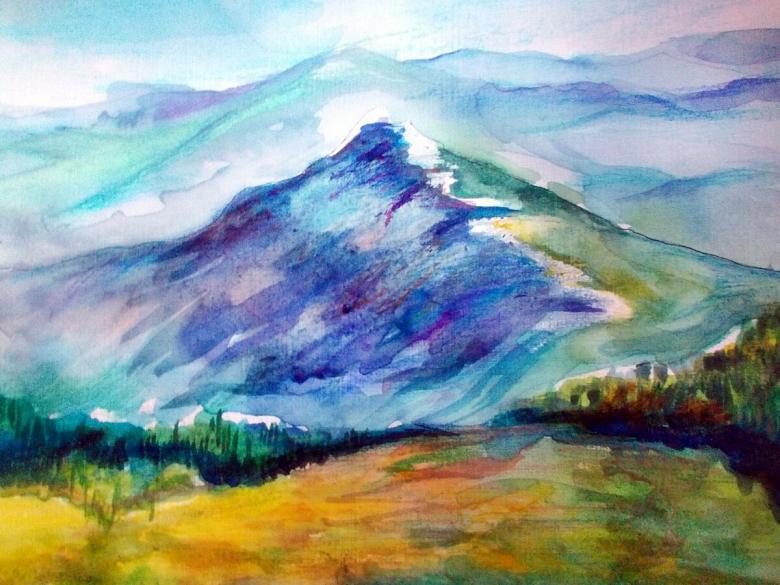
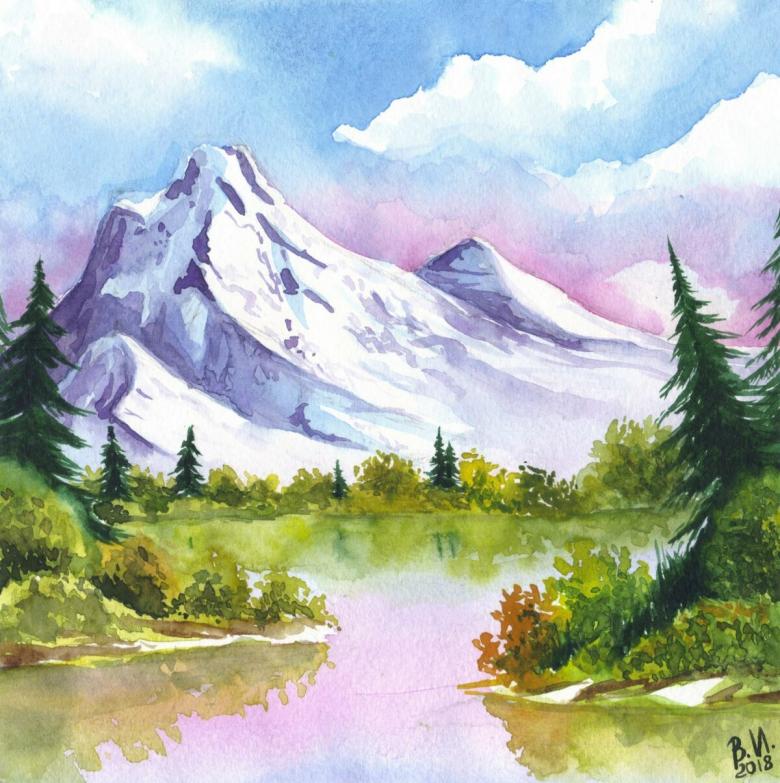
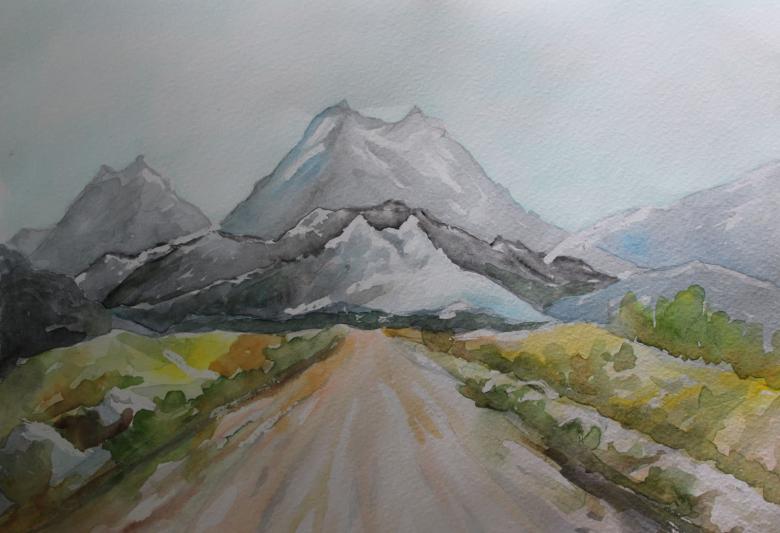
How to draw mountains: simple lessons with a breakdown of the basic steps of drawing mountains
For many thousands of years nature has served and still serves as a source of inspiration for creativity. This majesty and natural beauty leaves no one indifferent. And in this article, we will show you how to capture all this beauty on a sheet of paper.
How to easily draw a landscape
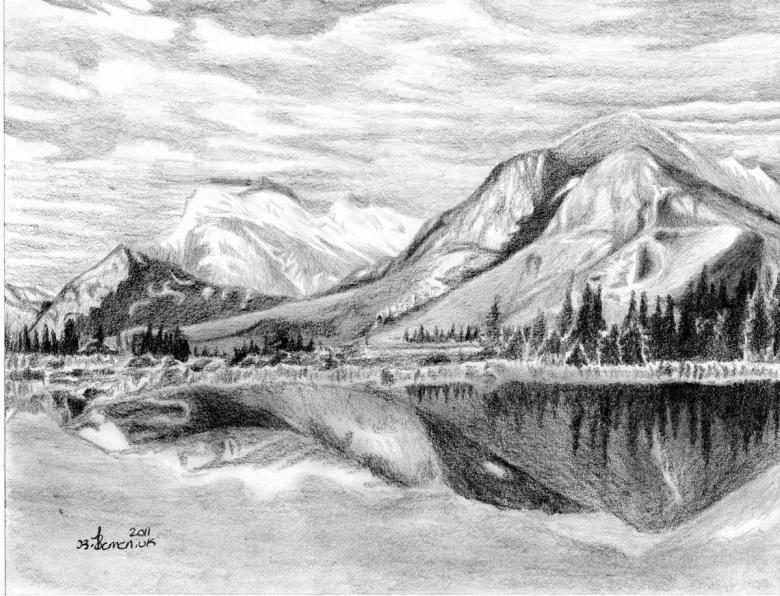
The first thing, of course, is to prepare the supplies for the creative process. Take a sketchbook, if you don't have one, you can use plain paper, a regular pencil, colored pencils and an eraser.
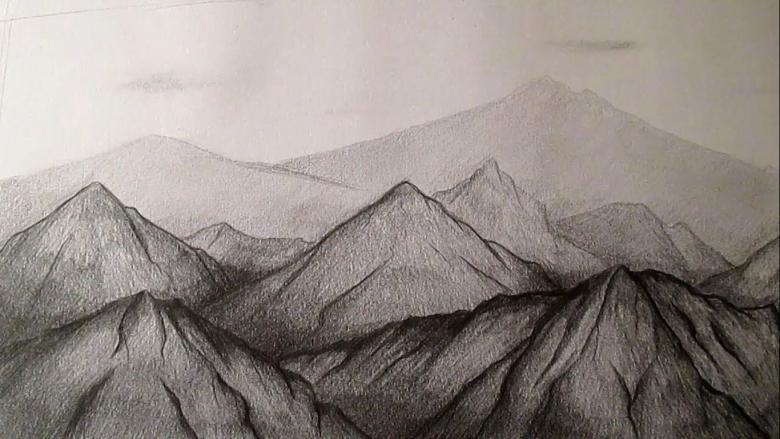
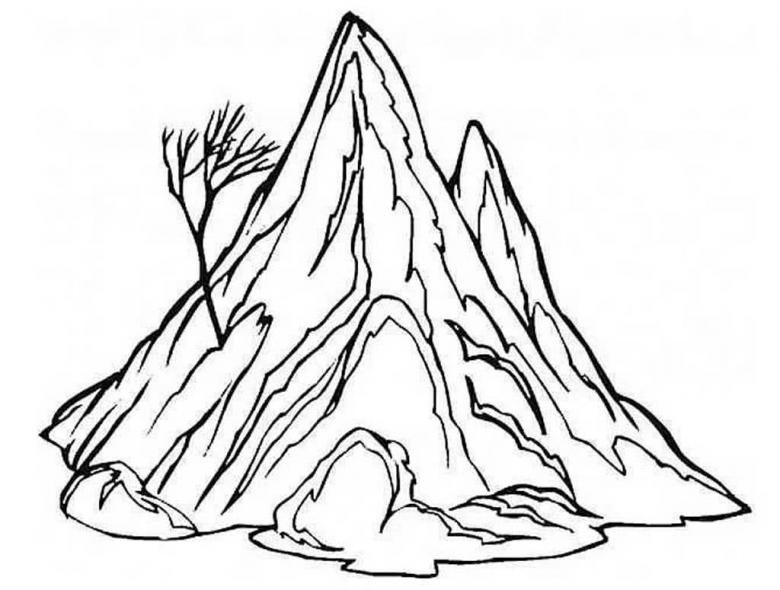
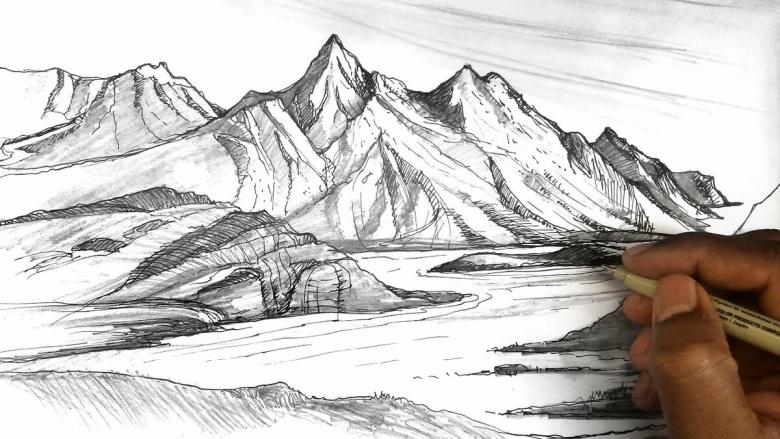
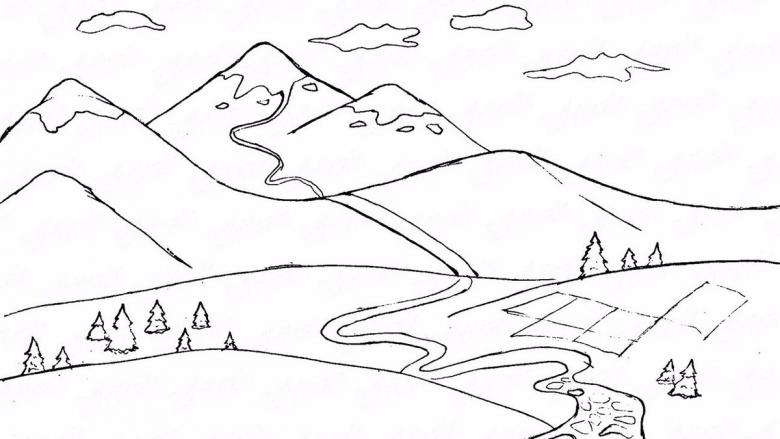
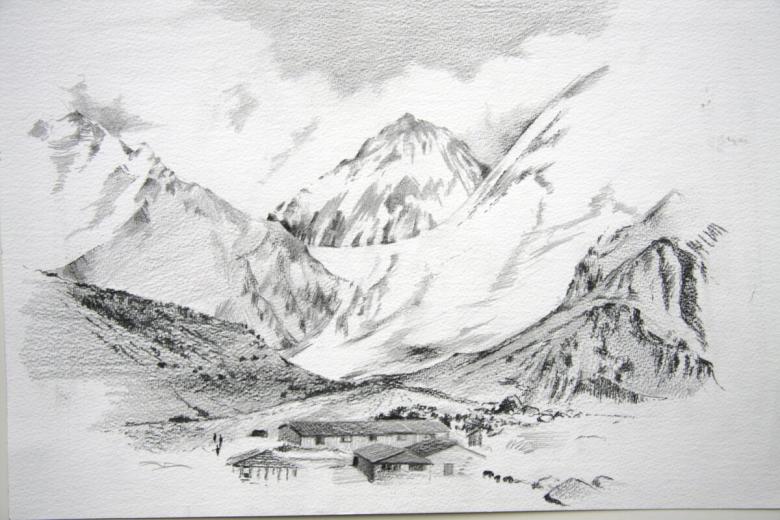
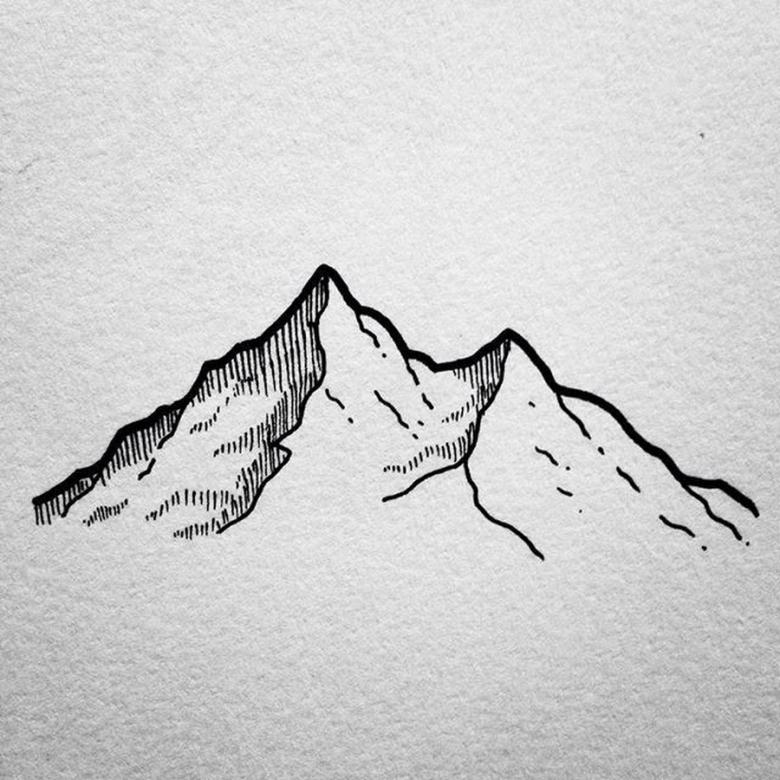
- Step 1: To start drawing, you need to choose the number of mountains you want to see. Then, with a simple pencil, draw the silhouette of the mountains themselves. It's important not to put pressure on the pencil so that when you erase it, it doesn't leave ugly marks.
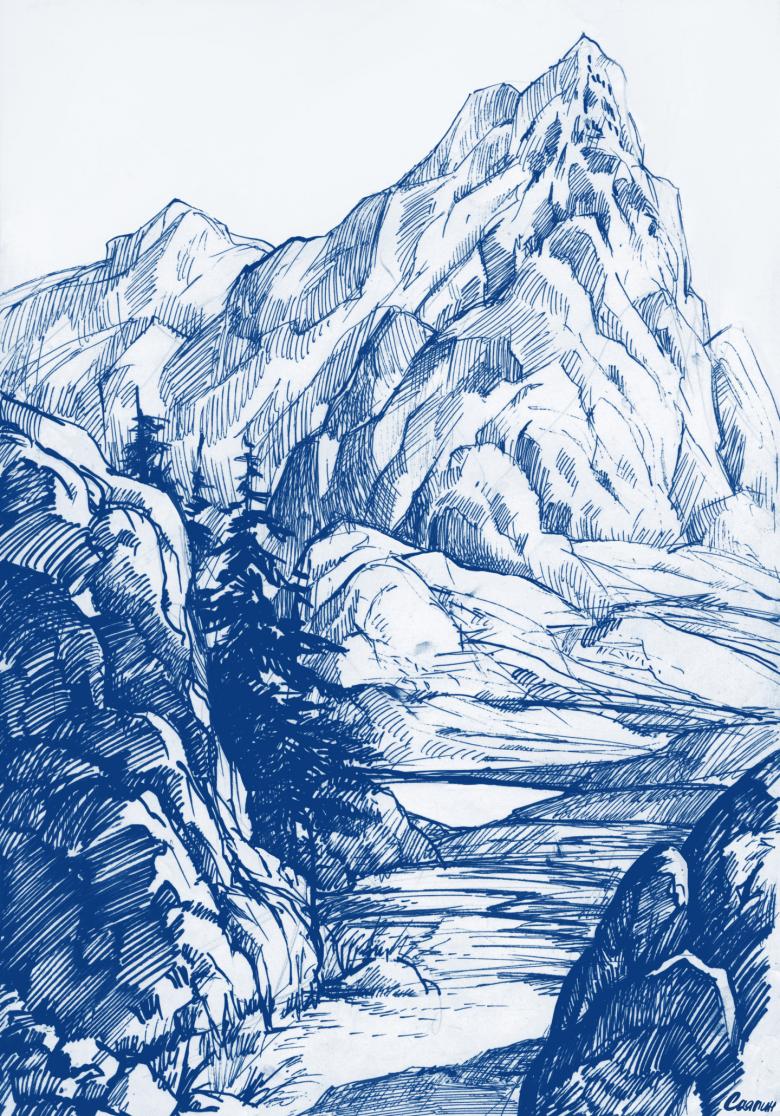
- Step 2: When the sketch is ready, we draw all the lines more precisely. This way we highlight details and draw cracks and paths. At the foot of the mountains we draw different trees and between them we draw a stream or a lake, at your discretion.
- Step 3: Draw the sketch with either a black marker or a black pen, use what is available. If you draw with a pen, go over it a few times to better show all the details.
- Step 4: Add the clouds. To make the drawing seem more realistic, draw their reflection on the water. At this point, we have finished working with a simple pencil.
- Step 5: Now we add colors. Green is used to scatter all the trees and foliage near the pond. With a darker color of green, give volume to the trees. Take a blue pencil and paint the mountains with it.
- Step 6: We paint the lake with blue pencil, darken a little the edges of the reservoir and mark the reflections of the clouds. If you do the sky in blue, the picture will merge, so we propose to do in a yellow shade, and highlight our cloud with blue and blue paints.
Our drawing can be considered finished.
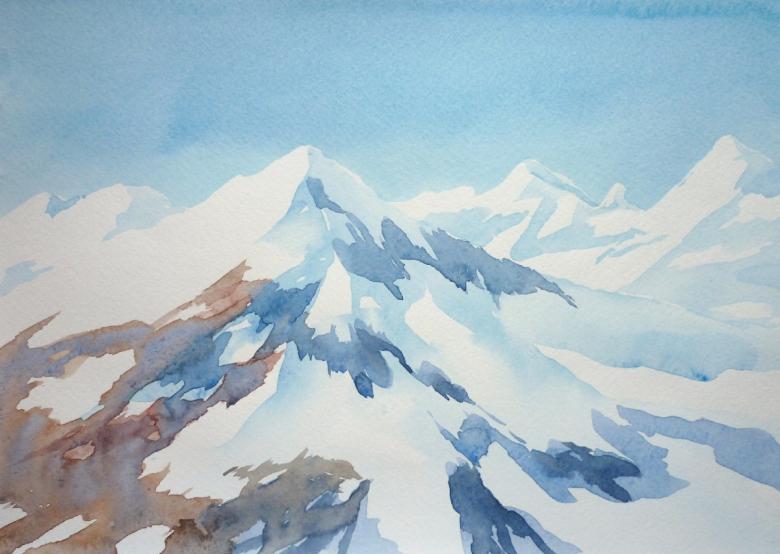
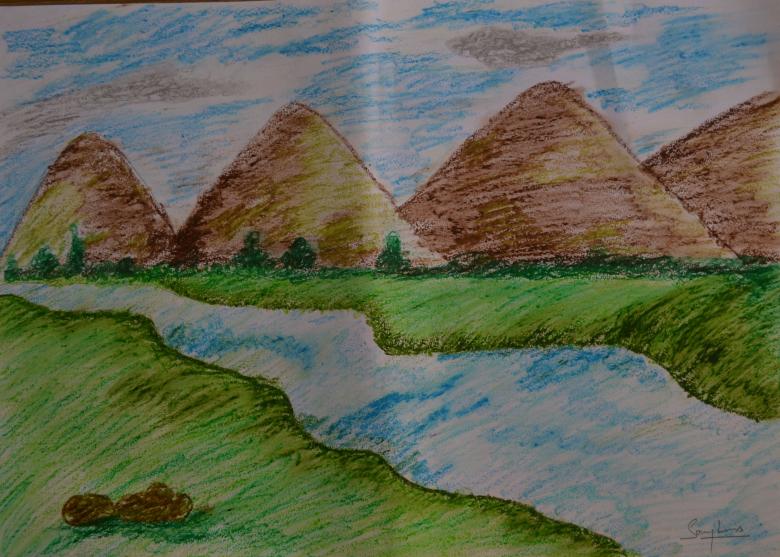
Drawing the mountains with dry pastels
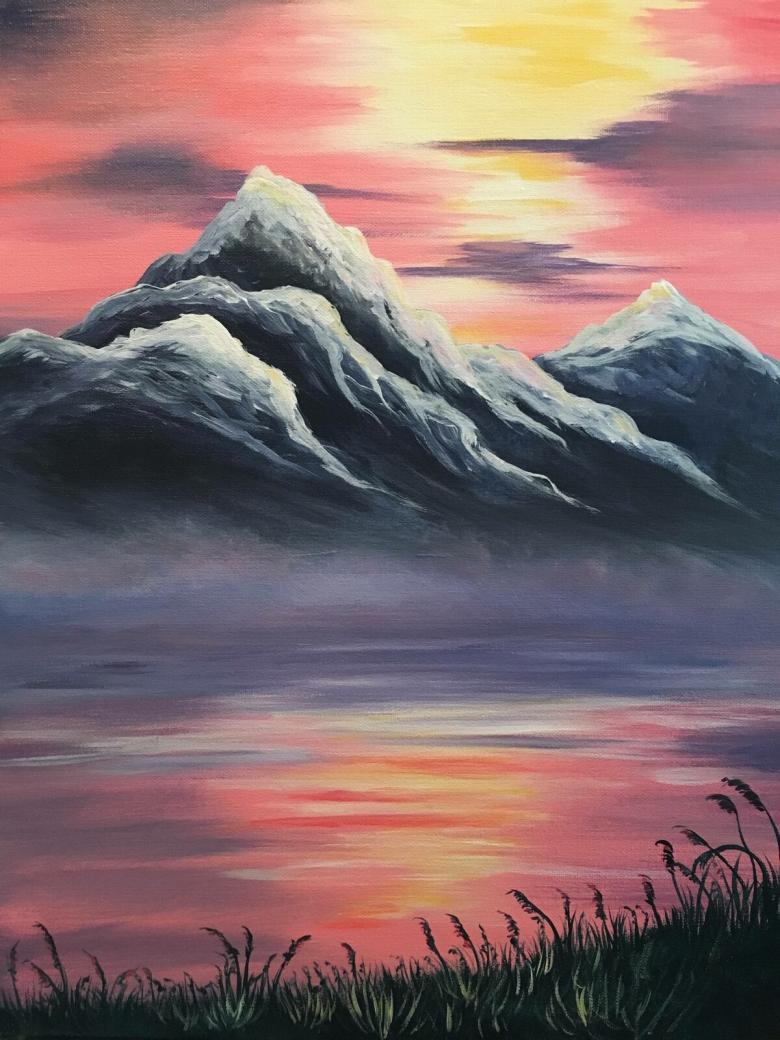
For the next picture we will need pastel paper and dry pastels. The colors needed are: white, yellow, orange, pink, red, dark purple, dark blue and black.
- Step 1: we put the sheet and place it vertically. Draw strokes on top of the sheet in purple. The emphasis is on the top right corner, the main thing is not to overdo it. Paint the left corner with white crayon.
- Step 2: Below, add yellow strokes as shown in the photos. Also add orange and pink colors. On top of the applied colors apply a little white and purple, as shown. After that, blend it all out. Blow out with your fingers, trying to achieve smooth transitions.
- Step 3: We put a couple of white strokes on our sky. This is a kind of gap in our sky. In the same way we add a yellow color. Stretch out these strokes.
- Step 4: We draw the center of the leaf with purple crayon. On top of that, we add pink strokes and then strokes. Next, we make the tops of the mountains: use purple crayon to make details, just like we did with the sky. A few tops are close to the sky, and below we draw one, but already in dark blue crayon. Between the tops we add white crayon and blur it all. This way we have created an effect as if the mountains were shrouded in clouds.
- Step 5: Draw the two mountains below, which will be in the front background. The one farther away is done in dark blue, and the one closer is drawn in black. Make the tops of the mountains pointy. Add pink and a couple of black details to the far mountain, and a little blue to the near mountain, and blend it all out.
That's all. Now you know how easy it is to draw mountains with dry pastels.
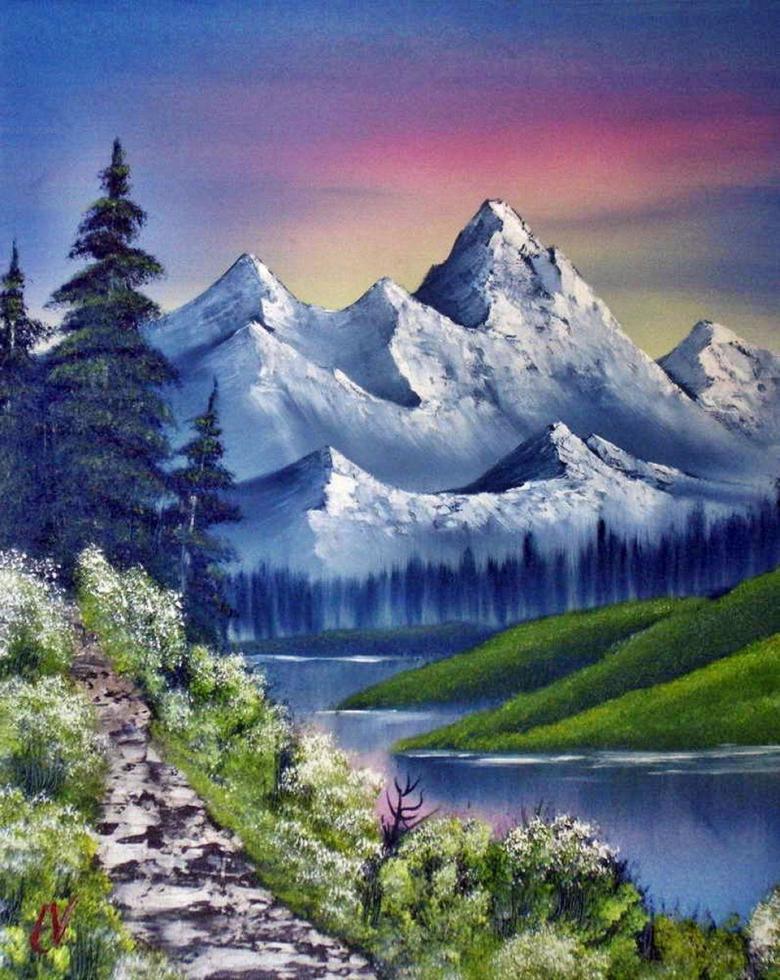
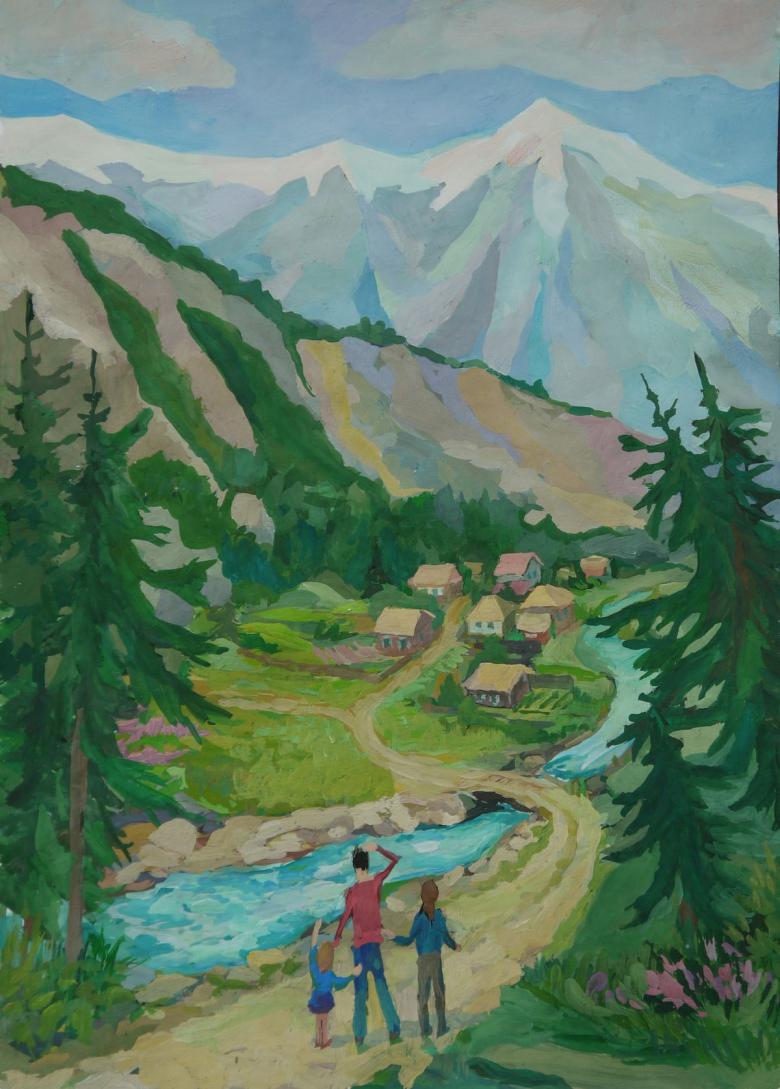
Drawing Mountains in Gouache
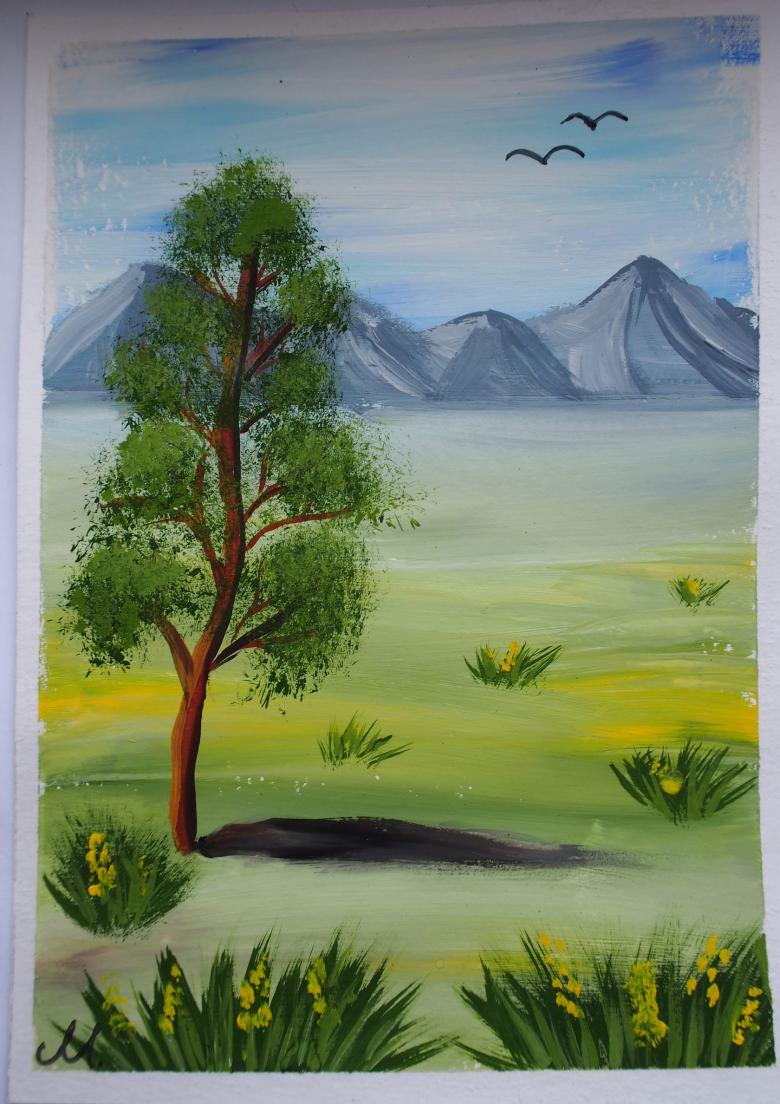
Let's now learn how to draw a landscape with paints. Do not be afraid to start, because even if you are a beginner in this business, adhering to our instructions, you will succeed. To start, we need to prepare what we will need: gouache, an album or sheet on which we will paint, water and any bank card or very thick cardboard.
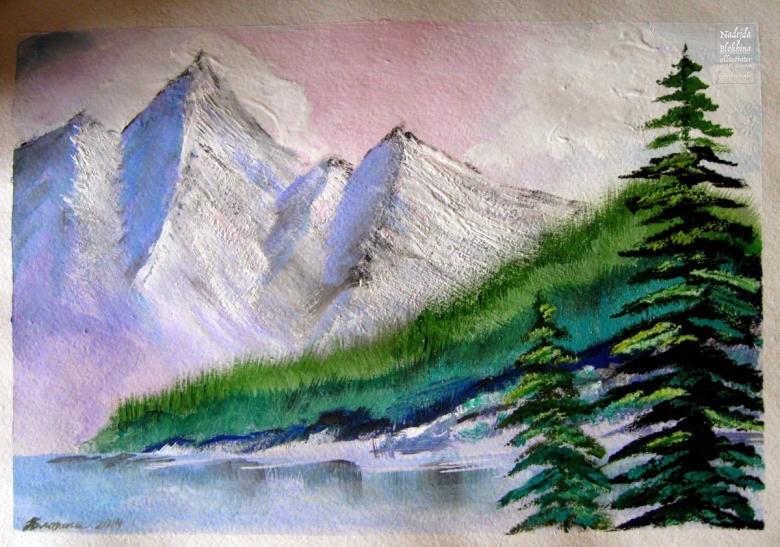
- Step 1: we take blue, and draw a line on the very top of our sheet. Wipe off the brush and with white paint draw a line just below the middle of the sheet. And while the paint is still wet, try to blend the two colors smoothly. If there is not enough paint to fill the gap, you can add more, but just as carefully, so as not to mix everything up.
- Step 2: Mix the blue and white paint. Use this color to make the tops of the mountains, which will be in the background. In the same shade, add a little green, and use it to draw the center and the bottom of the objects.
- Step 3: Let's go down a bit and draw the hills. For this we need green, white and gray. Highlight the details with darker shades. Draw the grass in more detail. Add a little black to the color and draw shadows.
- Step 4: With strokes of blue, draw the furthest mountain. The tops of this mountain need to be made dark blue. As we descend, we need to move smoothly to the lightest shade. This way we get the effect of the mountain floating in the air.
- Step 5: Now we divide our mountain silhouettes into parts. One to lighten and the other to darken. In the silhouettes we add a white color to the outline of the rocks. After, with plastic card or heavy cardboard, we apply snow to our mountains. It is better to try how it turns out on another sheet to avoid mistakes.
- Step 6: As we have applied the snow, we scratch out the lines. This is how we create cracks and splits. Next, we will draw the trees in the foreground. It is better to use a light brown color for the trunks. Then we paint the leaves in green with dark green and light green paints.
Our painting with paints is ready. The only thing left to do is to wait for it to dry.
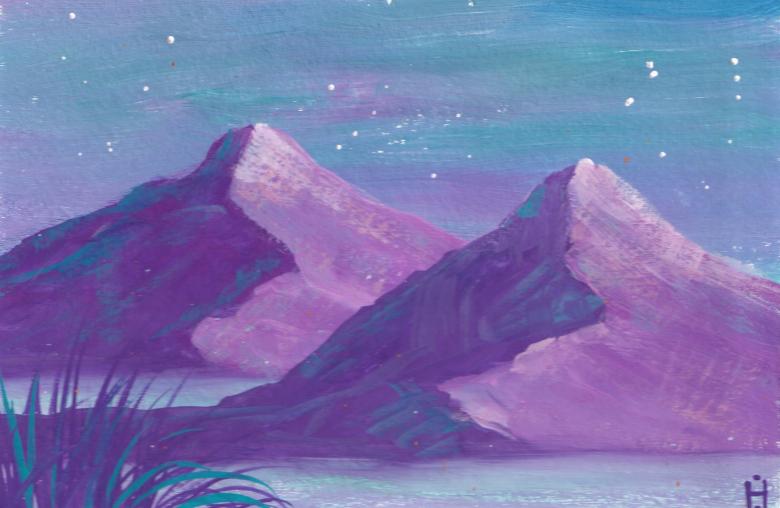
Learning to paint winter mountains
Now let's paint a mesmerizing winter landscape. We will need: paints, an album or sheet of paper, brushes and water.
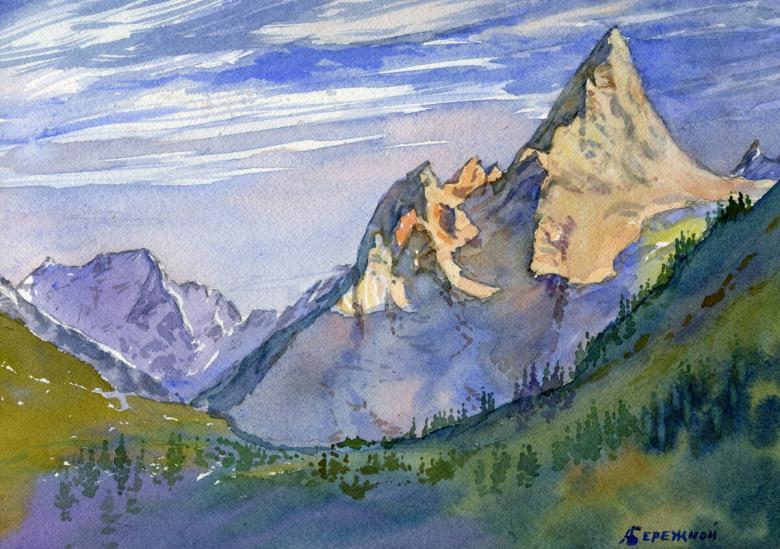
- Step 1: Lay the sheet horizontally and paint the top with blue paint. We have to make the top of the landscape dark, and lighten as we get closer to the center.
- Step 2: We paint the tops of the mountains in white. Then with blue gouache we make the volume of our mountains. Darker areas can be highlighted with a lighter shade of lilac.
- Step 3: With the same color we paint the tops of the mountains in the foreground. In blue we do the expressive details. Use dark blue to paint another object.
- Step 4: You can add a lake in the foreground by mixing blue and white paint, if desired. Near the bottom of the sheet, darken the lake. Then blue to show the mountains on the water. Add some white and make blue transitions. The main thing is to repeat the outlines of the mountains, but not exactly, this is, after all, only a representation.
- Step 5: Now we make the bank. For this, a swampy shade is better suited. If this is not available, mix dark green with yellow and brown. We draw a line, add a little white area. If desired, you can draw trees.
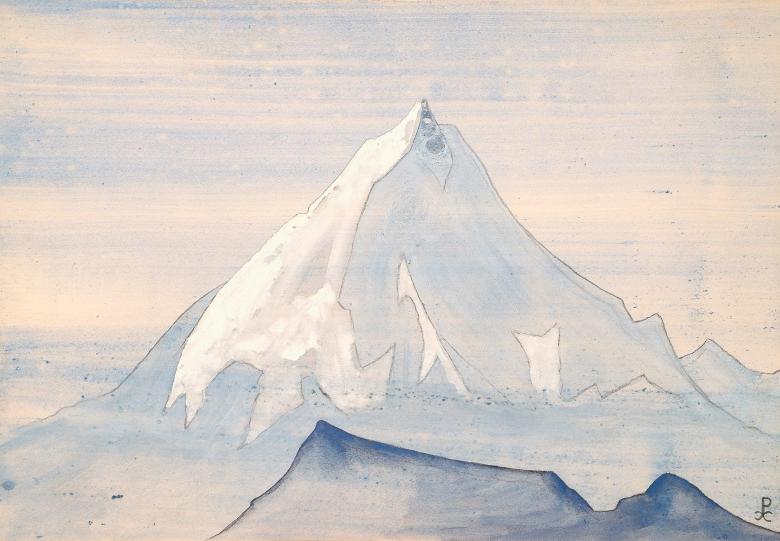
How to make a realistic landscape
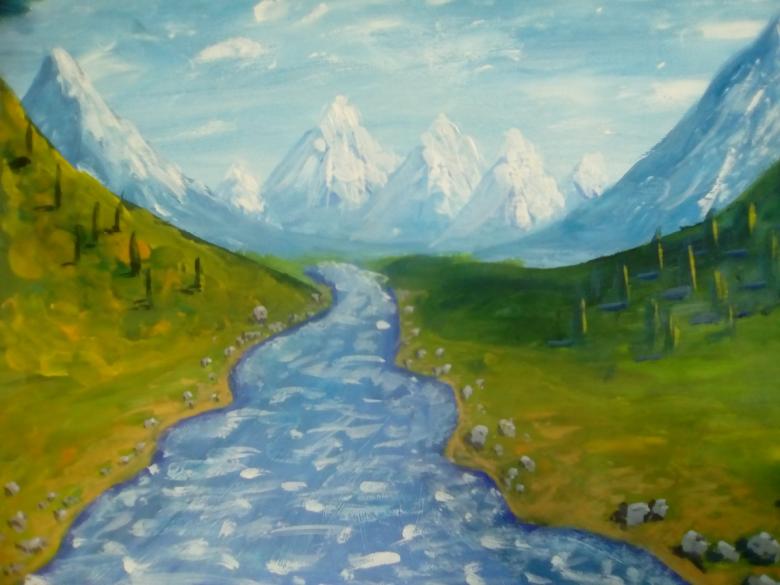
Draw another beautiful landscape. As in the previous lessons, prepare everything we need and get to work.
- Step 1: Paint the top of the sheet with blue. We go to the middle of the sheet, lightening and lightening the color.
- Step 2: Draw the mountain in blue, and draw a second one next to it, but in a darker shade.
- Step 3: Draw the mountains in the foreground in black, adding a gray tint. The bottom is painted in green. You don't have to paint the whole thing, you can leave the gaps.
- Step 4: pick up the necessary shade of blue, and show the relief of the farthest mountains.
- Step 5: now it's up to the green. We cover the black mountains in green, then we dial in a light green shade and depict the greenery on the mountains.
- Step 6: go even lower and draw the grass, filling in all the gaps you left before.
- Step 7: Now you can fill in the space between the mountains with a stream, for example. We take the color blue and draw a winding brook.
- Step 8: Once everything is dry, you can go over the dark and light areas again, highlighting them even more.
That's it, our landscape is ready!
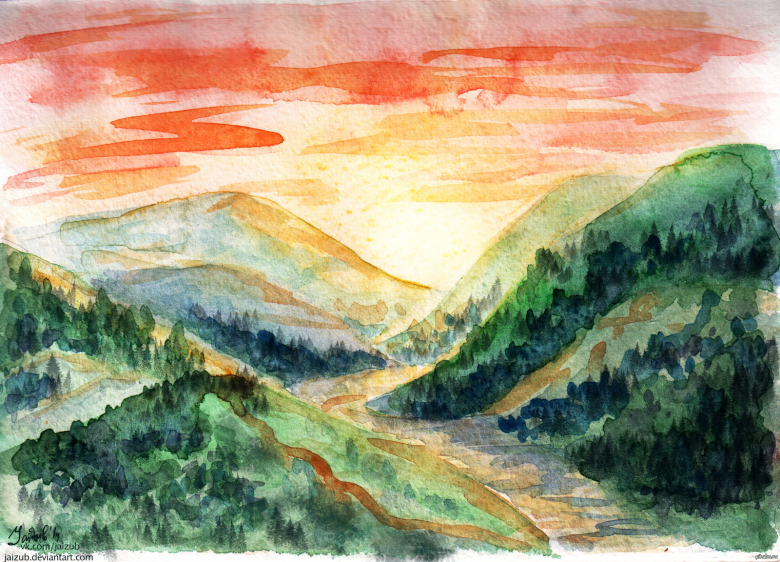
So, our article has come to an end. I hope it was useful and interesting for you. We will be glad if we could explain to you how you can easily and quickly learn to draw a landscape.

