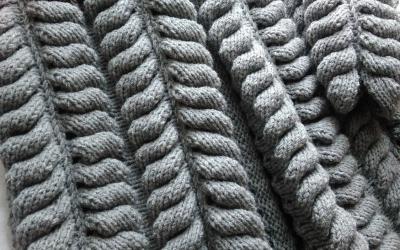
How to knit a sleeveless sleeveless jacket by scissors and crochet - a detailed description of the knitting scheme for beginners.
Knitted things have always looked spectacular on both women and men. And a little kid in a crocheted things, so it's a little miracle. Previously this craft was taught by grandmother or mother, but now anyone who wants to do something beautiful with their own hands, you can also do it yourself.
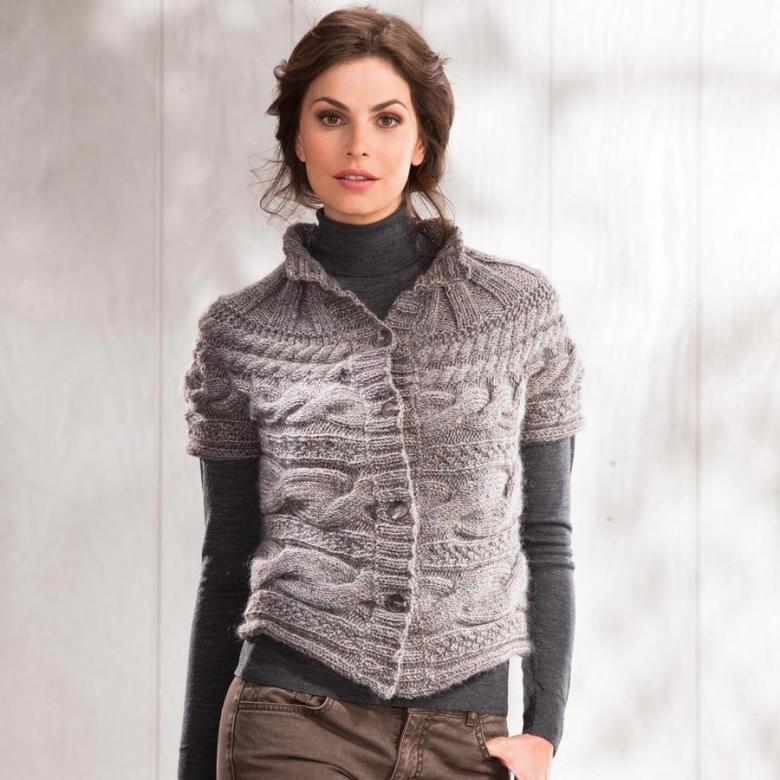
It is enough to study the materials on the Internet, explore the sections on knitting and boldly get down to business. To begin with, it will be easier to learn how to knit products without sleeves - sleeveless.
What kind of sleeveless vests are there?
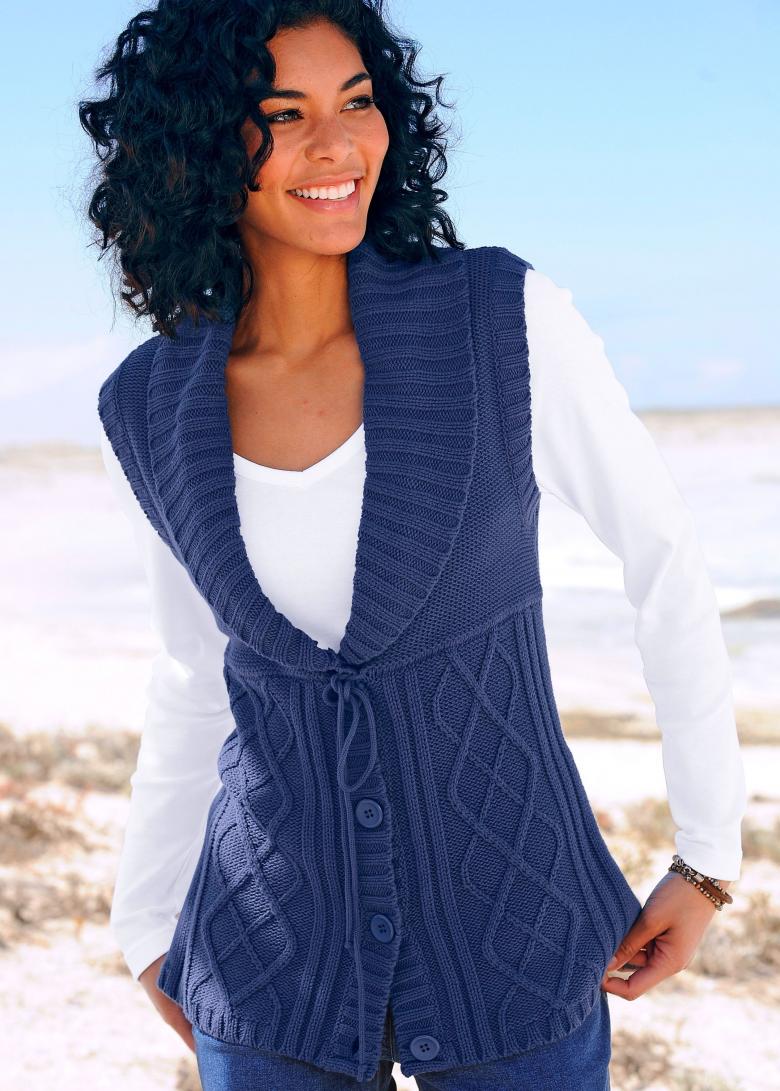
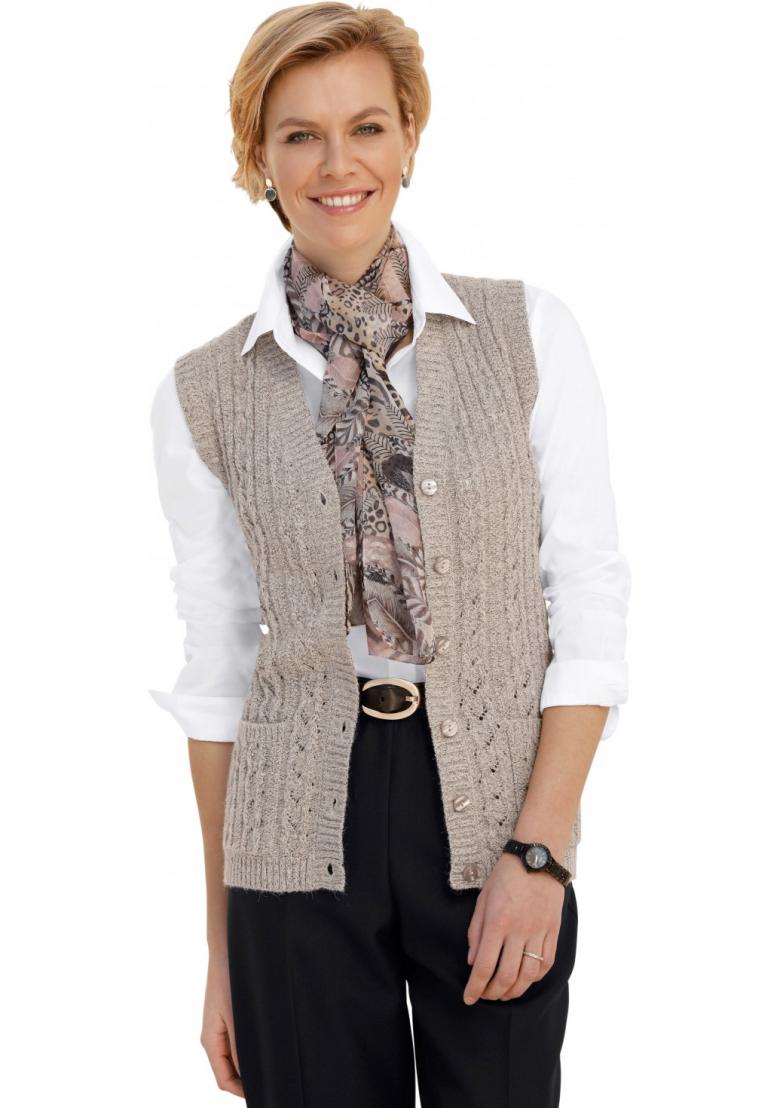
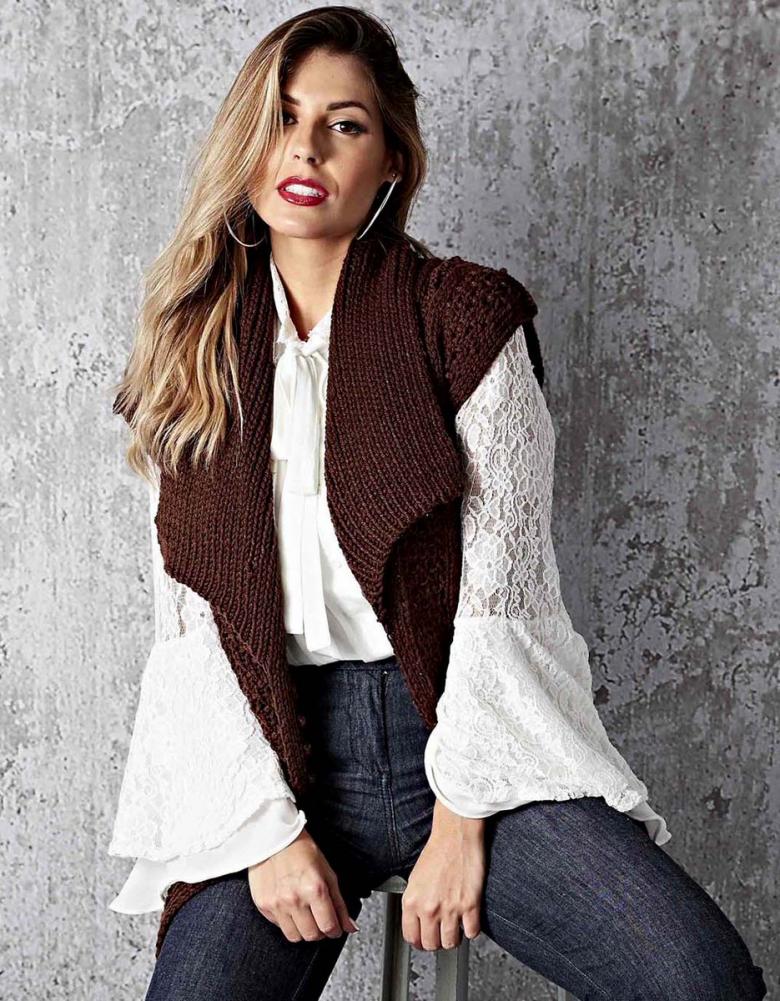
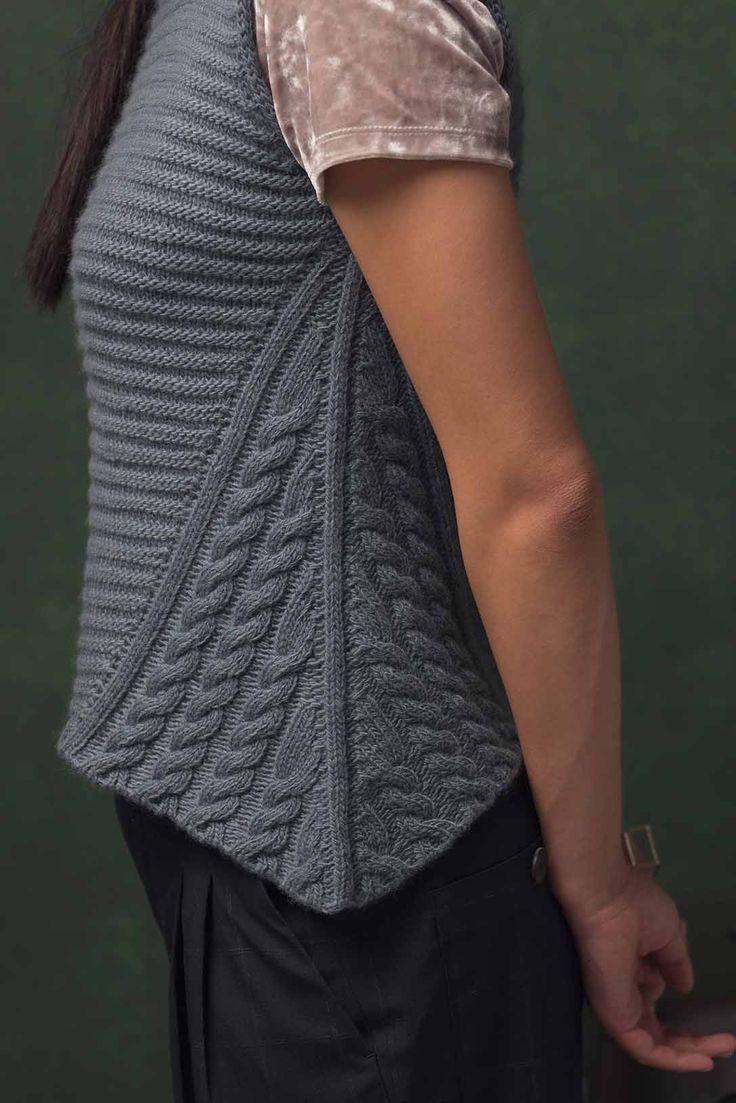
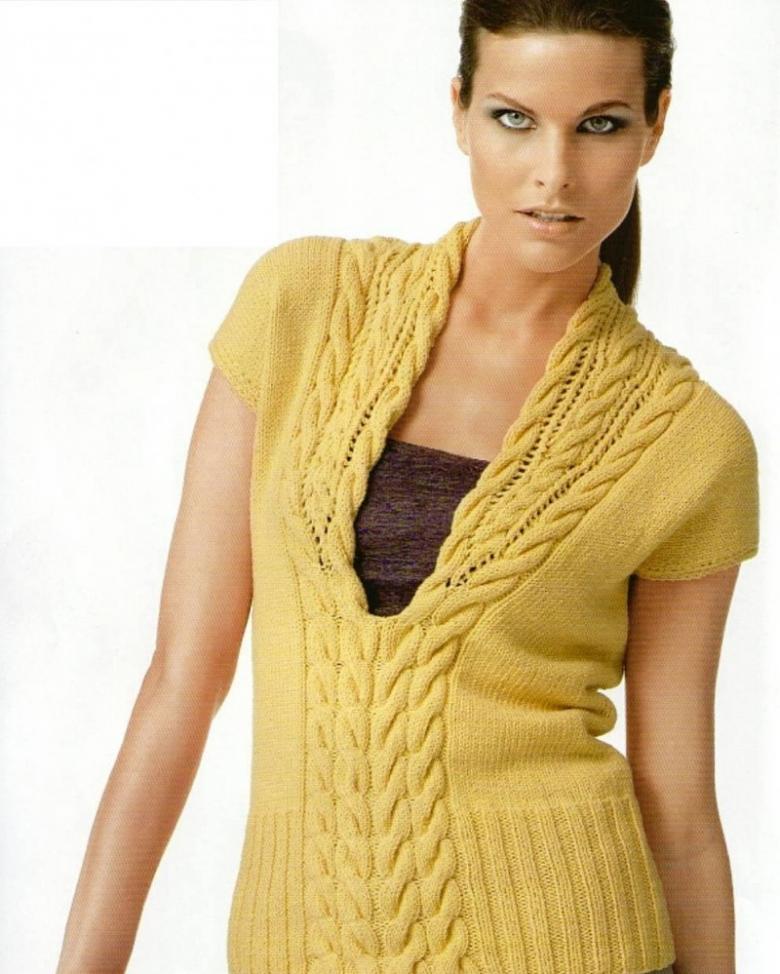
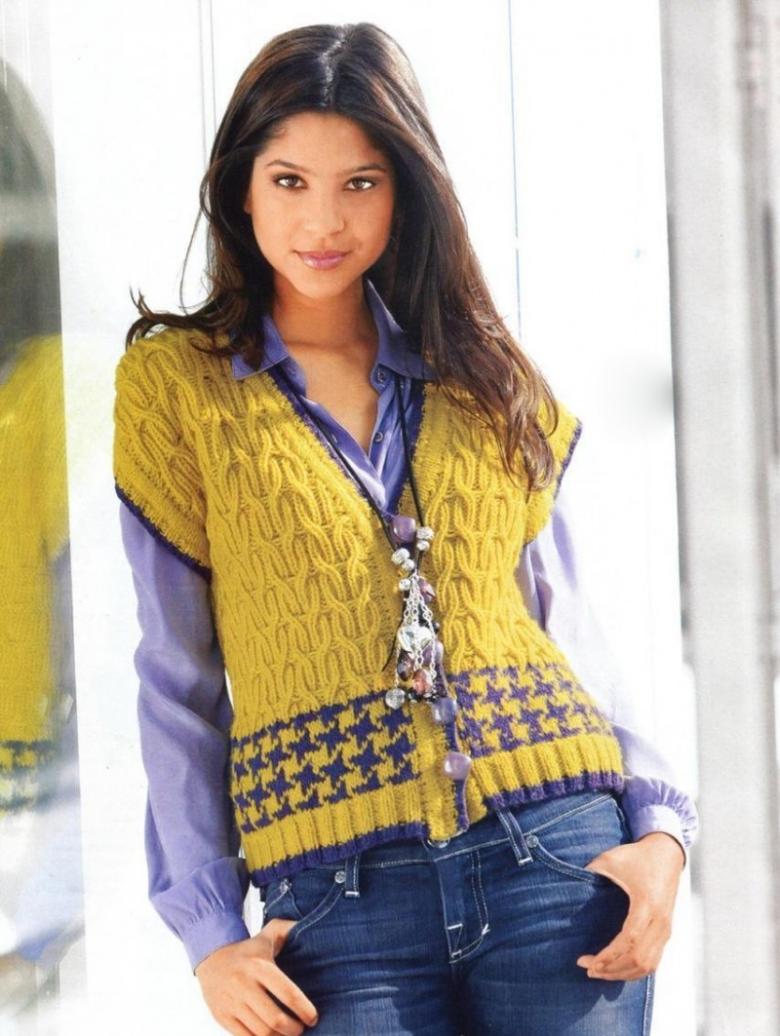
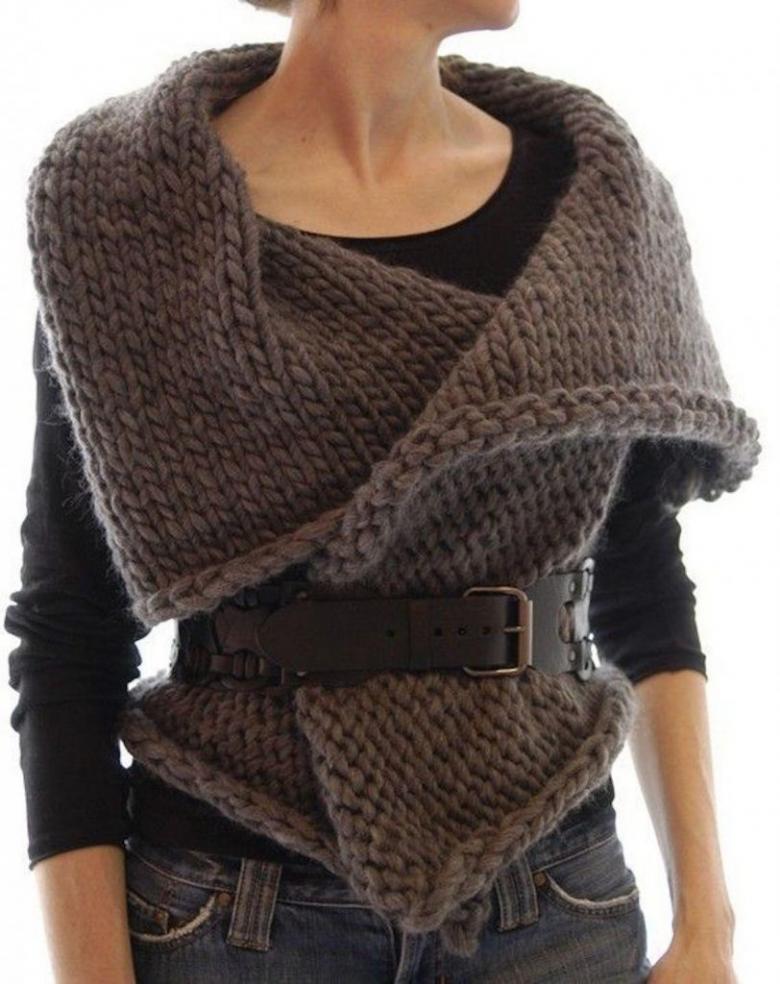
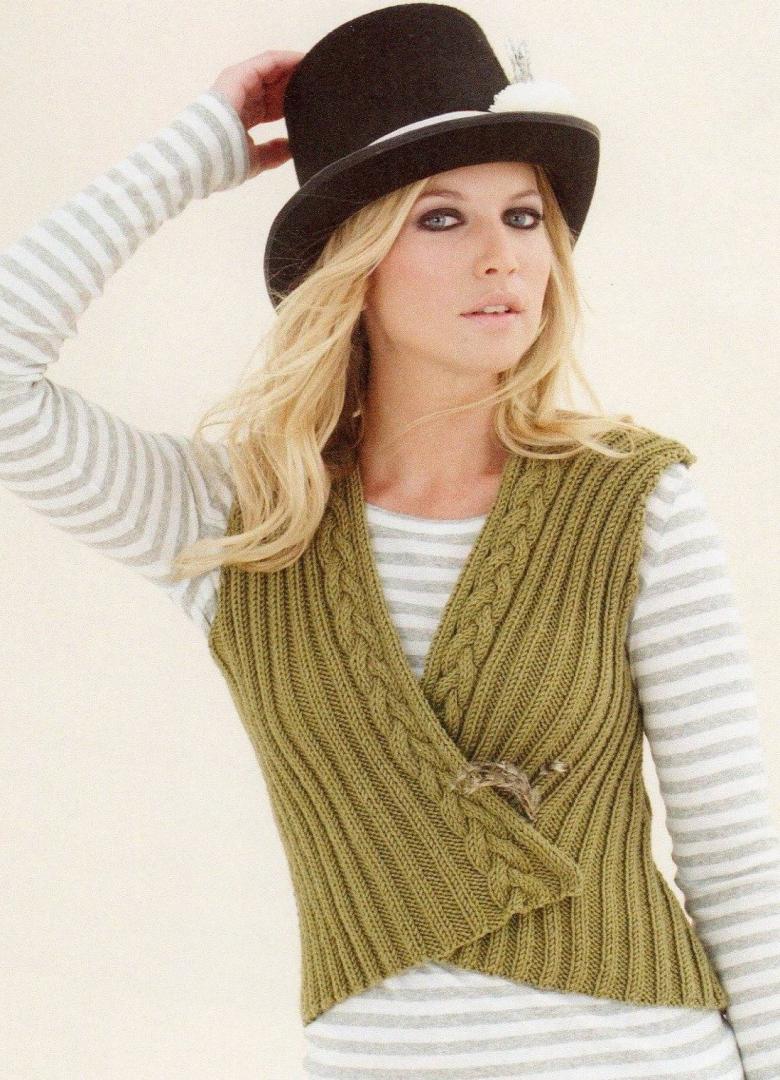
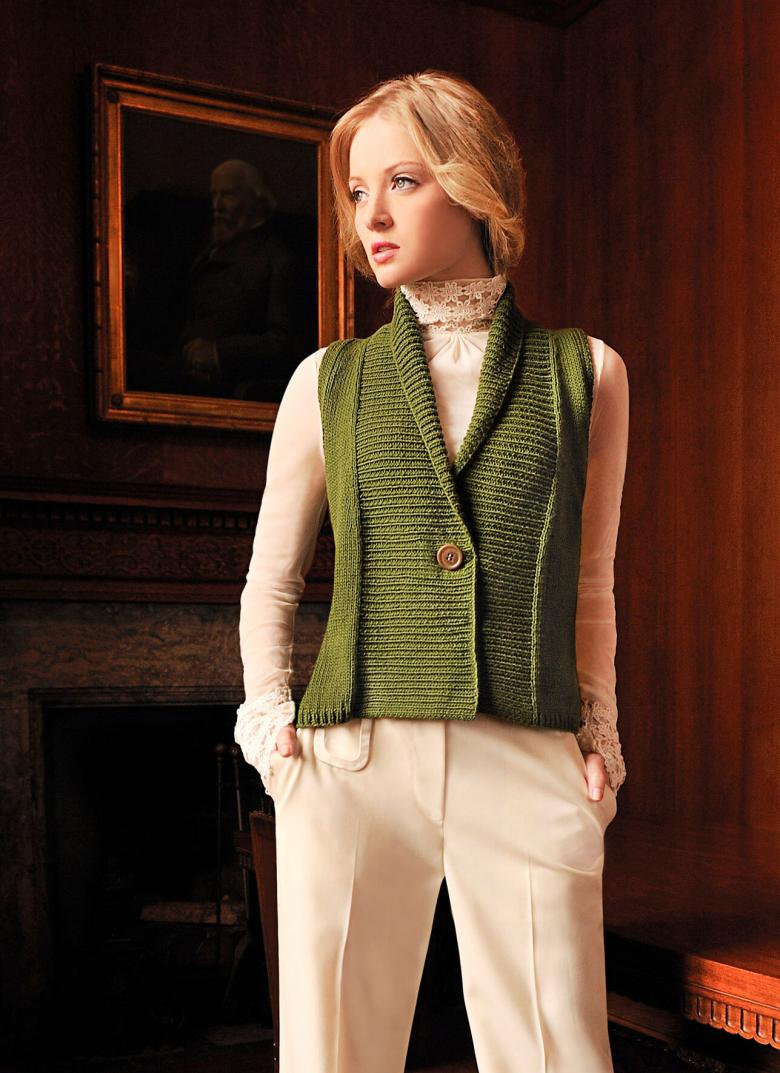
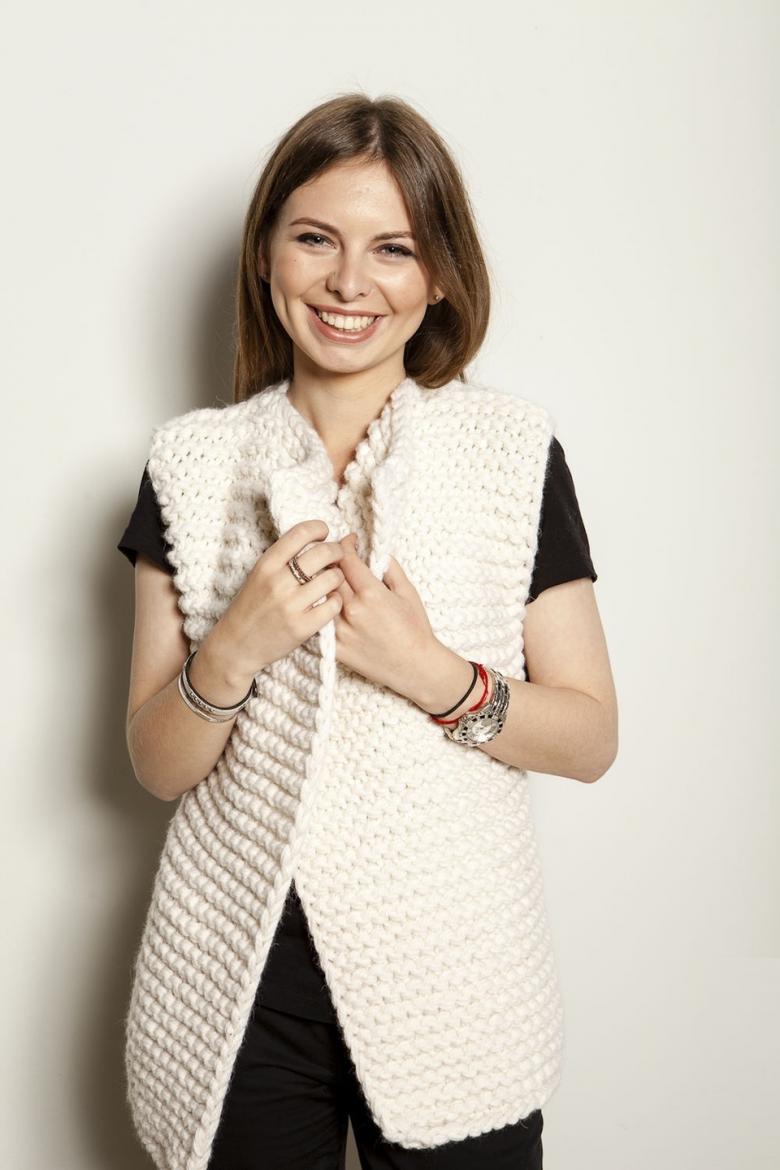
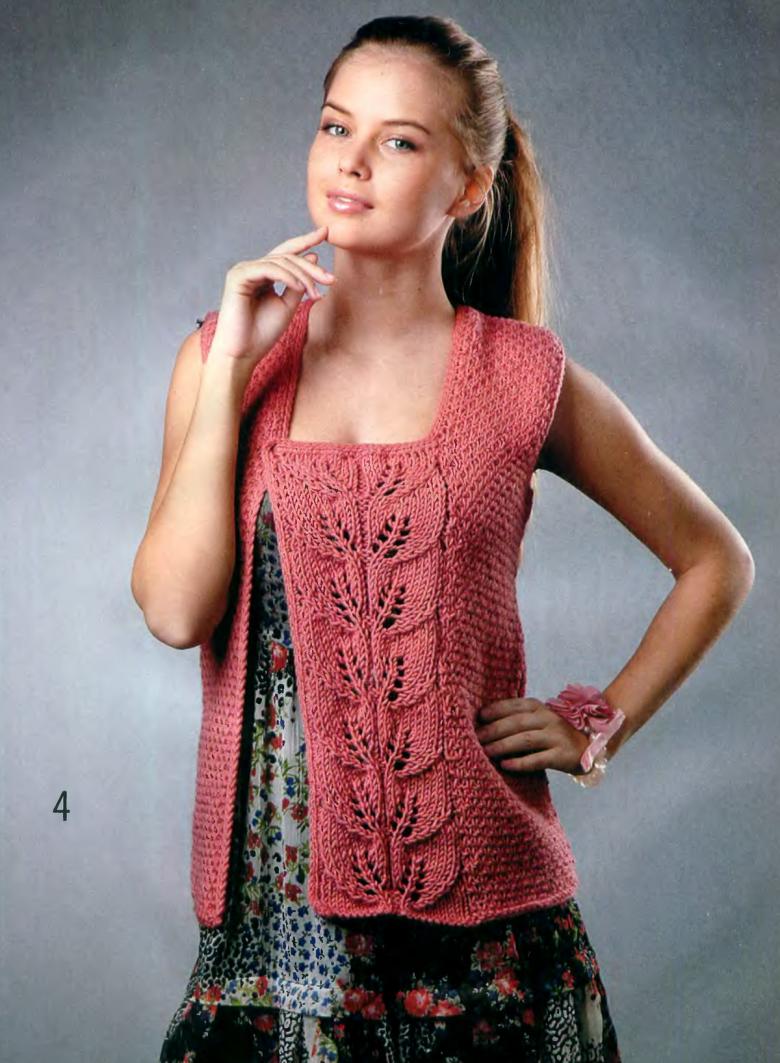
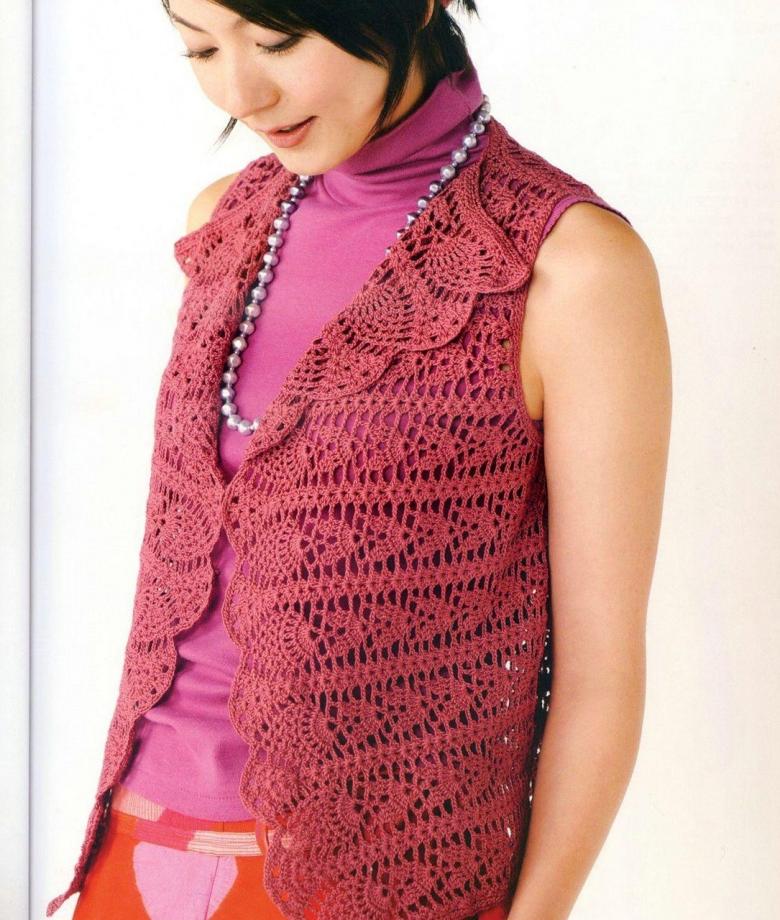
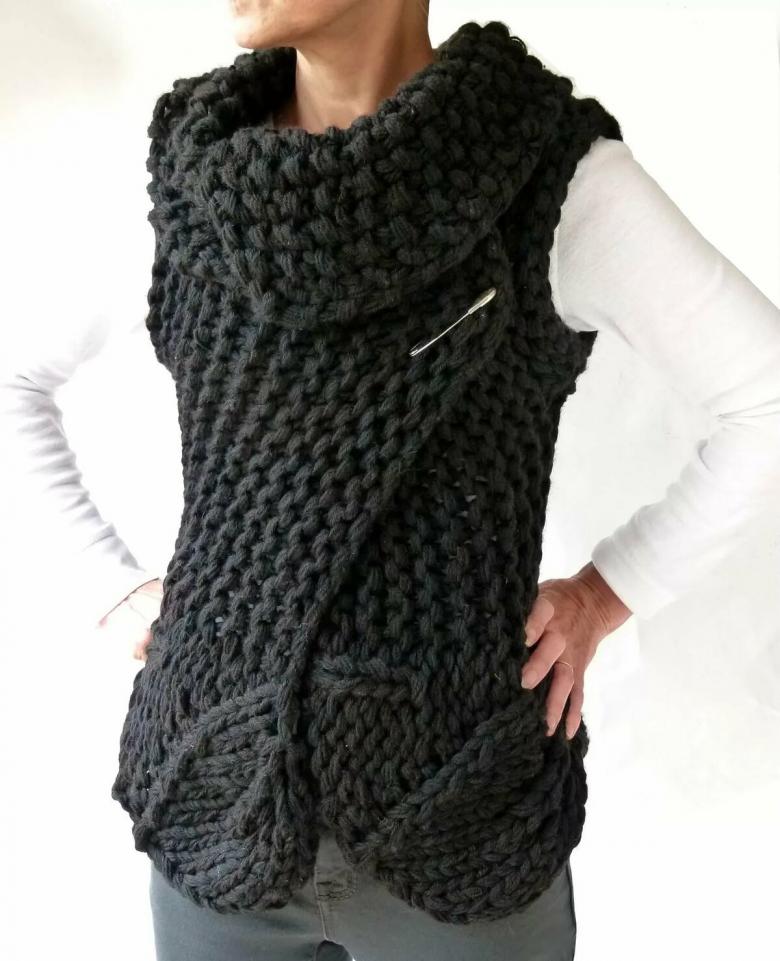
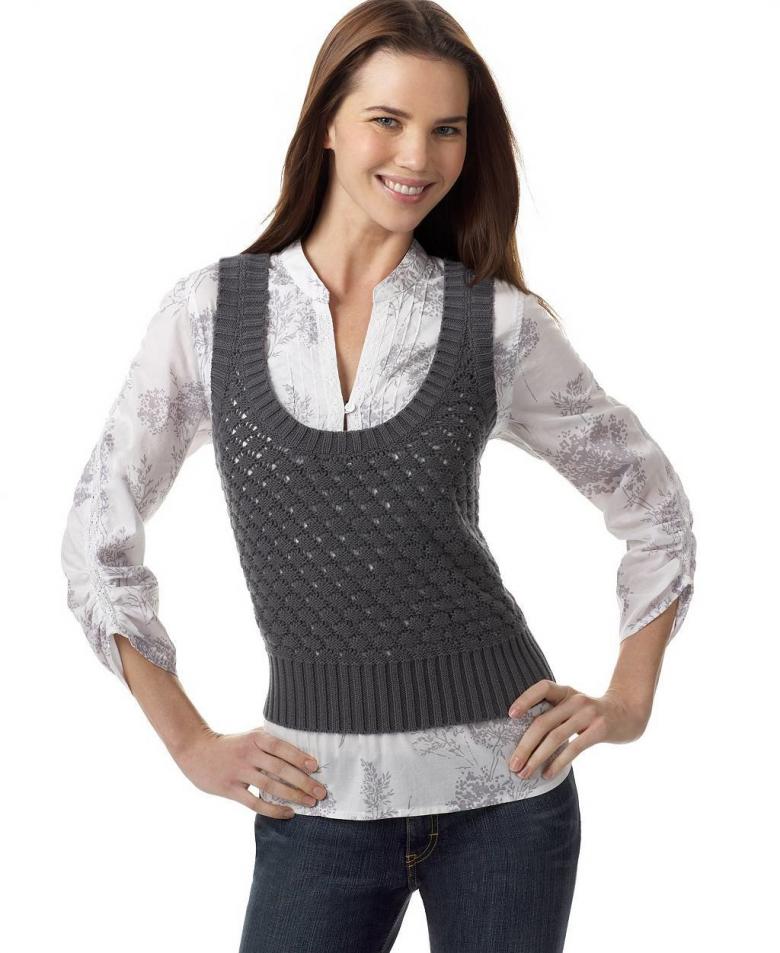
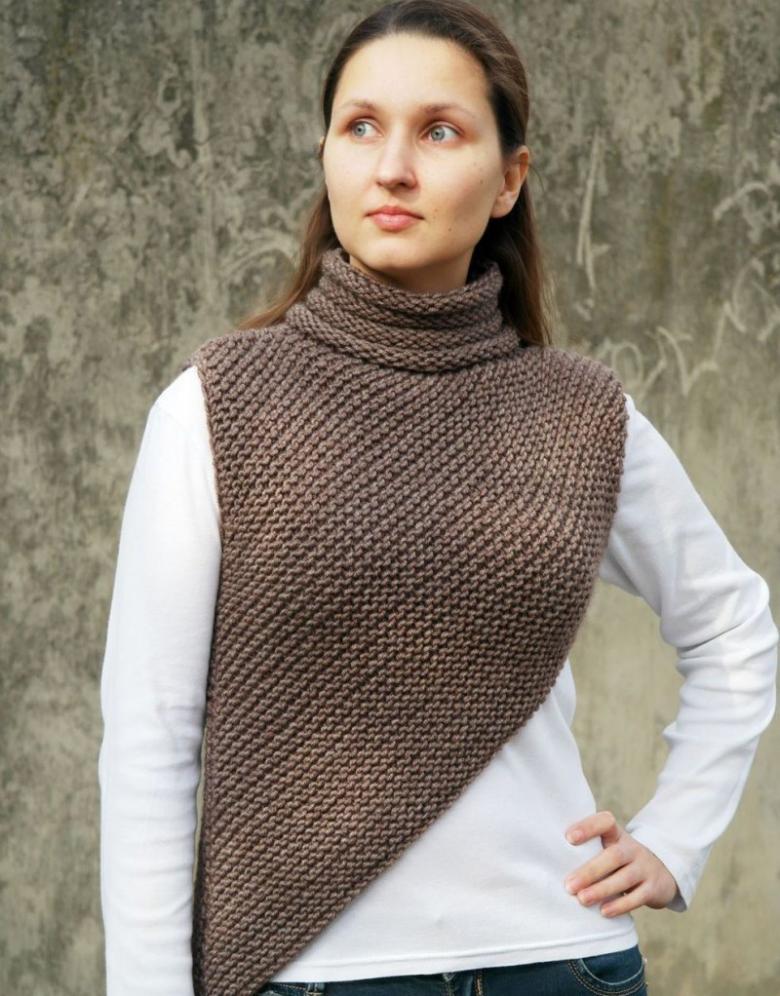
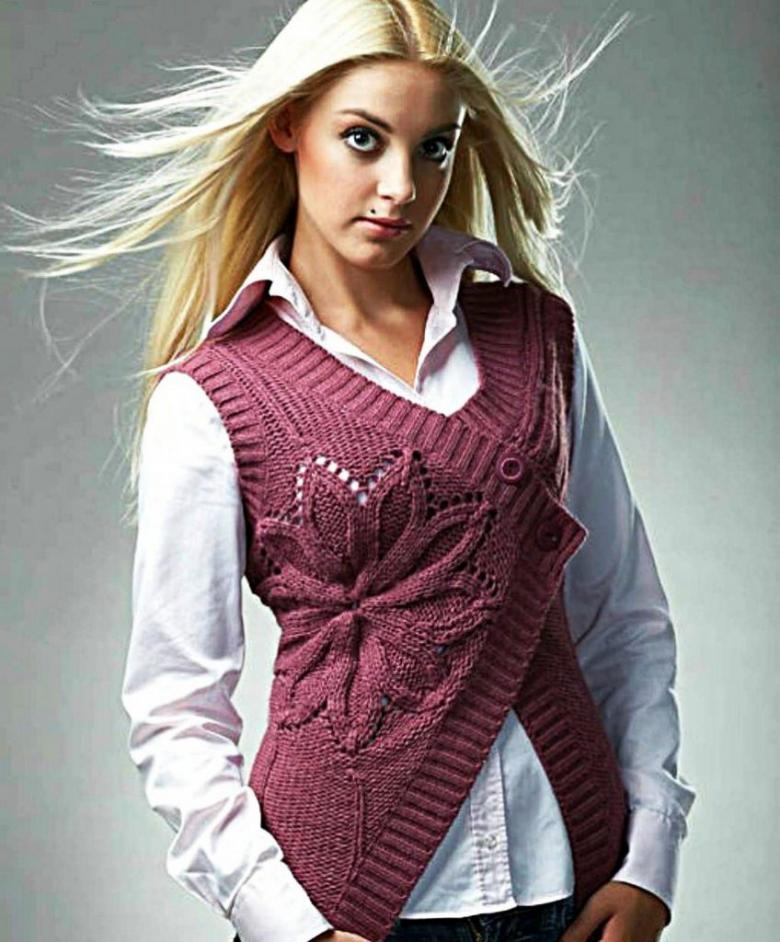
There is a huge variety of models of both women's and men's vests connected by needles. The most popular to date are the following models:
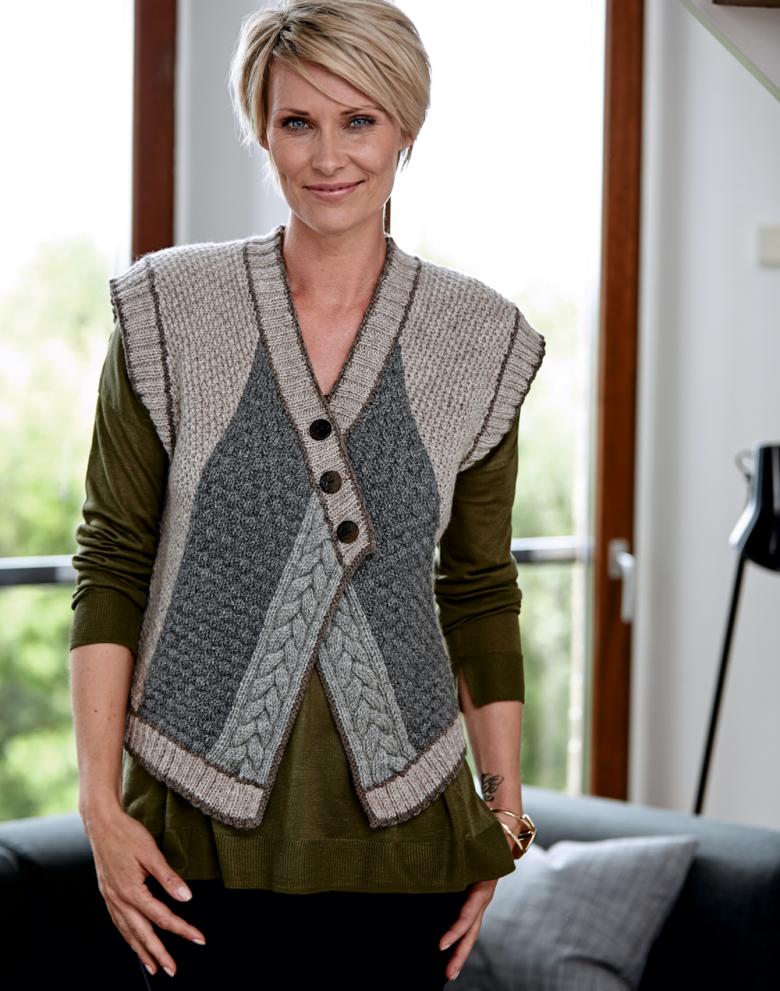
- Sleeveless vest with an ornament, which will be perfect for both business style and for everyday wear;
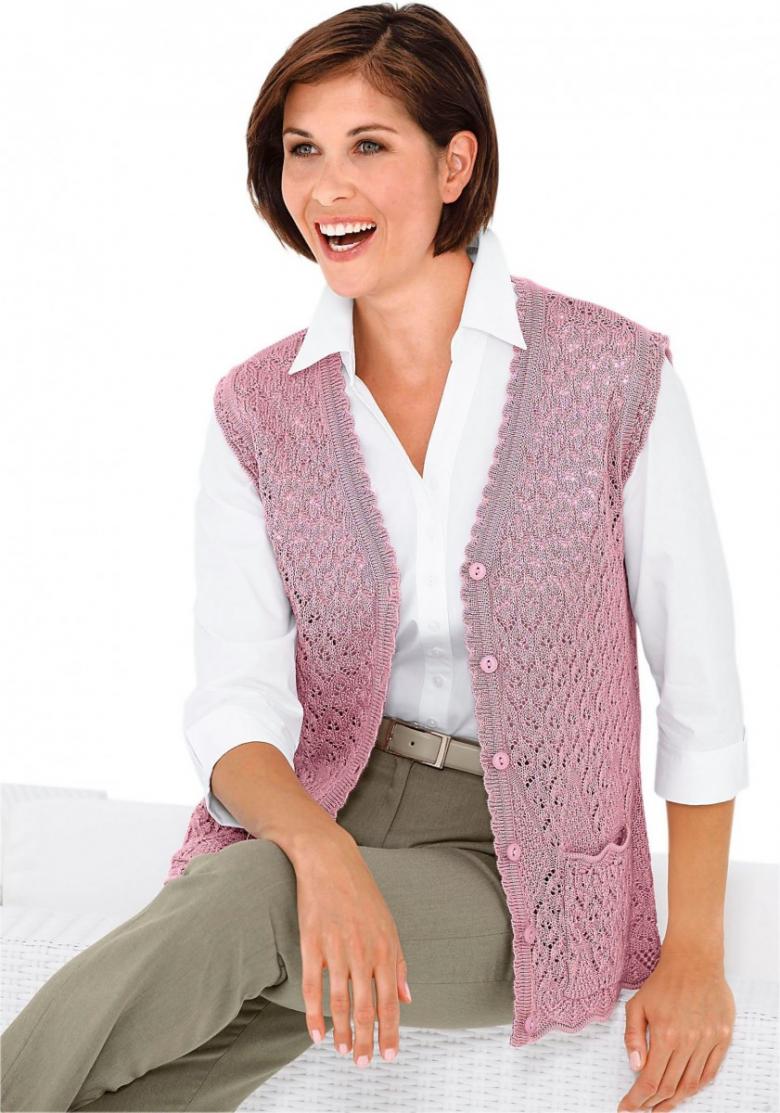
- Openwork vests, which will give your appearance brightness and uniqueness;
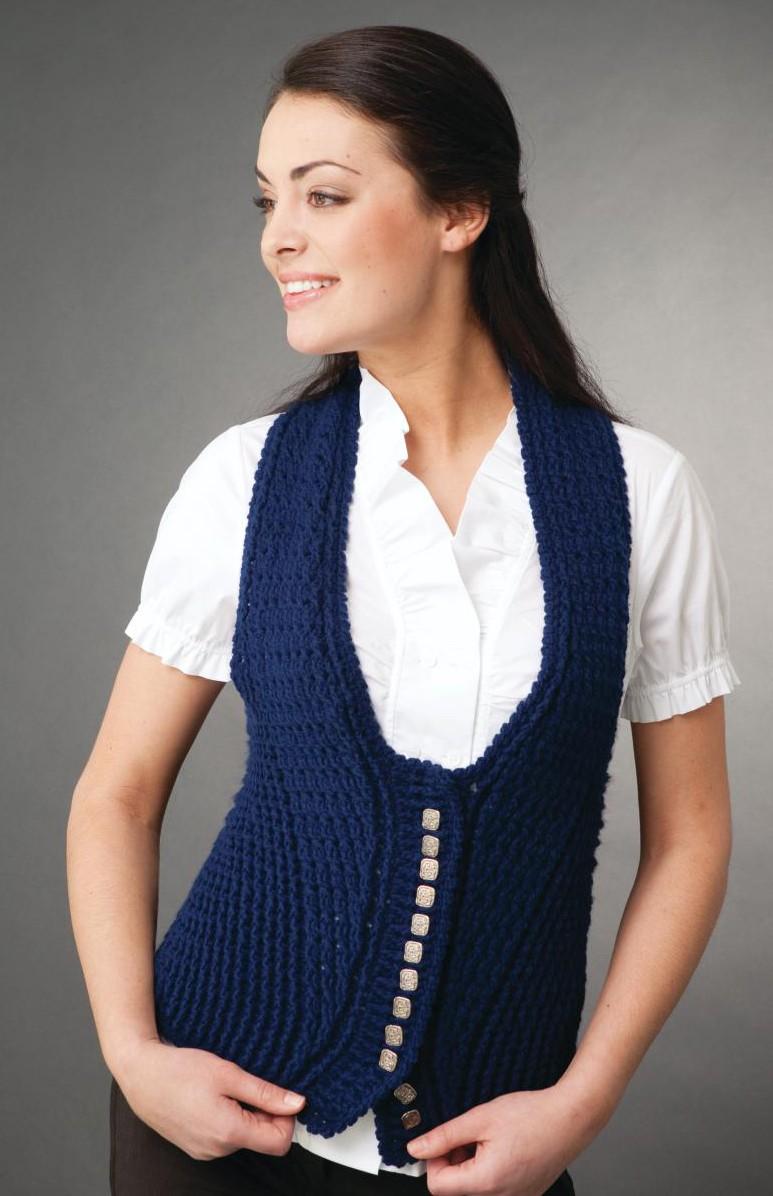
- sleeveless vest, a great addition to the office dress style;
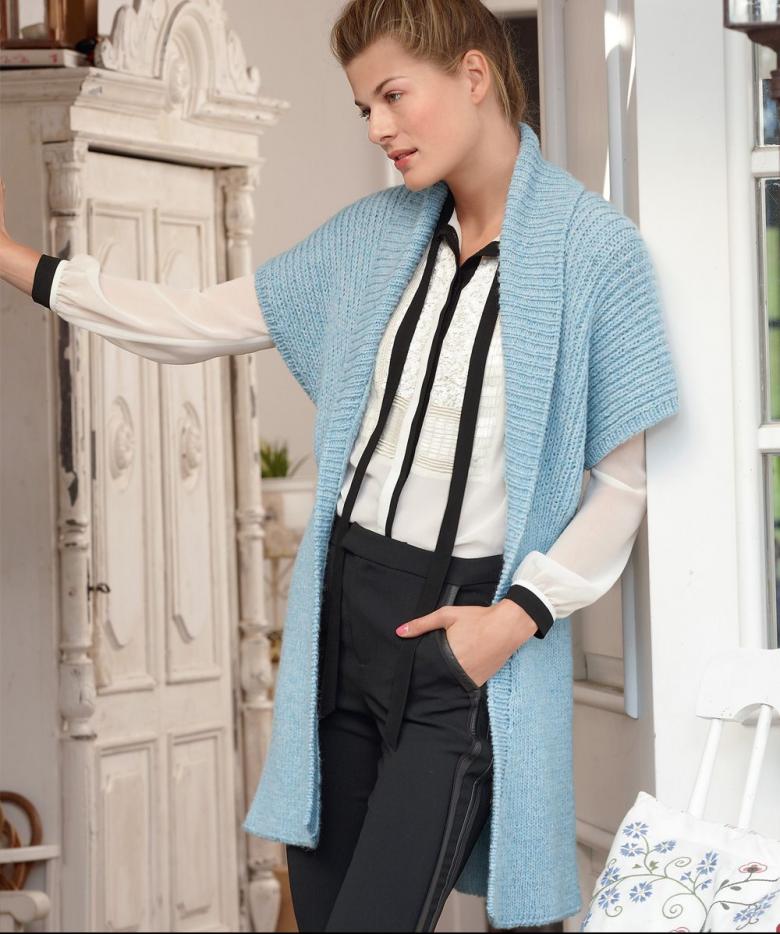
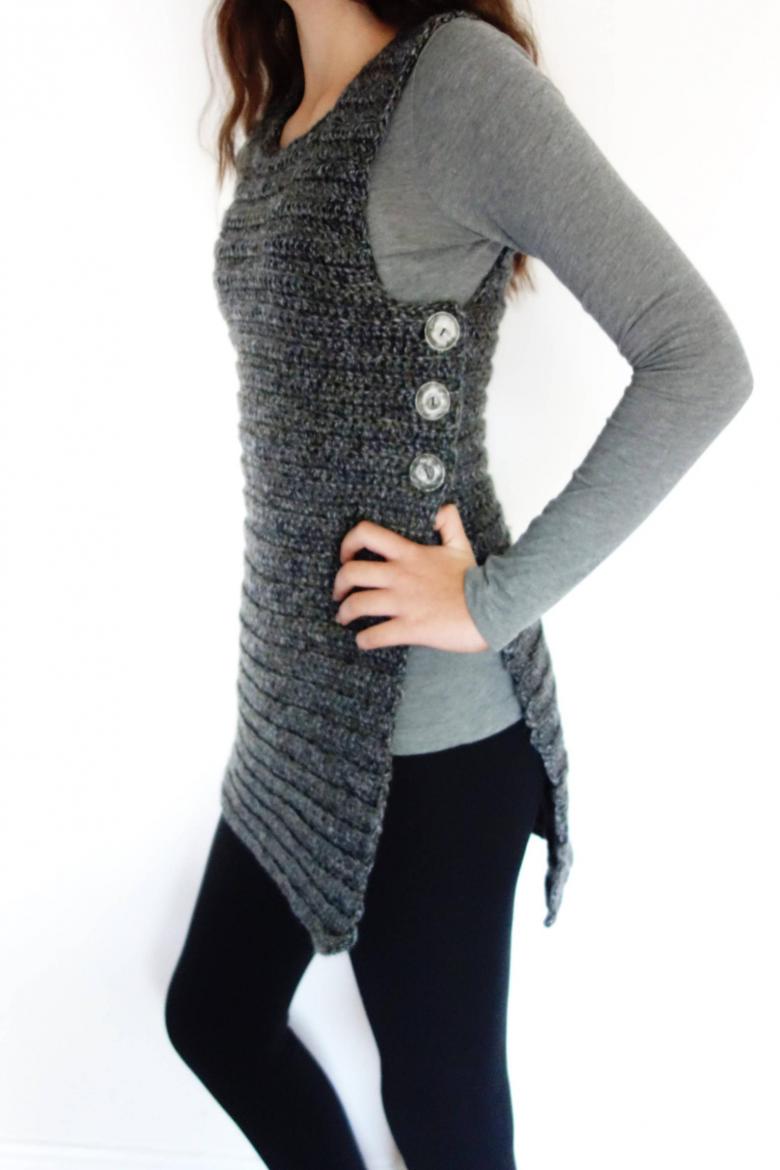
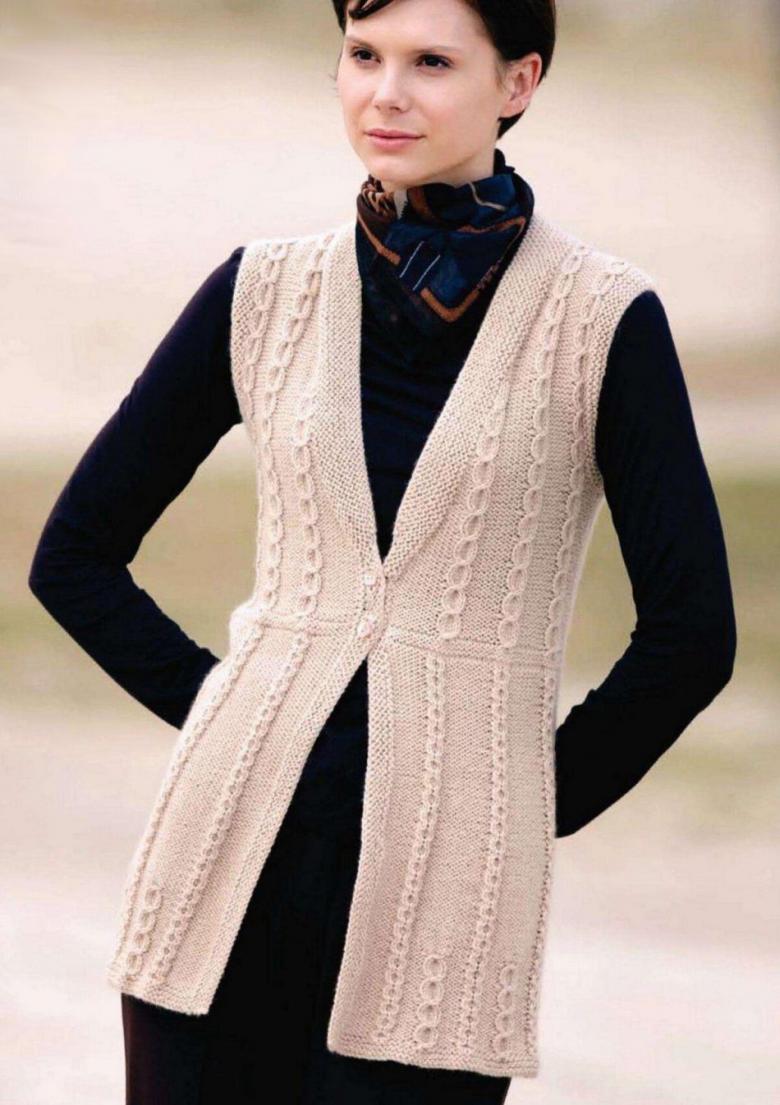
- Long sleeveless vest, thanks to the elongated lines will give you slimness and elegance;
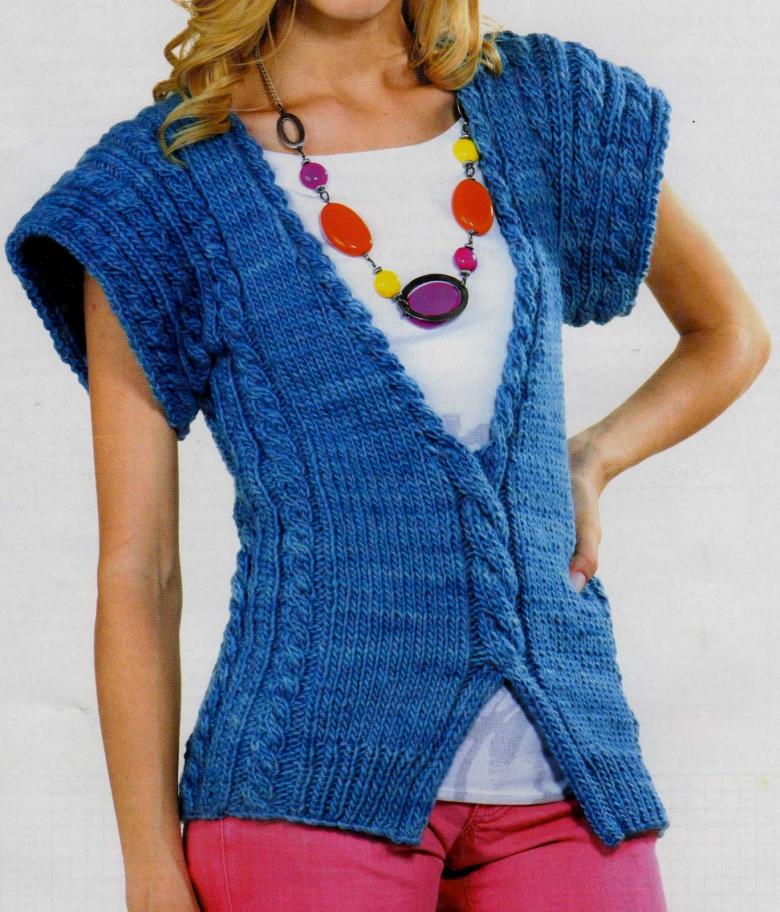
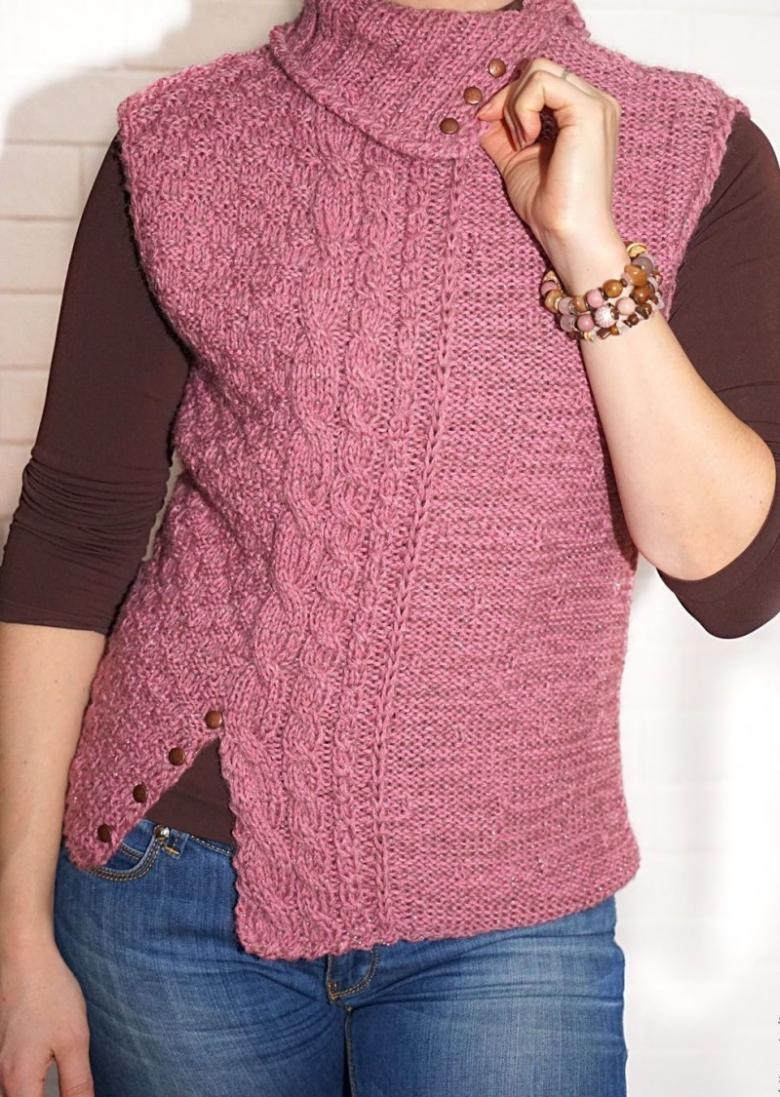
- Non-standard vests, thanks to their originality are more suitable for stylish young people.

A huge role in the finished product plays not only the cut, but also the color that you choose for your sleeveless jacket. For example:
- Light tones will significantly refresh your closet and will be on the go for many years;
- Pastel tones will be ideal for those who like a classic;
- Gray tones will go well with bright accessories;
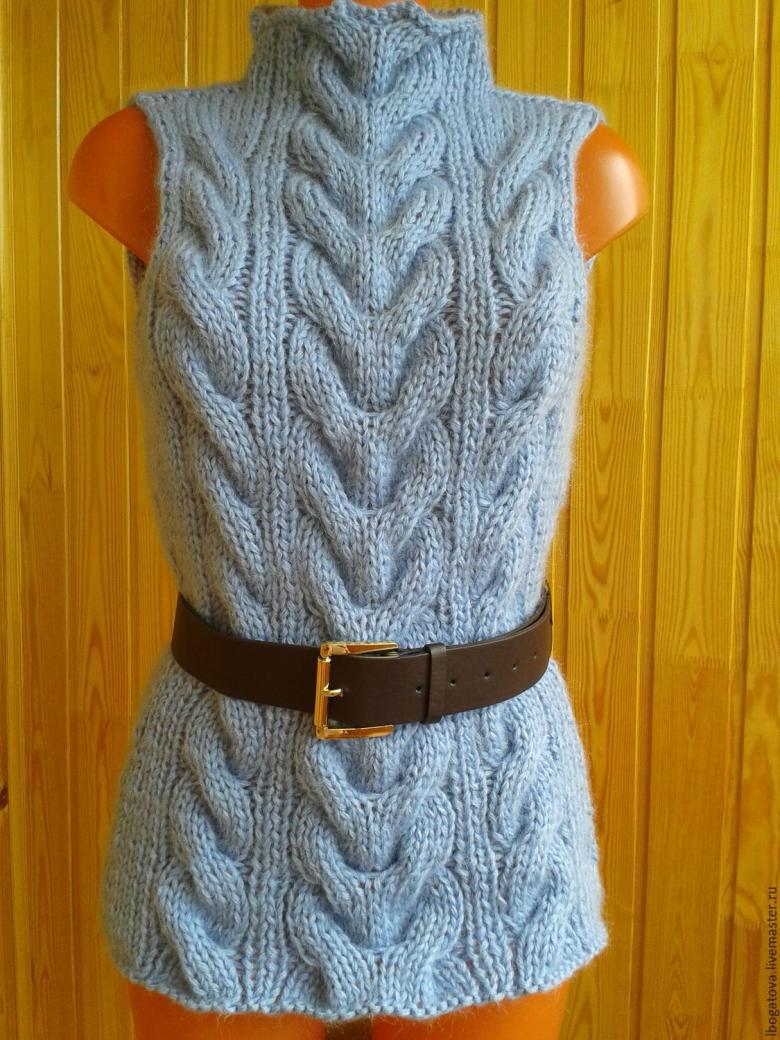
- Sleeveless sleeves with embossed patterns, such as the oblique pattern, will harmonize well with dark-colored clothes.
Where to start?
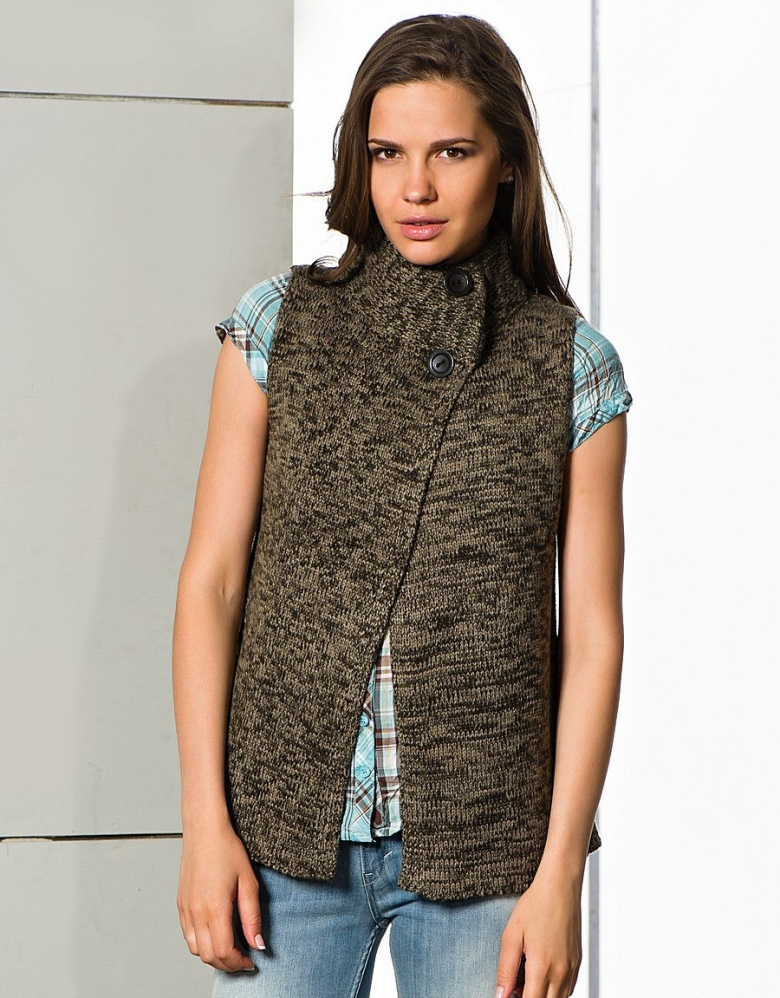
So, you decided to knit yourself a beautiful, fashionable sleeveless jacket, but you've never done anything like that before and have no idea where to start. To begin with, you need to master the basic lessons, that is, learn how to dial in the loops, knit the front and back loops, learn what the edge loops are, and how they are knitted.
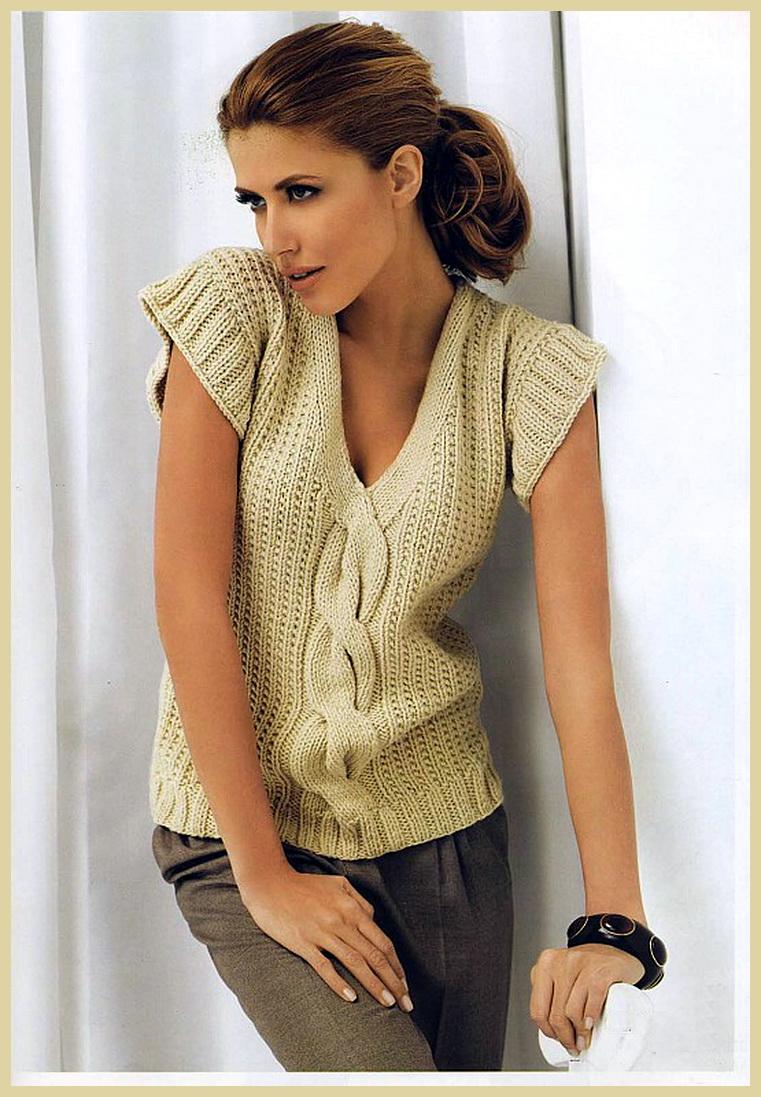
And, of course, to practice closing and increasing the loops in the course of the work. All the same Internet will help you in this, where you can view a huge number of tutorials, photos, and practice doing all these steps.
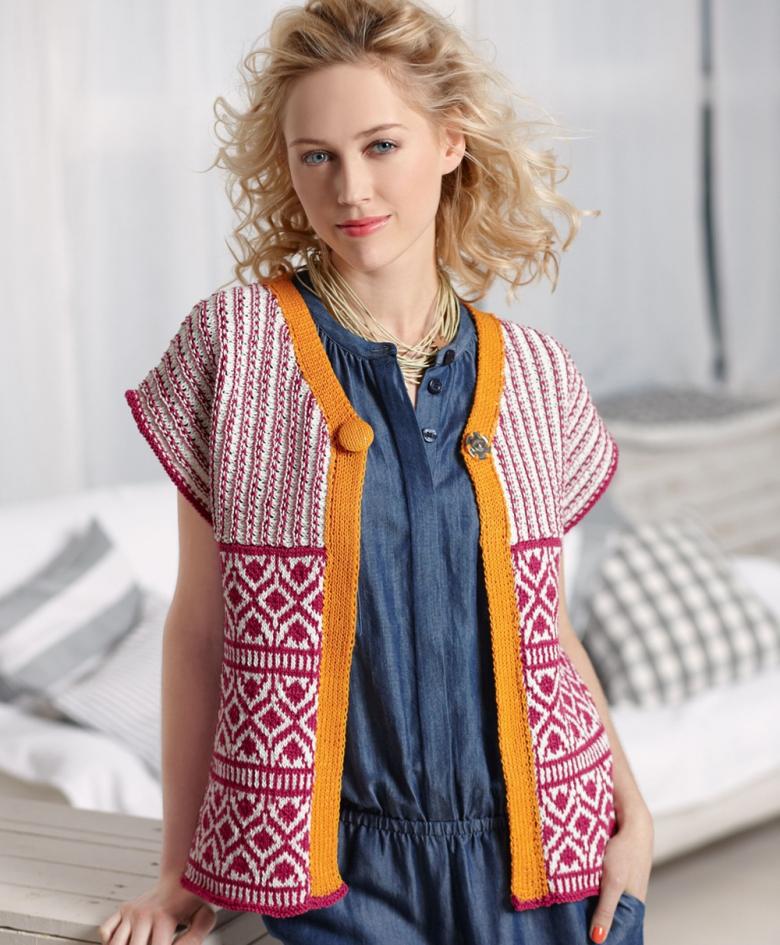
After you learn how to do all this, don't rush to start knitting your vest. For starters practice different patterns, maybe you will like this one and use it in your sleeveless vest.
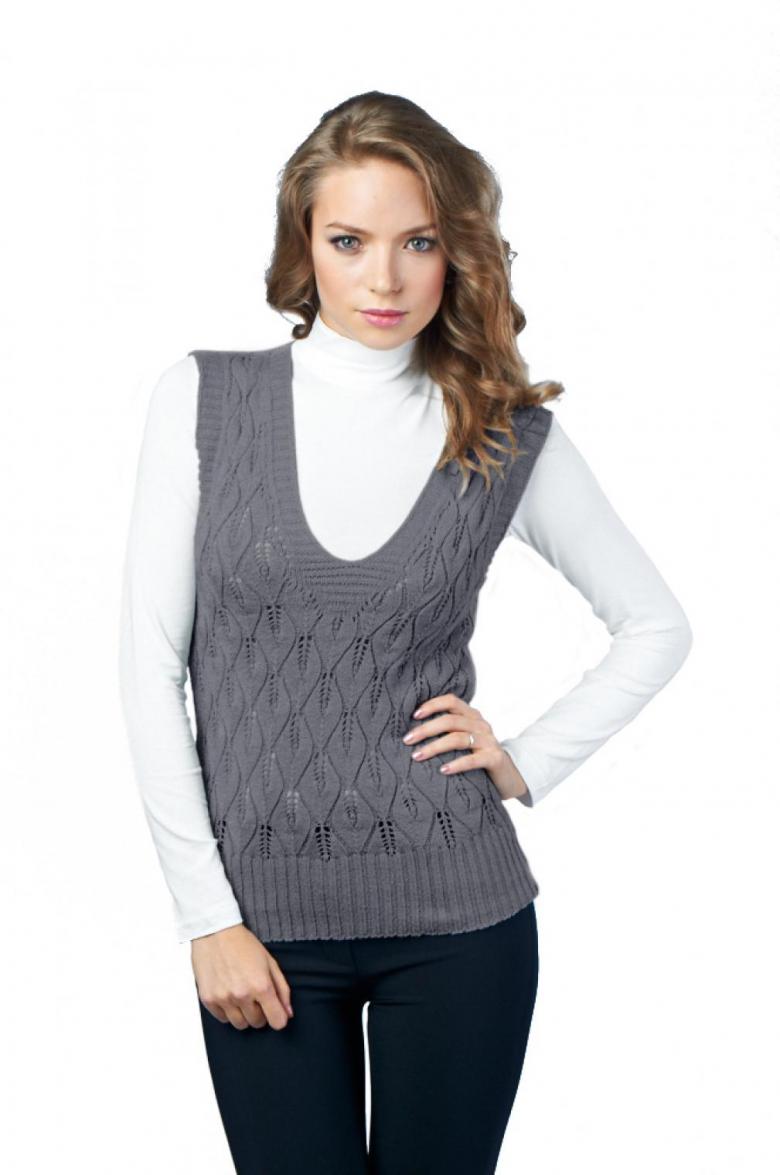
Making a pattern for a vest
The pattern for the knitted model, does not require much accuracy, and so you can easily make it yourself. There is a simple way, which we will look at now.
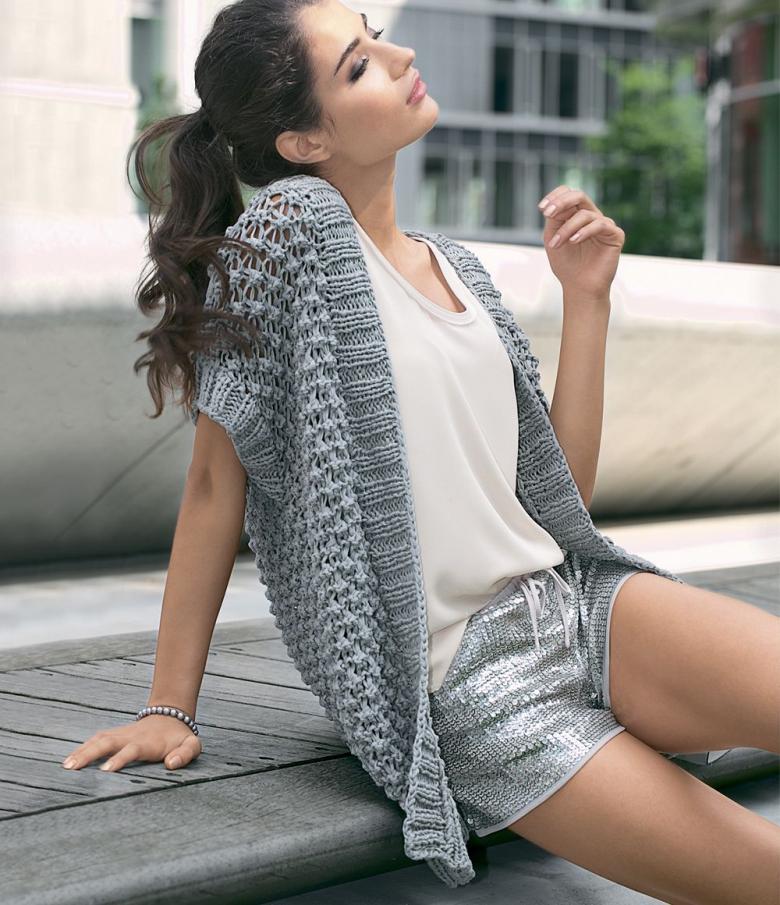
Take a ready-made sleeveless jacket in your size, put it on paper and trace it. Then make adjustments for your model, ie, change the neckline, if necessary, and adjust the length of the future vest. That's all the pattern is ready now we can move on to the next step, to get the necessary materials.
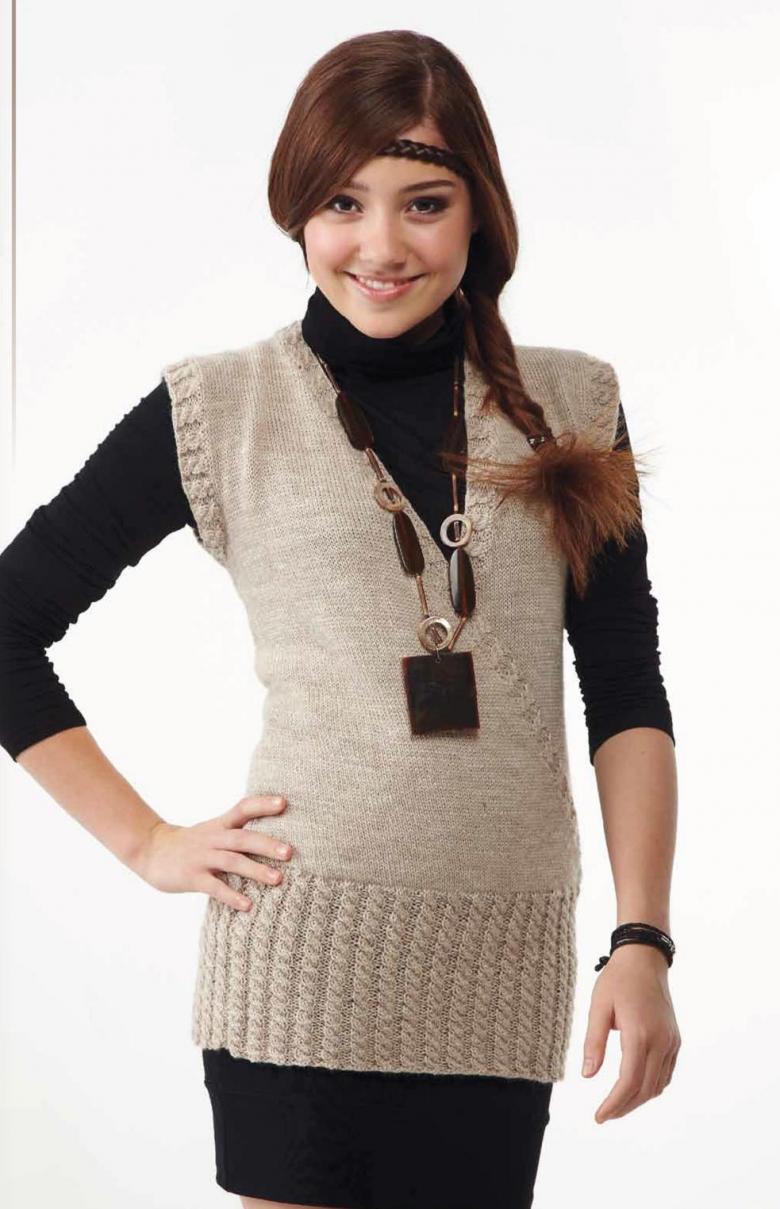
What do we need for this?
Well, of course, thread and needles. To make sure not to make a mistake with the choice of yarn, think for what time of year you will knit a sleeveless jacket. If it is planned to be worn in summer, then you need to choose a thin yarn, and if in the cold season, then choose a warmer one. You can also look at the description of the model, because it usually indicates what kind of yarn and what number of needles you will need.
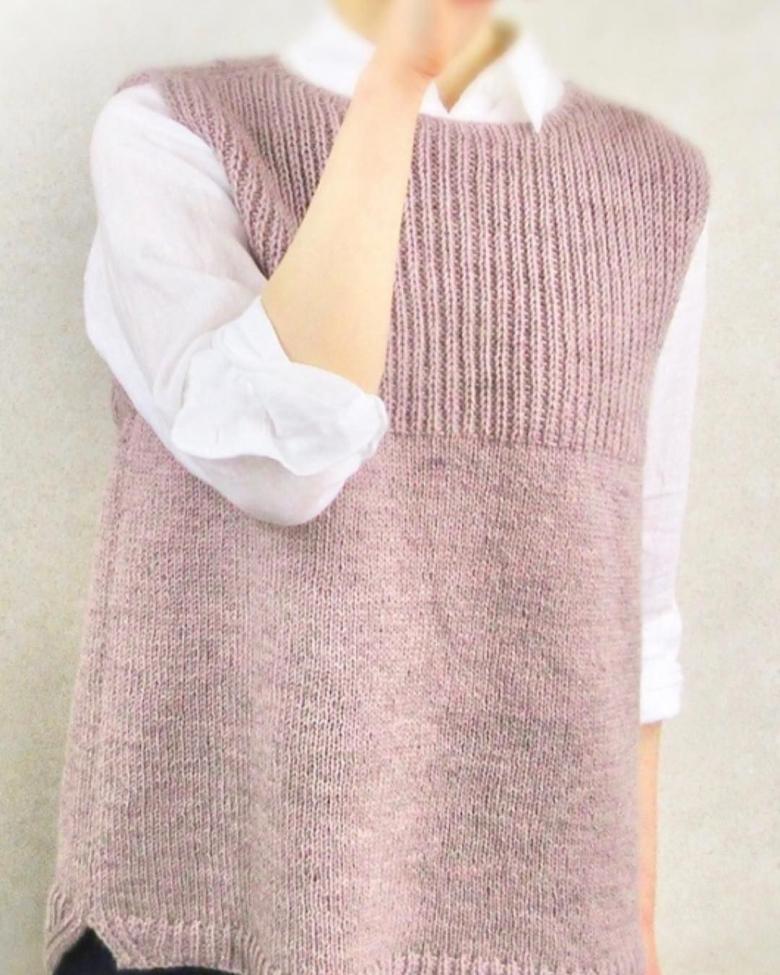
If there is no such information, and you are not sure what to stop at, you can consult on this issue with a salesperson in the store. Well, here we have bought everything we need for knitting, now we can look at the model of our future sleeveless sleeveless jacket.

Decide on the model
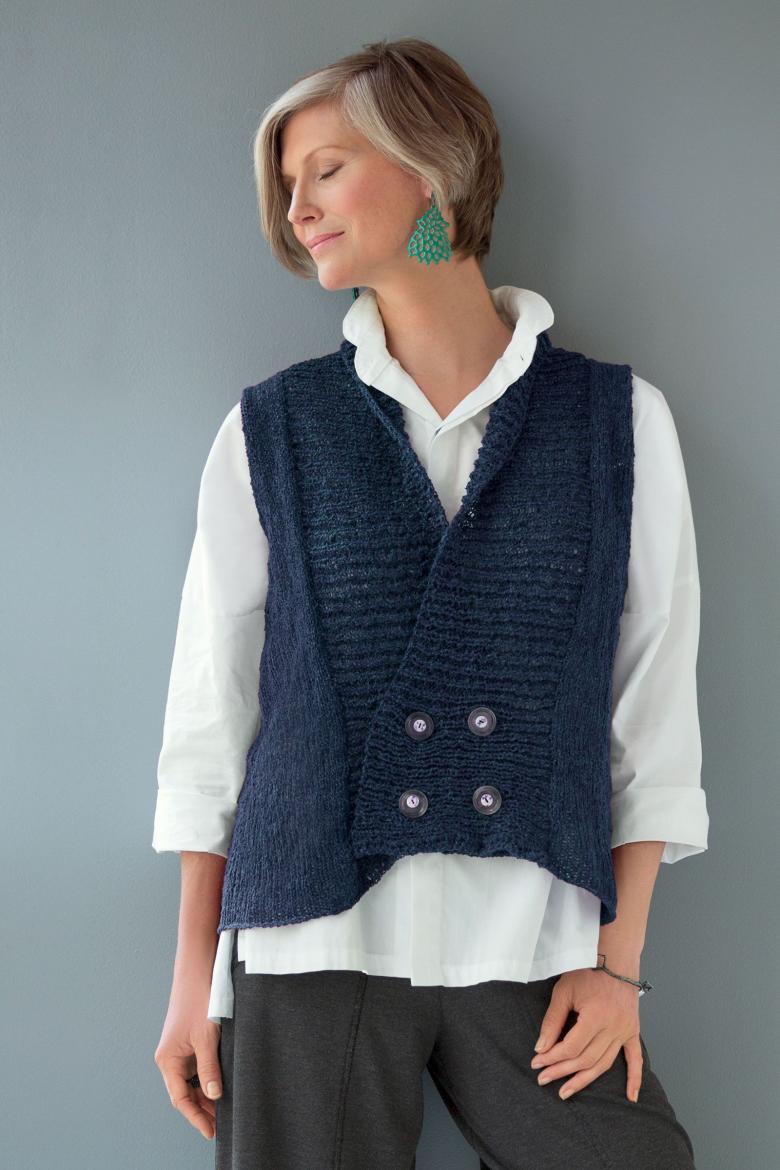
So, before you start knitting, first of all make a research of a great number of schemes presented on the internet, in order to choose the most suitable pattern for your sleeveless sleeveless jacket.

Try to knit it and see the final result. It happens that after its povyazivaniya it may not like you. And in order to avoid problems with knitting the vest later on, it is better to see how it will look on a small sample. If you are happy with the pattern, you can move on to the next step; if not, try other variants.
Let's knit the sleeveless vest
Once the model is chosen, needles and thread prepared, you can proceed directly to the knitting vest.
Let's knit the back.
These sleeveless models are made to begin with the manufacture of the back, so we will do the same when knitting a vest. Take a needle and a yarn and fill up as many loops as you need for its knitting. After you need to make a rubber band for this during the knitting alternate two left and two right loops.
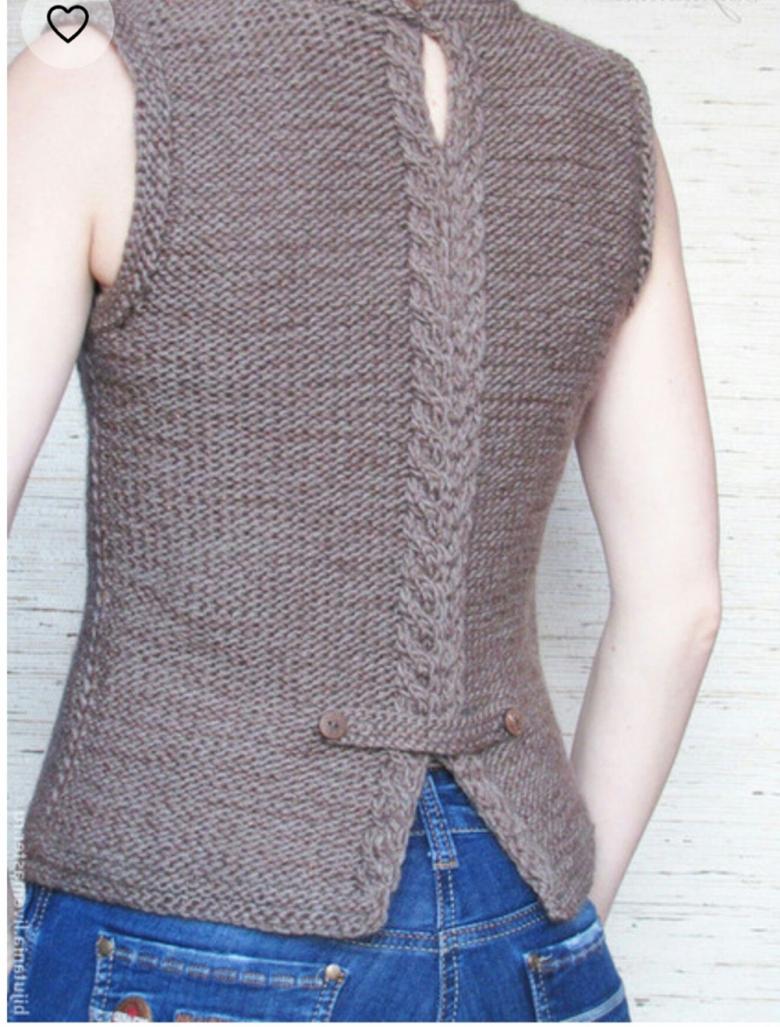
As soon as the four centimeters of the rubber band will be knitted, proceed to the back cloth itself. It should be done with a straight stitch or the pattern you choose. When knitting, be guided by the pattern you made.
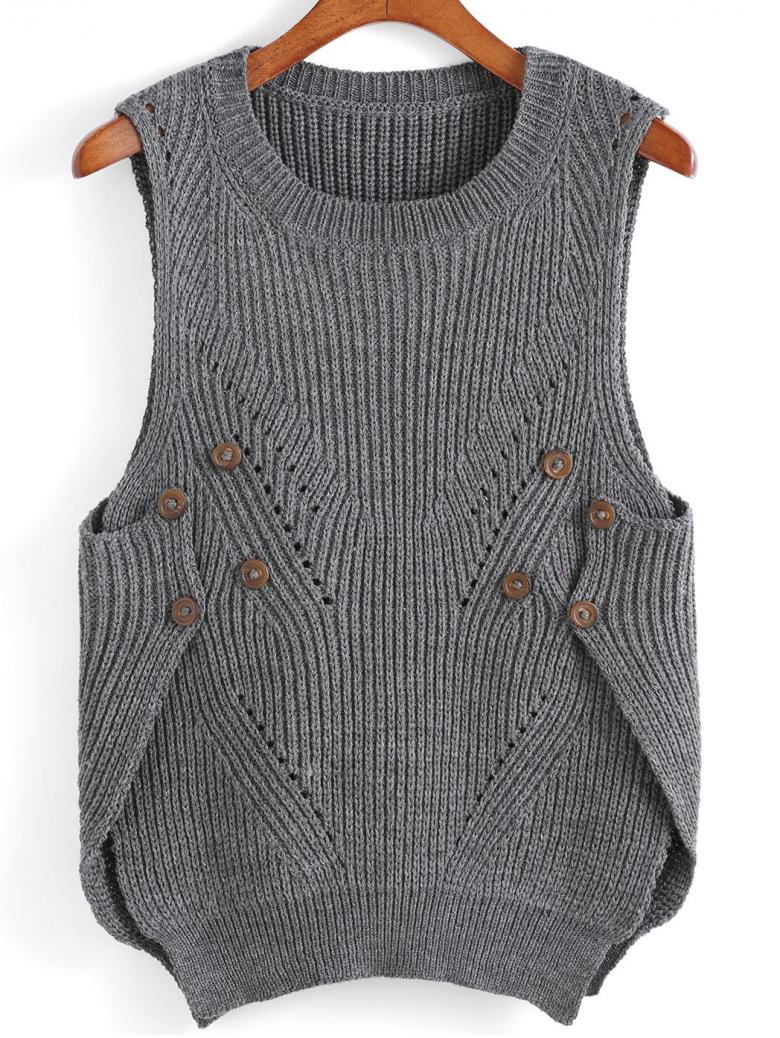
Since the sleeveless model may be fitted, in which case you will need not to forget to first add loops on the sides, and then add, it should be done evenly. Then continue knitting according to the pattern. As soon as the necessary length of the product will be knitted, make the armholes. To do this, cut the loops in every second row on both sides. After that, knit the piece to the end.
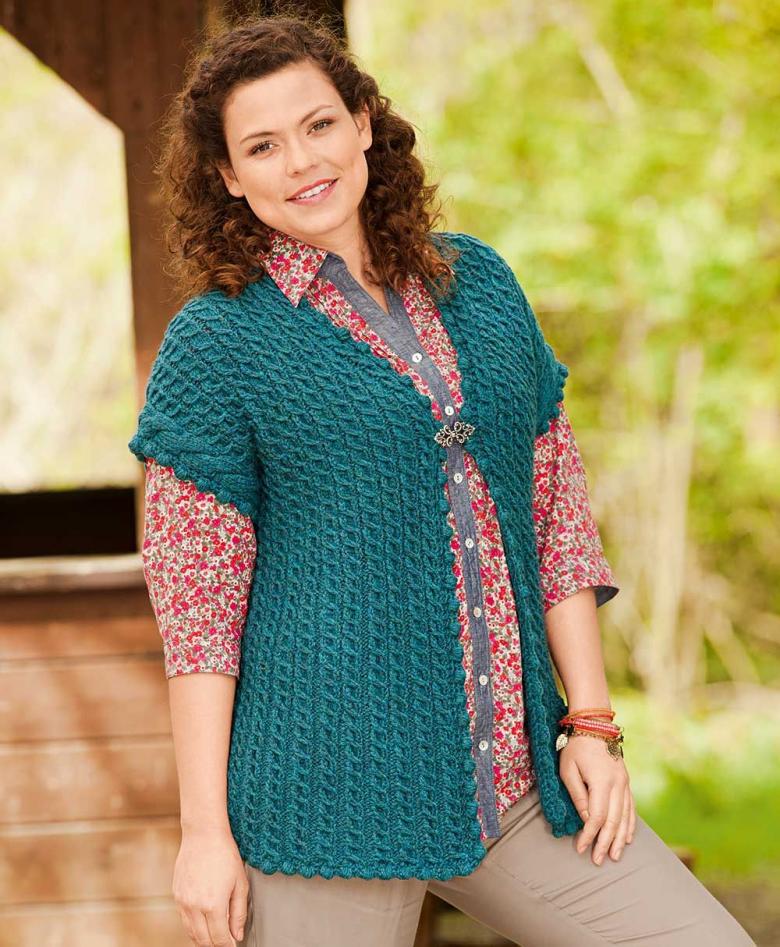
You can close the stitches without cutting the neckline and the shoulder line, but if you want the model to look beautiful and fashionable. You'd better not be lazy and do it.

Peculiarities of knitting shelves
Once you have finished with the back, let's knit the front part - the shelves. The main feature of this work is that you need to knit them at the same time - both together. This is necessary so that they turn out equal and identical. To do this, take two balls of thread and one pair of needles. Dial the required number of loops for each half. Next, knitting is performed similarly to the back.
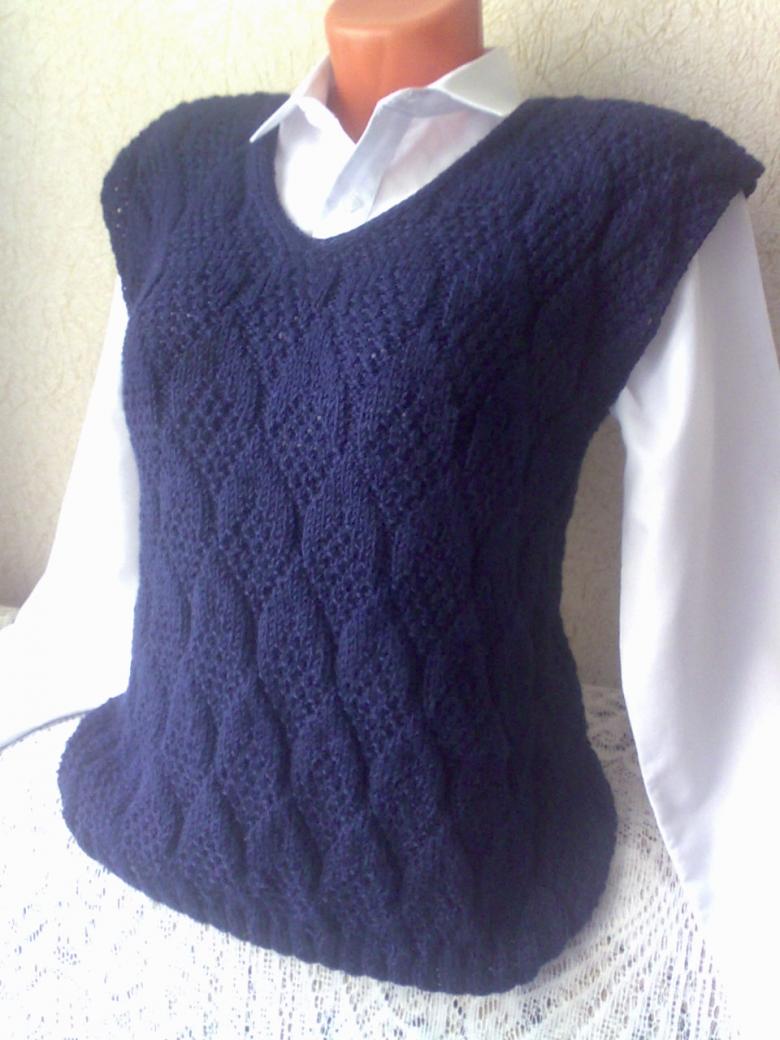
Only you need to remember the following:
- If the sleeveless is provided without buttons, then divide the total number of loops for the back in half and get to work;
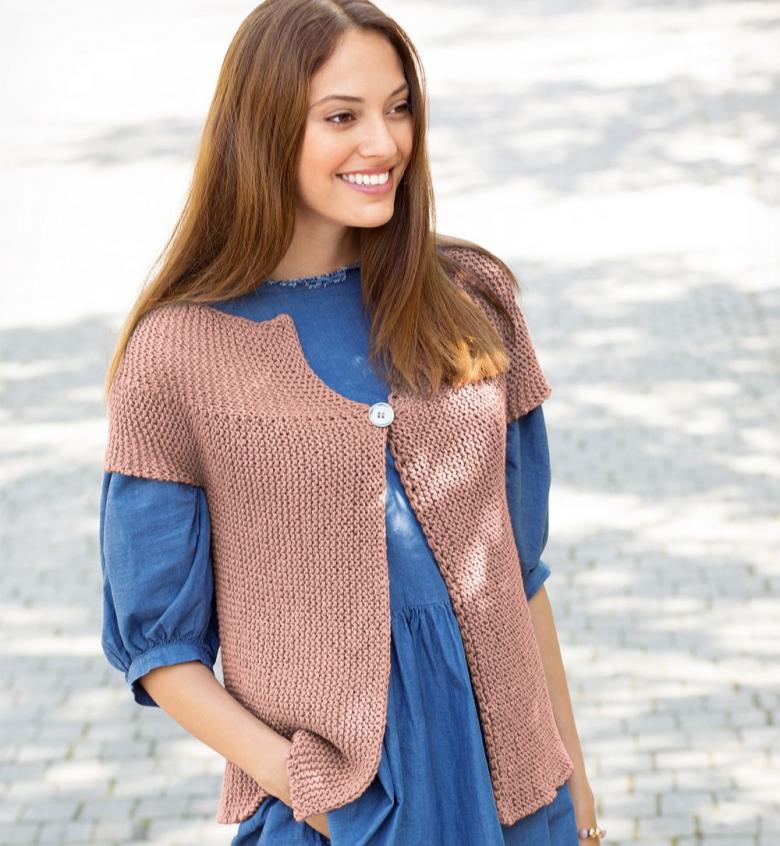
- If it will have buttons on it, don't forget to knit a plack with a width of three centimeters for each shelf. The number of stitches in this case will be equal to half the stitches from the back minus four stitches.
The work will be built strictly on the pattern up to the beginning of the neckline. Next proceed to knitting the neckline.
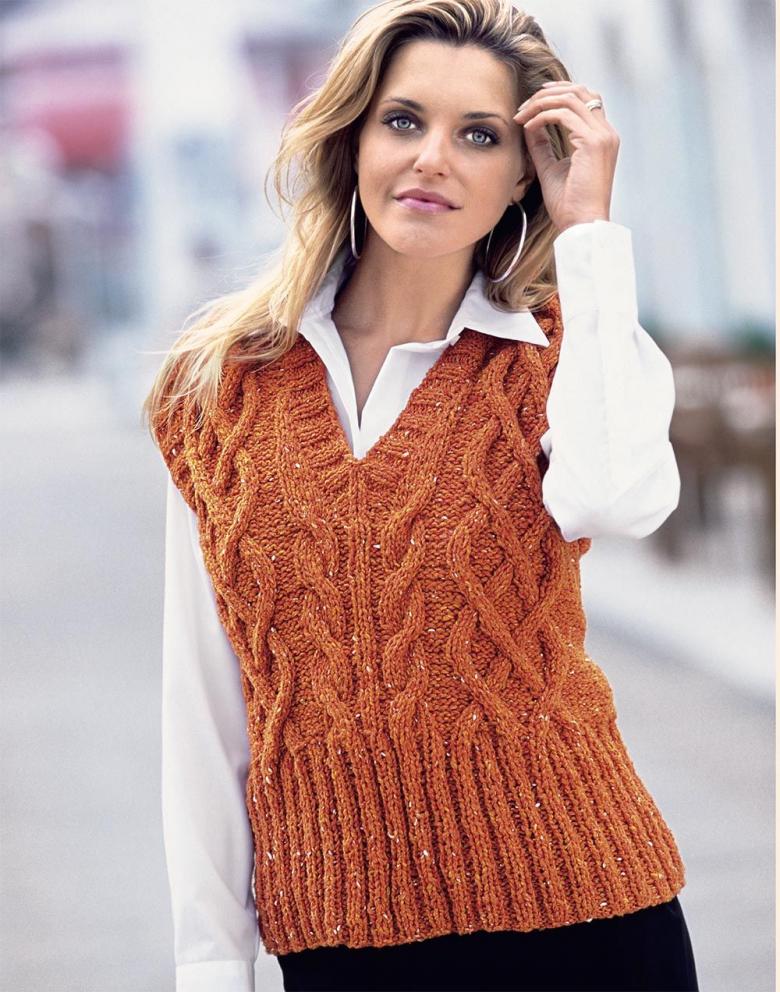
Cut the neckline: step by step actions
It is made simultaneously on both halves. To begin with, attach the resulting product to the pattern and reconcile with it. Next, do the following:
- Reduce the number of loops at the beginning, middle and end by six loops.
- The back row of the same thread to the beginning of the neck.
- Take the second skein and start knitting with it from where the neckline ends.
- On the right side of the neckline, decrease the number of stitches by two on each side.
- Continue knitting the row keeping all the stitches intact.
- In the next row, remove one stitch on each side as well.
- Check the pattern again and if the length is as you want it, close all the loops.
If you want the neckline to be U-shaped, then close the loops in each row, and if V-shaped, then every two rows.
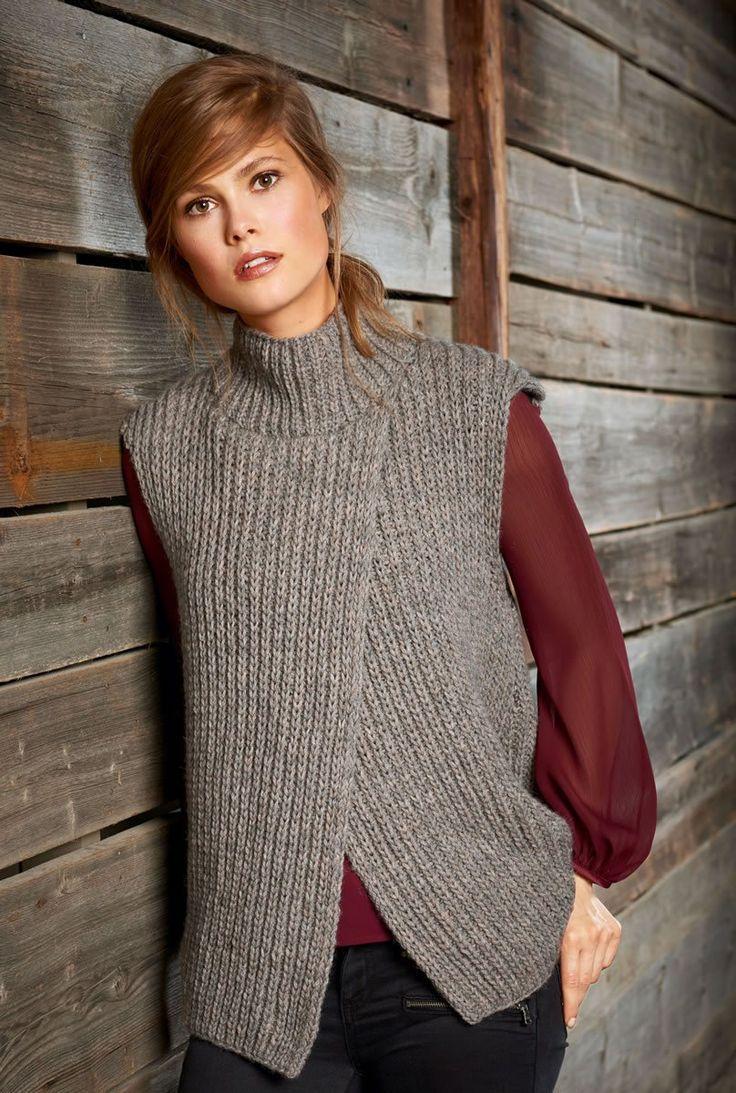
Putting the vest together
So our knits are ready, now you can join them together. But first of all you can steam them with an iron and some gauze. Fold the items of back and one of the strips so that the front side touches the front side. Be careful to check that all the necklines come together - the neckline, armholes, shoulder bevels and, of course, the sides. Once you see that everything is okay you can start sewing. This can be done in two ways:
- crochet;
- needle.
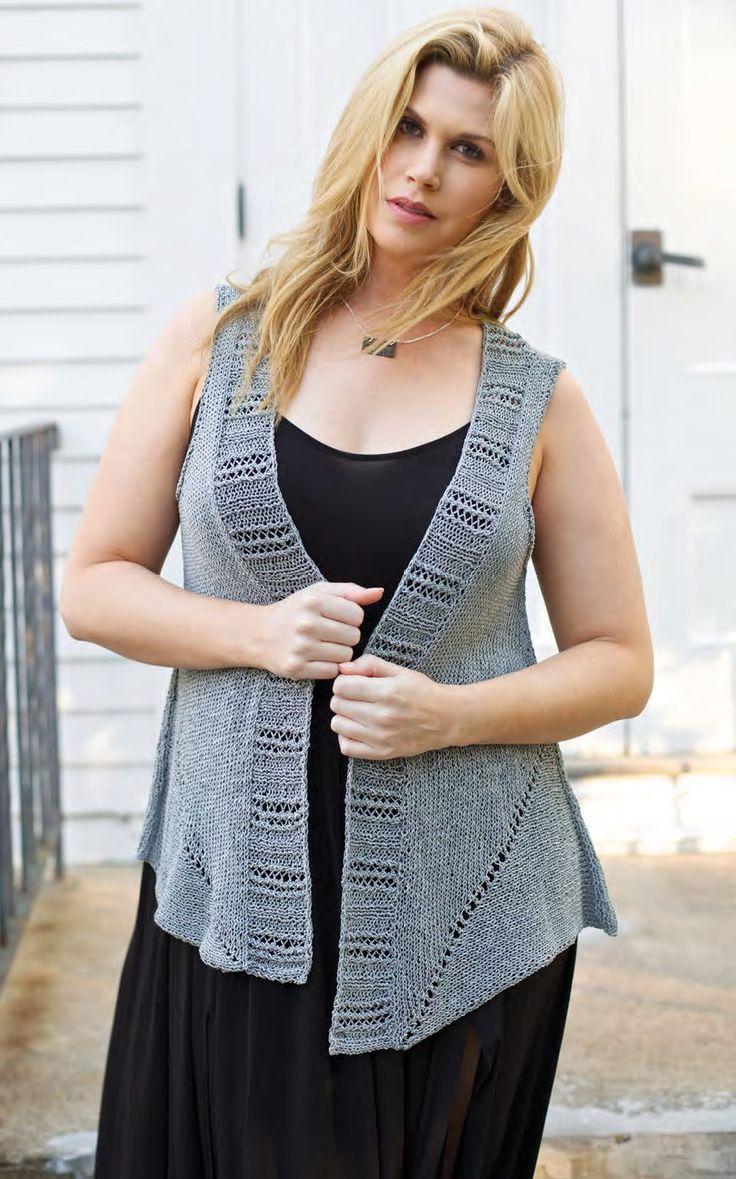
Once sewn one piece, start sewing the second. Do exactly the same as with the previous one.
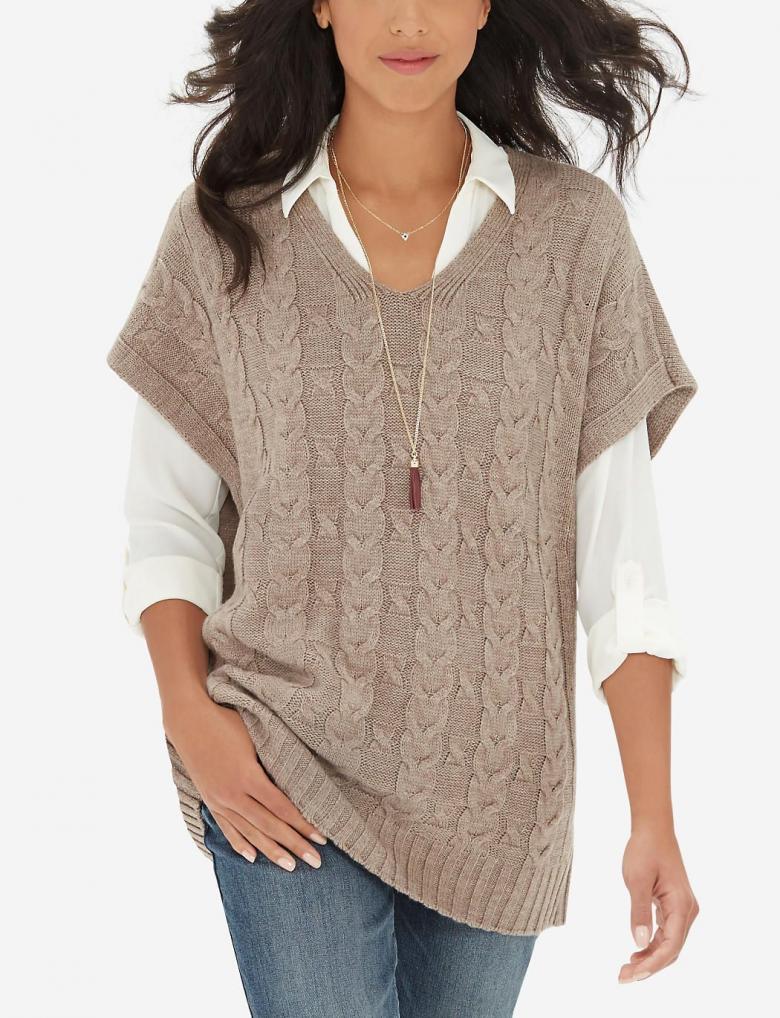
Now you can start working the neck and armholes, because they don't look nice like that. You can do it any way you want, but the easiest way is to tie them with a rubber band, where you will alternate one right and one wrong stitch. To do this:
- Take the stitches out around the neckline and put them on your knitting needles.
- Take a ball of thread and start knitting an elastic.
- After you have about two or three centimeters, close the loops.
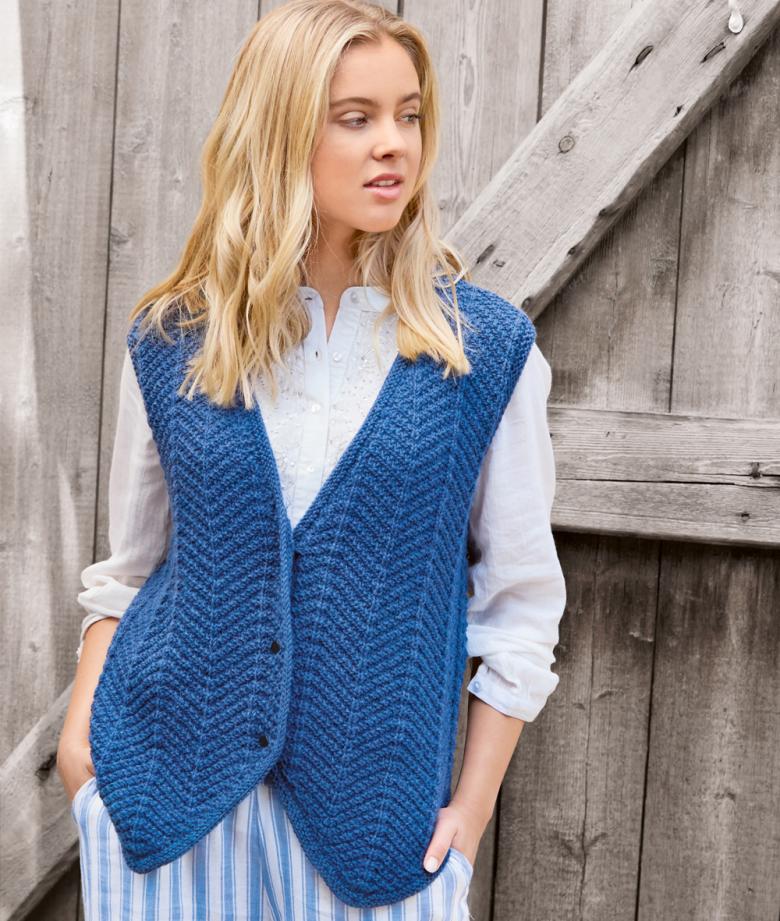
Do the same with the armholes of the sleeveless jacket. This kind of knitting is good because it is available to beginner needlewomen, and it perfectly repeats the curve line, making your sleeveless sleeveless jacket beautiful and fashionable. That's it now you can try on the resulting product.
Tips for beginners
Here are a few more tips that will be useful for every beginner needlewoman:
- Watch the density of the knitting, it should be the same in the beginning, and throughout the entire knitting.
- It is better to choose a monochrome model or with a light and simple pattern to begin with.
- Never wash the vest in a washing machine at high speed, otherwise it will lose its shape and appearance.
- It is preferable to wash such items by hand, without the use of bleaching powders.
- The first time it is better to wash it separately from other things, so as not to spoil other clothes.
Here are some basic tips that will be very useful to you in the beginning. Having knitted a sleeveless jacket for yourself, you can think about knitting more for other members of your family. Now you know how to do it, and the second time will be much easier to do the job. Your family members will be happy with a beautiful sleeveless, especially made by your hands.

