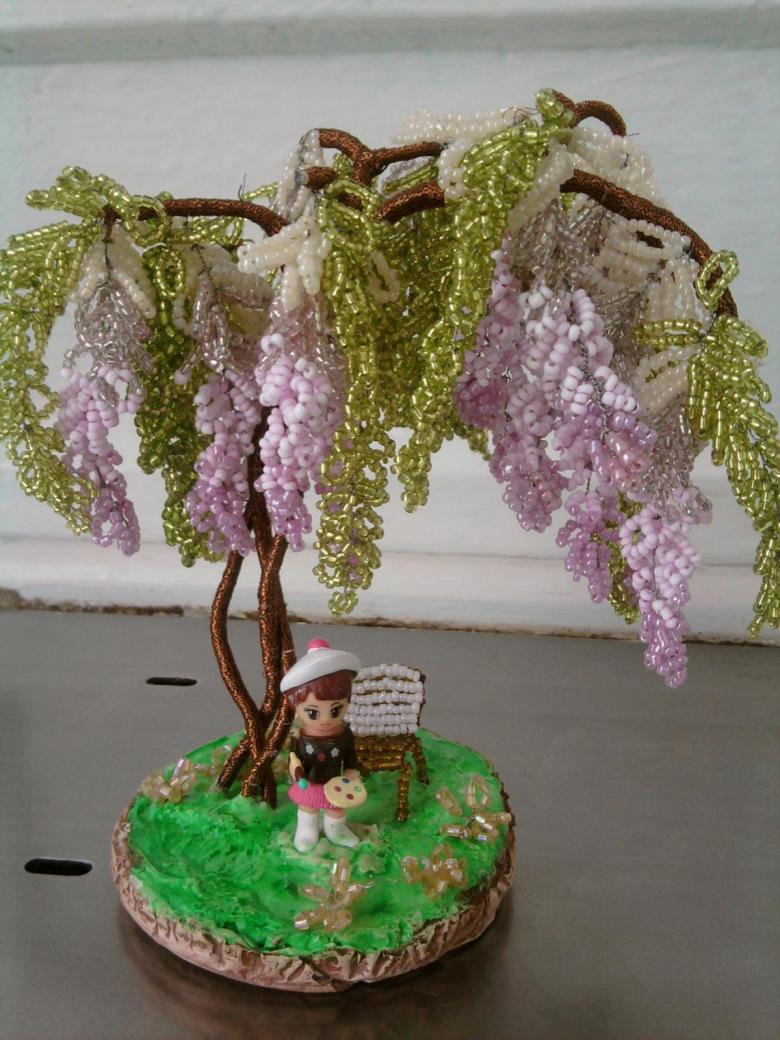
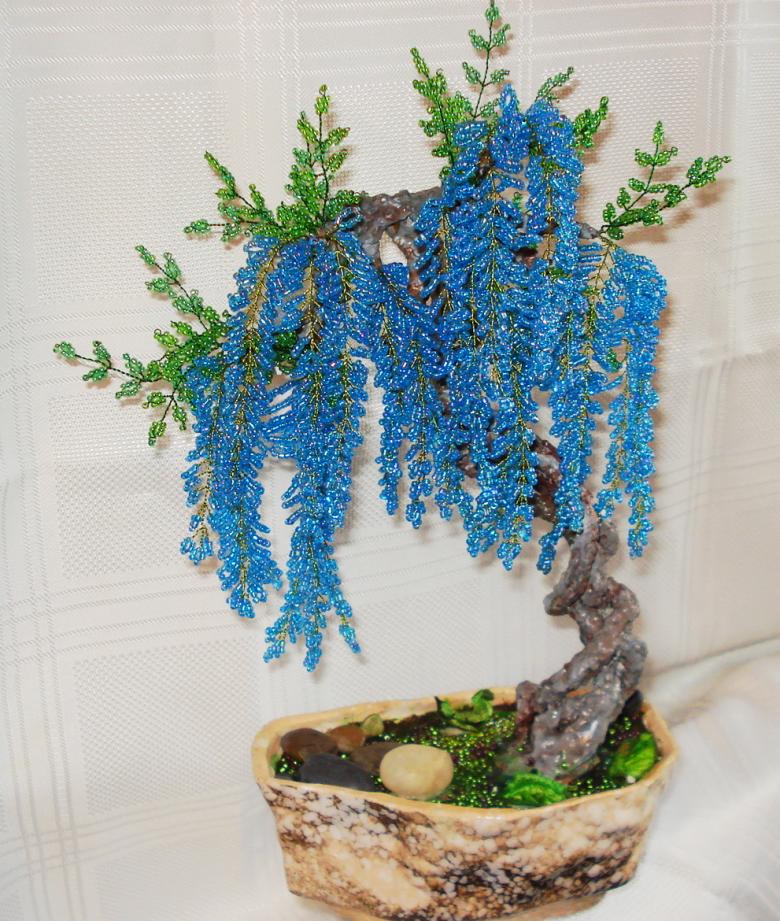
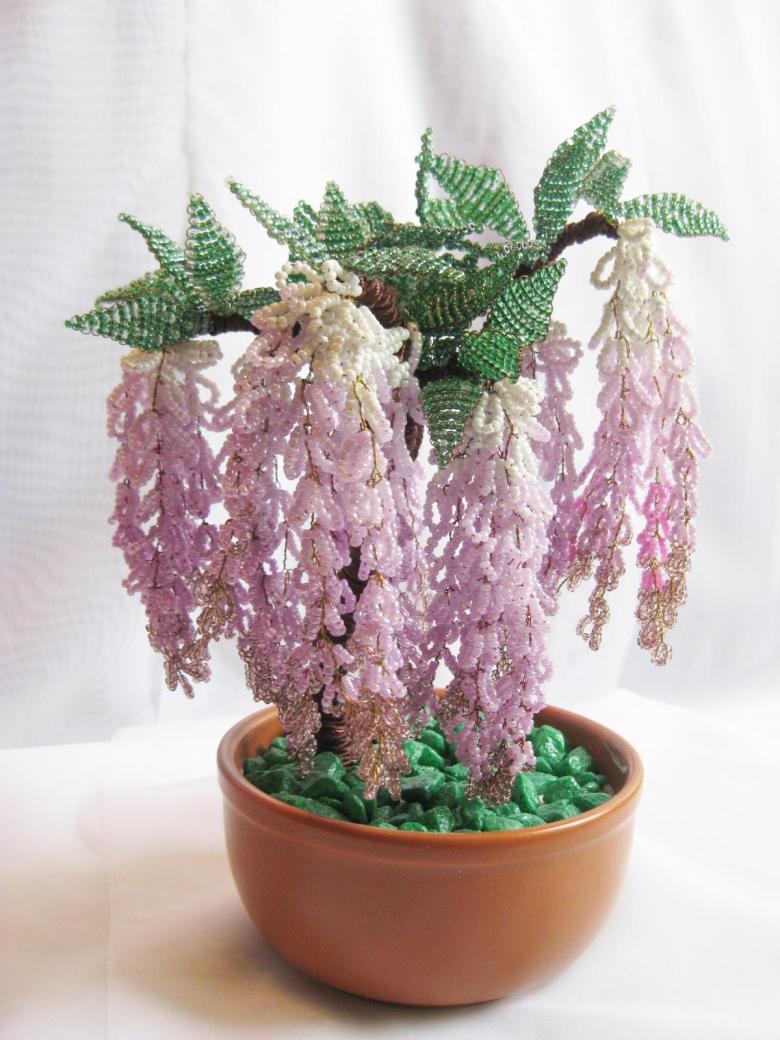
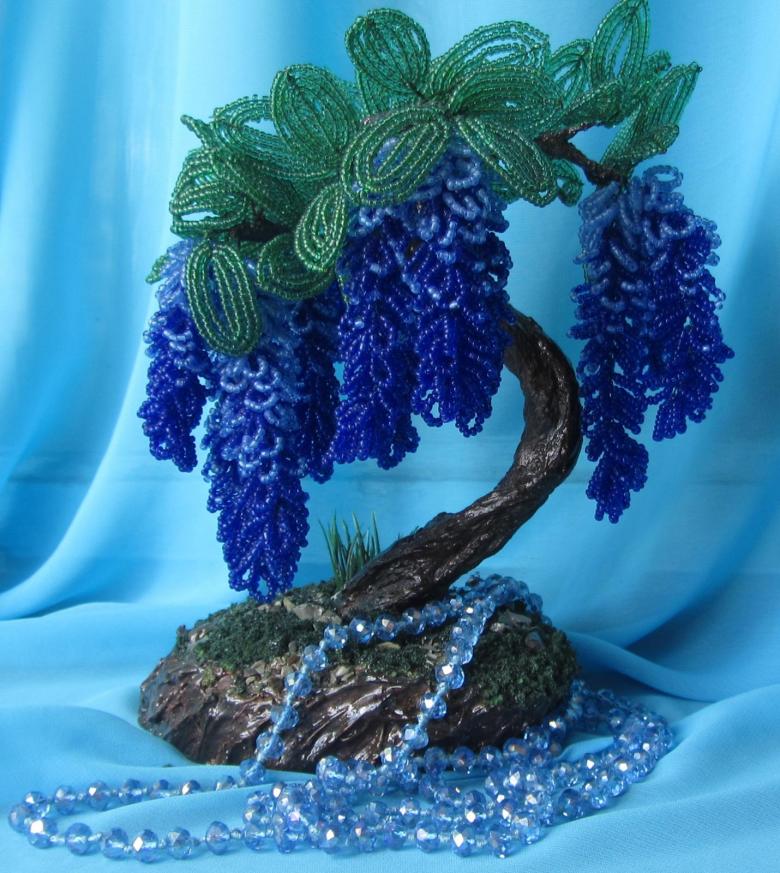
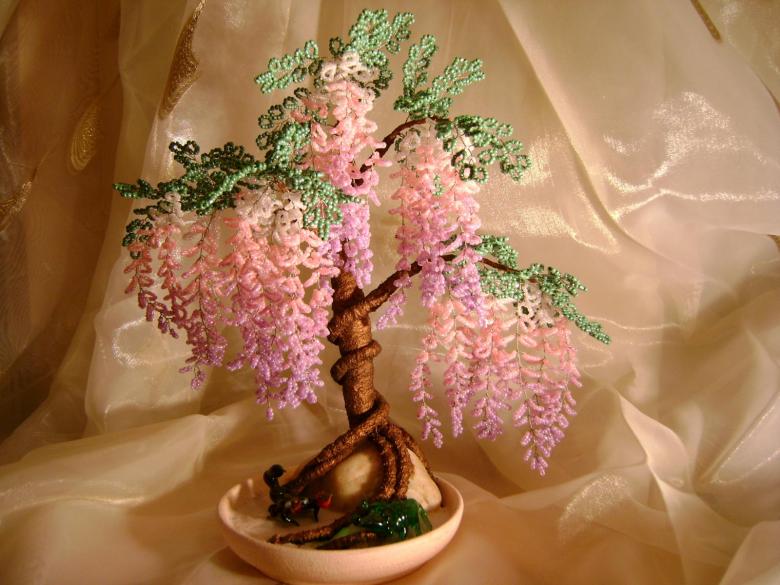
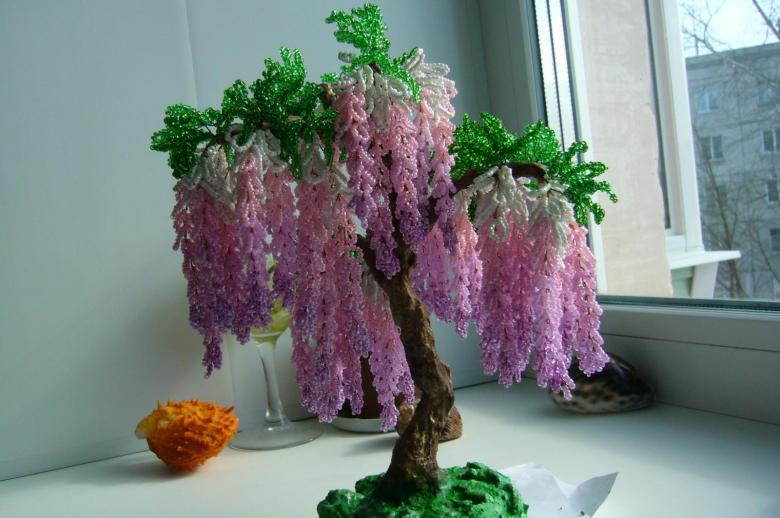
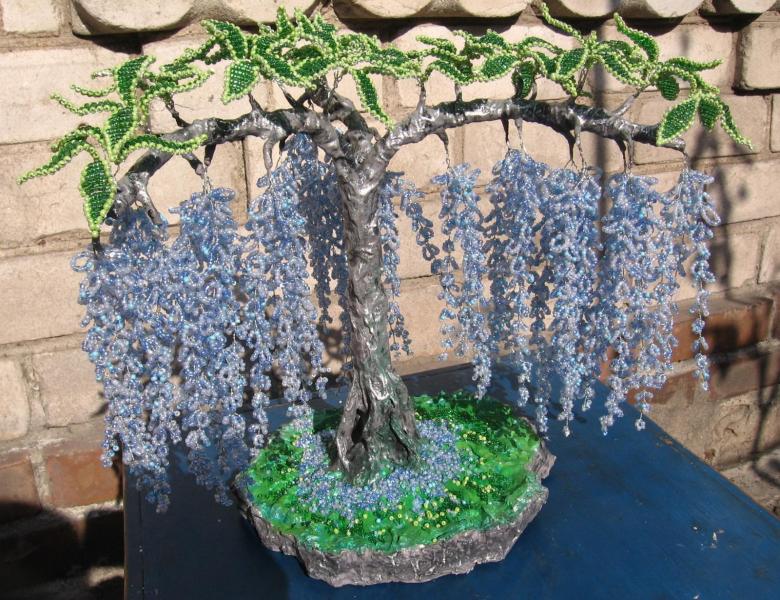
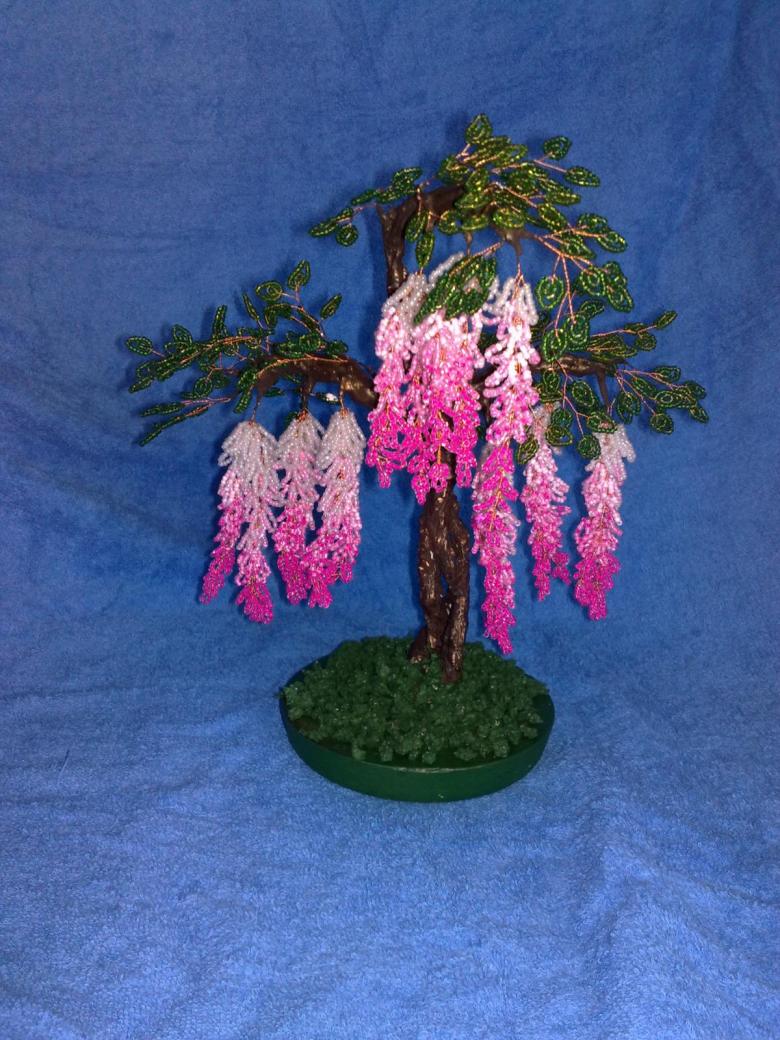
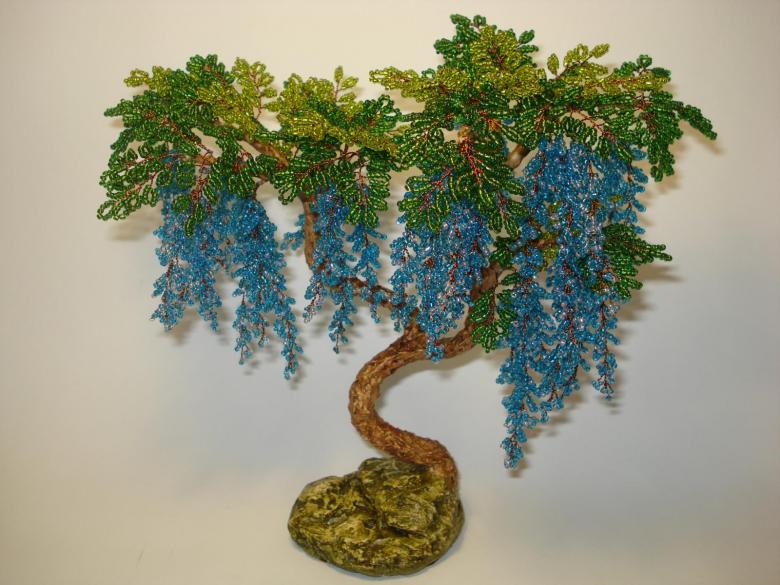
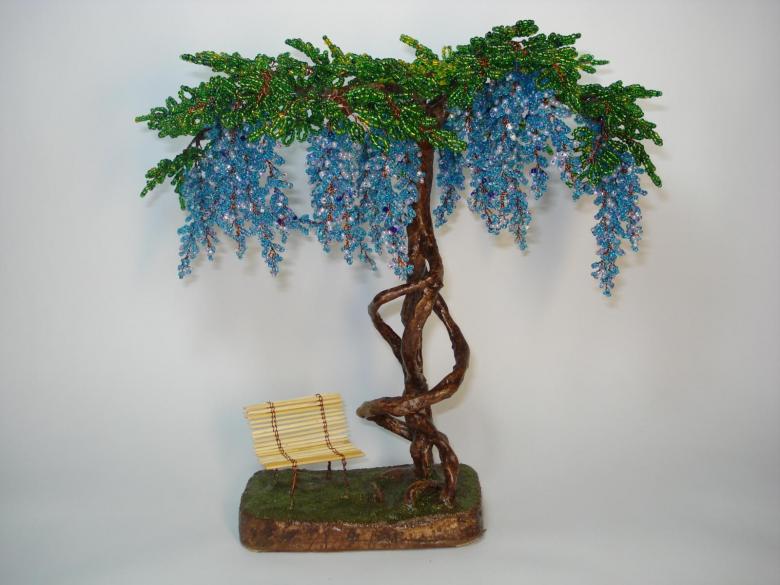
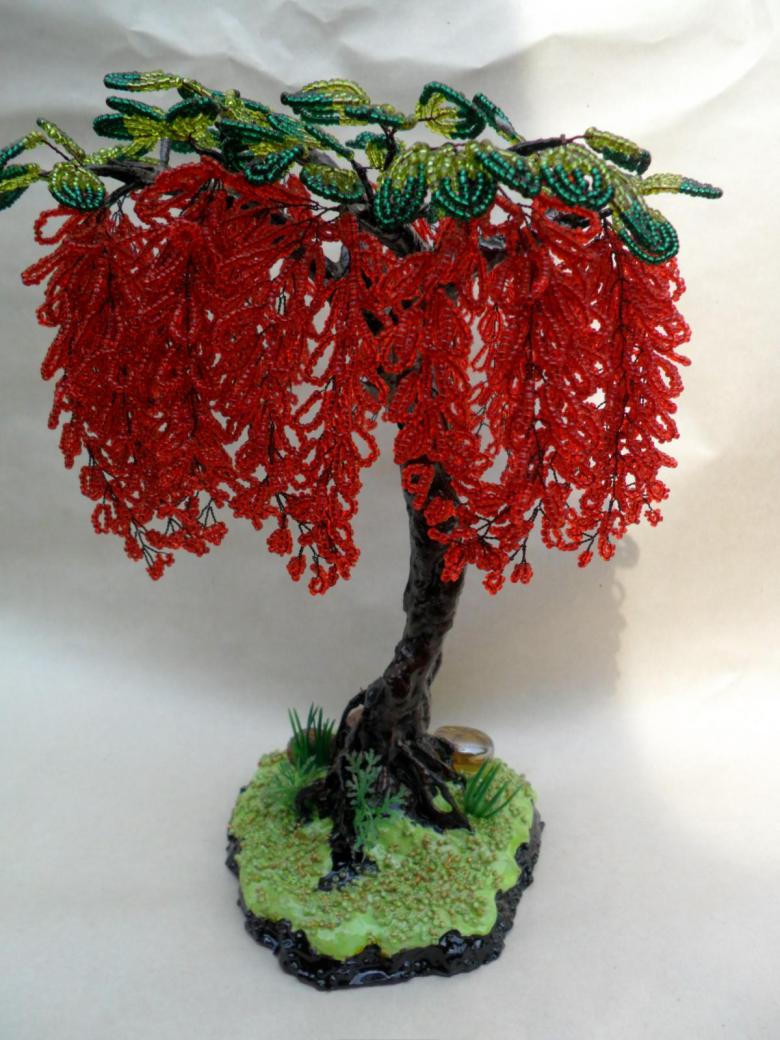
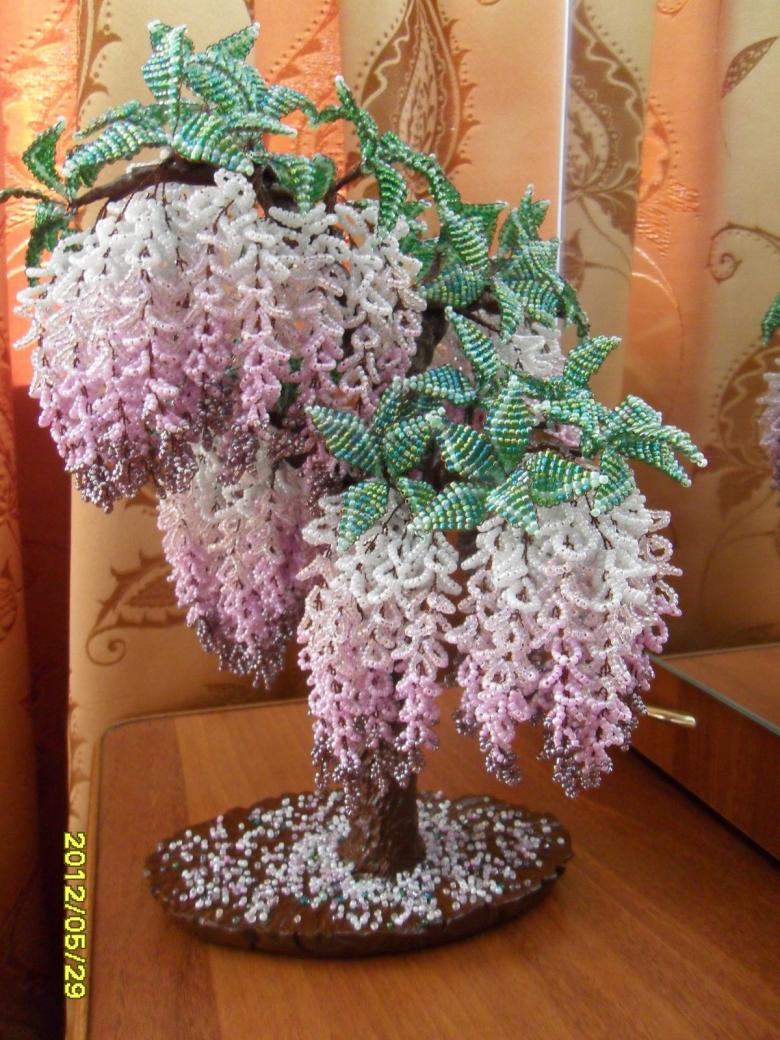
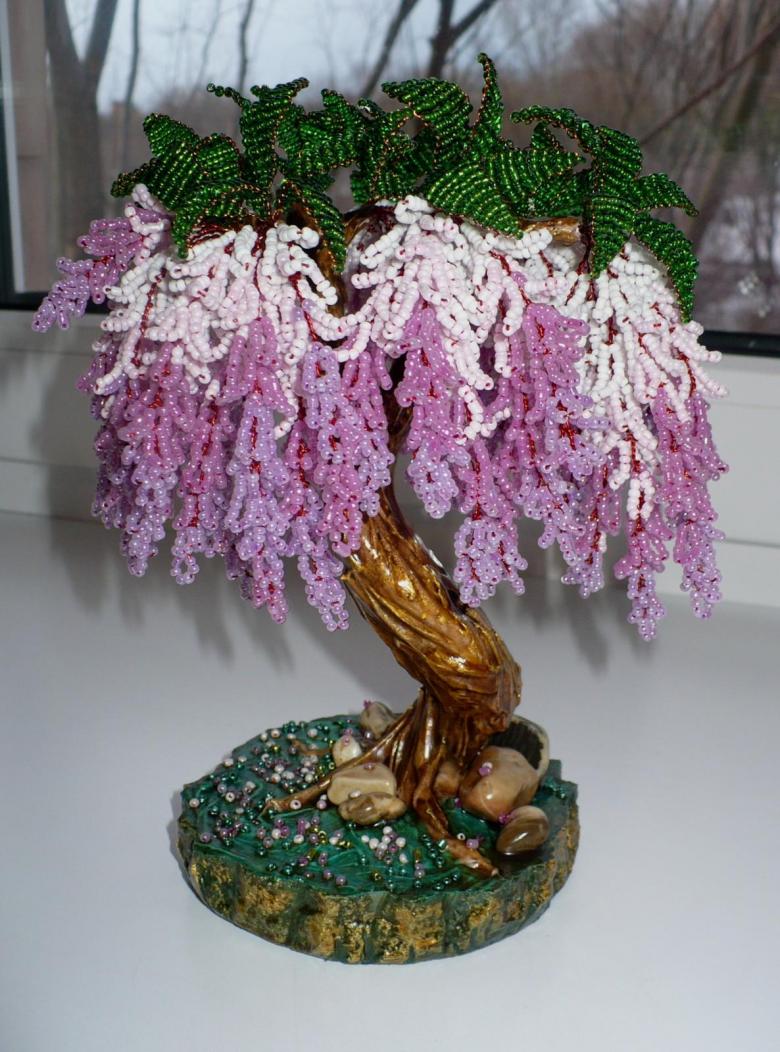
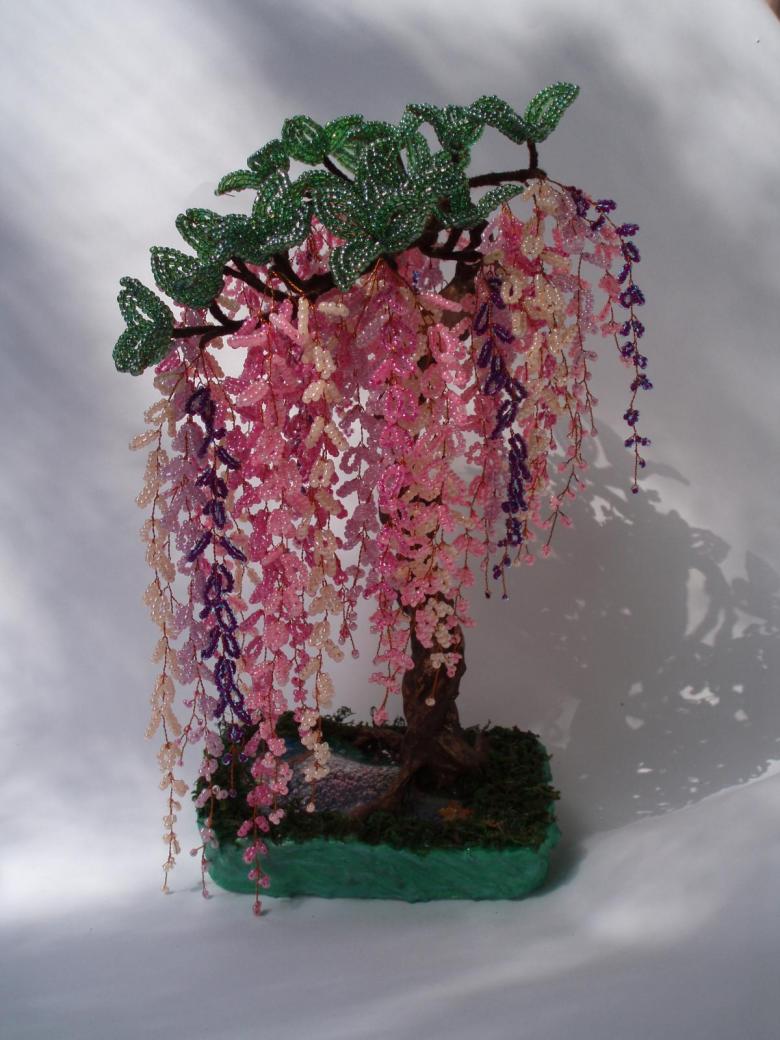
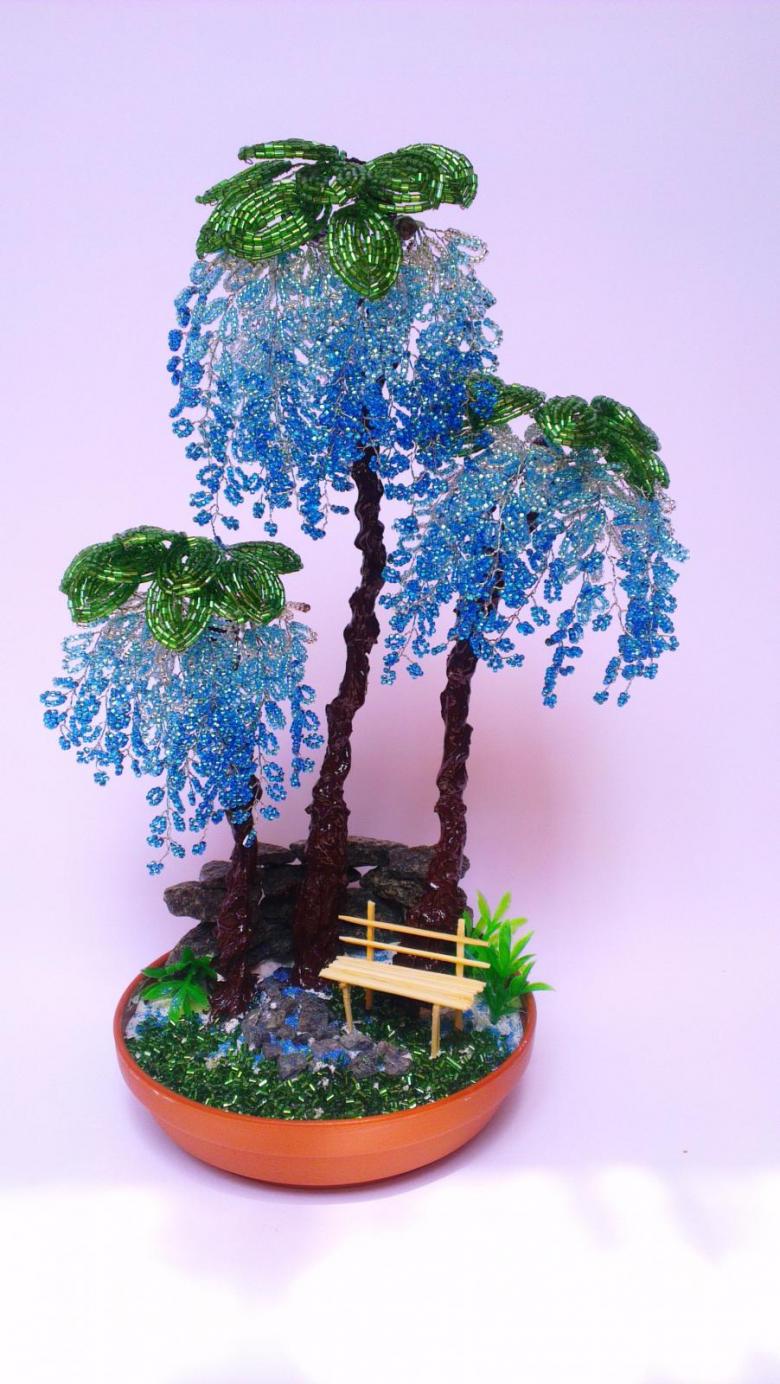
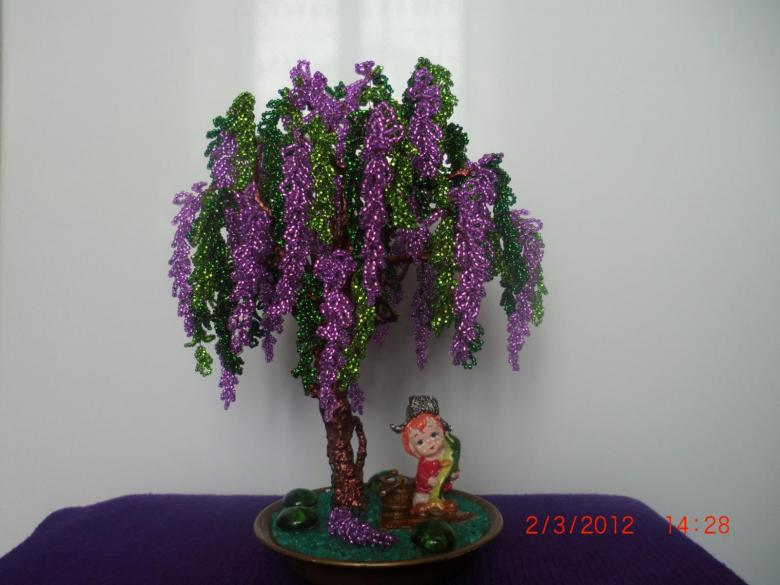
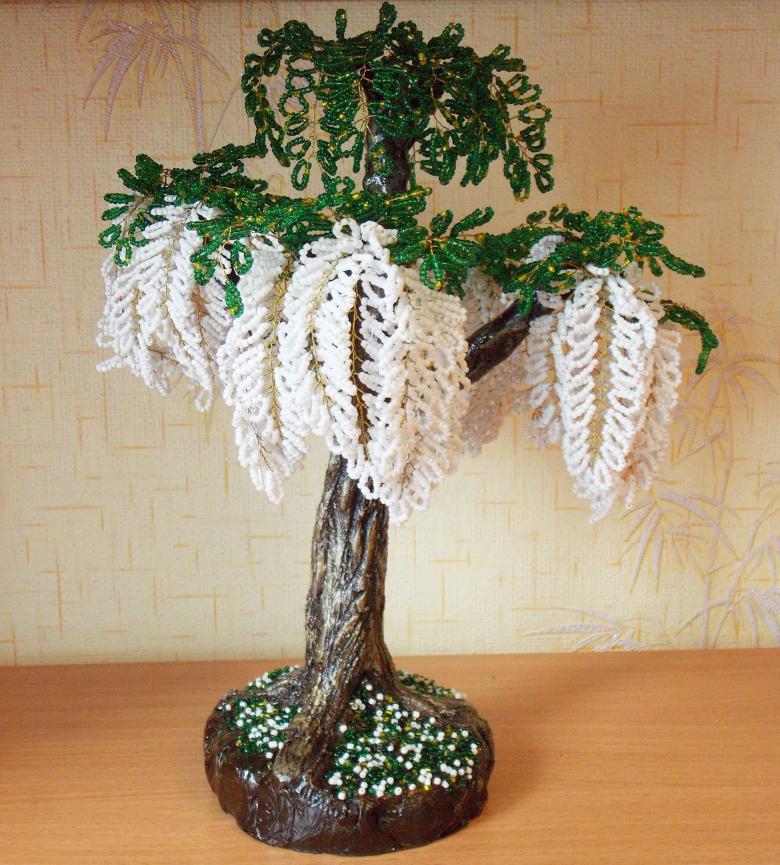
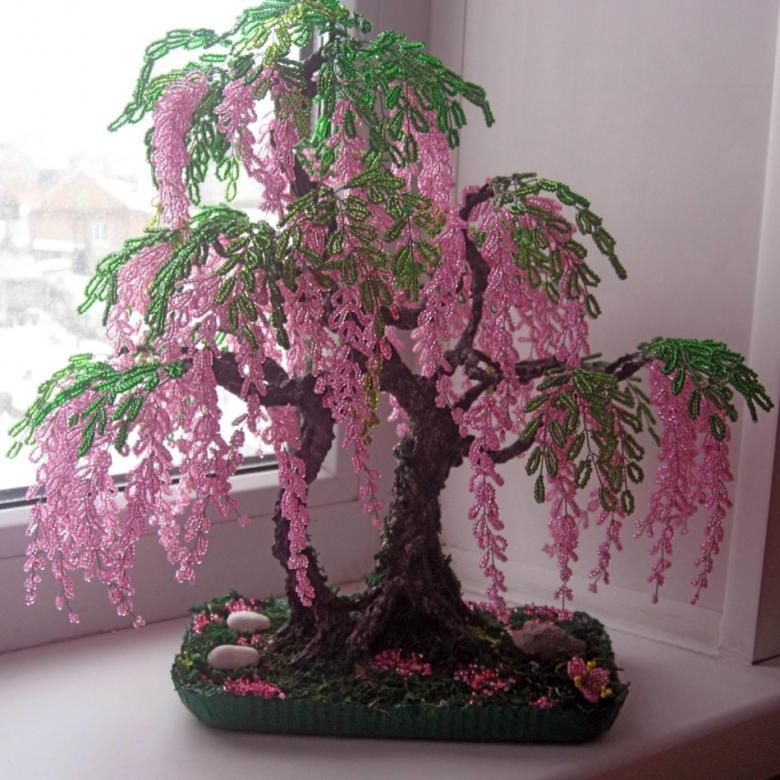
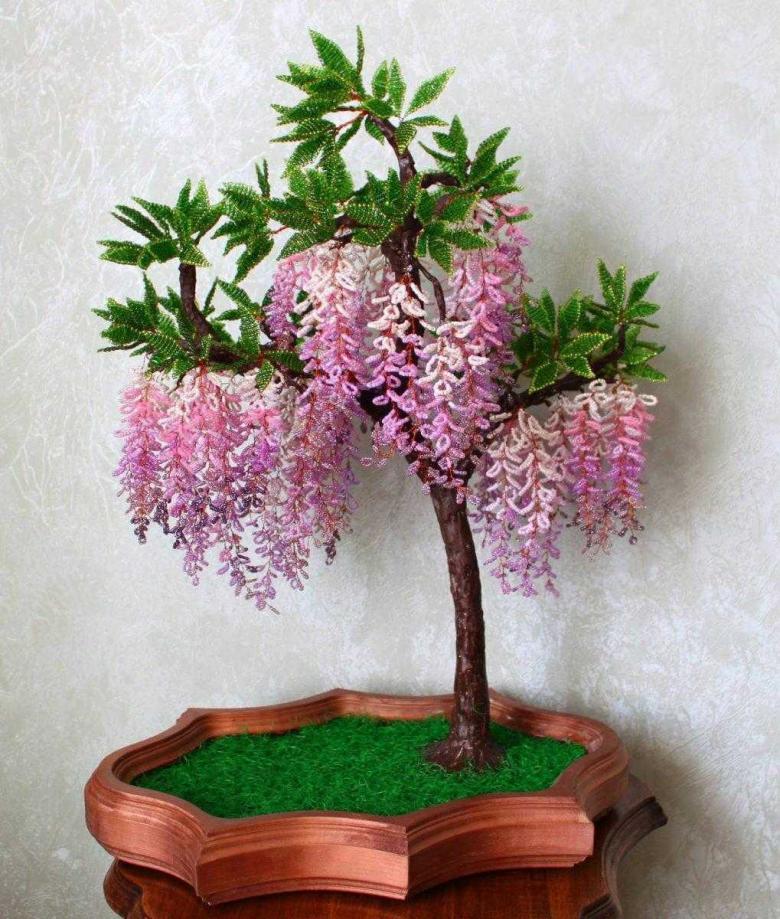
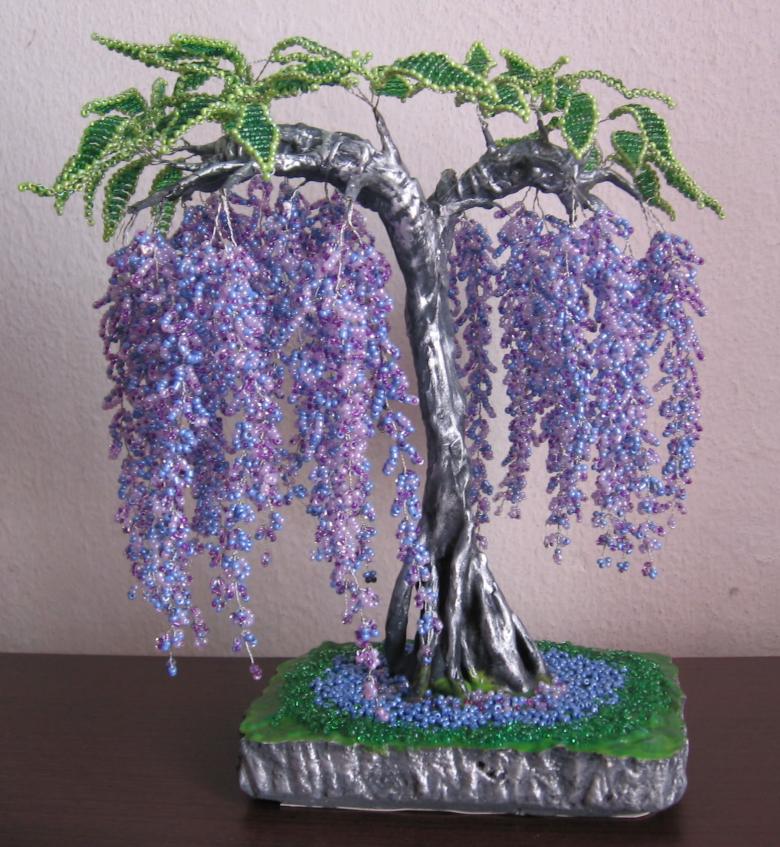
Wisteria beadwork for beginners: laying the foundation, weaving leaves and flowers, the choice of palette, photos of beautiful crafts
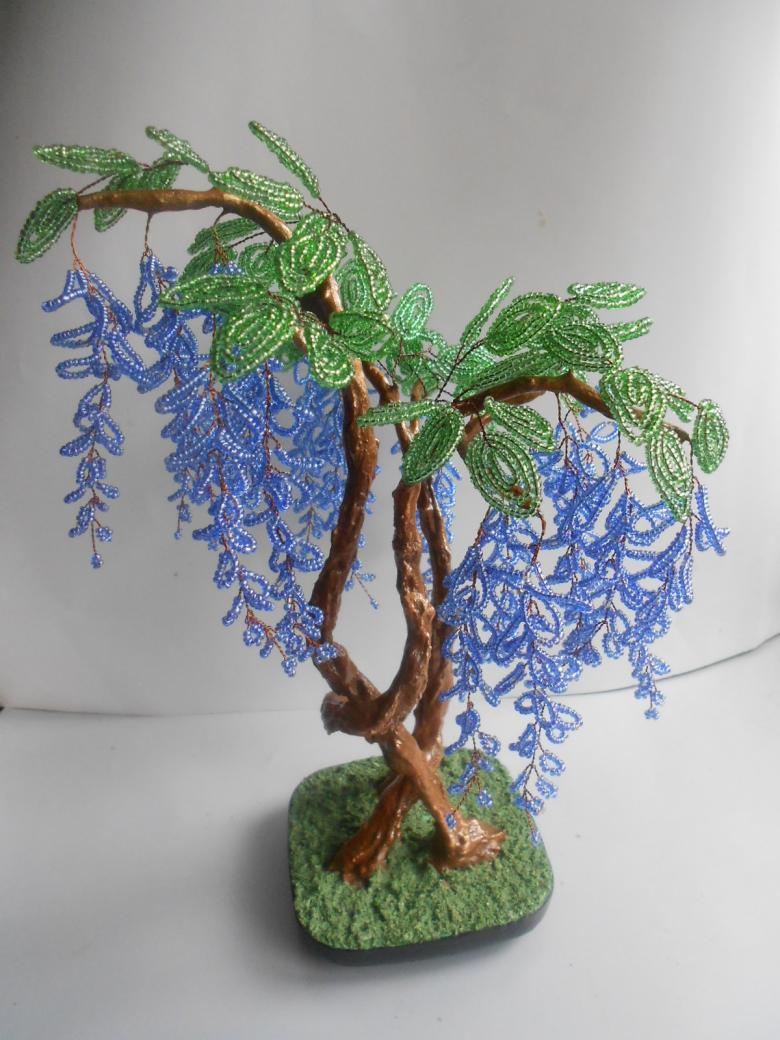
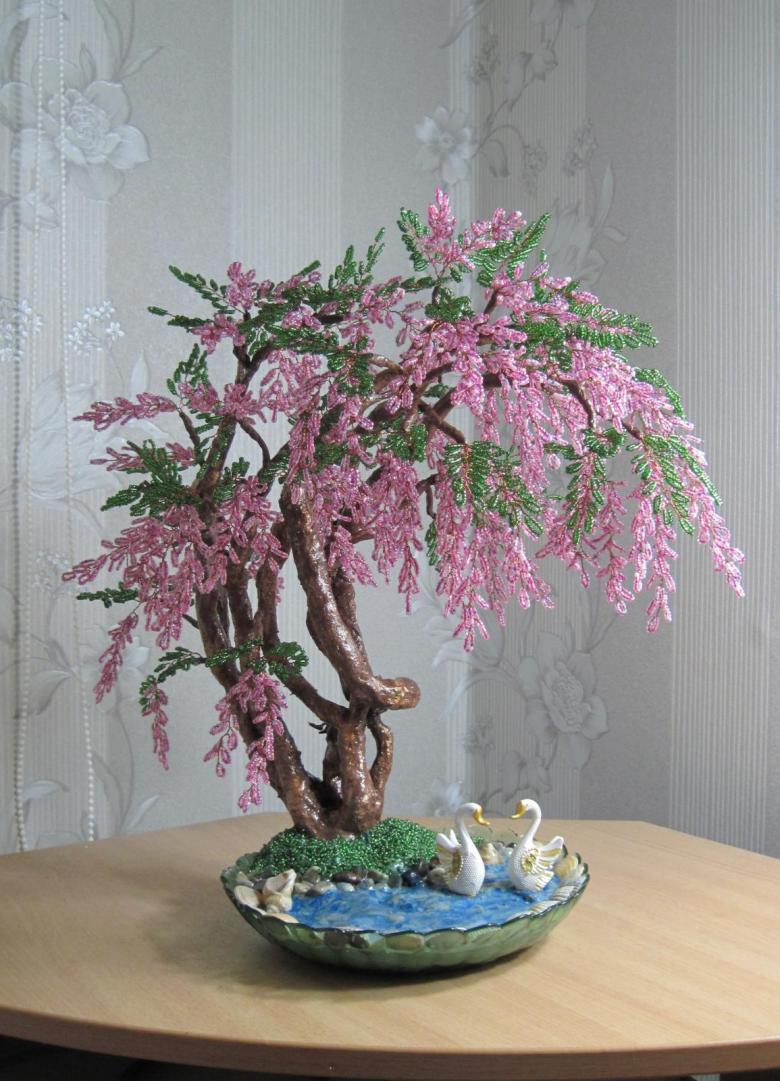
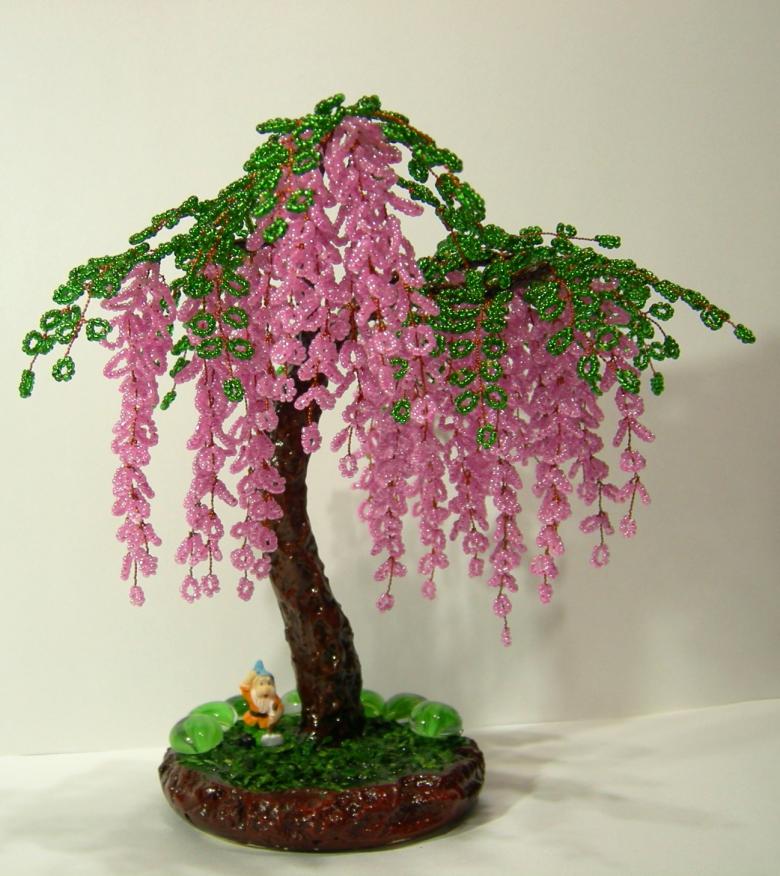
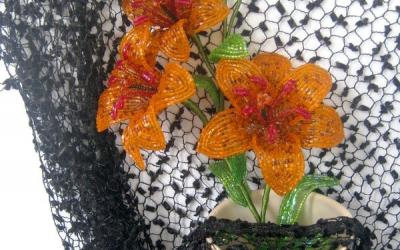
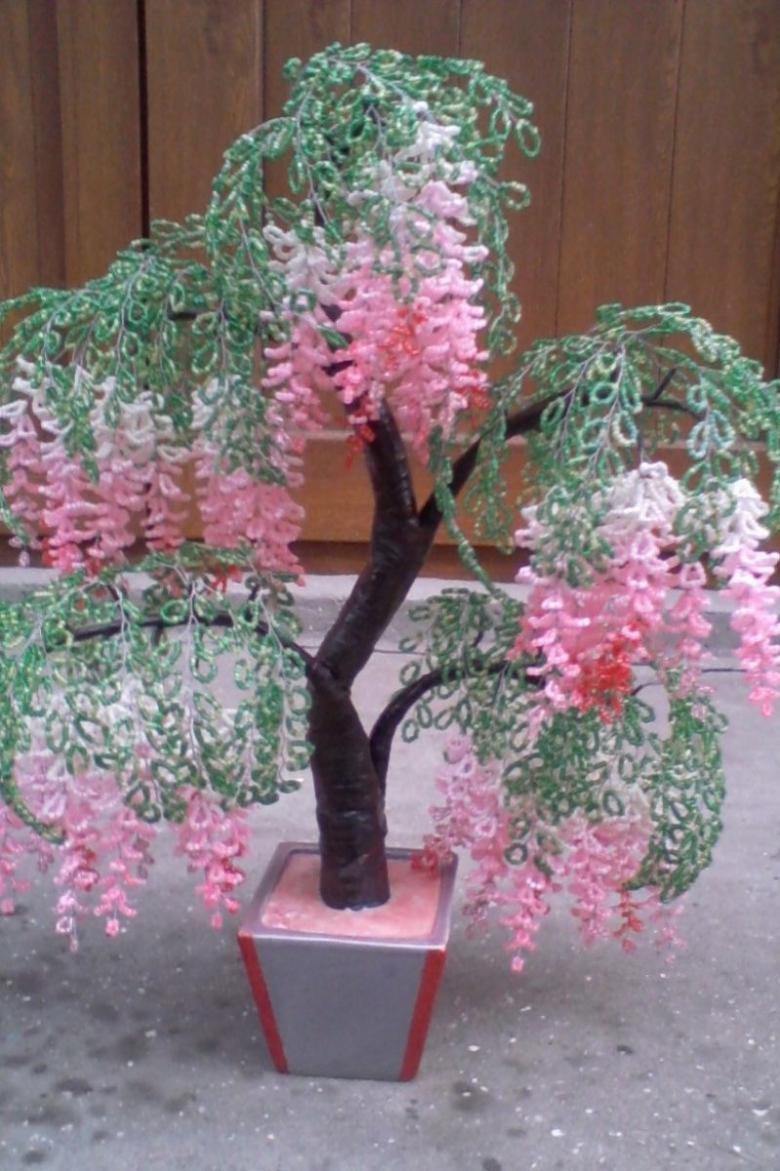
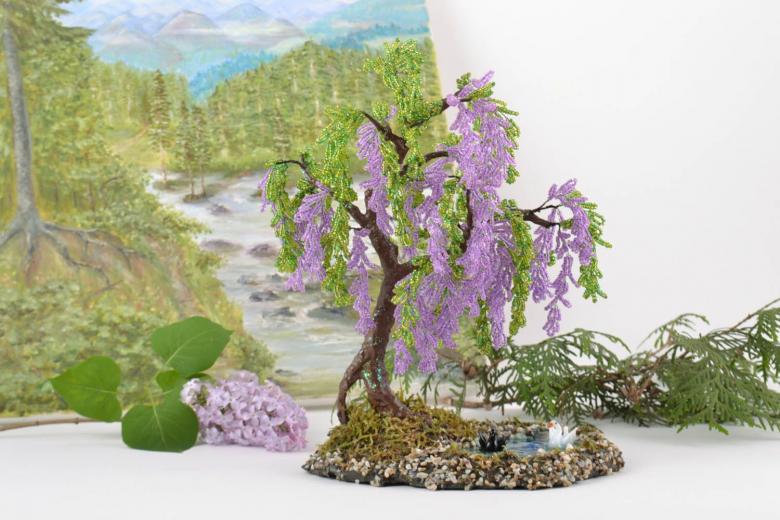
Wisteria, or Wisteria chinensis is a very beautiful plant. Alas, it is not at all adapted to home conditions, not even every botanical garden can properly maintain wisteria. However, it is possible to admire its beauty on the windowsill in the form of a decoration made of beads.

We offer you a detailed master class on how to make a wisteria tree from beads.
What do we need and where to start?
To begin with, you should prepare a working surface and see what of the listed materials you have and what you can work with. In addition to the beads we will need other consumables, and to bring the composition to mind and ideal, you can make the tree an original stand.
Consumables:
- Beads.
- Wire.
- Thread.
- Ribbons for decoration.
- The gypsum.
- PVA or Moment glue.
- Nail polish or decorative varnish.
- Rhinestones, sequins or other decorations at your discretion.
Tools:
- Bead caps or vials.
- Scissors.
- Ruler, tape measure.
- Checkerboard, colored pens or felt-tip pens.
Important: When working with glue and small parts, watch the children and adhere to the safety of working with materials.

Wisteria leaves and flowers
There are several subspecies of wisteria, but the best known is probably the Chinese wisteria. Its leaves and flowers are striking in their beauty and richness of colors, and in addition, it is very simple to make even for the most novice needleworkers.
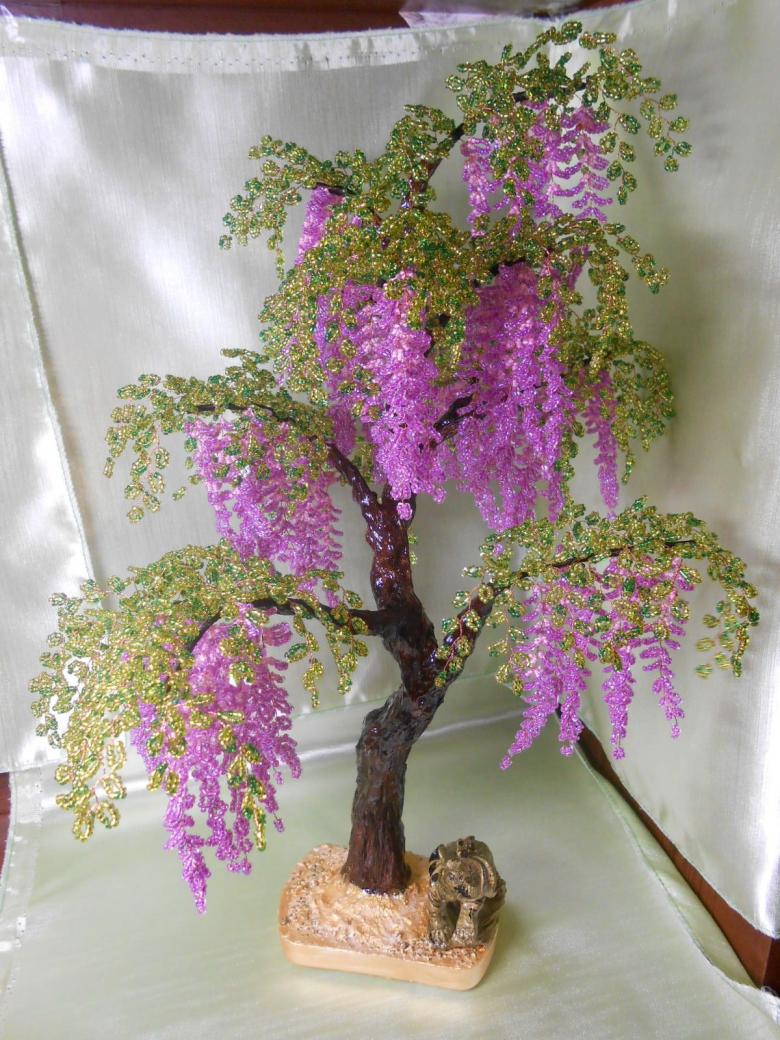
To correctly make a tree and calculate its scale, we need to take a pen and a sheet of paper and sketch a scheme on wisteria from beads.
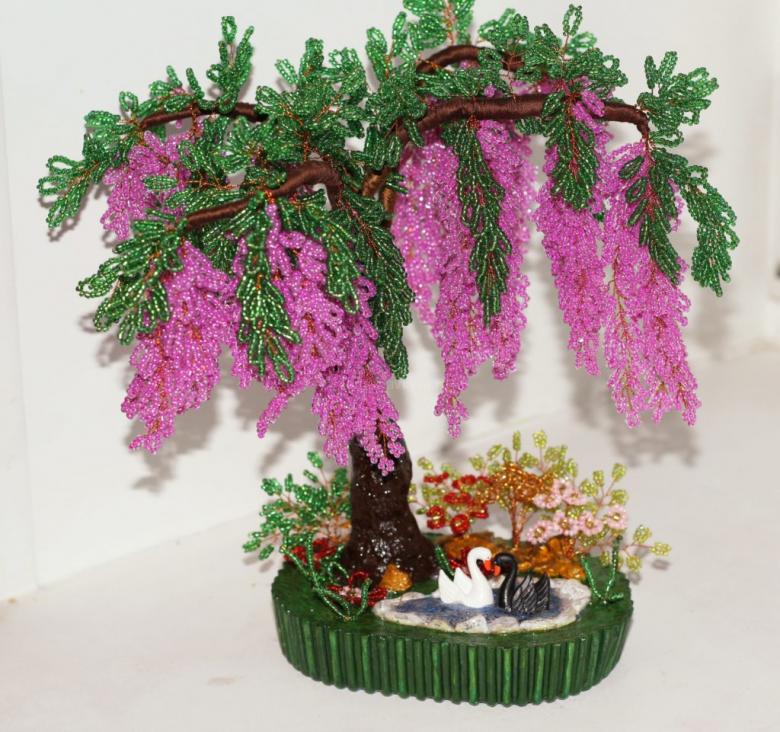
First of all, decide about the scale, because the amount of beads and wire depends on it. You can make a refined and elegant branch, or, make a full-fledged tree.
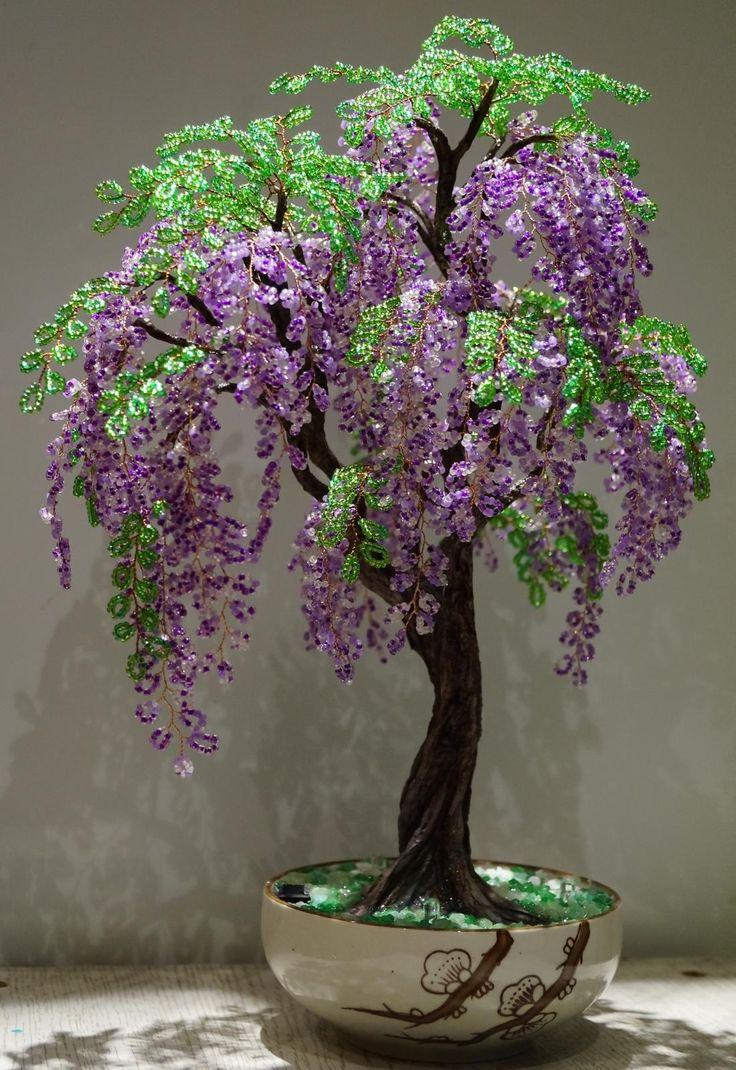
To understand your options do the following basic scheme.
- For one leaf wisteria takes about 3 cm of wire.
- On one leaf of a flower goes from 3 to 25 beads.
- One leaf of green leaves takes from 3 to 30 beads.
- On one branch, on average 5 to 30 flowers.
- On one branch, on average 2 to 10 leaves.

The difference in volume depends on the weaving scheme. It is up to you whether you prefer looping or mosaic weaving. There is not much difference, and both types of weaving look great.

Have you thought about it? Then now you can understand how big the "bunch" of flowers and green leaves will be, because the lushness of your product depends on this. As an option for beginners, you can start with 4-5 full-fledged branches, and there on your own will estimate your strength and capabilities.
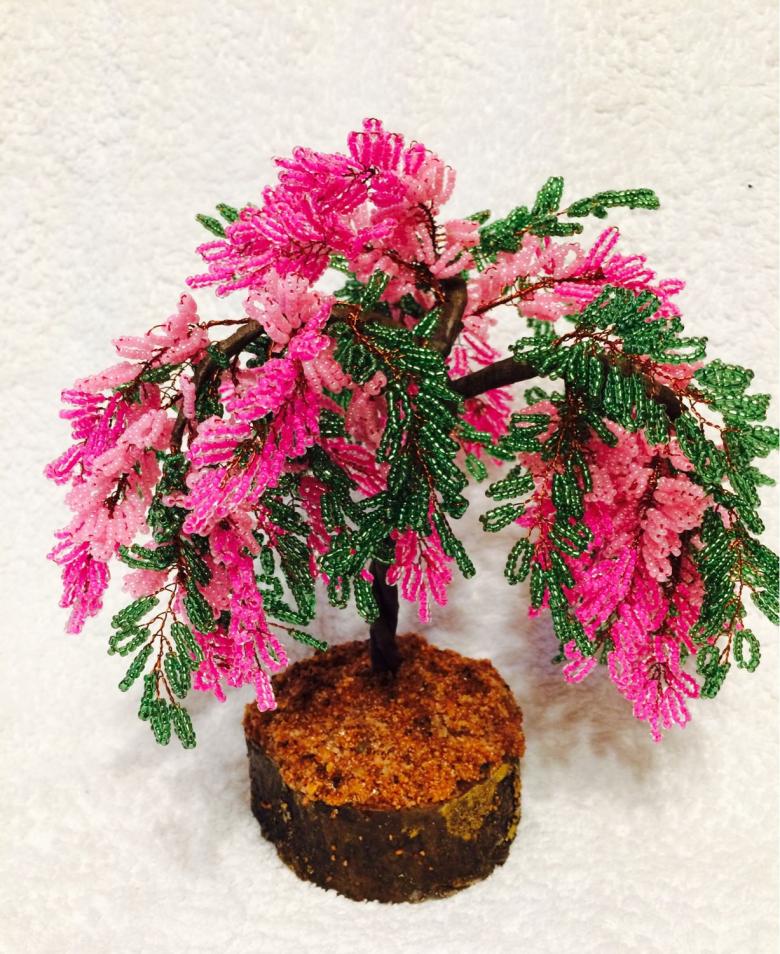
How to make a mosaic weave?
Mosaic weaving technique consists of passing the tip of a thread or wire from the previous row. Clearly it looks like this.

We take uvwxyz{ beads. On the 6th and 7th we back off uvwxy---z{ from → the right tip, putting the same end to the left ↜, through the 5th ←{ z←. Thus, the ends of the wire (working and started with the 1st) we now have looking in one direction, and from the 5th bead sticking out the working tip ←y. Next, we put the 8th bead on the working tip | and pass it through the 3rd bead in the same direction to the left ←w ←. Then we put the 9th bead again, this time and pass it through the 1st. That is all, the row is complete and forms a mosaic pattern.
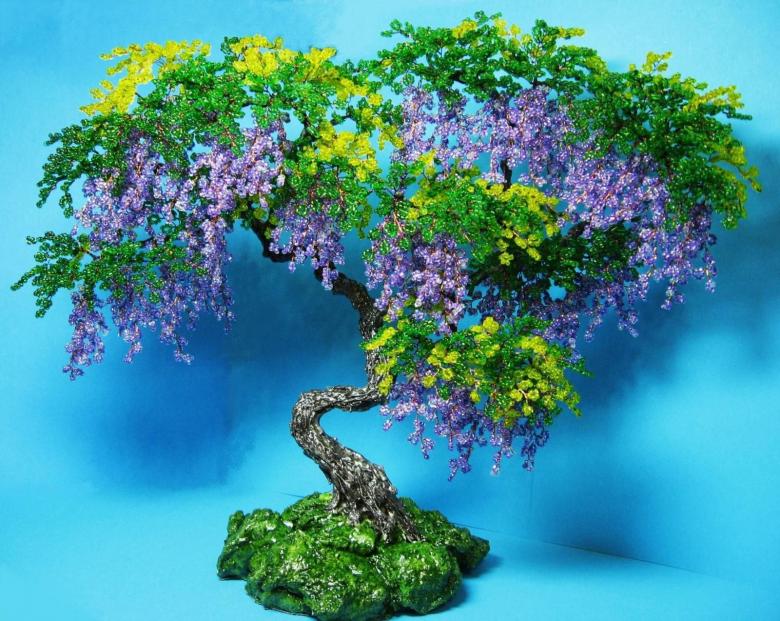
It looks something like this:
- } | {
- u w y
- v x z

From here on we change direction and from now on the working tip will always go to the right. We put the 10th and the 11th through the 9th and so on. To complete and shorten the row, you can decrease by one weaving at the end, for evenness.
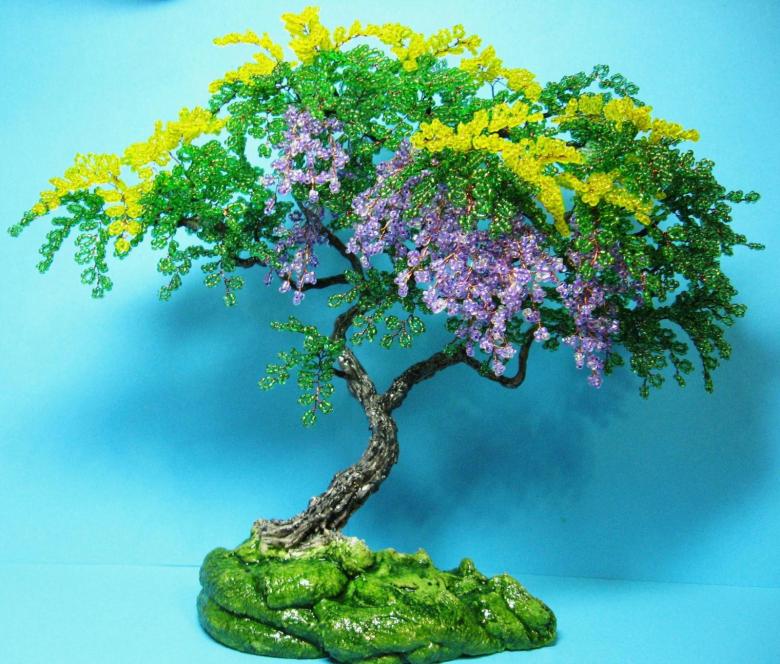
How do I do loop weaving?
Loop weaving is much easier and more suitable for beginners, and in order not to bother with the ends and fixing the row, you can simply twist the ends of the wire. However, to make a row of loops, whether for a leaf or a wisteria flower, we put on the right number of beads and then put the working tip through the very first one in the "tendrils" direction. That is, both ends of the wire always look in different directions like this ←u→, not from one side u⇉. Such a master class on wisteria from beads is great for crafts for both adults and young children.
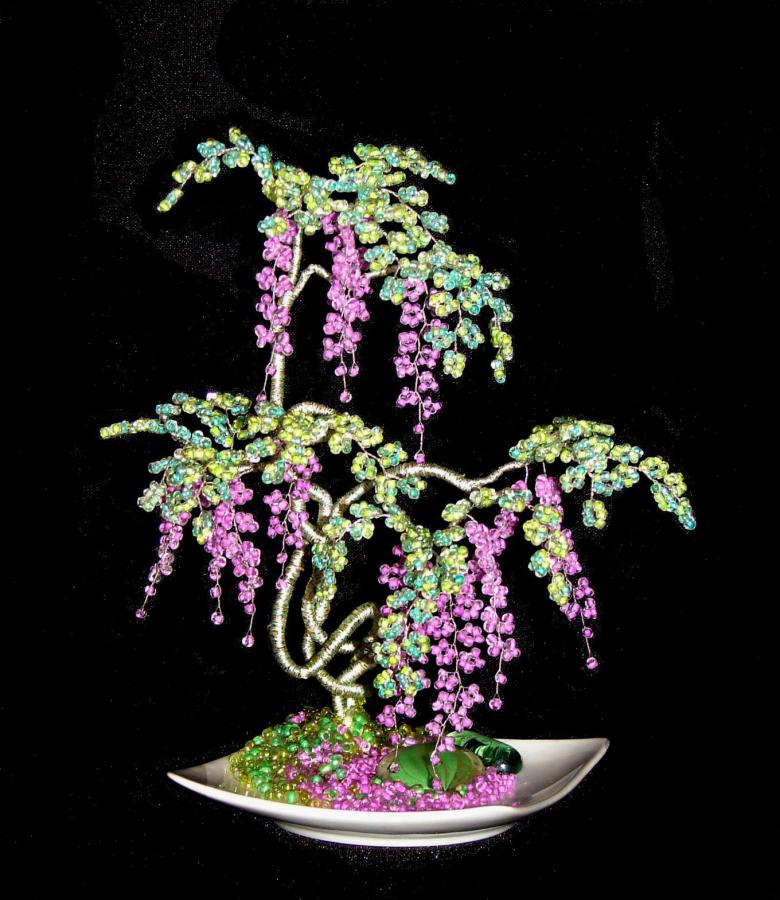
How to make the base of the tree?
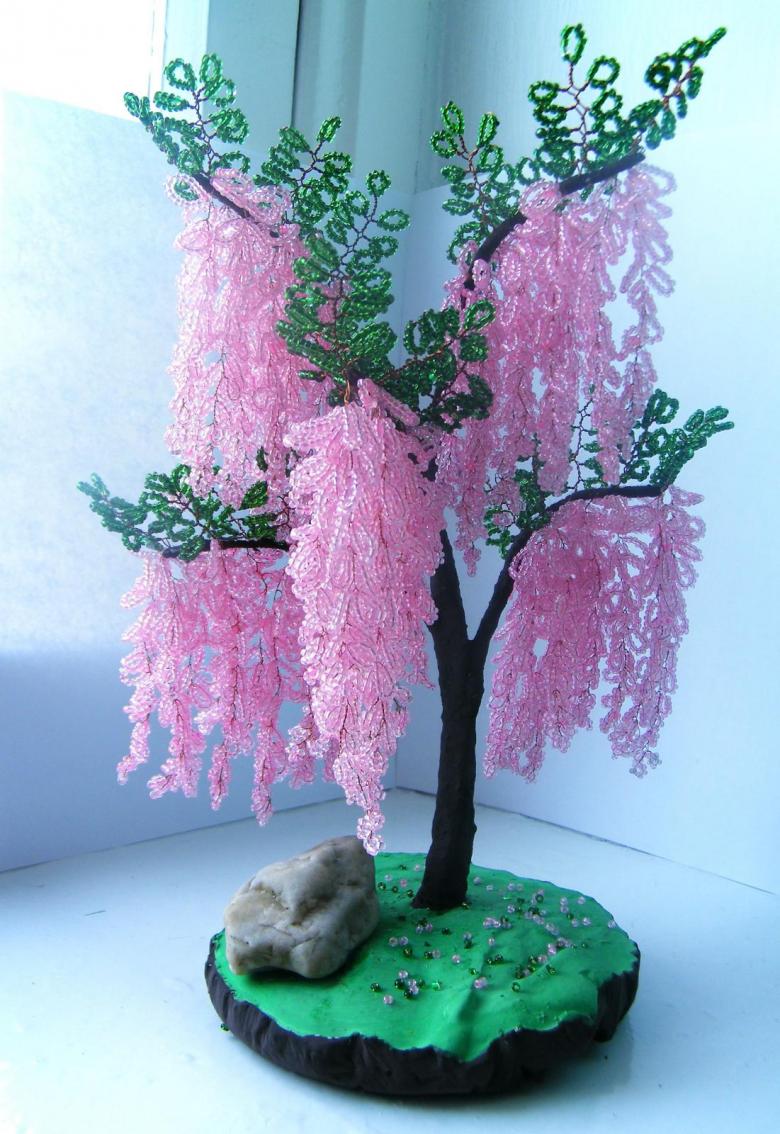
If you were able to make the leaves and flowers well enough, then proceed to work on the tree. After collecting the branches in the bundle, you can fix them in a ribbon, which will give the tree volume. Optionally, the ribbon can be brown to match the color of the bark. If the author of the product does not have the right color, it can always be repainted with varnish or paint.
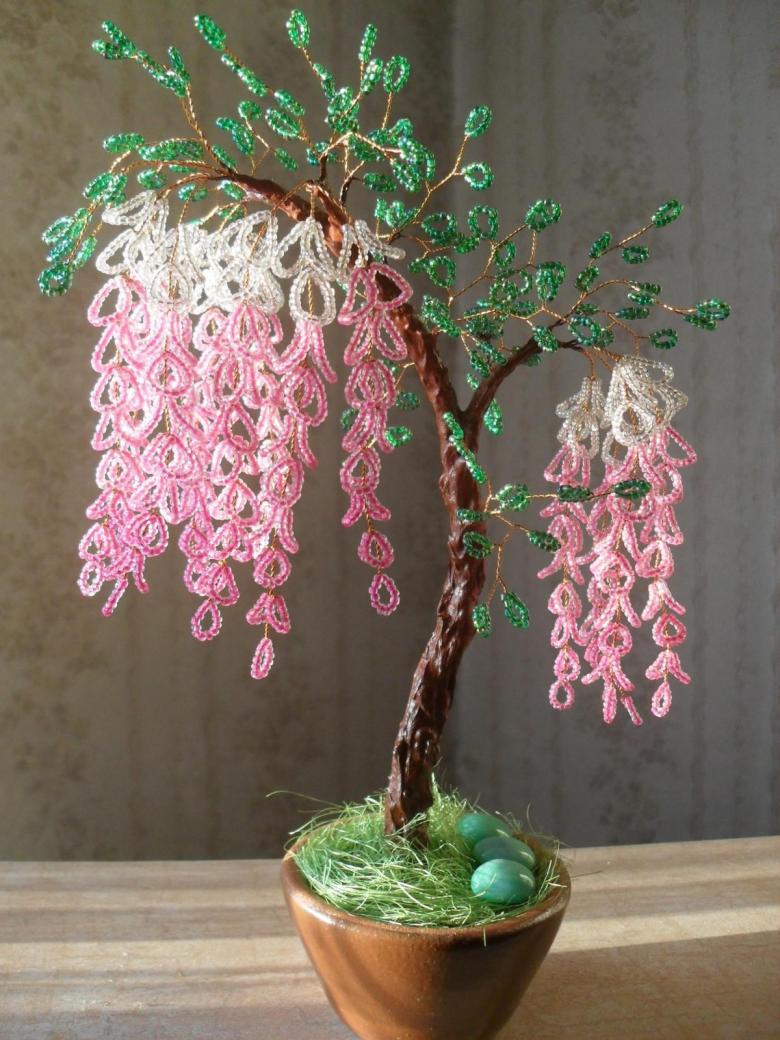
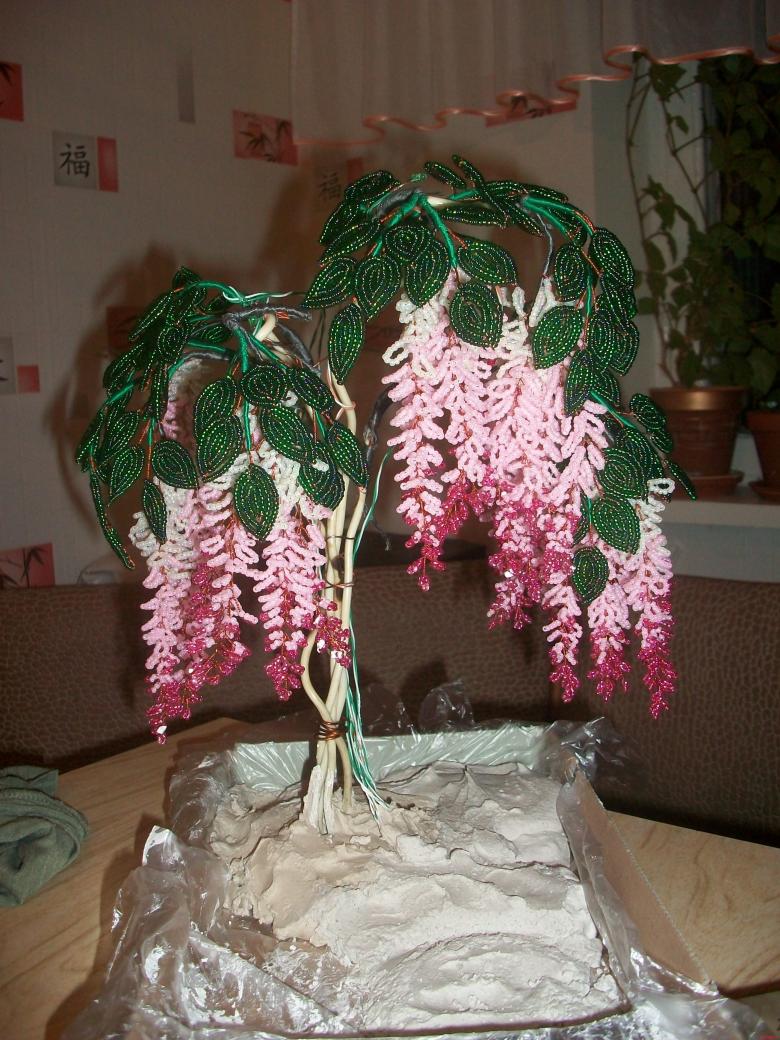
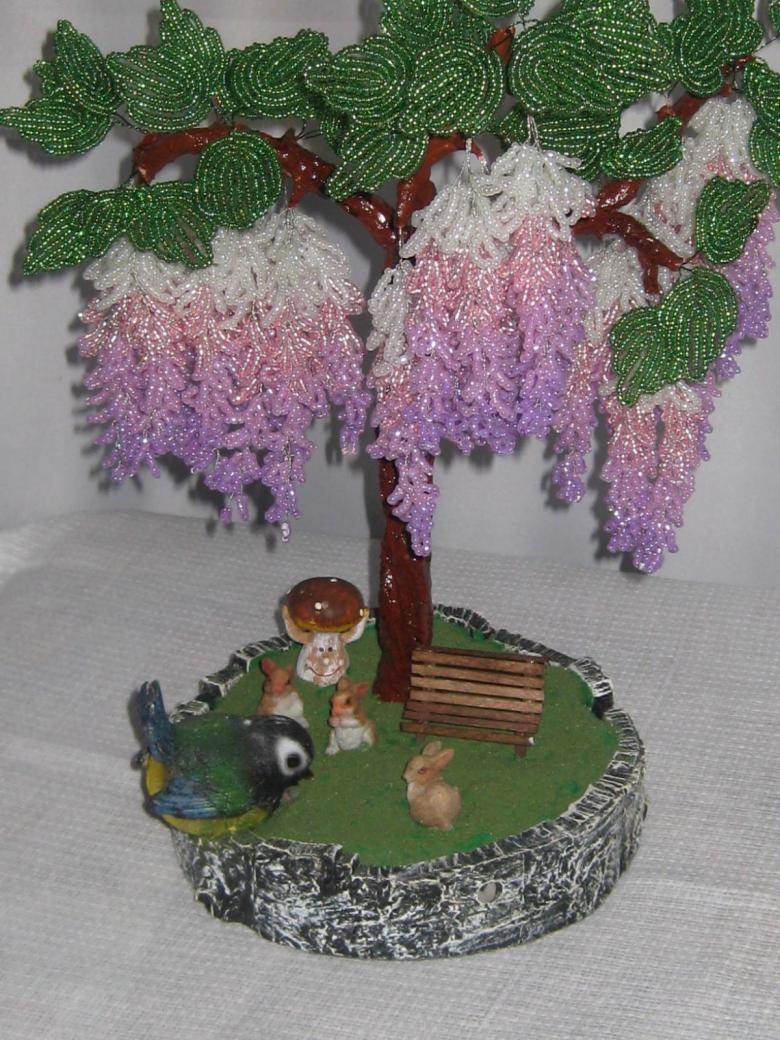
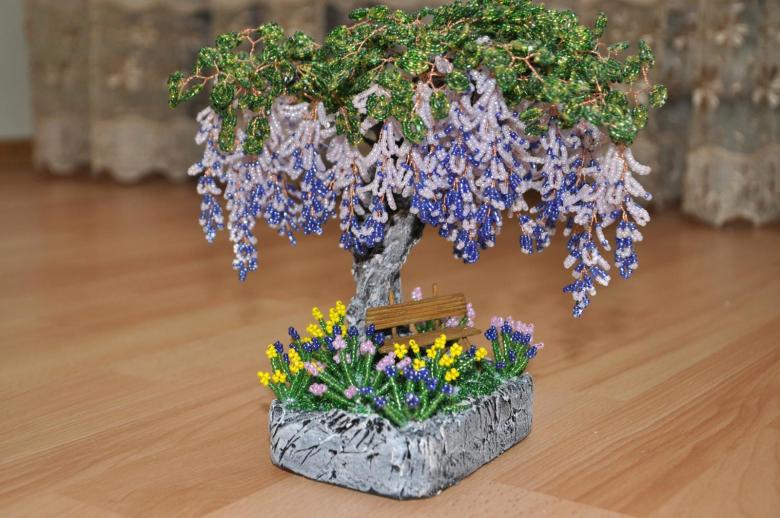
Having assembled the base, the tree needs to be fixed somewhere. To do this, you can fasten all the branches with glue, and after that, make him a substrate of plaster. Such a wisteria will stand for a long time and please your eyes, and thanks to the additional decoration, you can make grass on the plaster, which will further ennoble the product.
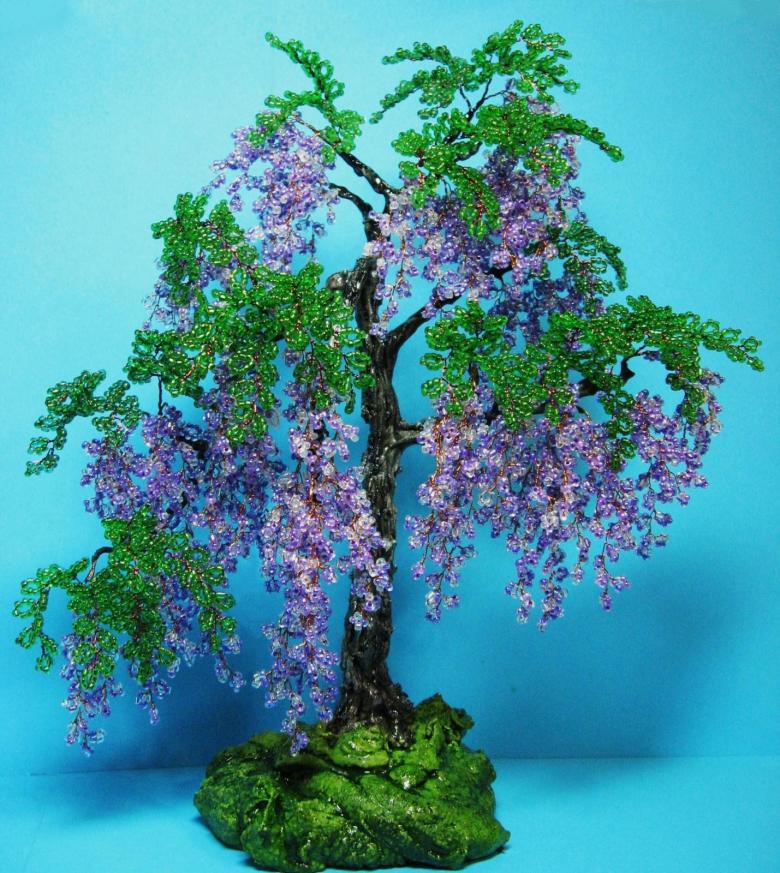
What can be used to make a plaster mold
Disposable deep plates, pots, pails, or even plastic cups are good for this fake. Simply pour the right amount of plaster into the mold and leave the tree fixed in position. The plaster will harden and then you can further shape the tree and base.
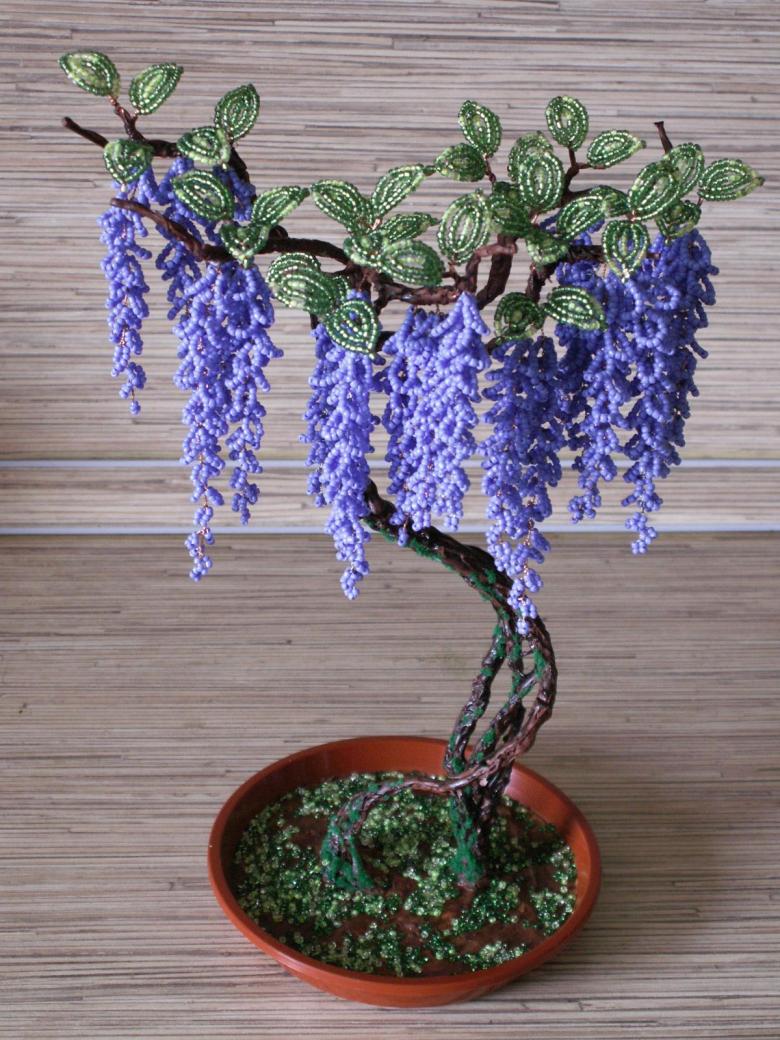
Wisteria trunk extra decoration
- The natural base of the tree.
- Wrapping the trunk with foil (winter wisteria).
- Coating the trunk with varnish or paint.
- Decoupage.
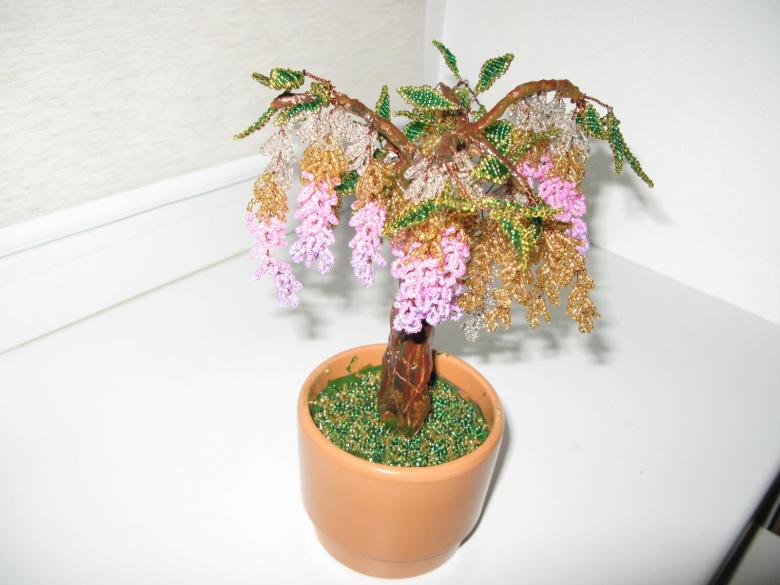
Additional ideas for decorating wisteria
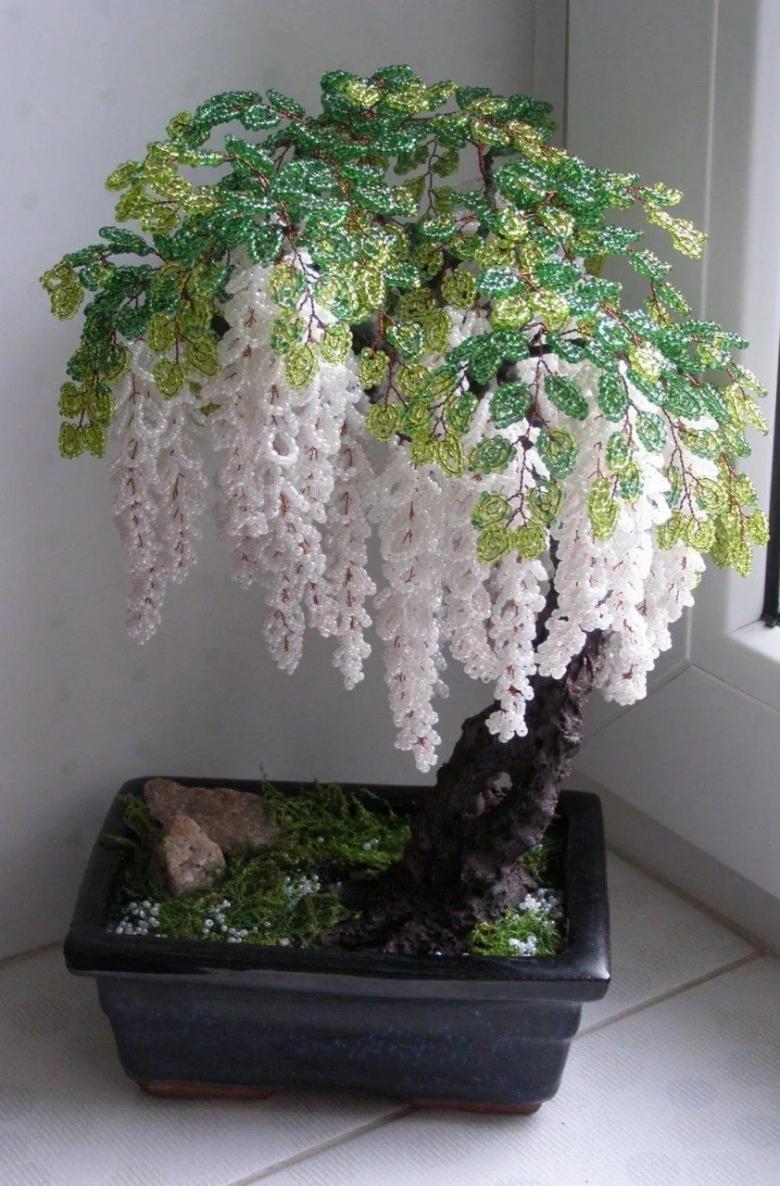
It is generally accepted that wisteria trees made of beads fit well and harmoniously into the interior and give a sense of comfort and coziness in the house, but in addition you can make brooches, patches on clothes, rings, earrings, necklaces and other trimmings.
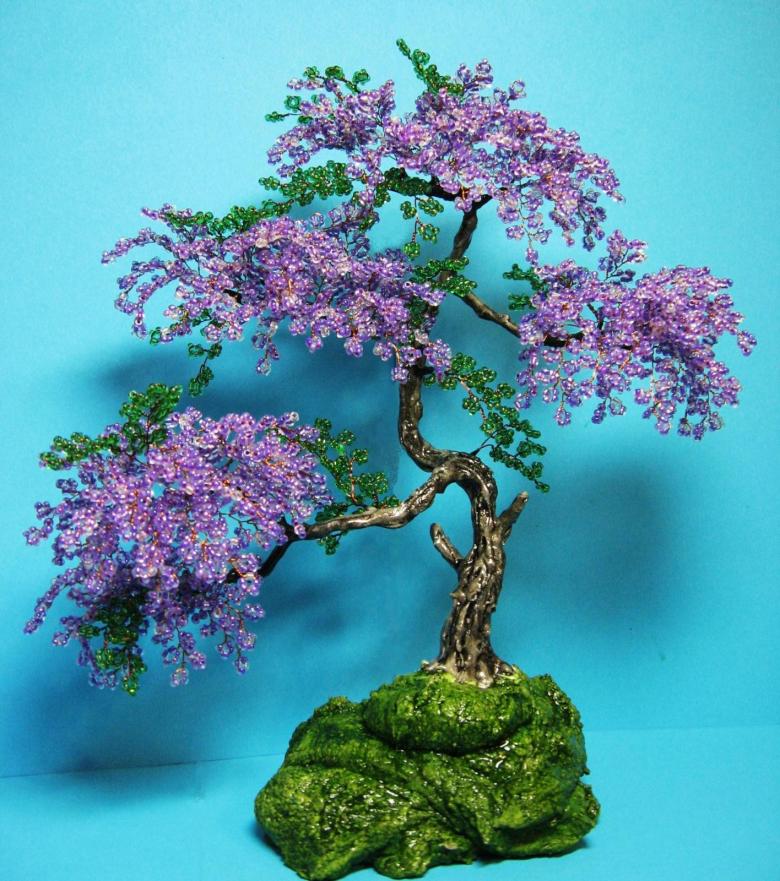
If any of your dearest and loved ones is a fan of this tree, then such a gift with their own hands will bring a lot of positive emotions and will delight the owner for many years.
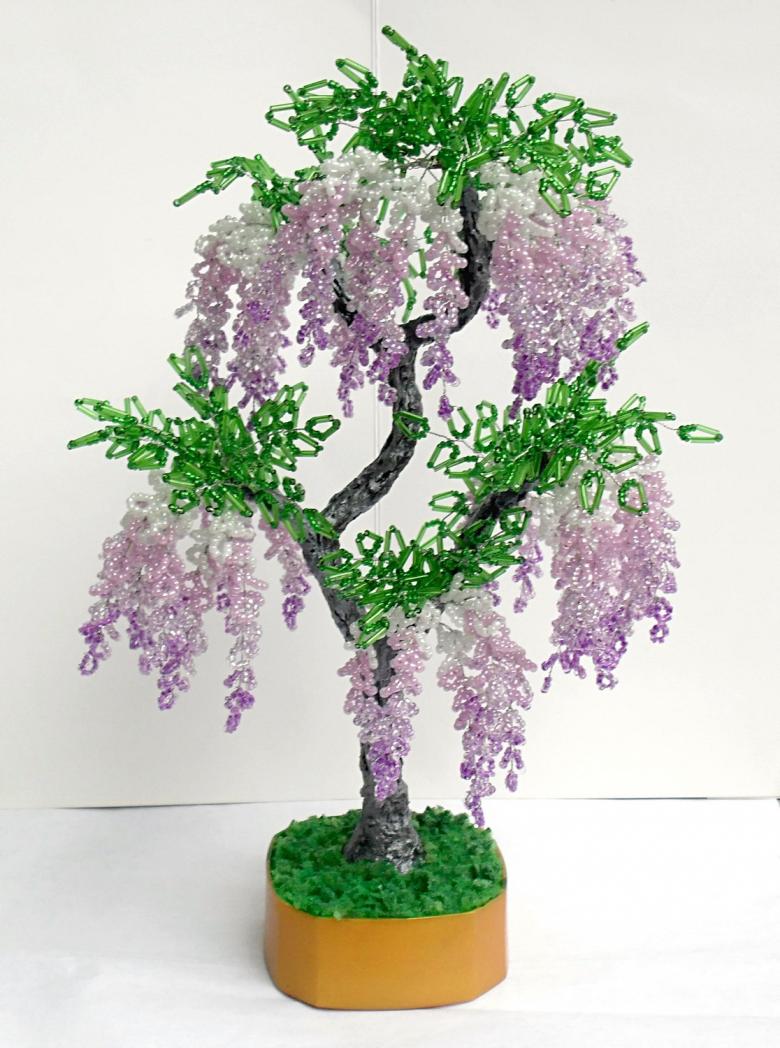
The color and color palette of wisteria
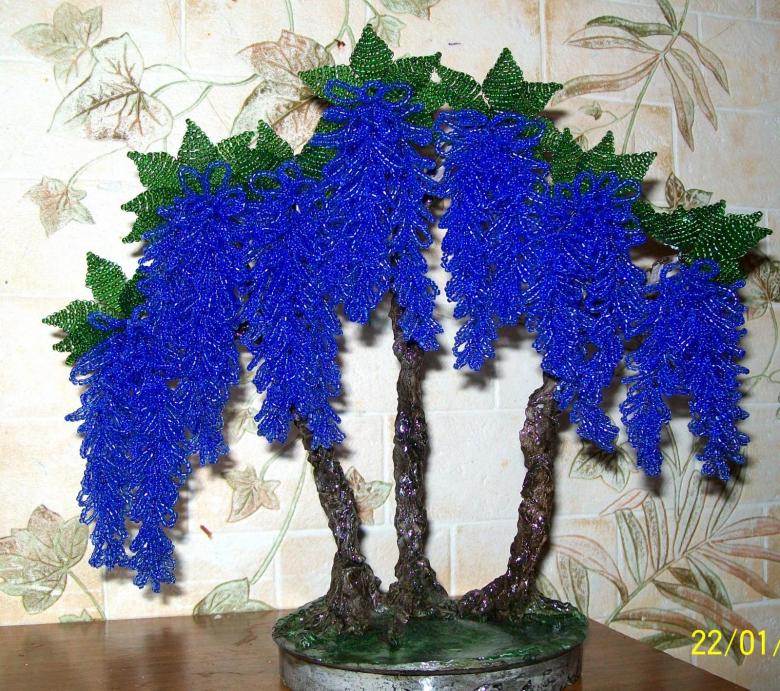
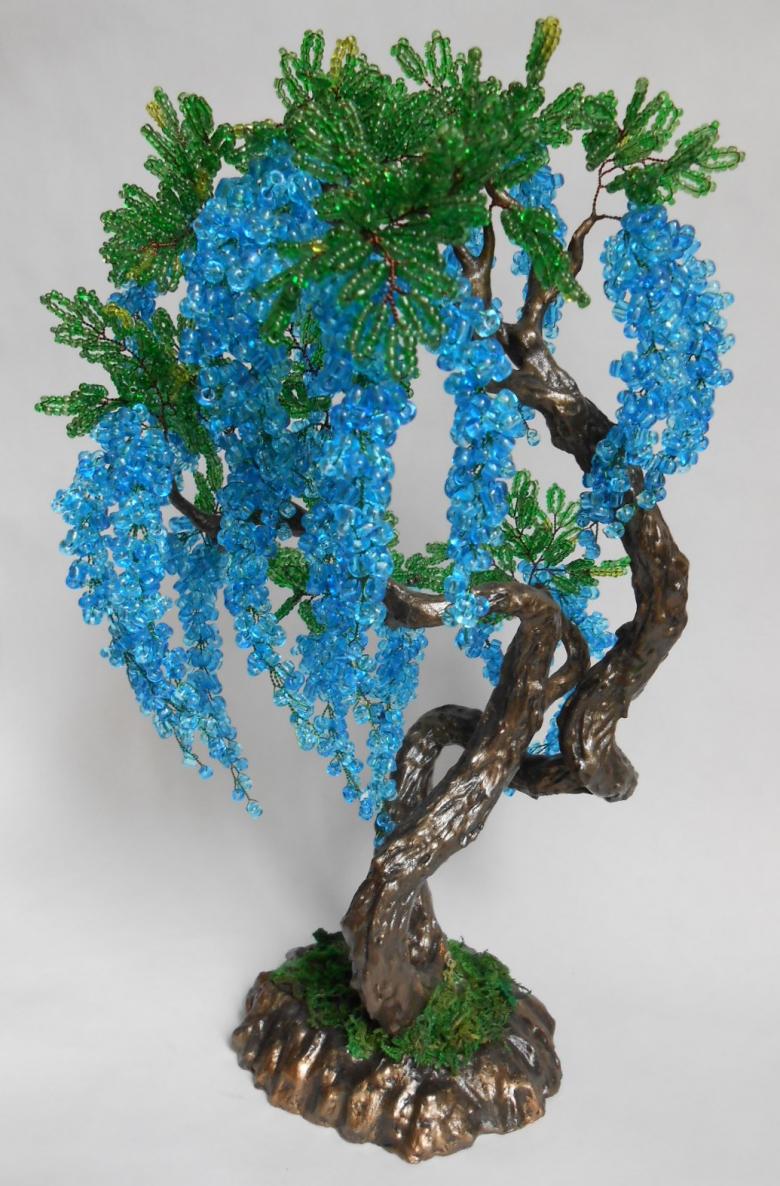
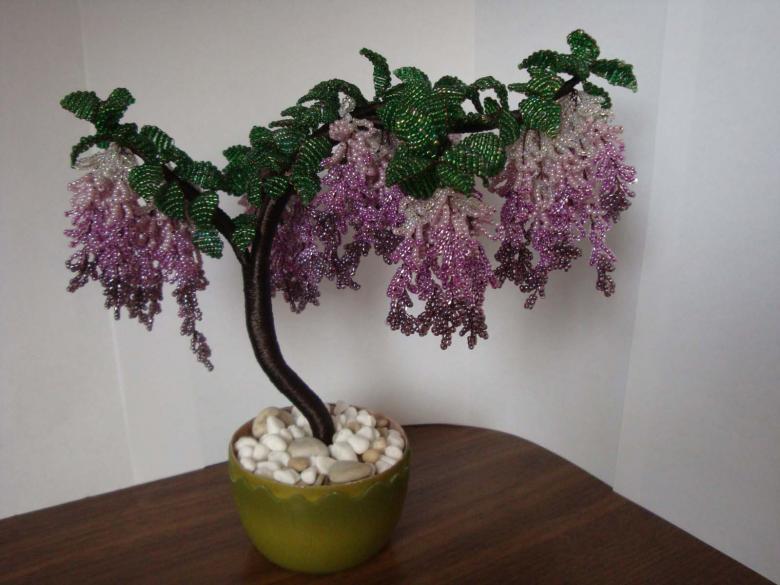
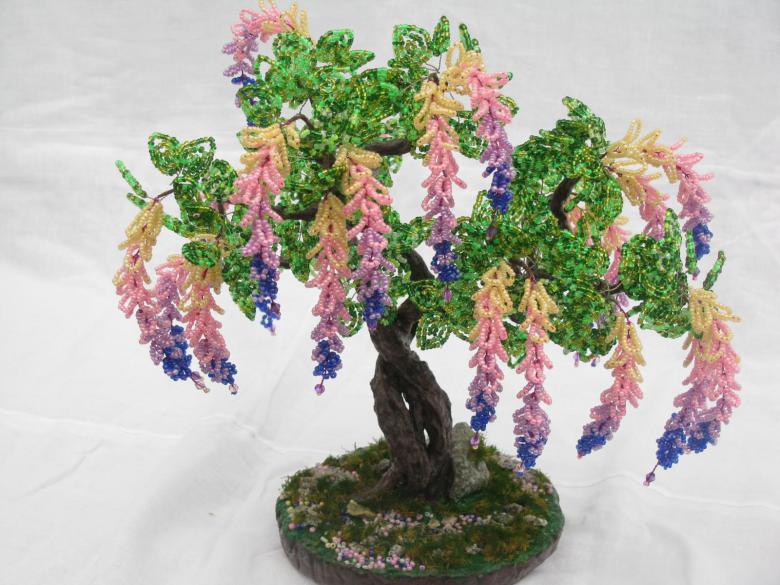
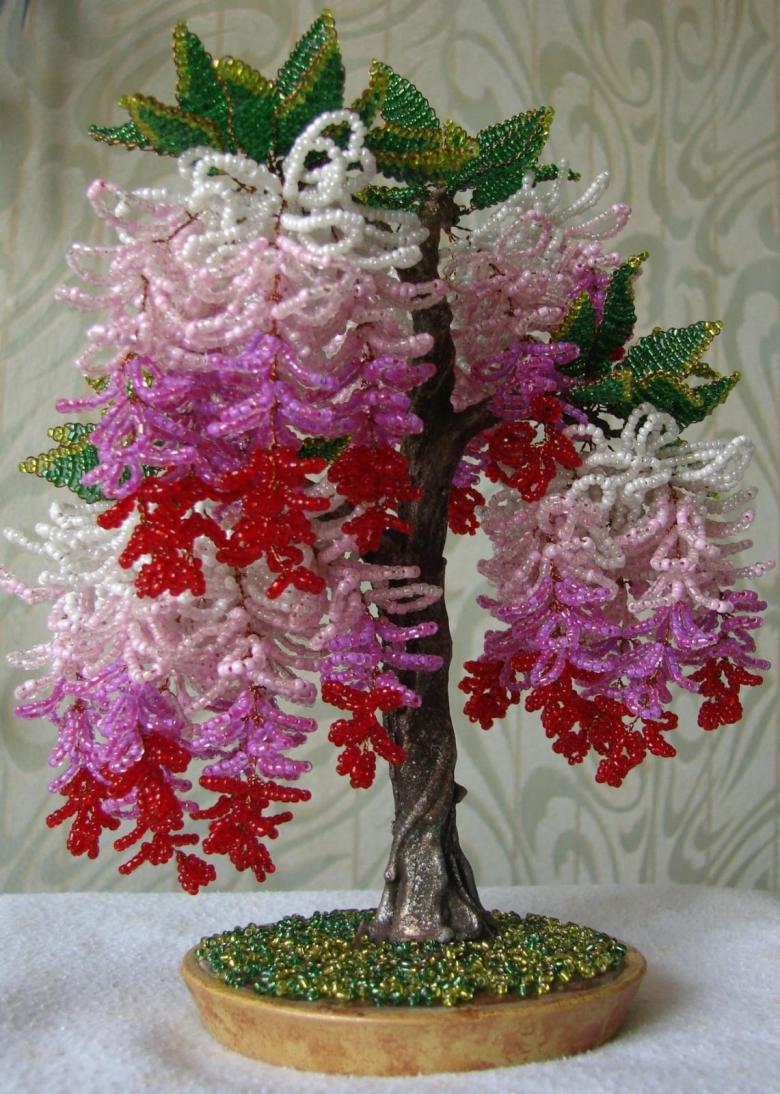
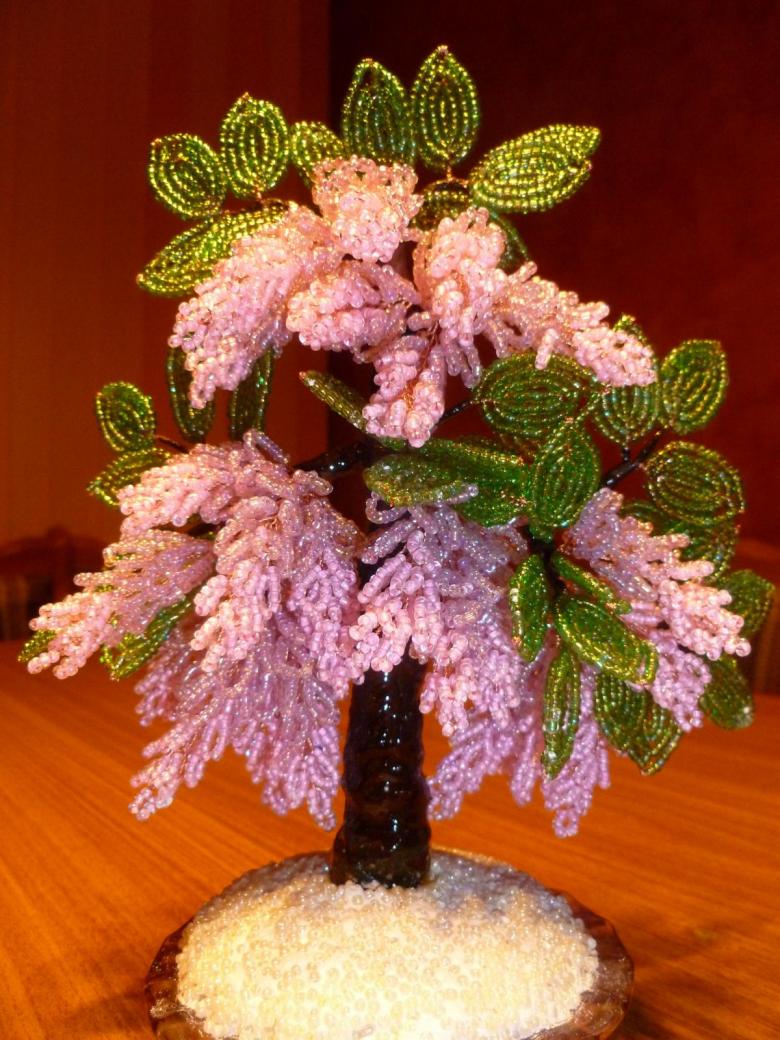
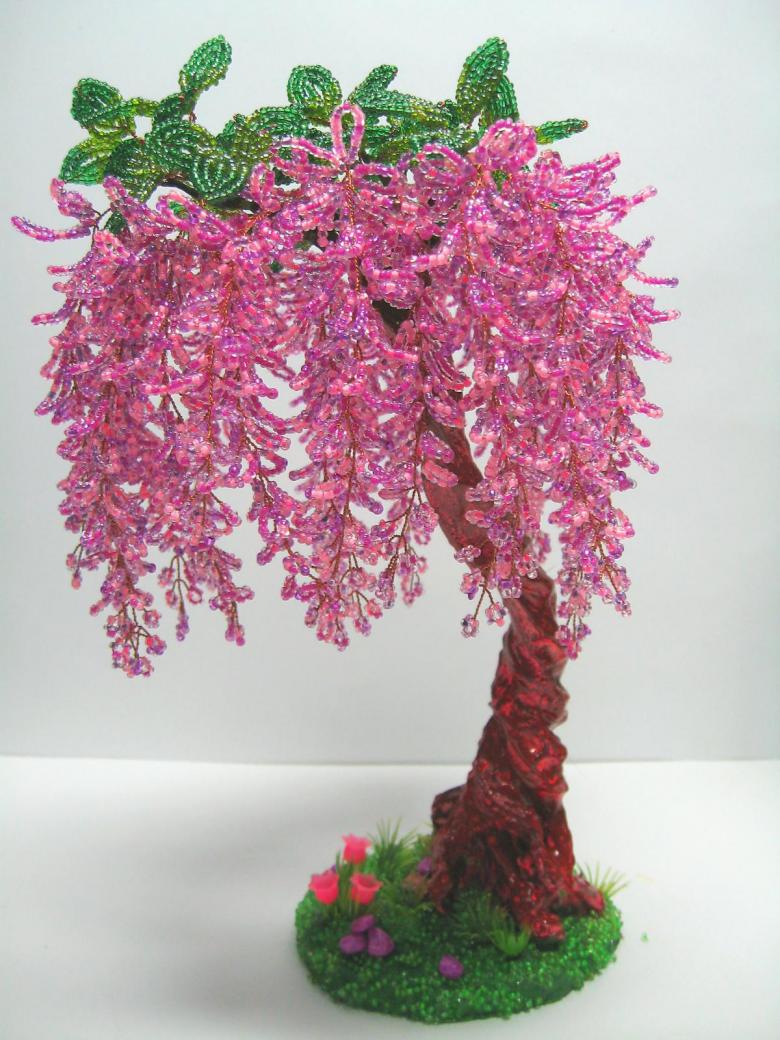
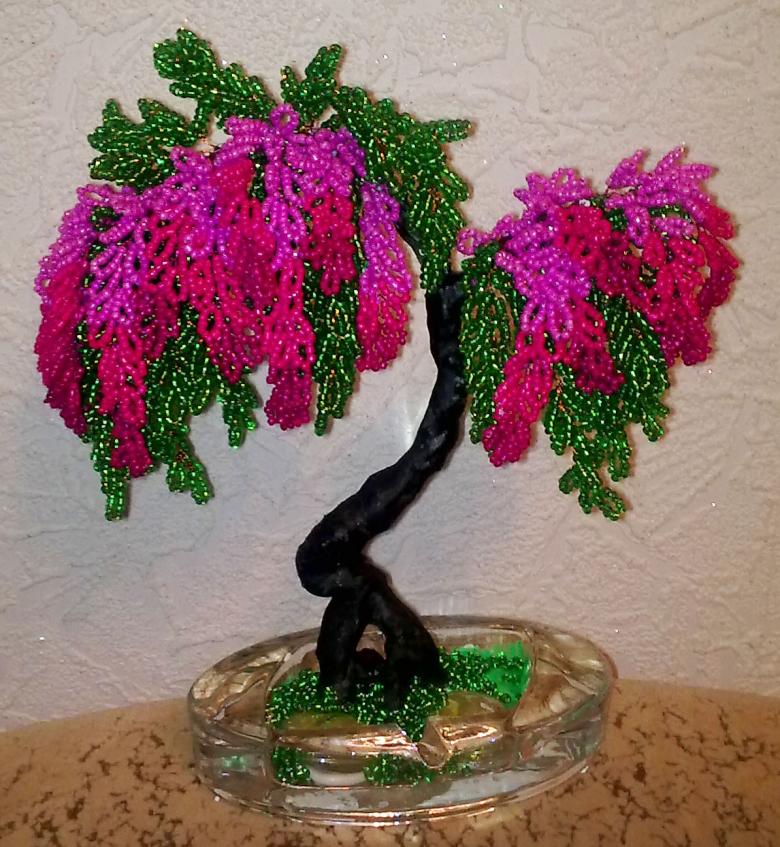
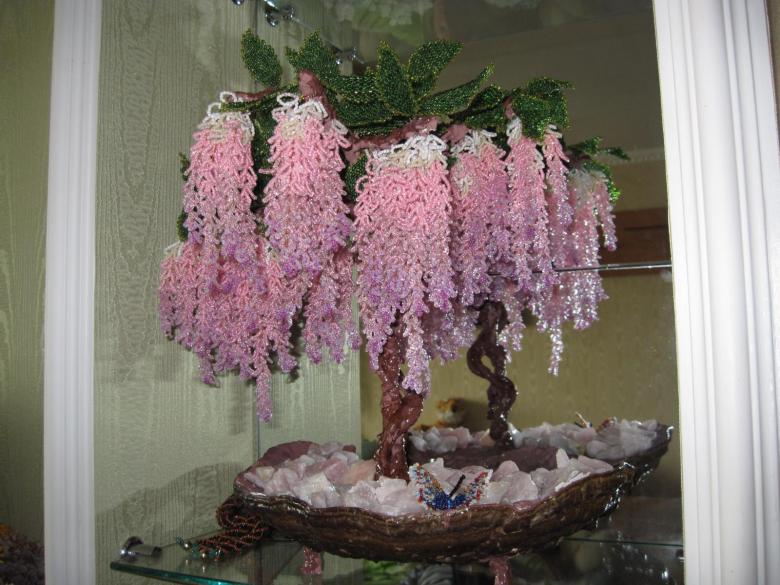
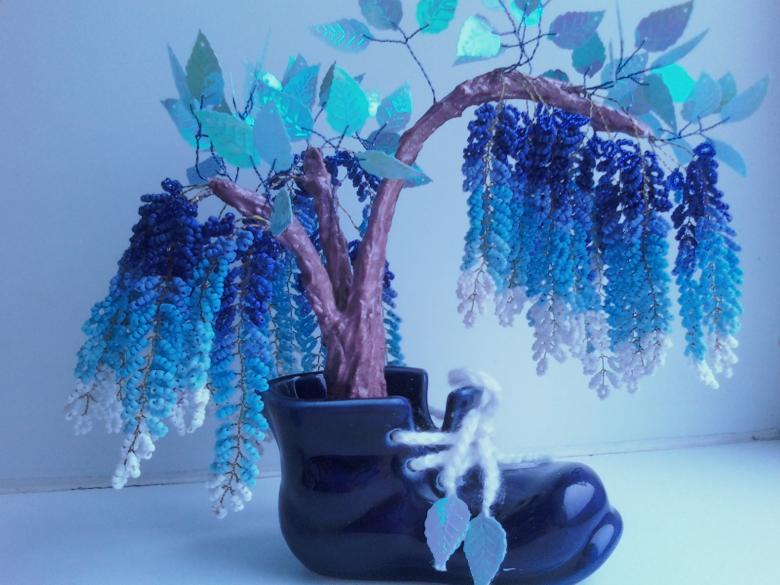
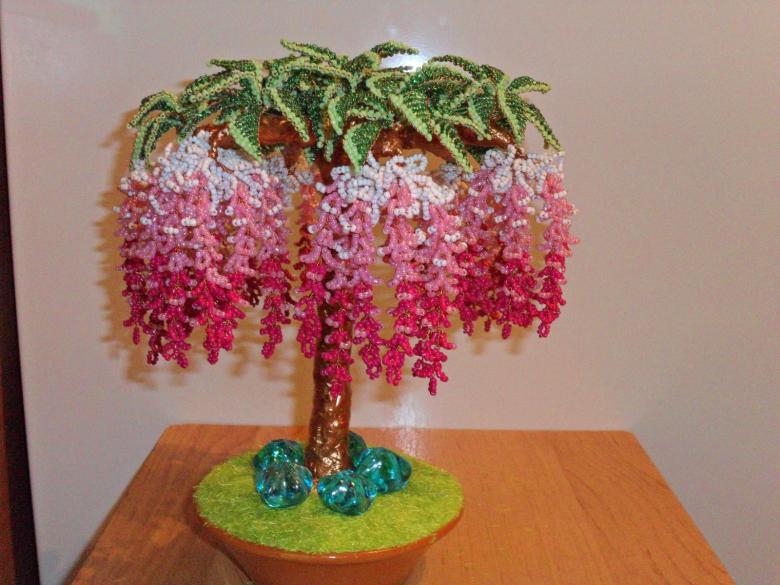
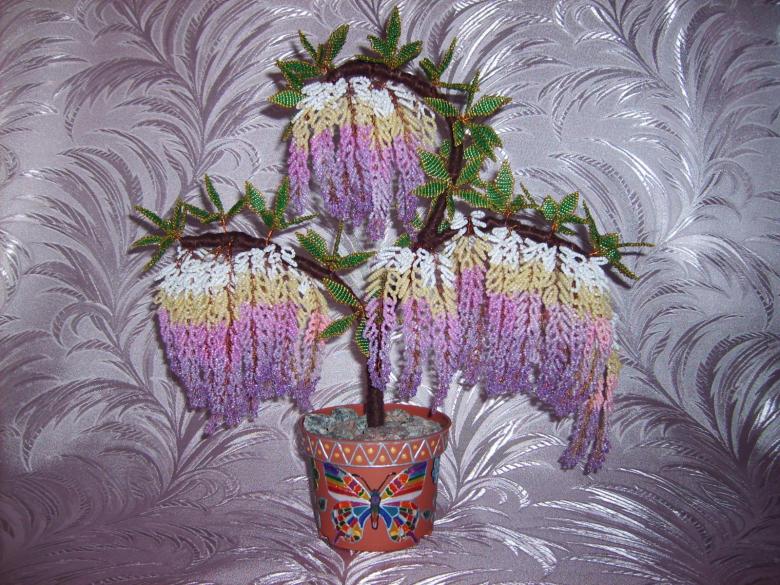
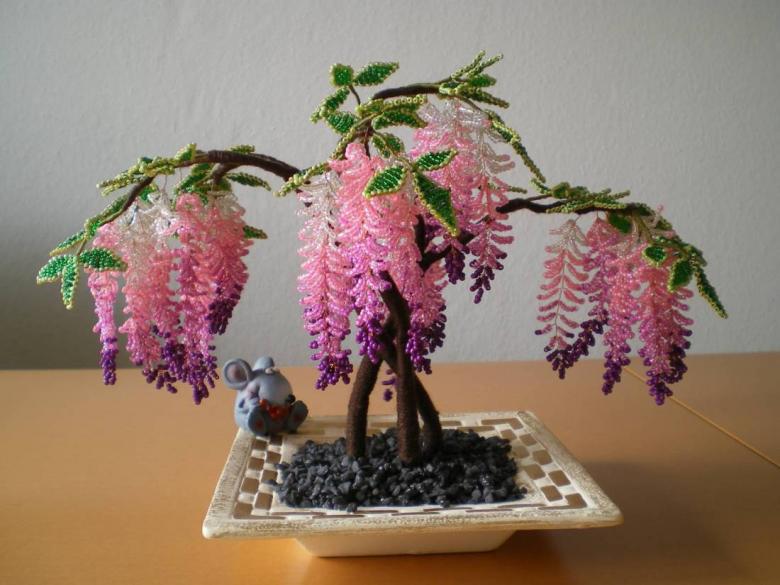
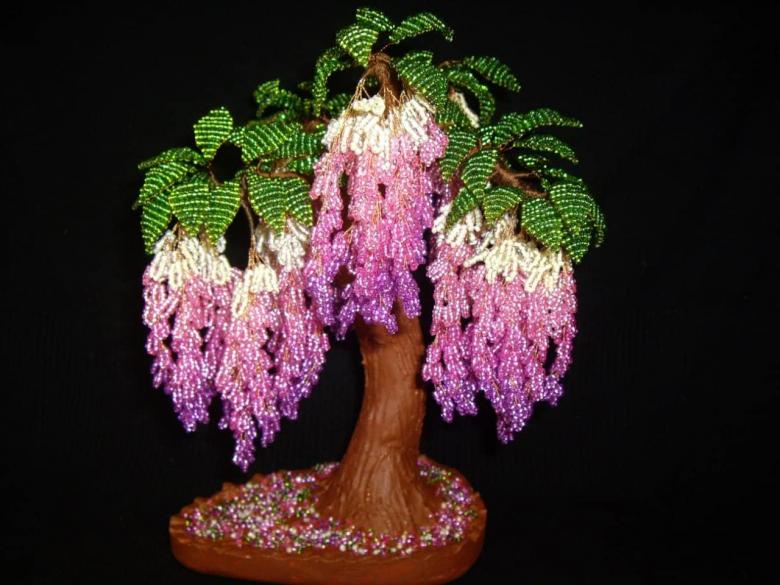
Speaking of color, don't forget that wisteria has gentle and pleasant tones of pink and purple, but you can also use other colors! Smooth transitions and the variety of the overall color palette will only add gloss and sophistication to the product.
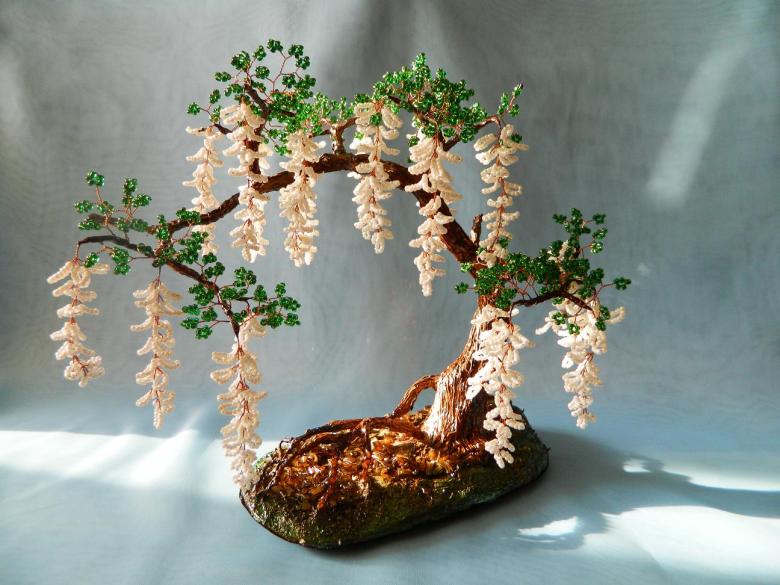
In total, so that the master understands the time cost of the work, the minimum can be done in an hour. Further, the process usually captures the head, and then there is no stopping! The main thing is to stock up on supplies, take an armful of inspiration and a creative impulse to make your products.
