How to make a bird by your own hands - useful step by step master classes, photo ideas, tips
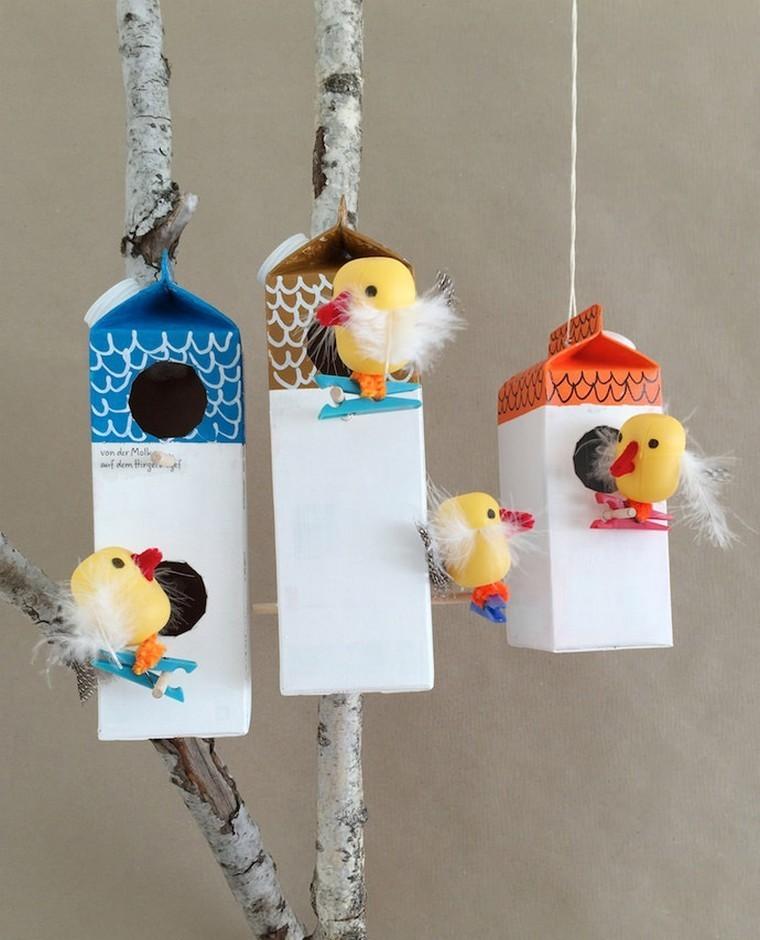
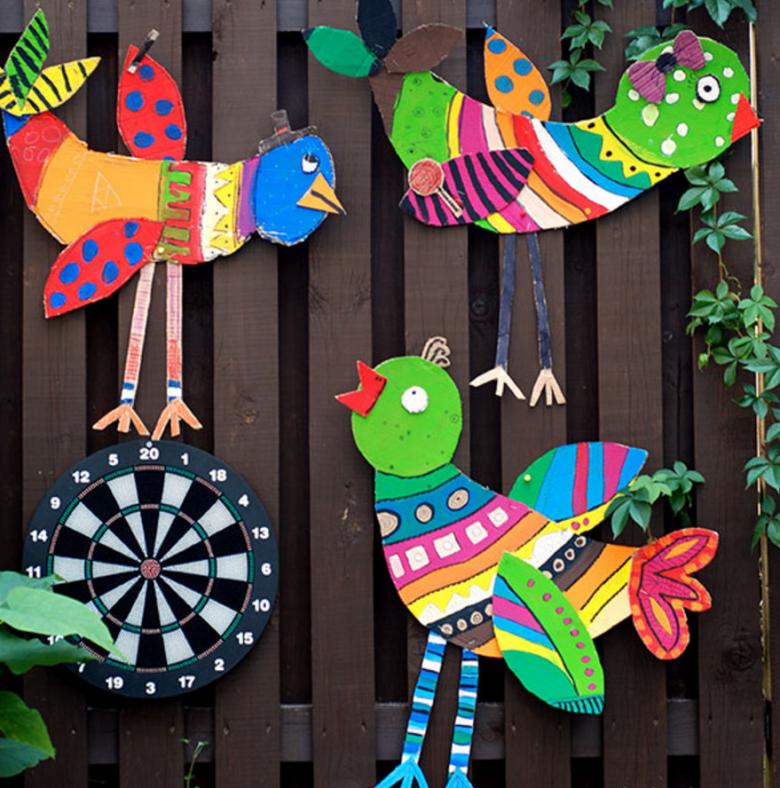
Original crafts in the form of birds - a real art. Such toys from improvised materials perfectly decorate rooms, they can be placed on bookshelves or hung in the form of applique on the wall of the room. For the school exhibition of crafts, it is easy to make a beautiful peacock from an ordinary chicken egg and colored feathers. Versatility of imagination and creativity are the main basis for success.
Materials for making the bird
First of all it is necessary to determine the basis for creating a handicraft. By far the most interesting materials are:
- Salt dough.
- Chicken (or goose) egg shells.
- Small free-flowing cereals.
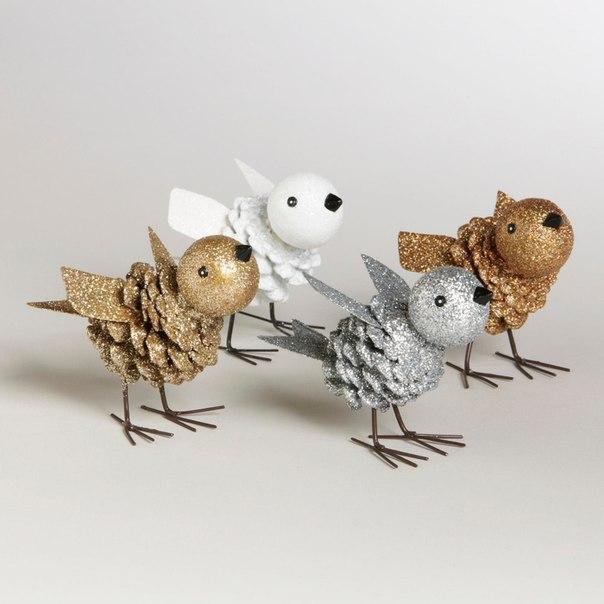
- Fir Cones.
- Plastic bottles.
- Plasticine.

Often even pressed absorbent cotton disks are used. Any of the above models can be made together with the child as an extracurricular creative activity. For work it is necessary to prepare an organized workplace: a wide table, a bright source of light, stands for brushes, scissors, needlepoint. You may also need in the process of creating a craft:
- Glue.
- Thread.
- Regular watercolor paints.
- Hairspray.
- Elements of decor (beads, rhinestones, feathers of different shapes and sizes, buttons).
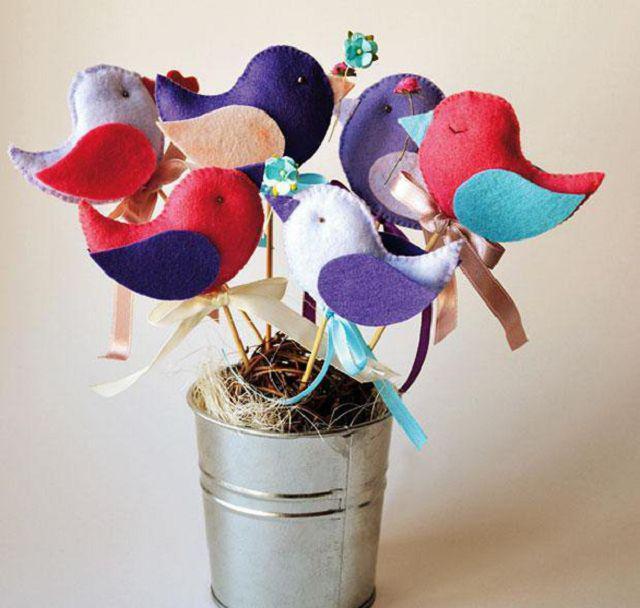
Further in the process of activity, the master can improvise in any direction, using other materials as well.
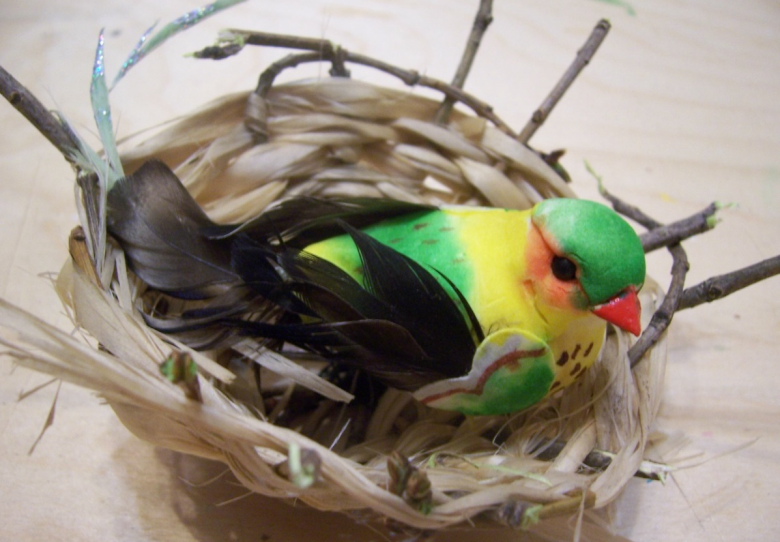
Master classes to create a bird
Today we will get acquainted with the following original models of birds from improvised materials:
- Tit of salt dough.
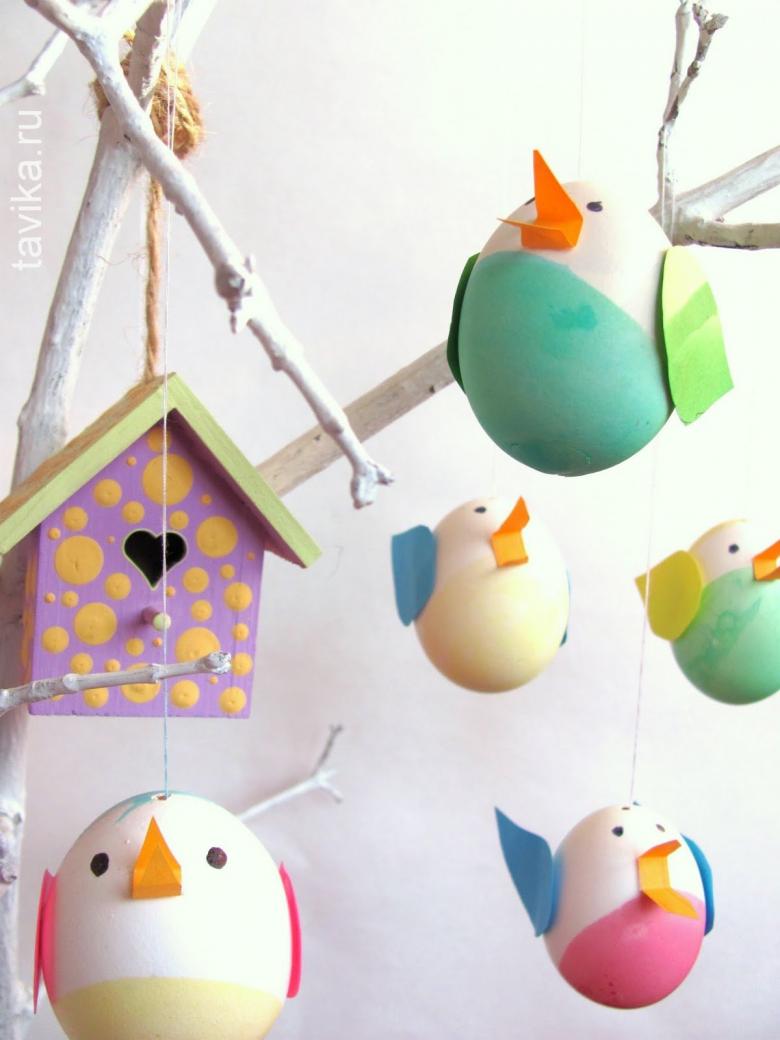
- Peacock from eggshells.
- Composition "Birds in the Garden" with plasticine.
- Cornflake applique from millet groats.
- Birds of cones.
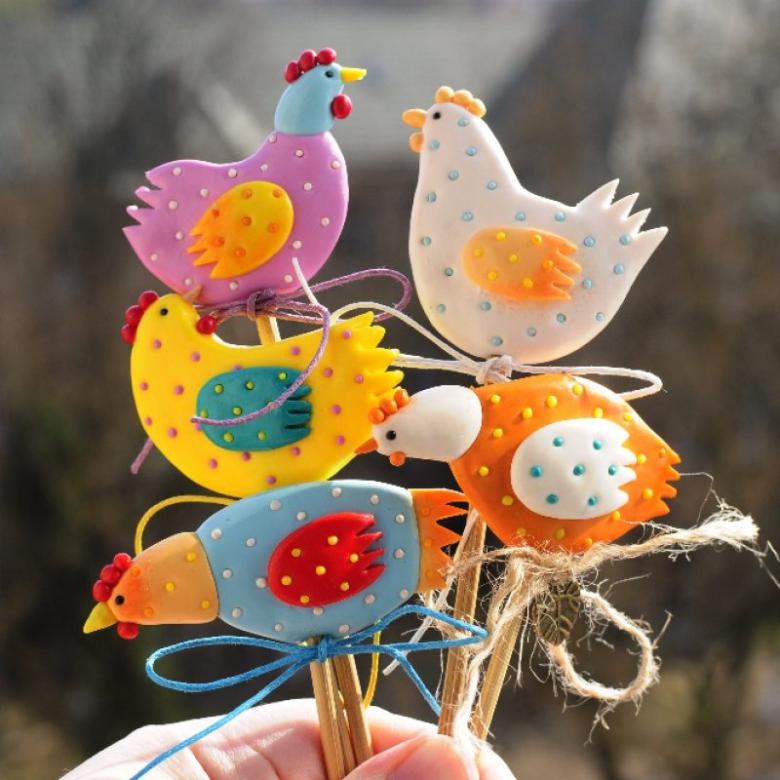
For each model there is a step by step instruction with a description of the work. However, if you wish, you can first read the video tutorials on how to make original birds with your own hands.

Tit from salt dough
For the work we will prepare the following materials:
- Flour.
- Water.
- Starch.
- Salt.
- Paint.
- Brushes.
- Decor elements for the eyes of our bird.
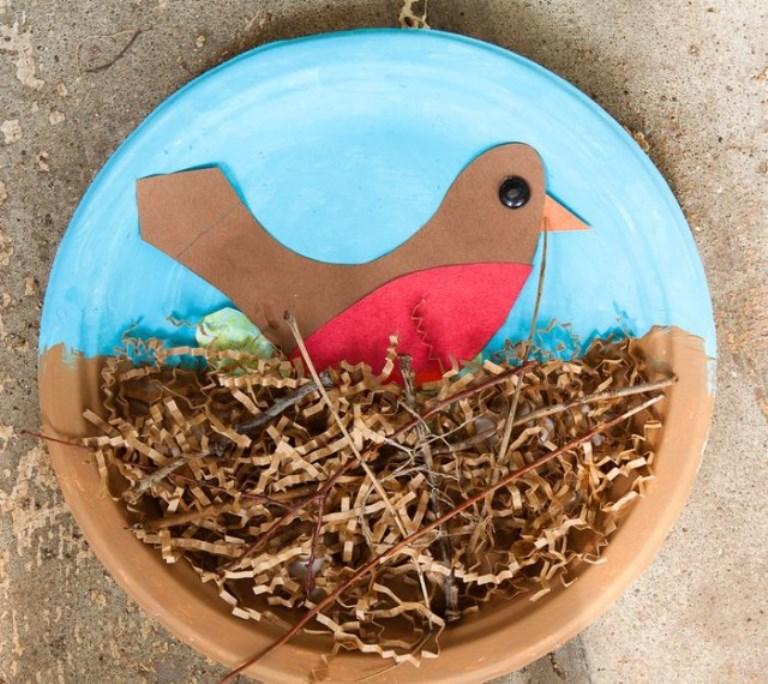
Next, we work at our prepared place, using the diagram-directions:
- We knead salt dough: starch is soaked in water, and then poured with boiling water. The base is mixed with salt and flour in equal proportions, stirring thoroughly. The dough is ready to work.
- On a plastic blank for a bird, we mold a tit, focusing on the details: the head with a beak, a tail, paws. In the process, it is better to use a ready-made template picture.
- The product is dried in an oven for one hour. The temperature should not exceed 55 degrees.
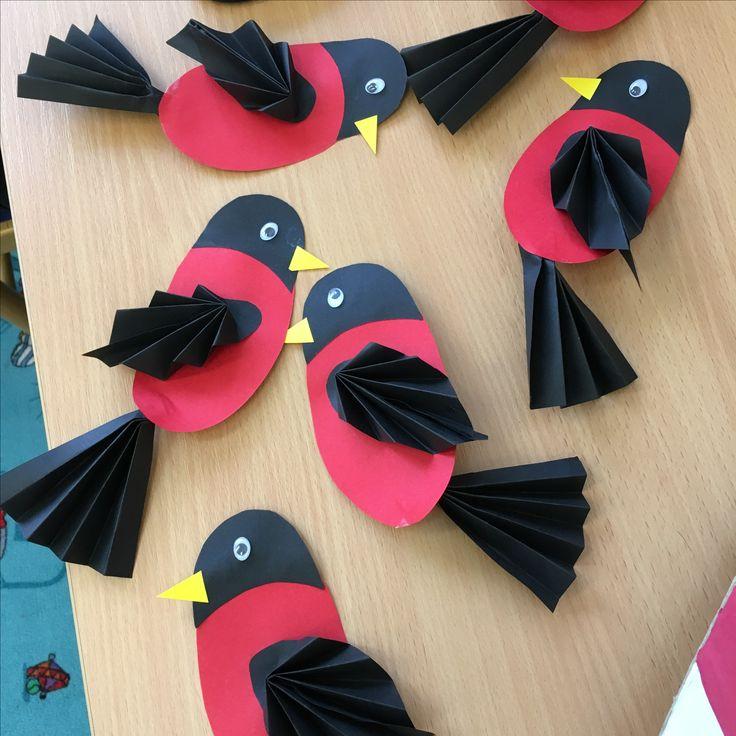
The bird is covered with paint in accordance with the chosen model, and to give a gloss after drying the handicraft covered with a transparent varnish.
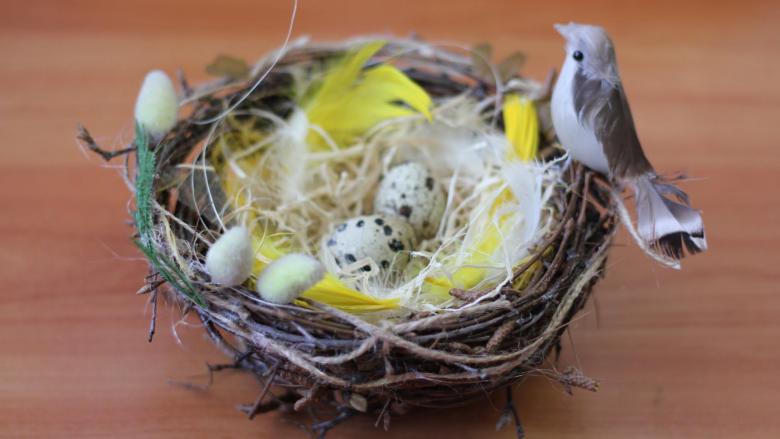
Peacock made of eggshells
The original and bright representative of fauna will decorate the children's room or a shelf in the hallway. For the work you need to prepare:
- A chicken or goose egg.
- Thick needle.
- Paints, brushes.
- Few feathers.
- Sturdy glue.
- Transparent varnish.
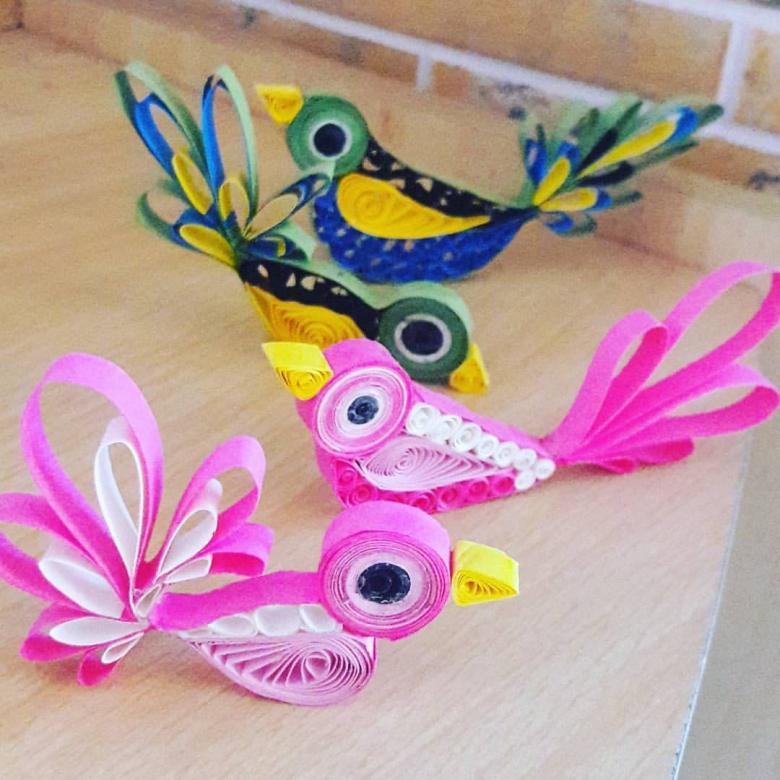
For convenience, it is worth to download a ready layout-picture, to which you will be guided in the process of work. Next, act according to the instructions:
- Using a thick needle, you need to pierce the egg on both sides and pour out the yolk from there.
- Dry the blank with light movements so as not to damage the shell.
- Apply several coats of paint to the surface of the egg, let dry. On top of the paint, cover the product with clear varnish.
- Now we can begin to create a tail - paint the feathers in beautiful bright shades, decorate with beads or small beads.
- Feathers are attached to the shell with strong glue.
- The beak is made of plasticine, and the eyes - beads or dark rhinestones.
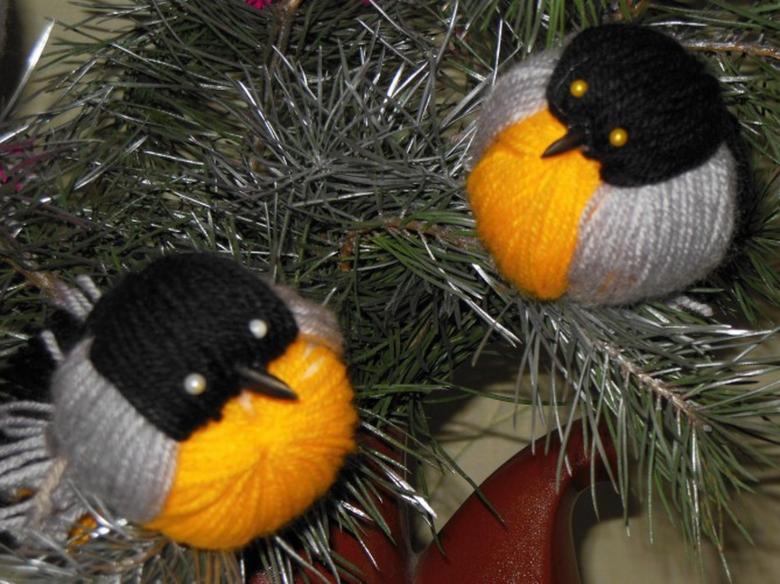
If desired, such a bird can be hung, or you can make legs from plasticine and put them on a shelf.
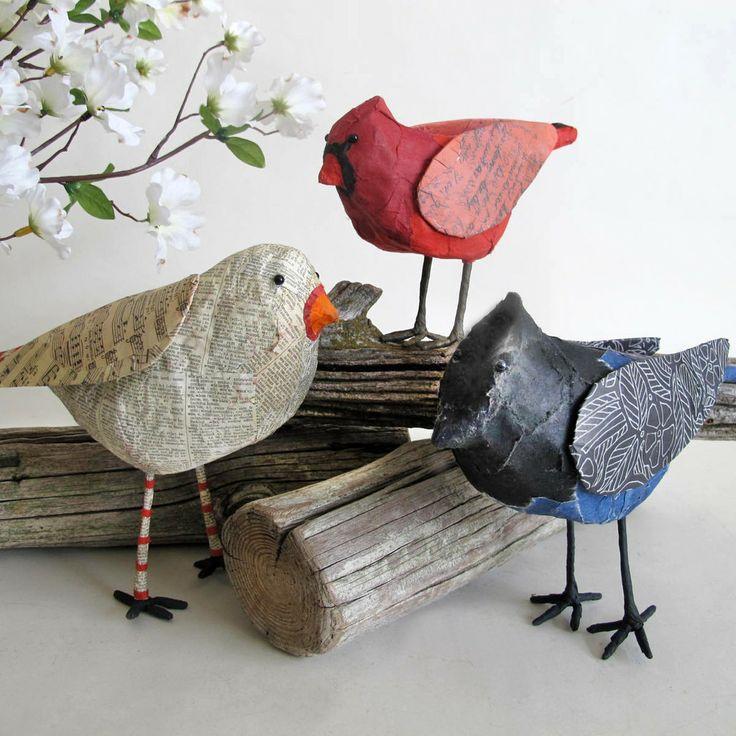
Composition "Birds in the Garden" with plasticine
Working with plasticine is a great idea, especially for children. Modeling crafts develops fine motor skills of the fingers of kids, allowing them to develop faster. To create a decorative composition you only need a board for molding, a knife for plasticine, a set of colored material and a plastic base. Actually, everyone can choose a drawing for their composition at will: forest birds on a branch, chickens or pigeons. Today we are going to work on a bright picture in the form of a brood of chicks. Then follow the instructions:
- On a plastic base, you can make an original fence from small branches and plasticine, "plant" under it a few green bushes.
- On the board, using a knife, we cut the material of yellow color into strips. From the strips, form the rounded bodies of our chicks, place them on the base.
- Each bird's head is decorated with a corolla of yellow fluff, and the eyes are made of beads.
To decorate the craft, you can make a wicker nest from branches and plasticine on one edge, and in it place a few eggs made of white material.
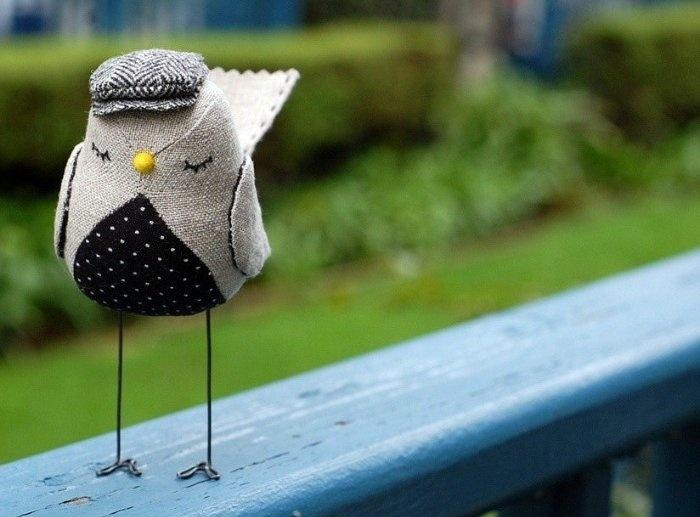
Applique in relief made of semolina
Millet grits is a material that allows you to work with a huge number of models and pictures. To create a handicraft, we will prepare the following materials:
- The basis for the applique (most often, it is a dense cardboard).
- Glue.
- Paints, brushes.
- Millet grits.
- Template on which we will form the images.
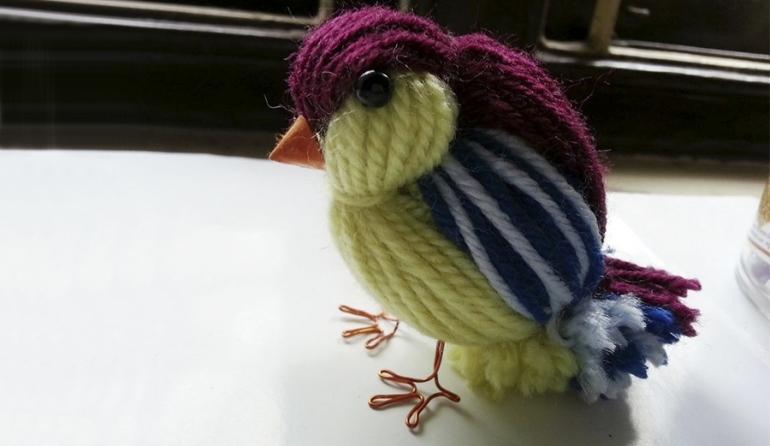
In the process of work it is necessary to refer to the figure. The pattern can be found ready-made in any needlework magazine. Next, follow the instructions:
- On a sheet of cardboard let's apply a layer of glue.
- Focusing on the figure, we place millet groats on the cardboard. The edges of the figures outline with a needle or tweezers.
- After the glue dries, you can paint the product, according to the chosen pattern.
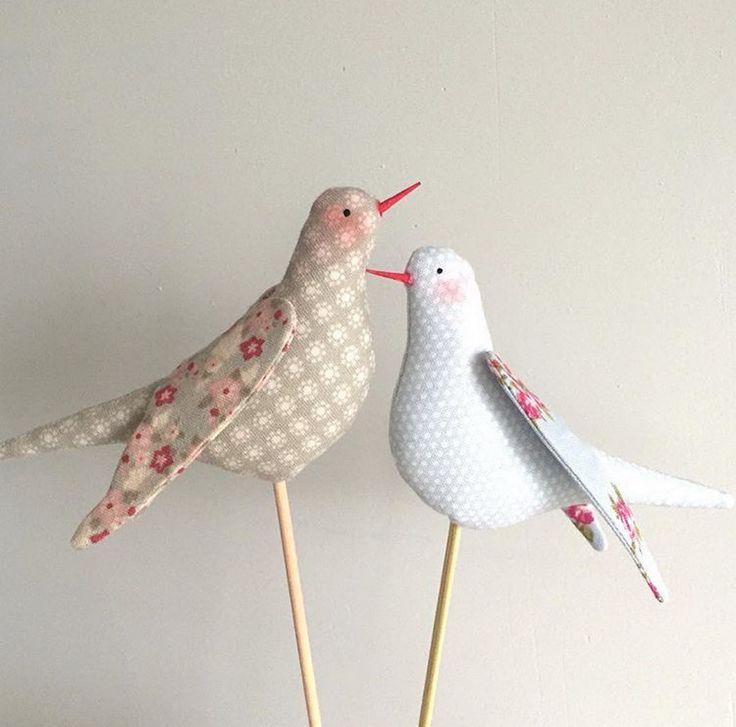
Some masters offer to make real applications from several types of cereals, where the basis of the ornament is not paint, but the contrast of the materials used.
Birds of cones
The most original among the crafts from spruce cones are beautiful penguins. For the work we will need to prepare:
- Cones ..
- Plasticine.
- Toy eyes.
- A thick sheet of cardboard for the location of the figures.

To begin, let's prepare a sheet of cardboard, for this it should be painted in any color of your choice, let it dry. Then follow the step by step instructions for the master:
- From black plasticine, mold the head, paws, wings.
- Attach them to the cones.
- Make the belly from a thin layer of white plasticine.
- The beak, for contrast, should be made of orange material.
- Doll eyes will make our handicraft more realistic.
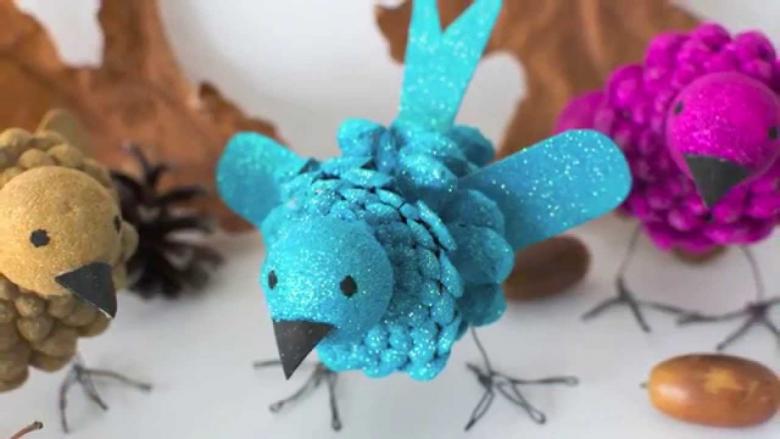
As an additional decoration, use a hat and scarf tied over the neck of the penguin. Make several birds and place them on a decorative base in the form of snow-white ice (made of foam and clear varnish).
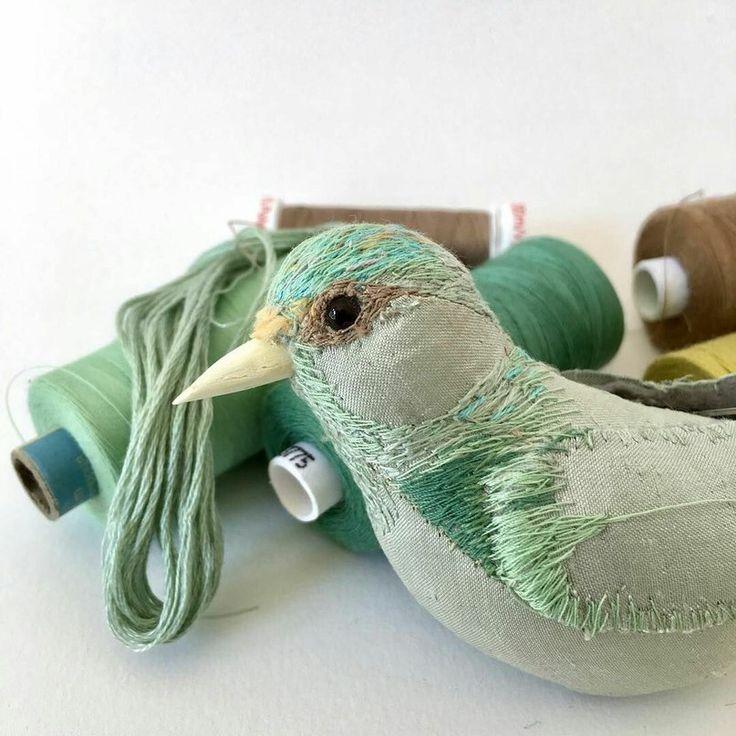
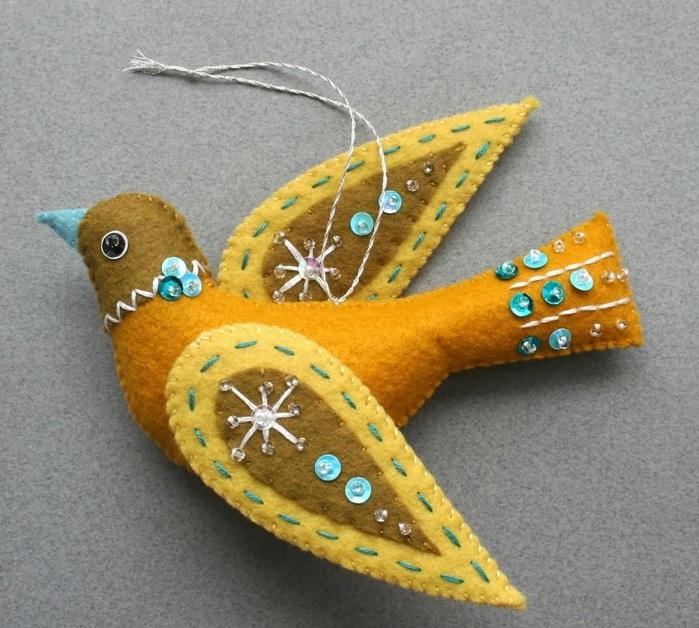
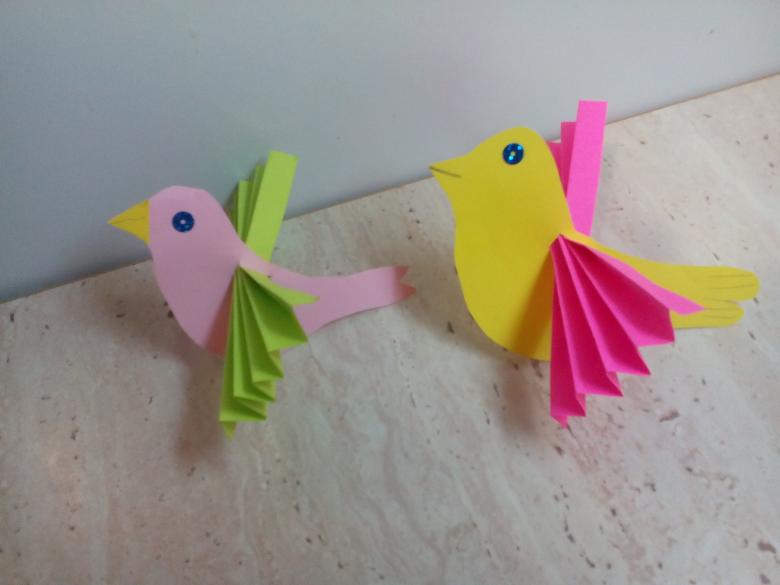
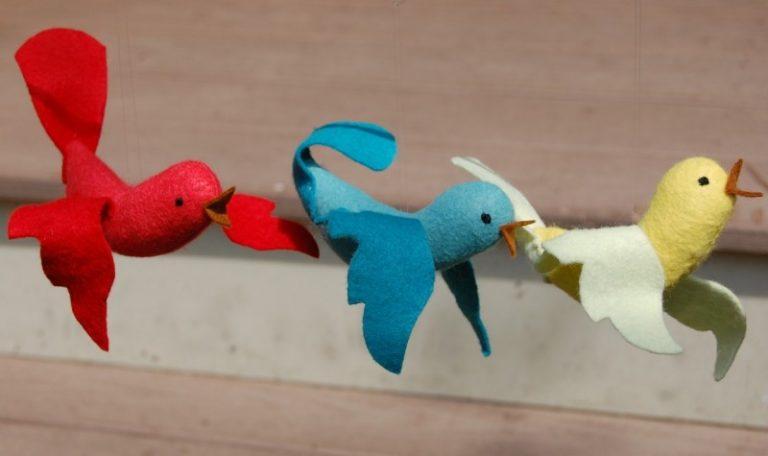
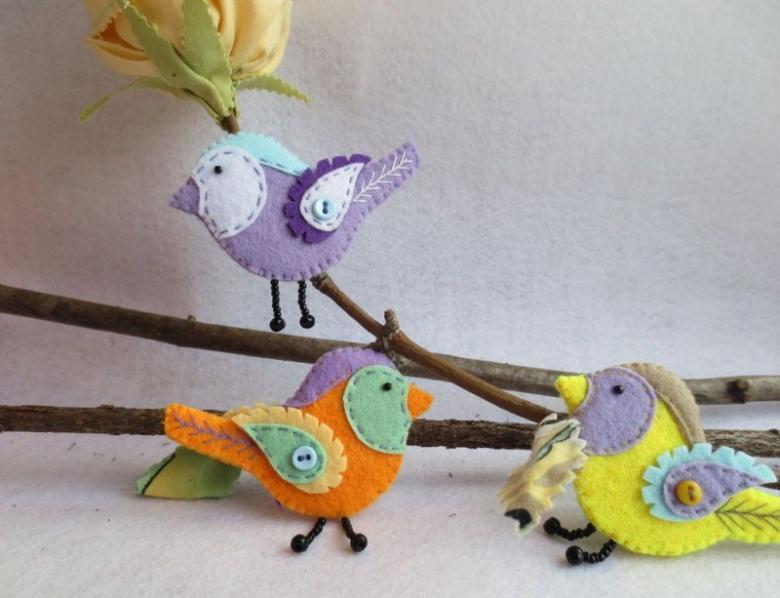
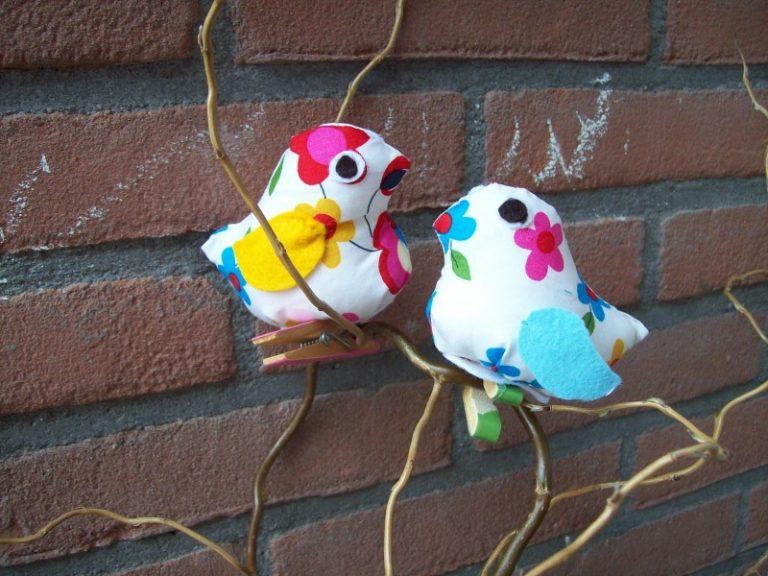
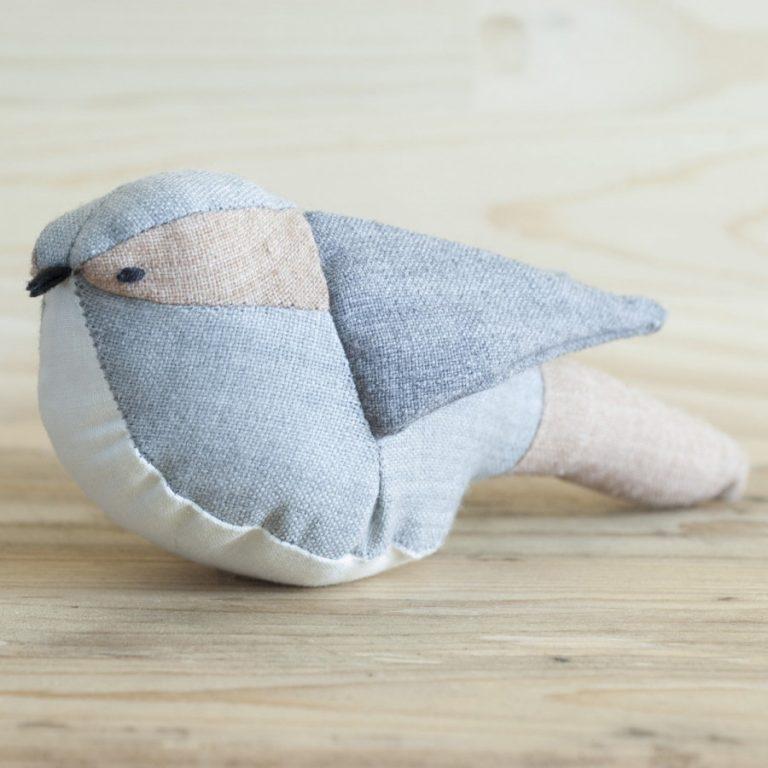
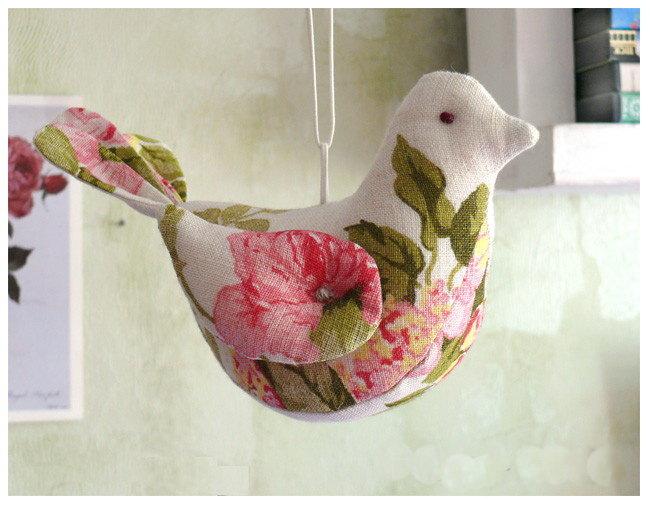
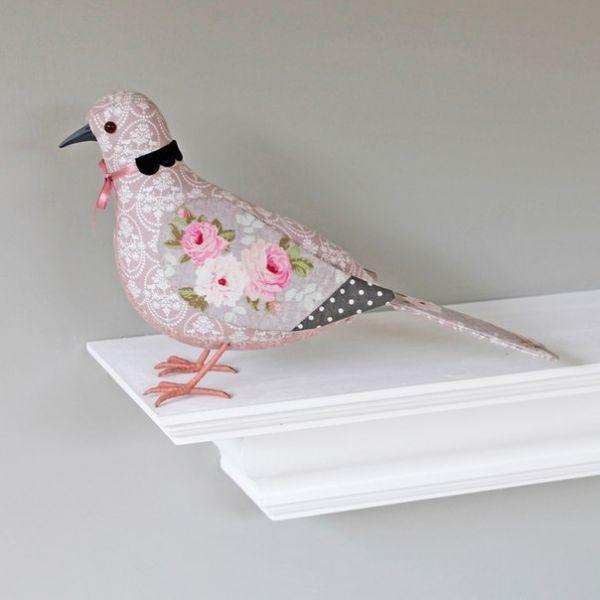
The options presented are not the only models. Very often needlewomen perform birds from scraps of fabric, crochet in the style of Amigurumi, cut from plastic bottles in the form of huge decorative peacocks. Today there is a huge number of creative ideas that anyone, even a novice craftsman, can bring to life.

