Handmade crafts from cones - peculiarities of work with the material, interesting step by step master classes, photo ideas
In autumn, nature gives a lot of interesting material for creating children's crafts and original interior decorations. Acorns, fragrant cones, dried leaves and scarlet bunches of mountain ash - all this becomes the basis of real masterpieces created by our own hands, to make which will help detailed master classes.
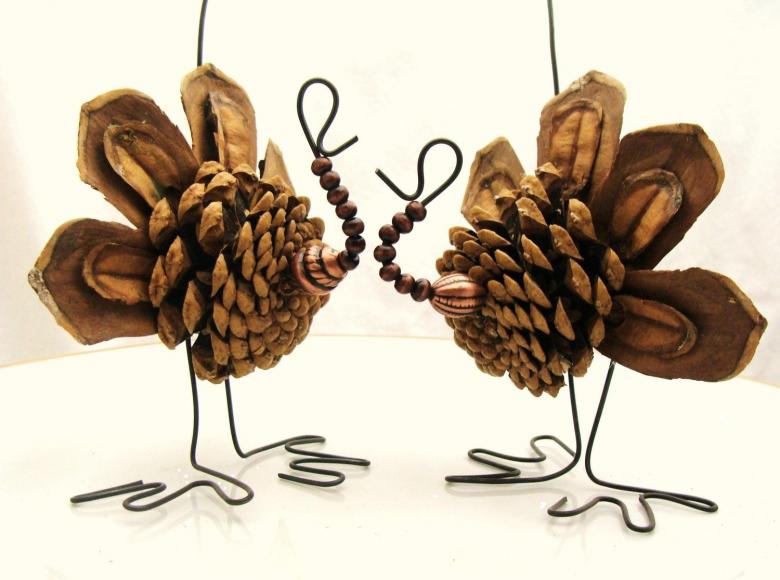
Today's article is entirely devoted to all sorts of crafts from cones - we will learn about the peculiarities of working with the material, consider a huge number of master classes on creating beautiful figures, demonstrate on the photo interesting ideas for decorating crafts.
What can be made from cones
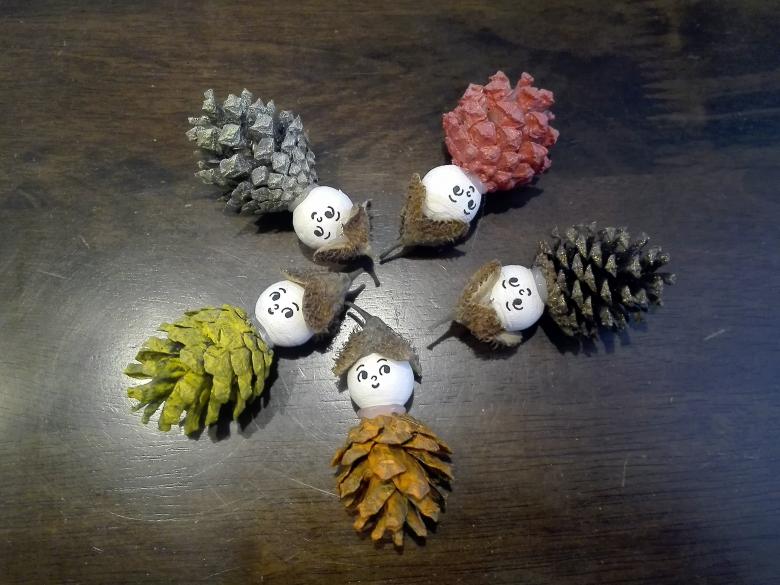
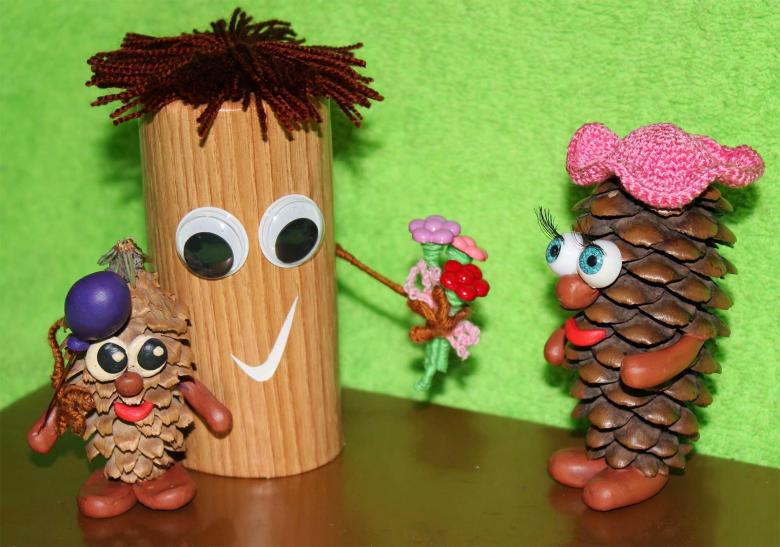
Many people associate this material exclusively with crafts for children. With the same hedgehogs and bears, which parents make every year for exhibitions in kindergarten and elementary school.
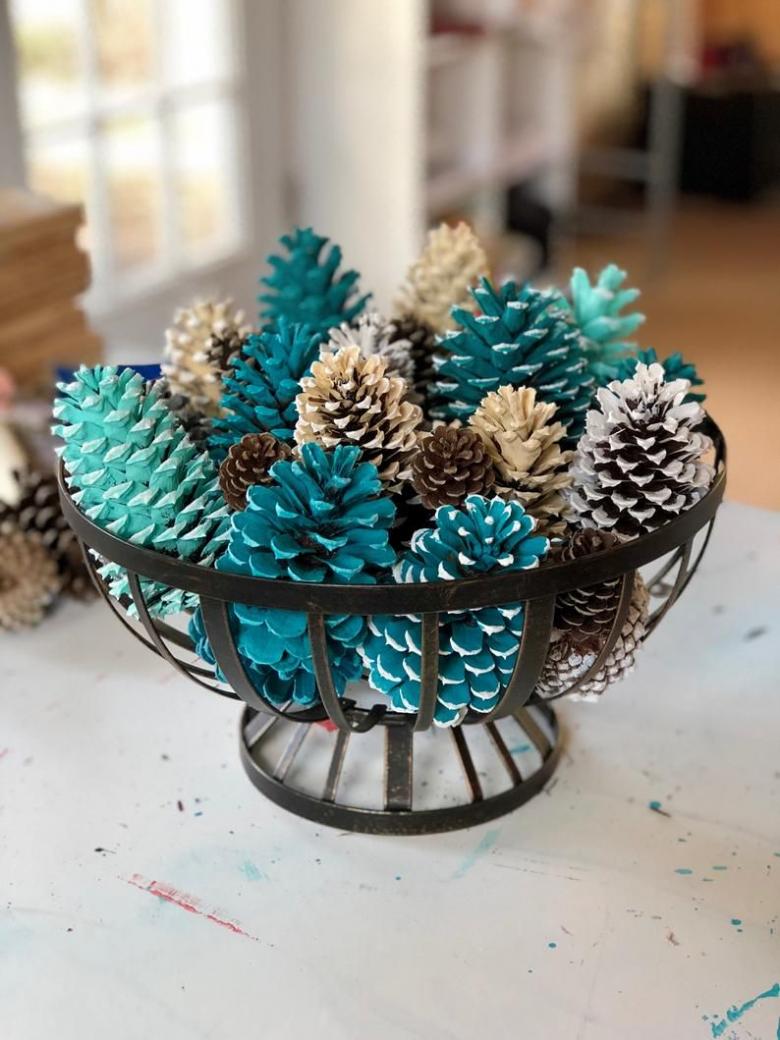
But, in fact - it is a versatile material from which you can create amazingly beautiful elements of interior decor. Atmospheric Christmas wreaths, baskets, holiday table decorations and more.
Preparing cones for work
The material is best collected in mid-autumn or spring. The autumn harvest is suitable for crafts from unopened cones. And by spring, they are fully mature, free of seeds and take a permanent shape.
The main difficulty in the work is that they need to be properly prepared. Otherwise, the original material and the product itself can become very deformed.
Drying
Even if the cones look dry and open, otherwise the craft can fail, before using them, it is necessary to finish drying them, one of the following ways:
- natural drying. As a container, you can take baskets of vines or lattice boxes. It is important that the container is not airtight, and does not create a greenhouse effect. At the bottom of the container laid paper (newspaper), and then lay the prepared material. Closed young pine fruits are dried in one layer. Already open specimens can be stacked in 3 tiers. The box is placed in a well-ventilated and dry place for 2-3 weeks;
- in a pan. On an open cast-iron skillet spread cones (in one layer) and, gradually turning them, finish drying them until fully cooked;
- Roasting in an oven. The prepared material is spread evenly on a foil-lined baking tray. Preheat the oven to 250 degrees and put the prepared material in it for 40-50 minutes. The oven door should remain ajar.
Some masters recommend drying the workpieces for crafts out of cones in the microwave oven. This is the fastest way to evaporate the moisture. At maximum power, it will take only one minute to dry completely. Before justifying in the microwave, the cones are placed not far from each other on a paper towel-lined plate. To avoid unpleasant situations, the process must be monitored.
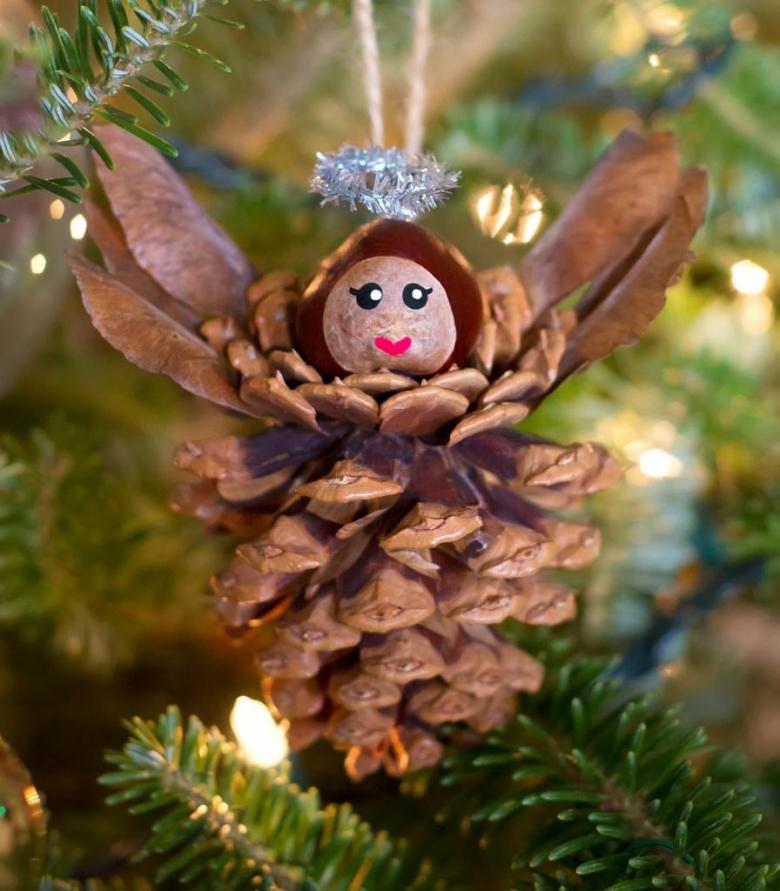
Processing
Before drying, it is necessary to carry out processing, the choice of which depends on the purpose of the collected material:
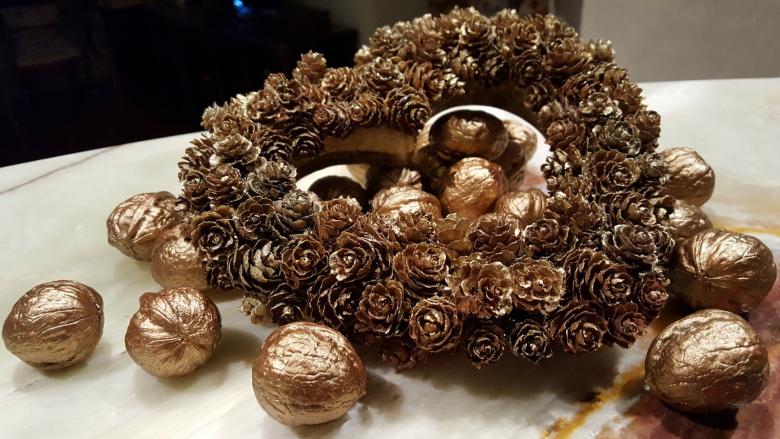
- To obtain closed cones, they are dipped for 30 seconds in carpenter's glue or PVA before drying;
- To give the blanks an unusual shape, the cones should be soaked in boiling water until elastic, and then shaped and fixed with duct tape or rope.
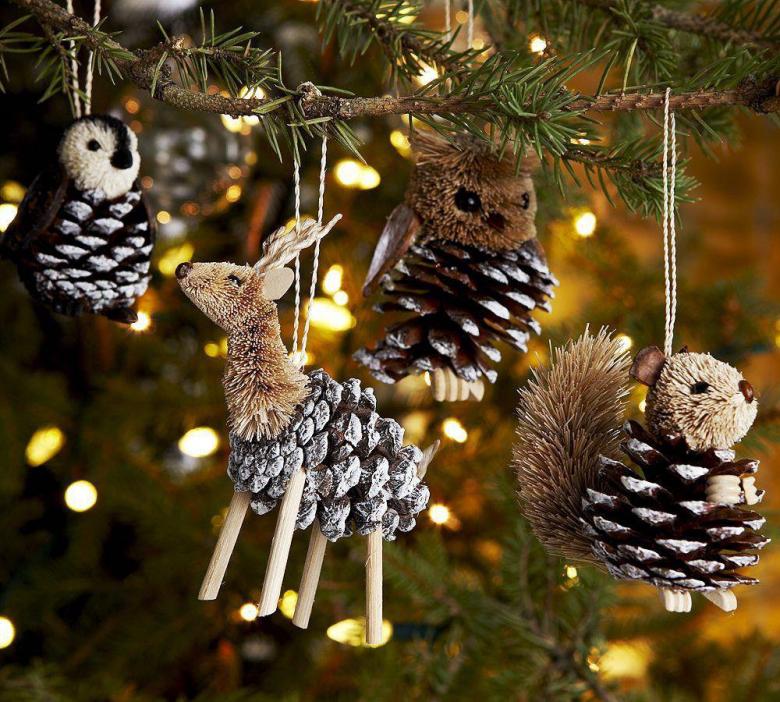
It is also recommended to etch the collected material against insects before using. To do this, prepare a solution of 6% vinegar: 1 cup of vinegar to 1 cup of water. In this solution, the billets are kept for about 30 minutes, and then dried.
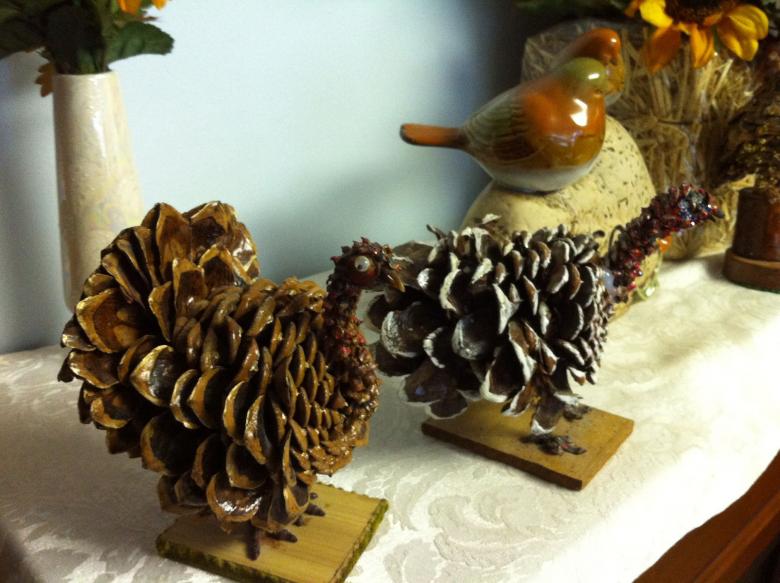
Animals out of cones
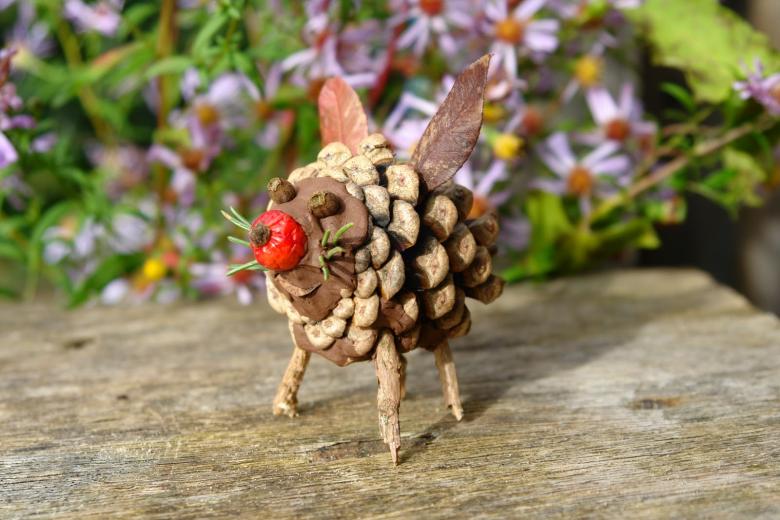
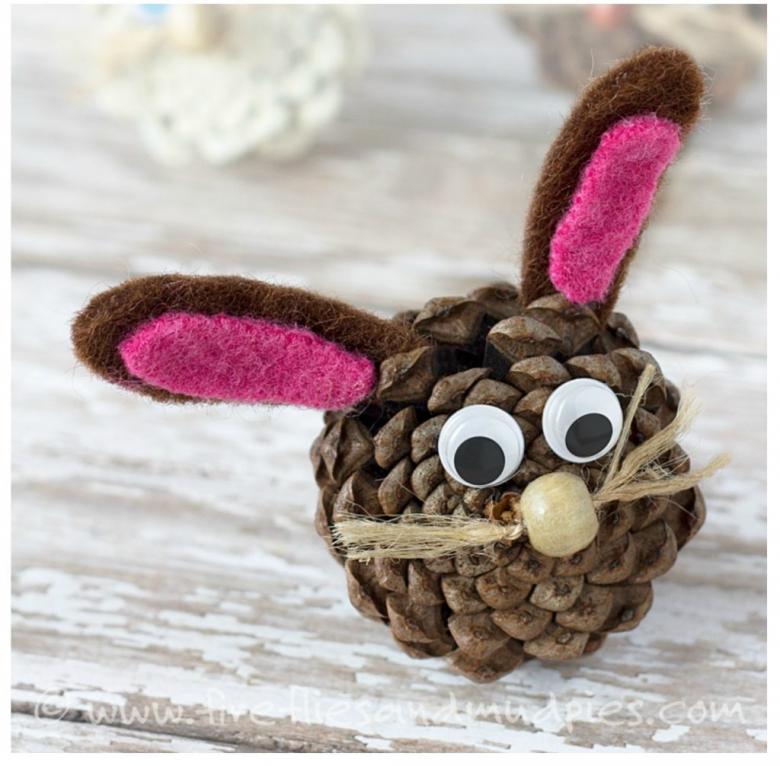
The most popular crafts are invariably figurines of animals. You can make them using plasticine, glue, felt, matches and other improvised means.
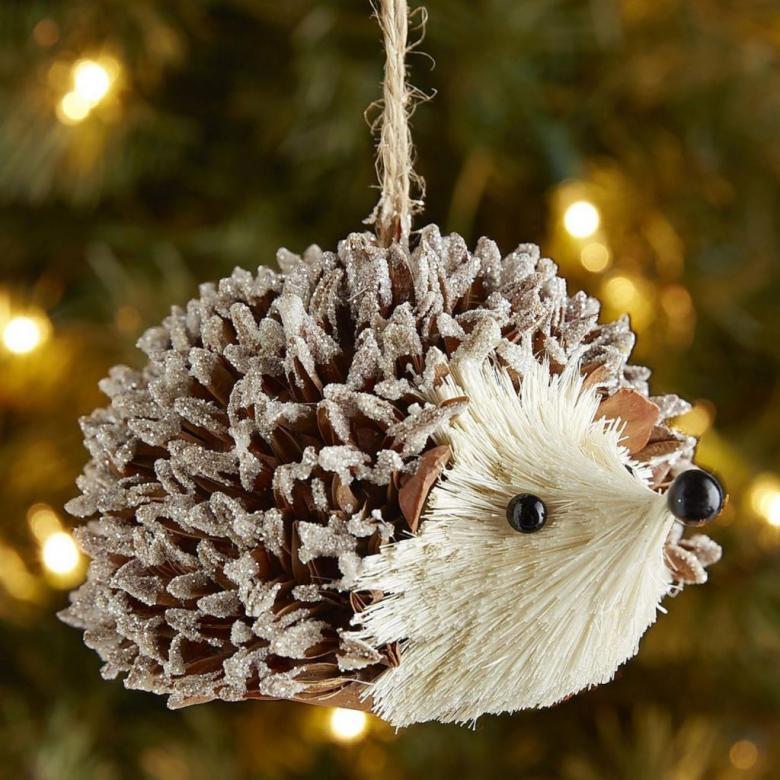
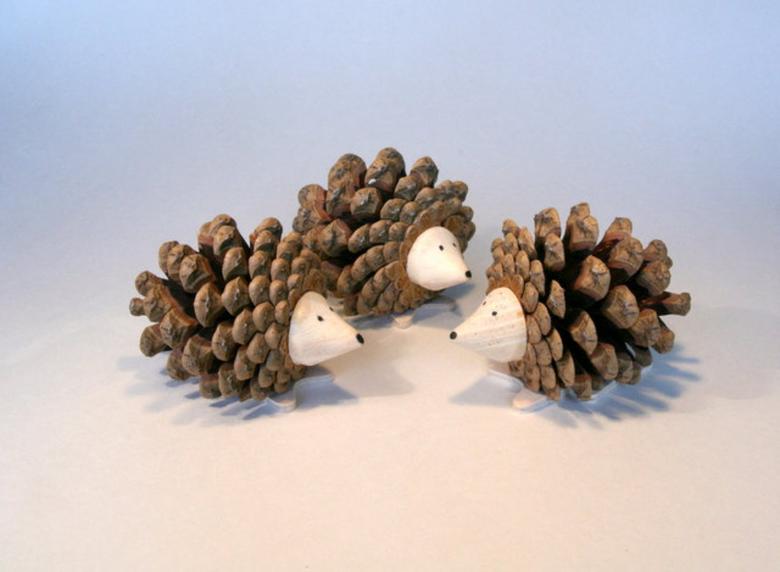
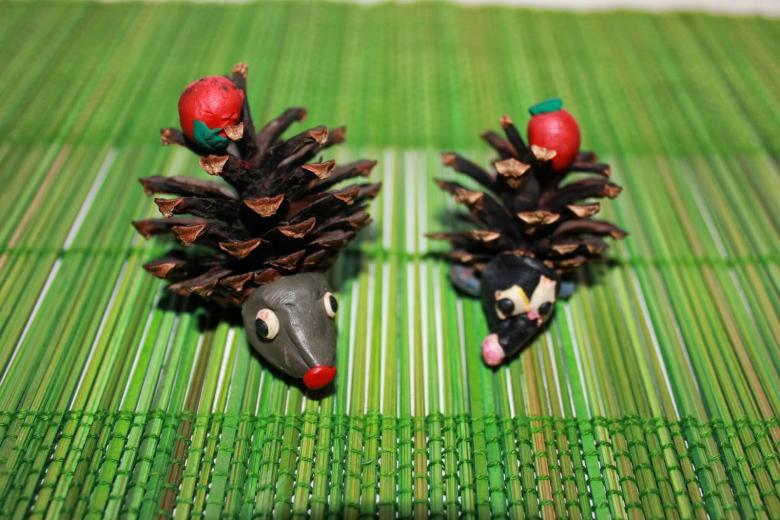
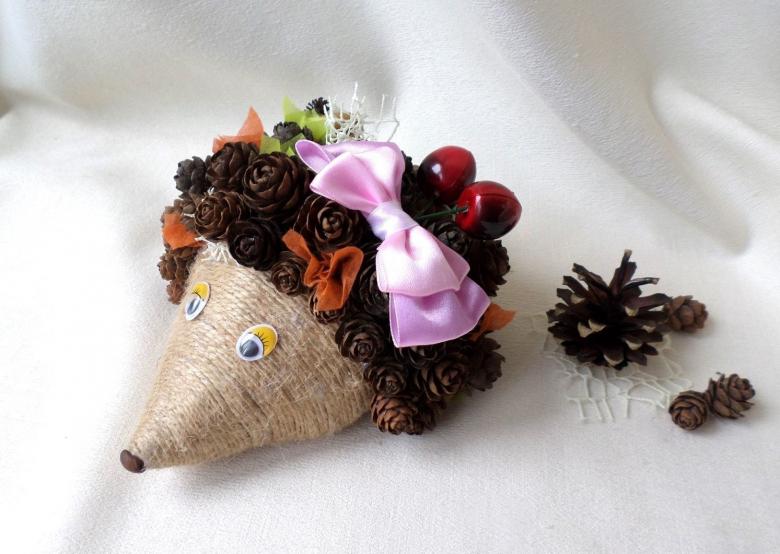
Hedgehog .
For this handicraft it is better to use unfolded copies. In addition, you will need plasticine of gray (or white) and black color. If desired, you can use additional accessories. For example, plastic eyes, toy spout, fruit moulage, etc. Manufacturing steps:
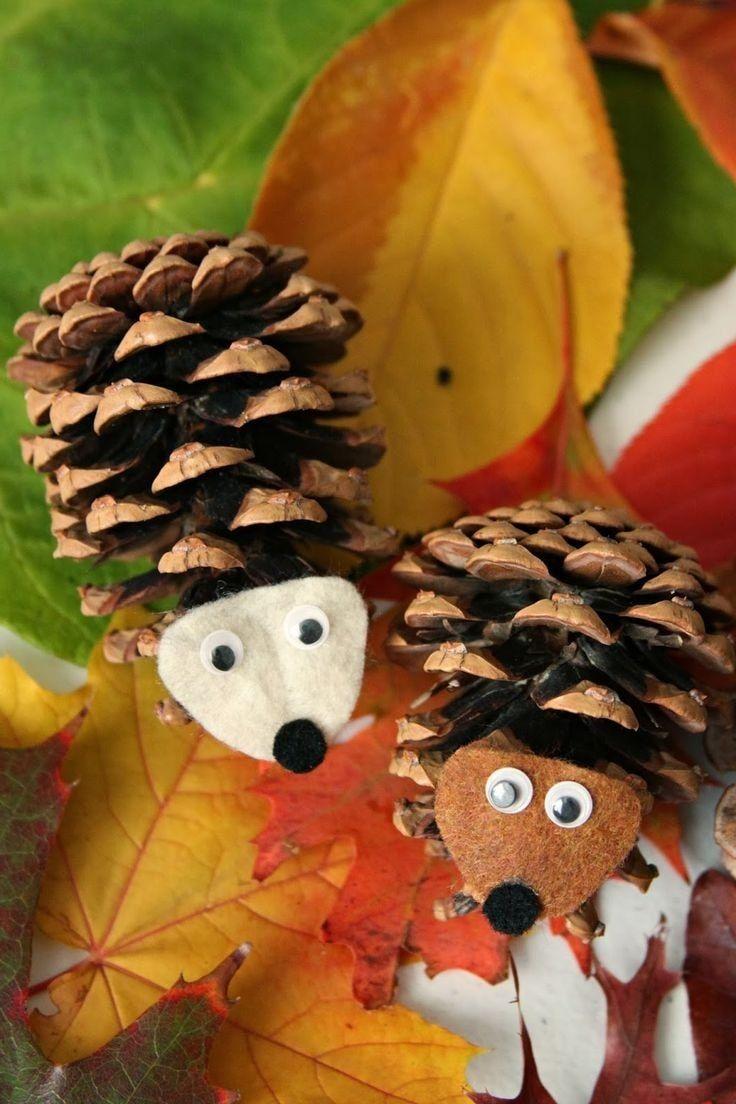
- From gray or white plasticine to form a figure in the shape of an egg;
- sharpen one edge like the face of a hedgehog;
- roll a black plasticine ball and attach it to the tip of the face (you can use a ready-made nose). Make the eyes in the same way;
- On the body of the hedgehog tightly fasten cones, placing them close to each other.
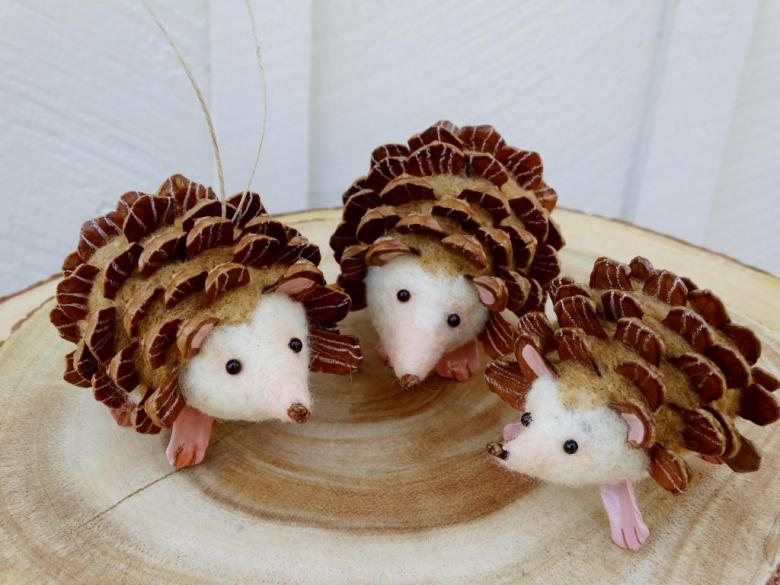
Decorate the finished product can be dried leaves, apples from papier-mache, bunch of mountain ash and other materials.

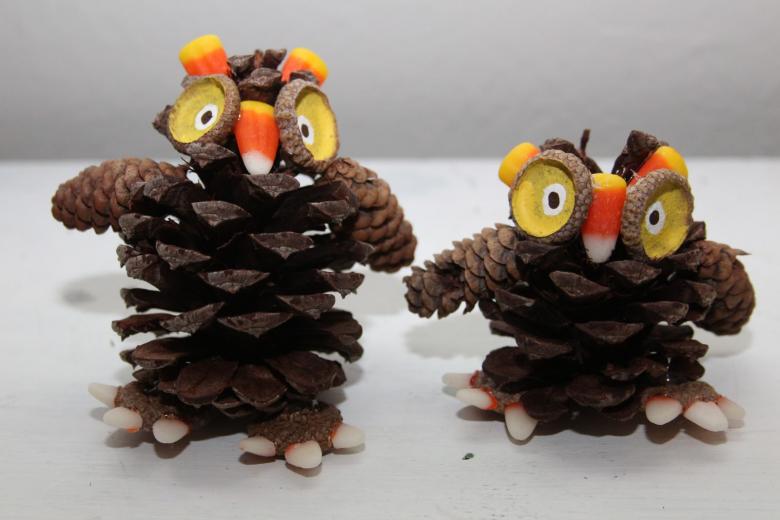
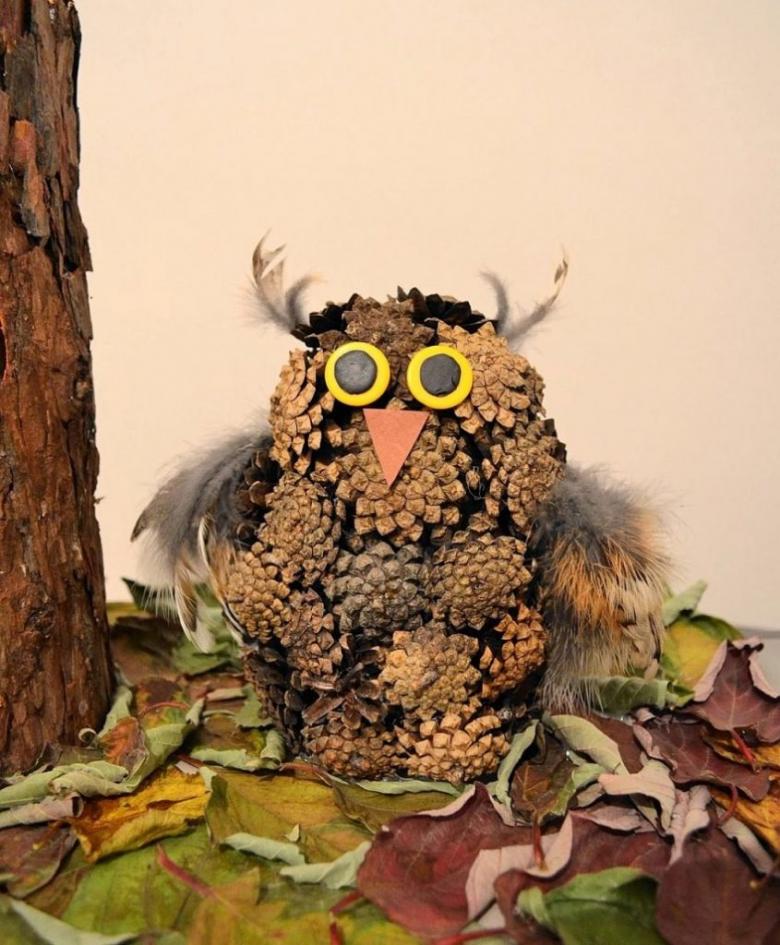
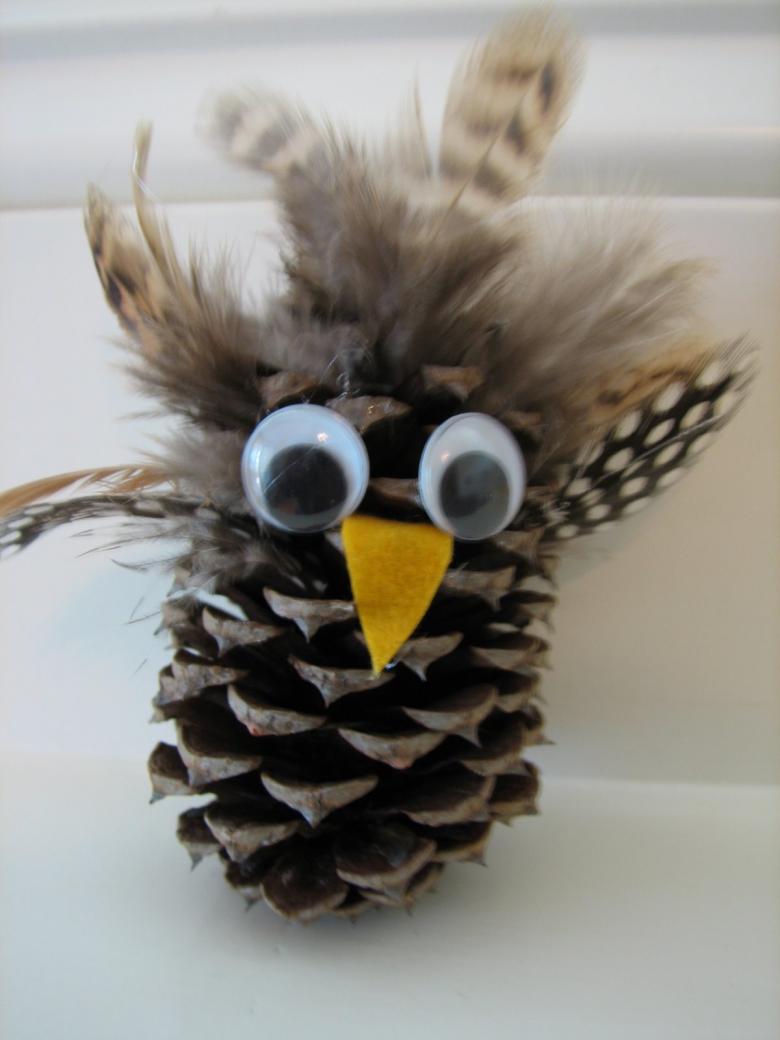
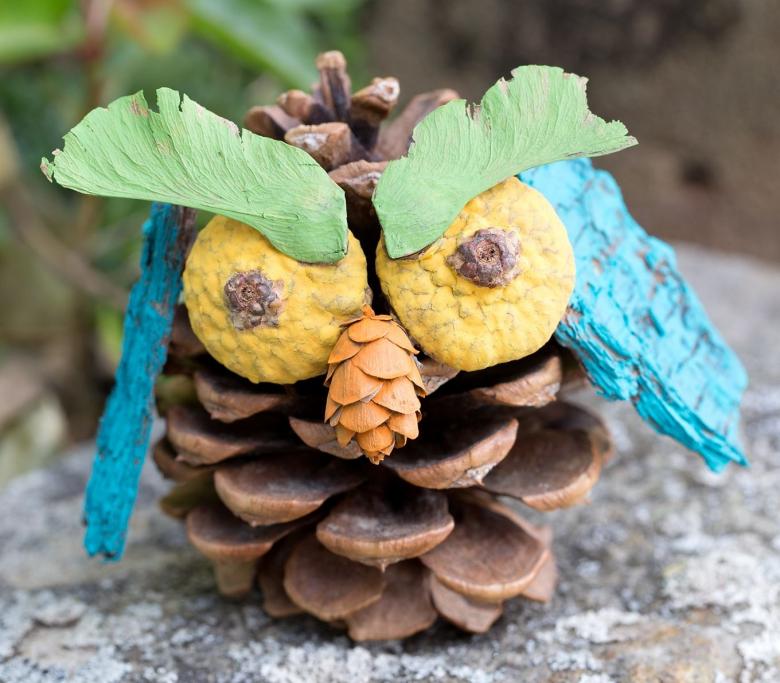
Owl
One of the easiest crafts to exhibit in the kindergarten for children aged five to six years to make their own. All you need for its production: colored paper, hot melt glue, PVA. Cut blanks out of paper can be on their own drawing or with templates. They can be found in the public domain. Manufacturing steps:
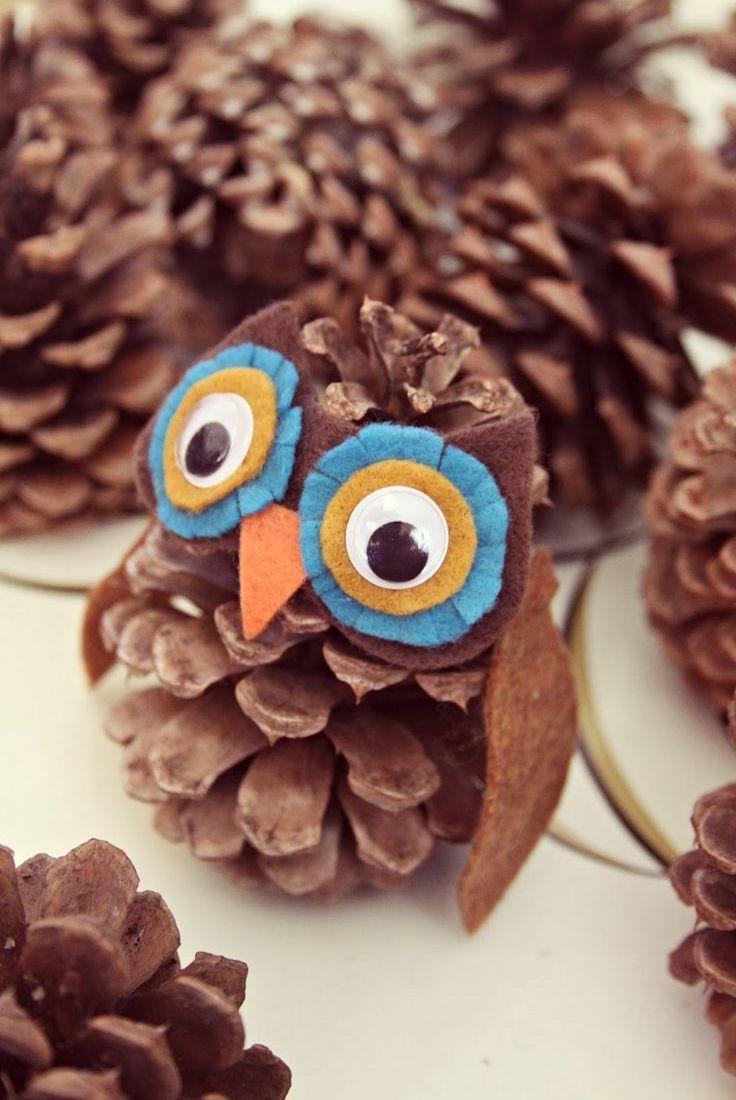
- from colored paper cut a blank for eyes with eyebrows, two wings in the form of a drop and two paws;
- From white paper make two circles - these are the eyes of the owl. The size of the white circles should be slightly smaller than the colored paper blank;
- Make two small circles of black paper and glue them to white circles.

Cut and glued paper blanks for the crafts are attached with a glue gun.
Bear
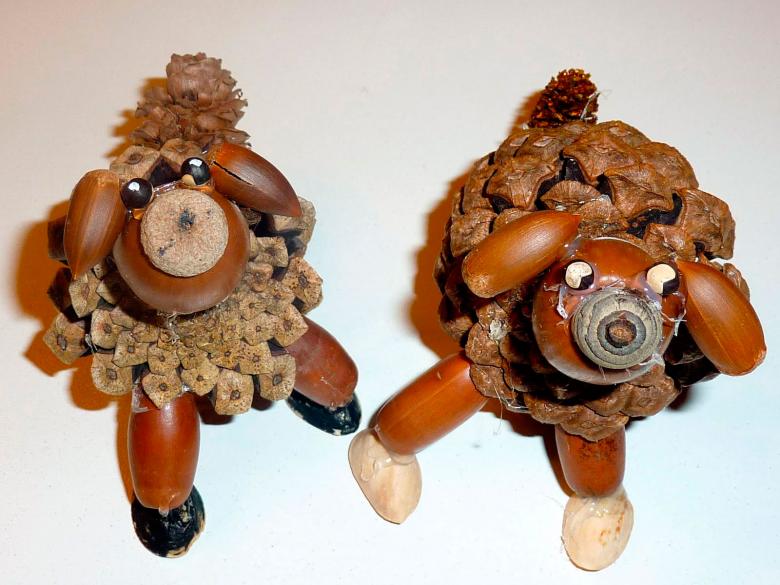
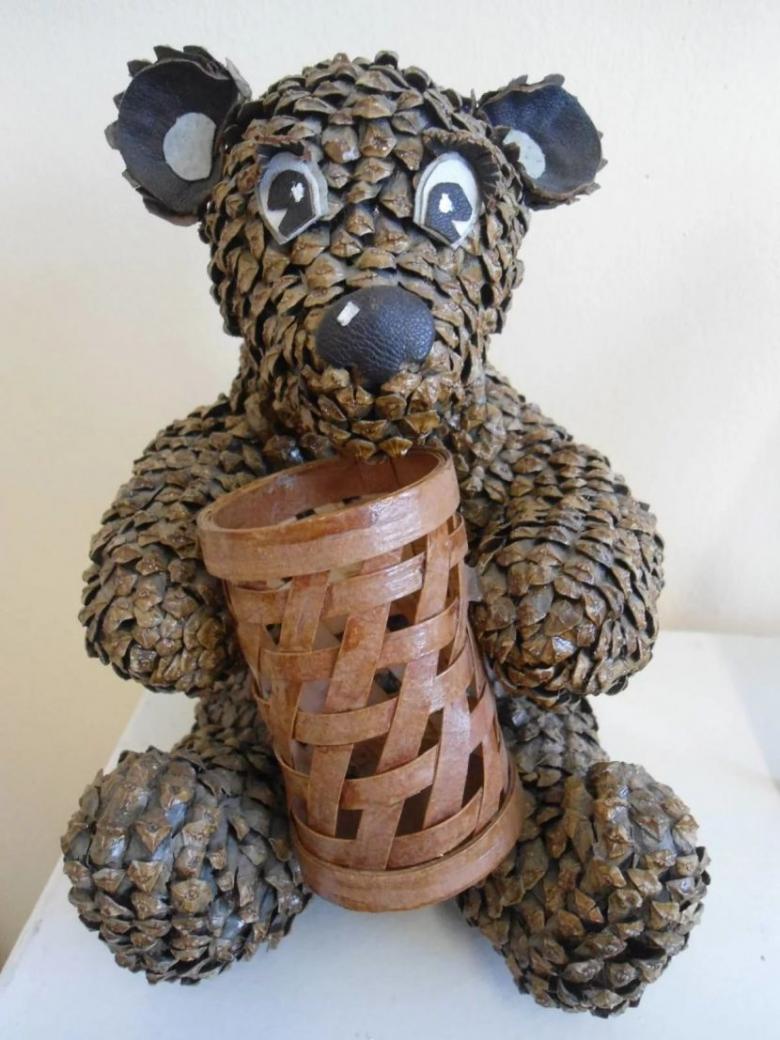
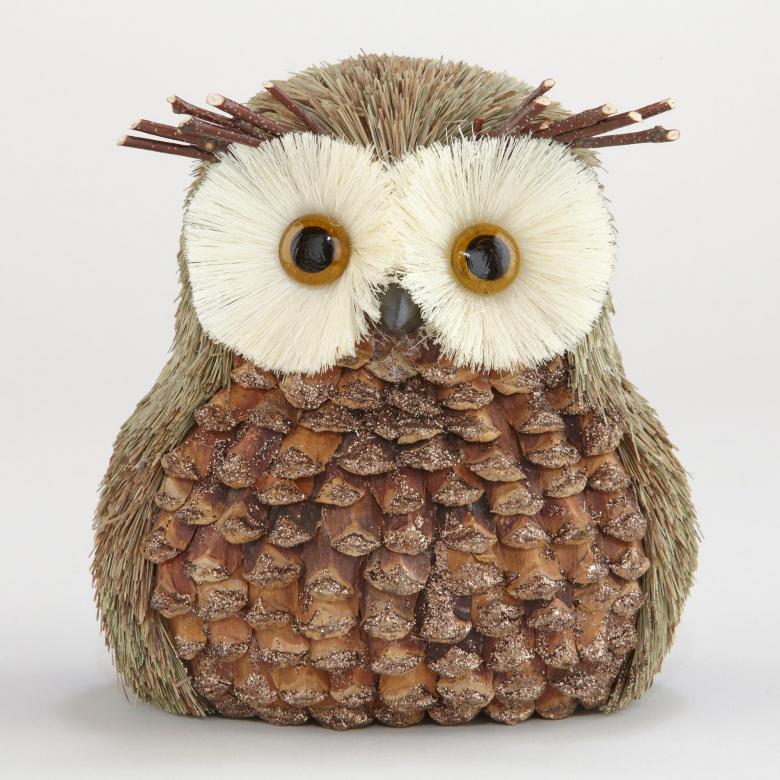
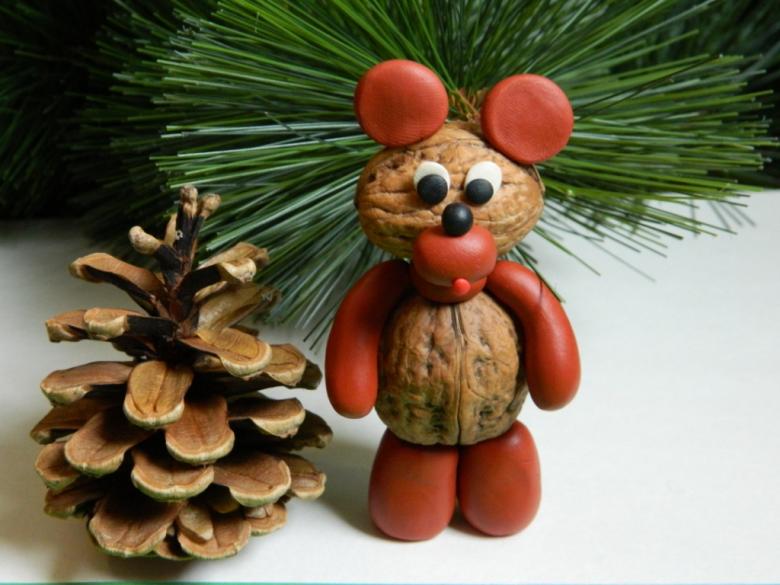
Bear out of cones is one of the most popular crafts. It has dozens of variations, varying in size, source materials and complexity of production. If there is a lot of working material, you can not limit your imagination and assemble a complete toy, which will take a worthy place at the exhibition in the nursery.
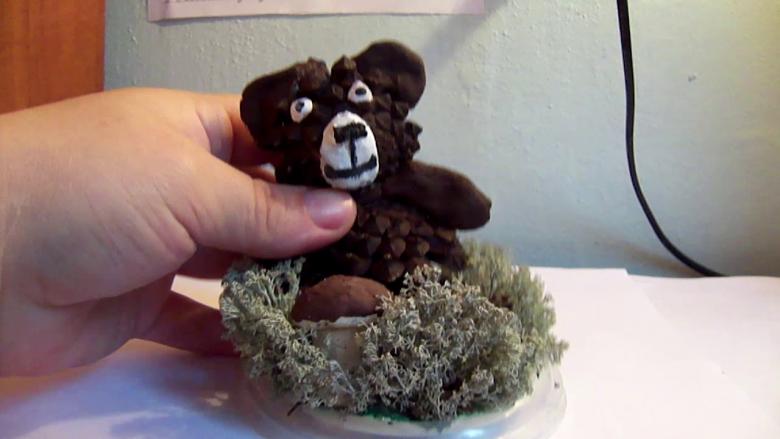
The principle of making these bears is quite simple: using a glue gun, you need to assemble the figure of a bear from the available material. They all vary in shape and size, so there can be no exact recommendations. The master is given full freedom of action to show his imagination.
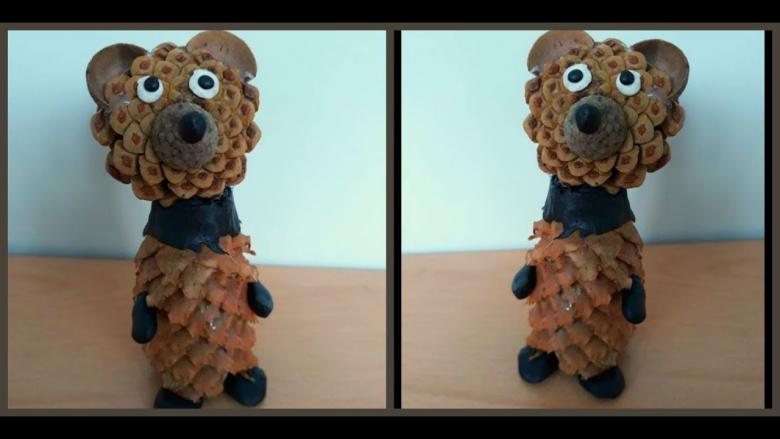
But, working with cones, there are still some things to consider:
- Spruce cones are used dry, pressed tightly to each other during assembly;
- The pine bears need to be soaked in glue beforehand, so that they don't open up as they dry.
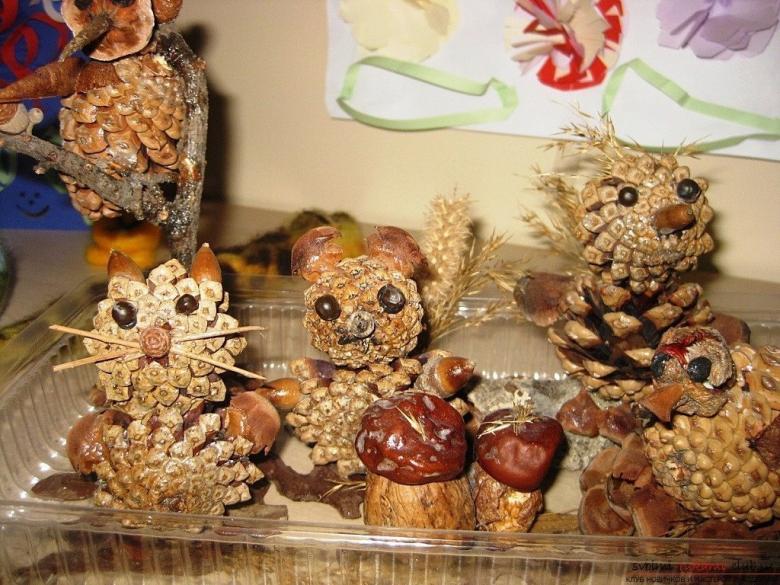
To decorate the finished bear, you can use pompoms of thread, ready-made eyes and noses, or elements of plasticine. Tie a bright ribbon around the neck of the bear.
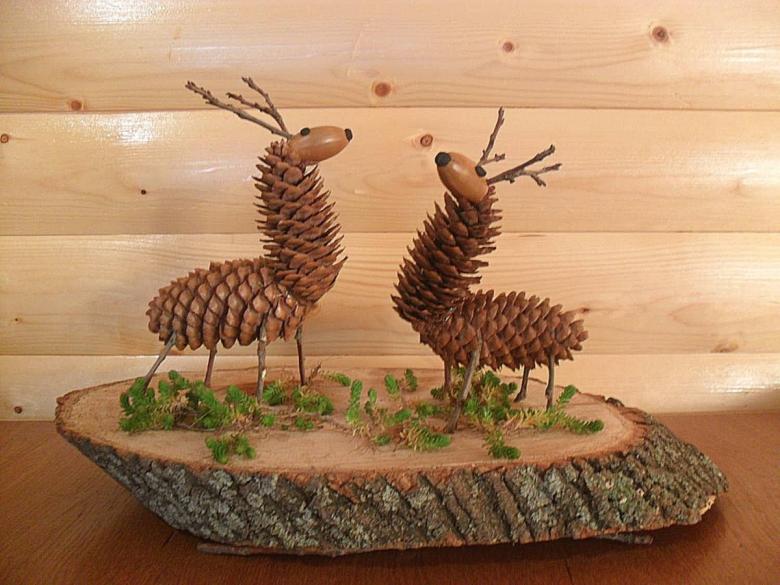
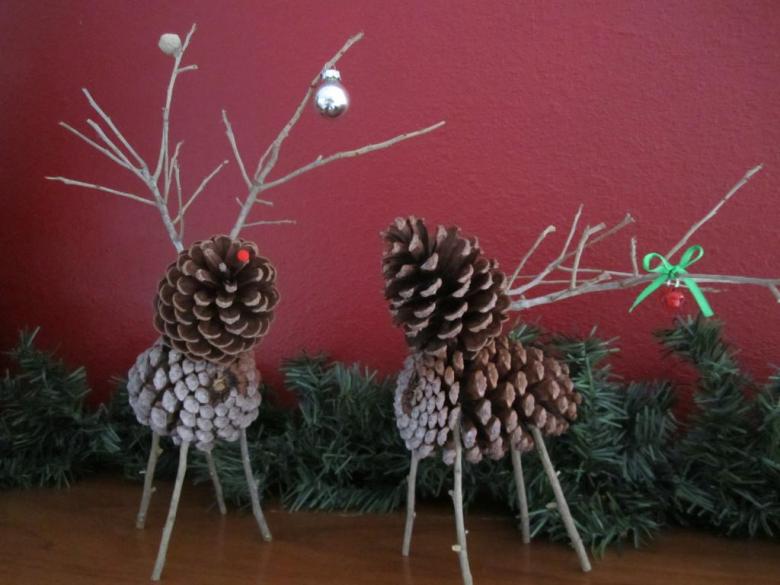
The Deer .
An interesting handicraft for the New Year, which also has a lot of options. One of the simplest is a reindeer from one pine cone. To make it, you will need: chenille wire of brown color, pompom, a pair of eyes, glue.
Stages of making:
- The ends of the wire are folded and connected in the middle. The center of the wire is fixed between the scales, and the ends are bent in the form of paws;
- In the same way make the second pair of legs and horns. The latter are made with several ramifications;
- Glue a red pompon to the narrow tip, and place the eyes over it.
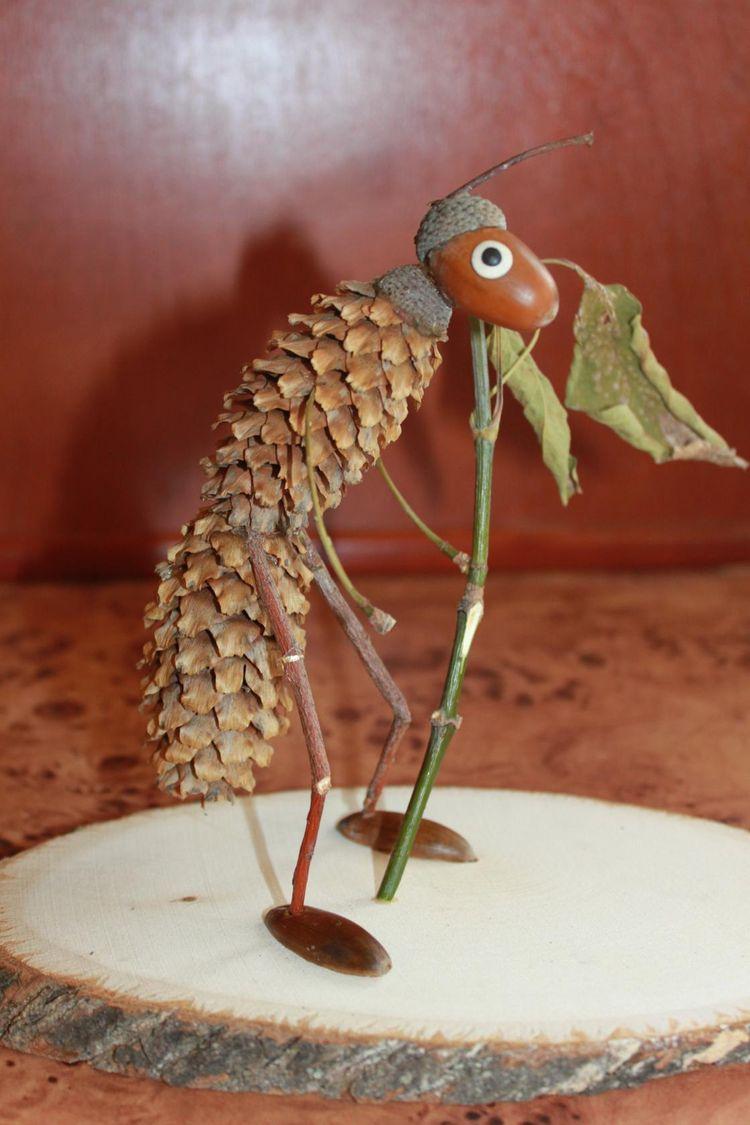
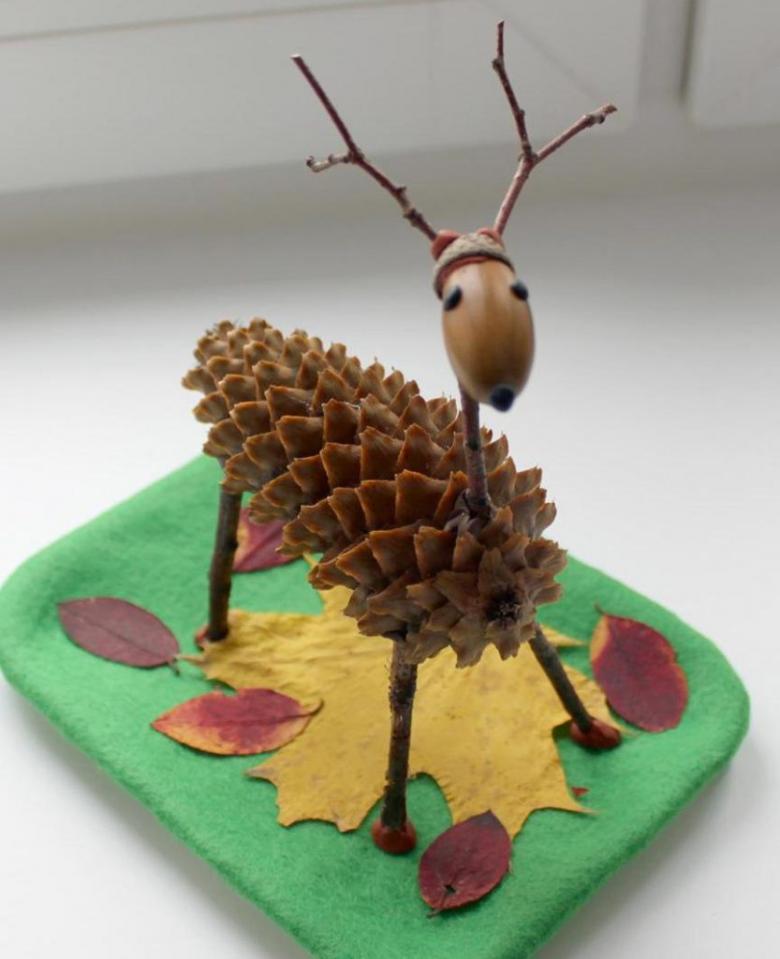
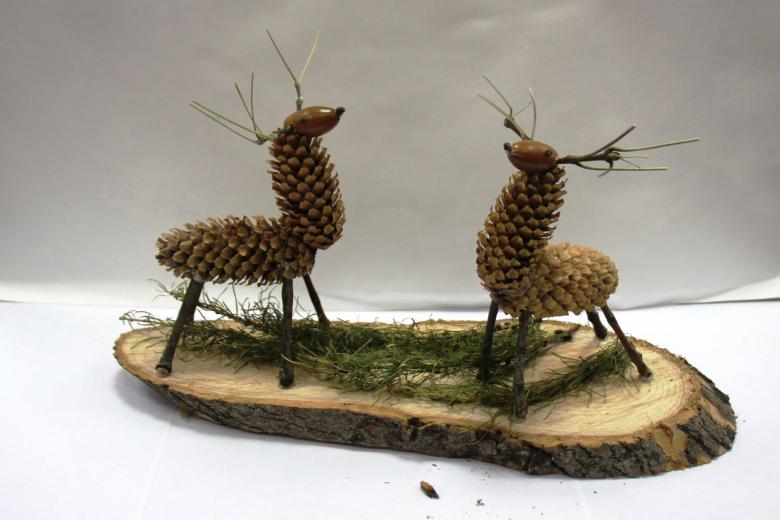
The second version of the craft is more complicated. To make it, you will need: an acorn, small twigs, plasticine, two peppercorns. Stages of making:
- The cones are treated with glue and dried;
- Two of them are connected with plasticine at an angle of 900 to 650. This is the blank for the torso and neck;
- An acorn is attached to the slanted cone to form the stag's muzzle;
- in the wider part of the acorn (above the place of attachment) make small holes with an awl or a nail and insert branching twigs;
- form small balls of plasticine and fix them in the form of eyes and nose;
- Two pairs of legs are attached to the body with plasticine, placing the twigs at an angle for structural stability.

Additionally, Model deer can be decorated with a Christmas cap or hang a miniature toy on his horns.
Pig
Charming crafts in the form of a pig can be made from both pine and spruce cones. You will need: pink gouache, plasticine, a button with two holes, glue, colored paper, two small beads. Instructions for assembly:
- The workpiece is painted pink and allowed to dry;
- During this time from colored paper cut out a blank for the ears;
- From the pink plasticine roll four identical cylinders;
- on the dried cone attach plasticine legs;
- Using glue, fix the ears, the nose-button and two beads - eyes.
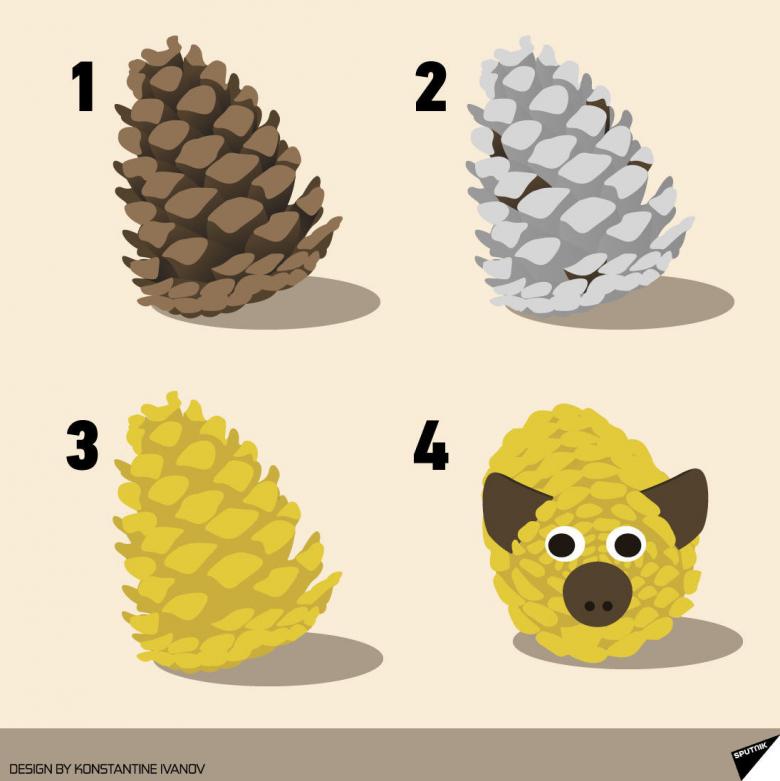
If you do not have at hand the necessary accessories, buttons and beads can be replaced by ordinary plasticine.
Squirrel
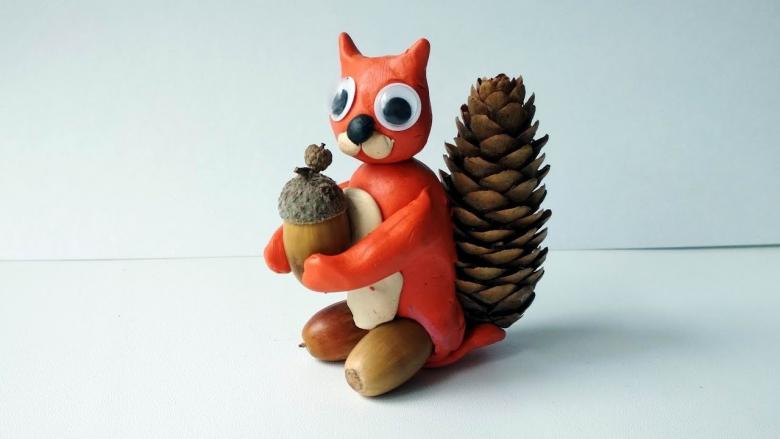
Children are very fond of squirrels and are happy to make their figures, decorated with real nuts. However, you can't do without the help of parents here. You can make a squirrel handicraft in two ways.
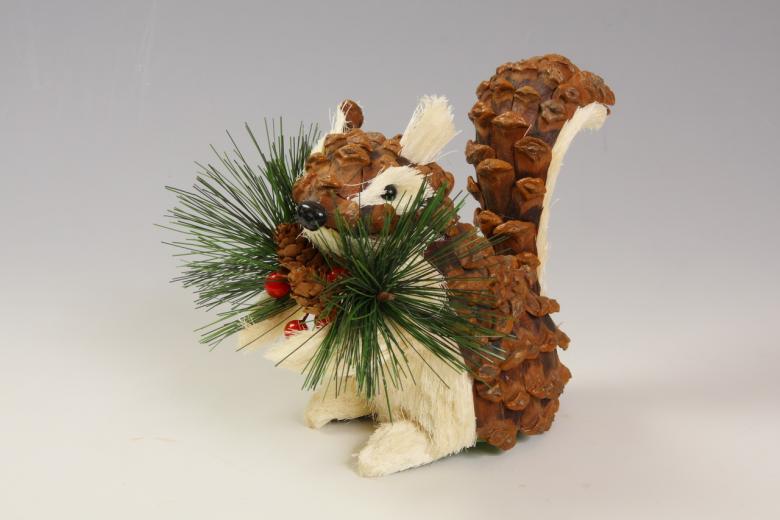
In the first case, the cones are glued at an angle, and then decorated with modeling. If sculpting skills are difficult, you can replace plasticine with pompoms of thread. On the narrow part glue a round pompon (peas or beads glued as the nose and eyes, ears can be made of scales). The tail can be made from a strip of cardboard, glued lushly with thread.
Spider .
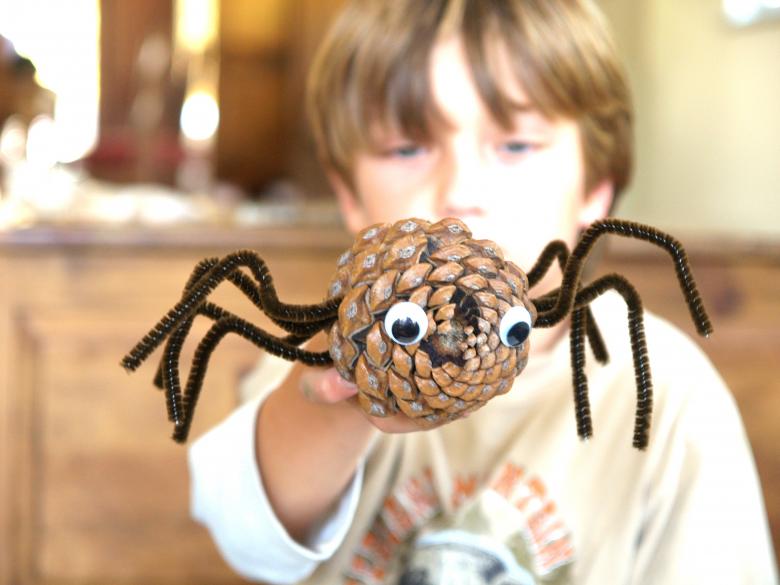
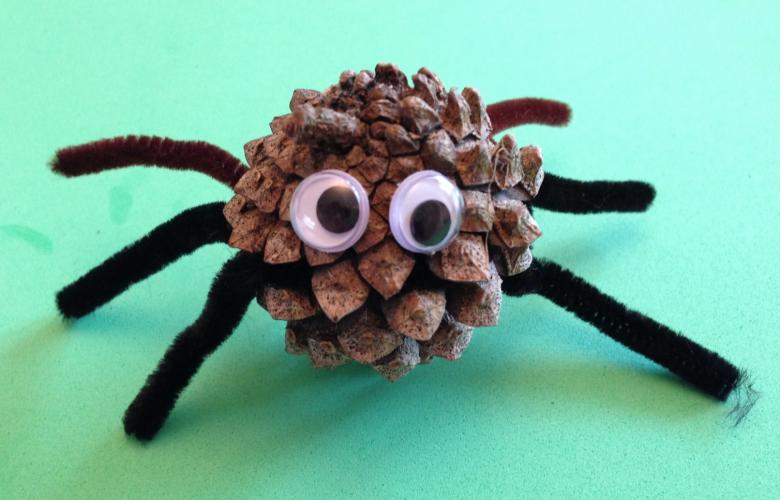
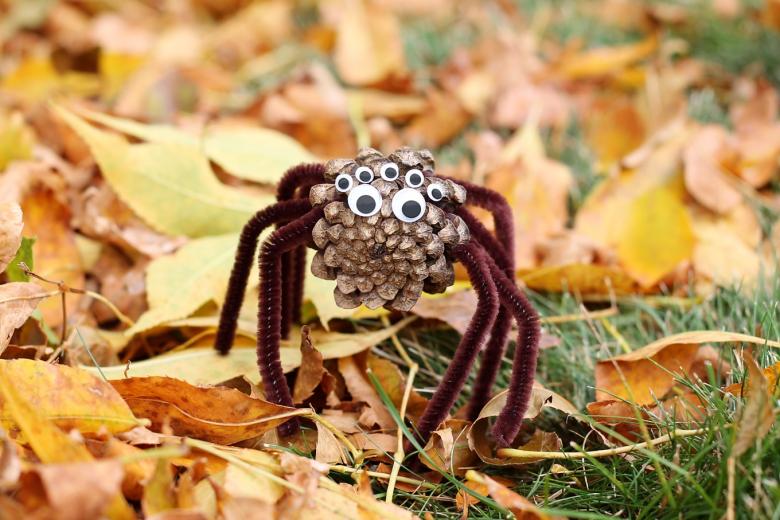
One of the easiest crafts, which the boys love to do. For making it will need a cone, glue, ready-made eyes, plasticine or chenille wire. The eyes are glued to the wide part, and the sides are attached three pairs of legs.
Decoration made out of cones
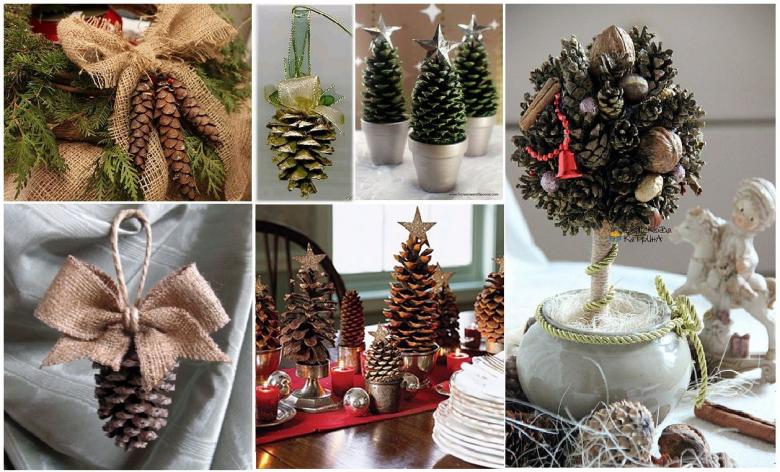
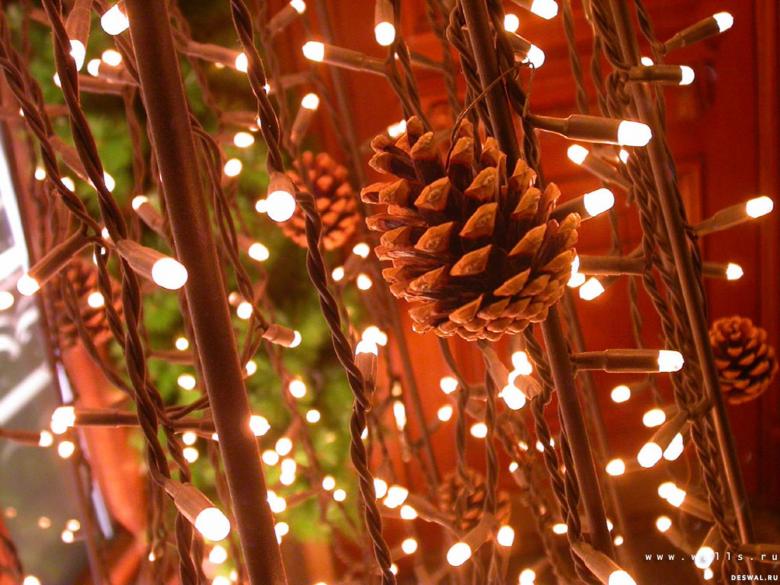
What could be more interesting for a child than Christmas decorations made with your own hands. Especially since they can be made in minutes. For crafts use decorative elements, spruce twigs, artificial greenery, lace, mini gifts, beads, etc. You will also need paint, twine and hot melt glue.
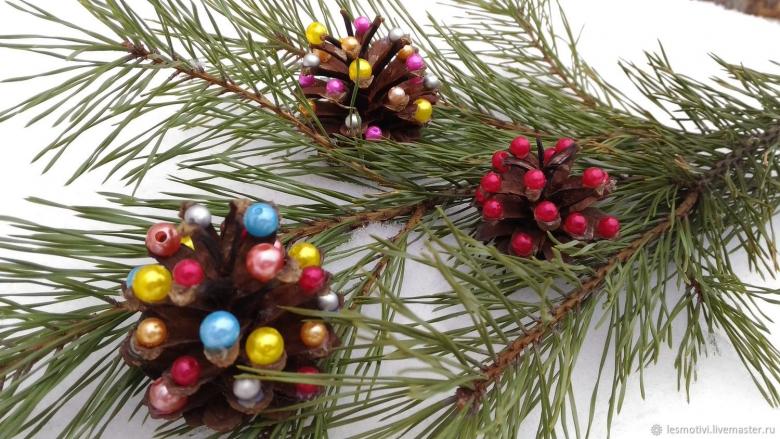
All decorations are attached to the base of the cone, which must be painted or glued with glitter in advance. Most often for Christmas decorations choose gold or white paint. Together with the decorations attach a piece of twine, folded in a loop or open paperclip.
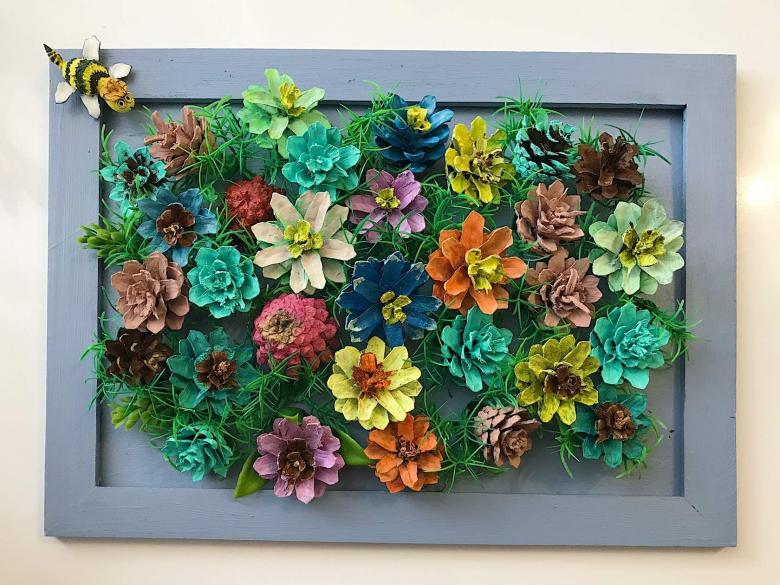
Unusual flowers from cones
To please his mother or educator with a bouquet of bright and unusual autumn flowers can every child. To create a craft needed: flat twigs or brushwood, acrylic paint, brushes, green foamiran or colored paper, hot glue.
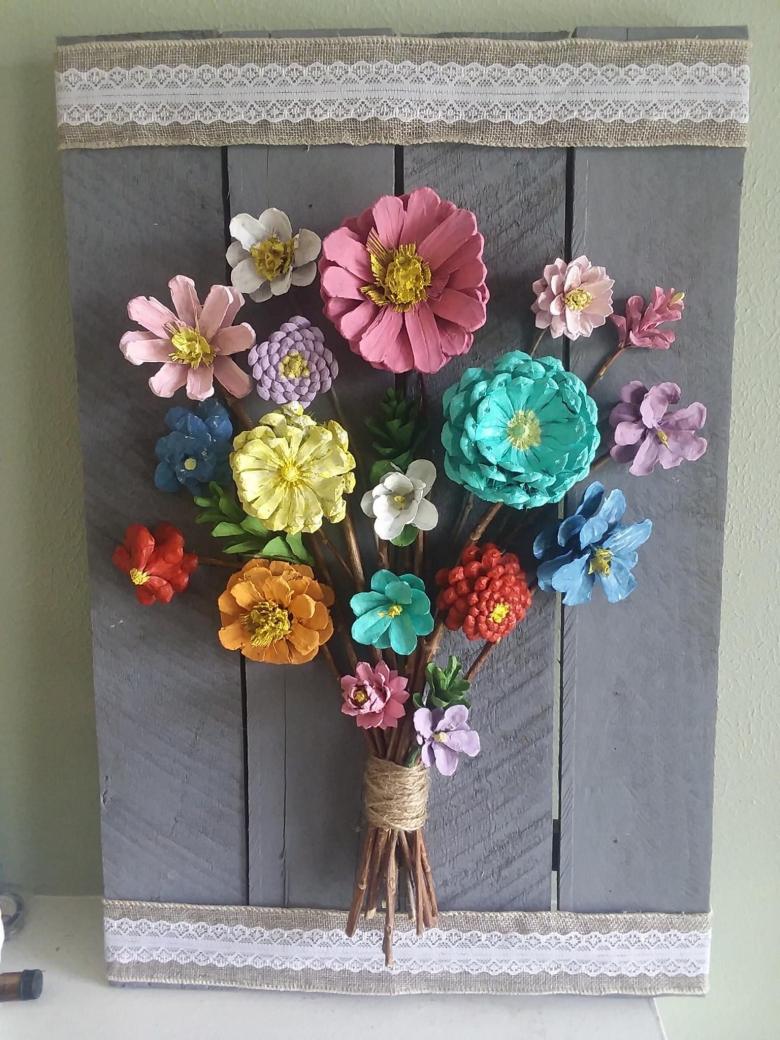
On the twigs with glue attached leaves of foaming or colored paper, and then cover them with green paint. Cones are painted in different colors and attached to twigs with hot melt glue with the wide end. The bouquet is ready, it remains to put it in a vase.
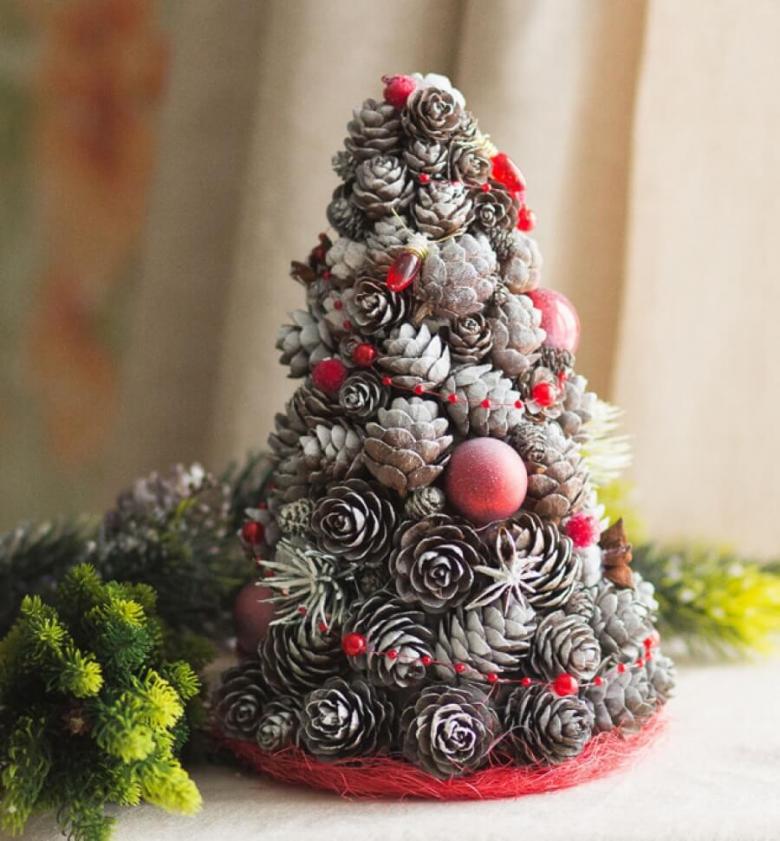
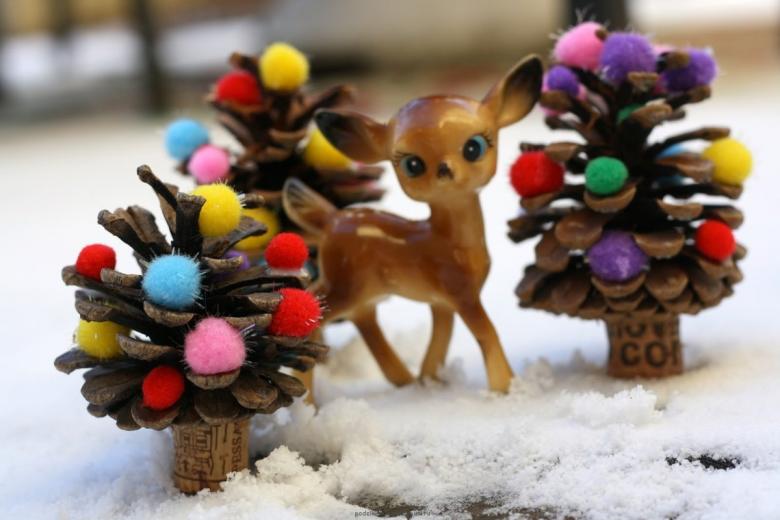
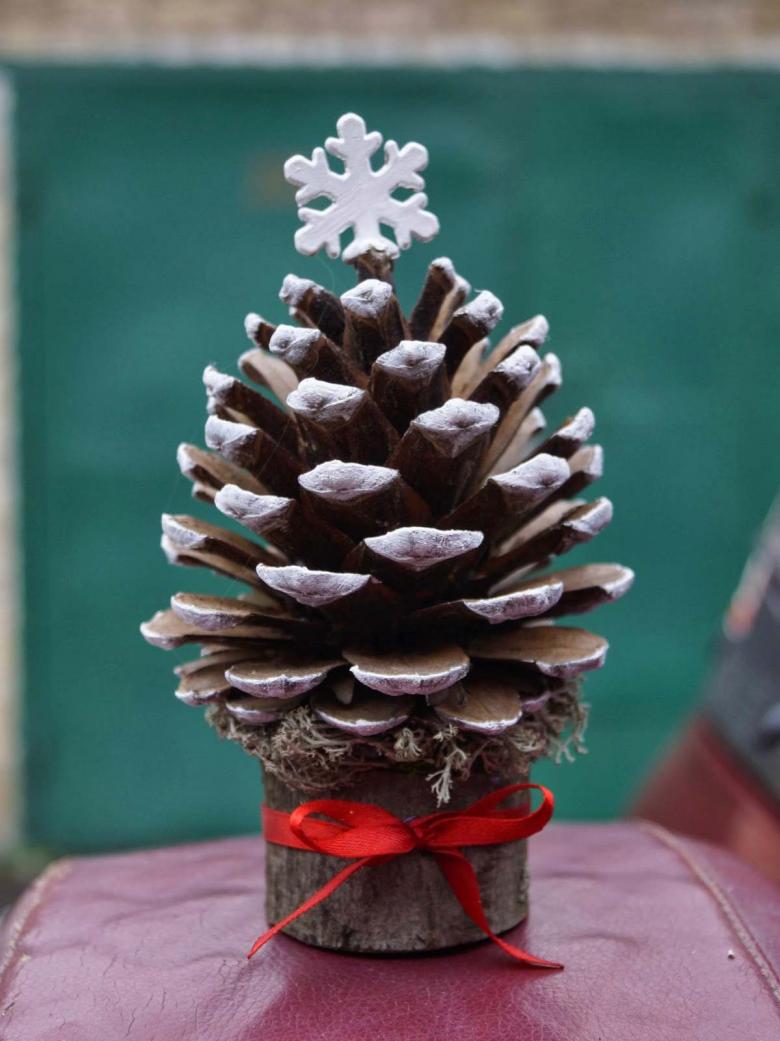
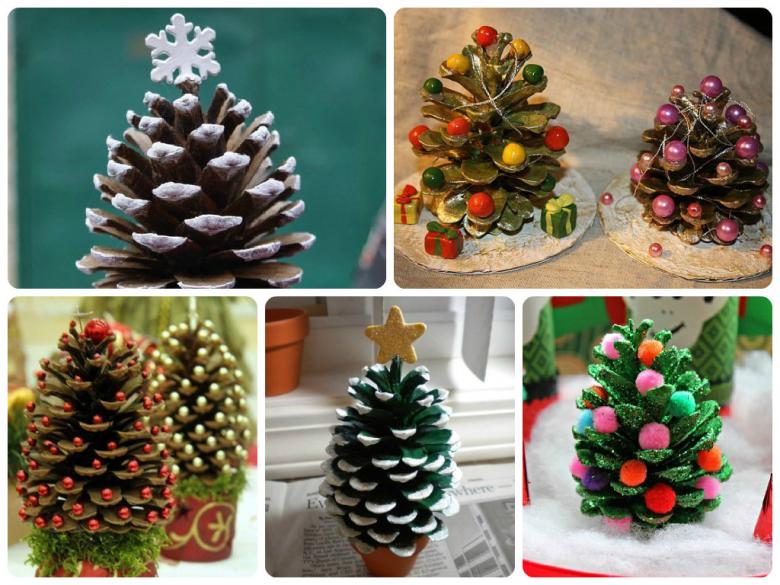
A small Christmas tree made of cones
A beautiful interior Christmas tree can be made in a few minutes. For the craft you will need: cardboard, glue, paint, beads for decoration.
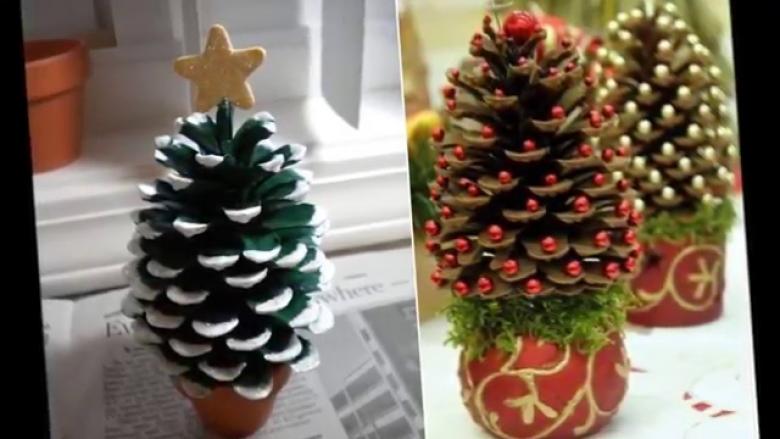
The cardboard is rolled up in the form of a cone and covered with paint or glitter. Later the cone is glued around the cones in any order. The main thing is not to leave large gaps and make sure the cone is symmetrical. You can decorate the finished Christmas tree according to your own taste.

Most often such beauties are dressed up with beads on a thread or glue beads directly on the scales.
A garland of cones
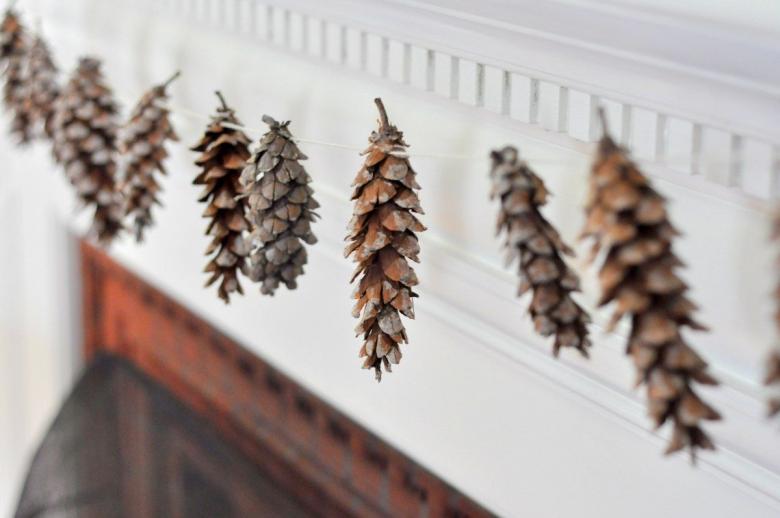
Do you want to create a truly New Year atmosphere in the apartment with decorations in the popular Scandinavian style? Then you can safely make crafts from cones in the form of garland. To do this, you will need: white acrylic paint, sequins, twine, hot melt glue, and two brushes.
The workpieces are covered with white acrylic paint. If desired, you can dust them with glitter or choose other colors to match the interior. After the paint dries on the base of the cone, drip melted hot-melt glue and fix it to the twine.
Snowflake out of cones
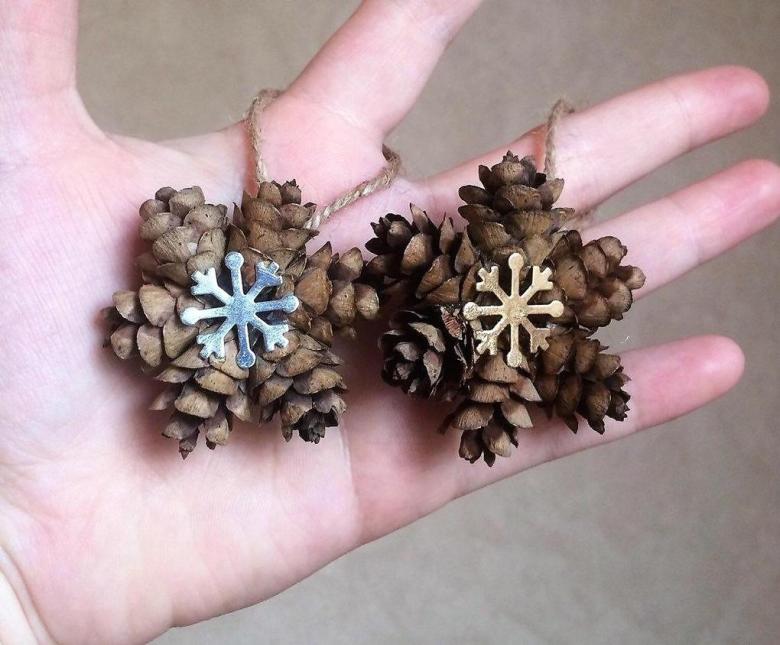
The easiest way of Christmas decor, which always looks stylish. To make a handicraft you will need: thermal glue and materials for the decor. The cones are glued in a circle in the base area. In the center of the resulting circle glued lace, ready wooden snowflake. You can decorate the finished snowflake with paint, glitter, etc.
Christmas wreath of cones
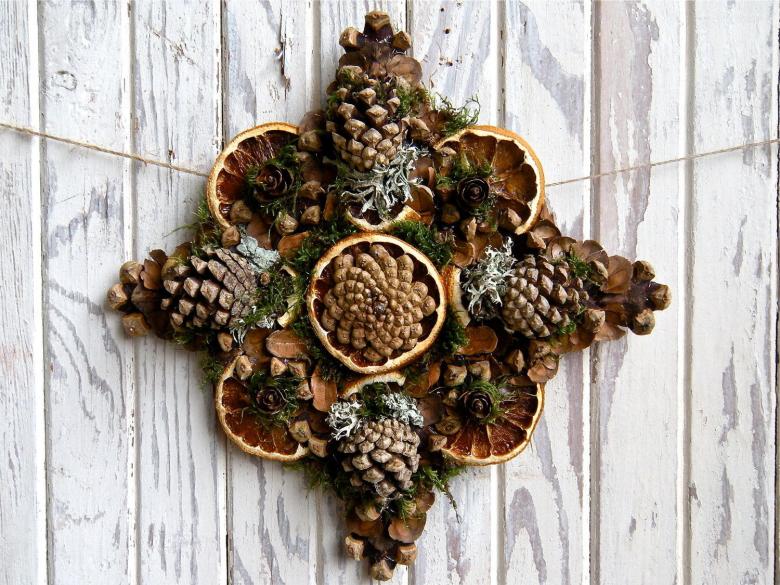
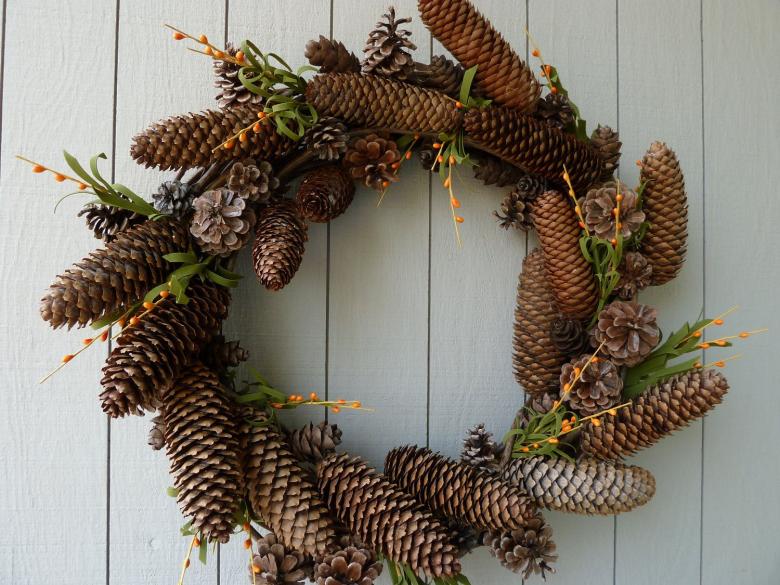
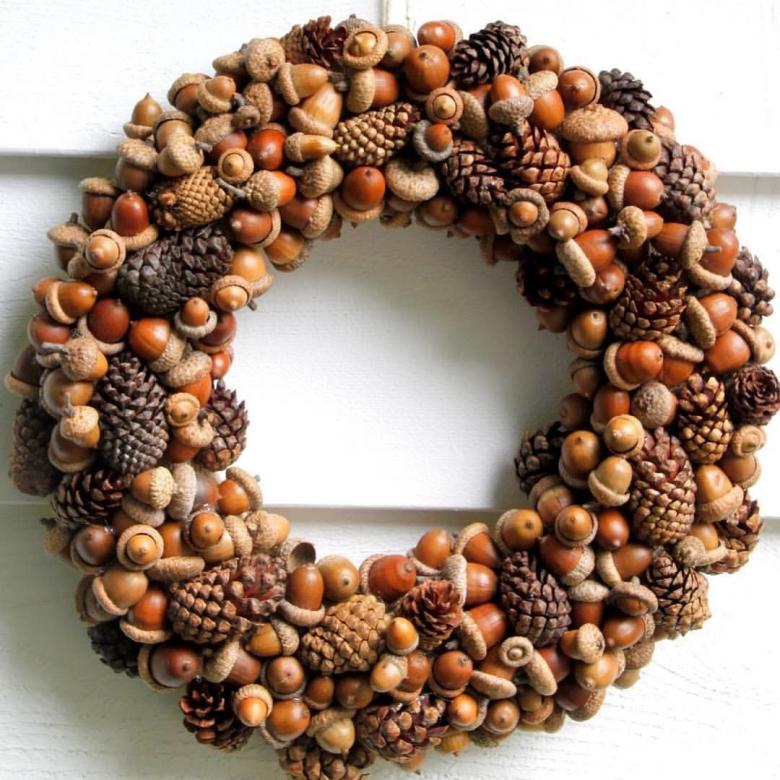
Creating a Christmas wreath with your own hands will not be difficult. To create a handicraft, it is enough to cut out of thick cardboard a ring of the desired diameter and decorate it with cones. Before starting work, you need to clearly think through the design, determine the color scheme and the set of decorative elements.

To create a wreath often use lace, rowan bunches, fir branches, ready-made floral blanks and others. You can give a wreath a more delicate and homely look with the help of light coloring or decorating with sequins.

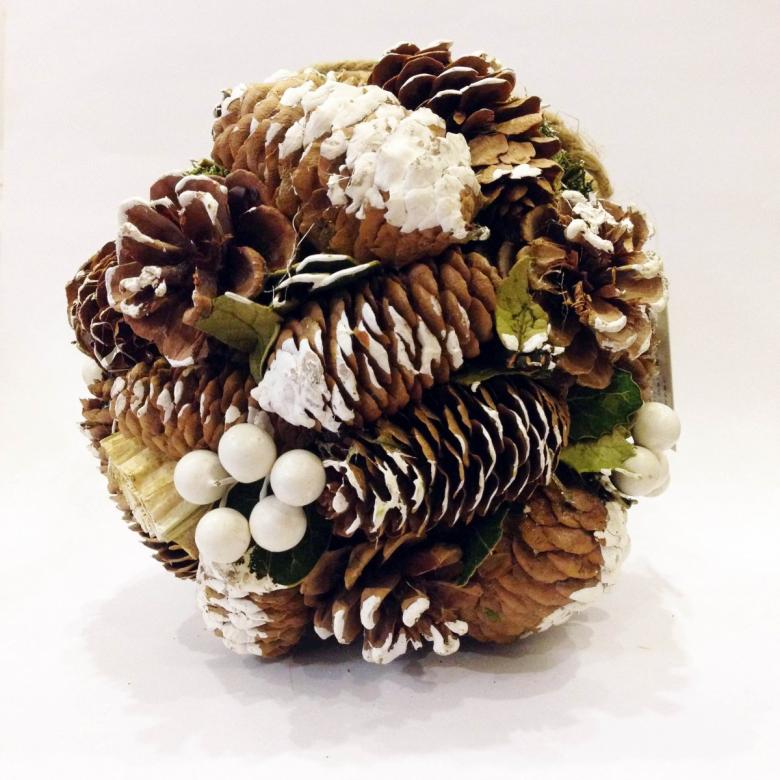
Ball made of cones
At the heart of the ball is a blank made of foam plastic, but the problem is that you can't glue it. Styrofoam will simply shrink. Therefore, to decorate the ball you will need: pliers, hot glue, copper wire, paint for decoration.

A small piece of wire is inserted into the base of the cone and glued in place for strength. The remaining "tail" of wire is twisted clockwise, so that a spiral is formed. Then it is screwed in the blank, and continue the procedure until the foam is completely covered. You can paint the ball both before and after, in the finished product.
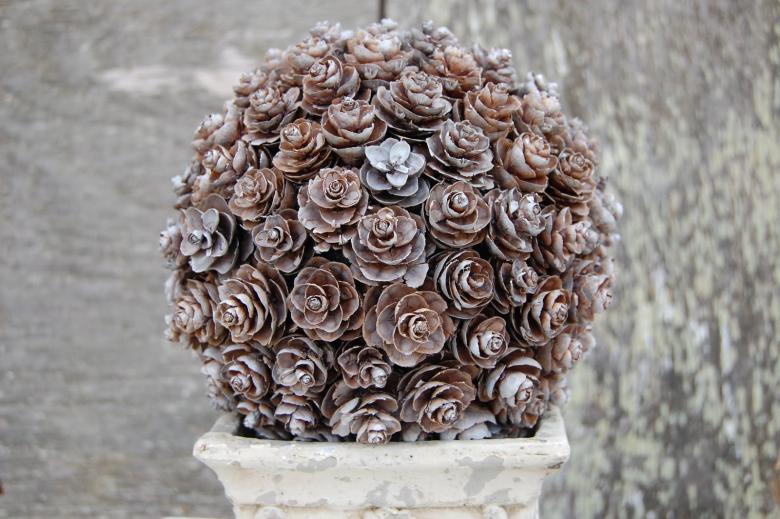
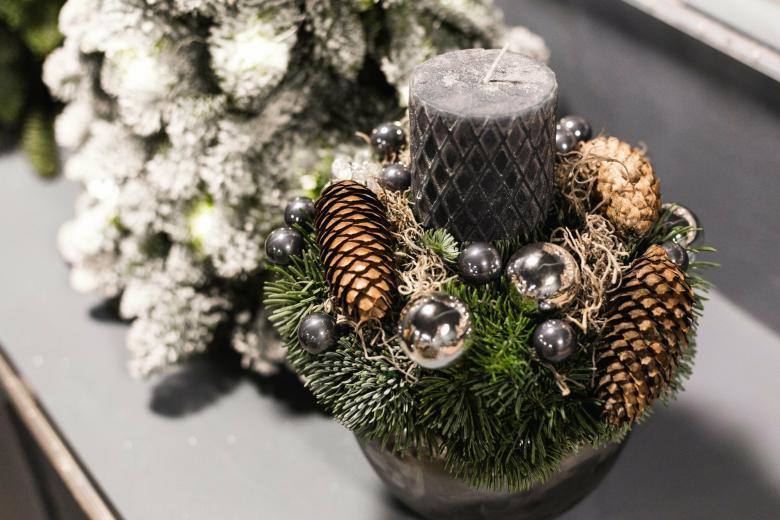
Decorative candle holder out of cones
Quite simple in the performance of a craft, which is able to create the atmosphere of a real Christmas miracle. To implement the project you will need: a wooden saw of the required diameter, lace, paint or artificial snow, glue, sprigs of spruce for decoration.

Cones are glued with hot melt on the edge of the wooden base, covered with paint (preferably through a sprayer) or snow, sprinkled with glitter (if desired) and tied with lace. Additionally, the design can be decorated with rowan trees, sprigs of spruce, etc.

Candle holder for floating candles
Small vertical floating candle holders can be made in a couple of minutes. To do this, you take small wooden knives, pliers, glue, and decorative items to match the overall style.

A gun glue is applied to the base of the cone, and it is glued to the spoke. Using pliers, remove the middle and insert a candle in a metal candlestick. Decorate the finished candlestick at will.
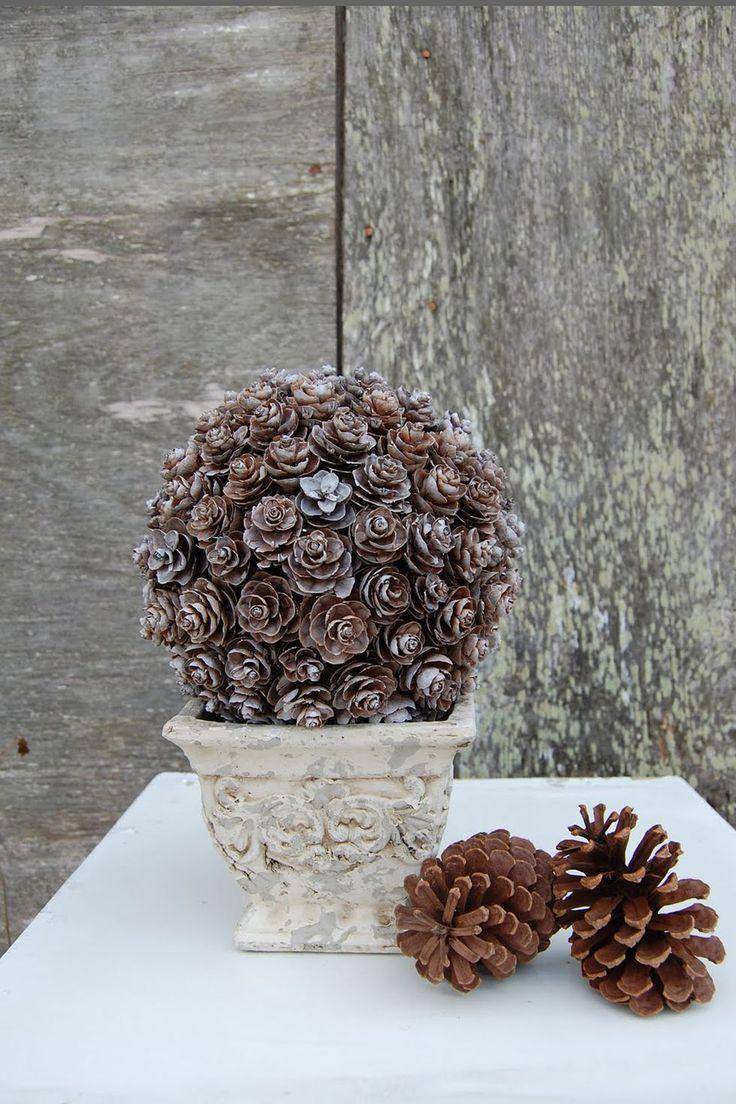
Making a topiary out of cones
What will be the topiary determines the selected blank of foam plastic. In addition, before starting work, it is necessary to stock up on: a ceramic pot, a stick of the right length, floral foam, floral pins, thermal glue, decorative materials. Workflow:
- in the center of the ceramic pot set the stick and fix it with glue;
- The rest of the space is filled with floral foam;
- A foam plastic piece is put on the free end of the stick;
- The pins are glued to the base of each cone, and then the cones are threaded onto the foam plastic, placing them close to each other.
The floral foam in the pot can be covered with moss or covered with decorative stones. The trunk and crown are painted as desired.
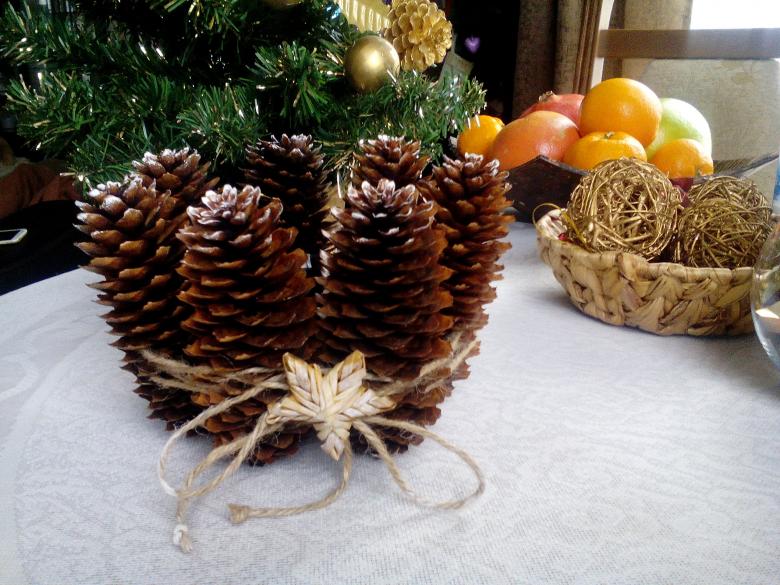
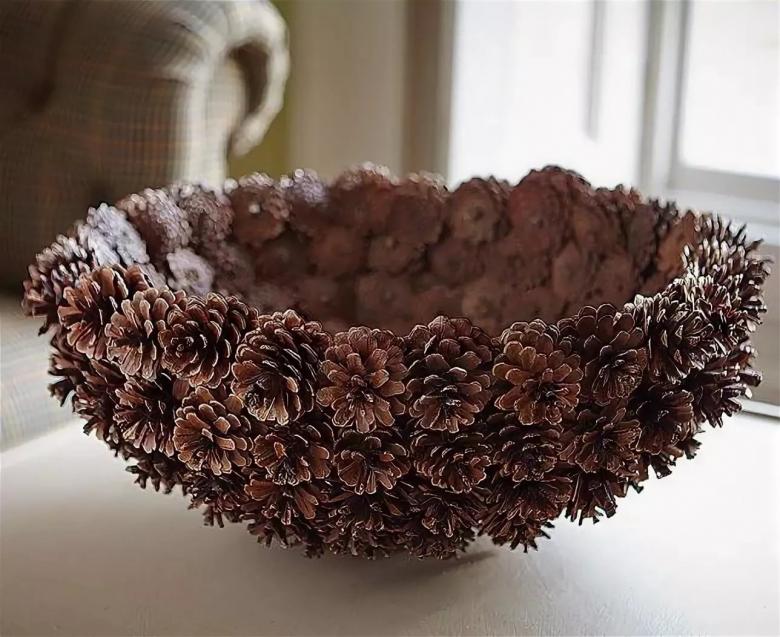
Basket of cones
A craft can be not only beautiful, but also useful. For example, the basket of cones, assembled with wire and fishing line can be used as a vase for fruit, and even carry small things in it. Such a basket will be especially in demand at the cottage. To make a sturdy basket, you will need: pliers, scissors, fishing line, copper wire, needle. Workflow:
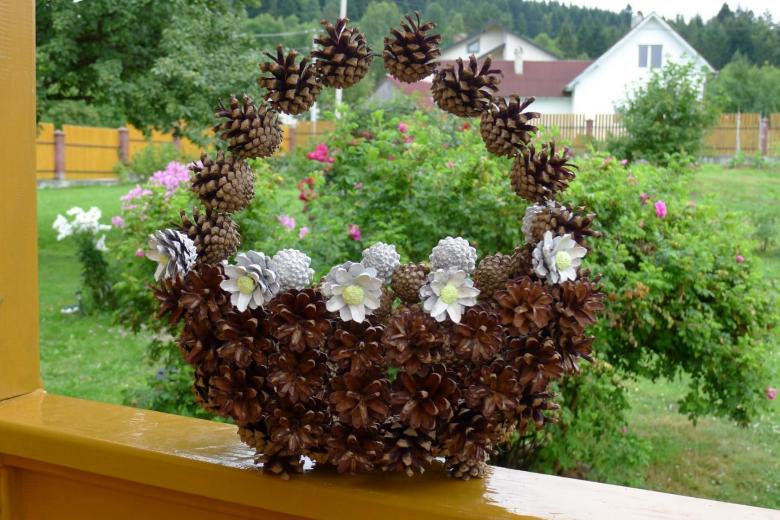
- The cones are sorted, leaving the largest for the bottom, the smallest for the walls;
- The wire is passed between the scales and twisted;
- Screw the next cone as close as possible, trying to make the scales cling as a lock. Place the cone with the narrow side inward;
- The assembled chain is connected into a ring of the desired size;
- the bottom ring will be small, the widest ring at the top;
- twisted rows are joined together with a fishing line and a needle, stitching the resulting blanks.
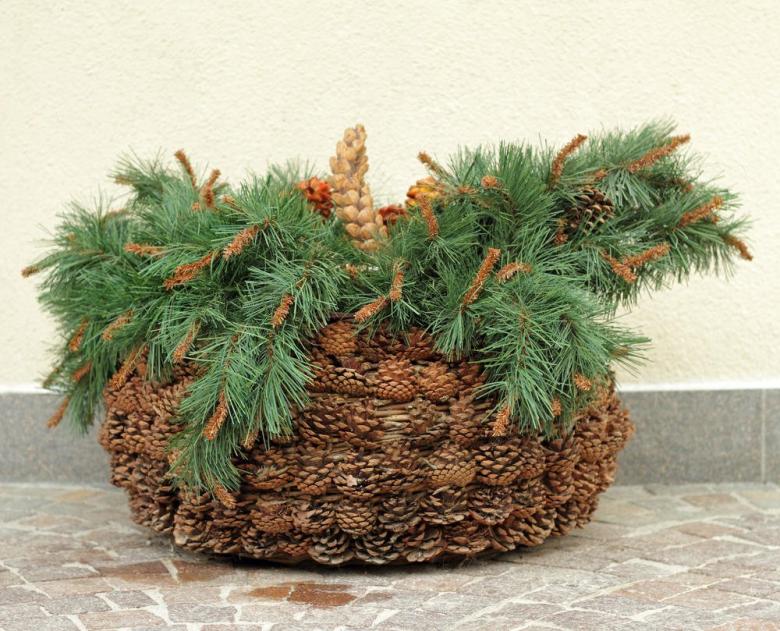
Once the basis of the basket is assembled, a handle is attached to it with wire, assembled on the same principle. You can decorate the basket with lace, artificial leaves, flowers or berries.
The forest gives us tremendous opportunities to be creative. Just a little imagination and from the materials at hand will begin to appear unique items that you can keep and friends are not ashamed to give. In addition, all crafts with natural materials can involve children. After all, this activity brings joy to kids at every stage, from collecting materials to the appearance of the first independent masterpieces.


