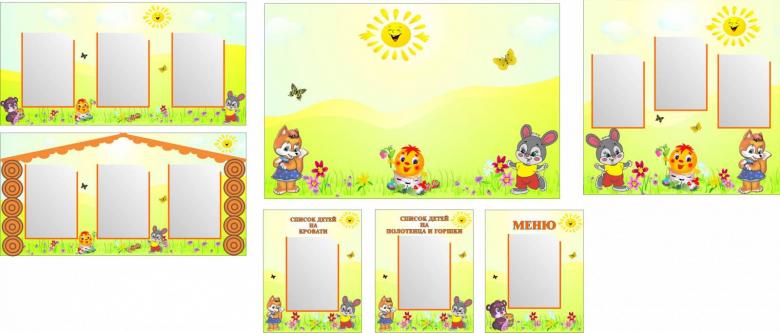
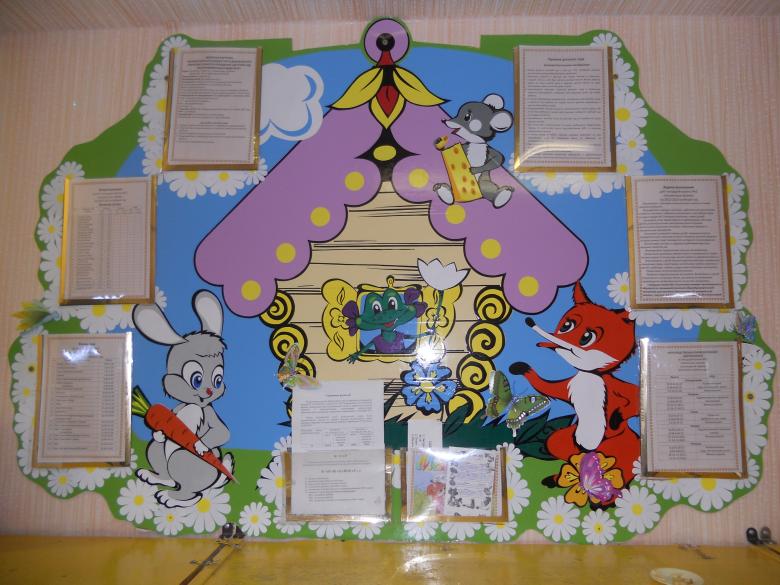
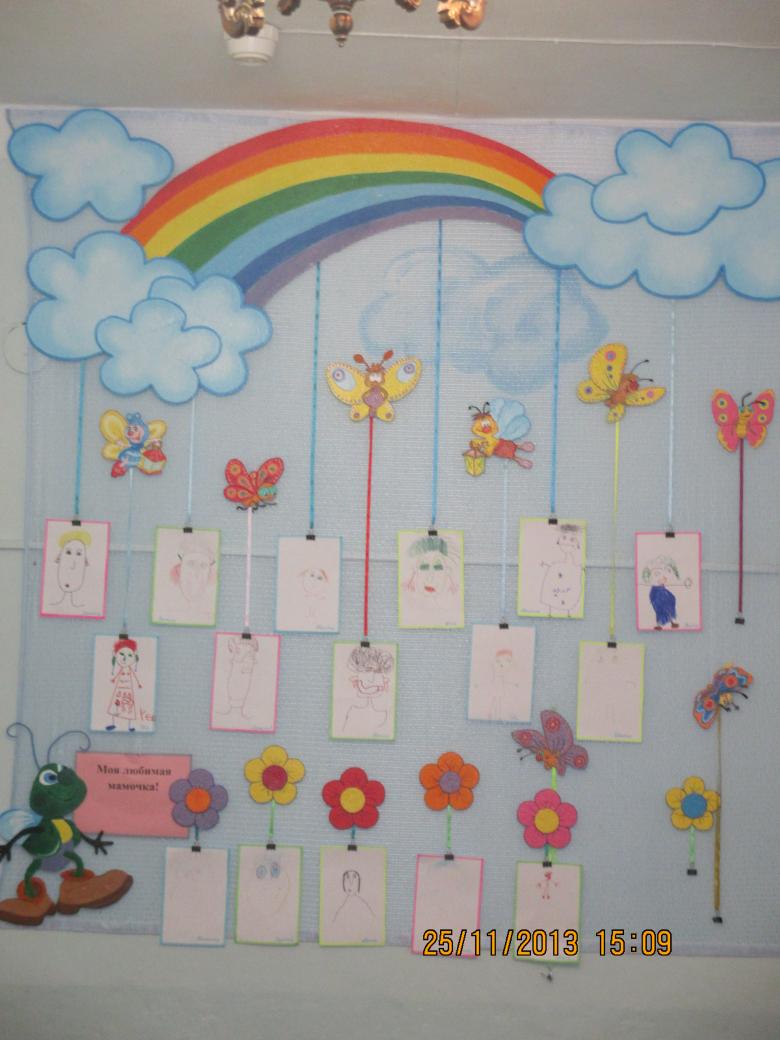
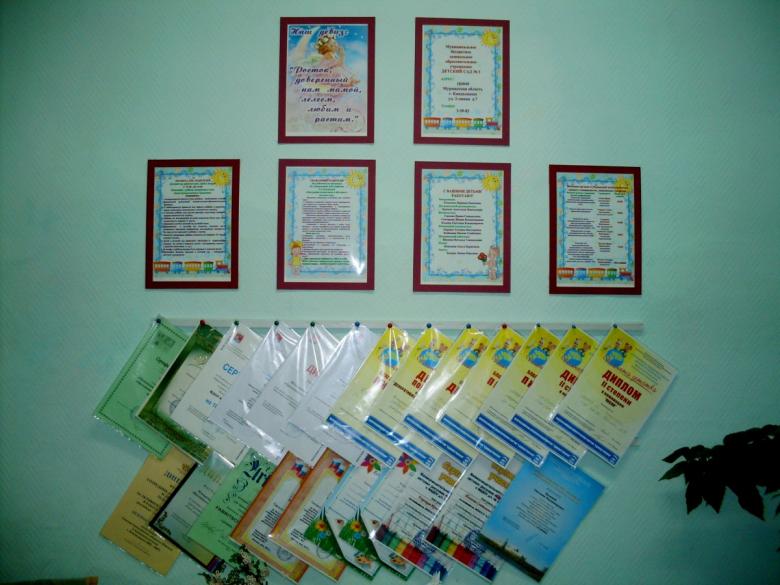
How to make a stand with your own hands - step by step instructions for beginners with examples of photos
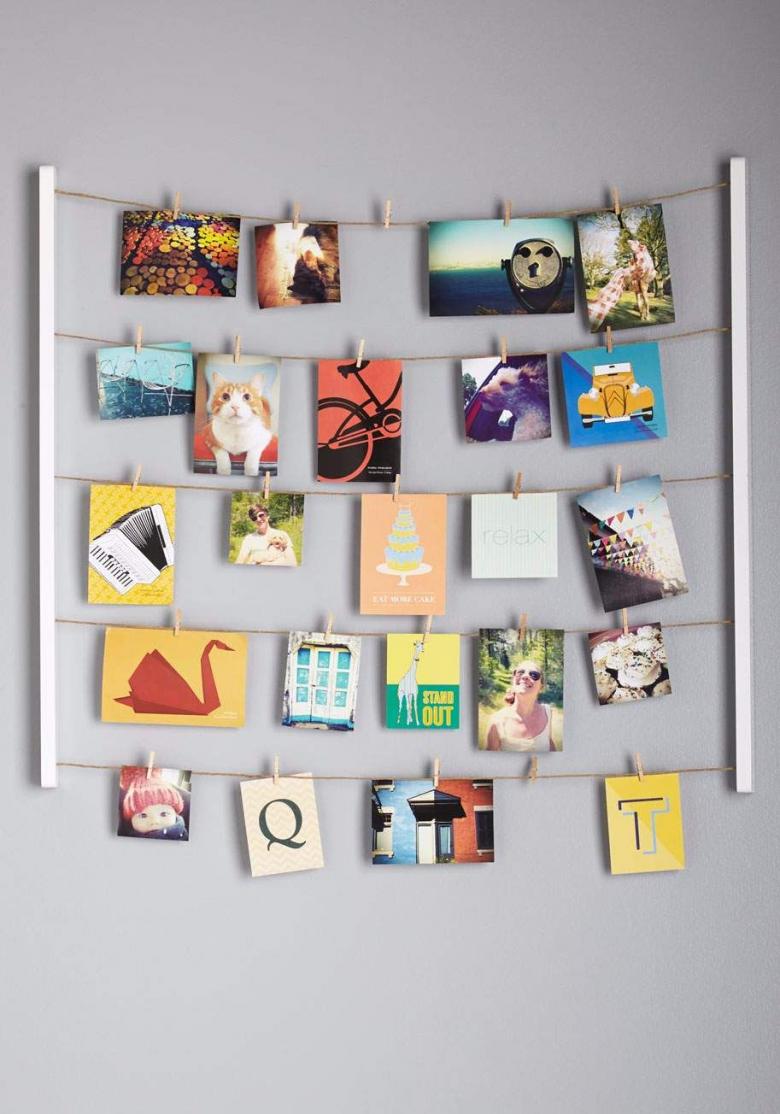
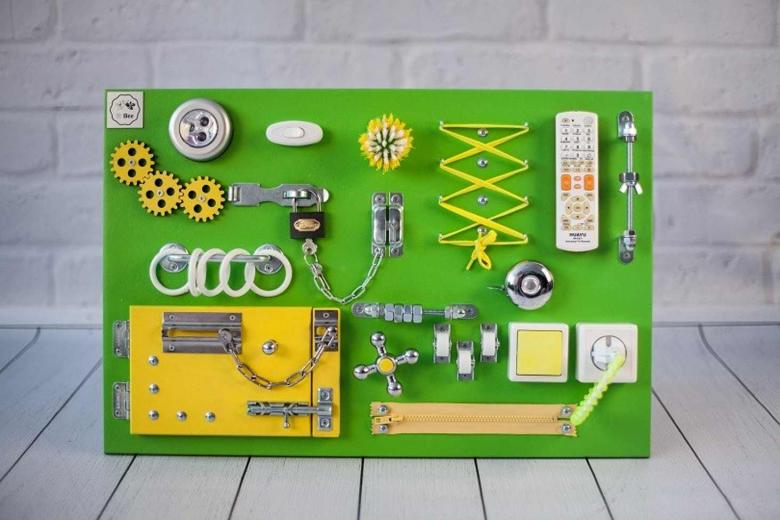
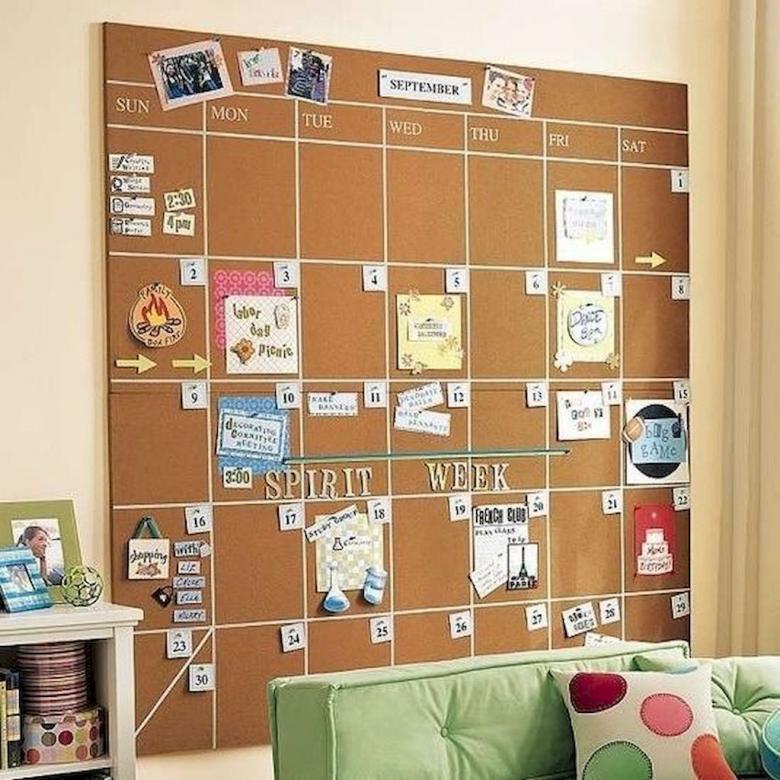
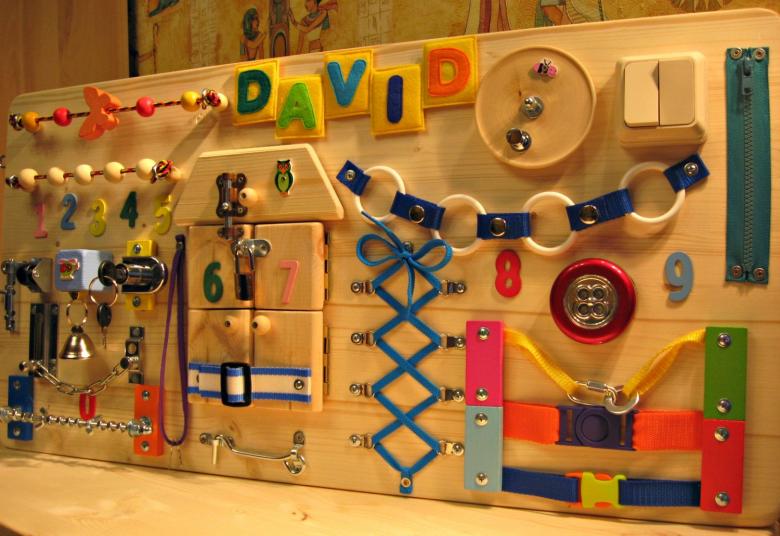
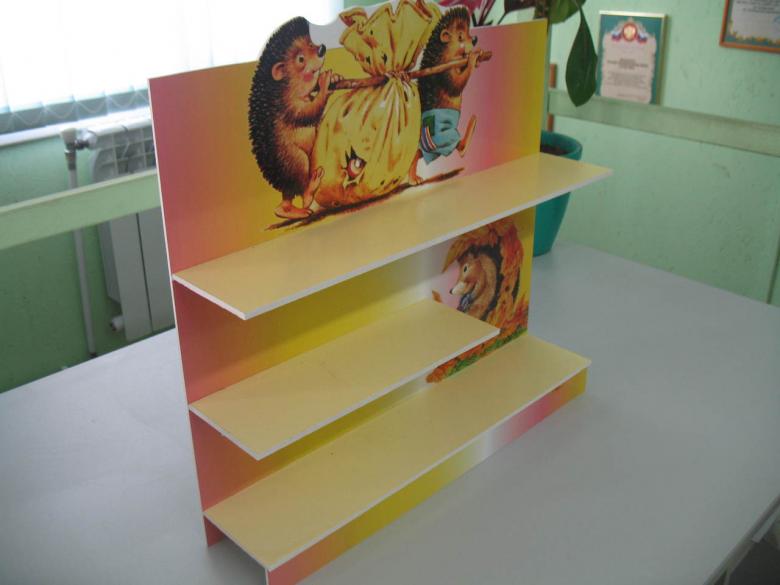
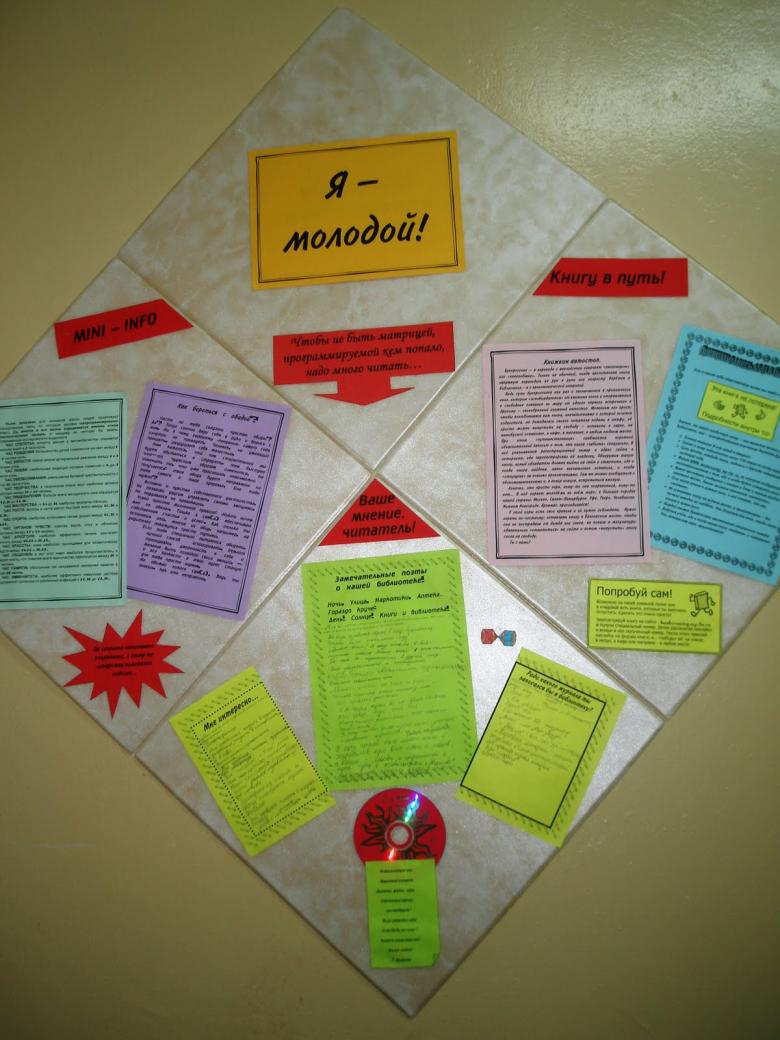
What do you need a stand for? This device is designed to place important information so that it was interestingly presented and accessible.

Stands are placed in shopping centers, general education and other institutions. Currently, many companies are engaged in the manufacture of stands to order, but you can also make it yourself, choosing the most appropriate material and size, as well as a decent saving.
How to choose the material for making a stand?
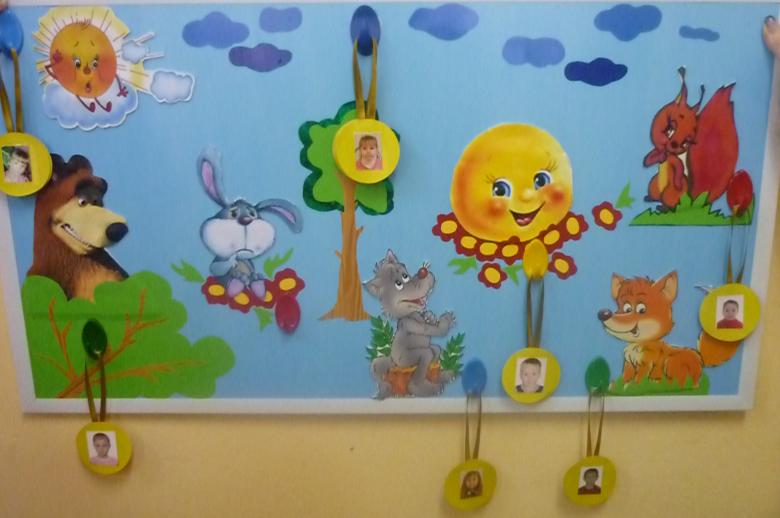
The most popular material for making information boards is cork. This material has a mass of positive characteristics and is suitable for use in institutions of any type. It is cork that is chosen for kindergarten stands, as it is a safe and hypoallergenic material. Note also other advantages of the cork board:
- Moisture resistance;
- Durability, wear resistance, resistance to mechanical damage;
- Perfectly withstands the force of impact;
- Resistant to chemical detergents;
- Fire resistance;
- Resistance to growth of fungus and mold;
- Quite a long service life.
To design the back side of the stand you can use a thin sheet of plywood or fiberboard.
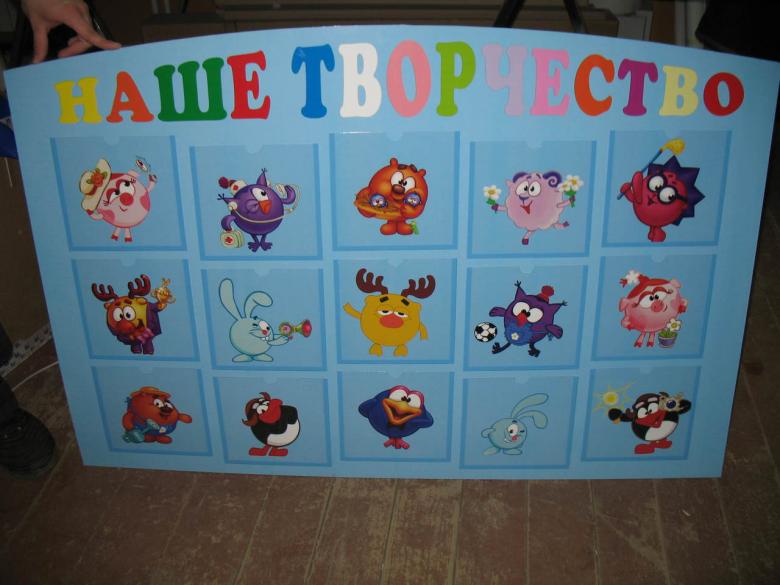
How to make a stand for information with your own hands?
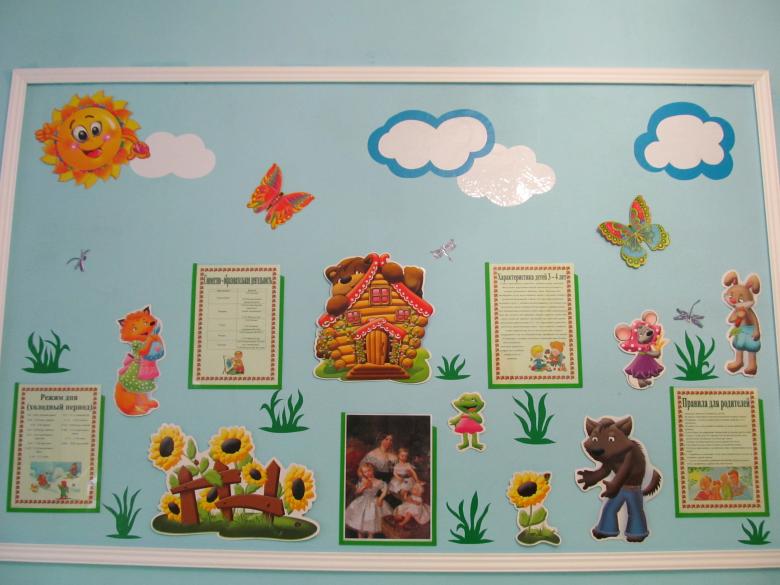
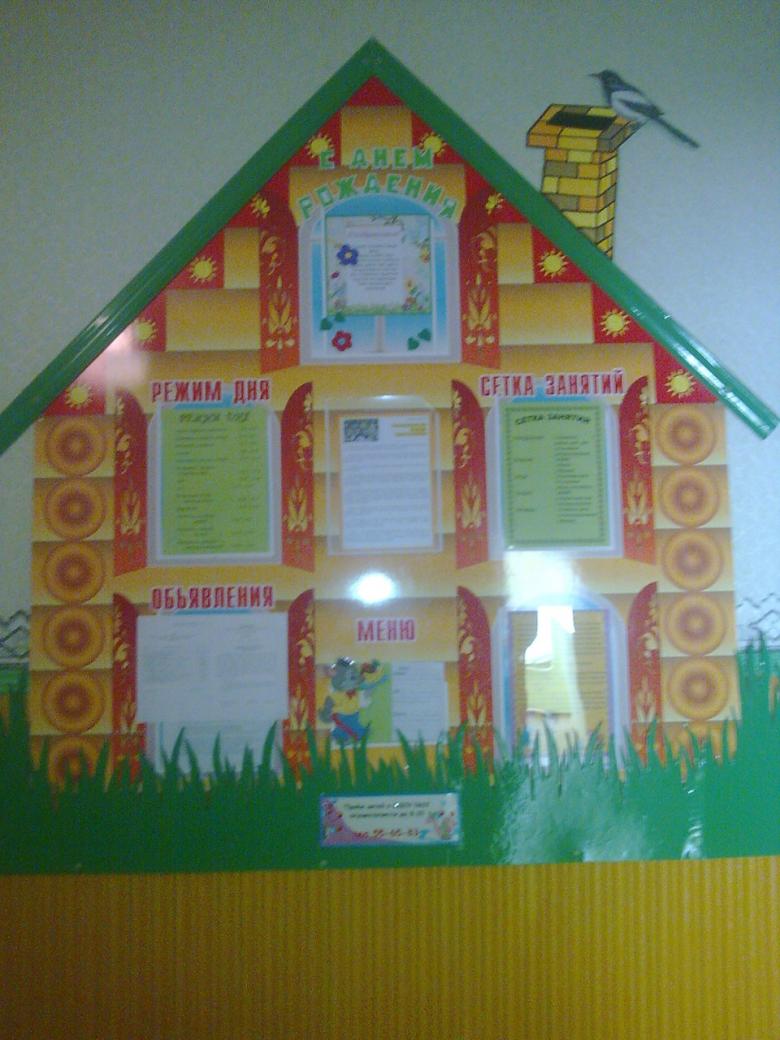
It is not necessary to have special knowledge and skills to build a stand on your own and add it to a room, a group in kindergarten or a school classroom. For the product to fit harmoniously into the interior of the room, you need to think carefully about its design. You can experiment both with the main shade, and with the design of the stand. Paint, fabric, self-adhesive film and more can be used as the main finishing material.
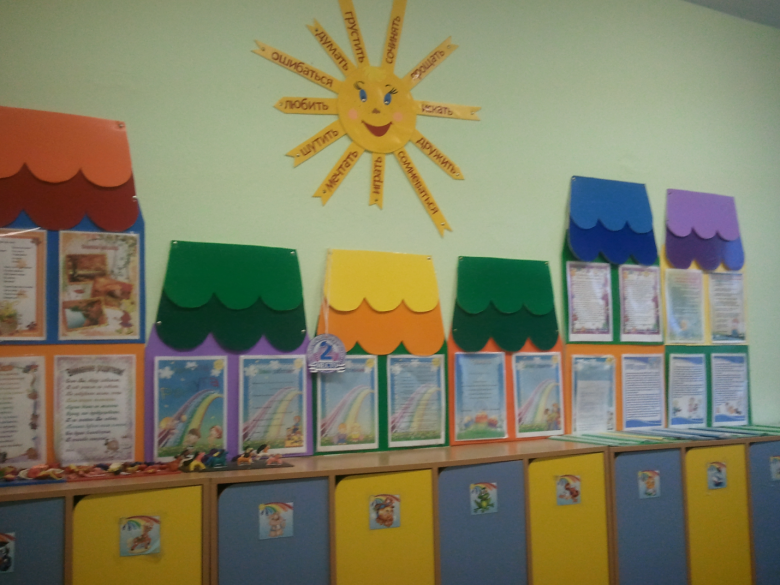
For framing the stand, you can use frames made of wood, plastic, aluminum, foam plastic, cable ducts, suitable width and so on.

When making it is also necessary to take into account the method of attachment. For more convenient use, it is recommended to use a suspended mounting method, as mounting with glue can cause a lot of inconvenience in the future.
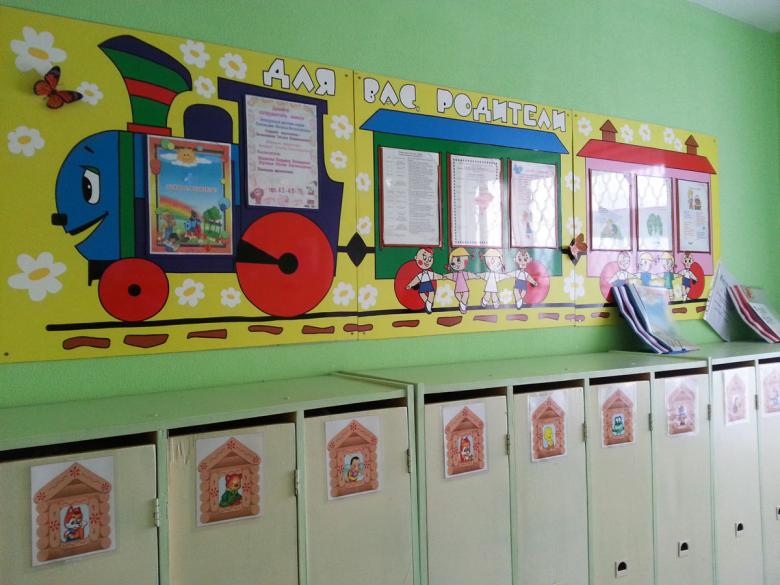
Recommendations for making a stand
- Be responsible for choosing the location of the construction. It should be well-lit and accessible for all to see. Try to visualize its location in the chosen place.
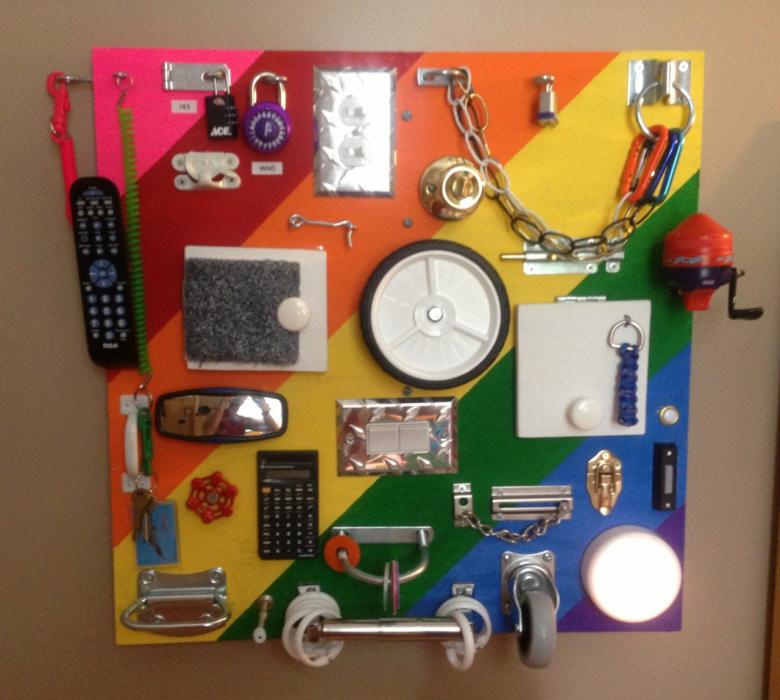
- A stand with a bright color scheme will look much more interesting and attractive, but its basic design should still match the style of the room.
- Take care in advance about the reliability of the fasteners.
- Before you start the work on the manufacture, make sure you have all the necessary tools, including a sharp knife.
- Choosing the location of the design, determine its size and prepare the materials that will be needed for decoration.
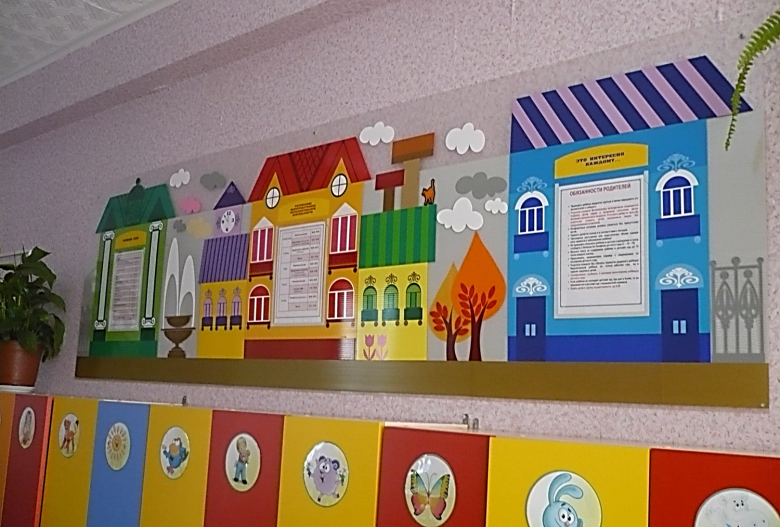
Stand with your own hands: features and principles of production
So, the first thing to start with is the base of the design. Once the size of the stand is determined, it is necessary to choose a cork board and plywood of the right size and glue them together with glue or liquid nails. Next, the workpiece should be painted, covered with fabric or film and you can proceed to decoration.

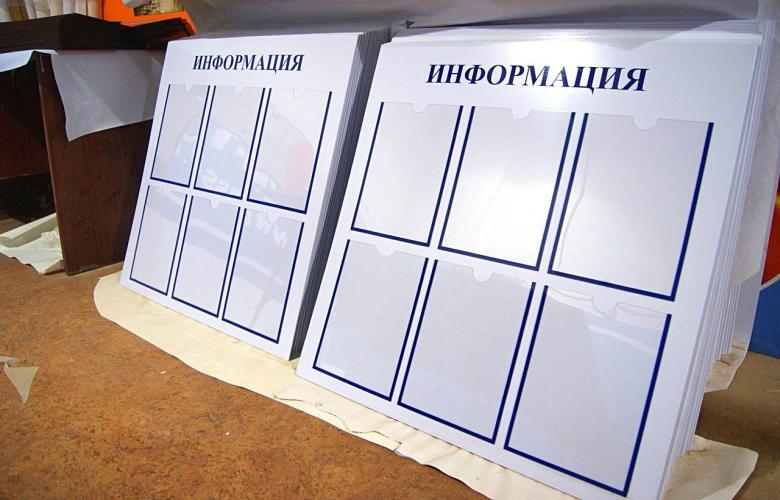
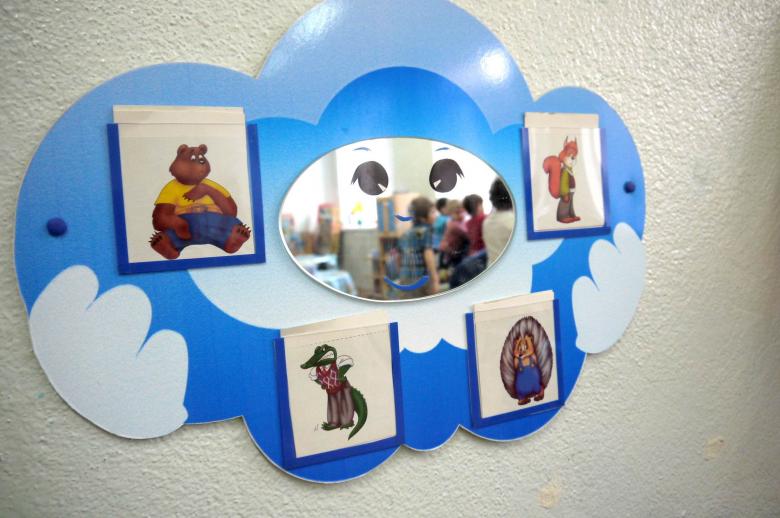
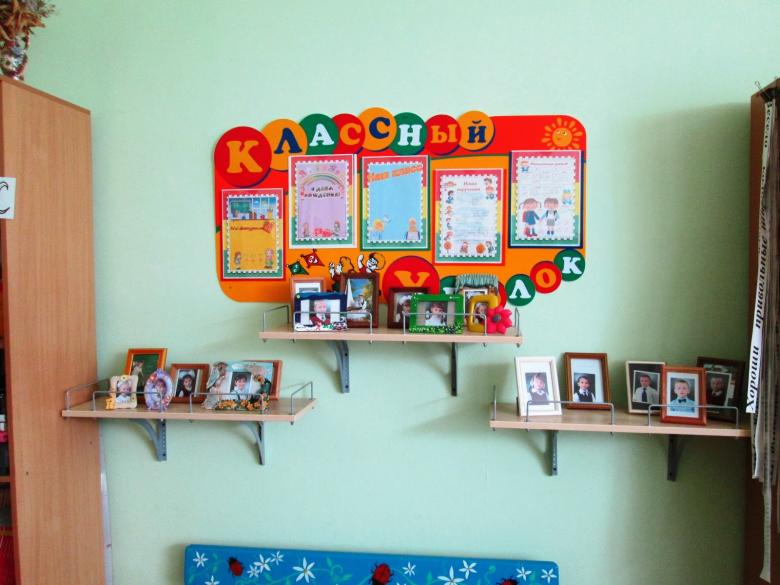
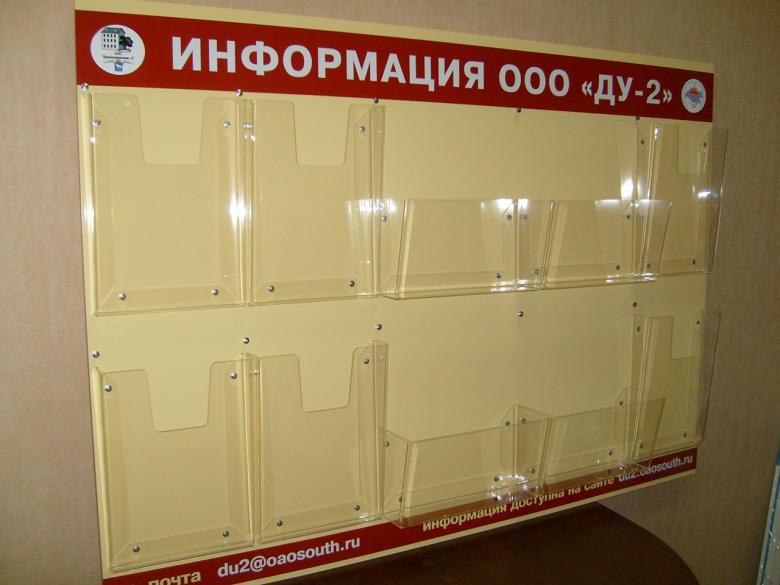
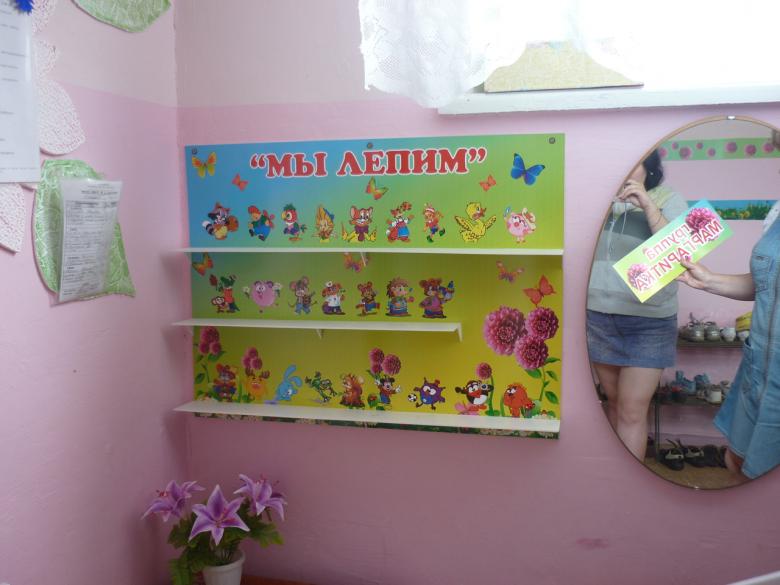
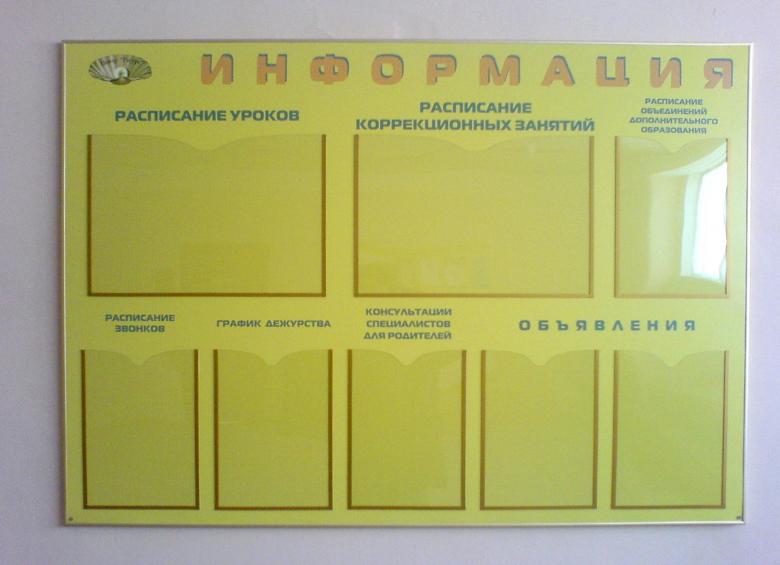
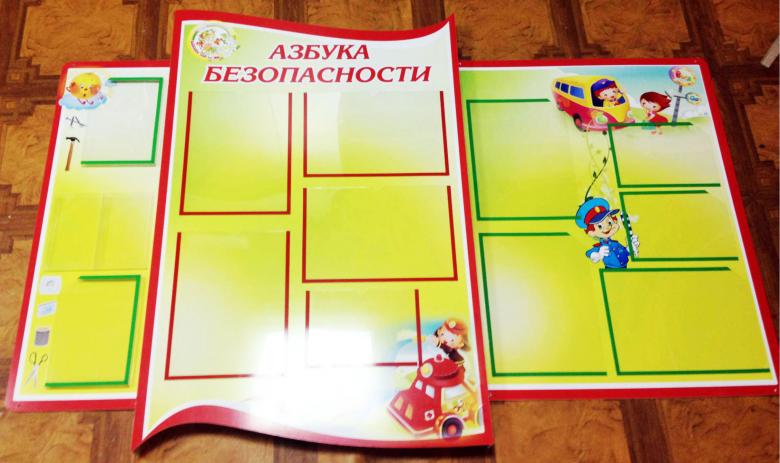
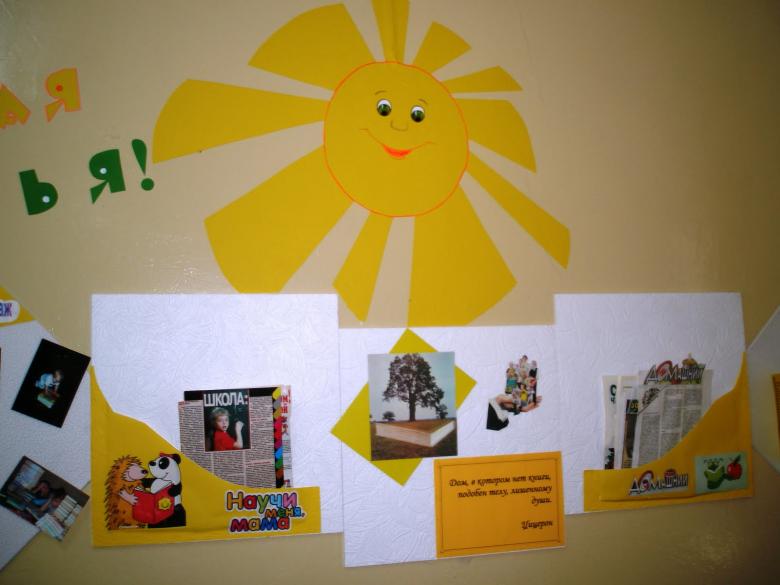
Start the design with pockets, which will be placed sheets of information. For this purpose, you can use plexiglass of appropriate size or sturdy files. The number of pockets can be absolutely any.

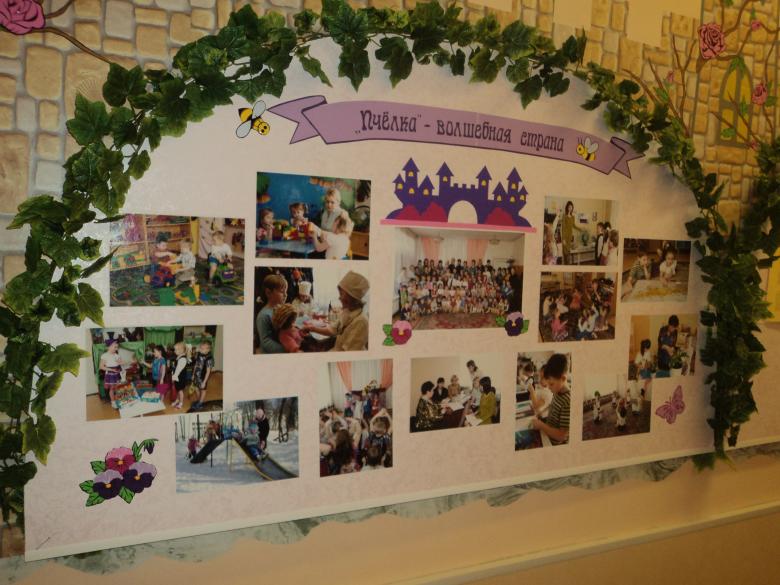
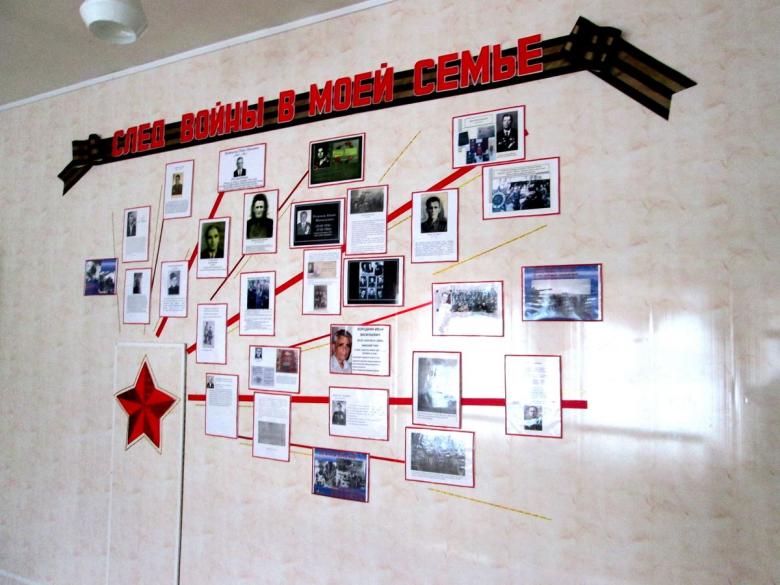
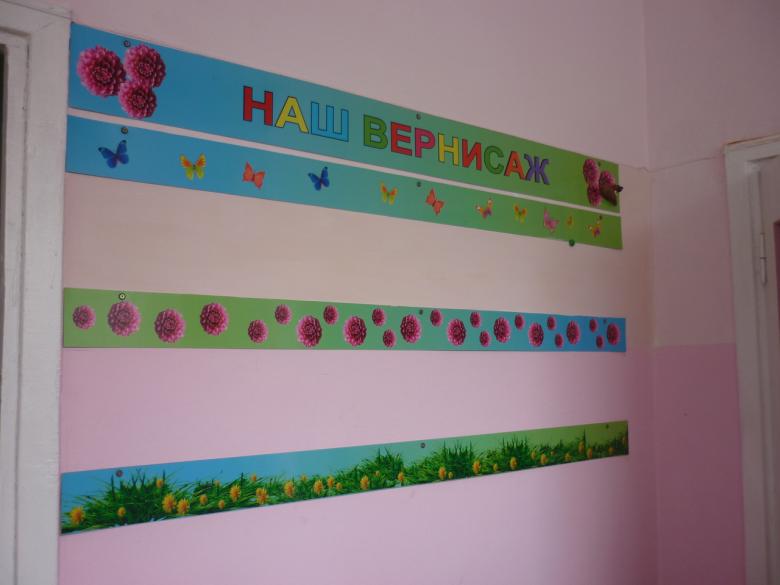
Next, you need to determine the theme of the design. This can be a timetable, a healthy lifestyle corner, holiday greetings, and so on. The name of the stand is an important part of its design. The title should be bright, large, and catchy. Remember that an information stand is an organization's business card, so increased attention should be paid to its design. Letters for the header can be cut out of bright plastic or junk magazines.
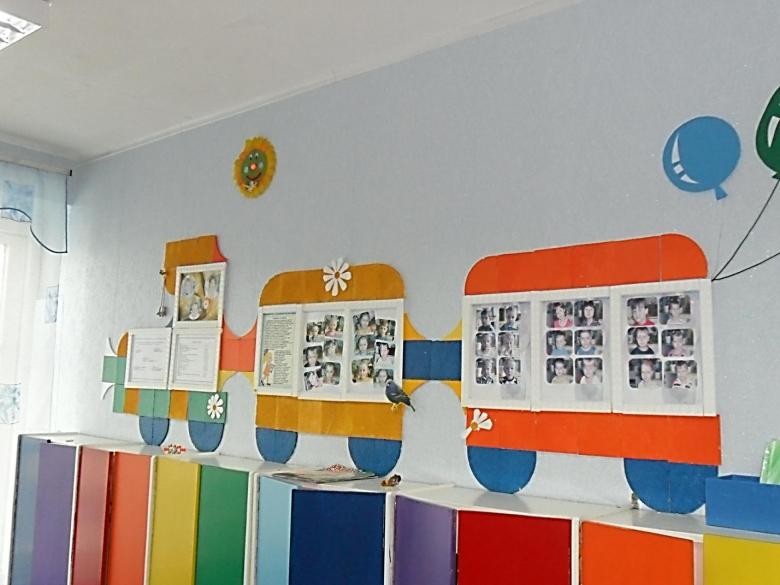
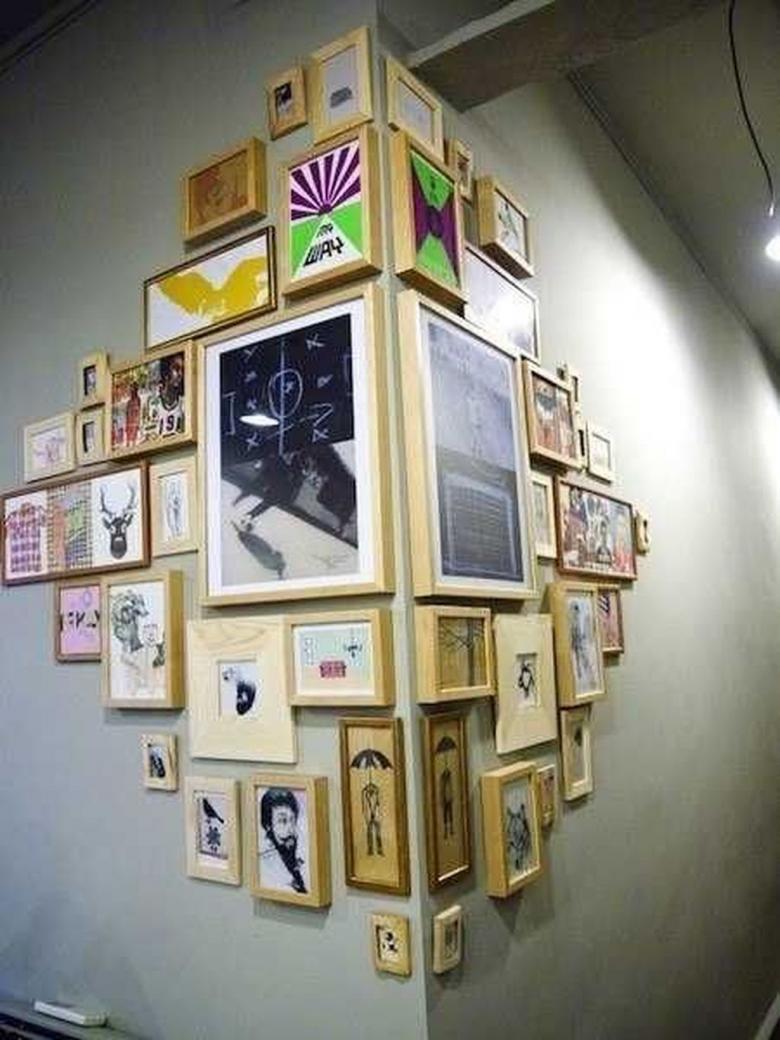
Remember about the frame of the stand. With a frame, the design will look more aesthetically pleasing and concise.
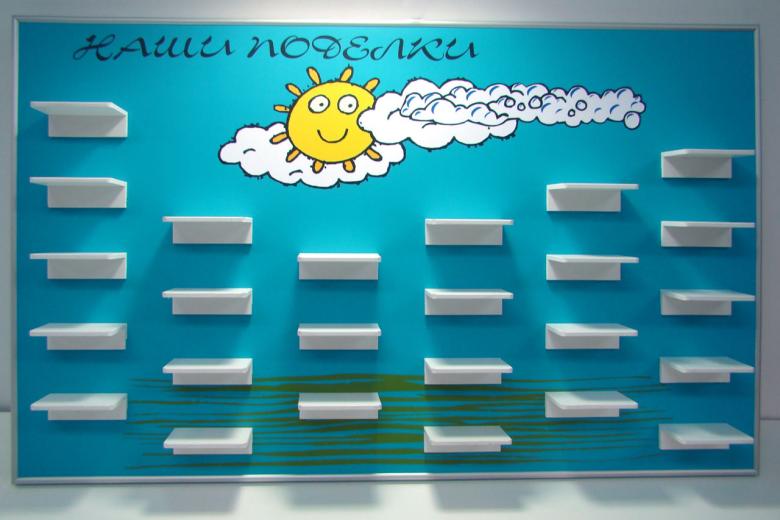
Sheets of information and other important information can be attached to the stand with buttons or safety pins, but if we are talking about a child care facility, it is worth finding an alternative method.

Advantages of making your own stand
- Possibility of creating a unique, original, inimitable design, convenient location, shape and size.
- By making your own design you will be able to choose materials that perfectly match the interior of the room.
- You will have the opportunity to place on the stand only the information that you need, as well as choosing the optimal location of pockets on the board.
- By making a board for information with your own hands, you will be able to choose the color scheme that best fits the overall style of the room.
- You don't have to adapt to a patterned design, because you can arrange the pockets and information fields as you see fit.
- Your own work is a great way to emphasize individuality and add a highlight to the image of the room.
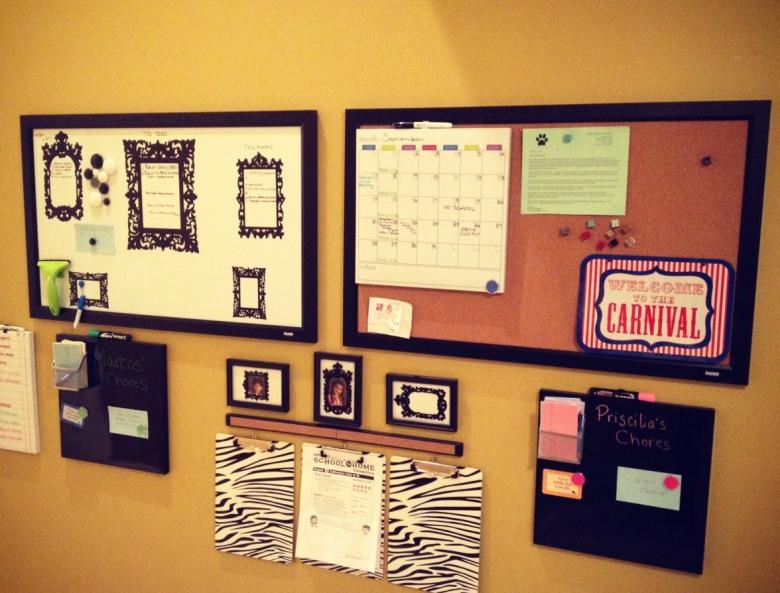
Making the design does not take much time and does not take much effort. You can make a simple construction of small size in only 30 minutes. With larger and more complex stands you will have to do a bit of work, but you can be sure that the result will exceed your expectations.
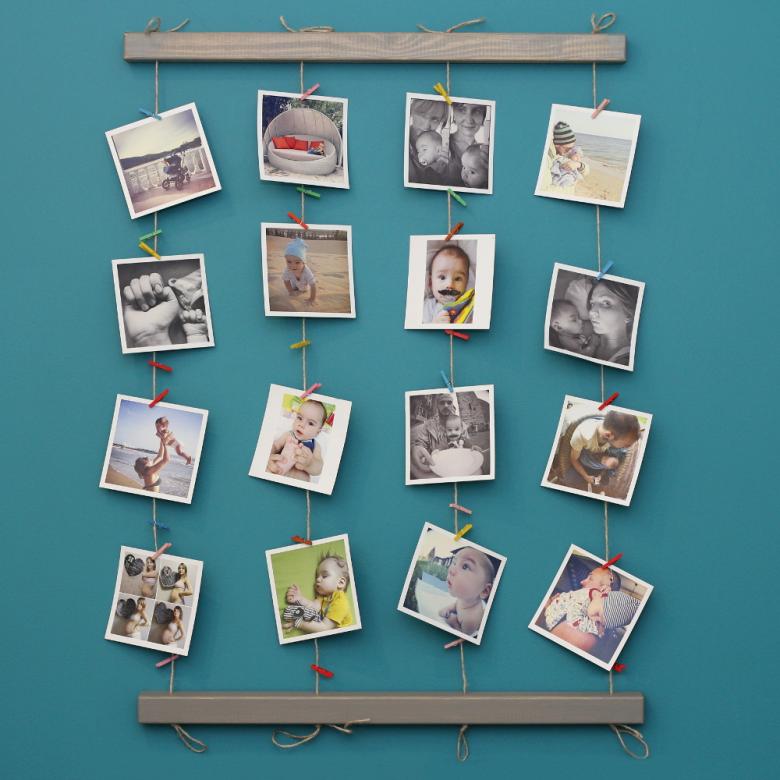
Stands are actively used by people at home and in educational, medical, transport and other institutions.
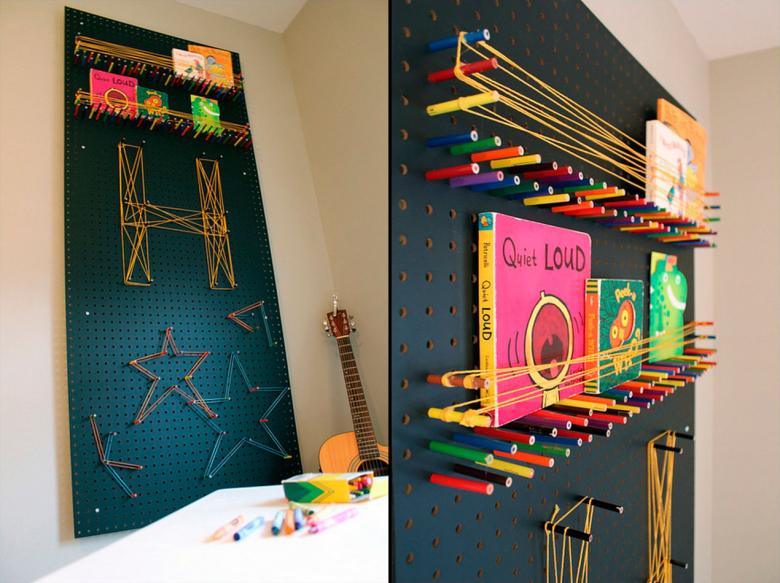
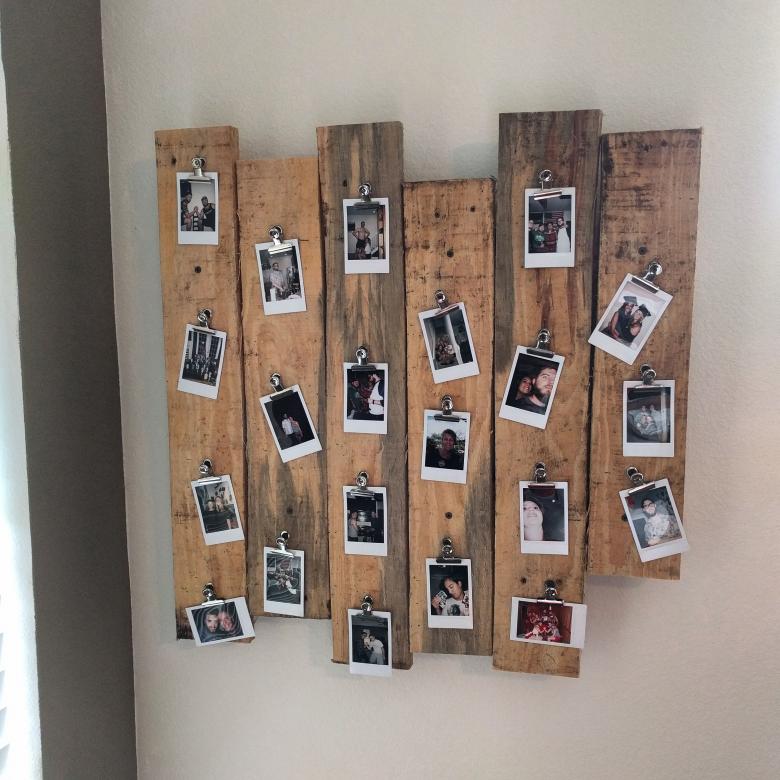
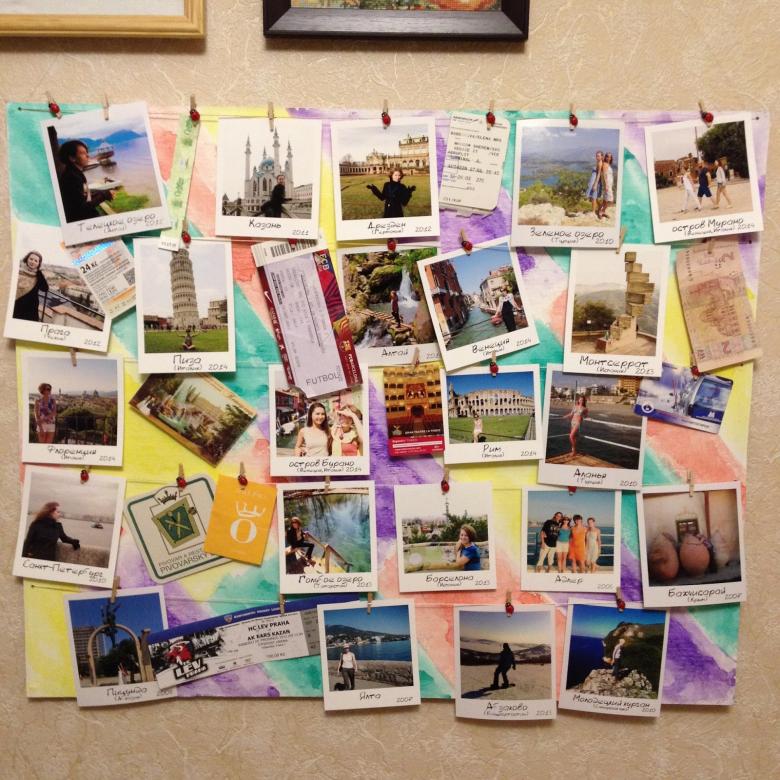
Important information, plans for the future, memorable photos, organizer, list of employees, timetable, and this is not an exhaustive list of information that can be placed on the stand.

