How to make origami claws: the materials for work, decoration and photo examples
Origami art came to us from the East and involves the ability to create from a sheet of paper amazing three-dimensional figurines of different objects or animals. This skill requires its creator maximum concentration, assiduity, attention and patience.
These qualities are well adopted by younger children, whose origami then turns into a hobby. In fact, now we are going to talk about how this fascinating occupation can dilute everyday life and allow you to create amazing handicrafts. And, perhaps, now we will begin to get acquainted with this art with the most simple crafts on the theme of origami claws from paper.
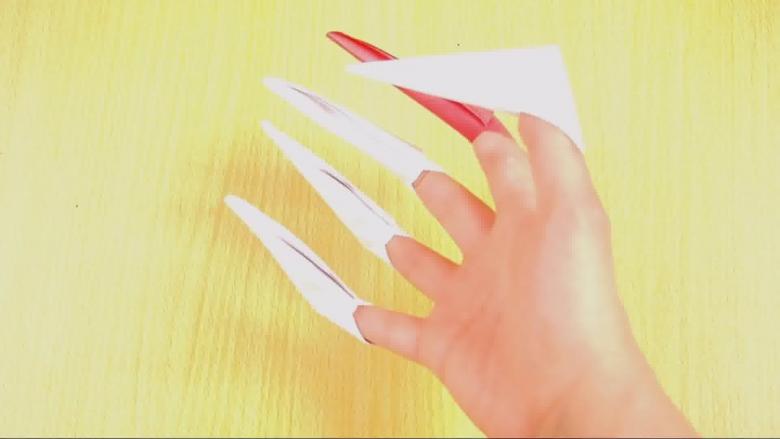
Materials
Additional materials for creativity:
- Foil.
- Fabric.
- Nail Polish.
- Glitter.
- Thread and needle.
- PVA glue, brush.
When working with origami and materials, be sure to follow the safety rules. Advise your child about the safety of working with scissors and other dangerous objects.
When instructed, be patient, and most importantly, stock up on paper and other materials. As practice shows, sometimes the imagination of children does not stop at paper alone! Anything can be used, from an old shirt, to cardboard and wrappers, and if imagination allows, you can add additional elements to the claws, which will be discussed below.
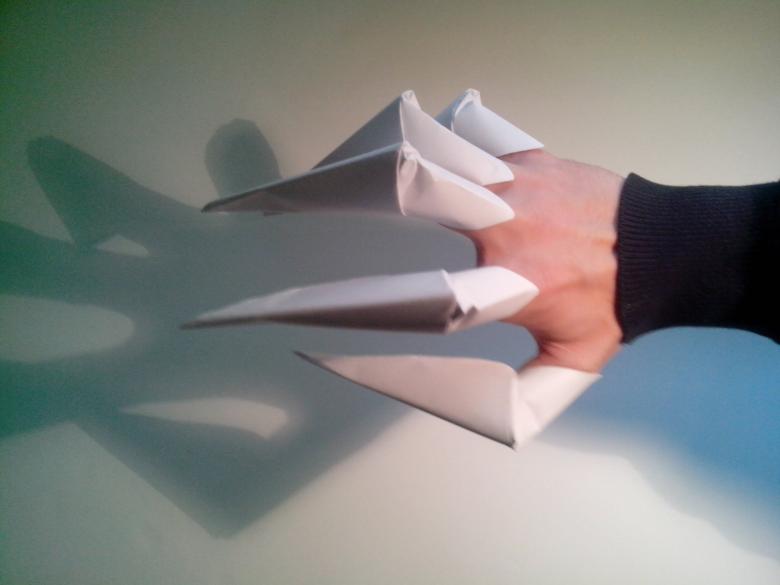
Freddy Krueger Claws
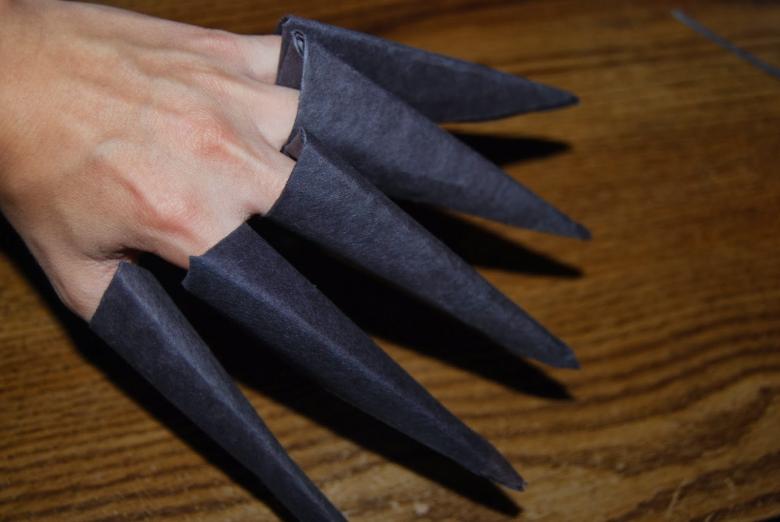
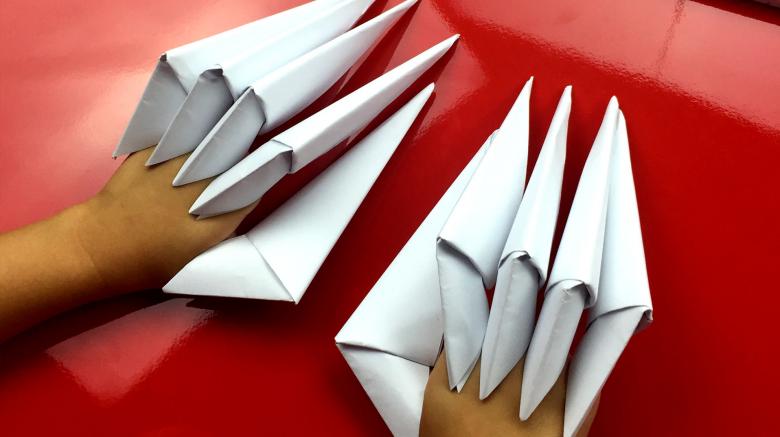
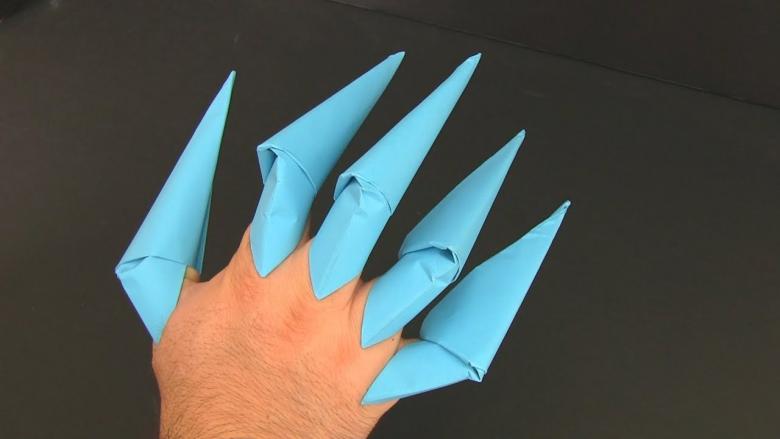
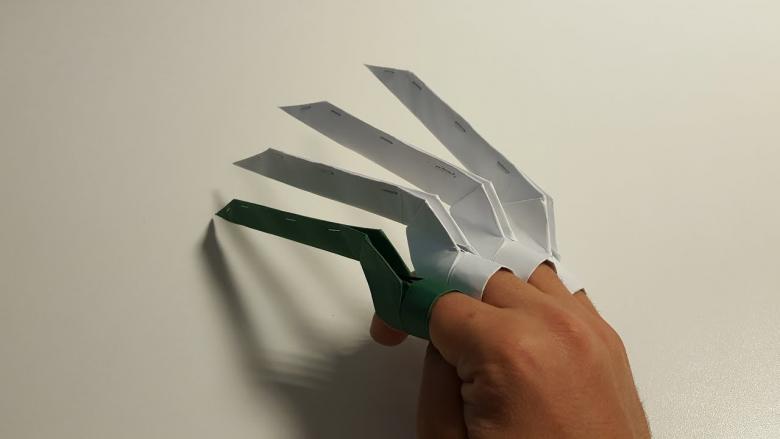
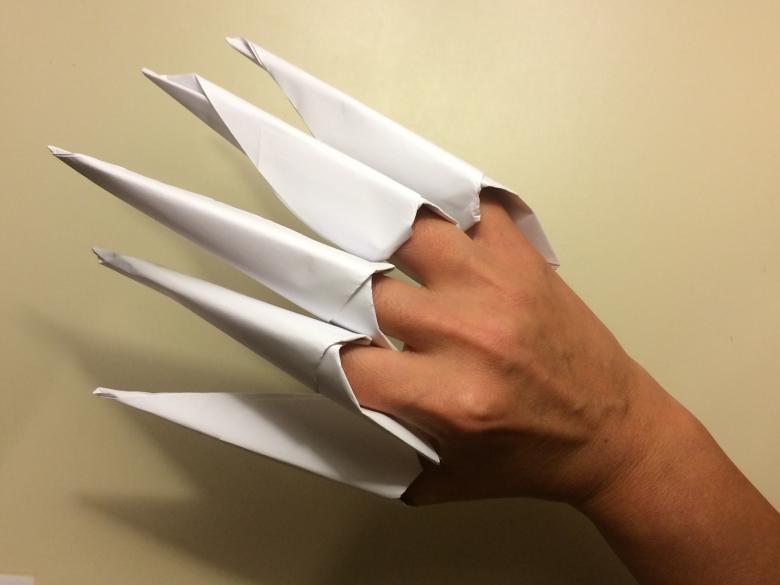
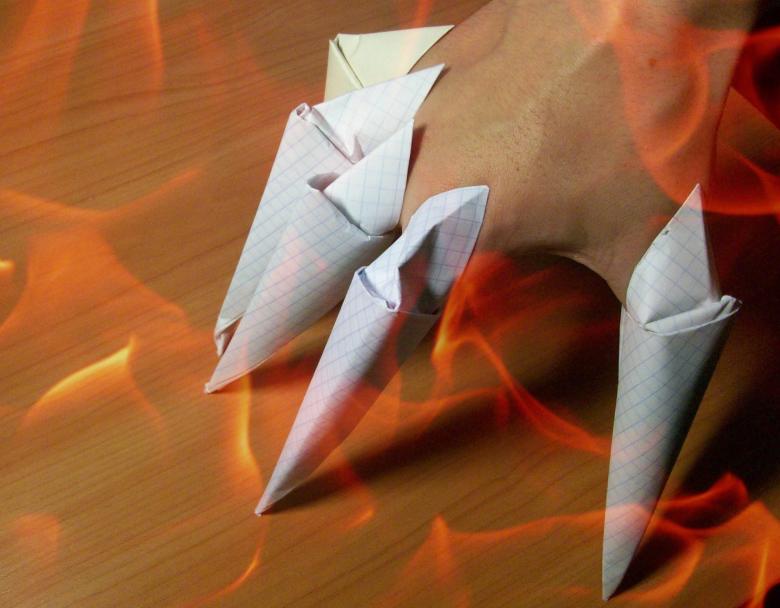
Quite a vivid and interesting example of a character who brought terror to children. It is interesting that the claws can be applied as a decoration to a Halloween costume or for role-playing games.
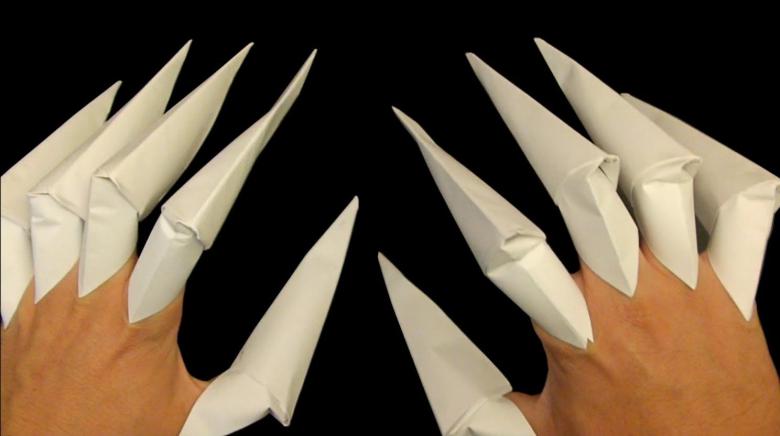
It does not take long to make them, and with a flight of fancy, there are no restrictions in color and materials. Claws can be made from a thick layer of paper over foil, then they will be dense and strong enough to play without fear of damaging them.
On a side note: For added strength you can wrap the claws with tape!
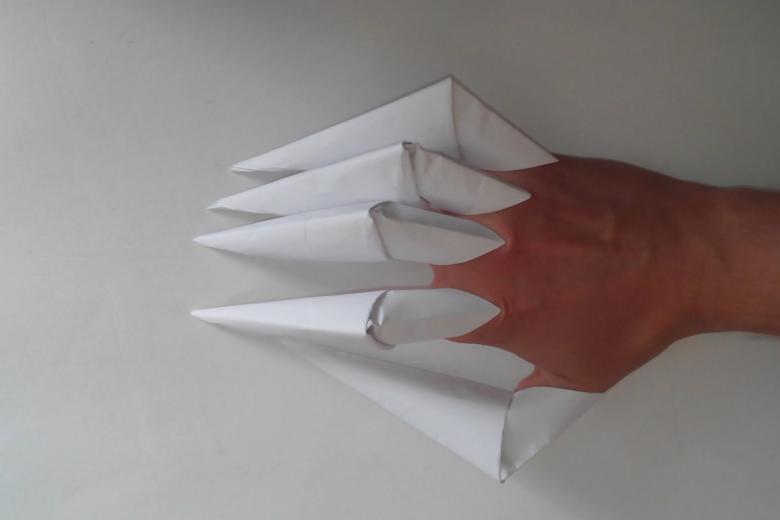
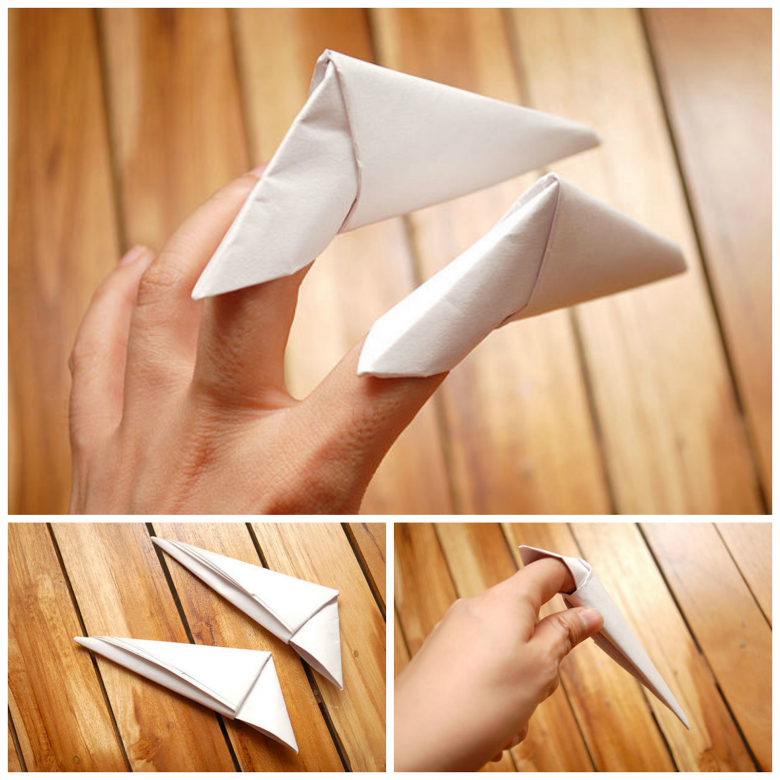
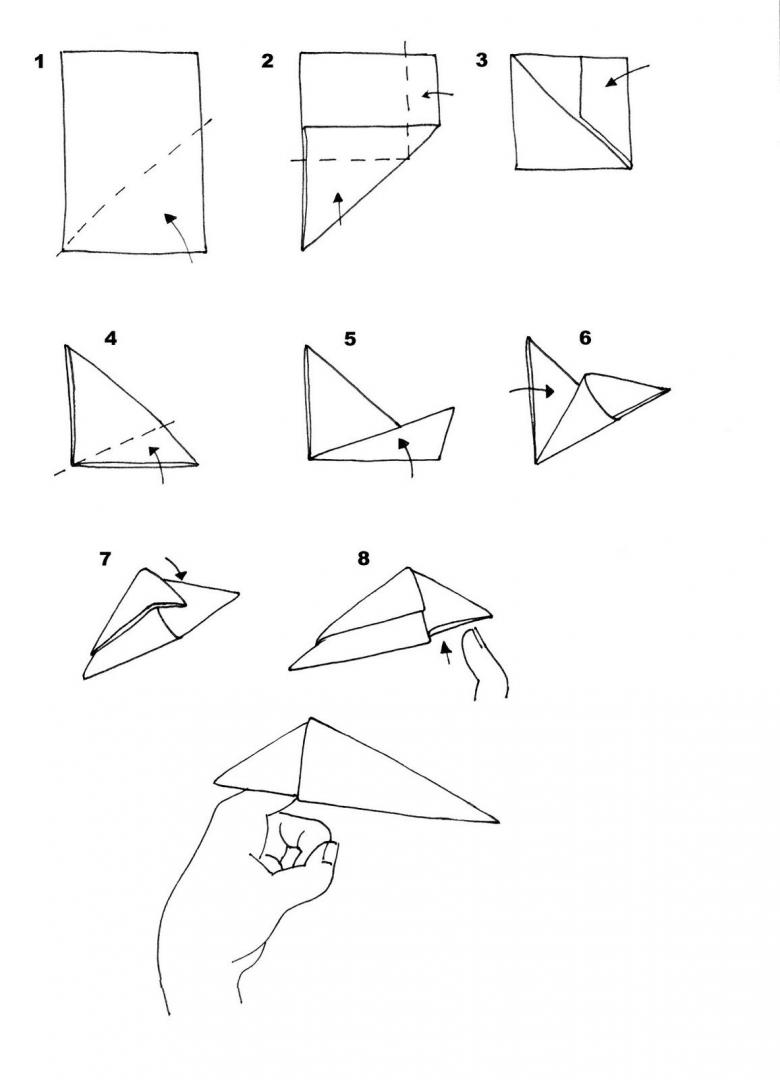
We offer a step by step origami instructions Freddy Krueger claws.
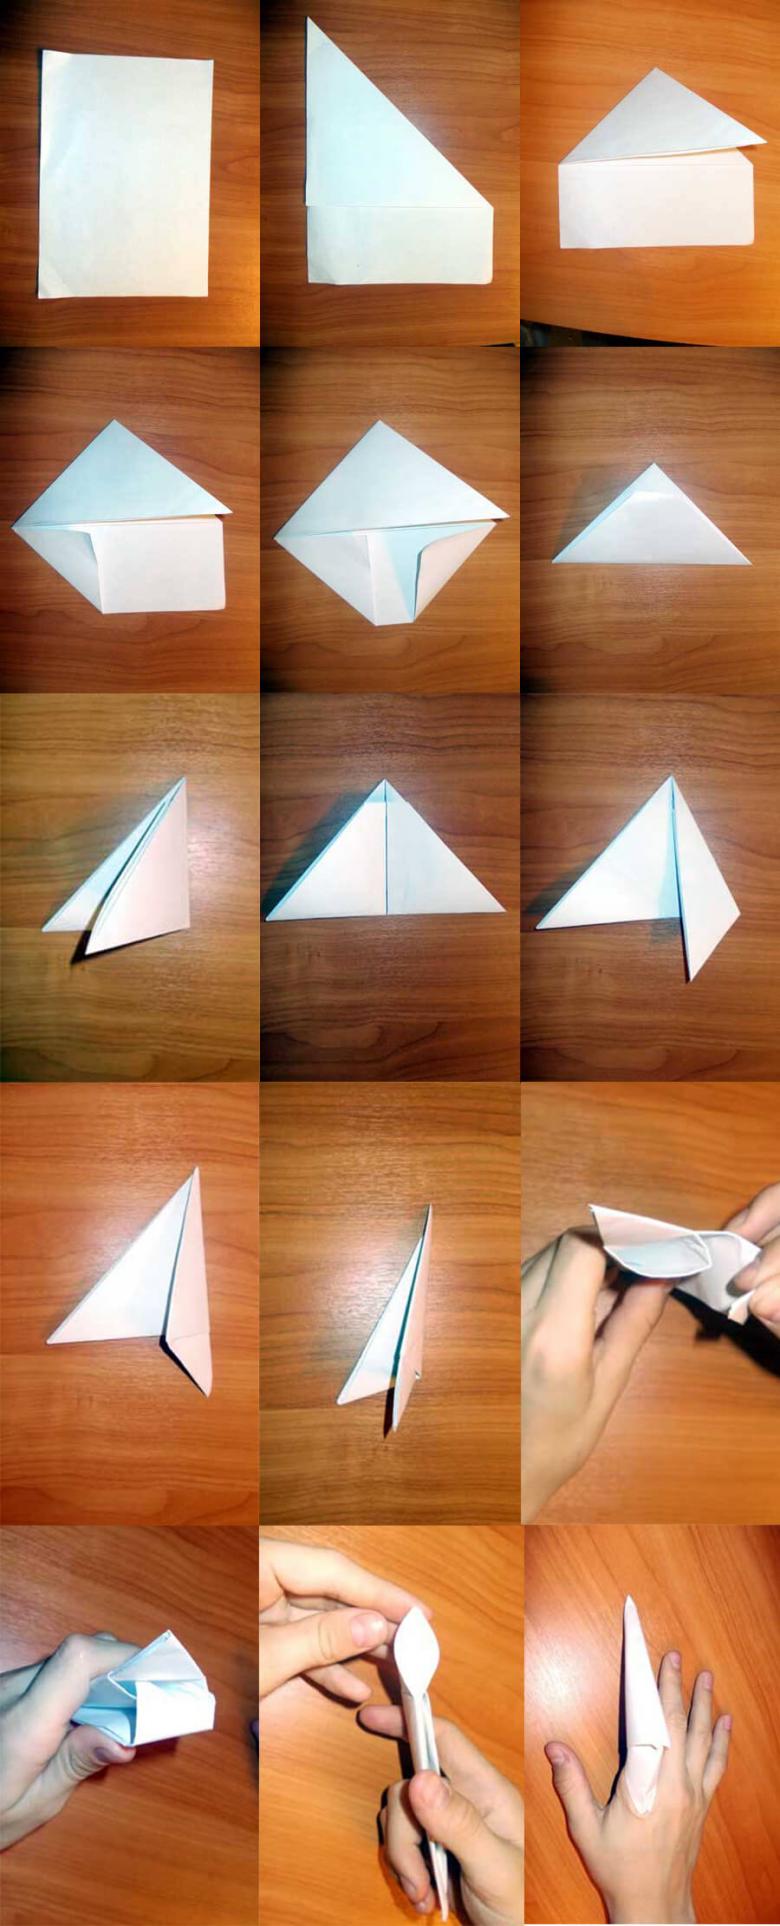
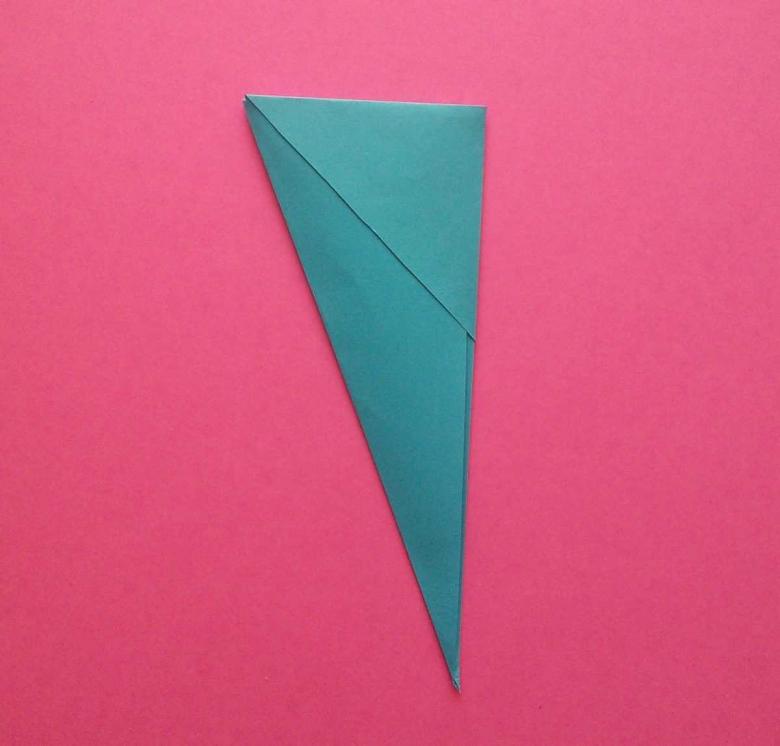
To make we need a standard piece of paper. We make a basic square blank by bending one edge of the sheet. Do not cut or tear anything out. The claw will be made exactly on this size of paper. Next, we turn the workpiece over, and the sharp tip is compared to the accompanying horizontal line.
Thus, we have an irregularly shaped pentagon. Where one is strictly correct, at 90 degrees, and the other is a broken angle. Now we bend the edge with a broken angle to the center of the overall workpiece to form a regular square with equal sides.
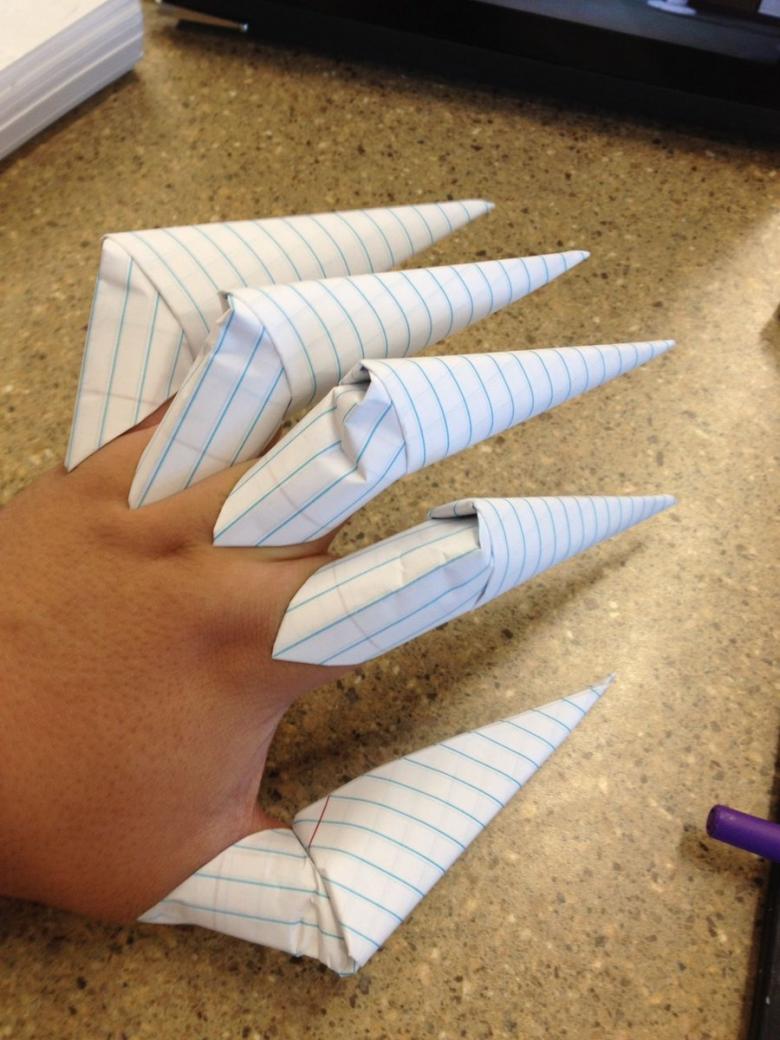
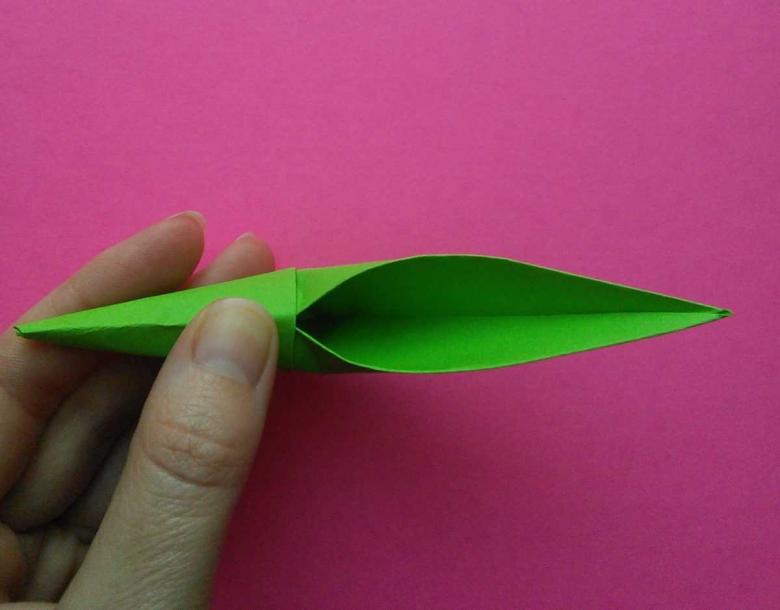
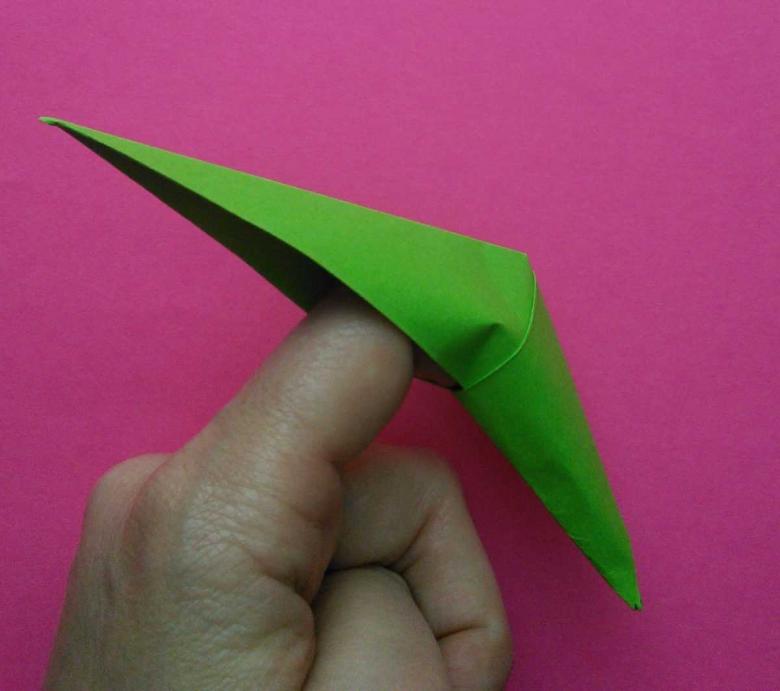
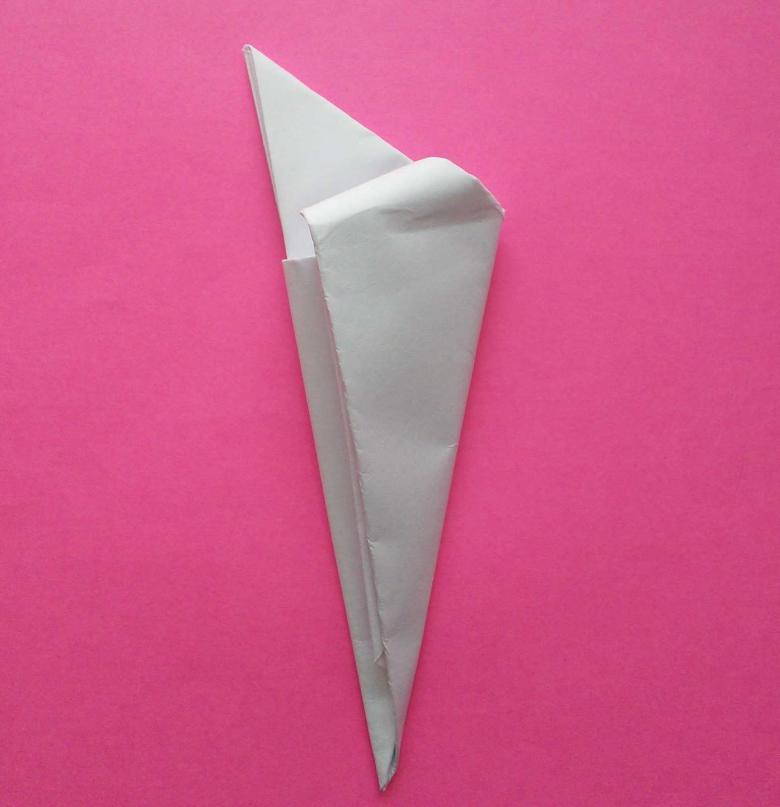
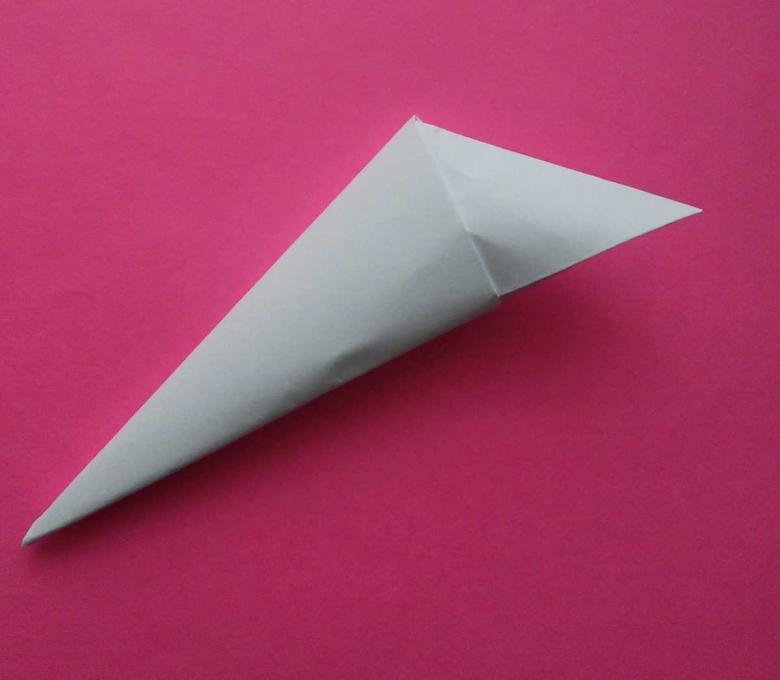
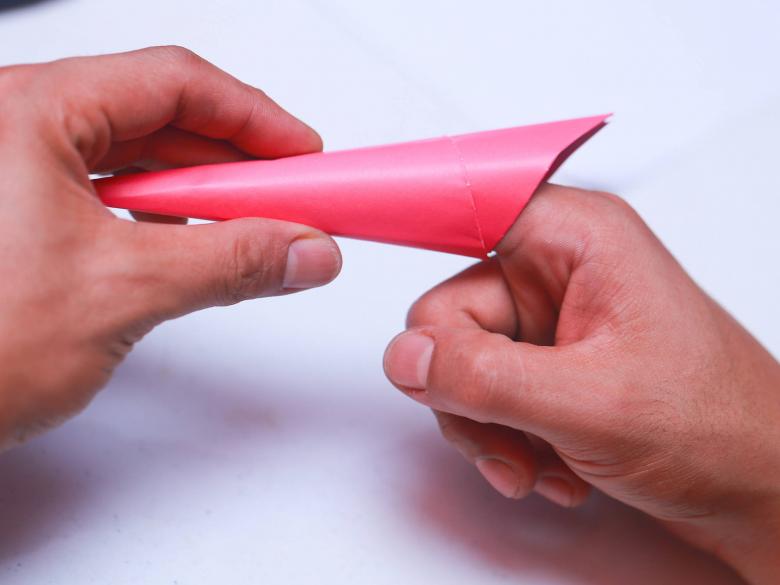
We turn the workpiece, unscrew the inner side of the sheet and make a base of a triangular shape bent end. Now, as desired by the creator, left to bend or leave the pocket. Particularly long unbent corner will be more convenient for small and narrow fingers. Those who have thicker fingers should better wrap the edge, so the claw will sit more tightly in place.
Claws of a raptor
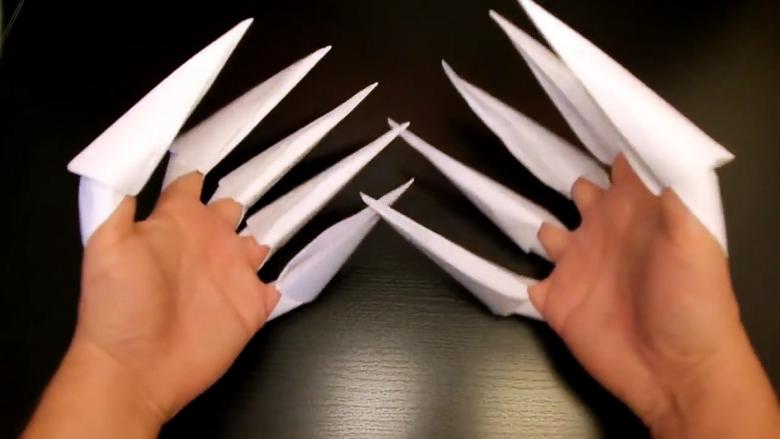
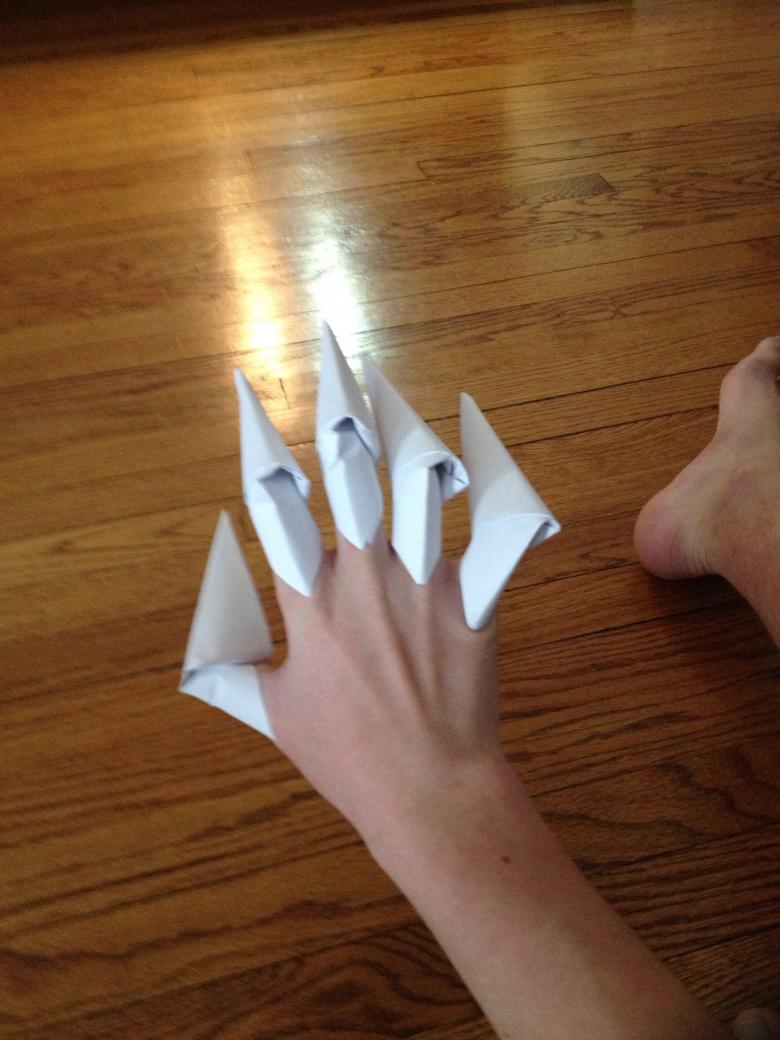
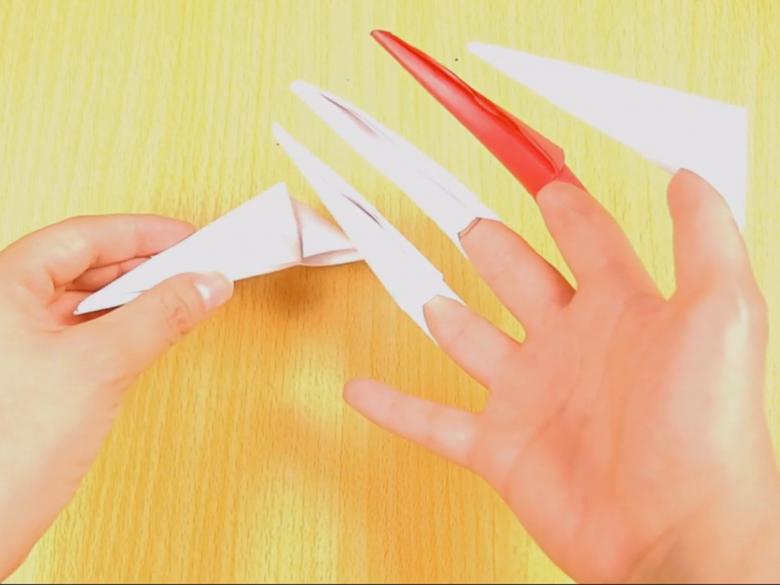
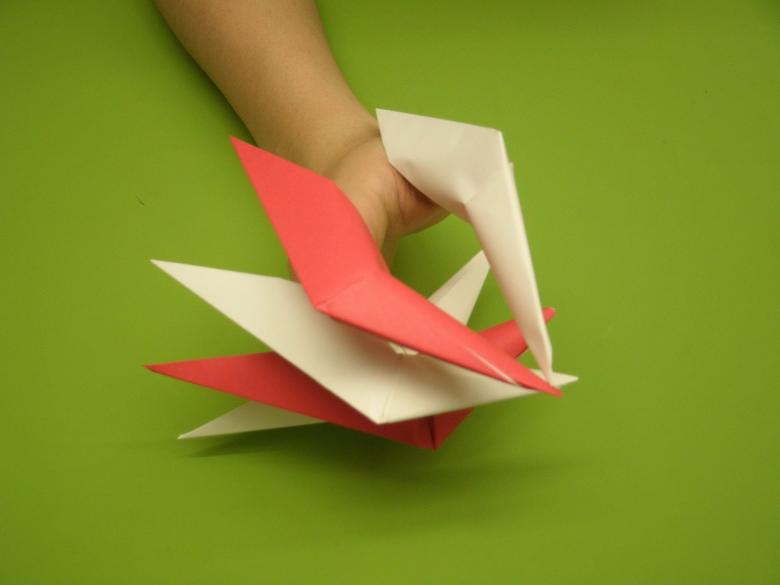
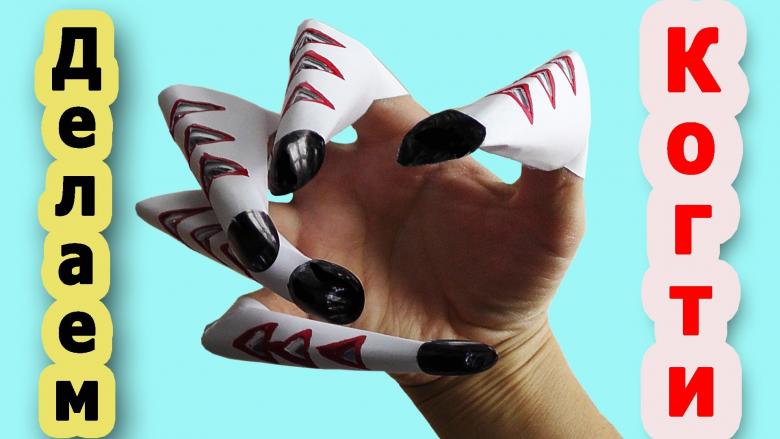
Any image of a beast of prey will look even more original if you add claws. Any New Year's Eve costume of a tiger, lion or pussycat can be completed with a quick billet that will take no more than 15 minutes. Practice with the kids, I'm sure this format is suitable even for beginners. Detailed instructions are described below.
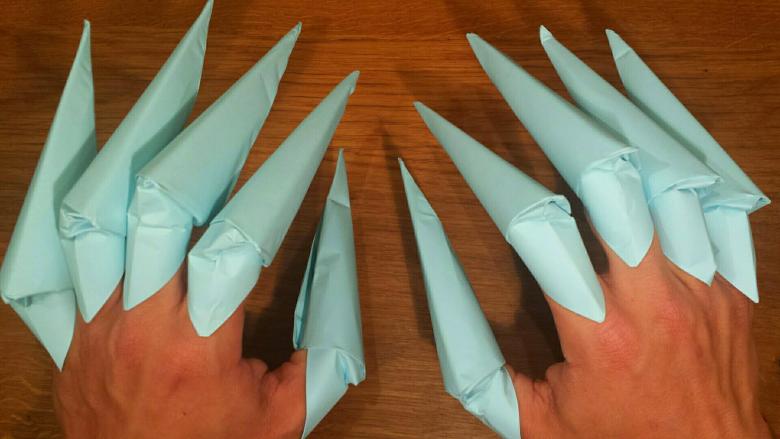
We offer instructions on how to make origami claws of paper on the image of a raptor
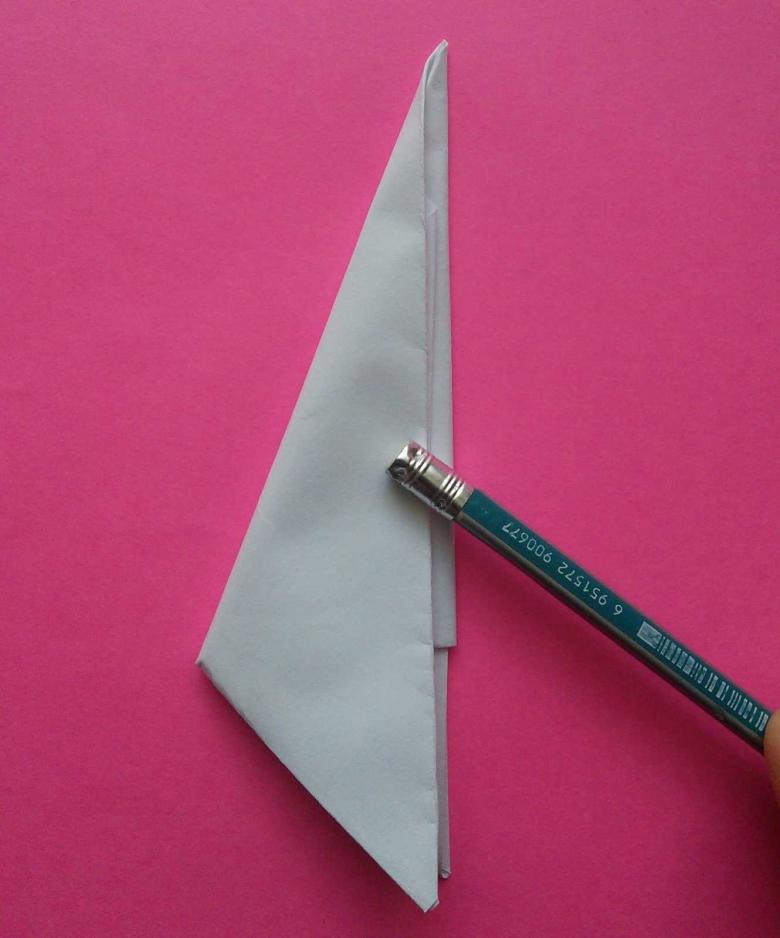
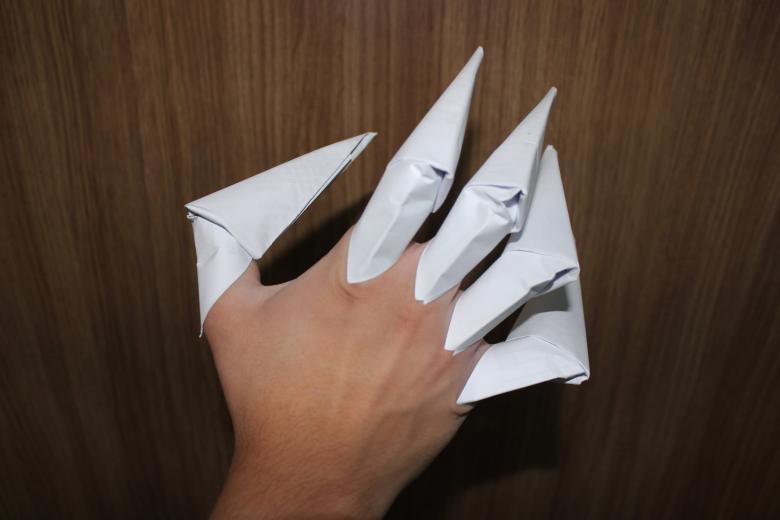
To start the blank, we will need a square sheet with equal sides. As an option, you can make soft claws of the fabric, and then sew them with thread to the glove, or PVA glue, so the ends will not diverge. Normal sheet is folded from the format of "rhombus" into a triangle.
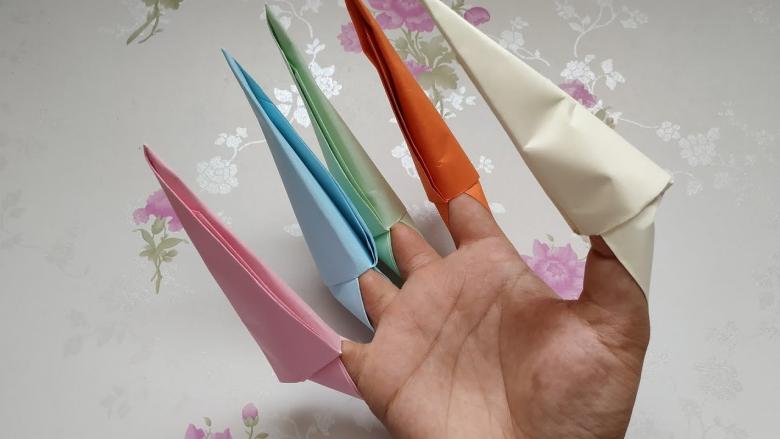
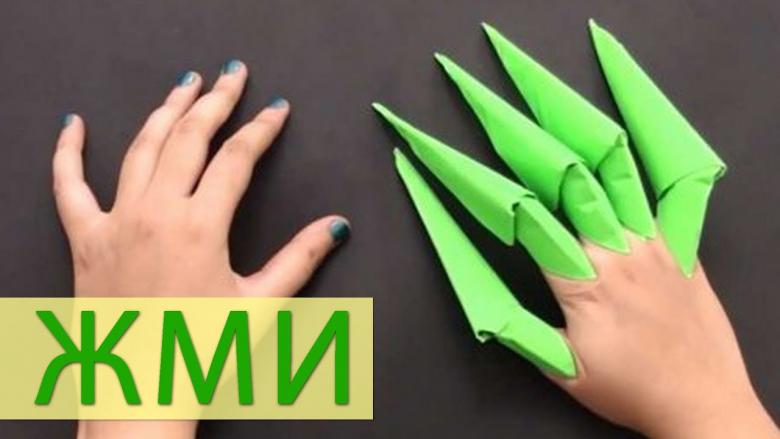
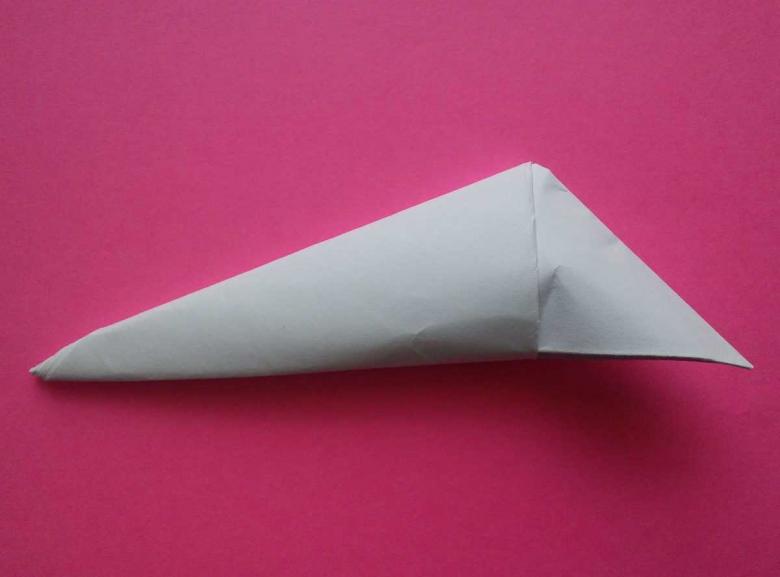
To do this, simply bend the sheet in the center. The outside of the wrap inside to the center line, which in turn forms the base of "horn". Horn again we fold in half and bend the bottom corner upward, forming a depression. Next we bend one tip and open a pocket. All right, the first claw ready! You can make claws of different lengths and thicknesses, which will vary their appearance.
How to make origami claws more original?
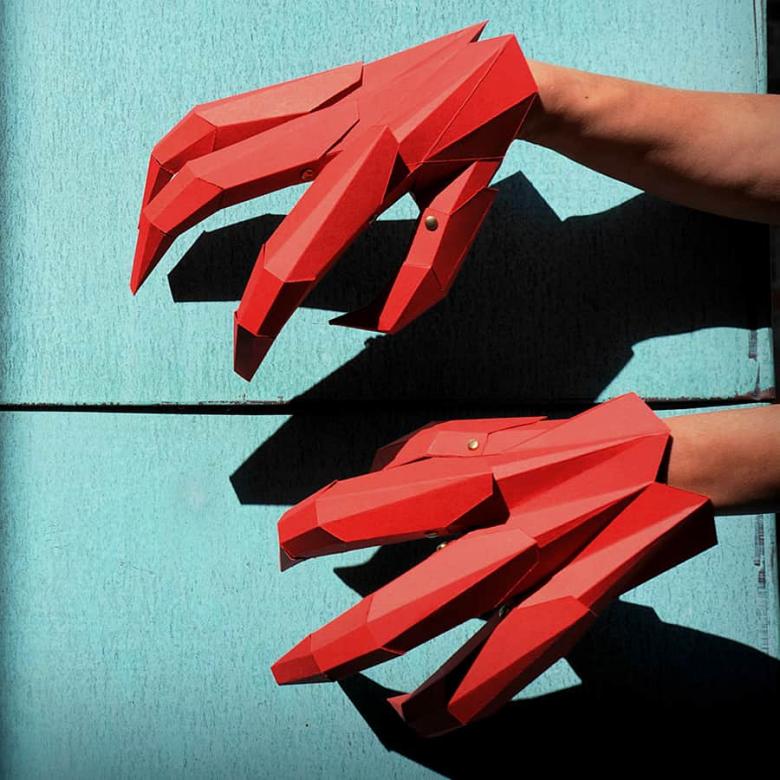
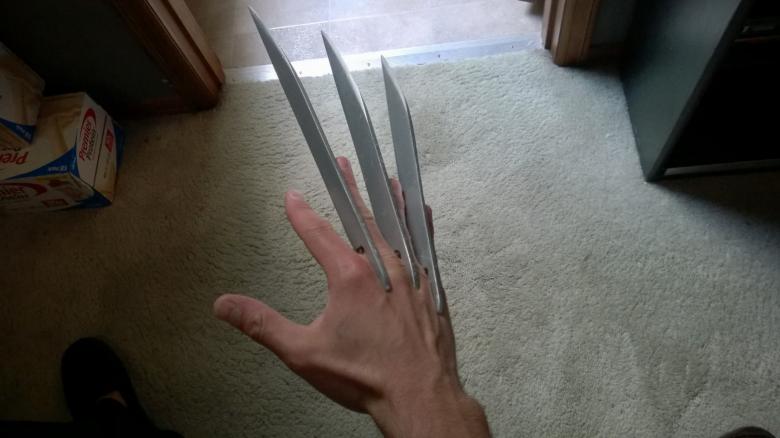
Any fake is limited only by your imagination. You can always add glitter with nail polish, or draw fancy patterns. You can use a marker to draw on the foil claws, which will add a metallic look to them, for example, to finish the connecting bolts.
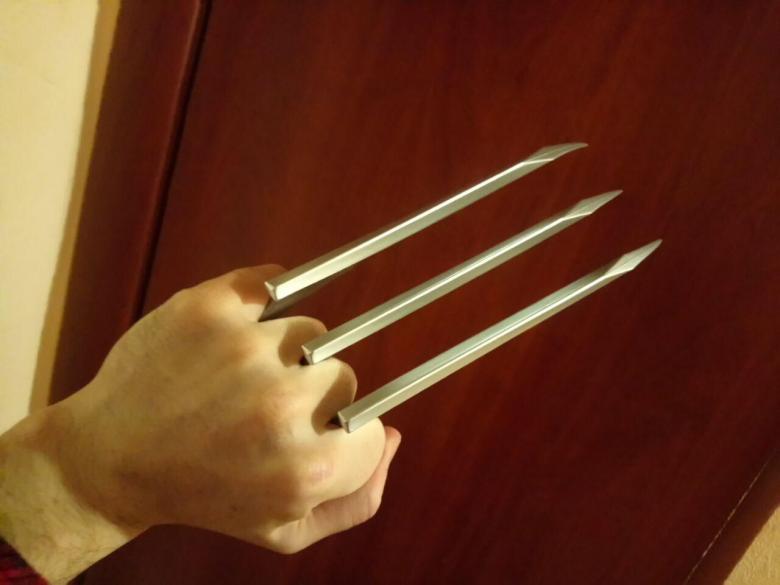
Decorating the claws
Sometimes it's not easy to find good enough materials, and much has to invent yourself. Any additional materials will help in crafting. For example, using the scissors, you can make a nice fringe on the claws, which will add an interesting "winter" look, like a fluffy snowflake.
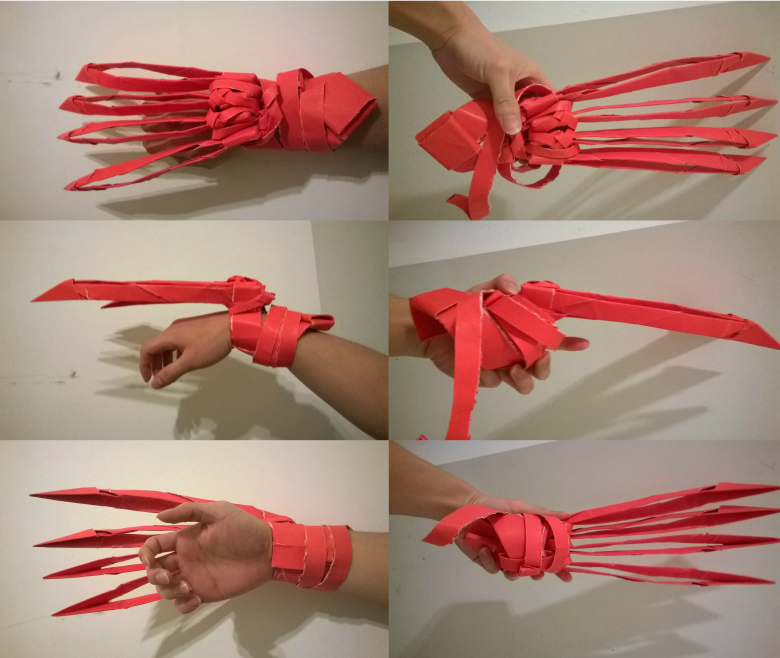
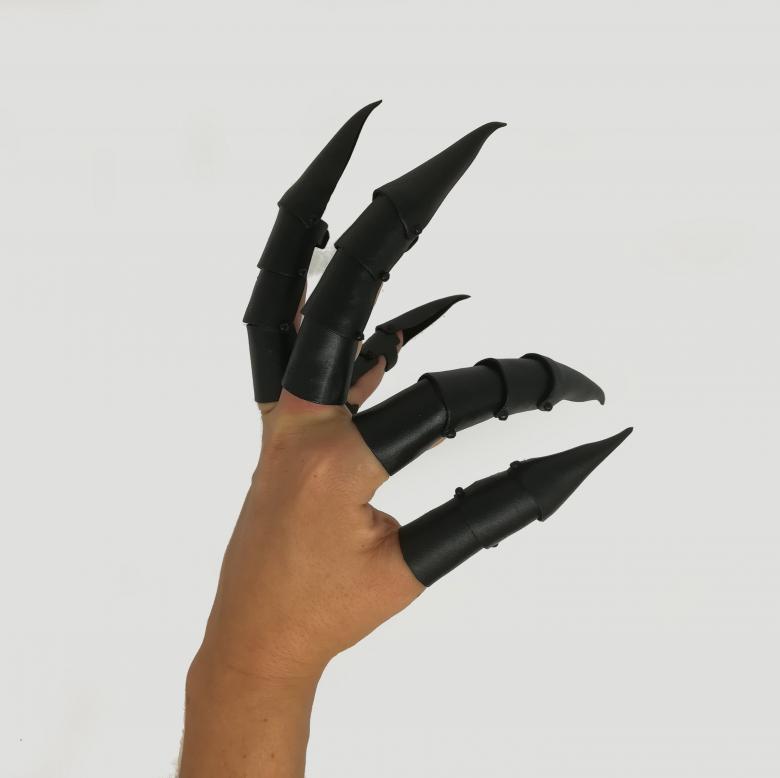
Metal claws can be made to look like broken iron, and if you want to make something interesting and original, you can always decorate the claws with stones, beads or embroidered on them with beads. Claws based on fabric can be folded into a glove and sewn. There is no limit to your imagination, here you can apply decorations for any occasion.
Finger claw rings
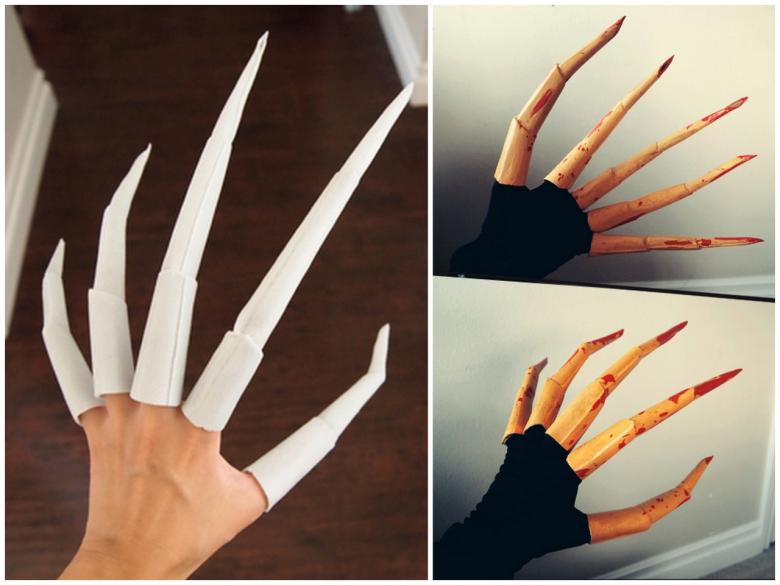
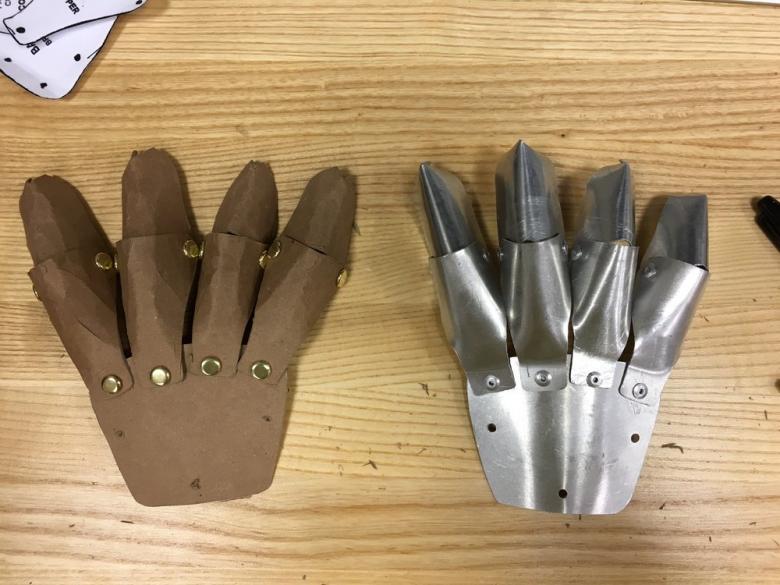
The easiest and fastest option is to make claws out of foil, which are then put on the fingers like rings. It is convenient in that you don't have to spend a lot of time making them. It is enough to crumple the foil on the workpiece or the phalanx of the finger, and then twist the foil to a "sharp" tip. You can in addition fix the claw not on the fingertip, but on its middle, which will give the claw an original look.
Nail-nails .
An alternative version of foil claws, which are made on fingers in the form of rings with sharp tips. To do this, we make a ring of foil and twist the two ends together. Next, we can trim the length at the desired distance and make a "pointy end" of the remaining twist.
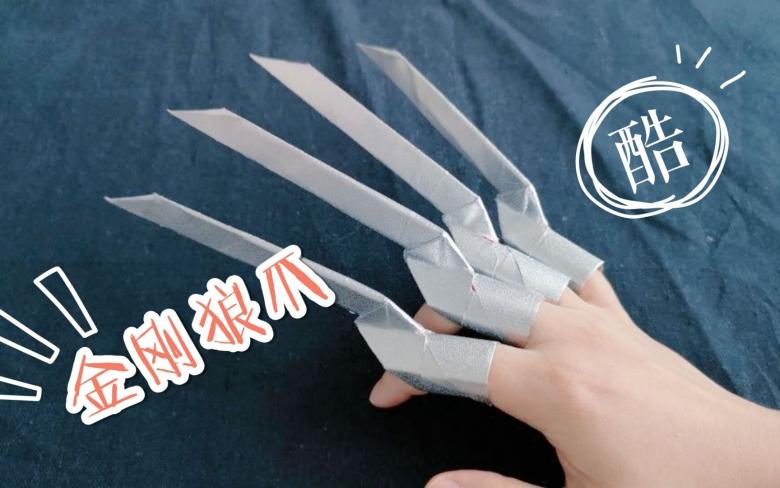
Basic origami claw form is convenient because with it you can easily, and most importantly, quickly learn how to make simple movements and understand the principle of how to properly paw the paper and turn out the shape. A couple of lessons on our guide, a little practice, and then you can move on to more difficult items.
