How to make pompoms with your own hands - interesting step by step master classes, photo ideas, tips
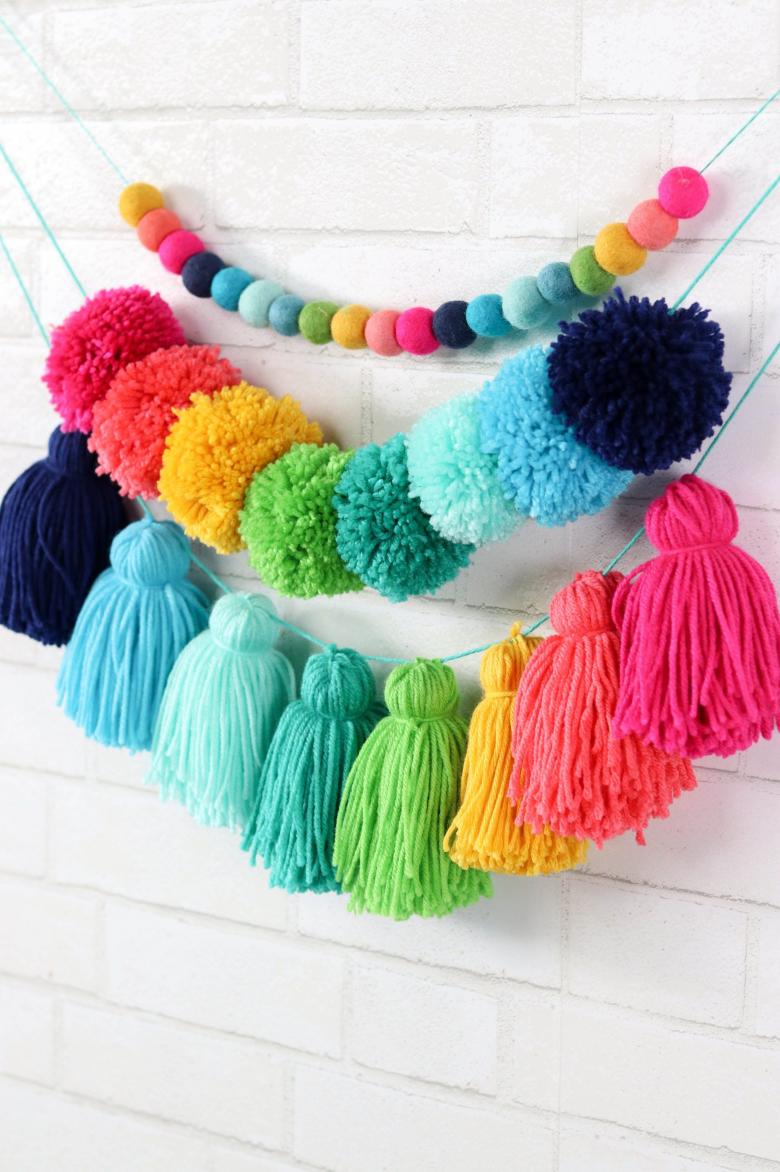
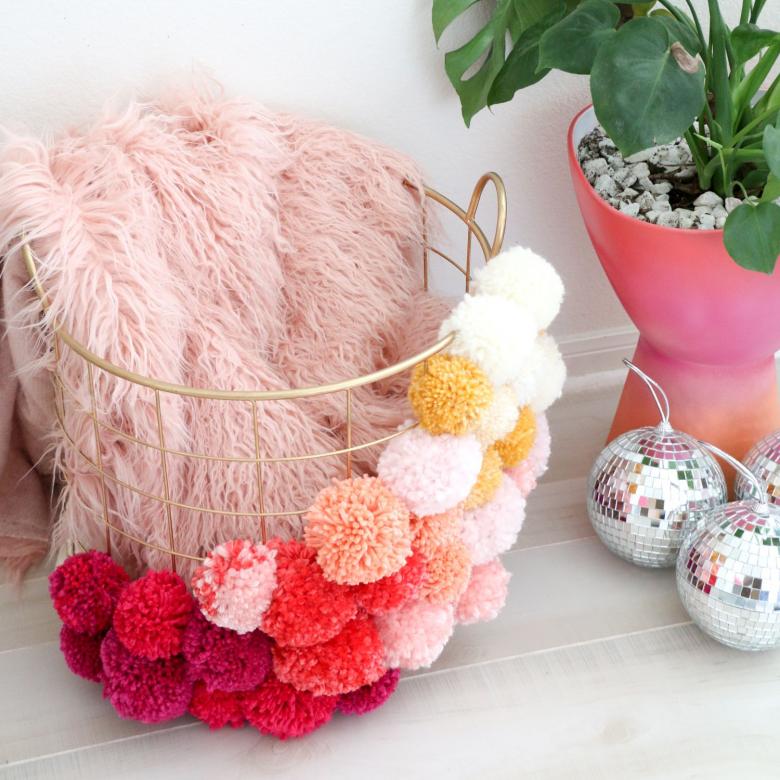
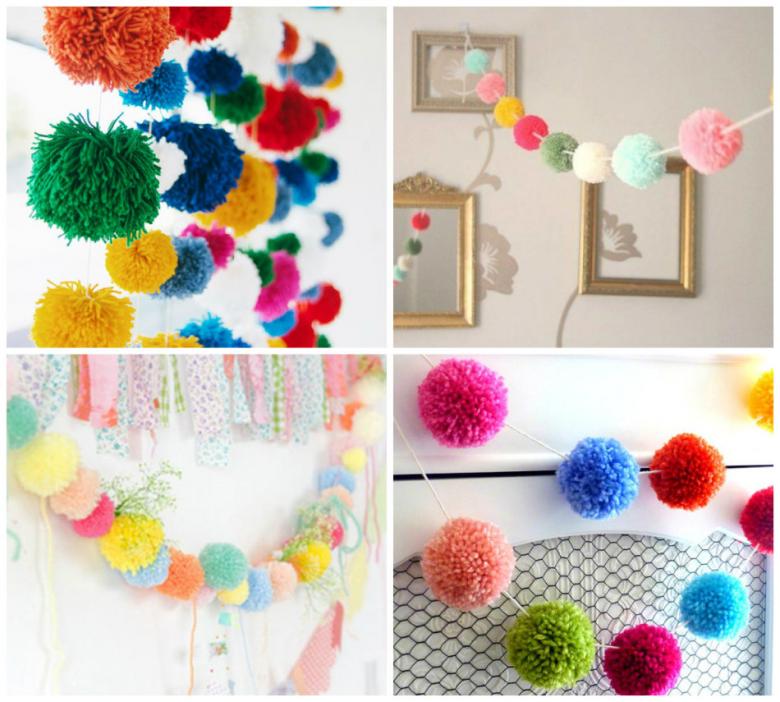
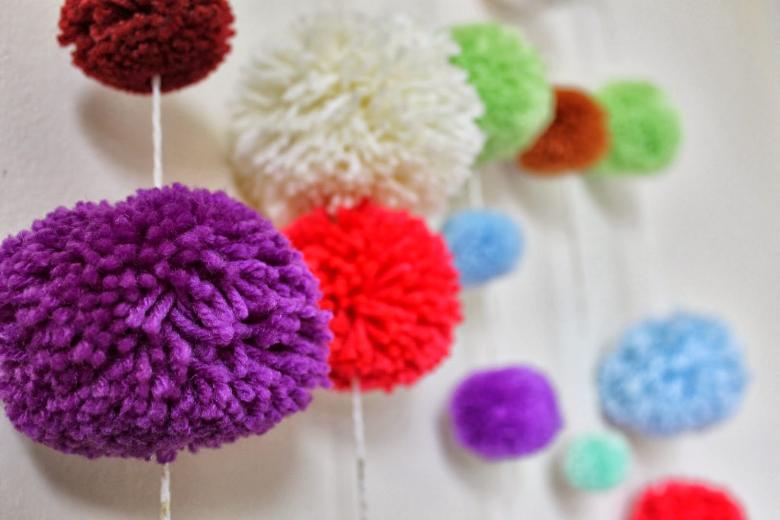
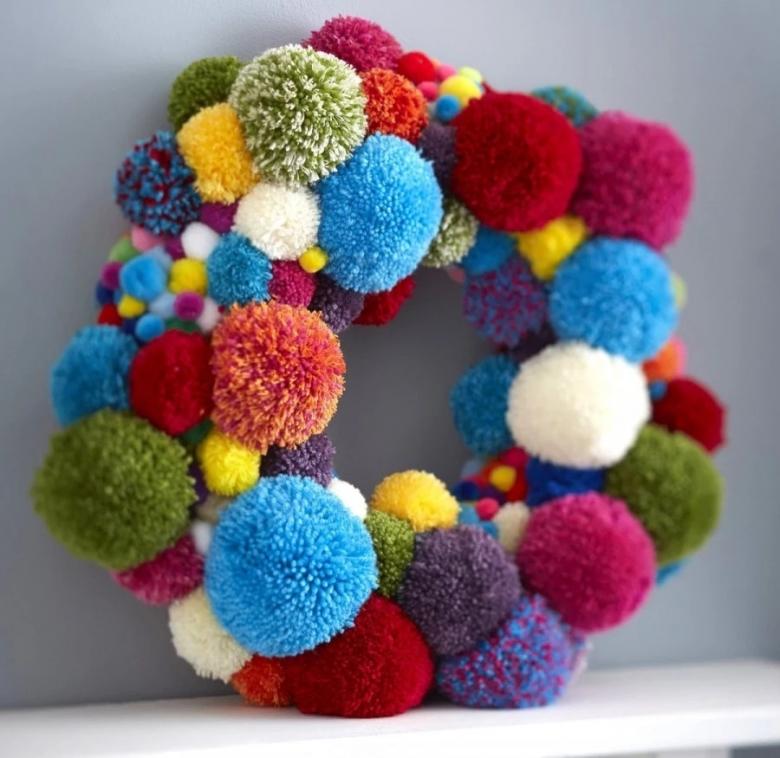
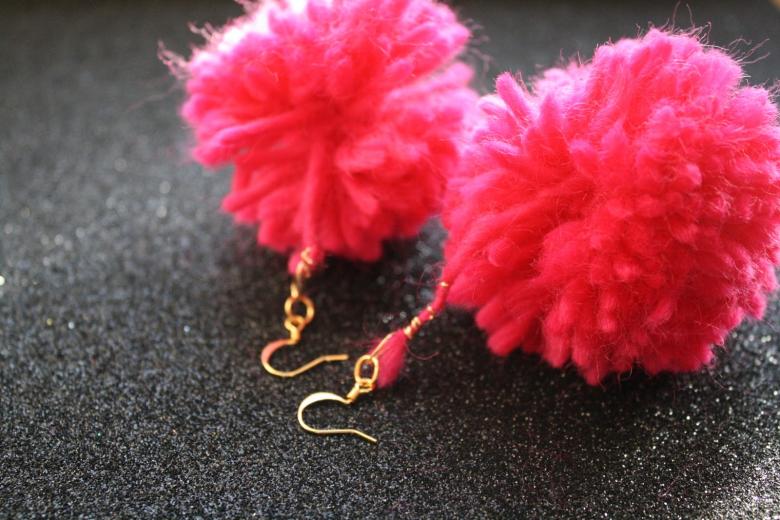
These soft fluffy things and want to touch. Yes, I mean pompoms. They are certainly a decoration of the interior, actively emphasize cheerleading, clothing. You can use pom-poms as stoppers on lanyards, a belt, as a buffer. It looks fashionable on a bag, curtain, garland, soft toy.
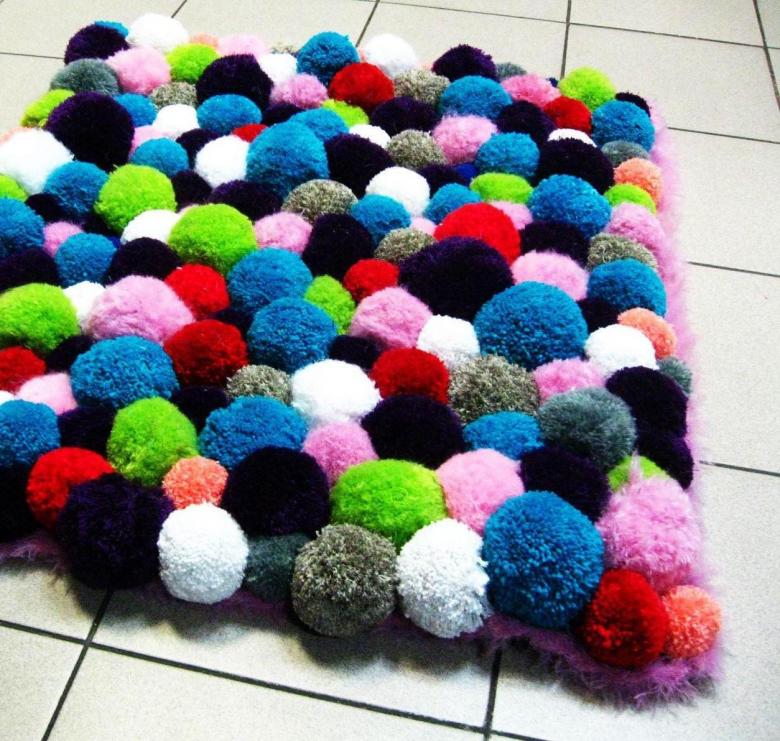
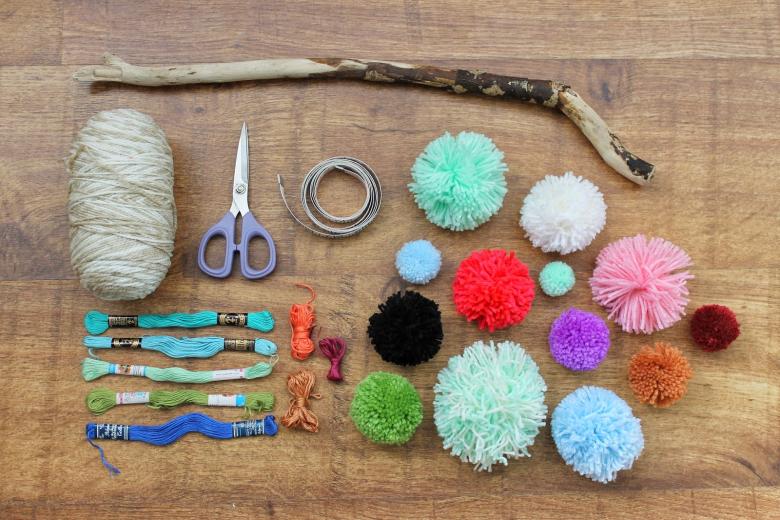
What can you make pompoms from? Here is a list of frequent materials for crafts:
- Paper
- Thread
- Scraps of fabric
- Cords
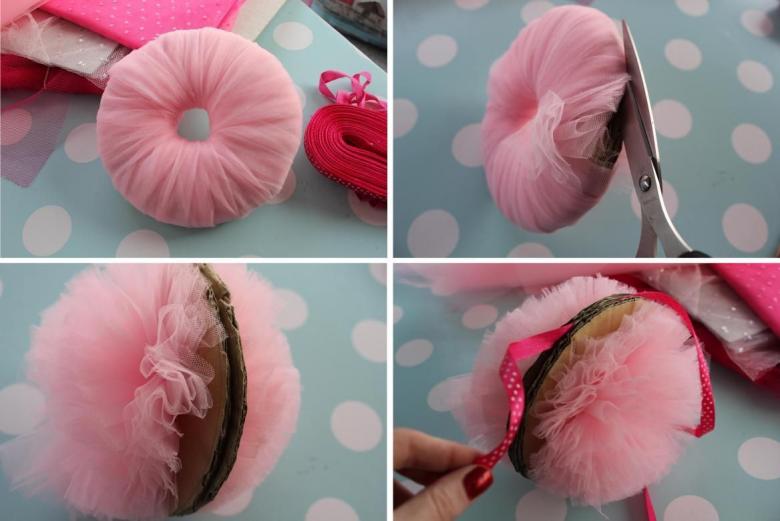
- Tulle
- Lace
- Fur
- Foamiran
- Braid.
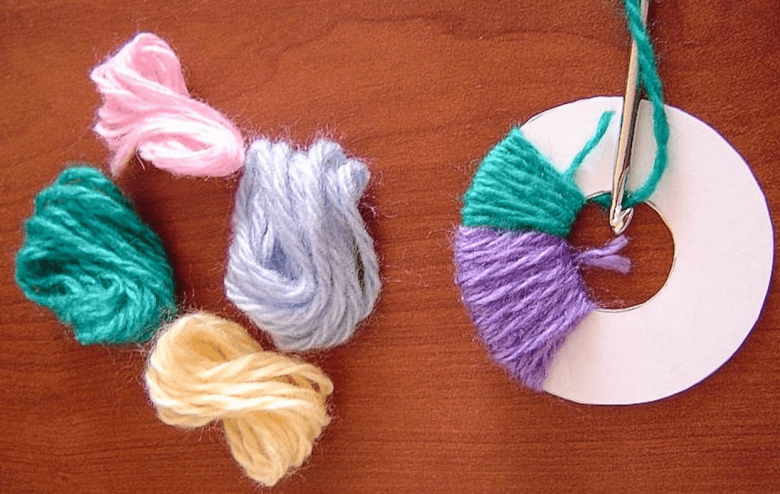
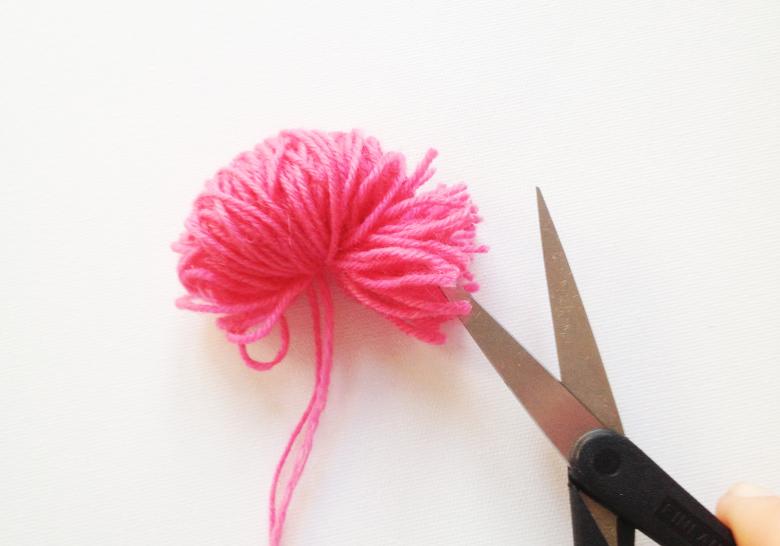
Basically, the manufacturing process takes three steps: winding, fixing, cutting along the edge of the skein. To make it work well the first time, you need to take into account the nuances. Preferably, for the first time take a small size, so that you would not be so sorry to throw away! :)
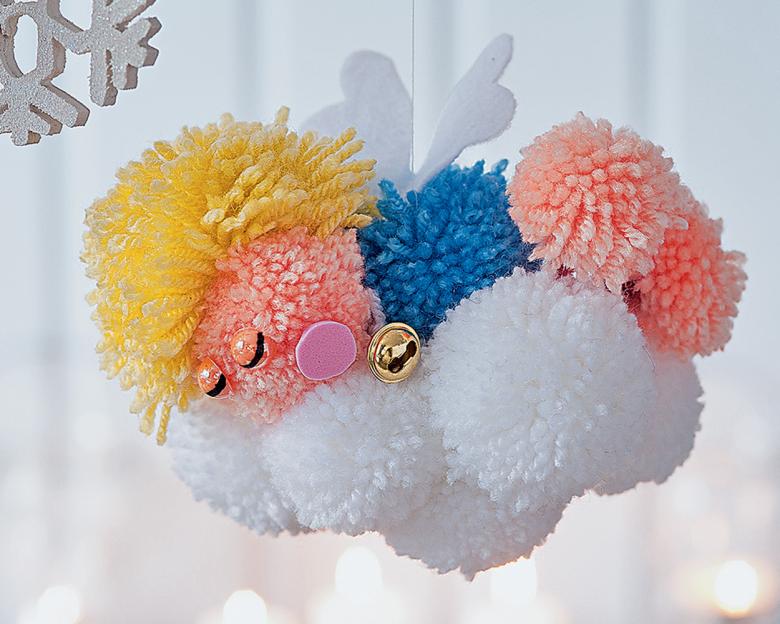
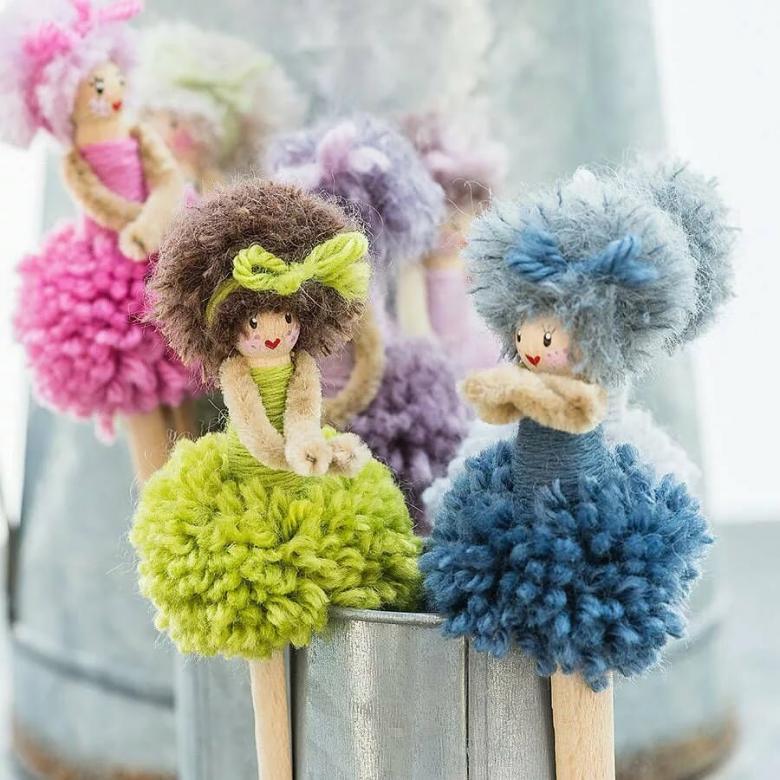
You can make creative and cute toys out of pom-poms. For example, bears, parrot, rabbit, bunny, penguin, puppy. You just need to add imagination. The child also really likes to make crafts with adults: glue eyes, make paws...
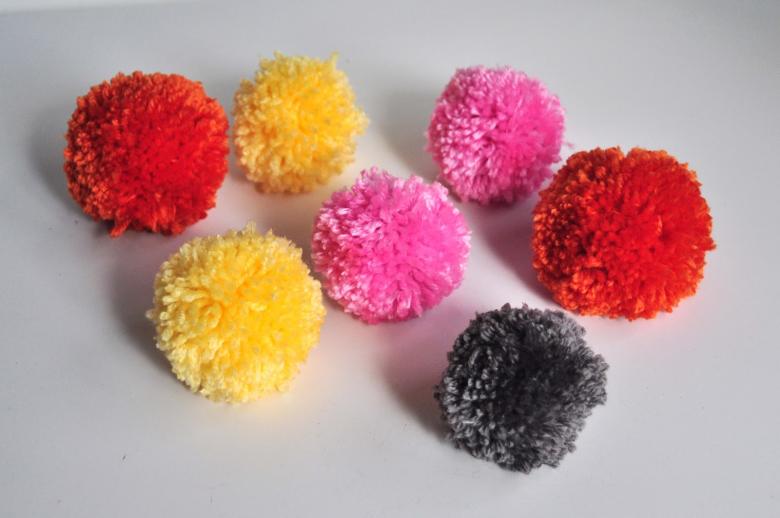
Pompom from wool
It is very easy to make a ball out of wool. And you can use three methods:
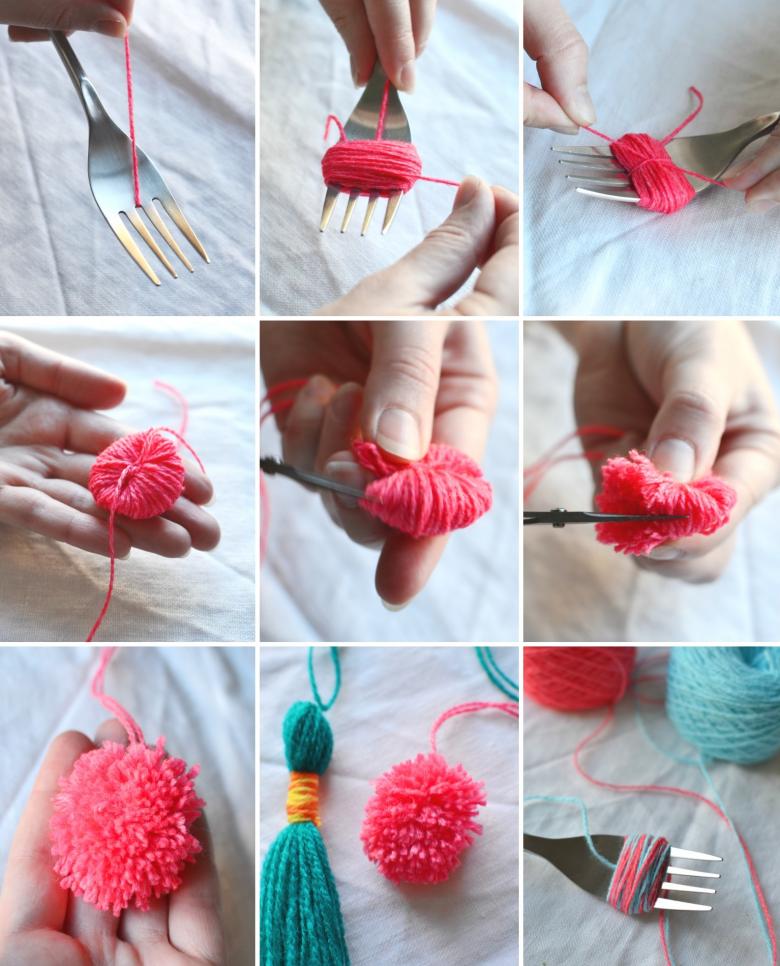
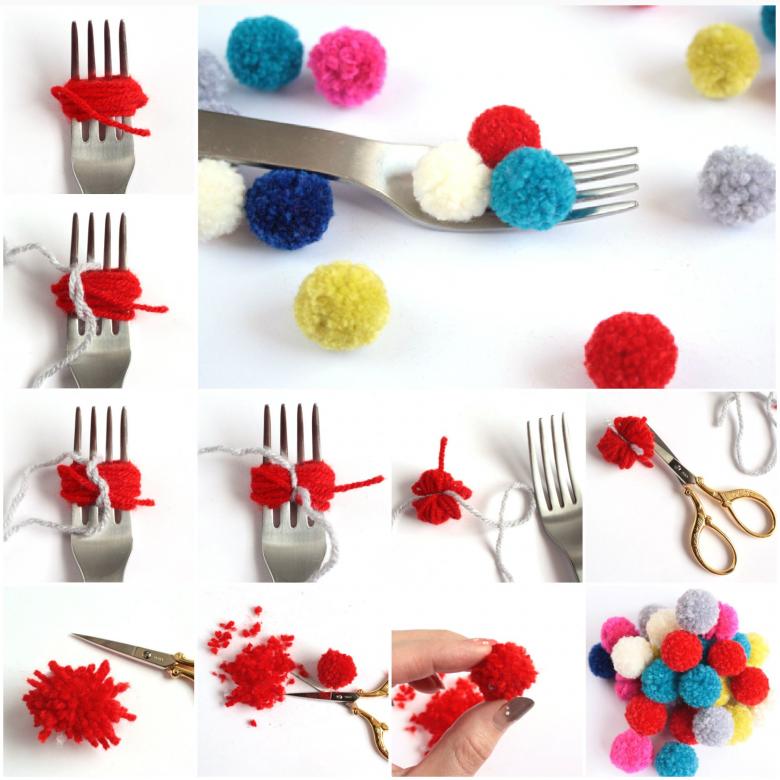
- Using a fork, winding it on the prongs. Next, you need to pull across in the middle, tie, remove and cut the loop. The product remains to fluff and trim the ends.
- By hand. On the 4 fingers of his hand to wind a thread. Tie a winding in the middle. Withdraw. Trim the loops. Unwind.
- On a round base.
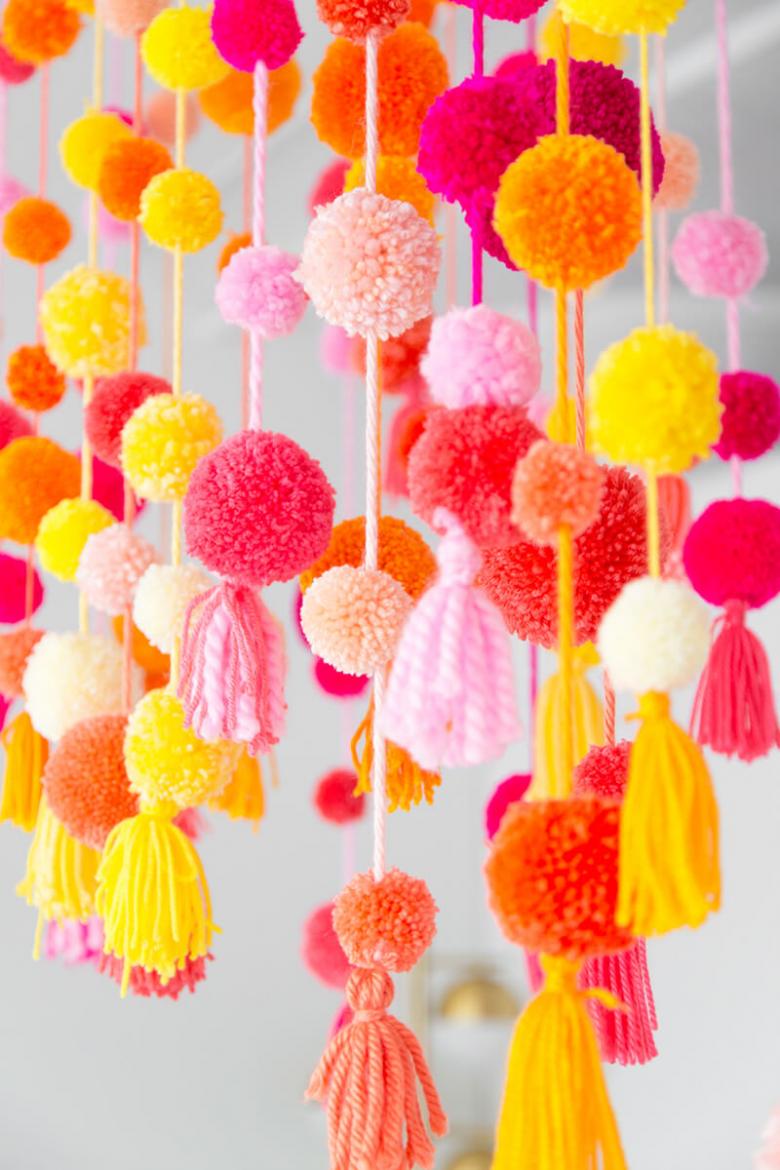
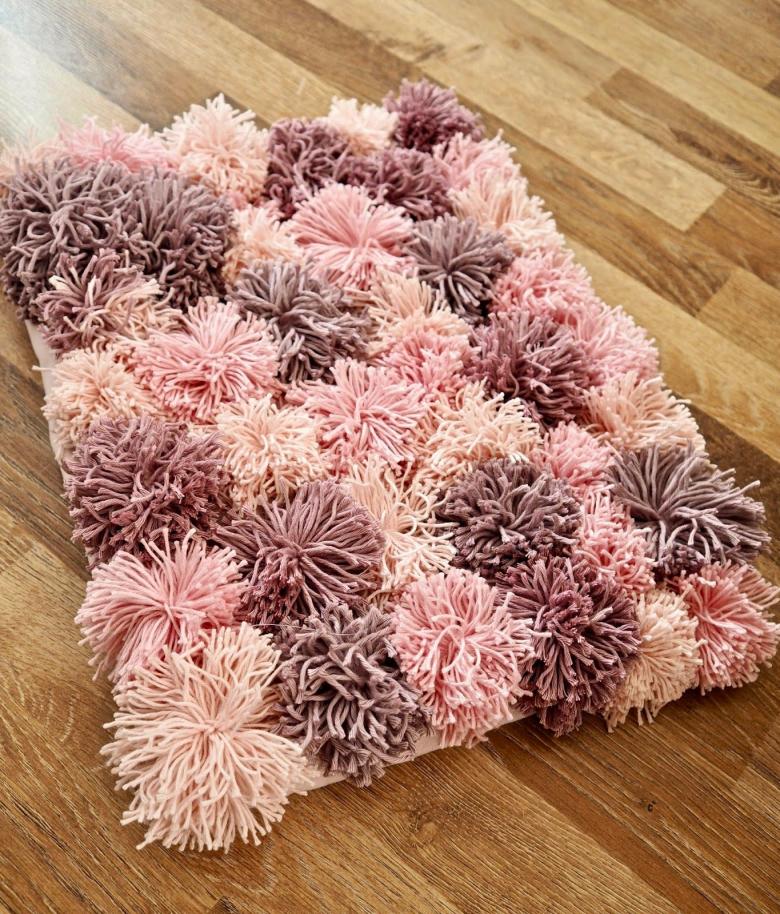
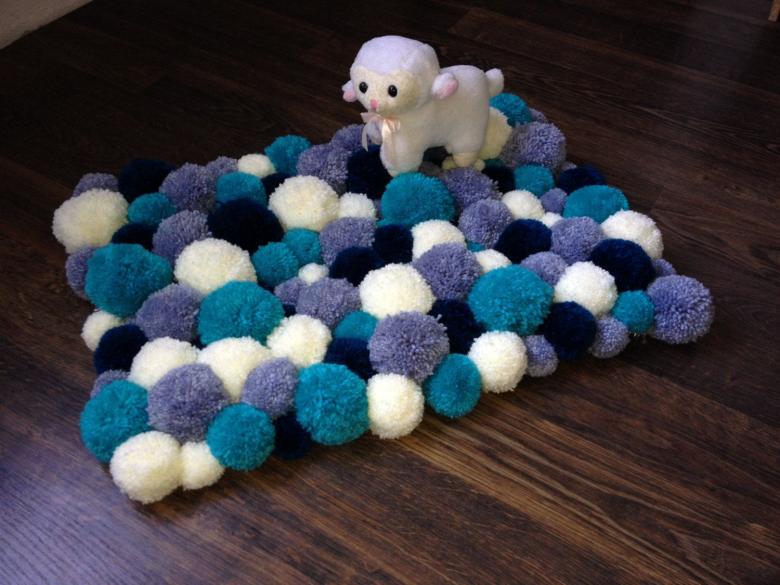
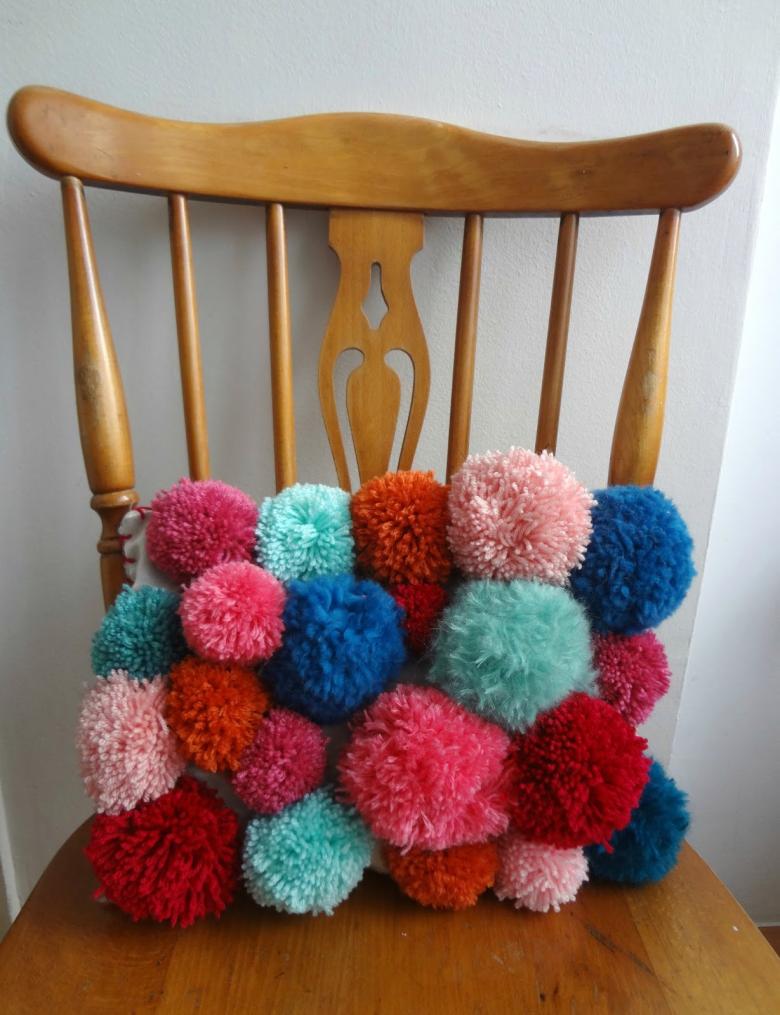
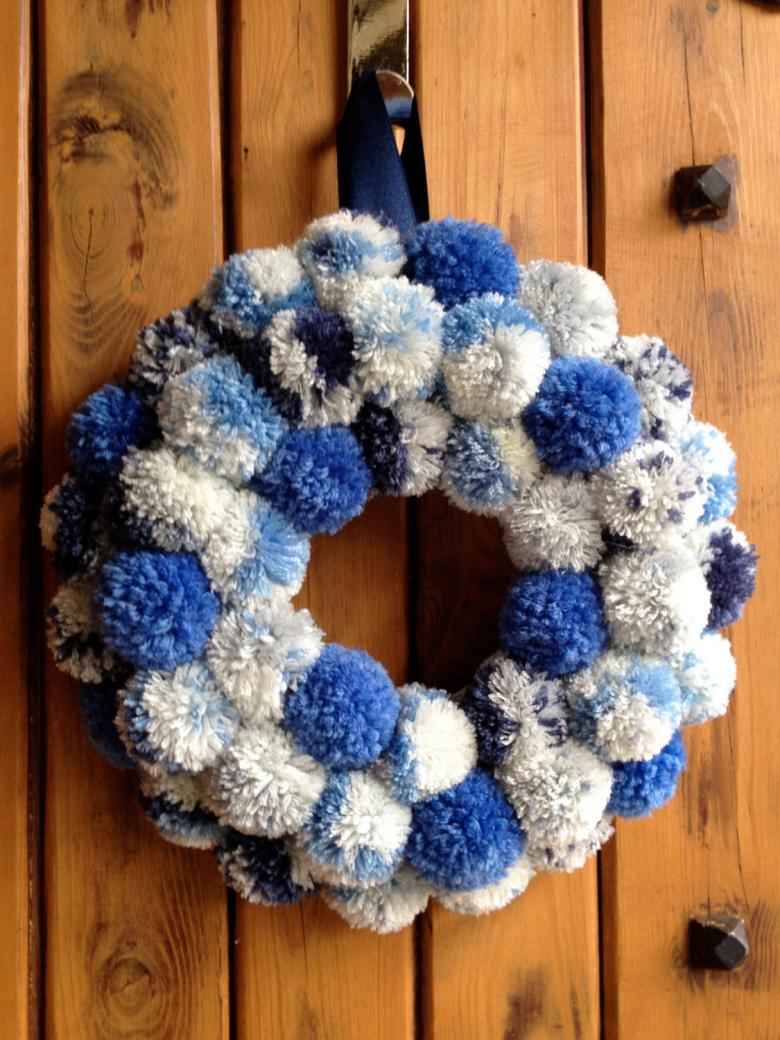
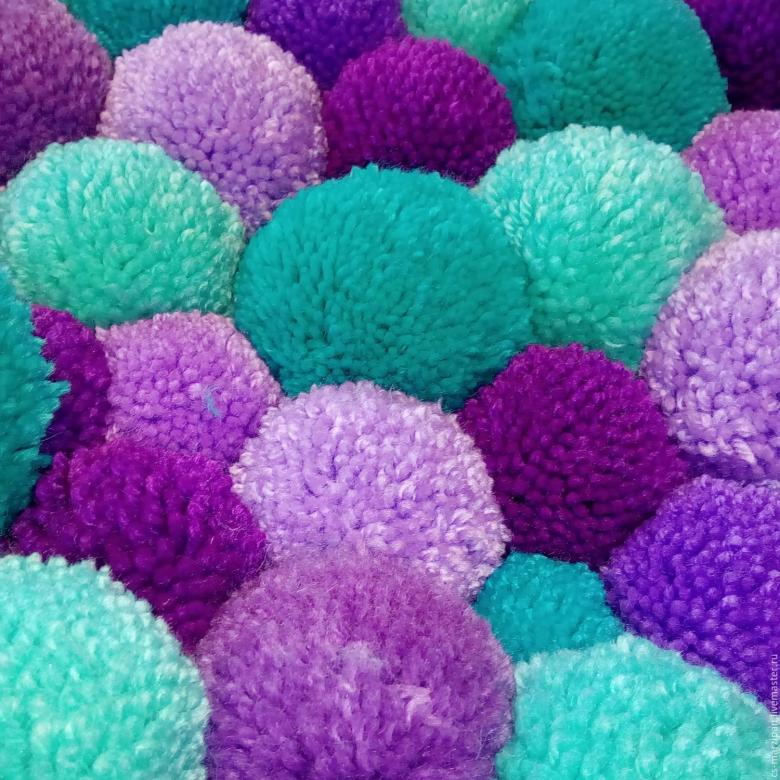
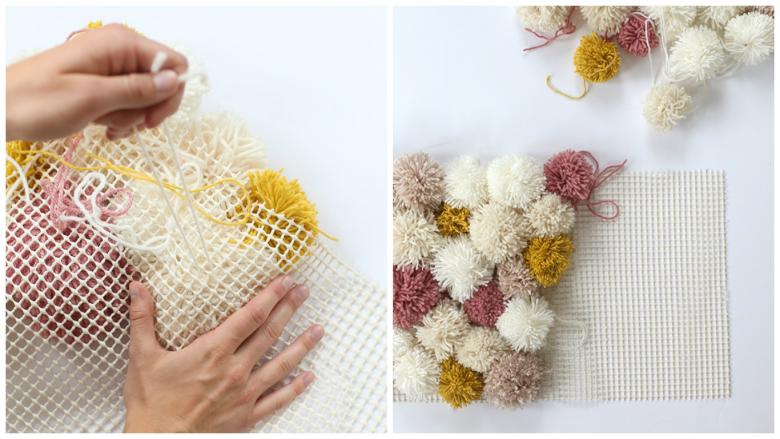
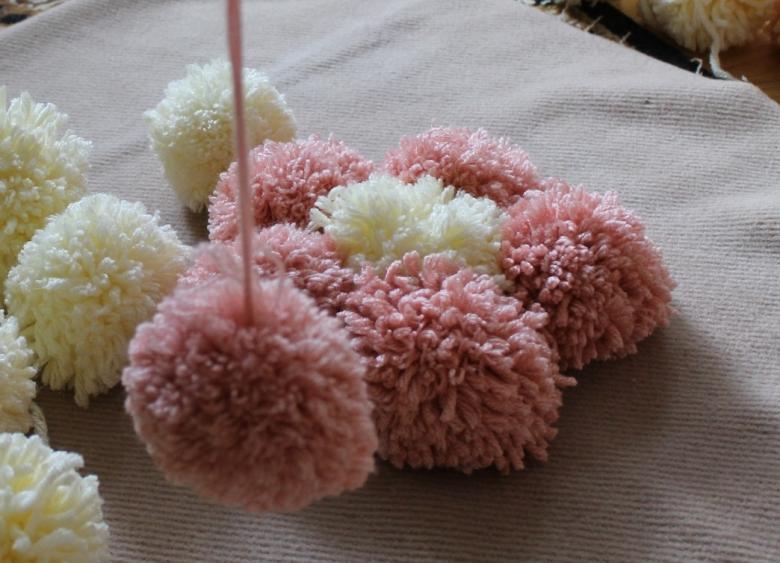
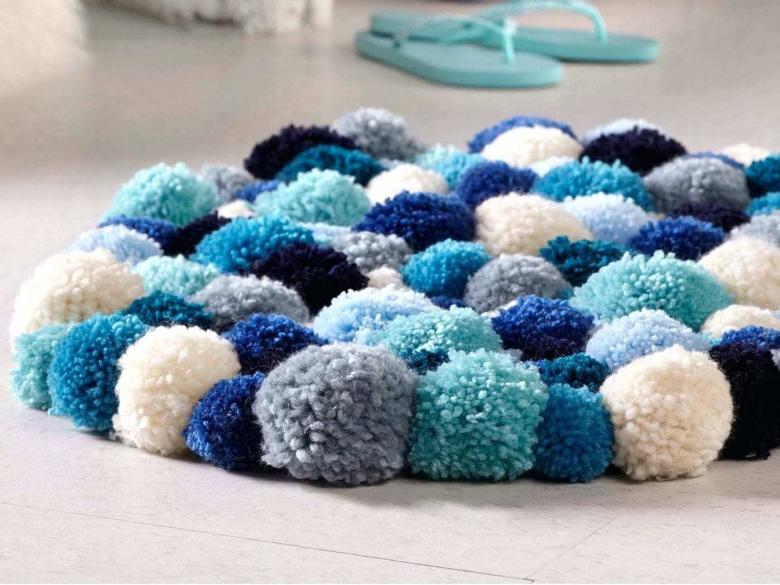
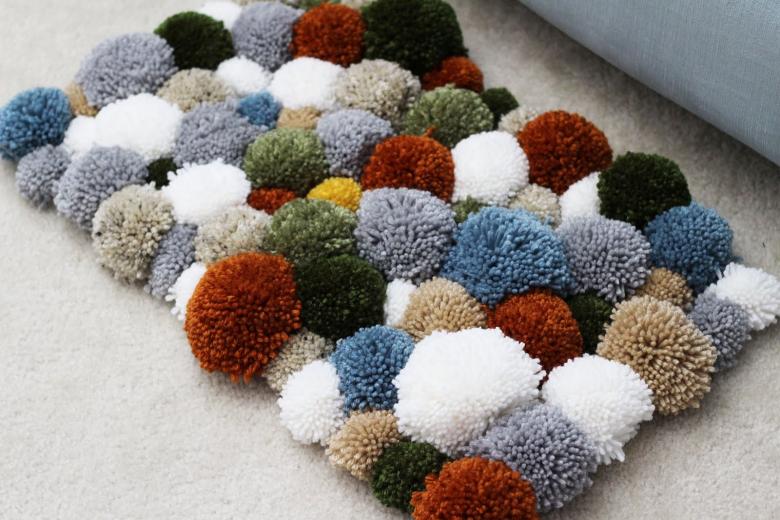
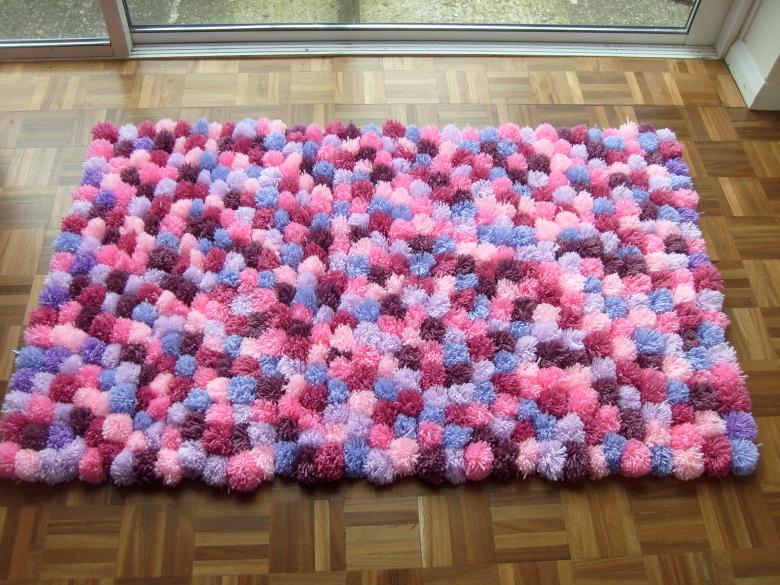
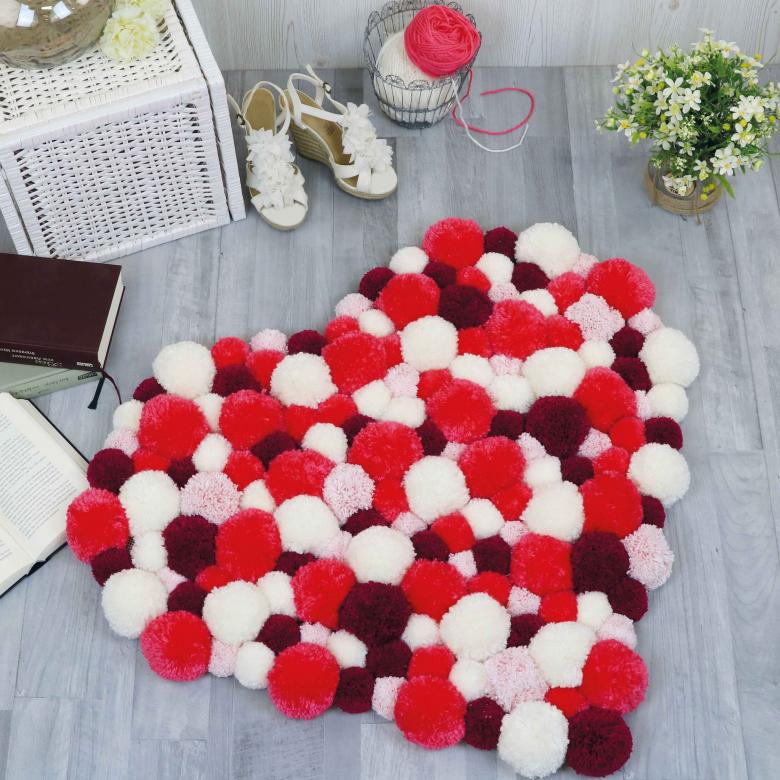
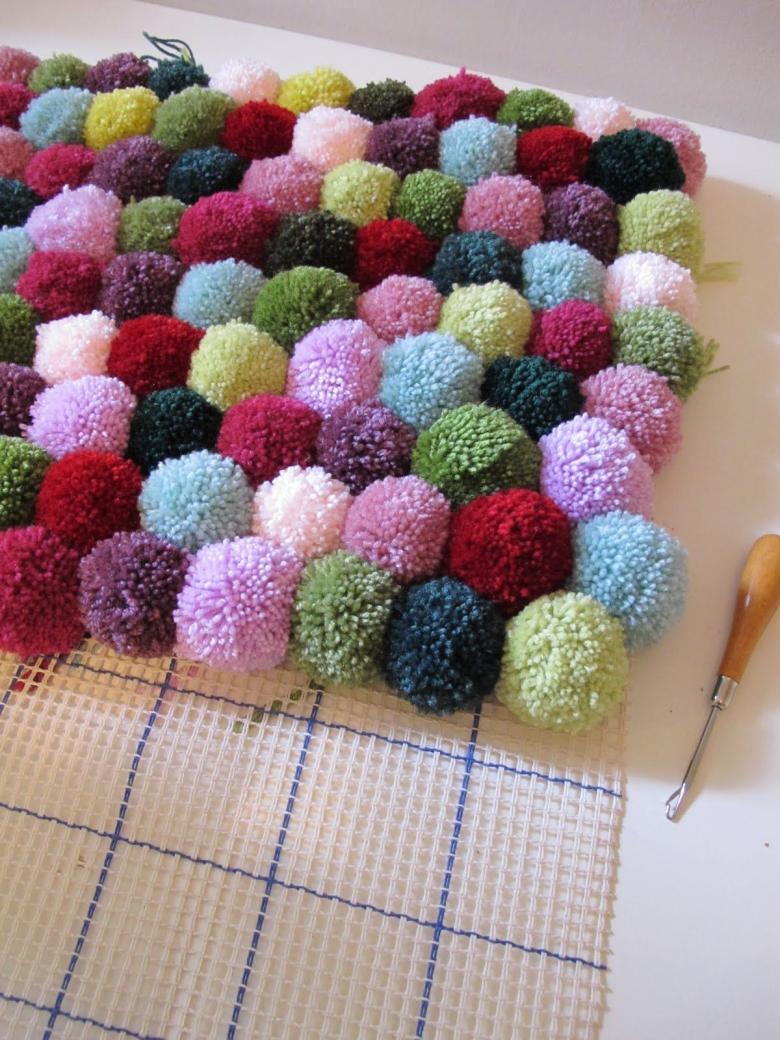
It can be pinned on woolen things. For example, on a hat, scarf, mittens. It will look very effective on a rug, plaid, chair mat.
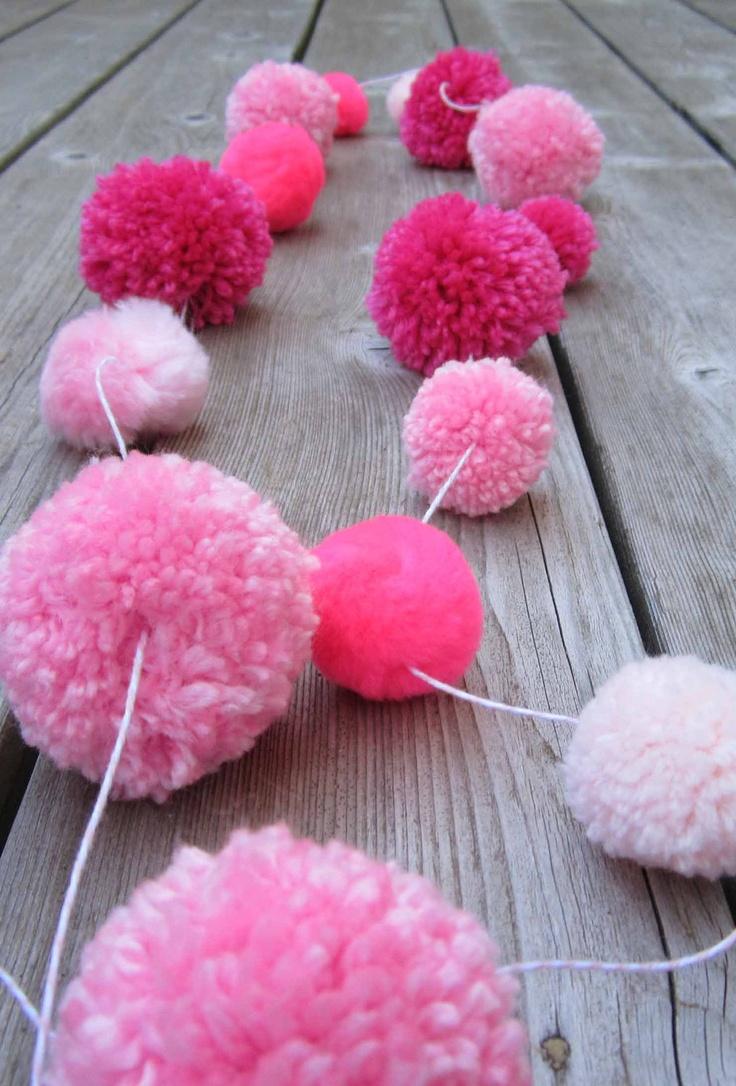
Yarn after spreading (wavy) must be moistened, and then dried in unstretched form. To get more volume and fluffiness, you need to take more yarn.
Multistep method
So, you can make a lot of balls in a fairly short time. To get down to business, you will need a child's chair. It is necessary to turn it so that the legs were on top. 2 legs around the chair are wrapped at once. thread stronger need to wrap the winding 2-3 cm in a circle. The smaller the gap, the tinier the pompom. In the middle of them you need to cut the thread. That's it! All that remains is to tweak the lumps and rejoice in the success!
Puffy napkin pompon
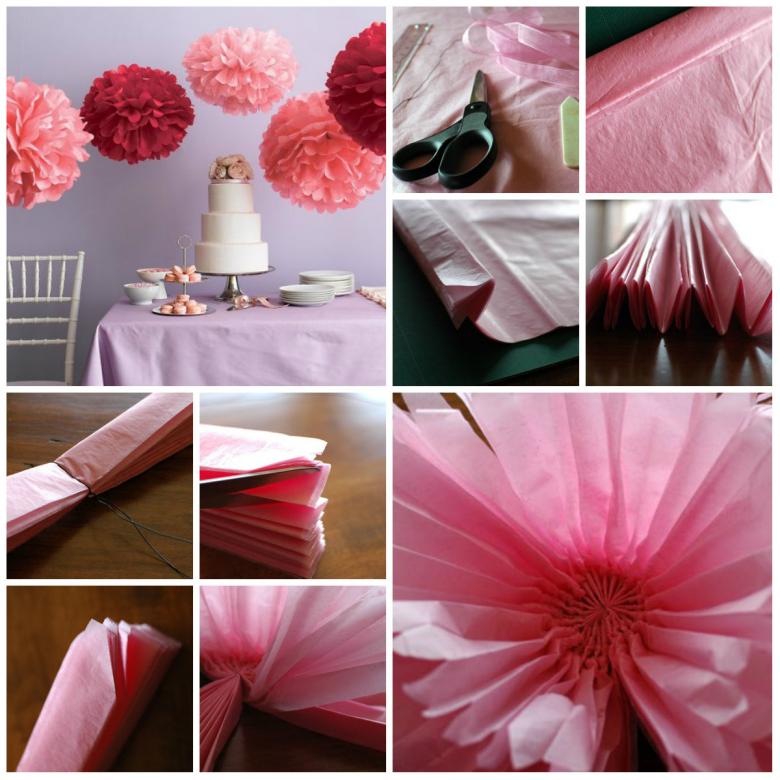
To make a pompom, you need to follow the step-by-step instructions of the craft: If you want a voluminous product, then you need to use more napkins. For a medium size, at least 3 napkins are needed. For beauty, the edges of each can be trimmed with shaped scissors.
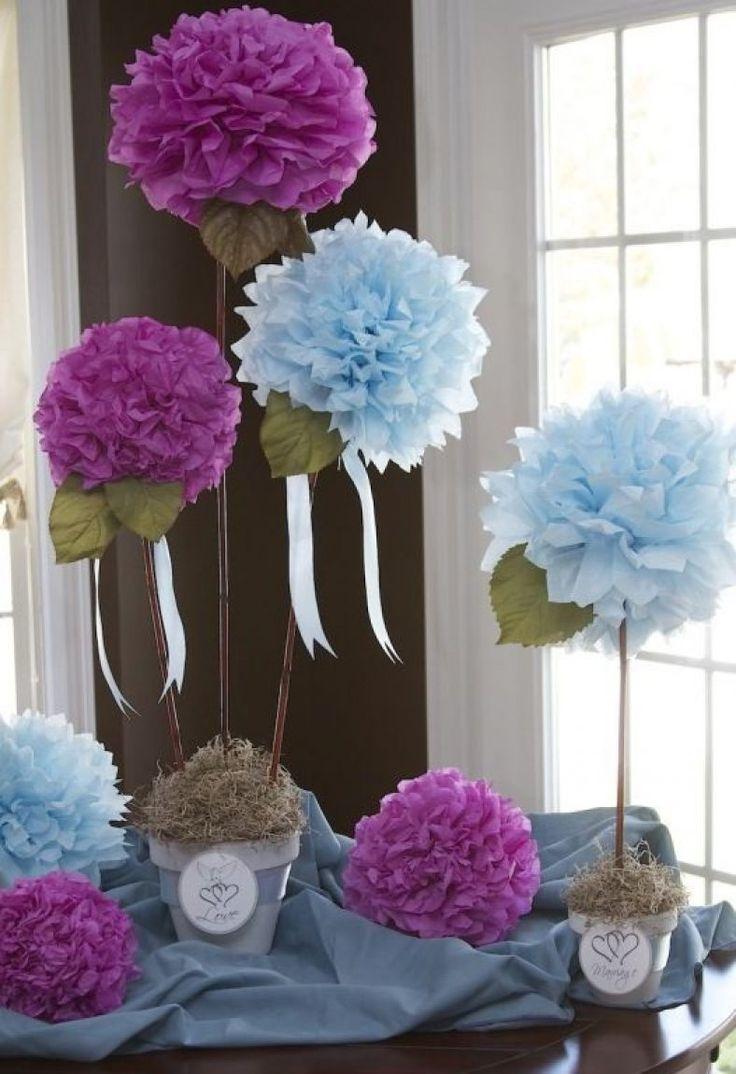
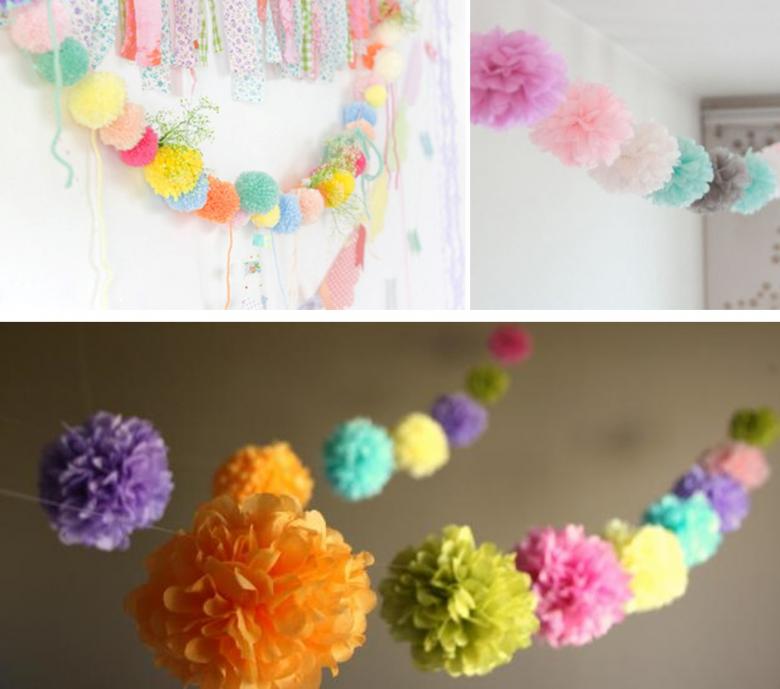
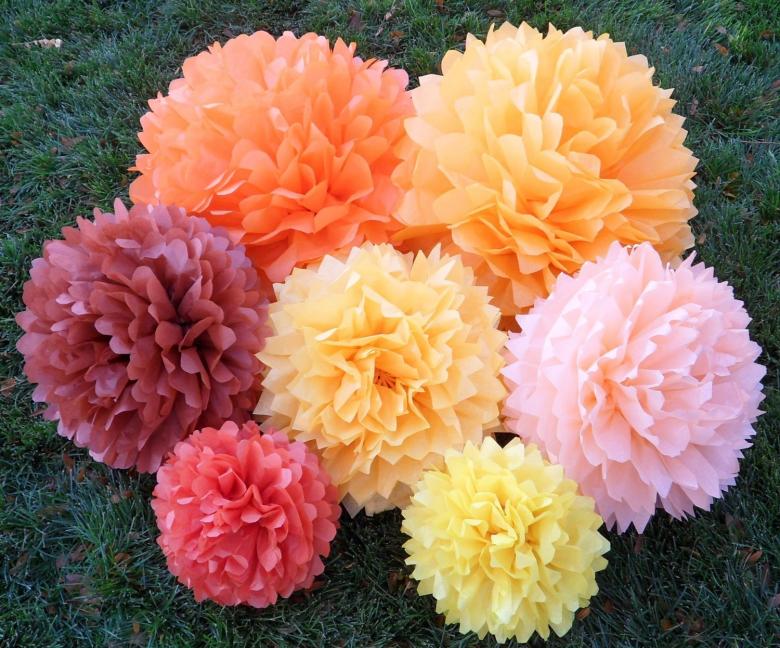
It is better to stack them. The middle should be fixed with a wire. Each layer should be overlapped and leveled. For lushness, it is recommended to flatten one side and leave the other unchanged. Tape the napkins together 10-15 pieces, so that they turn out to be delicate. They will look great on the ceiling, on the wall and anywhere else in the house.
Pom-pom from corrugated paper
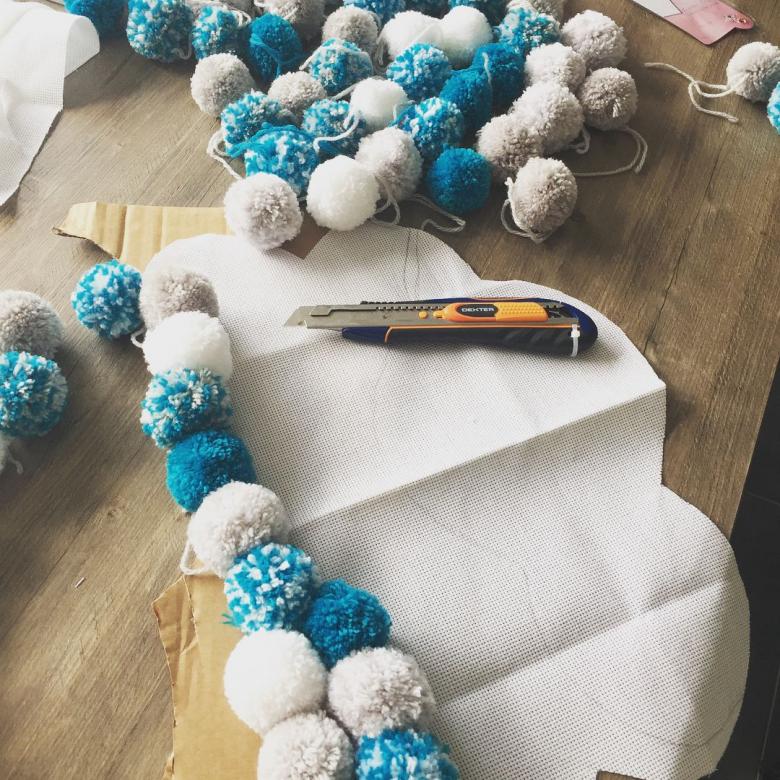
Cut sheets of paper into equal rectangles. The approximate size is 20x30. Be careful with the center of the paper when you will center with thread or wire, as the paper is thin and can tear. For interest you can fold the paper "harmonica" of different shades.
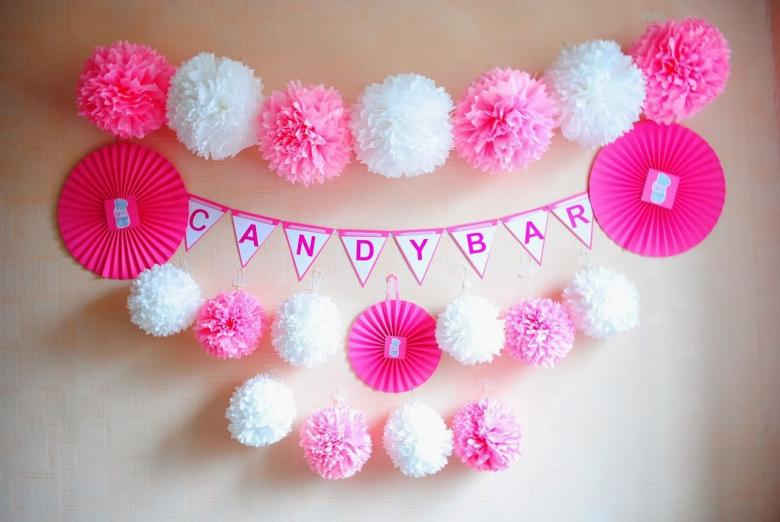
The decoration of any room will be pompoms of crepe paper. Crepe has to take a lot. Scheme of work is similar to the previous idea.
- Sheets spread out. Cut into A4 size.
- Fold in an accordion to 2 cm.
- Fix the middle with a wire. To fix it to the ceiling, you need to leave a larger tail.
- The ends of the paper to connect and flatten.
That's all. You can fix it to the ceiling.
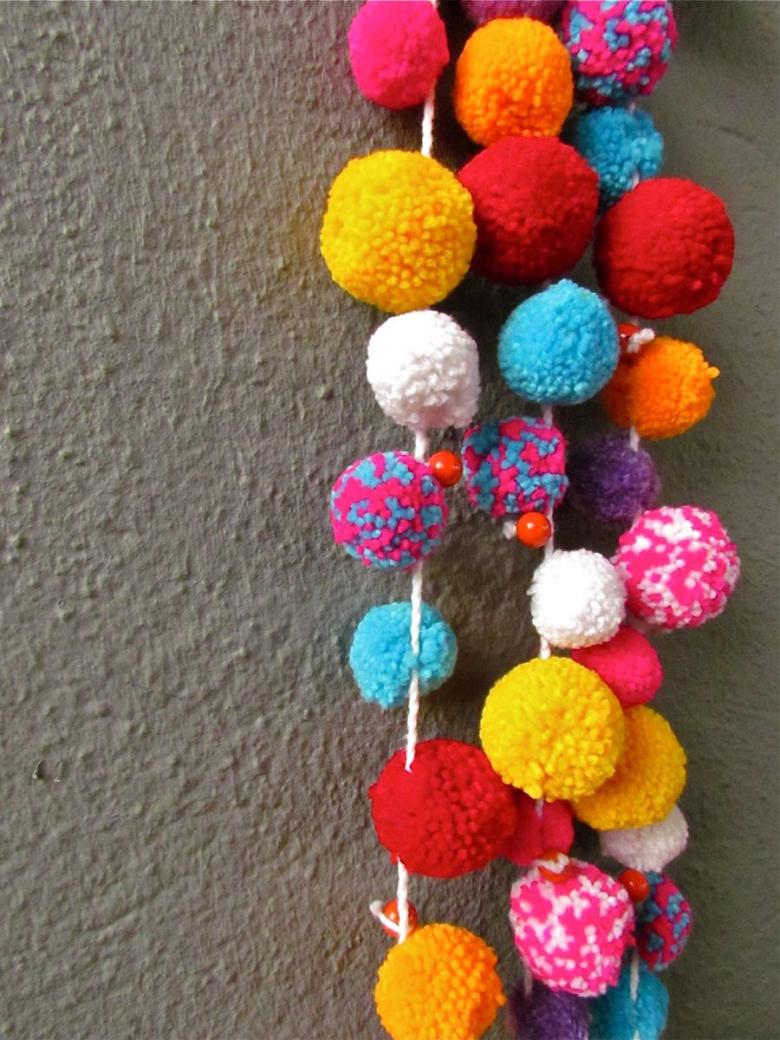
The classic way of making with cardboard
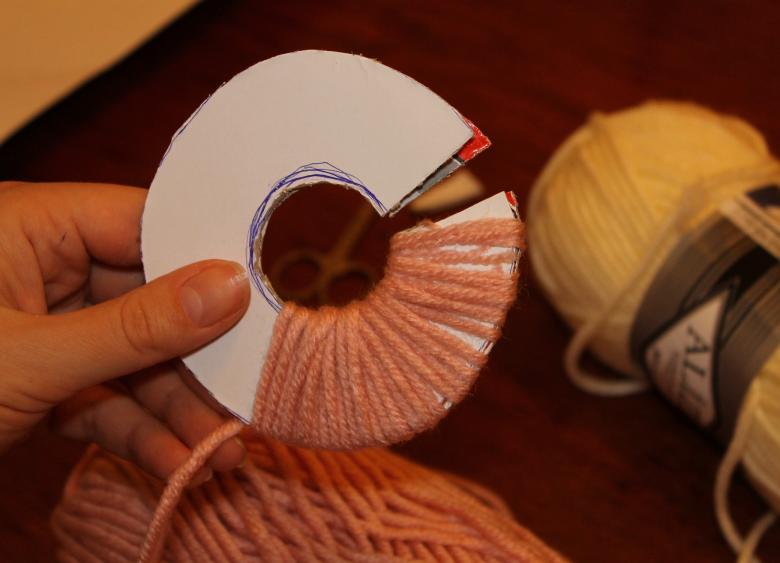
As you have already understood, you will need cardboard. With the help of a compass on it you need to cut out perfect 2 circles of the size that you yourself want. Just keep in mind that there will be smaller circles in these circles. The greater the distance, the more fluffy will be the future product. For a hat usually make a mold of 9 cm. The inner circle is no larger than 20 mm, otherwise it will be convoluted to cut later.
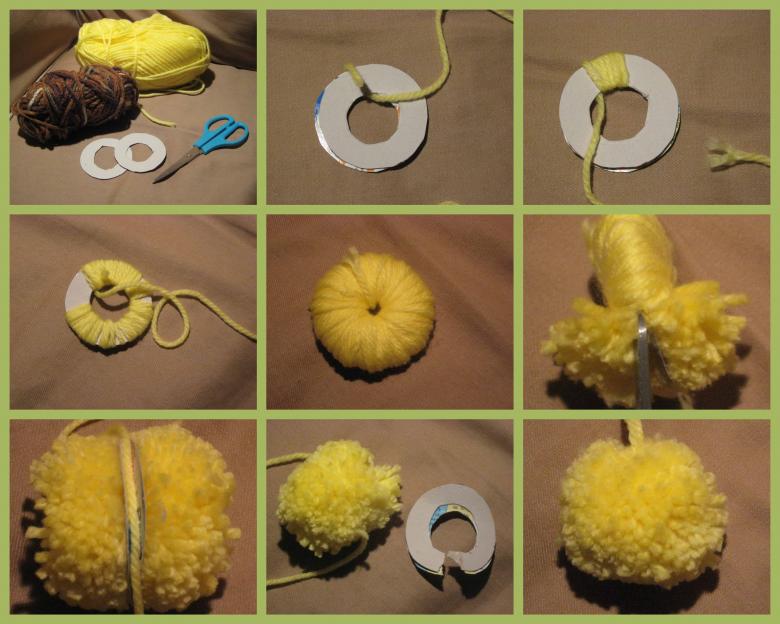
After all the actions, the two circles are connected. On them you need to wrap good yarn in a circle. The more yarn, the better! It will be more beautiful if the hole inside is filled completely. With sharpened scissors, all that remains is to cut the yarn along the front edge between the cardboard rings. To keep the knot from coming undone, it's best to thread and tie a knot. To keep the thread from unraveling, hold the pattern tighter!

Plastic bags as an option!
If you have plastic bags or sacks, don't throw them away. They will come in handy for crafts. They are used mostly for dances, cheerleaders, and teams. To make them, you need to put two bags with the same side facing each other. If you do not understand how to do it you can look at the cool photos on the Internet.
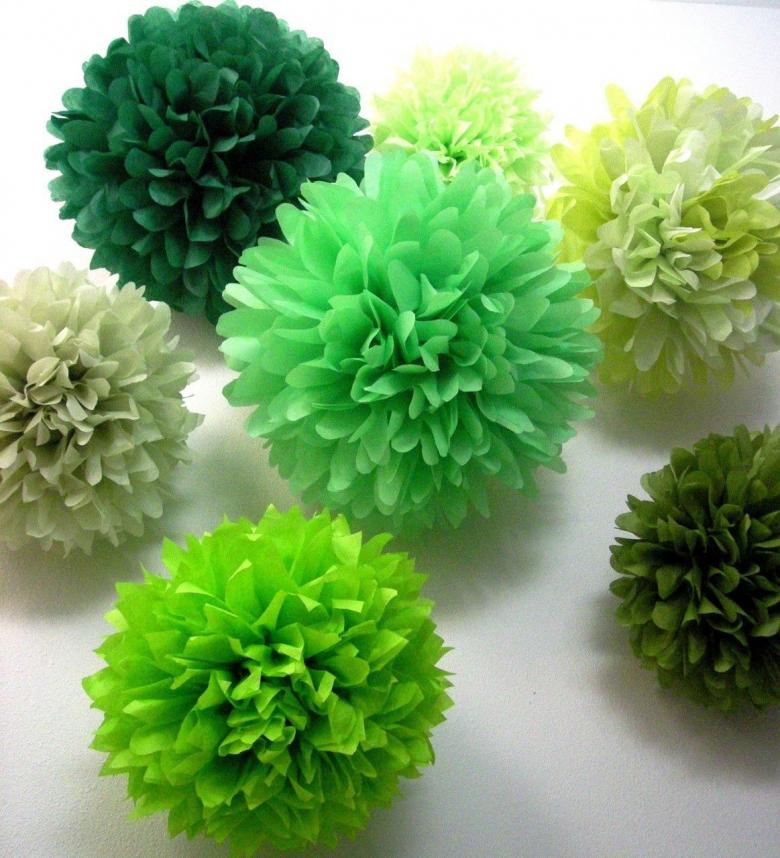
Artificial fur
To make the future ball, you need to take a cardboard blank slightly larger than the product itself. It should be attached to the inside of the fur piece and circled. The workpiece should be cut and swept inside the edges, so that the fur does not come out. The thread used for sewing should be tightened and the edges should be fixed firmly. If you need to hang it from something, it should be left longer.

Fabric ball
To get one ball you have to prepare pieces of fabric width of 1.5-3 cm and two crescents of cardboard. Wrap the pieces on the crescents, but do not pull too much. The end is fixed speller or glue. Scissors strips are carefully cut in the middle and removed. The thread is also pulled and tied. If desired, it is possible to trim in a circle.
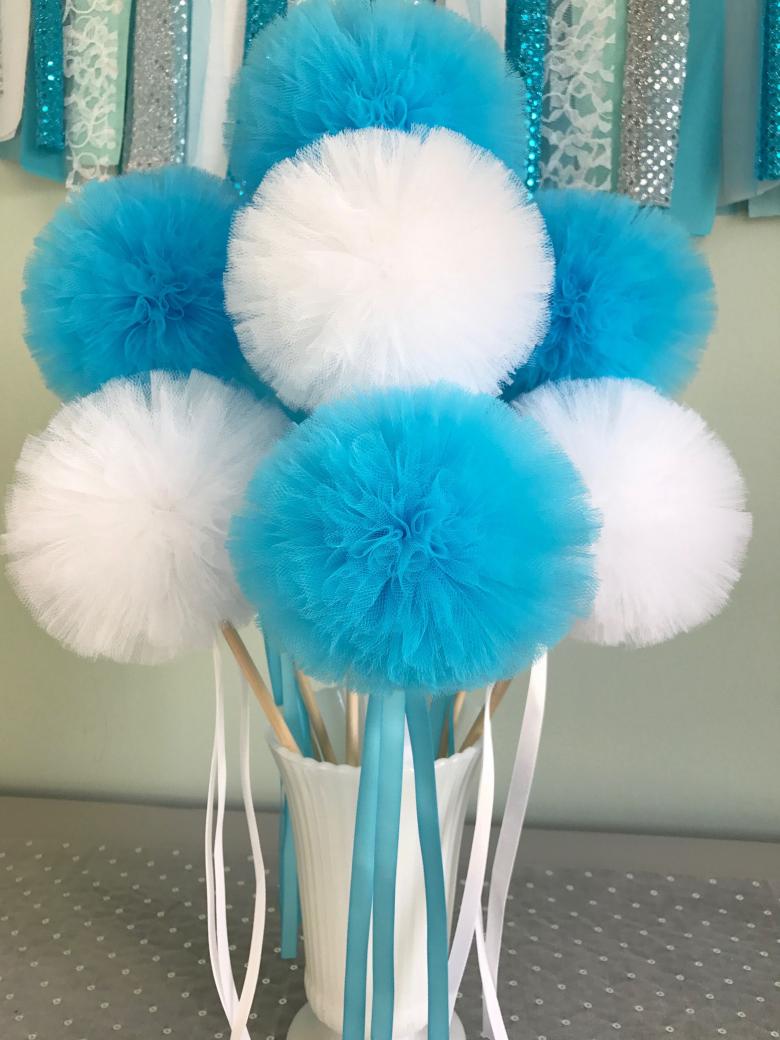
Tip: If you want to use 2 colors in a pom-pom, then wind exactly half of each color, by simultaneous alternation. Using thread of 2-3 colors, the ball will turn out multi-colored or even with a picture of some image.
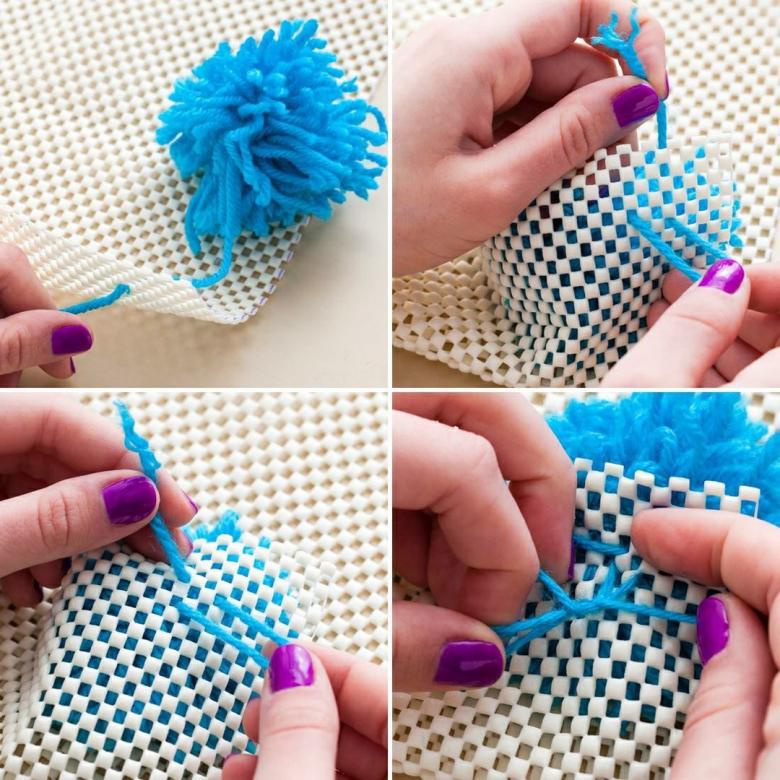
So, pompoms can be made from any materials at hand. You have seen it for yourself. If you add creativity, then seeing your efforts and the beauty of the product, others may also be interested in it. You can buy pompons in the store, but to form your own hand is unique, unusual and valuable.
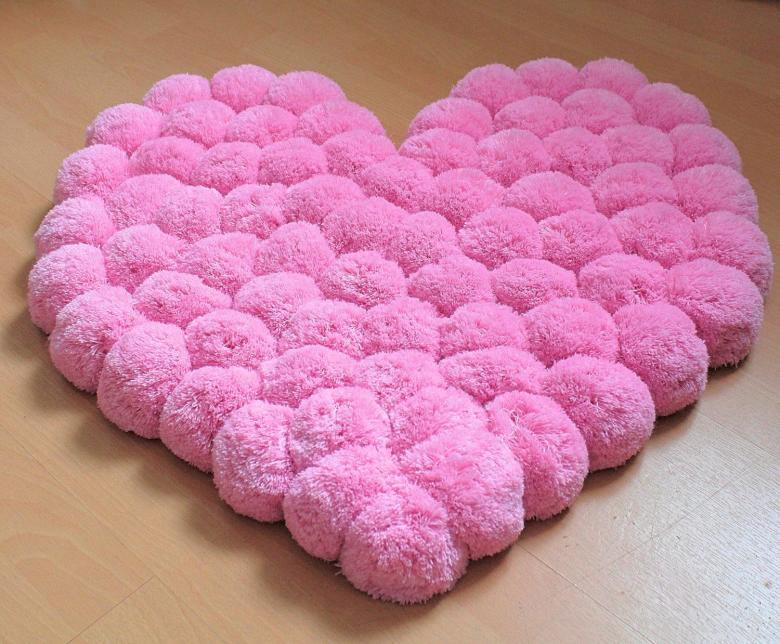
And it's not a problem if you've never done pom-pom making. It is very easy to learn. I hope that by using the tips in this article, you will become skilled craftsmen! Have fun experimenting!

