How to make a handmade unicorn - a selection of master classes with different materials
A magical beast, a famous guest of all new cartoons, a favorite of young children. What child does not dream of buying such a toy for himself? So let's help the kids and their parents make a fabulous beast on their own!
What materials will we work with today?
Today we will get acquainted with different techniques for creating a unicorn craft. In addition, we will find out where and for what we can use these products.
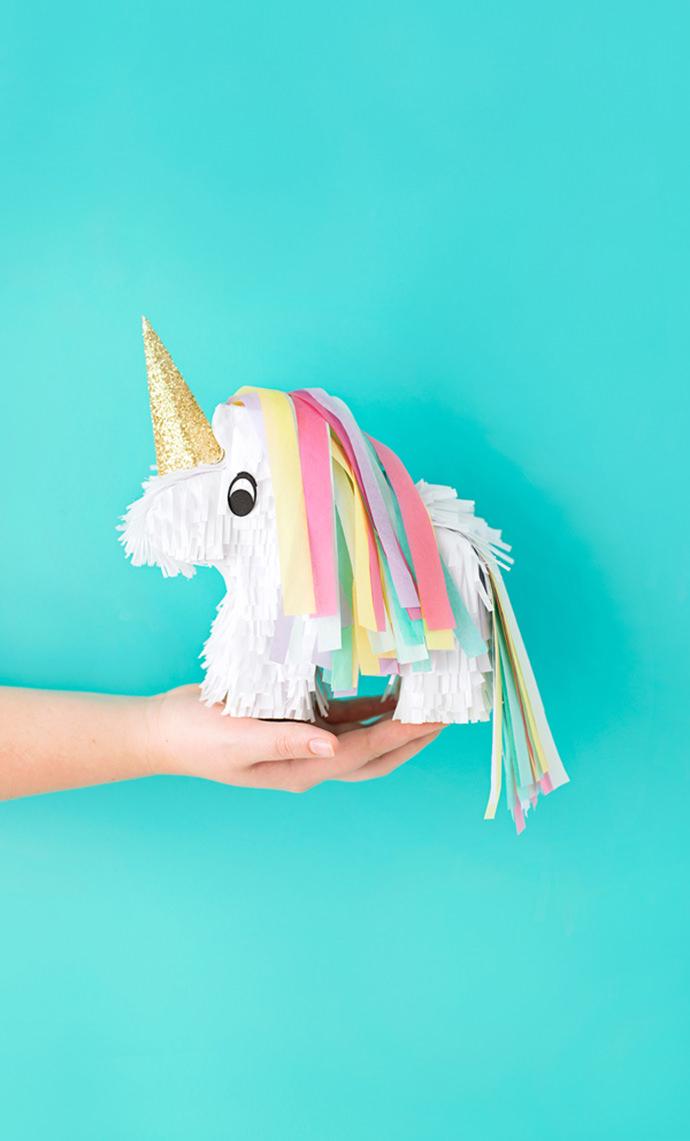
For work we have picked up a list of the following models:
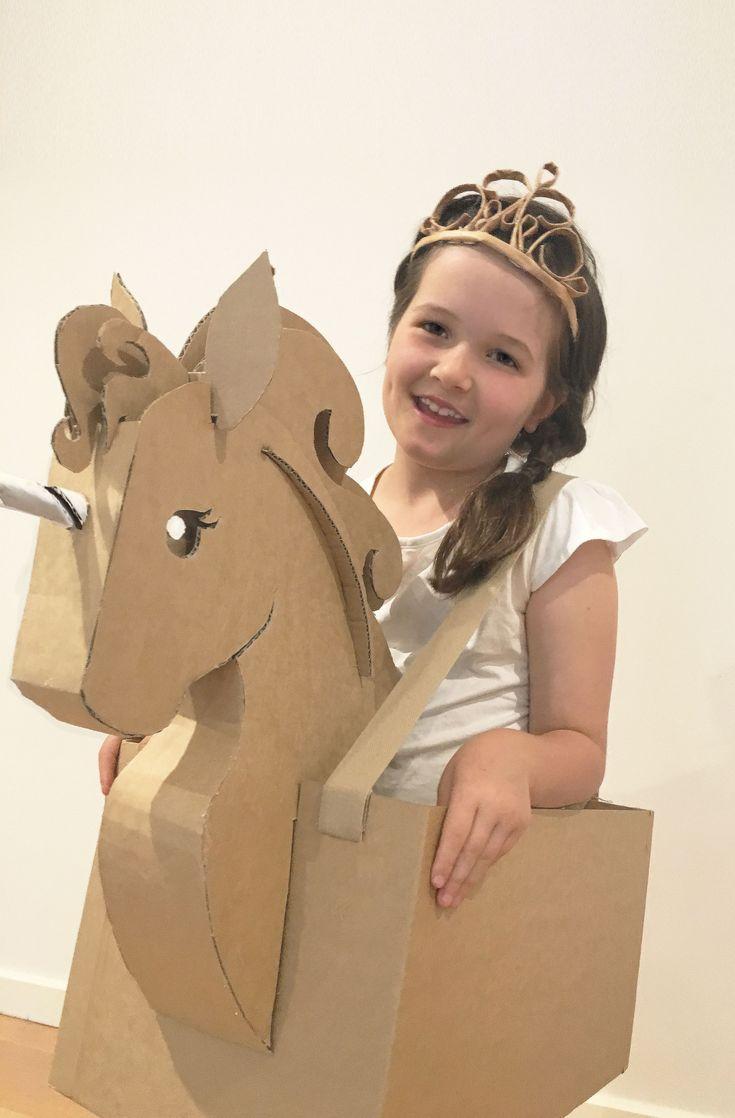
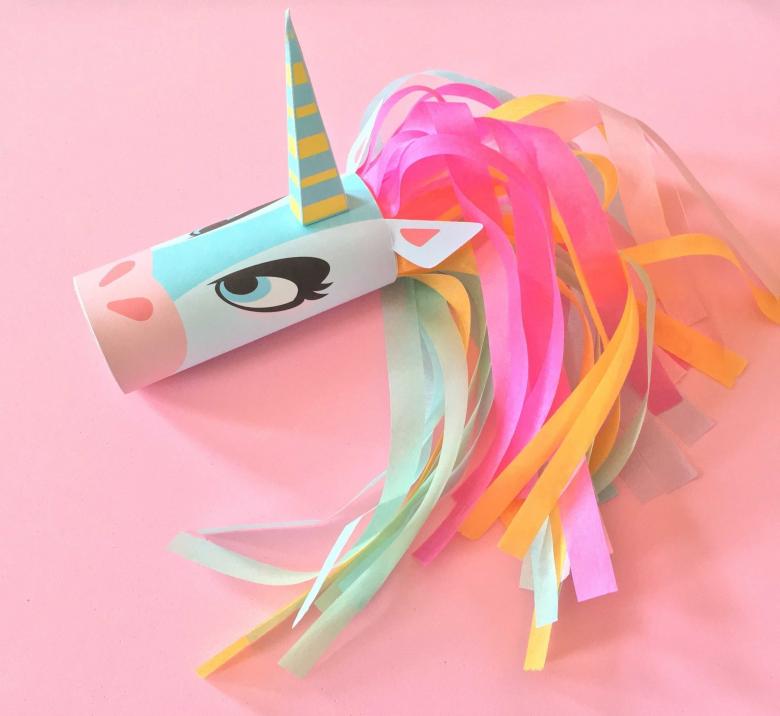
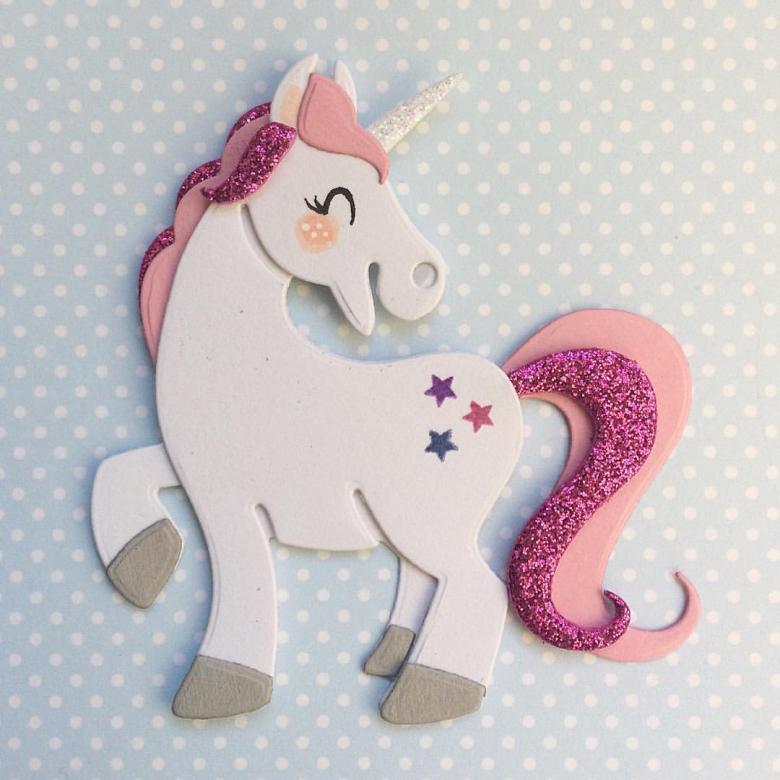
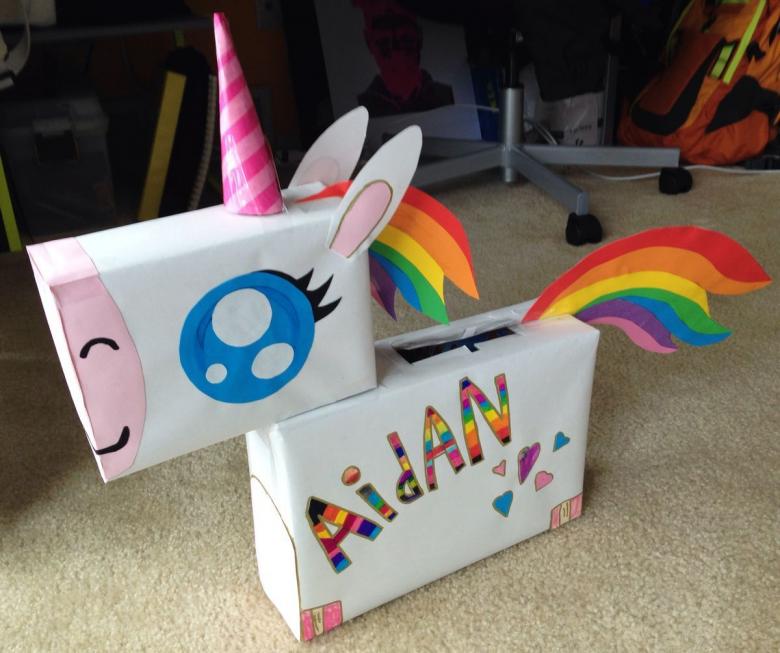
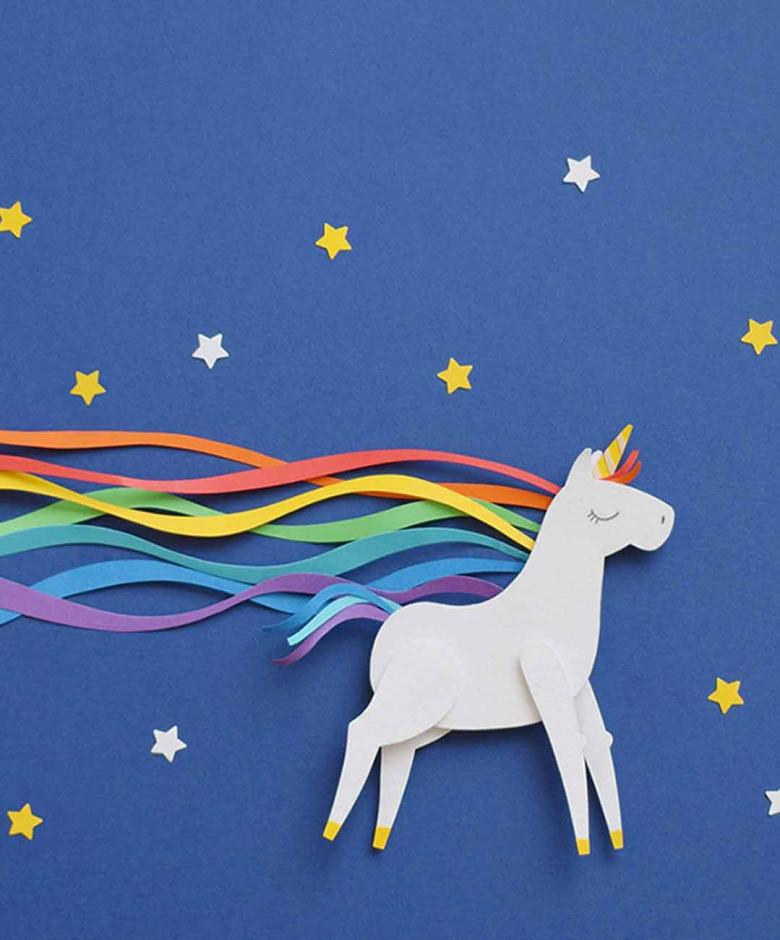
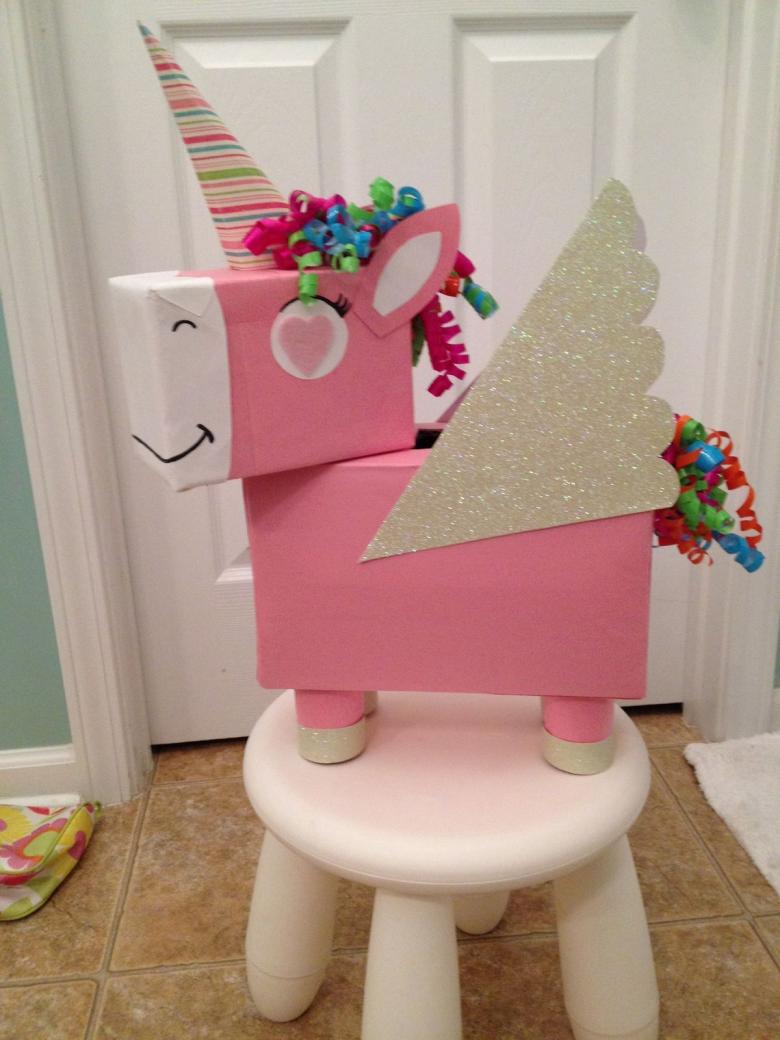
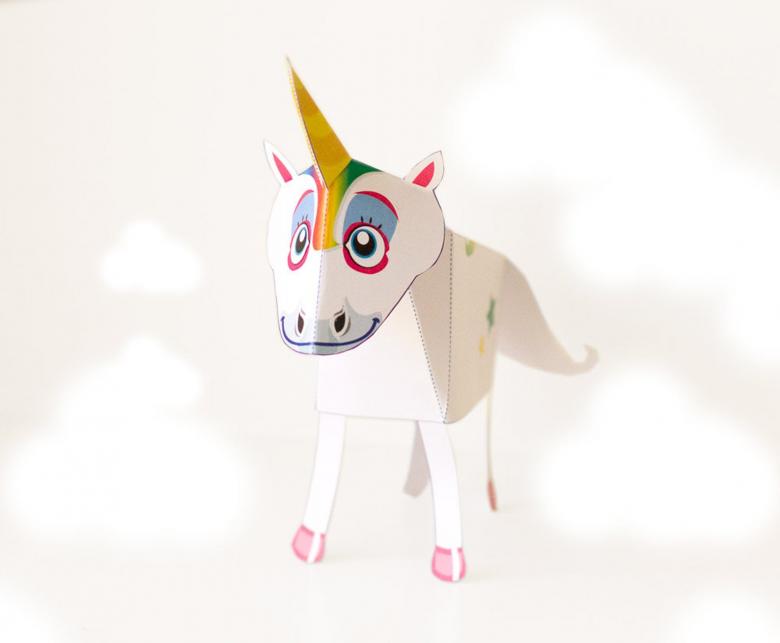
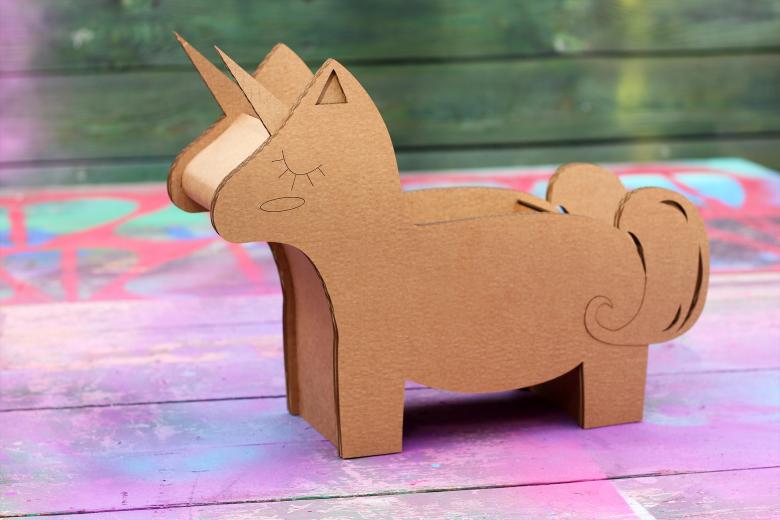
- Unicorn from cardboard and colored paper.
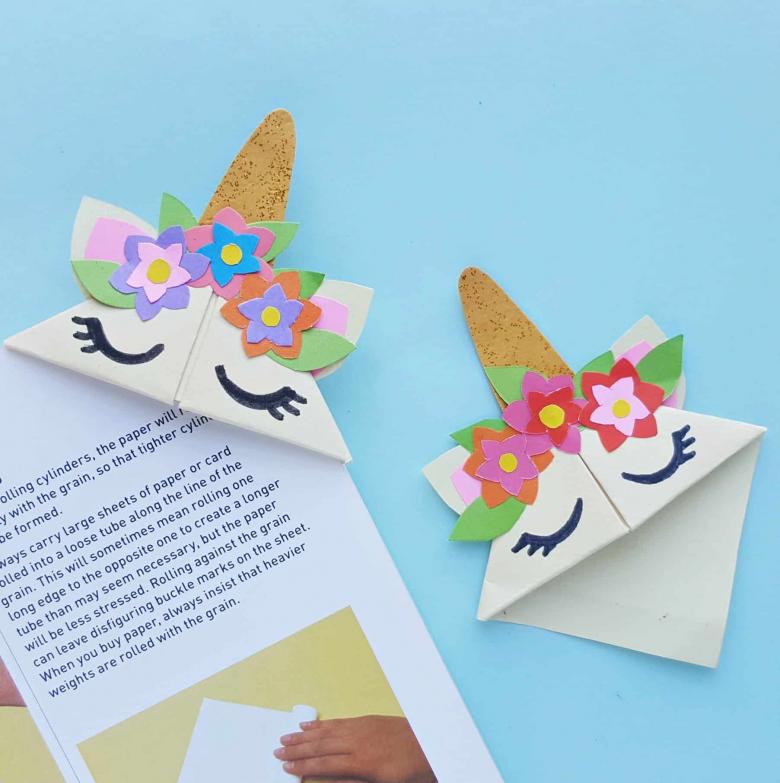
- Unicorn from paper: a bookmark for a book.
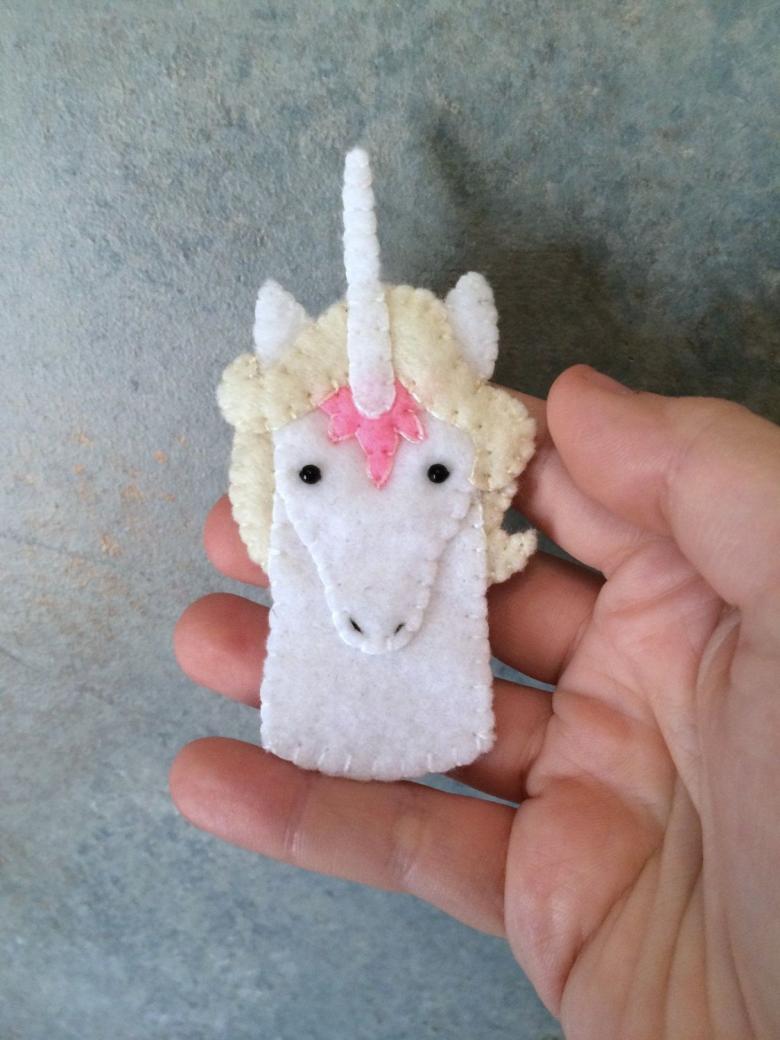
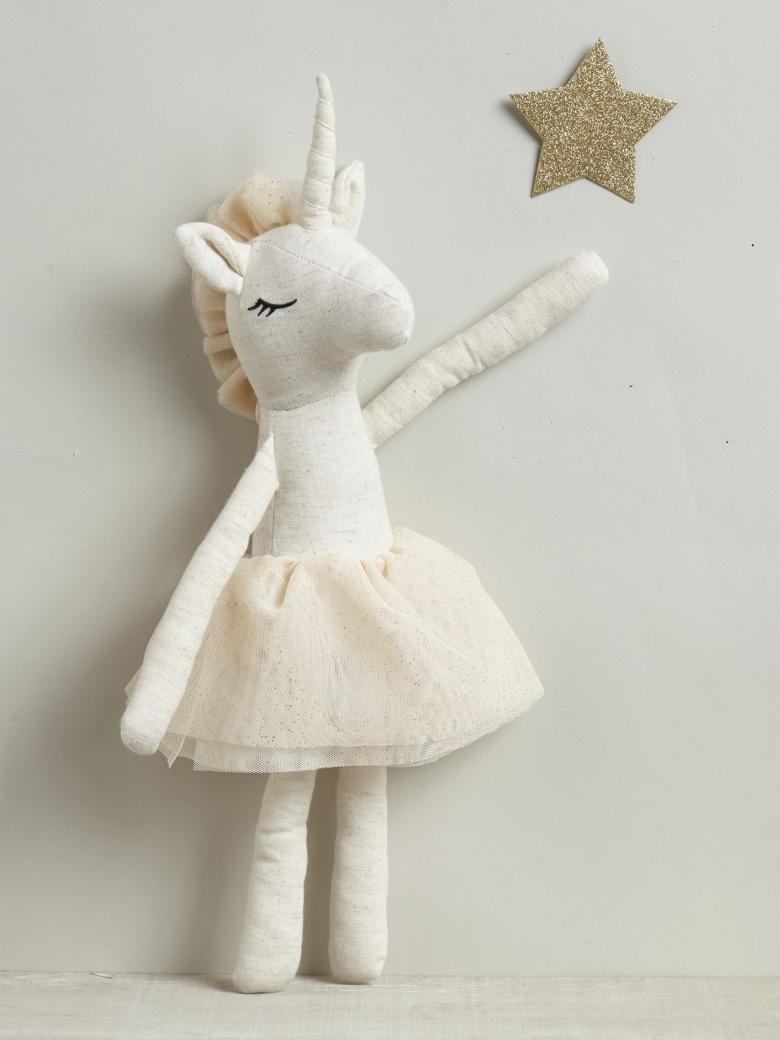
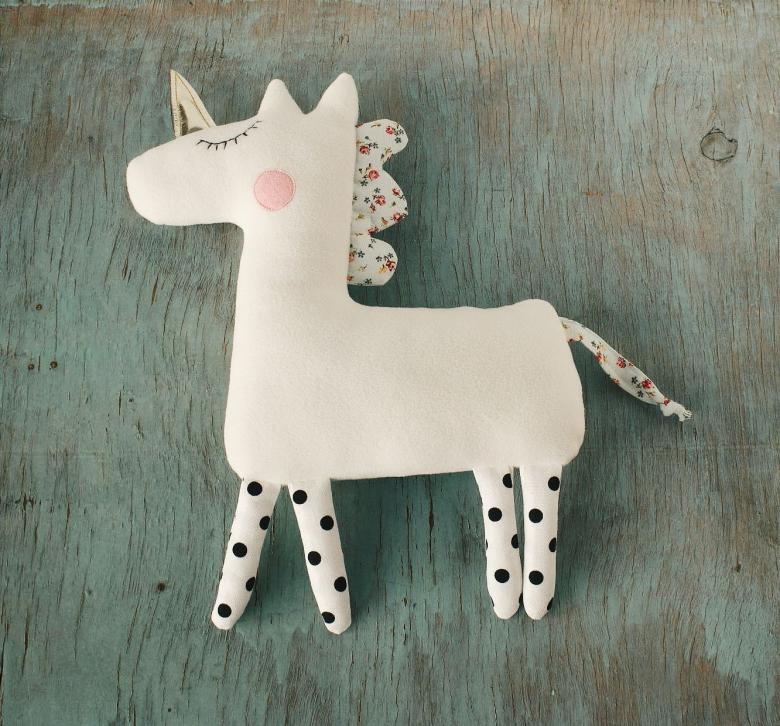
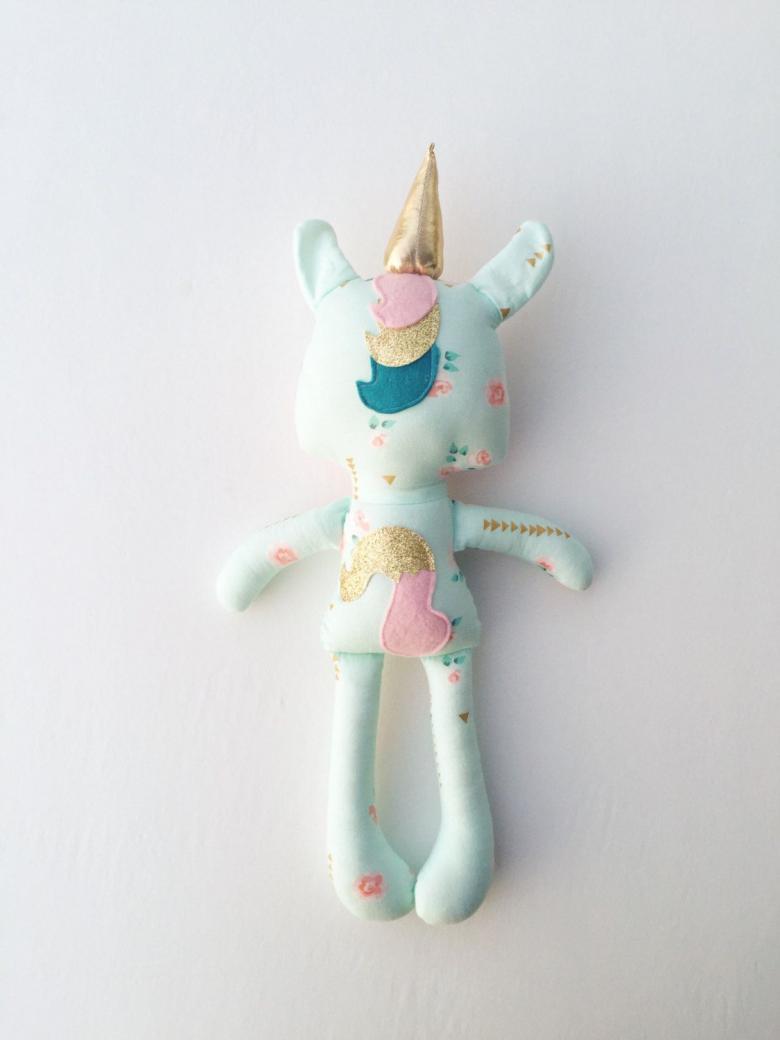
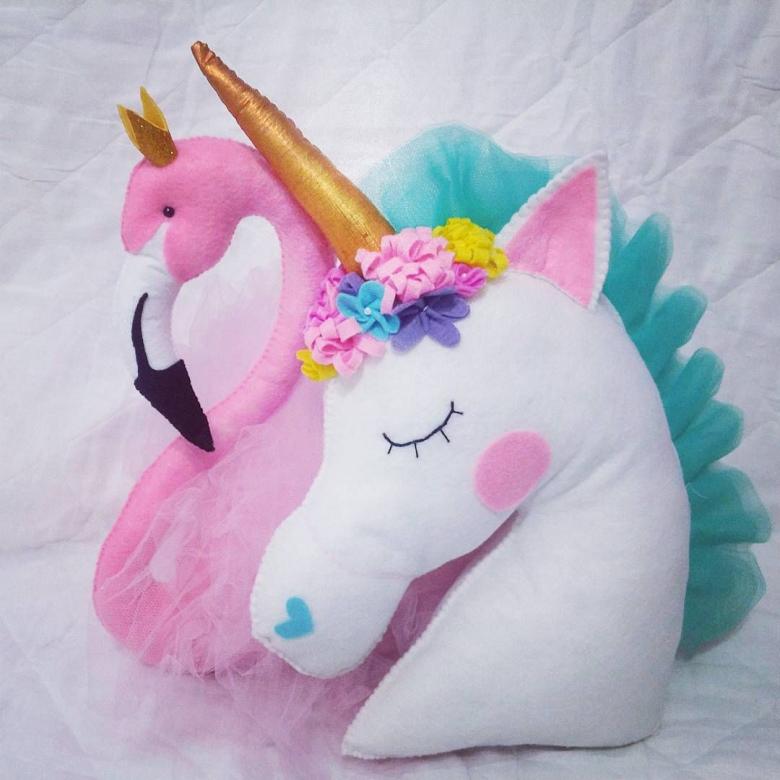
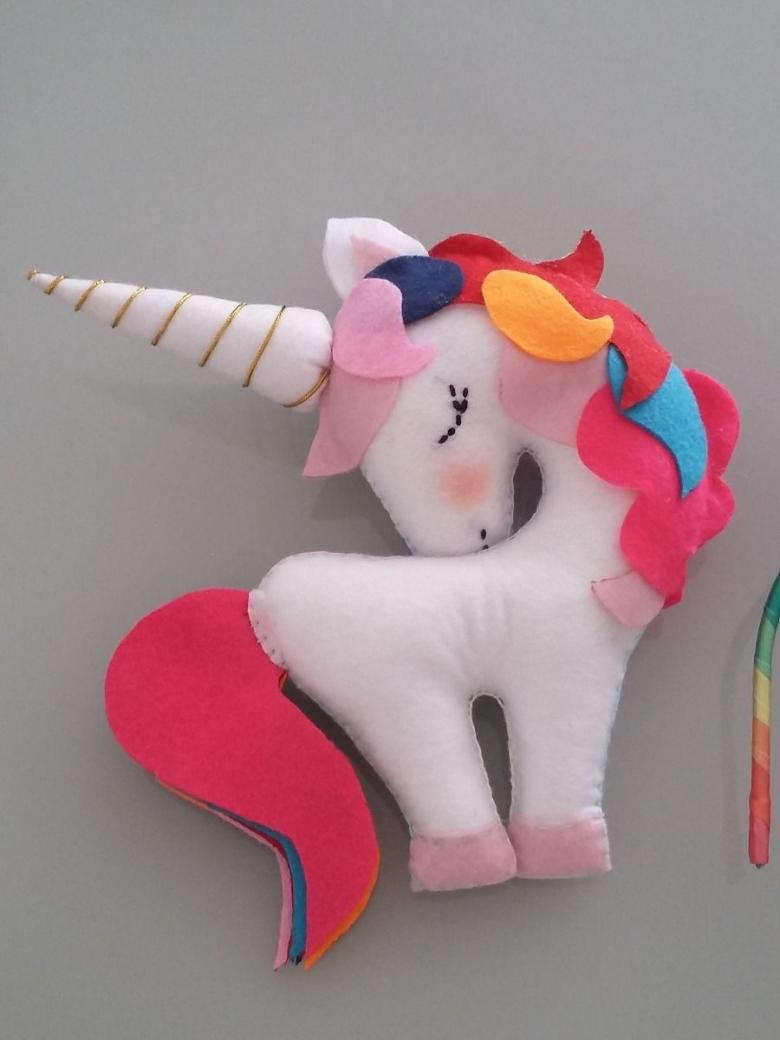
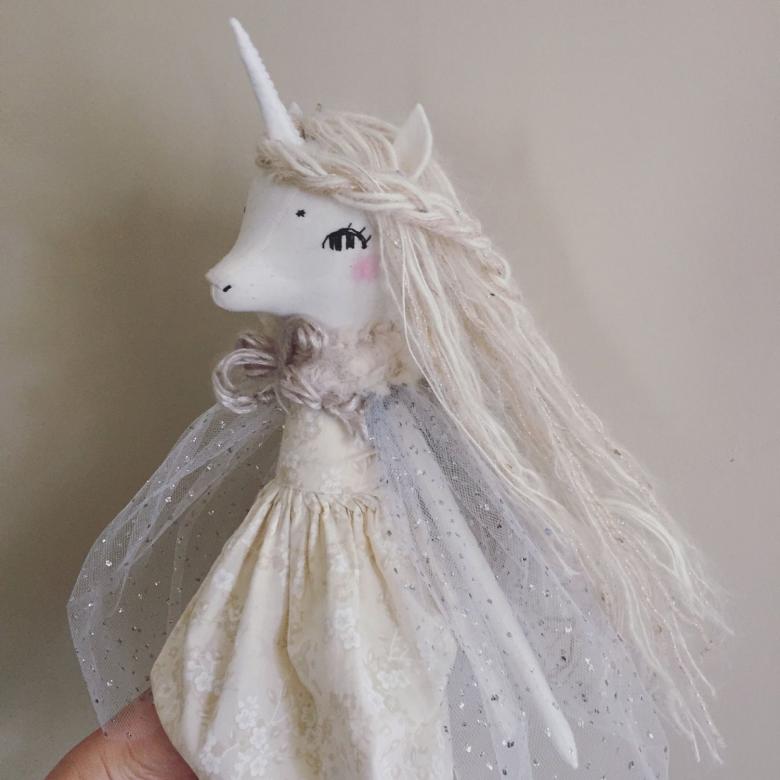
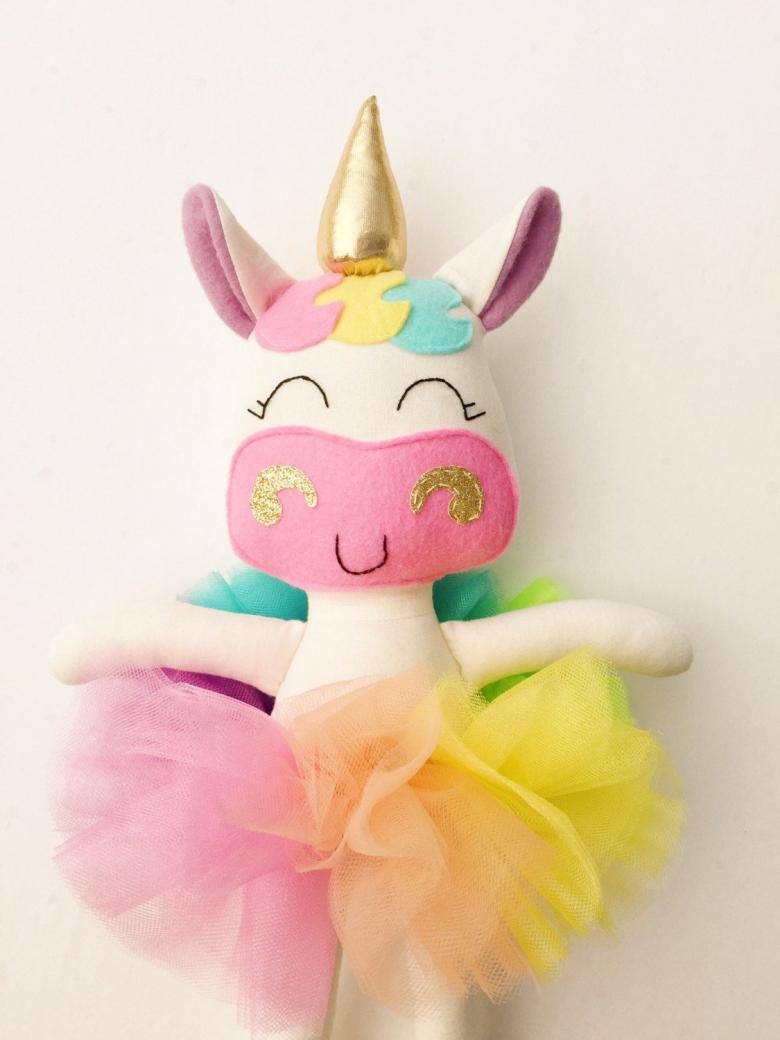
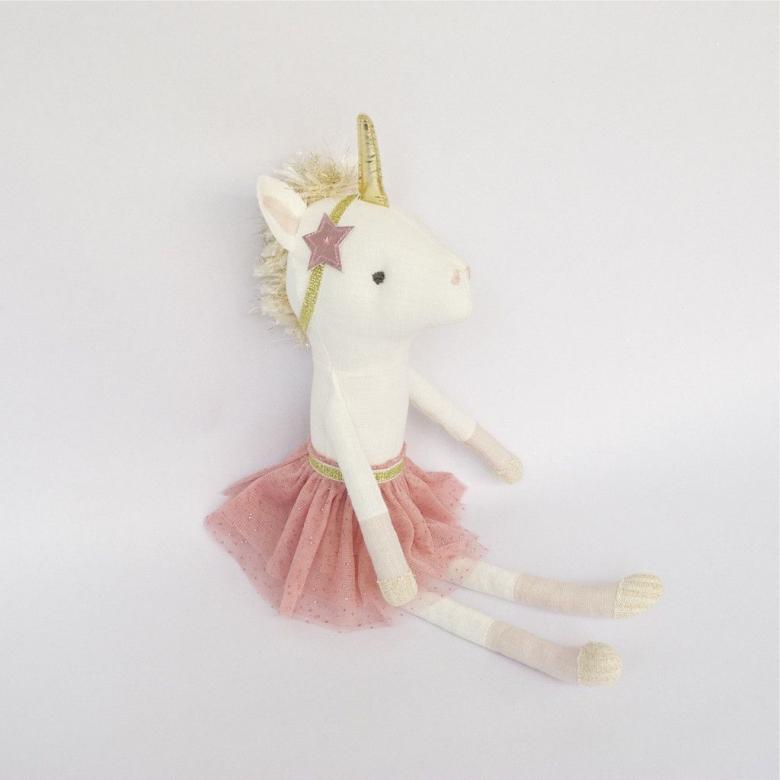
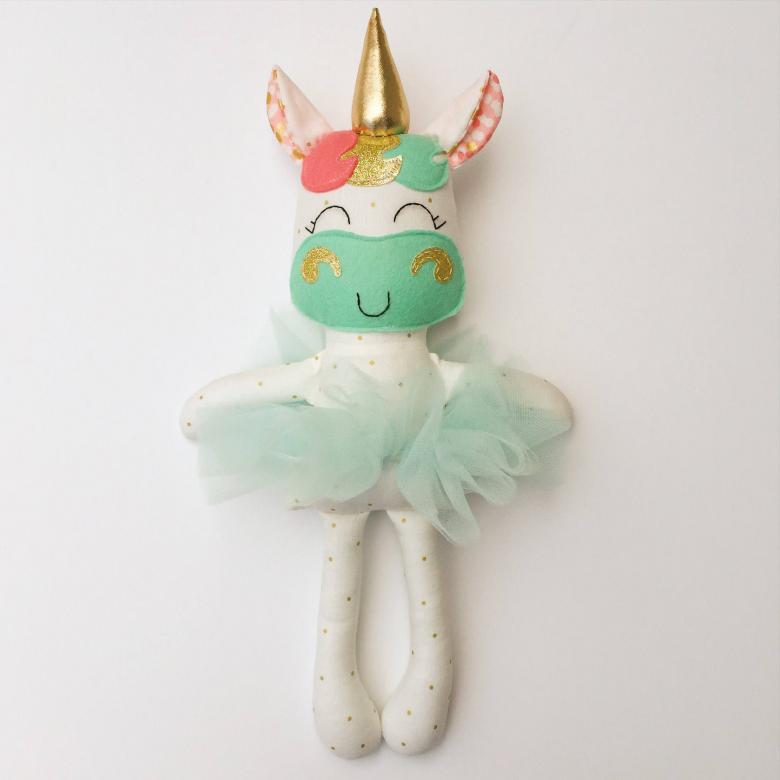
- Hand puppets for theater productions.
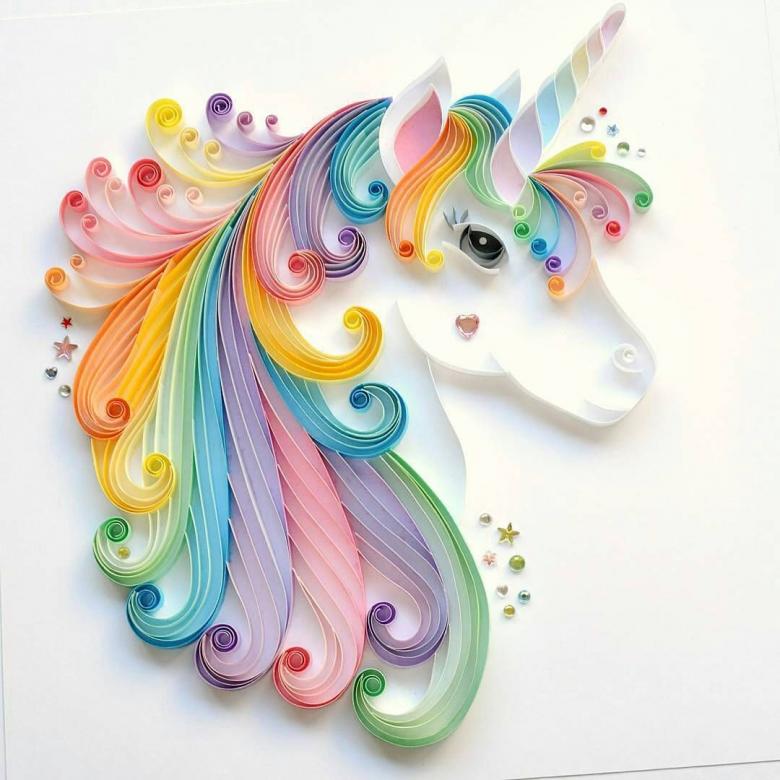
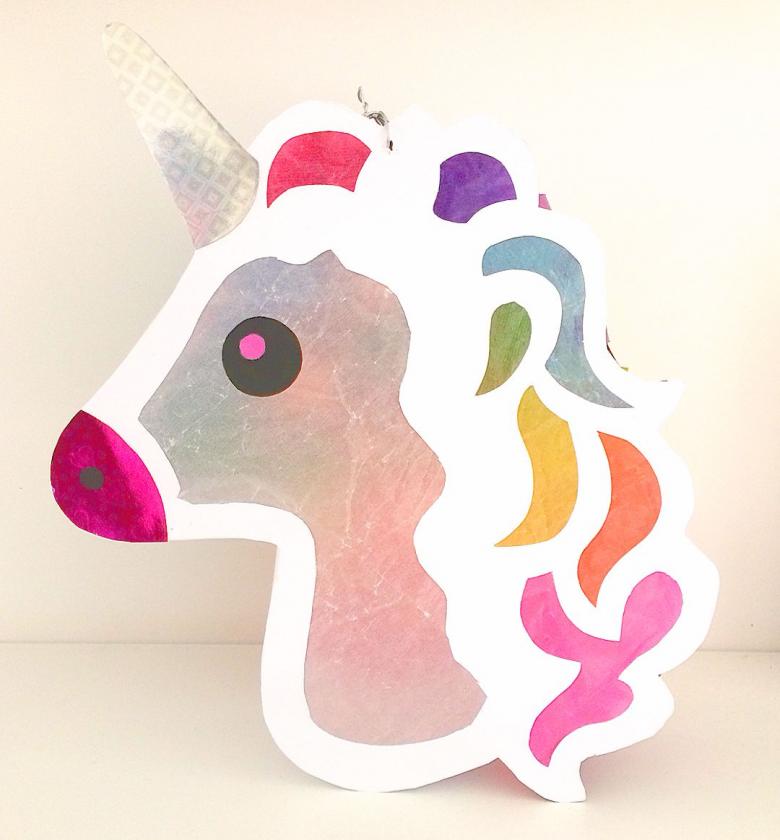
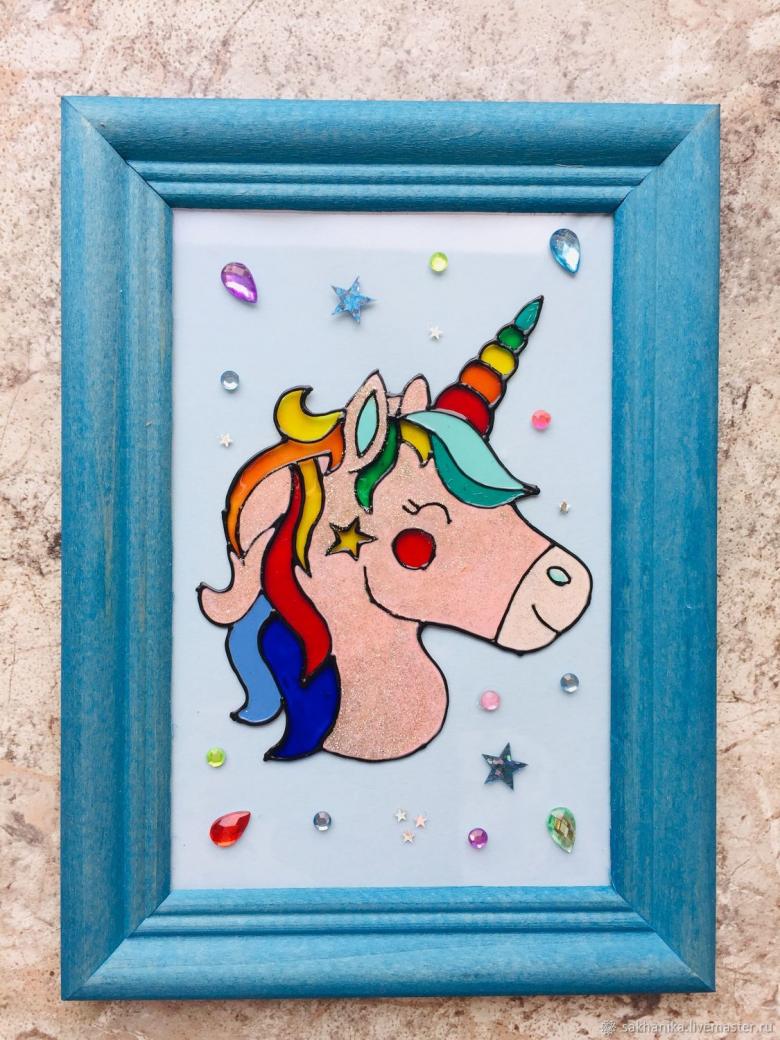
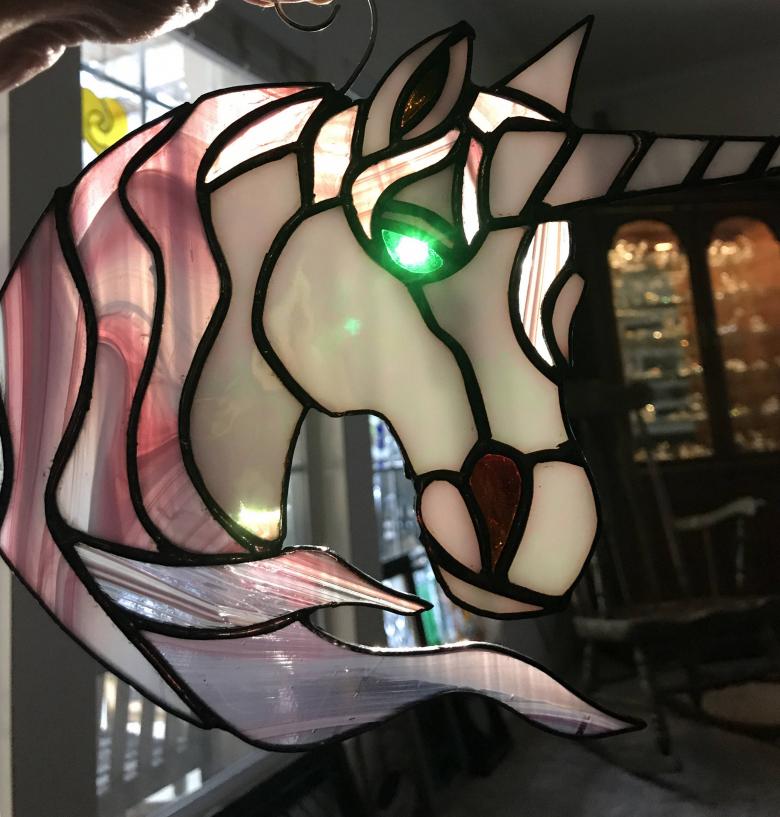
- Stained glass windows from colored paper.
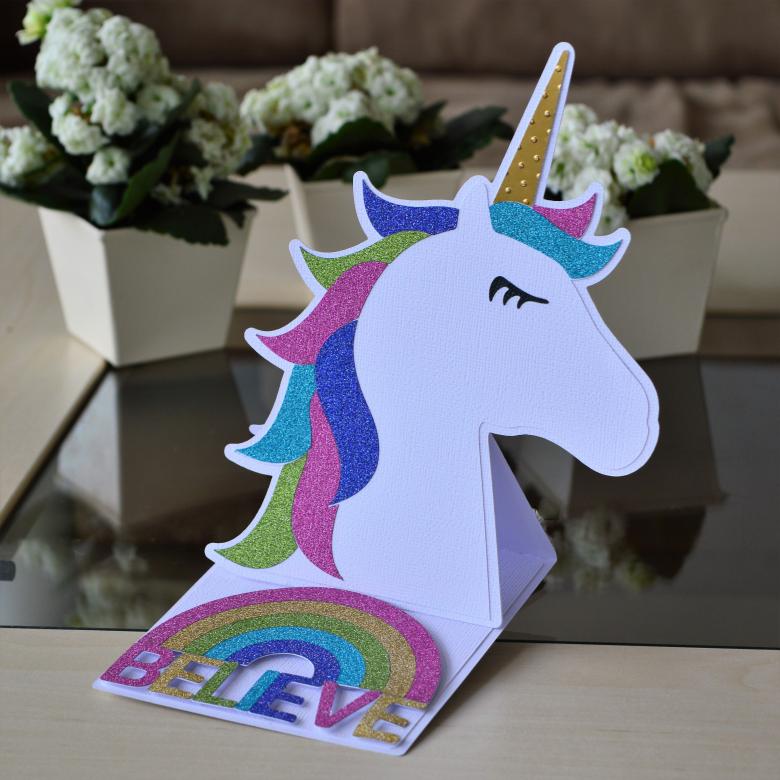
- Volumetric craft in the form of a postcard.

All selected models of crafts are very easy to perform, so you can bring your kid to work. He will work together with you, developing fine motor skills of the fingers. And from the time spent with you, the child will get a lot of fun.

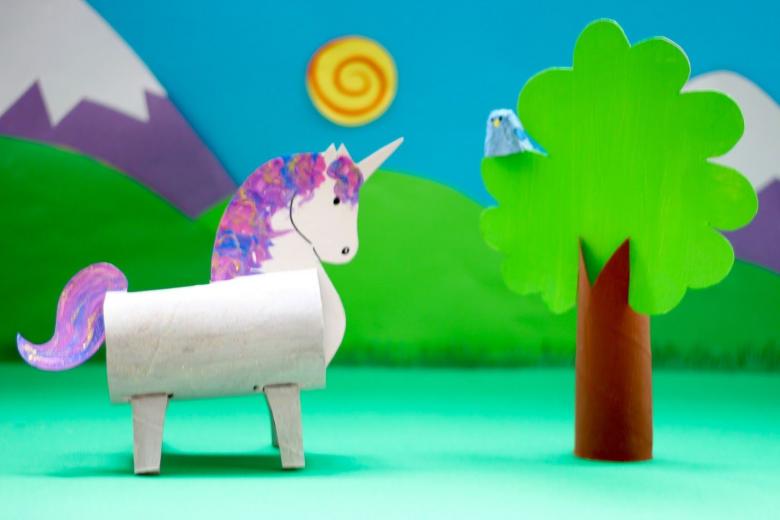
Creating a unicorn out of cardboard
To work on this model, we will need:
- Cardboard, colored paper.
- Scissors, glue.
- Crayons, a simple pencil.
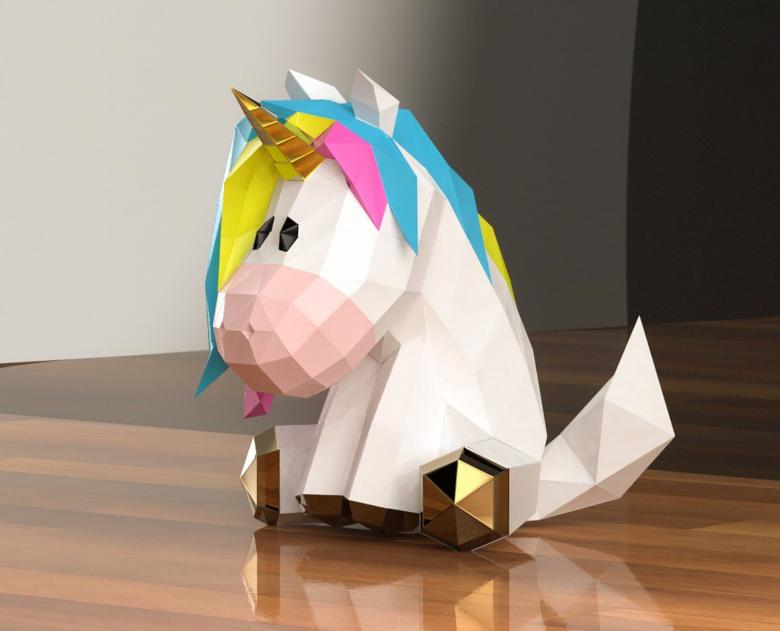
A step-by-step diagram-instruction for the master:
- From a sheet of cardboard, cut a long white strip 7-8 cm wide.
- Roll it up so that the ends of the strip meet exactly in the middle (if in doubt, use a ruler).
- Apply glue to the bottom surface of one end of the strip and slip it over the other. You will have a closed figure with a stable support.
- Next, proceed to make the head. It is best to find a template on the internet. Using it, we cut out the head of our unicorn from cardboard.
- Let's draw a face to our animal: eyes, eyebrows. Separately, decorate the horn. We are preparing a handicraft for a child, so a lot of paint and decor - it is good.
- Neck prepared either from a strip of cardboard, folded in an accordion, or from cardboard, also rolled into a ring. Legs draw on paper and cut them out.
- Connect the parts with glue.
- From colored paper make a mane and tail, which are also added to our product.
Here, our first handicraft is ready! Easy and simple - our main goal.

Create a bookmark for a book
Do your children attend school? Then this model will be perfect. Make a few of these bookmarks in the shape of a unicorn, and the learning process will seem pleasant and easy to a young student.
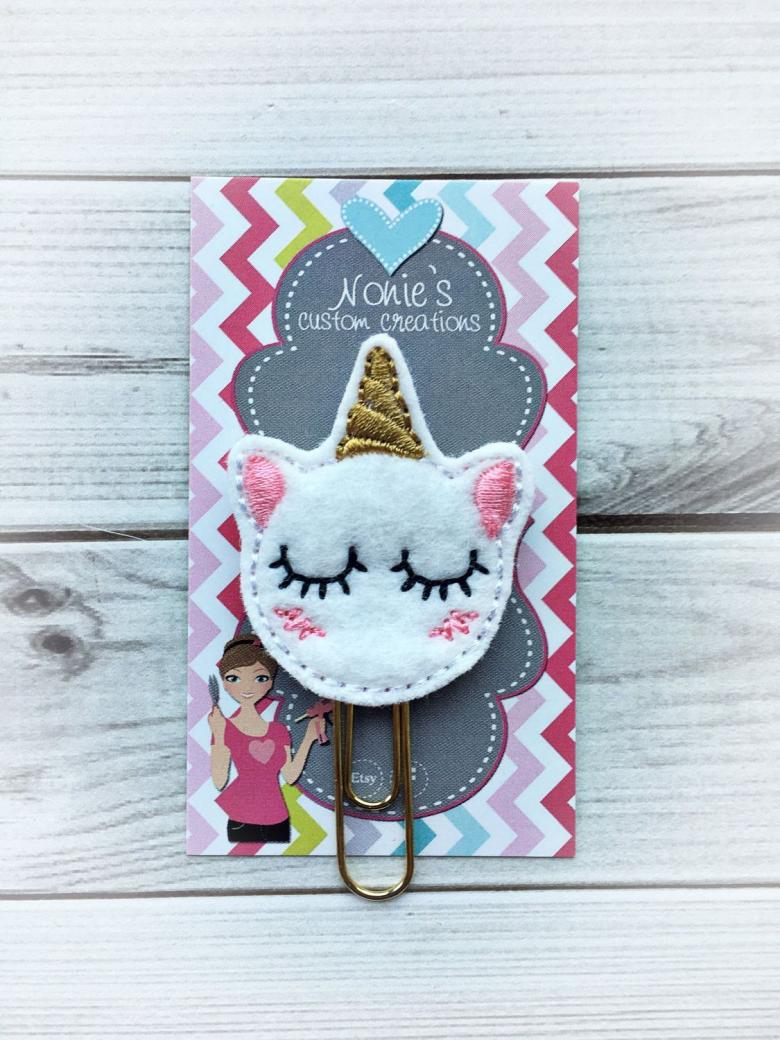
What we need to prepare:
- Colored paper and cardboard.
- Scissors and glue.
- Crayons.
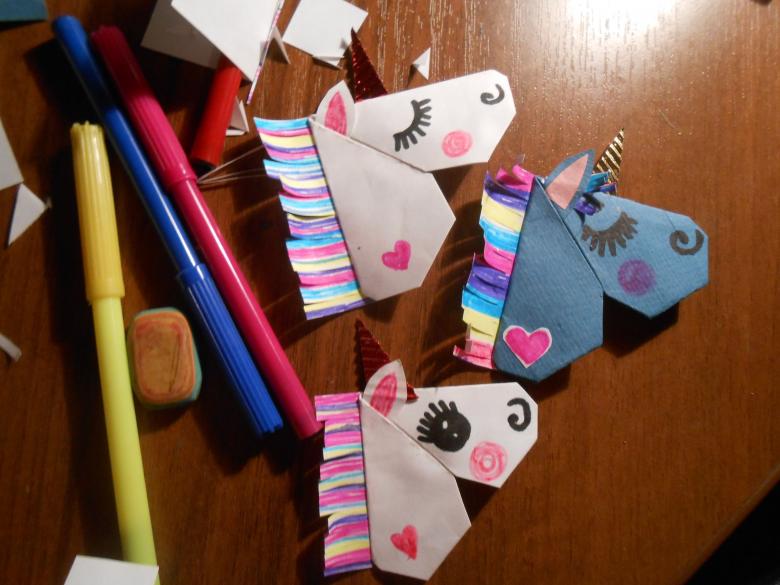
Step by step schematic instructions:
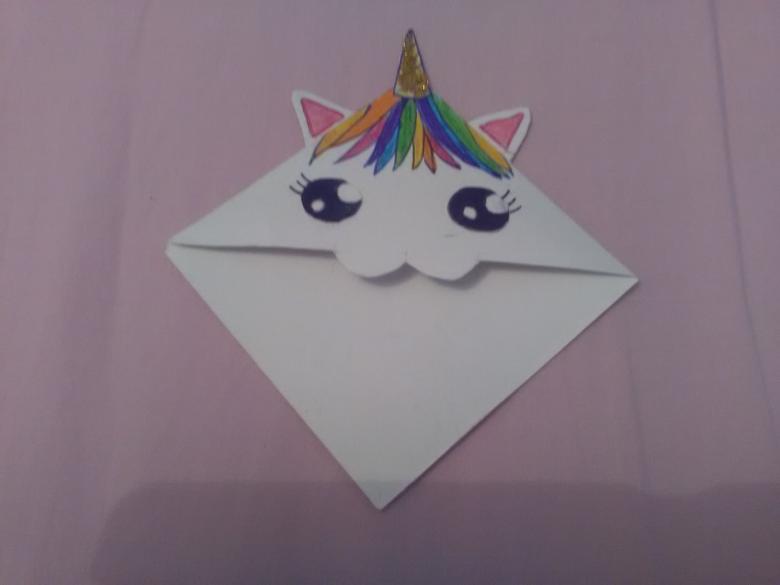
- To work we will take a square of colored paper in the color we want.
- Fold it diagonally and unfold.
- Mark the center of the resulting fold.
- The side corners of the square fold to the center (as if folding an envelope).
- Bottom corner tuck up so that it slightly covered the edge of the corners of the corners below.
- Now we fold in half billet, turning the bent corners out.
- The top corner also leave the attention: wrap it sideways, and the very edge of the bend up (this will allow a little rounded muzzle unicorn).
- Horn make a paper of a different color, glue it to the back of the head of the craft.
- Near the horn you can glue small ears.
- Now draw our animal face and mane with felt-tip pens.
Unicorn ready.

Structure, which we received during the step by step work, allows you to wear a bookmark on the corner of the book. This will greatly facilitate the learning process of the child, as well as bring a moment of color and joy in the current everyday life.
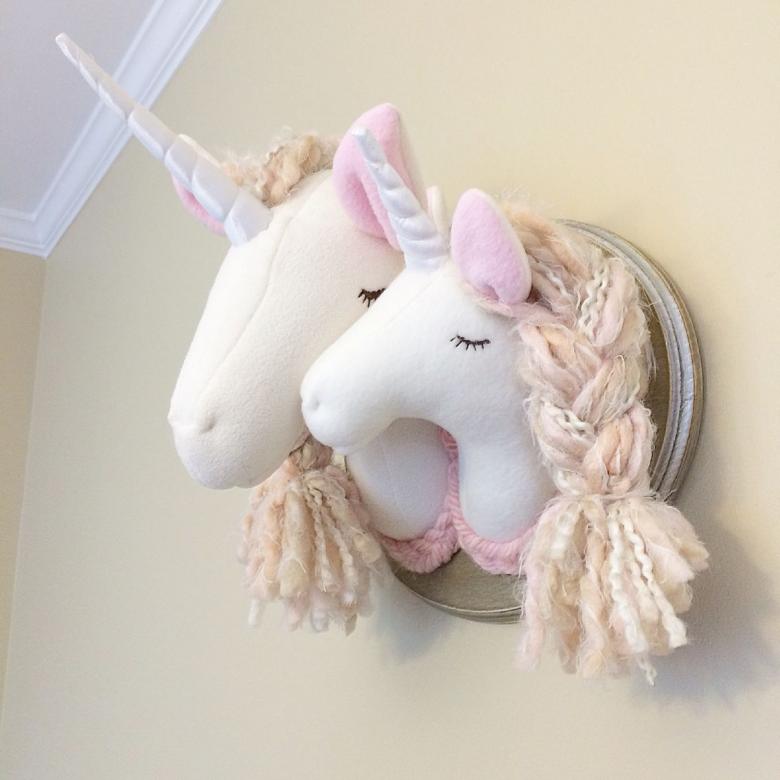
Creating hand puppets for theater productions
We know that kids love to create new and interesting hobbies. Puppet theater at home is a hobby for kids of all ages. And the characters, made with their own hands, will surprise any audience.
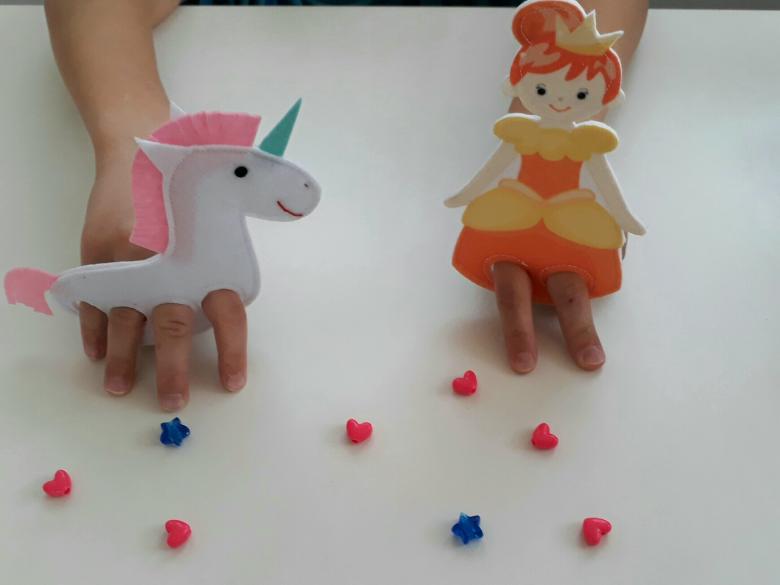
What we will need for work:
- Fabric, any fabric of your choice.
- Thread and needles.
- Decor elements (eyes, buttons, thread for the mane).
- Templates.
- Scissors.
- Filling.

Step by step schematic instructions for the master:
- To create this model, we will need a template only for the head, but necessarily in unfolded form.
- According to the pattern, we cut fabric blanks from the fabric.
- We put them together, facing outward. The toy for the puppet theater should not be completely flat, so we put a thin layer of filler between the layers of fabric blanks.
- Stitch the edges of the product, leaving a window for a hand.
- The edges of the window left over are stitched with extra stitches.
- All that is left is to decorate our unicorn. Glue on toy eyes, black circles as nostrils.
- Frame the mouth with fabric red or pink (because the characters of the puppet theater will talk).
- There are also templates where the horn of the toy is sewn separately. Do not be afraid, there is nothing complicated about it. In this case, we print an additional template, cut the blank out of fabric, stuff it with stuffing. And then we just sew to our handmade toy.
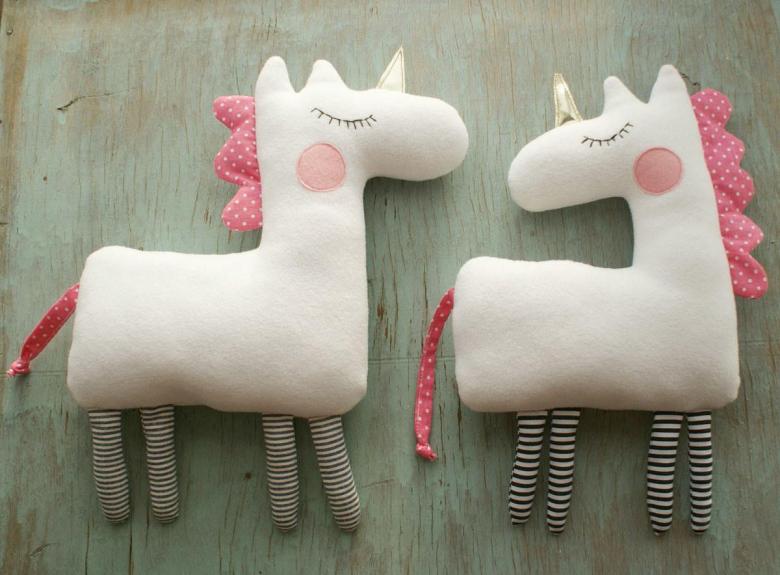
Our handicraft is ready, and now you can proudly invite friends and family for exclusive performances in the home puppet theater.

Making multicolored stained glass windows
To work on the craft we will need:
- Heavy cardboard to create the base.
- A set of colored napkins.
- Glue and scissors.
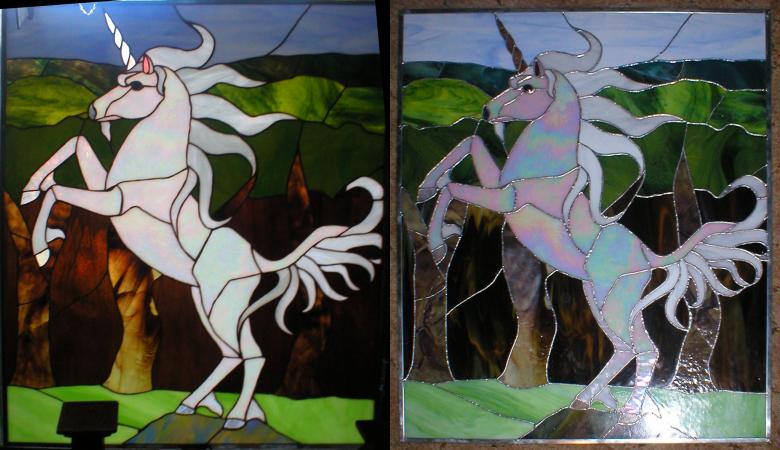
Stained glass compositions are especially popular among Russian mothers, as they can serve as decorations for any holiday, including the new year.
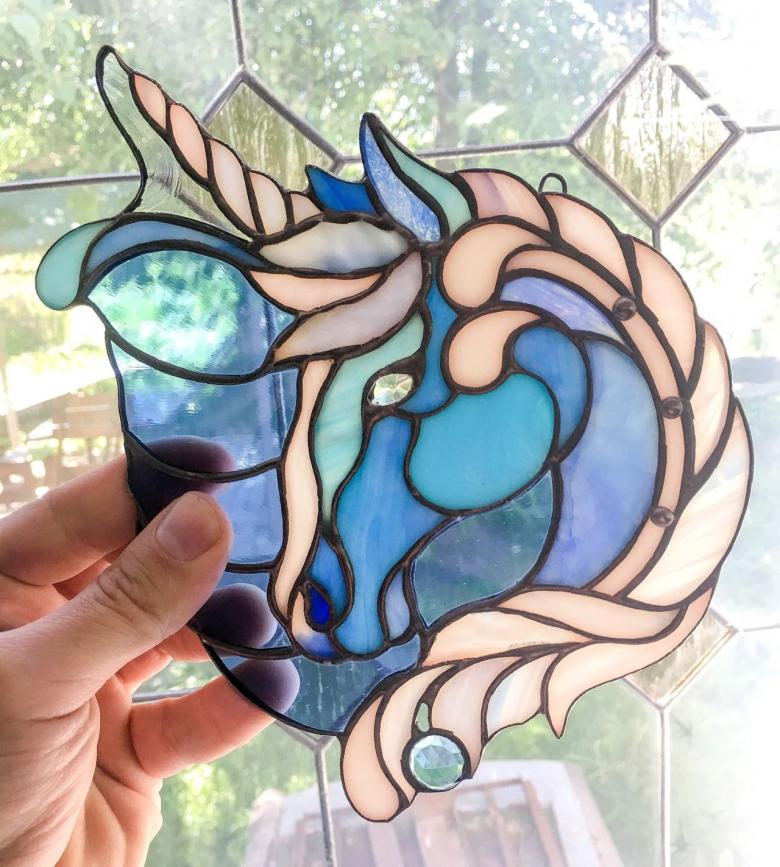
A step-by-step pattern-instruction for the craftsman:
- Find ready-made templates for the parts on the Internet.
- Cut out a blank base from heavy cardboard.
- From colored napkins cut out parts for our future stained glass.
- Using glue, attach the parts to the cardboard base.
- For decorating the window pane itself you can use double-sided adhesive tape or special sticky tapes, which are easy to remove later and do not cause any problems.
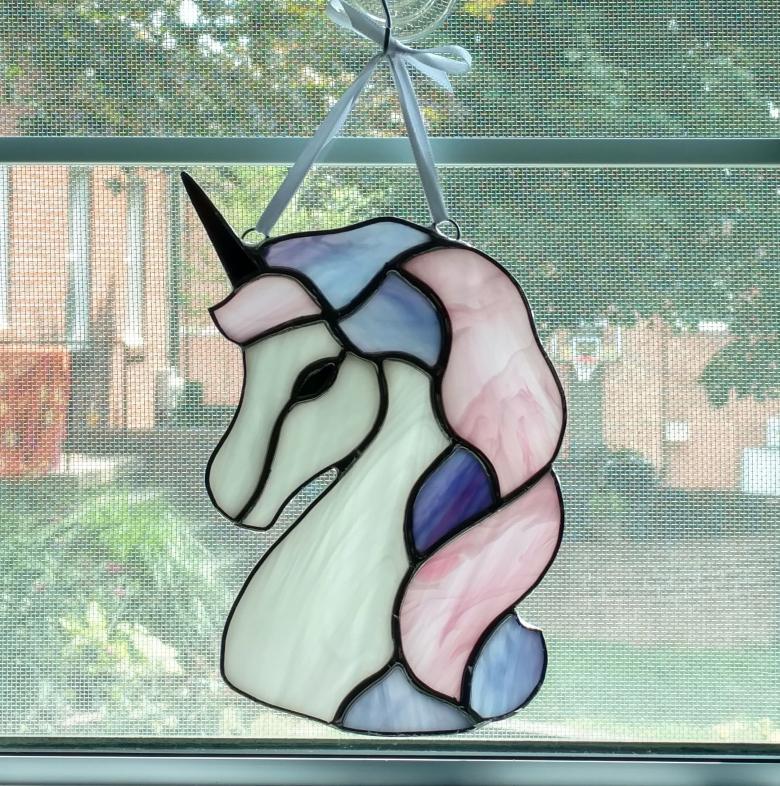
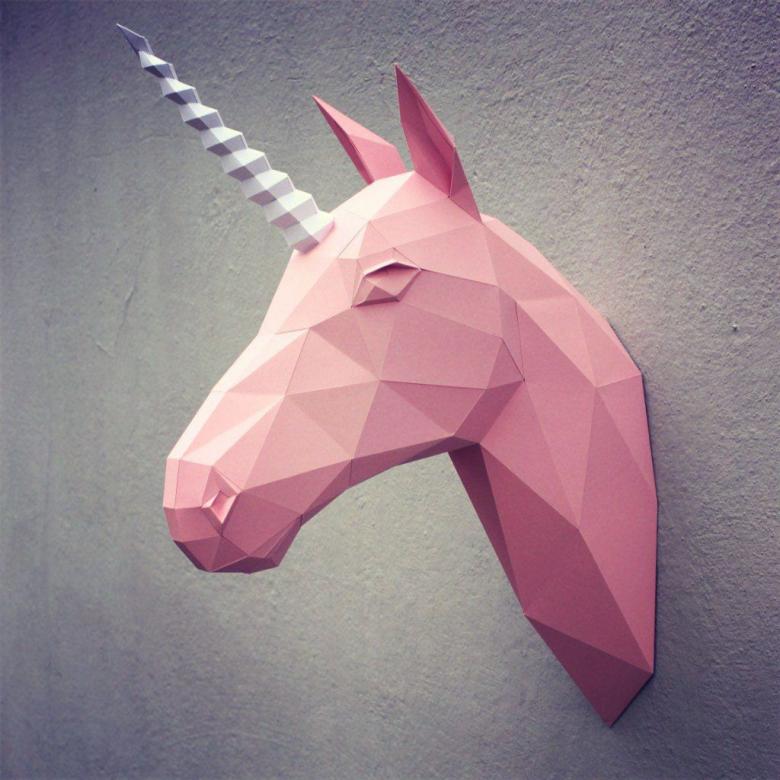
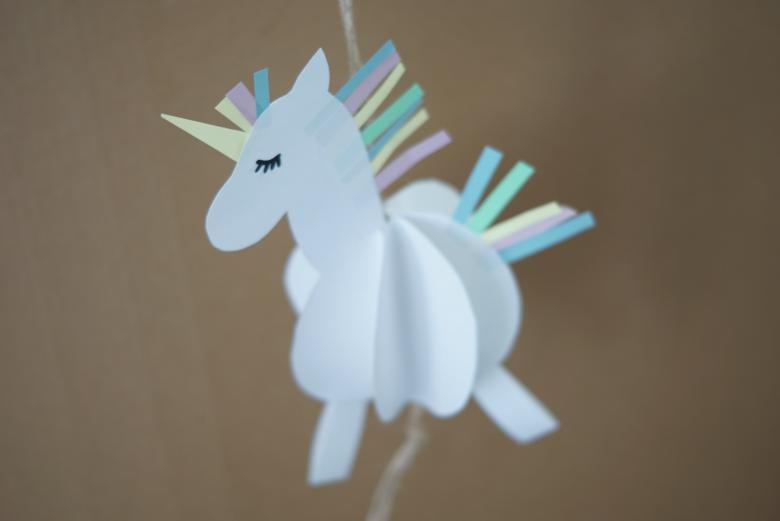
Three-dimensional unicorn of colored paper
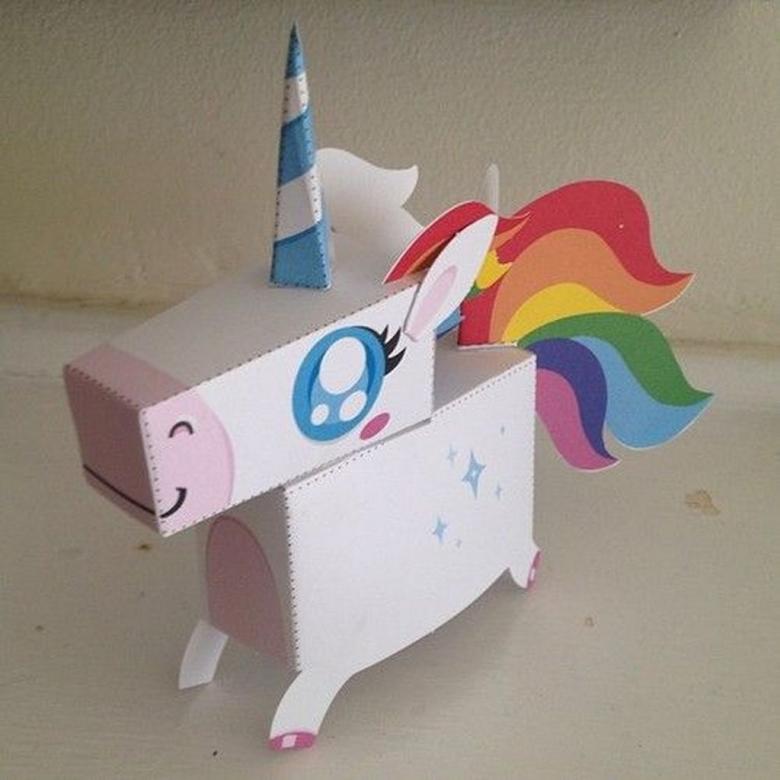
Consider another way to create a craft unicorn, and present it not just a volumetric figure, but also a figure in a greeting card.
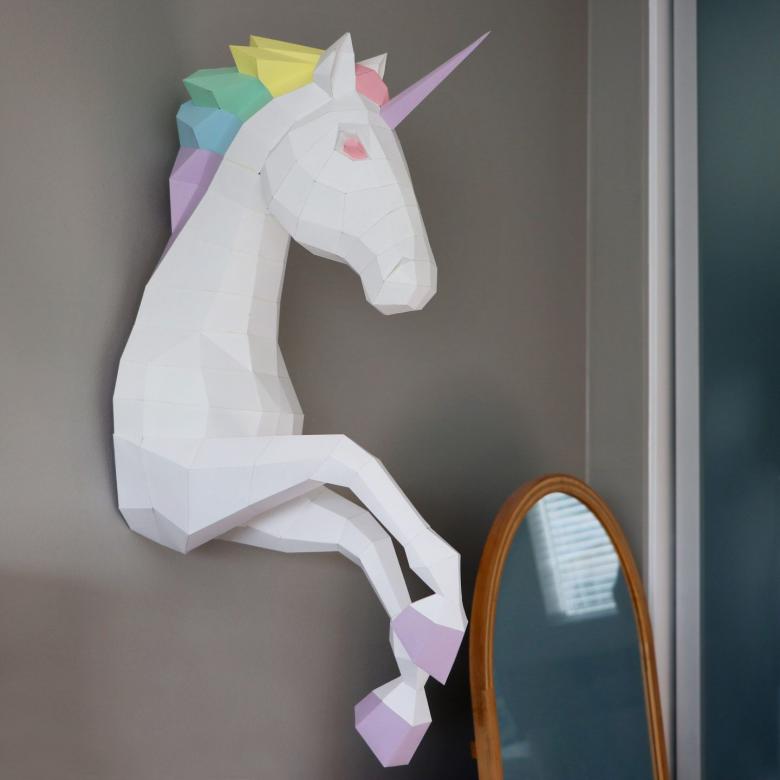
For the work we will need:
- An ordinary greeting card without inscriptions inside or a sheet of colored cardboard, folded in half in the form of a book.
- Let's find templates for the parts: we need only the head, neck, legs.
- Cut out parts from paper according to the templates.
- Now we proceed to create the body.
- Cut out eight equal circles of paper. Each circle is folded in half and unfold. Then glue each circle to each other by the sides. As a result, we get a polyhedral sphere, which will serve as the body of our unicorn.
- Glue all the pieces to the inside of the card so that the ball-torso is at the very fold. The structure of this piece allows for easy folding and opening the card without damaging our handicraft.
- Draw a muzzle for the product, decorate the mane and tail. If you are using a homemade card, add greetings and decorations to the outside of the item.

Unicorn-shaped crafts will always remain a classic for both girls and boys. Therefore, you can make bookmark corners for each of your children.
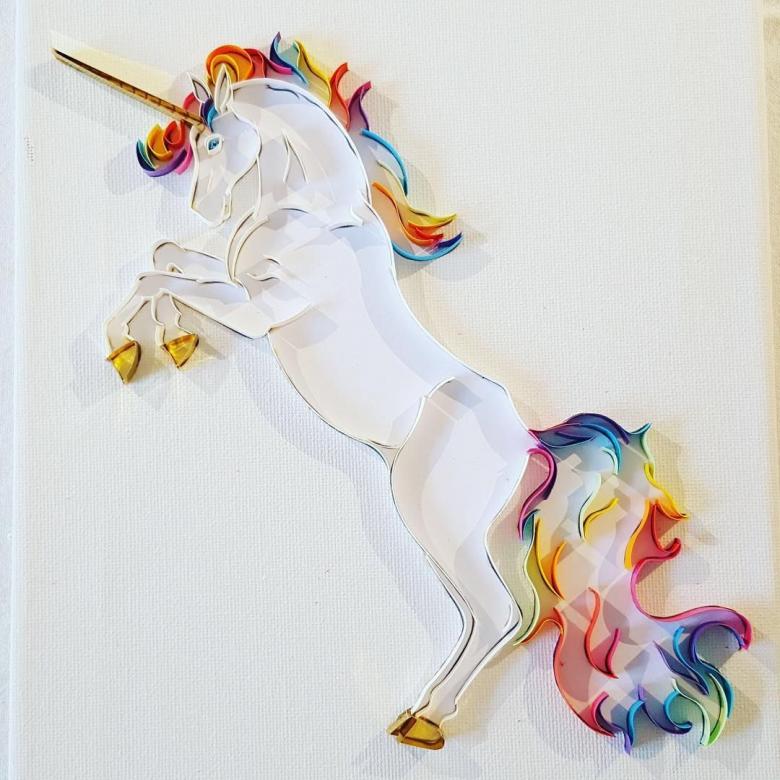
Want more? Watch video tutorials on creating other unicorn models, come up with new master classes, use other materials. Experiment and enjoy your work!

