How to make a craft hare with his own hands - master classes on how to create paper, bulk and soft options
Many parents are faced with the fact that in the kindergarten / school need to make some kind of crafts. As a rule, it's something fairly easy and uncomplicated. However, this is the opinion of an adult who knows how to do it all. But for a child, this task seems virtually impossible. Moreover, it is necessary not only to find an easy way to solve the problem, but also to explain to the child how to do it himself, while helping as little as possible.
As a rule, the theme of the craft is the animal world. These are all kinds of bunnies, squirrels and other fun animals. Today in this article we will look at several ways to easily make such a craft. Let's take the bunny as an example.
The size of
It is necessary to start from the desired size of the craft, it is very important. It depends on it further scheme and used materials. If the product requires a small, it is very easy task. To help can come to normal plasticine.
An easy option.
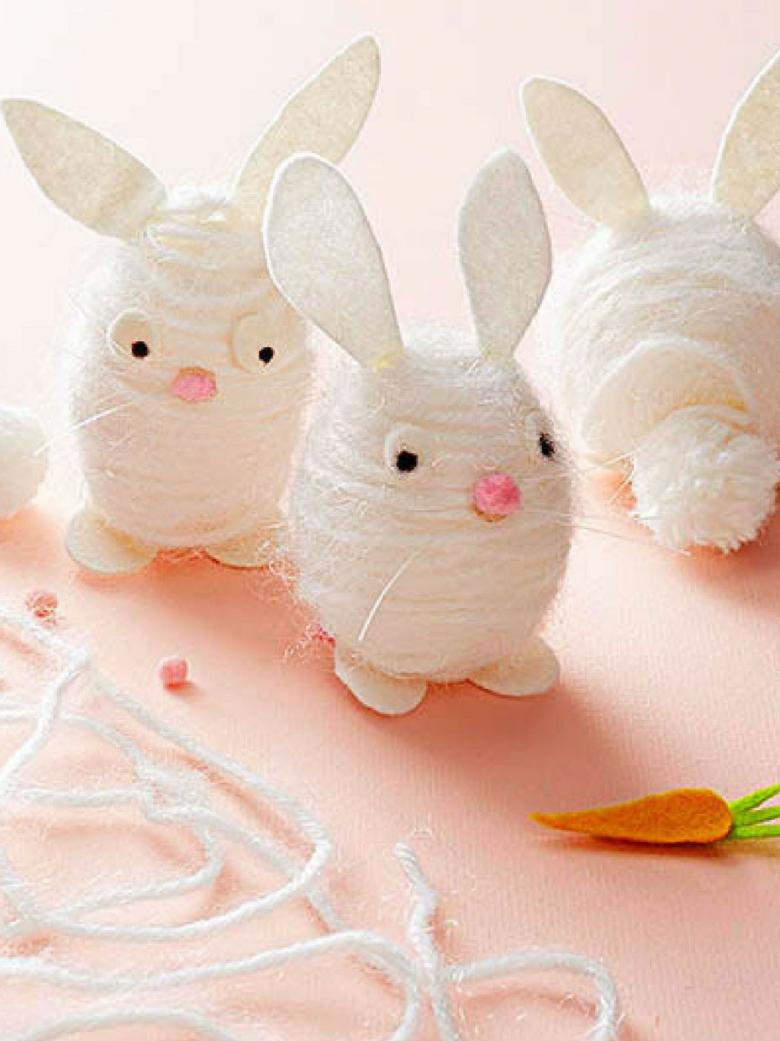
It is enough just to roll a couple of balls of different sizes to get the body and head of the bunny.
It is necessary to show this to a child so he or she understands the process.
Then, four small cylinders are rolled, which will serve as paws. After that, the nose and ears are made.
Fix it all with black dots, which will serve as eyes, and the handicraft is ready. However, this is not enough.
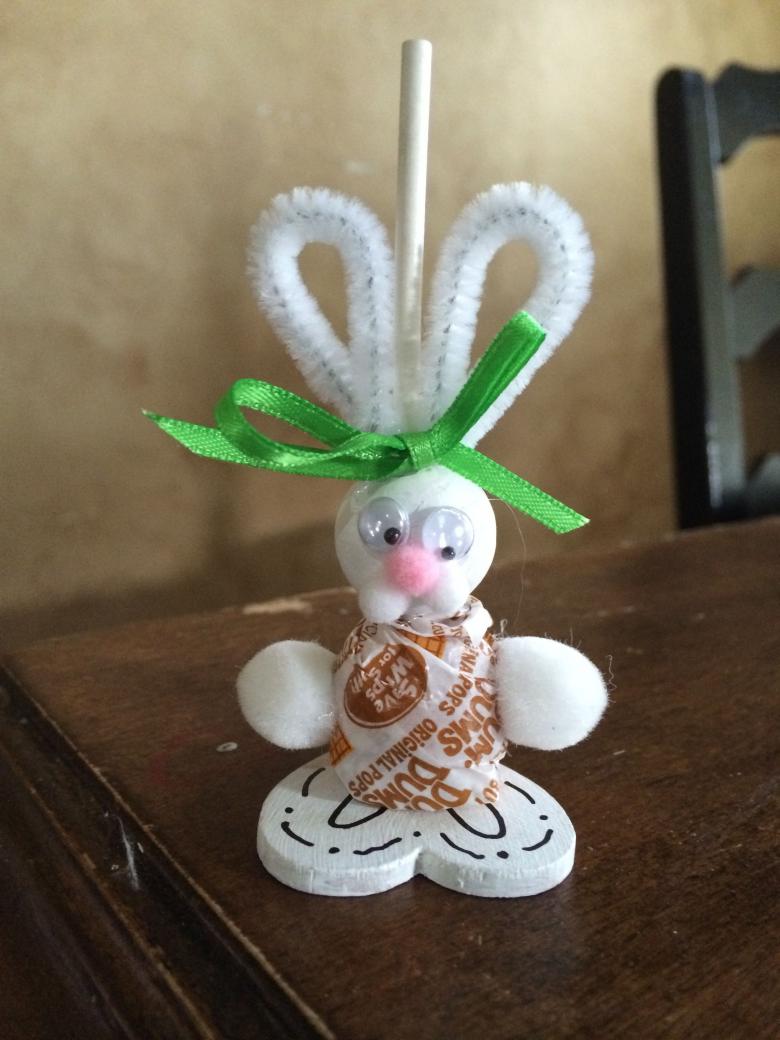
To make a bigger impression, you need to create his surroundings, and besides, the small size allows you to include more details, which will not require much effort and time. So you can make a small house nearby, or a whole family of bunnies.
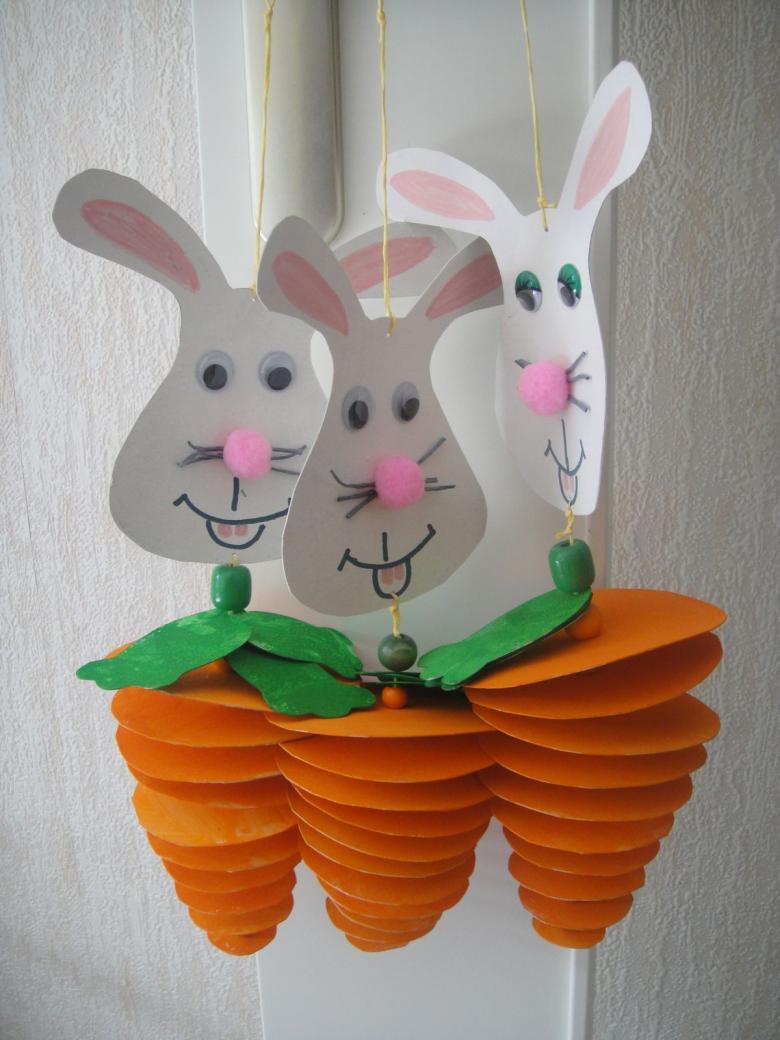
A beautiful paper bunny
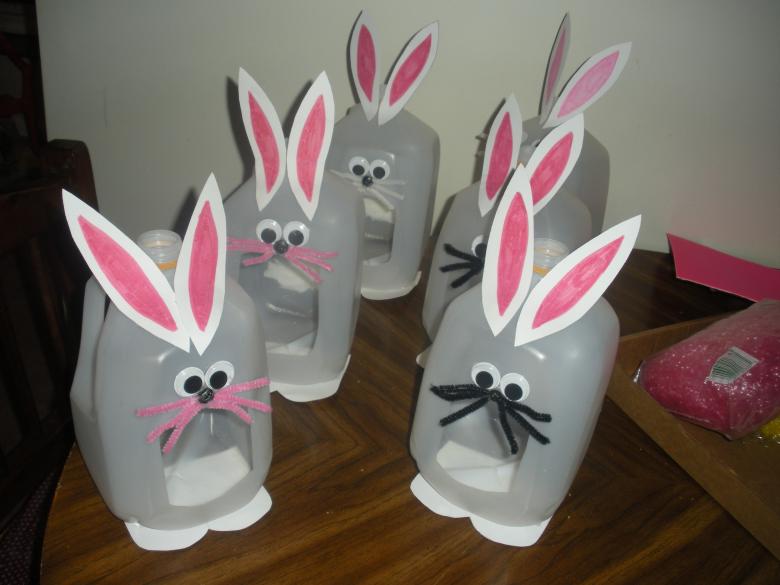
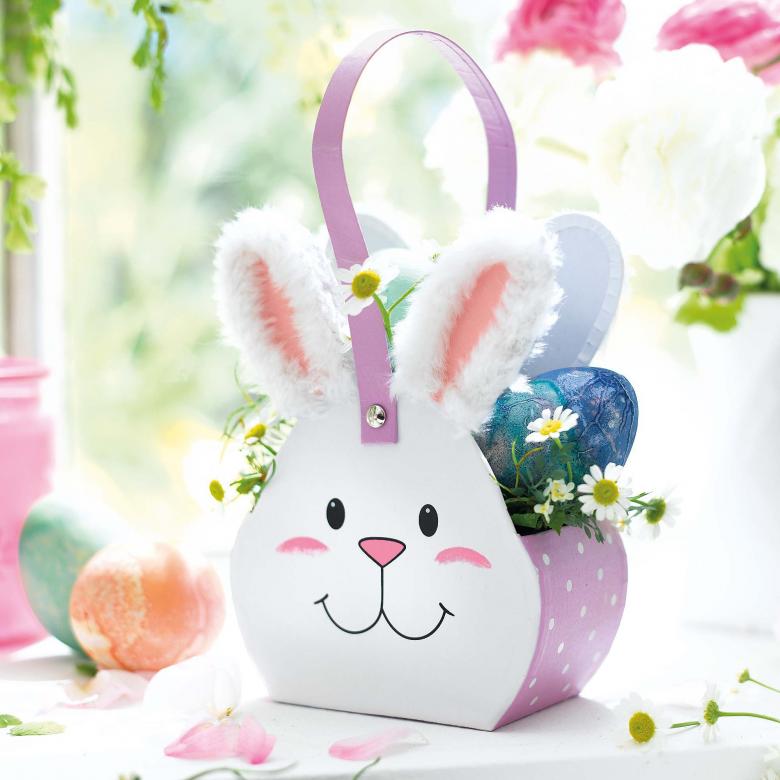
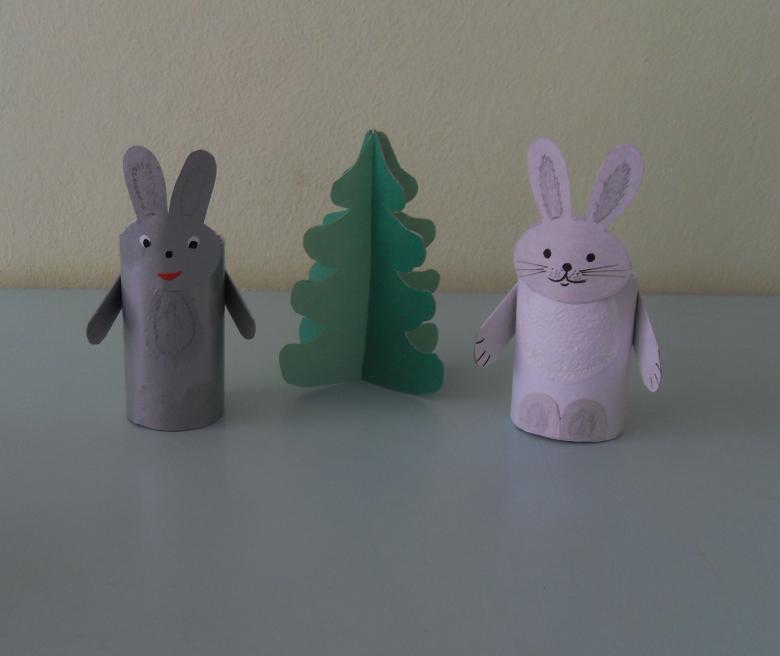
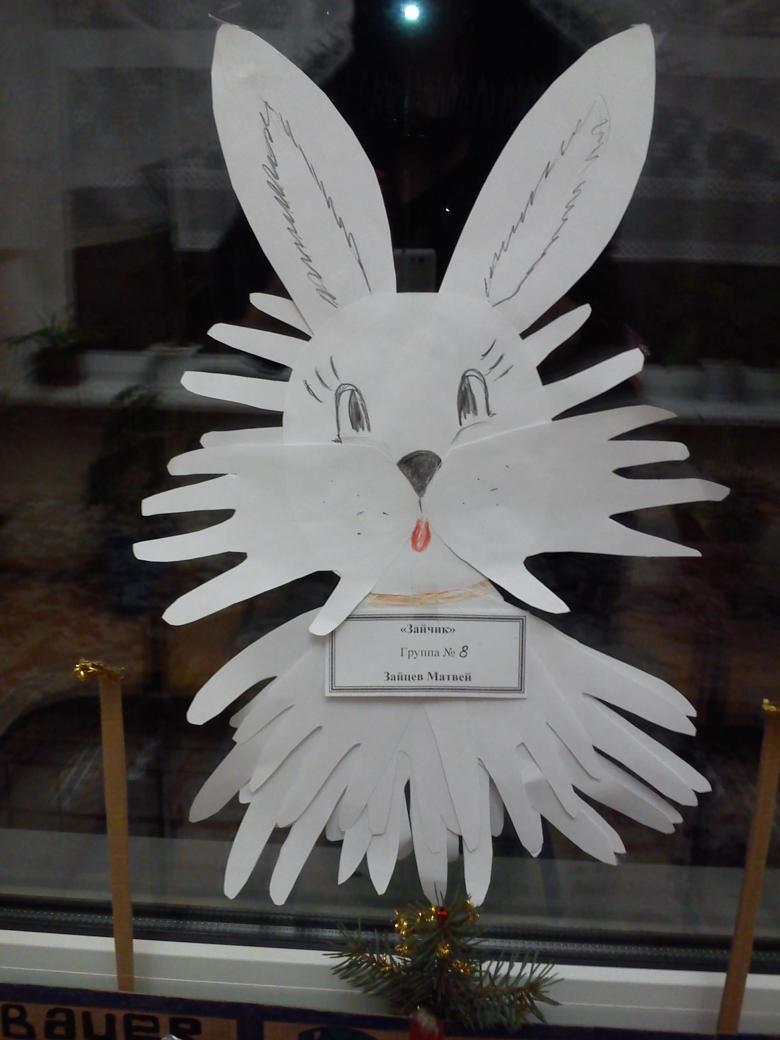
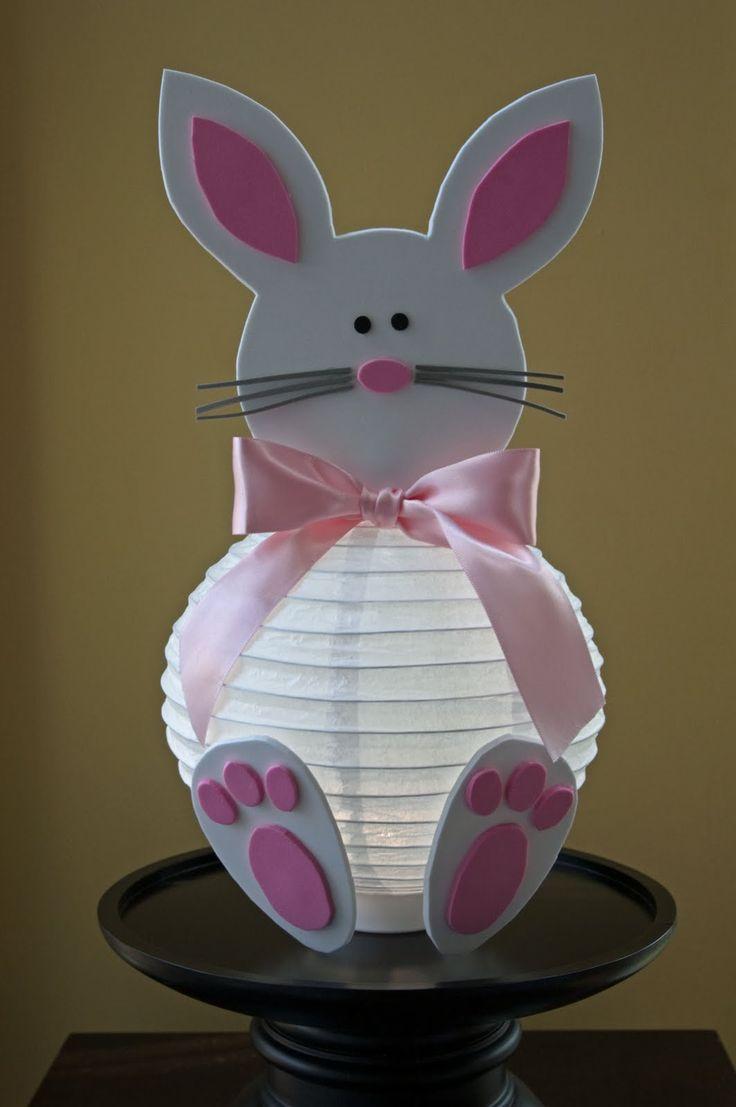
Things are quite different if you need a medium-sized handicraft. Plasticine in such quantities is very heavy, and quite expensive, so you need to use other materials. And the best material in this case - paper or cardboard. Of these two components can be made virtually anything. The main thing is to correctly calculate the sweep, or find ready-made on the Internet and print.
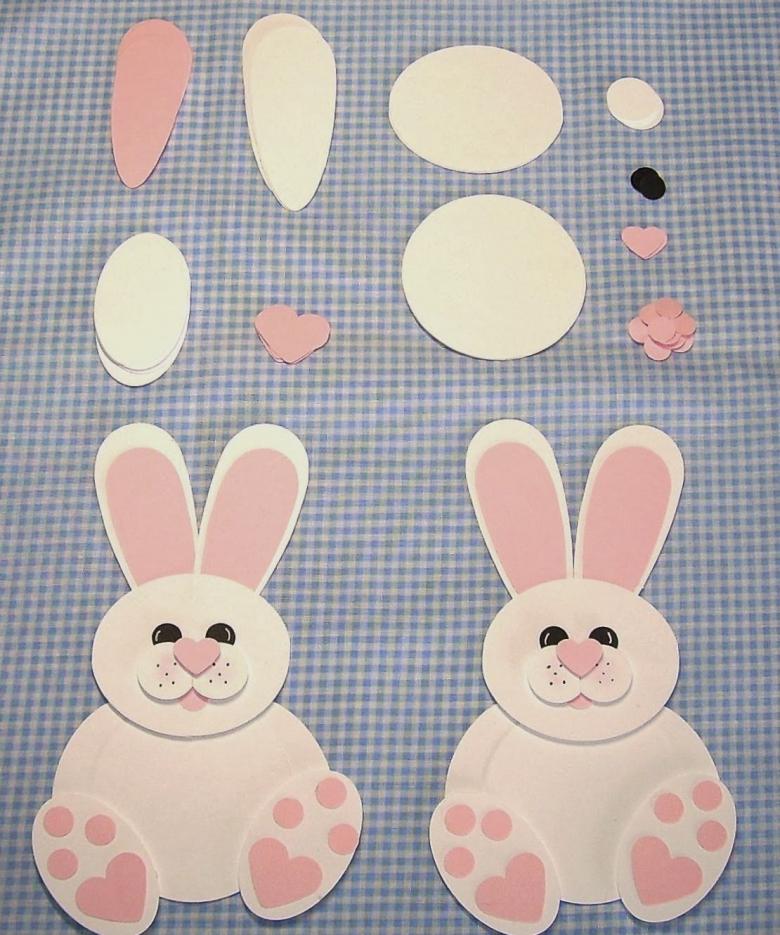
Please note that just the hare will look quite ordinary on the background of other crafts, he will not stand out. Therefore, it is necessary to include something special in the design.
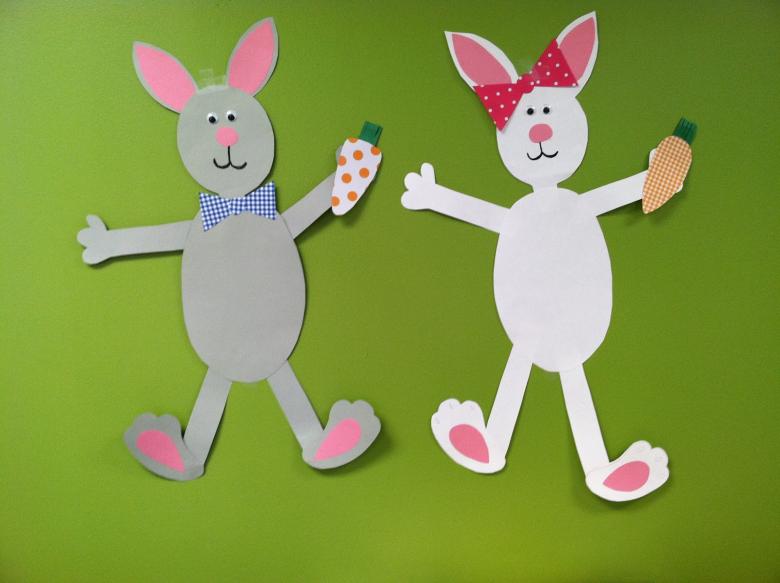
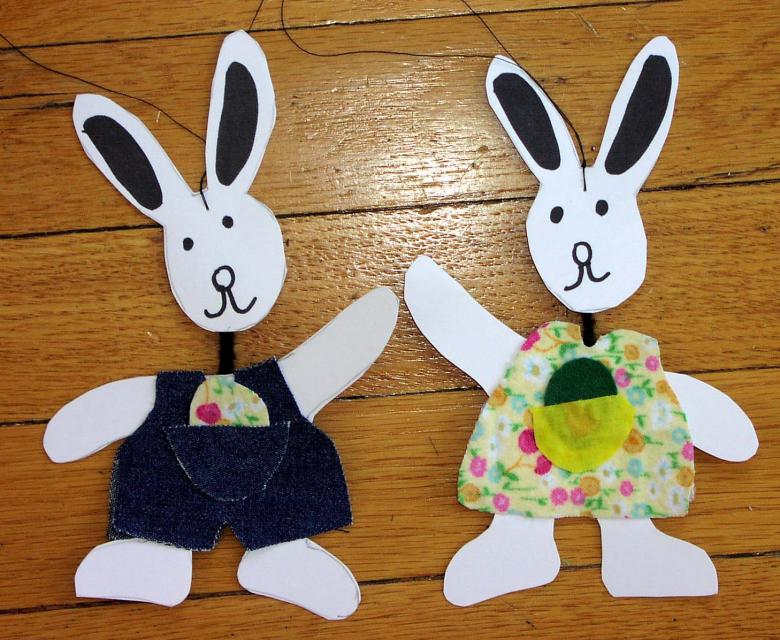
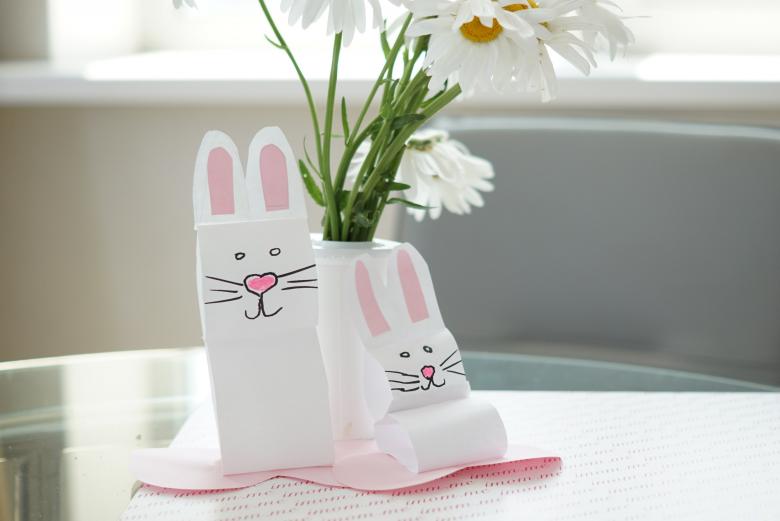
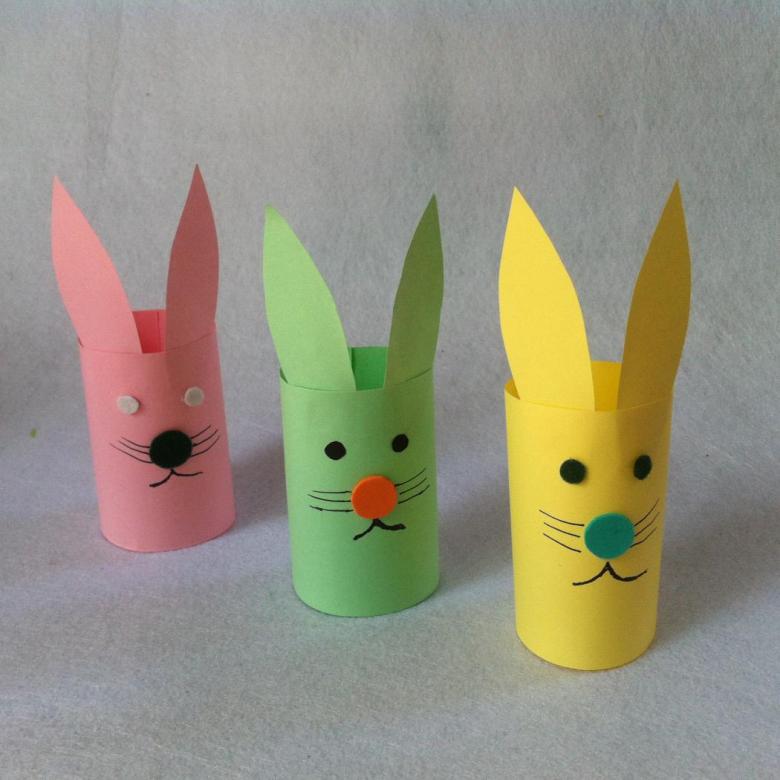
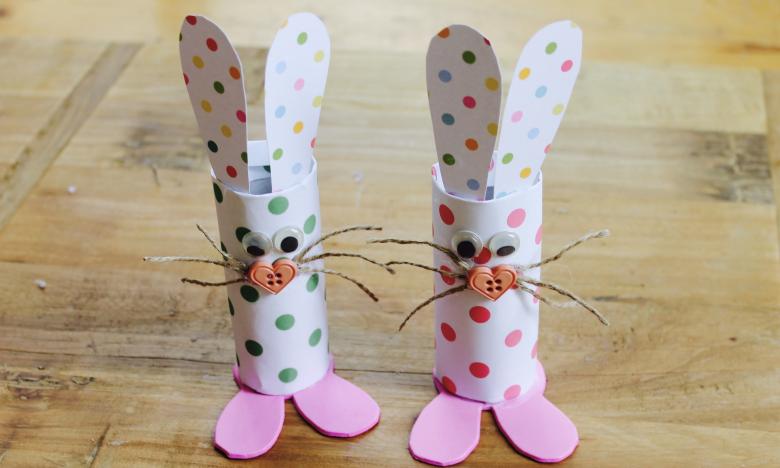
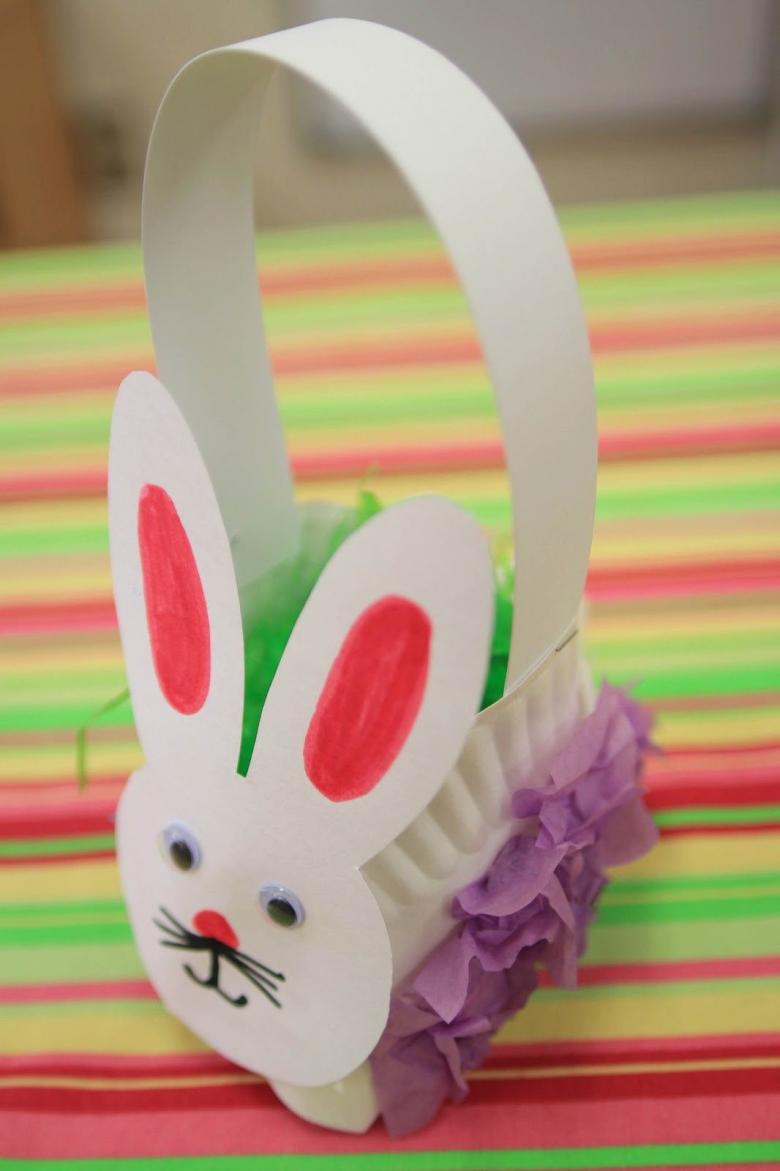
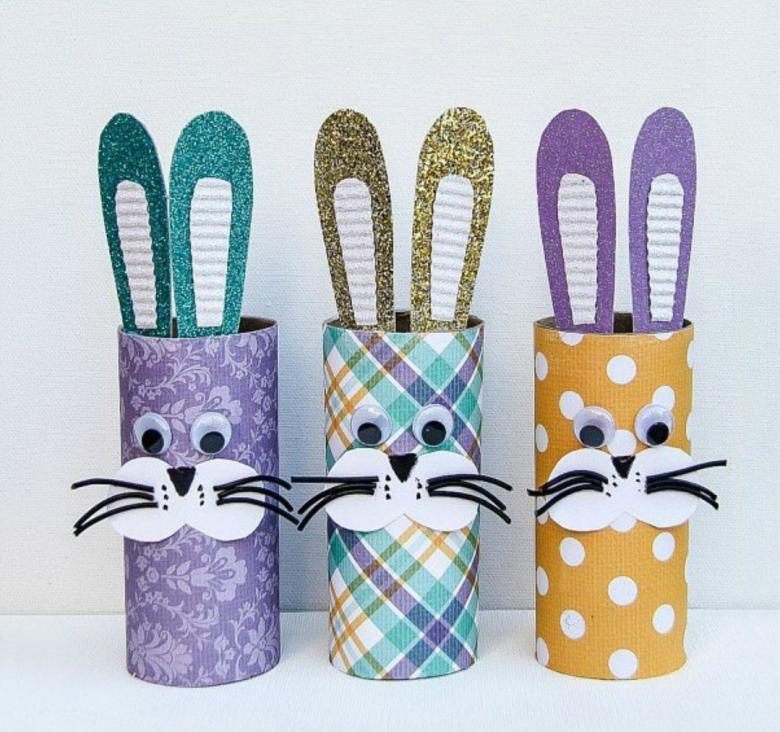
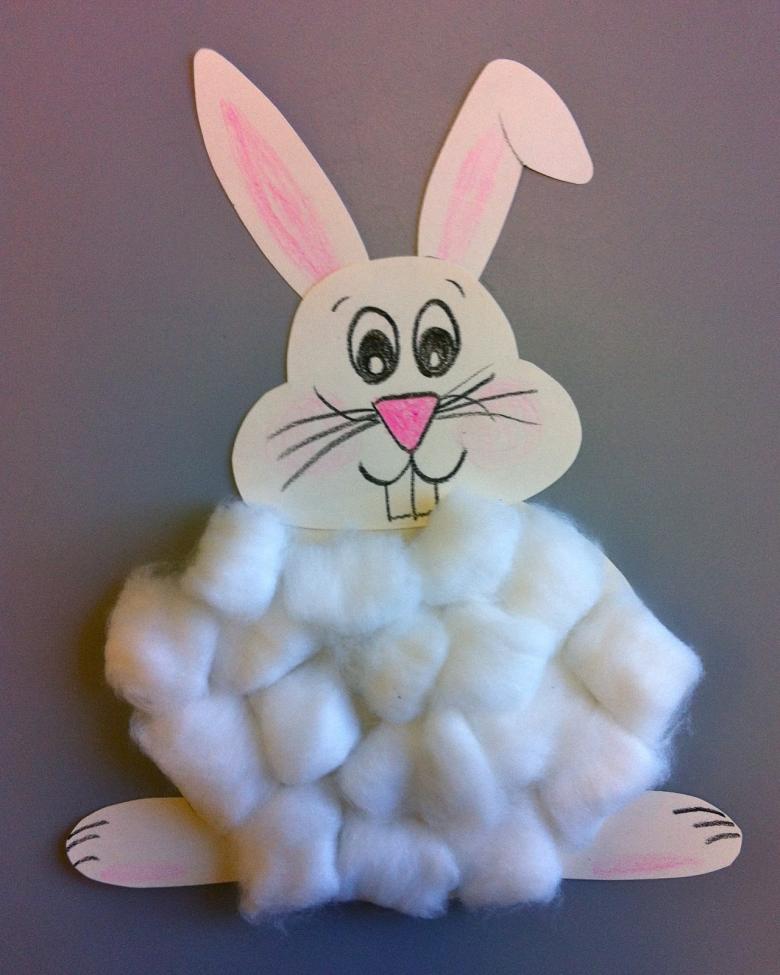
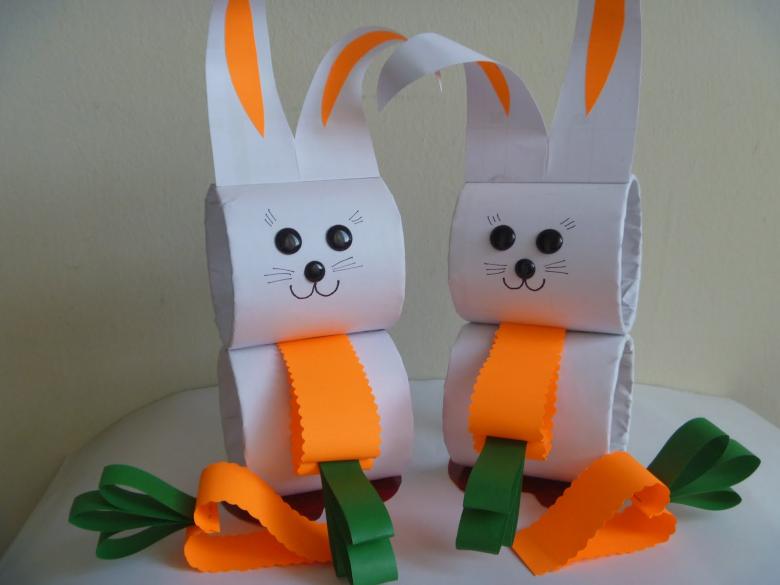
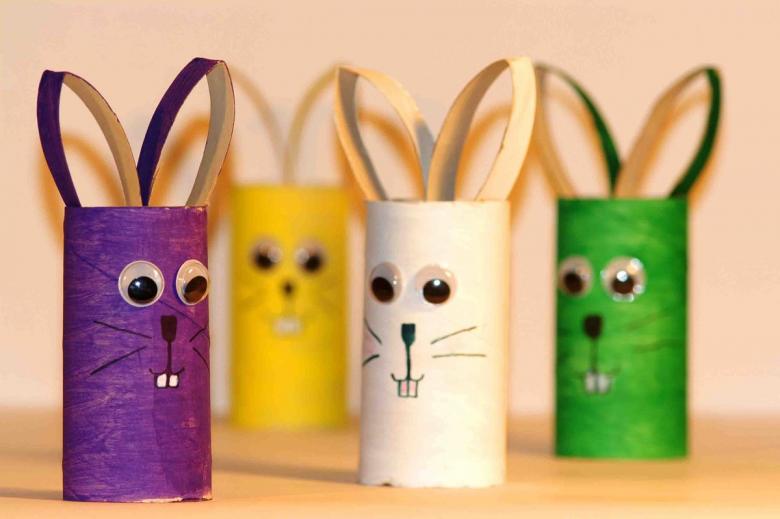
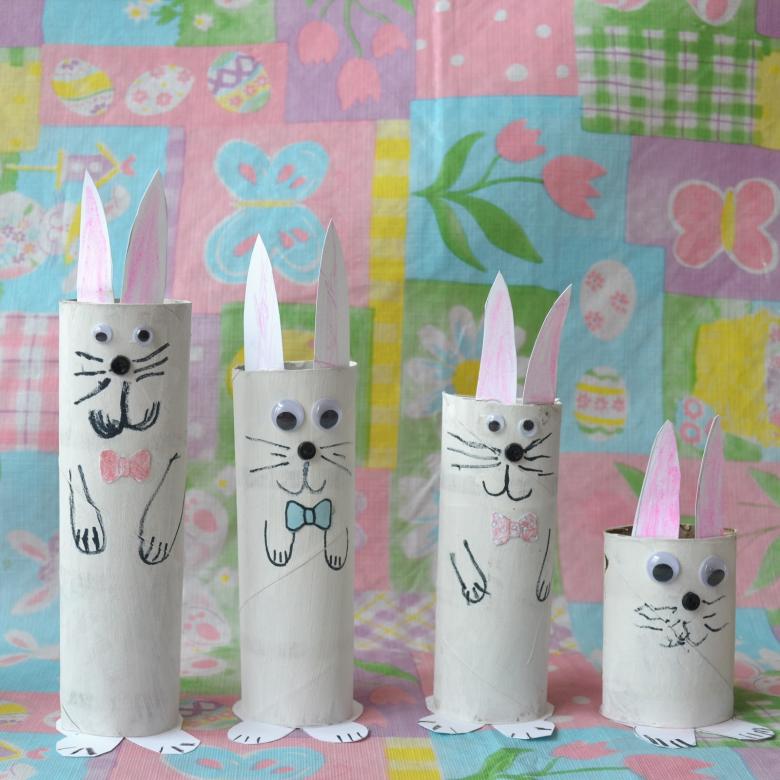
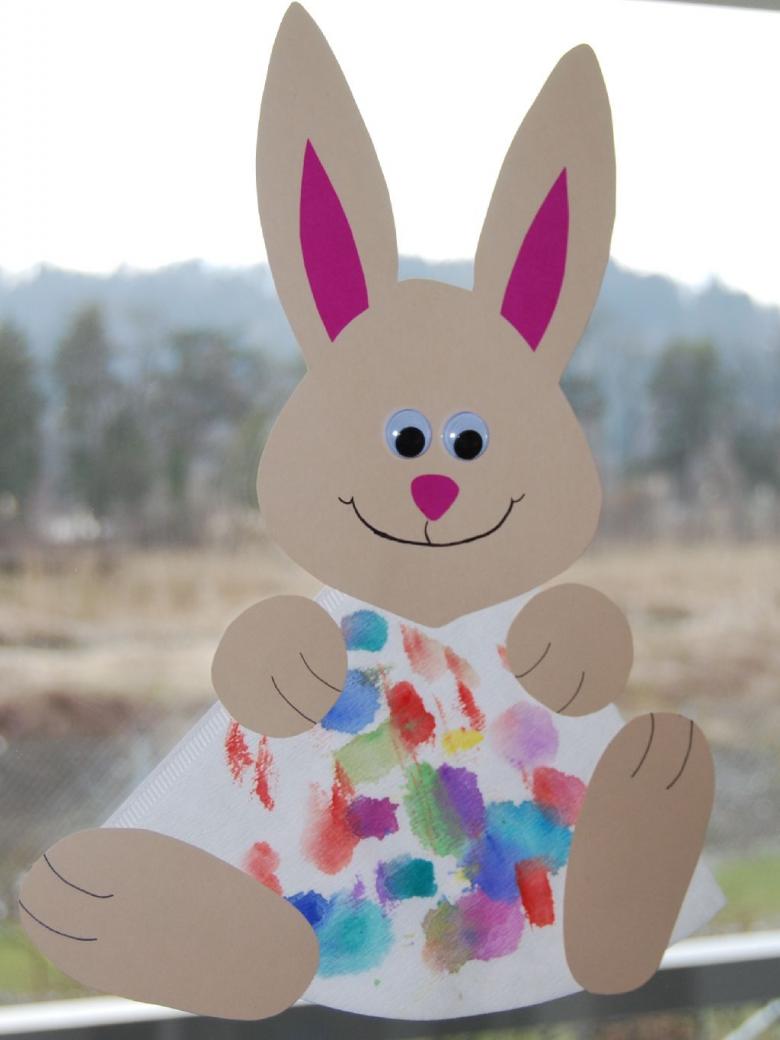
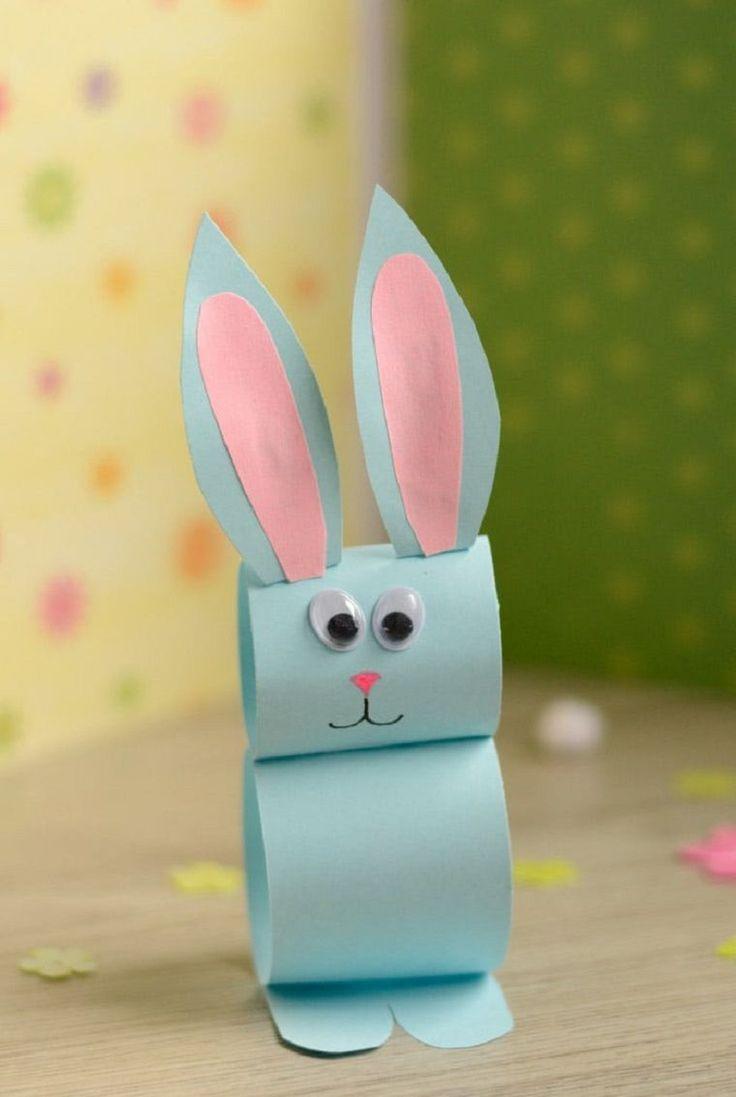
In order to glue the paper hare, the easiest version would only need to twist a cylinder, and then glue a couple of beautifully cut out and colored eyes, and then ears with paws. And that's all, a light craftsman is ready. You can add some small detail, in the form of a carrot. However, to make a more detailed and beautiful handicraft, you will need to try.
Three-dimensional figure
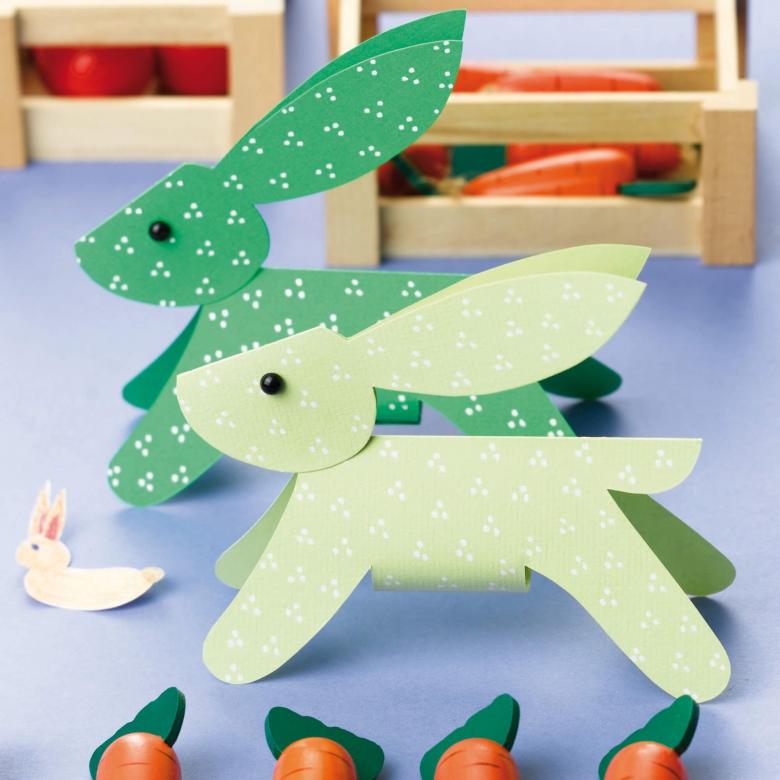
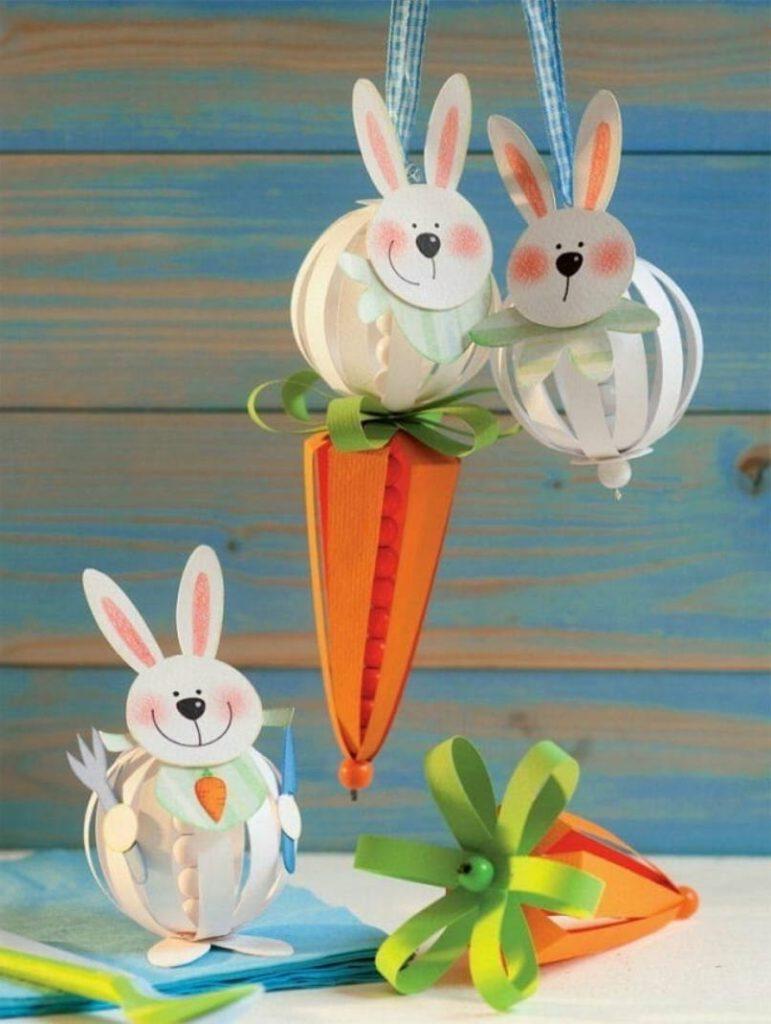
In the beginning it is necessary to carefully cut out the ream from paper. After that, put them in a row, glue them together and leave to dry.

While the main part of the figure dries, you can proceed to the other parts. Then cut out and glued paws and ears bunny. By the time the main part of the figure has dried, it can glue the remaining parts.
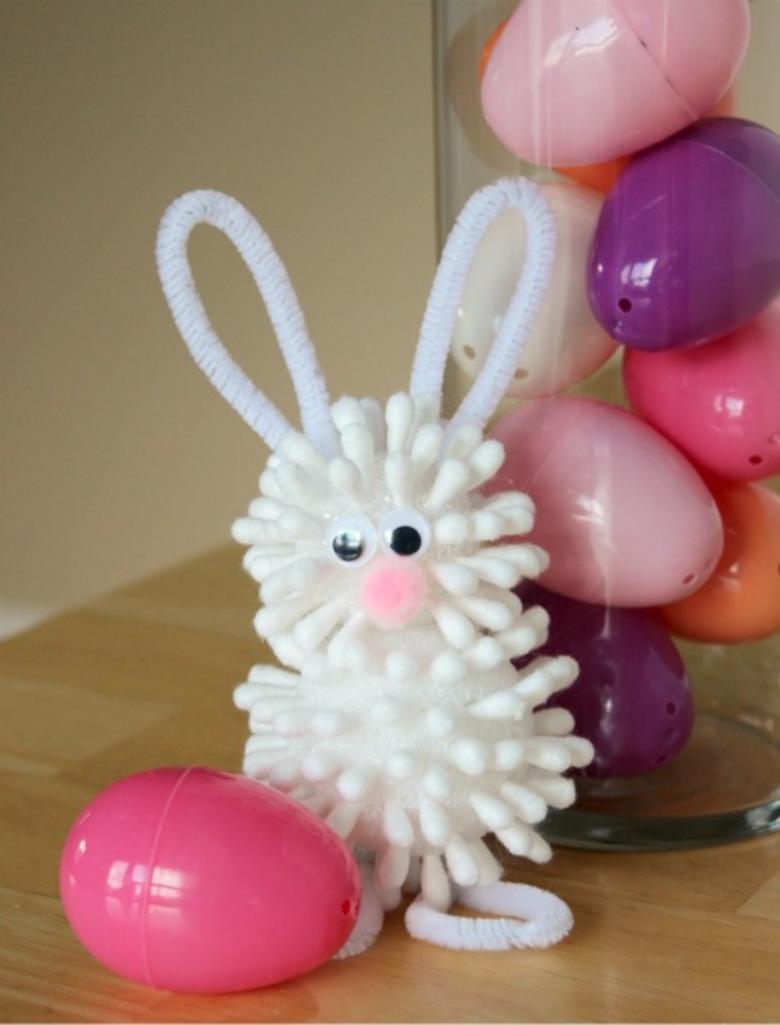
Once the entire figure is assembled, you can begin to detail. It is necessary to accurately paint the handicraft. It is best to do this with watercolor or gouache, since it is the easiest way and there is less risk of damaging the figure.

It is very important that the child does most of the overall work. This will allow him to get a huge number of skills, which are beneficial to his motor skills.
It is necessary not to forget about what the goal was originally set. If it is a common task in kindergarten or school, you need to insist that the child do it himself. But by showing him how to do it correctly. This will teach him or her independence and dedication, which in the future will be very useful to him or her in life.
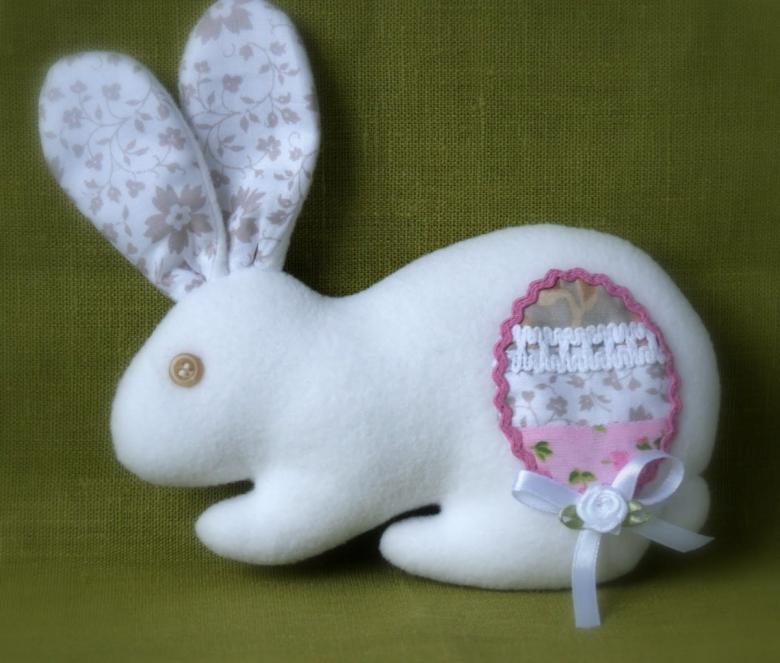
If it is a competition, especially one that involves the help of parents, then do not limit yourself. You can use all their skills, and not just glue the bunny, and stitch it. This is quite a complicated way, but surely will be highly appreciated by the teacher of the child.

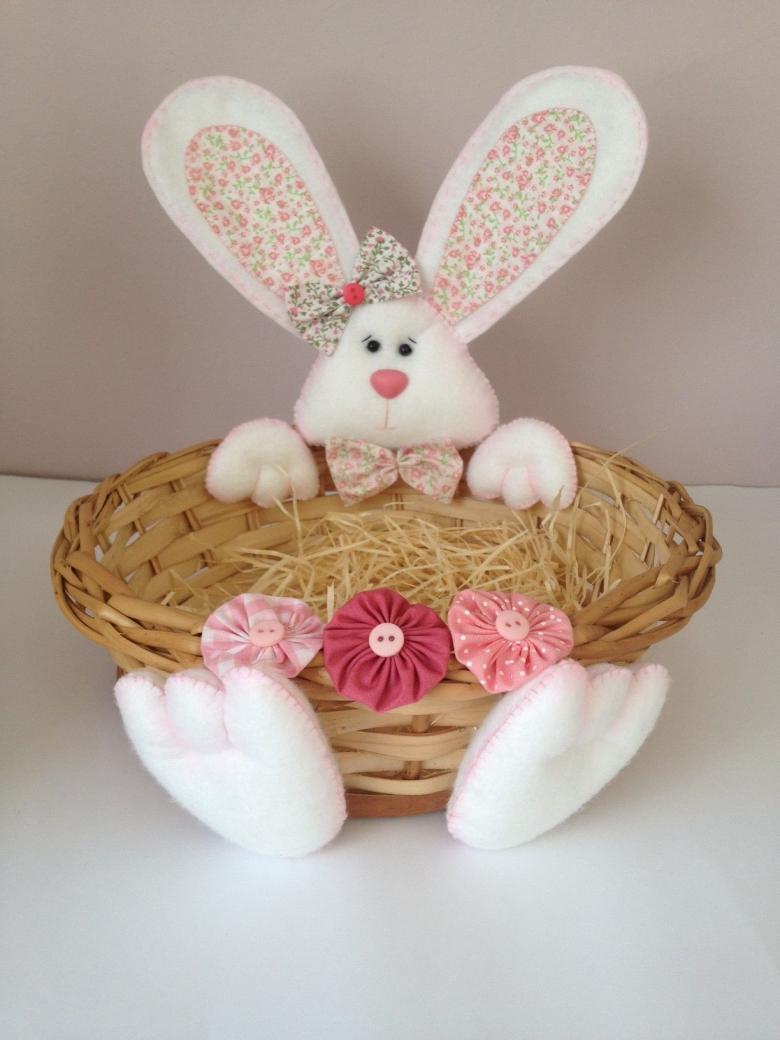
How to make a soft toy with his own hands
To embroider the bunny, you will need a fairly wide range of materials and tools:
- scissors;
- fabric;
- foam rubber;
- chalk;
- sewing machine (if not, you can sew by hand);
- glue;
- Various materials for decorations (at choice).
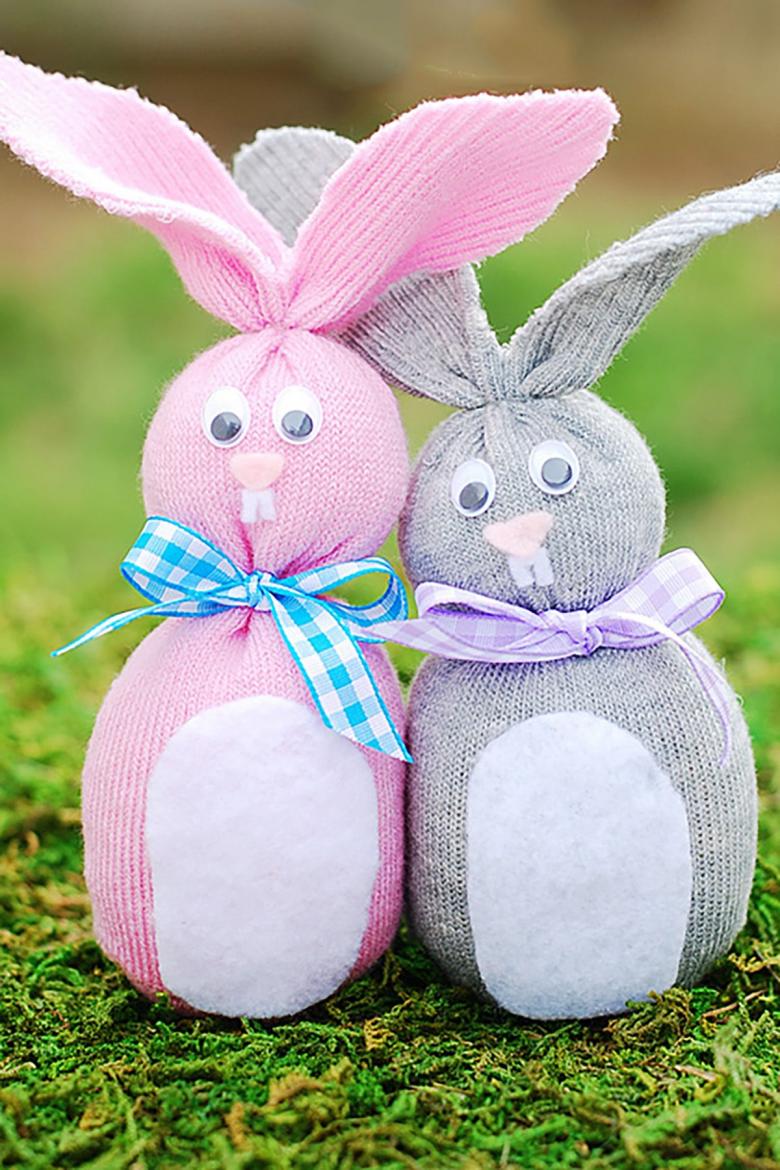
First, the pattern of the toy is made, you can make it yourself, or just download it from the Internet.Then it is printed out, and projected onto the fabric.
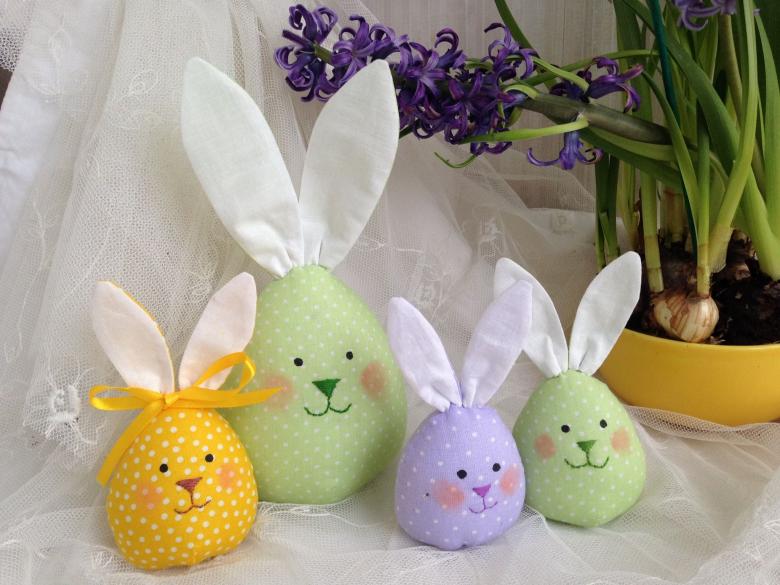
On the fabric it is applied by means of chalk, as it is well visible on it and it can be erased if there are unnecessary strokes.
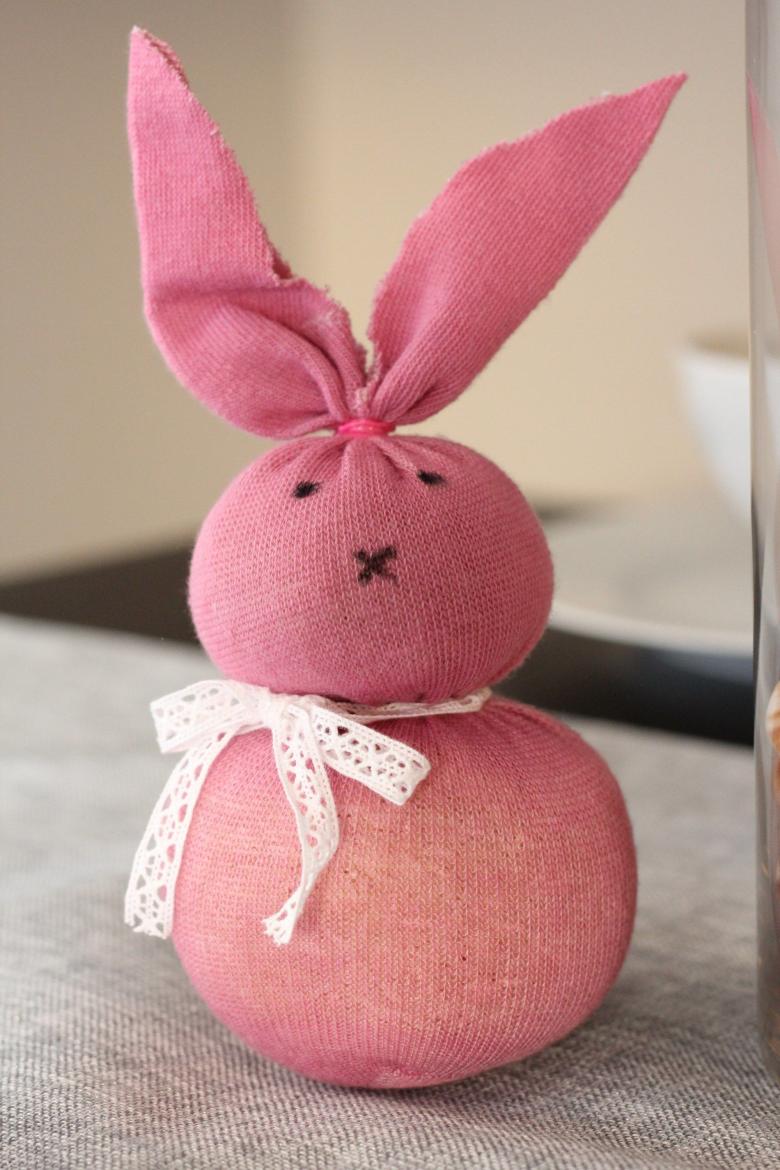
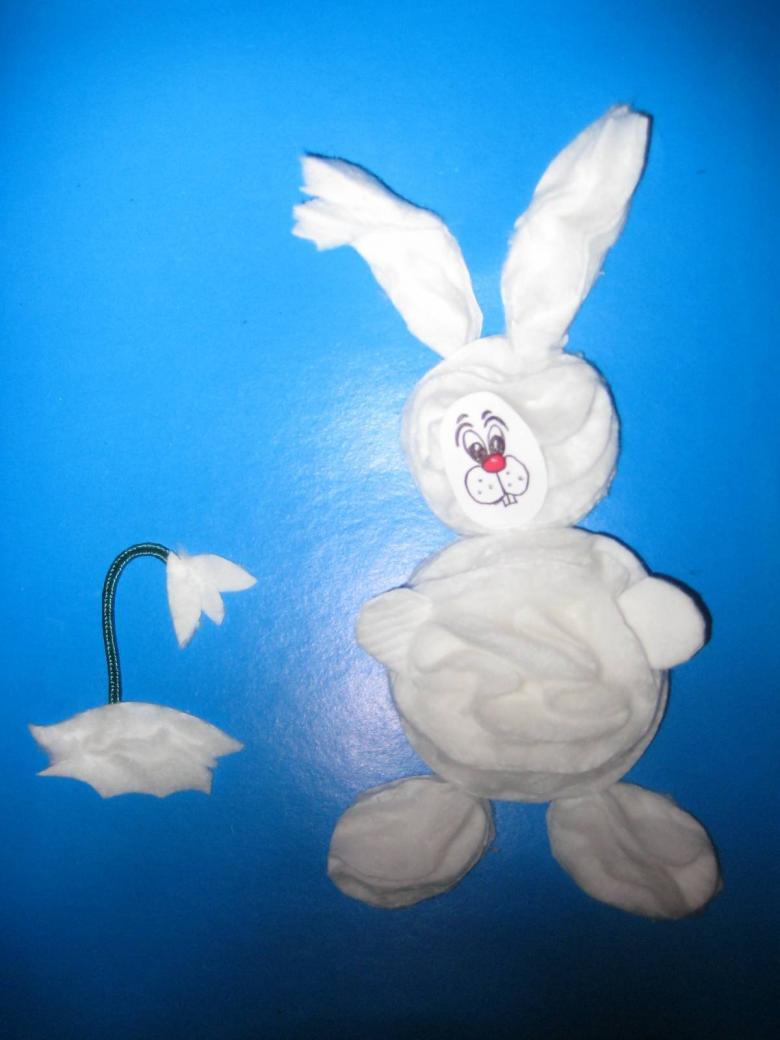
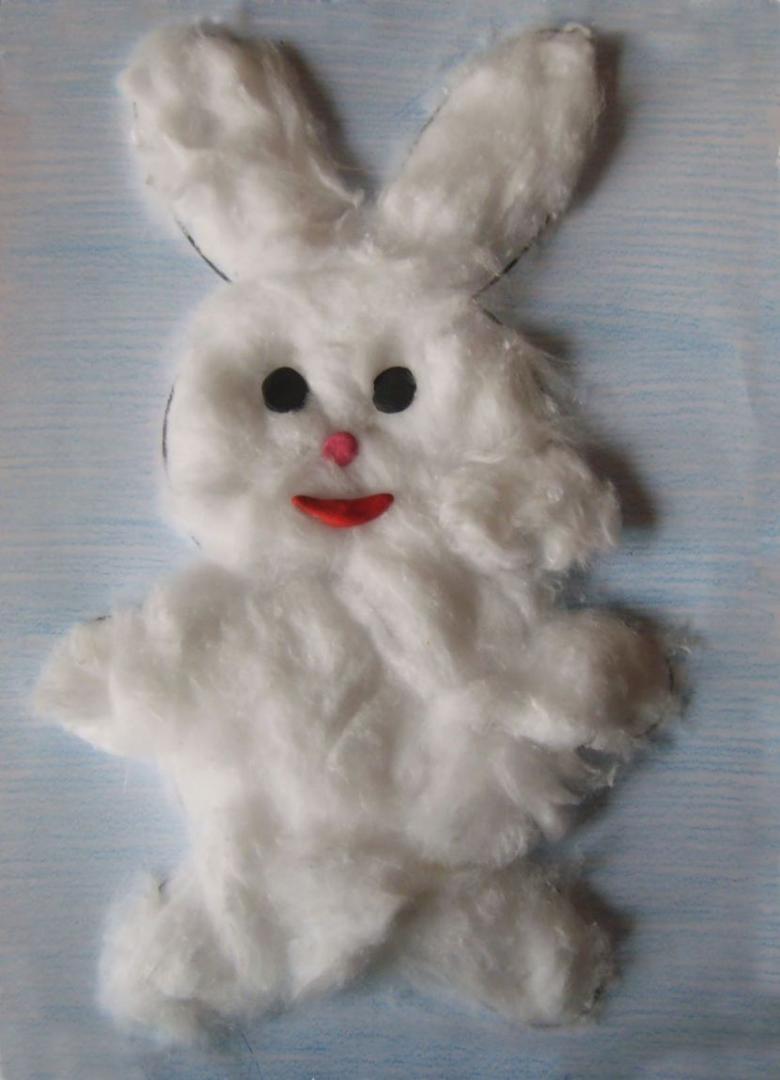
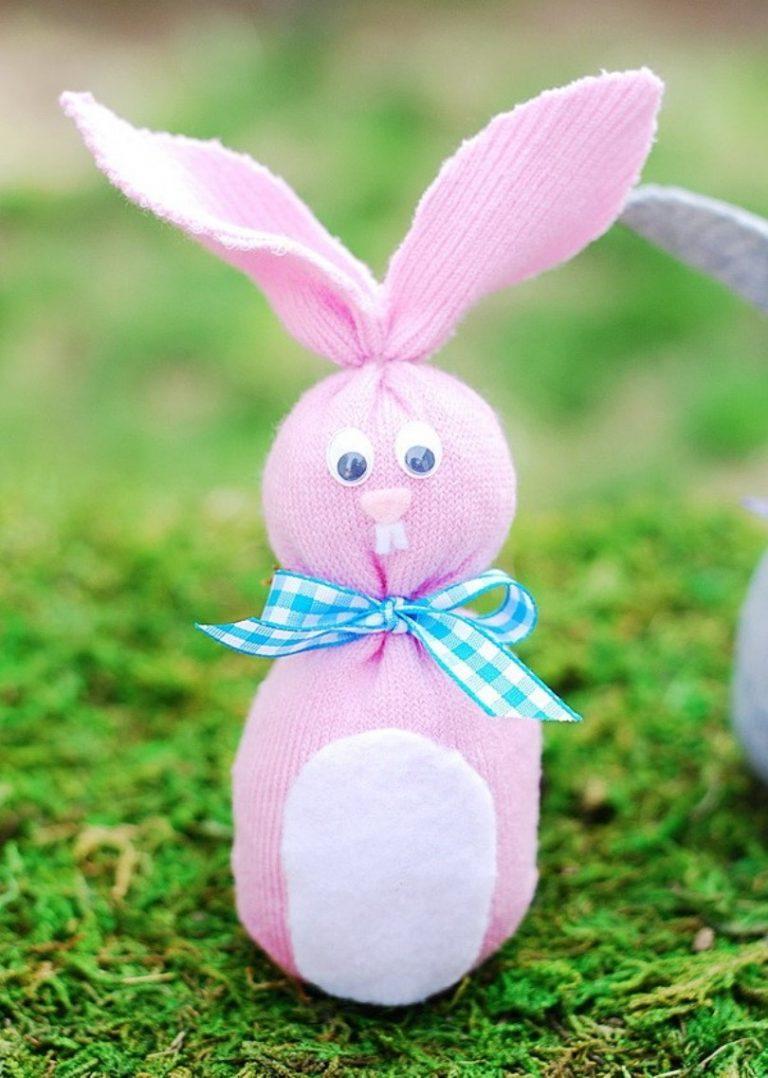
Once the pattern is ready, you can cut it out of the fabric. Then, begins stitching certain sides, usually those at the back. The rest remain open. This is done to allow the figure can be filled with foam rubber, or absorbent cotton, to give it volume.
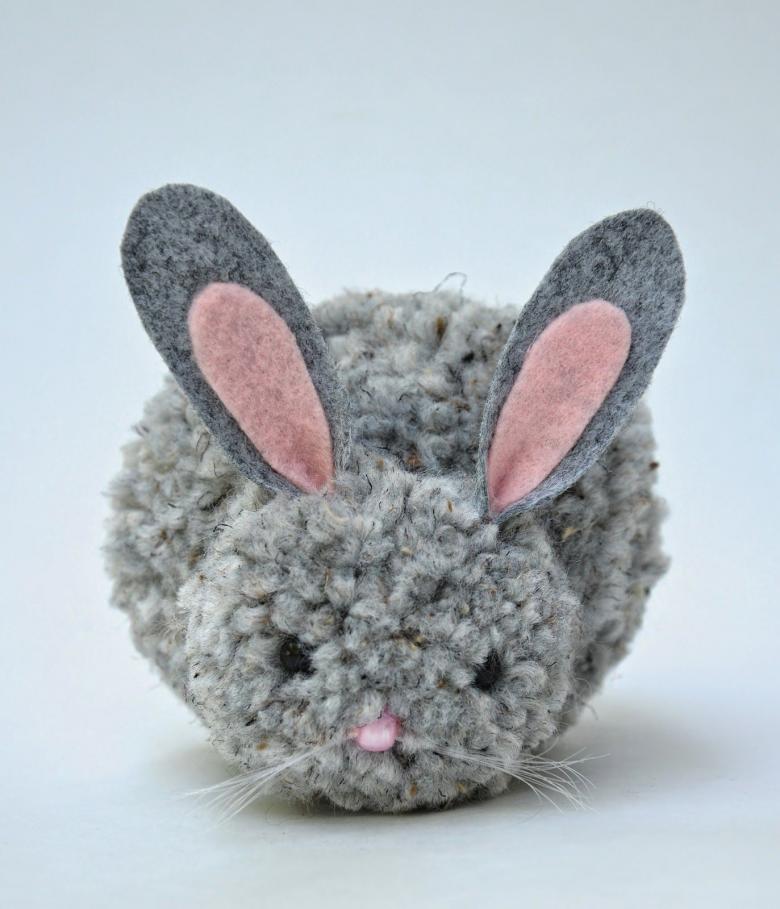
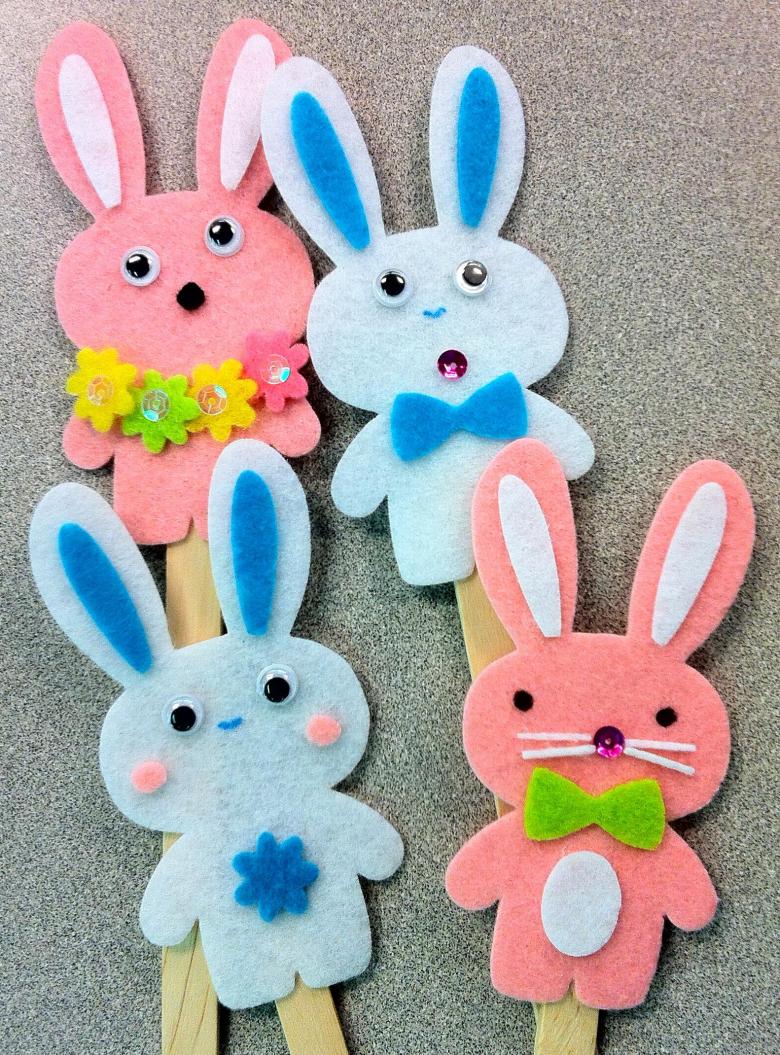
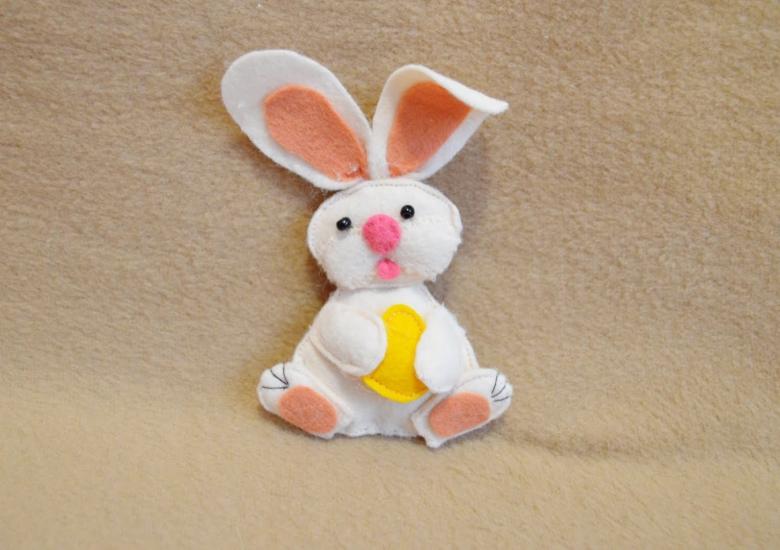
After all sides are sewn, scissors trim uneven edges and threads. Then begins the stage of decorating the toy. This is a great way to hide all the seams that are present on it. They can be covered with various details, like bunny clothes. At the same stage, the eyes, ears and paws and tail are sewn on. In the final step, examine the resulting toy for errors to correct them.
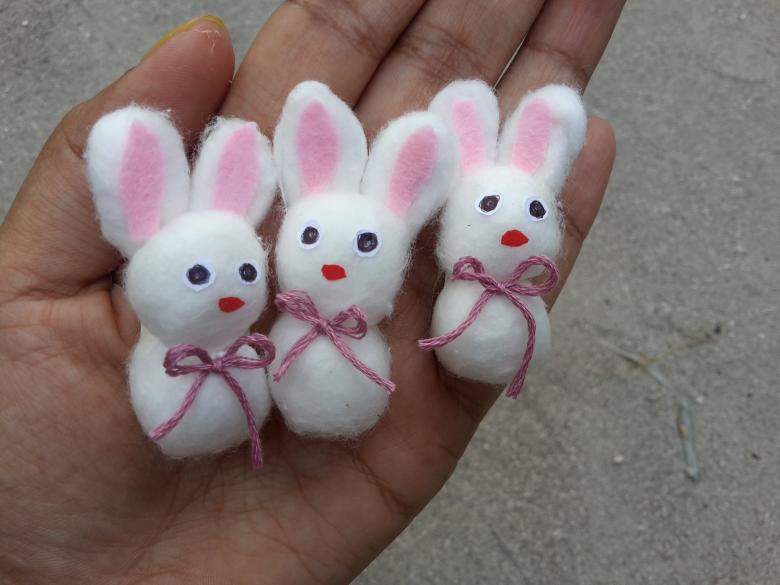
Make a bunny can be absolutely different ways. However, it is important to understand that the child should do more than half of the work. This will allow him to learn, acquire important and necessary skills that will be useful to him later in life. In addition, joint activities bring parents and children together well, and in general change their relationship for the better.


