How to make a handmade pet - a selection of simple and clear master classes with photo examples
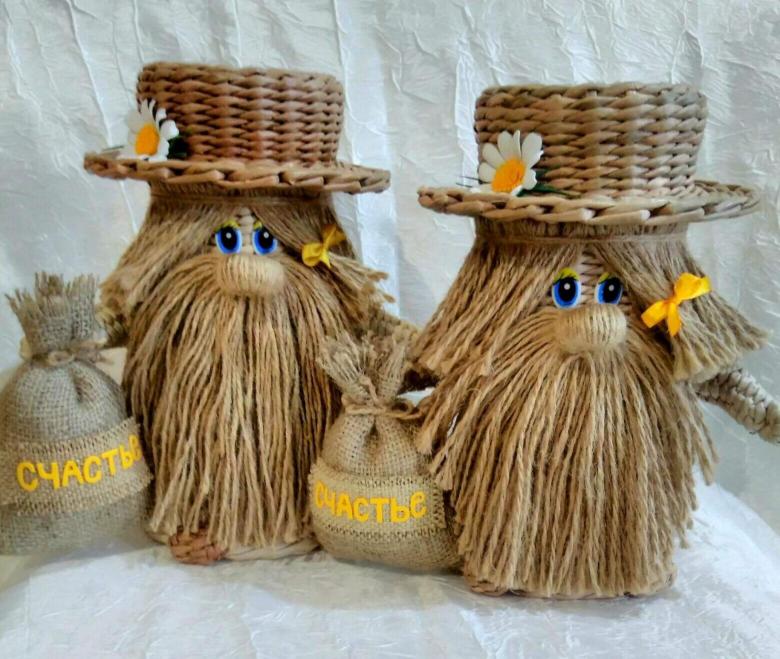
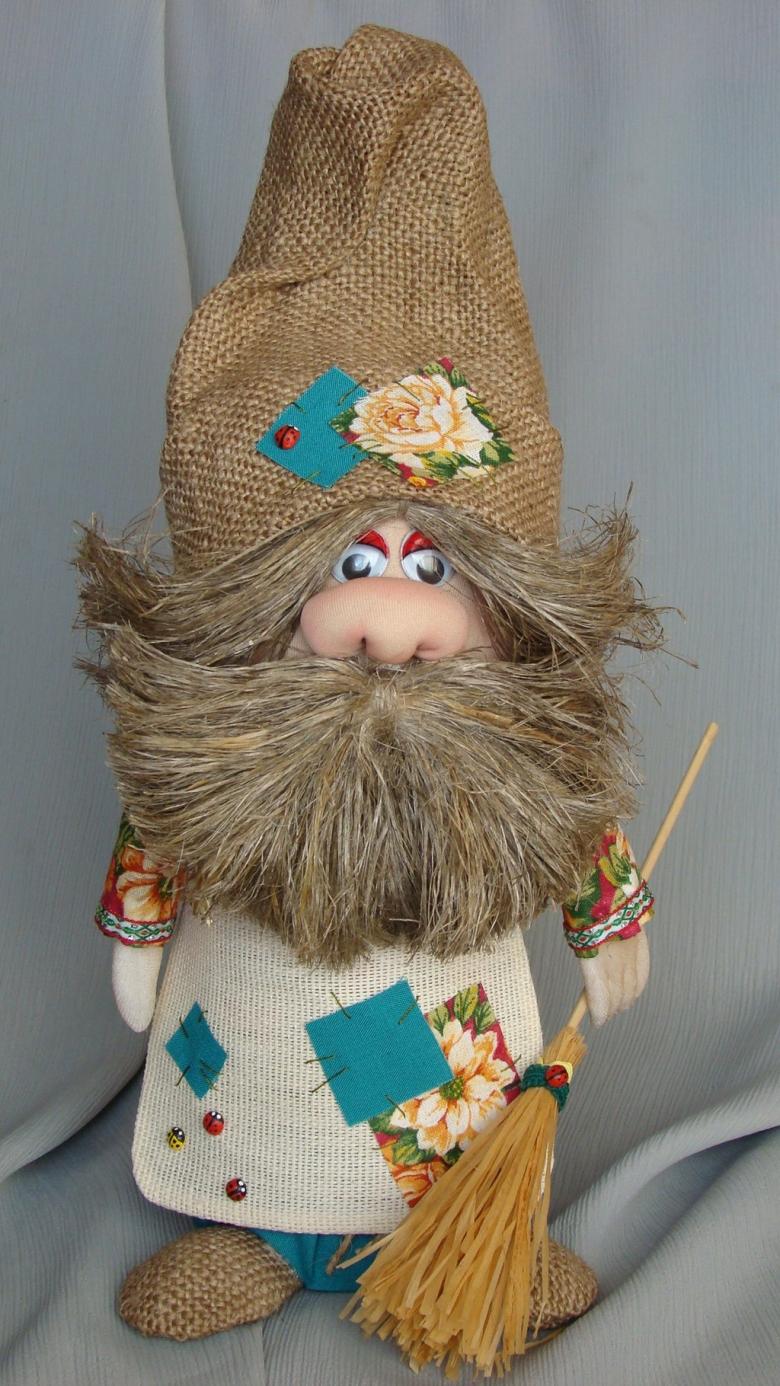
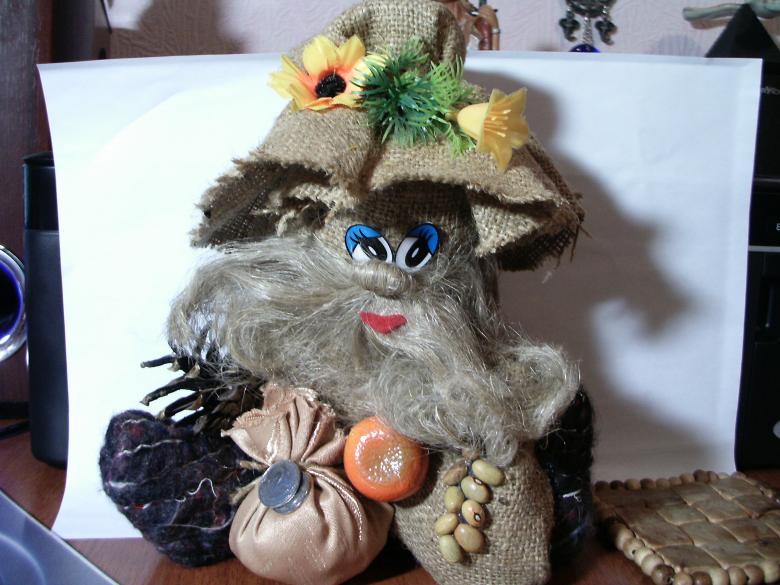
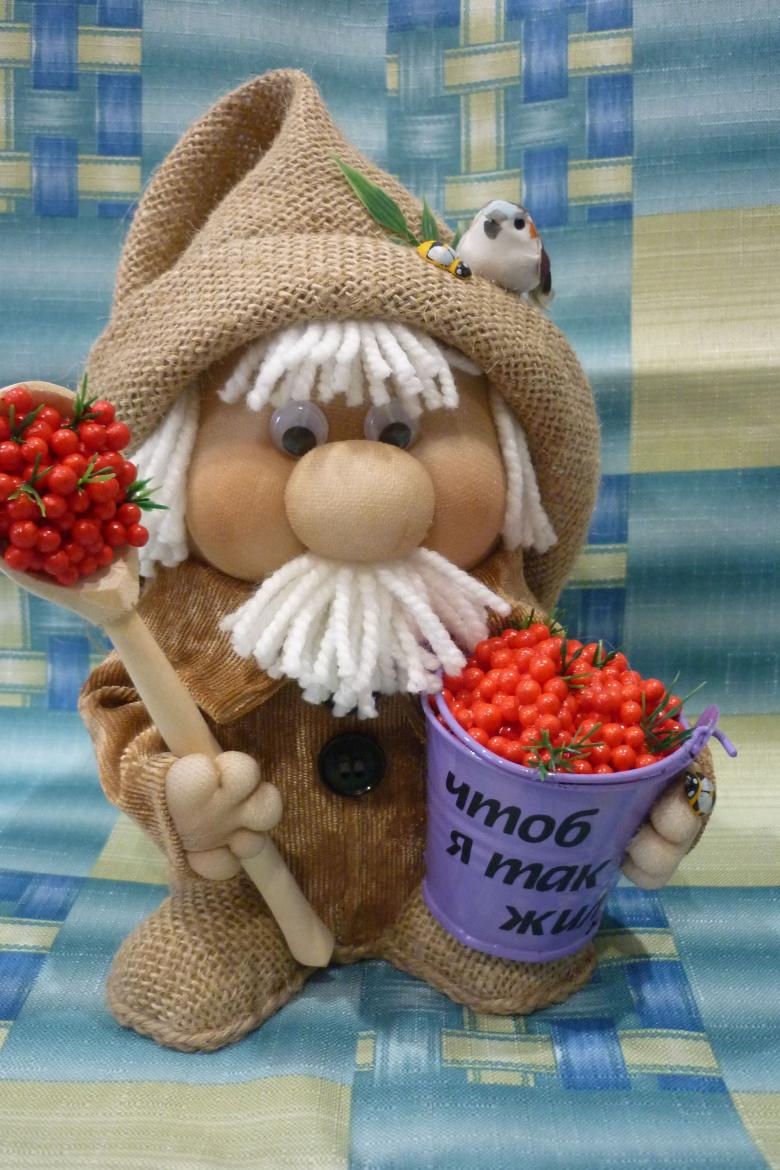
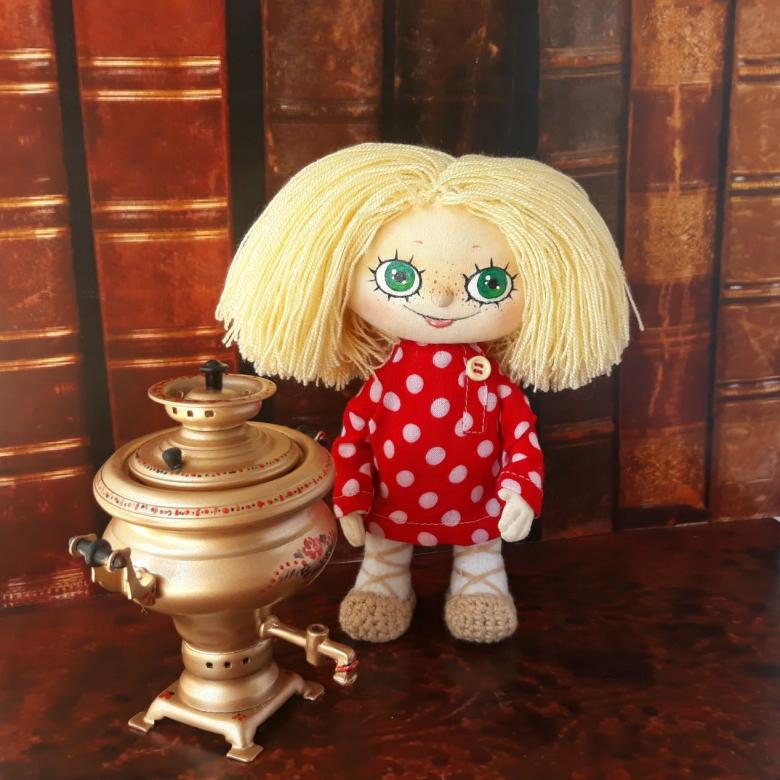
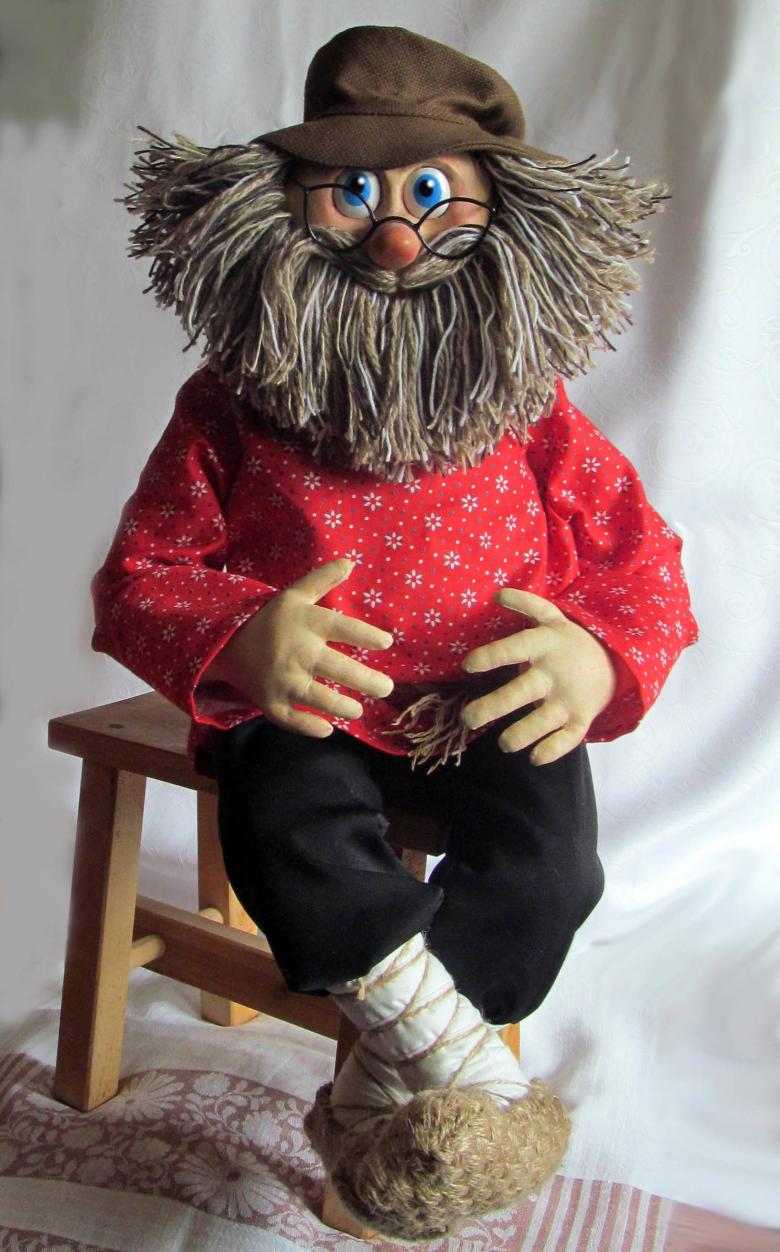
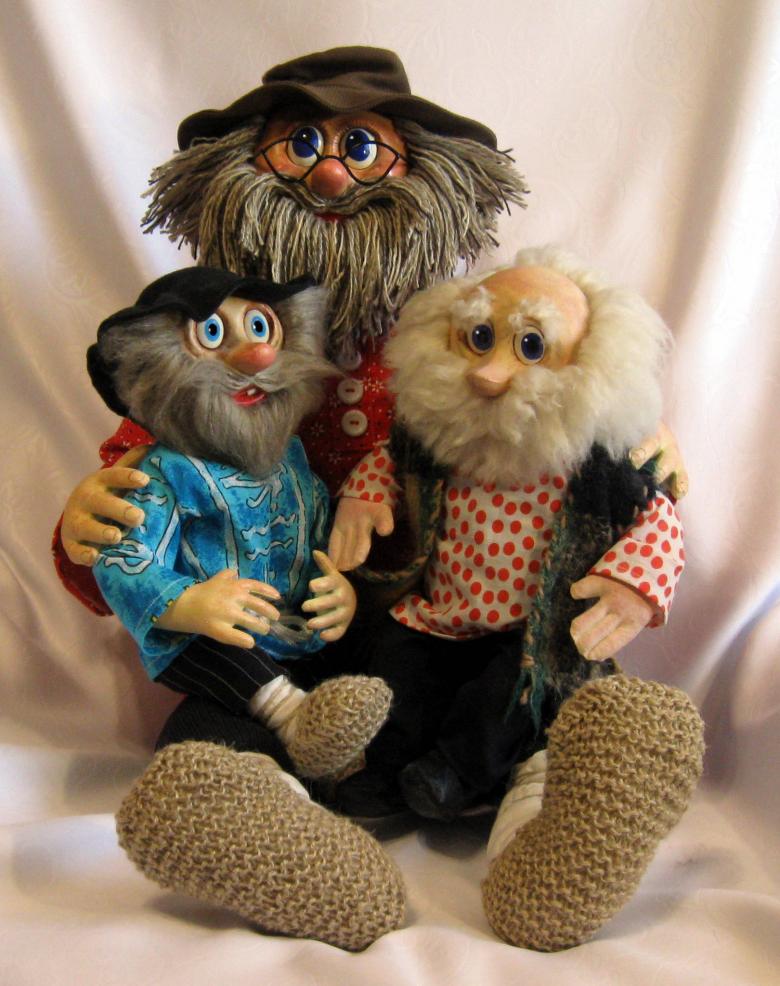
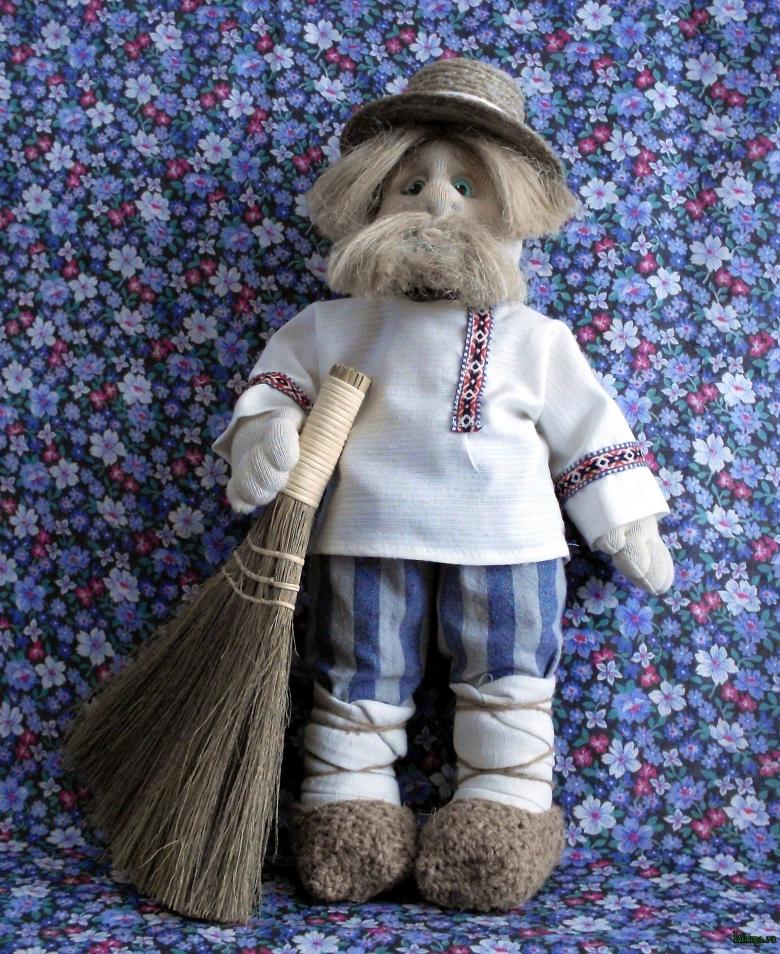
If you think that a huge house is empty and something is missing, then add to your cozy life the most famous protector of the family and home. He will decorate any room, successfully fit into every style of interior, and will definitely like children. So, today we create a houseboy with our own hands.
What crafts you can make yourself?
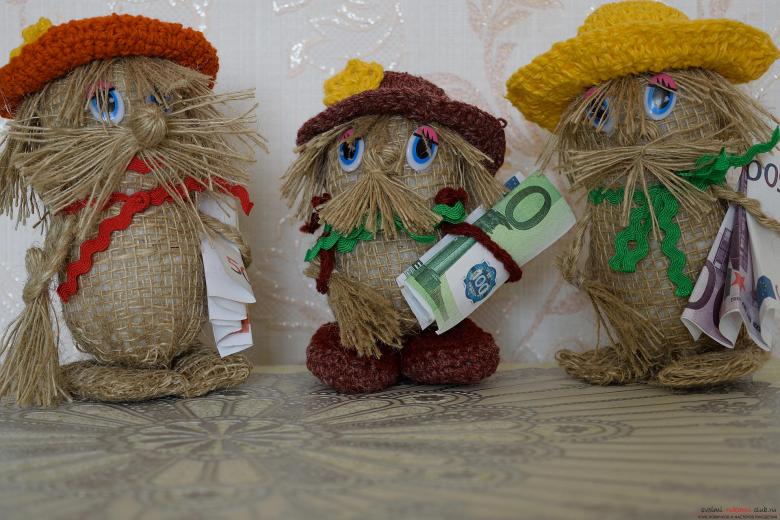
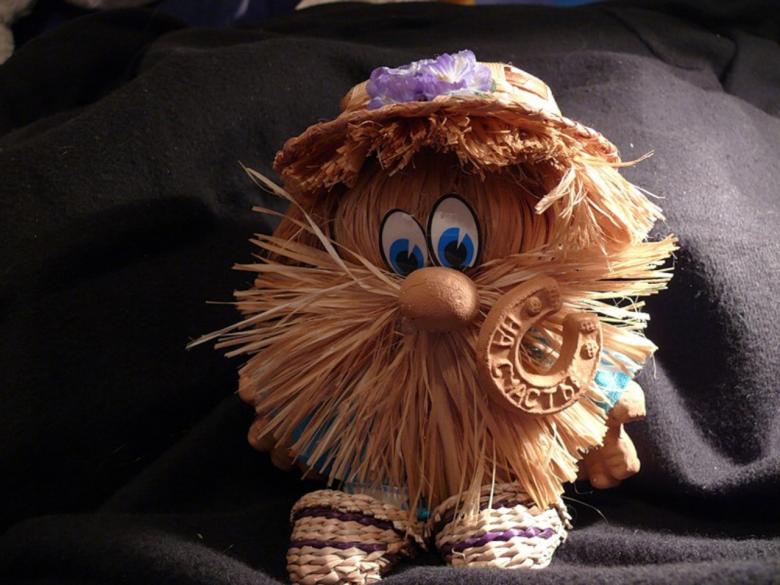
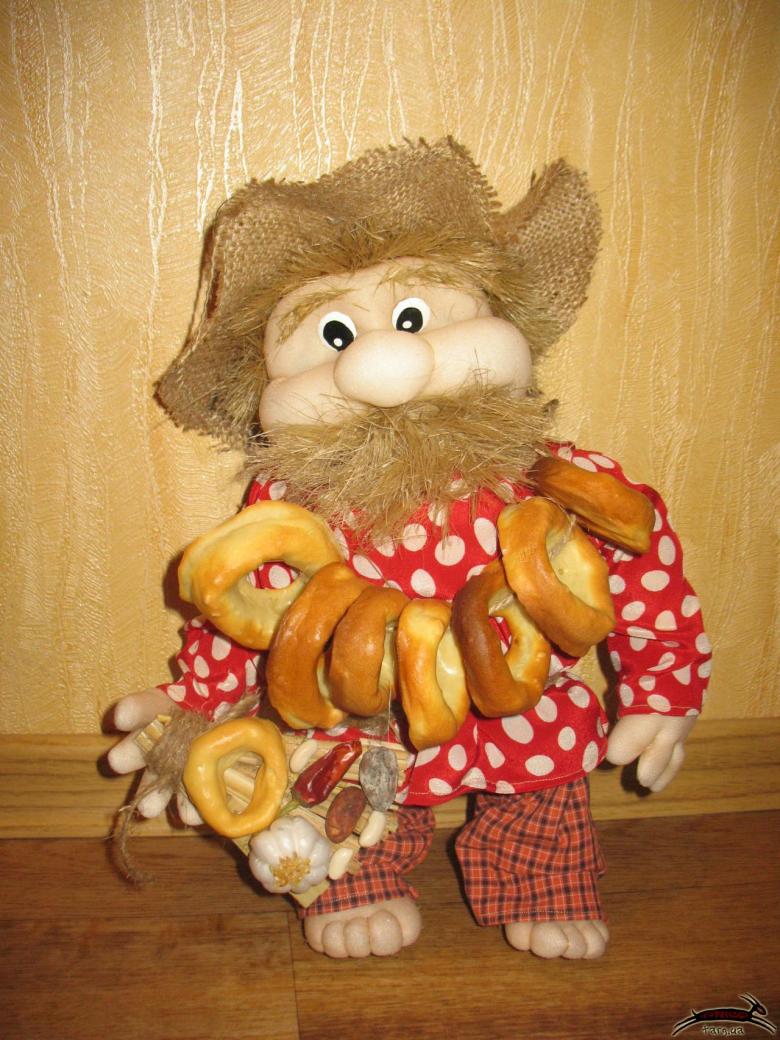
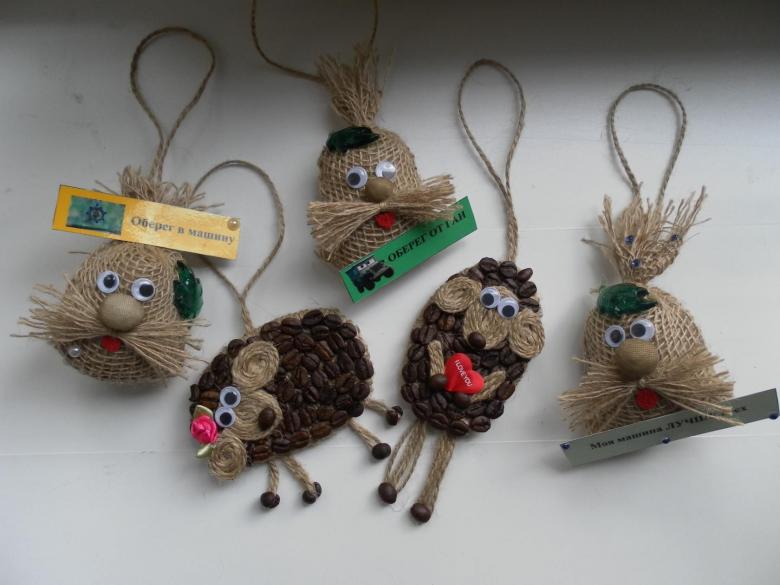
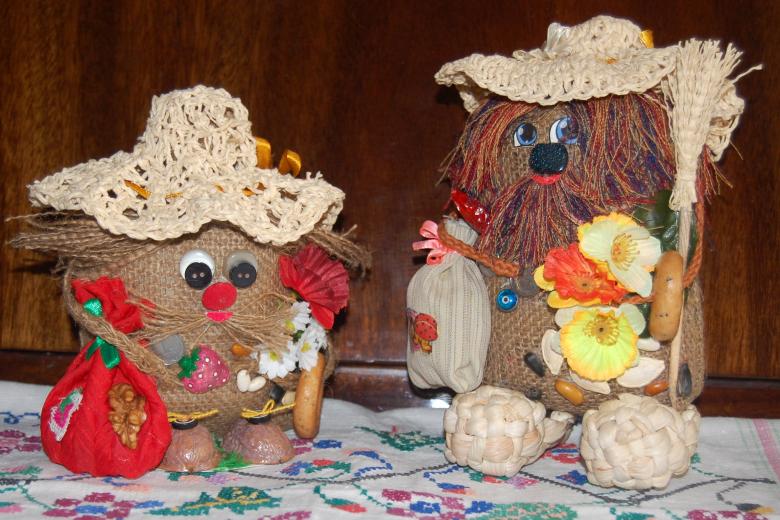
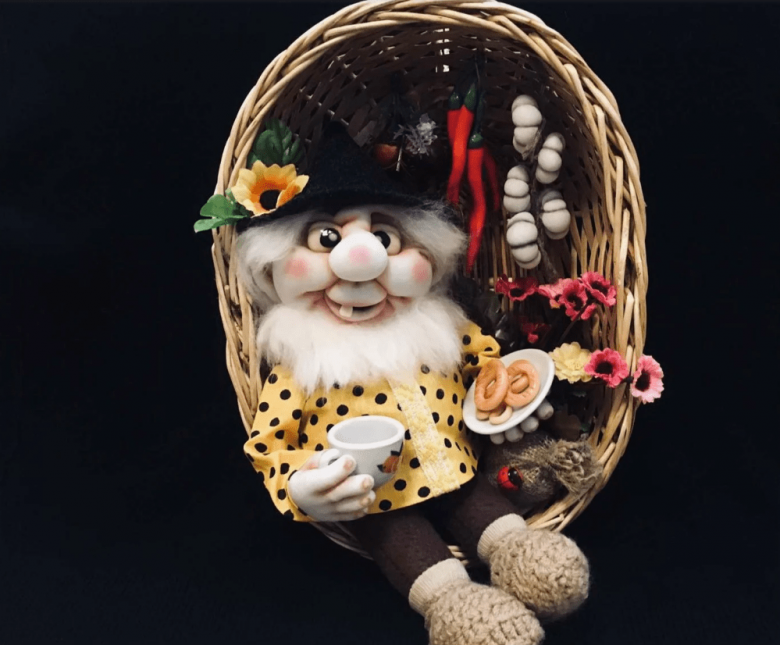
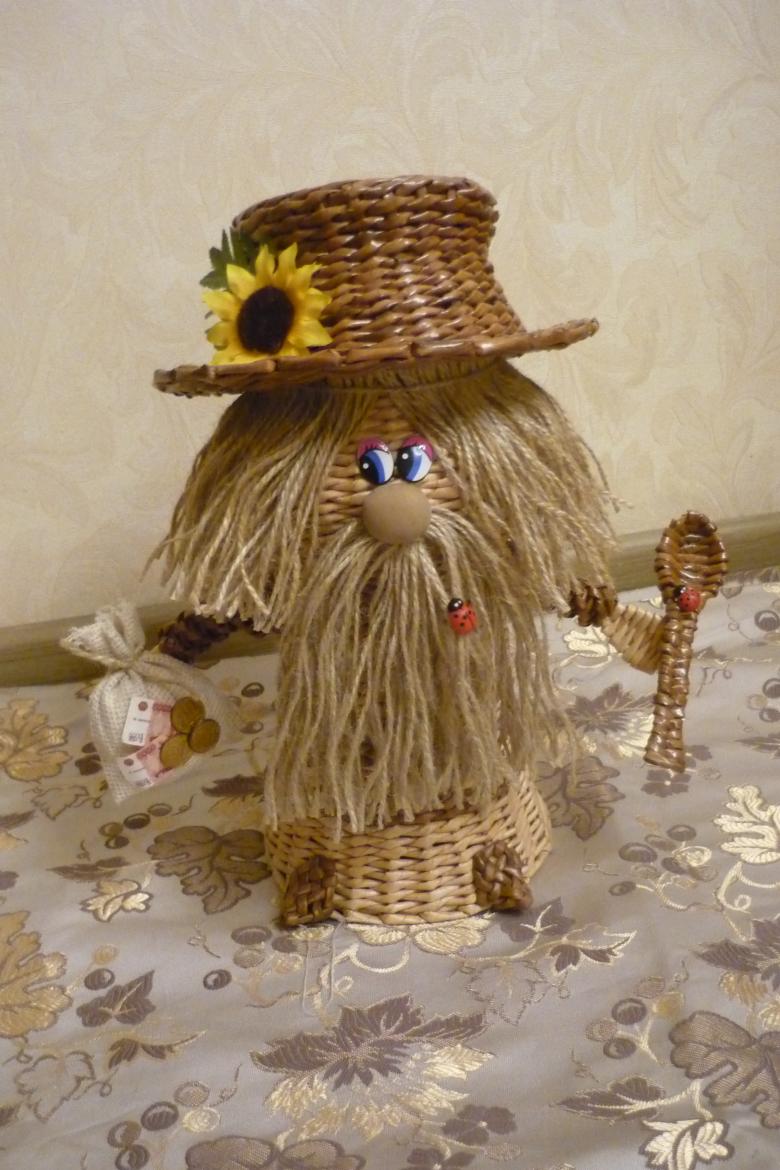
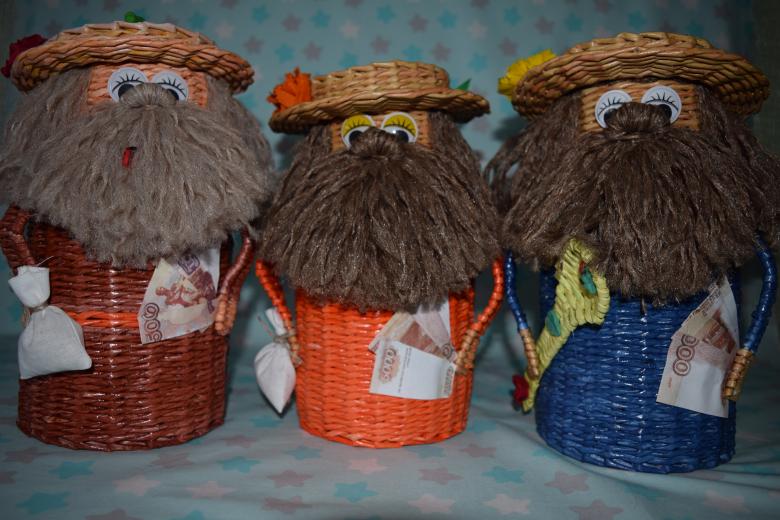
Househands come in different images, styles and ways of making them. For each style of interior will suit its own type of fairy-tale guest. Today we are going to get acquainted with several types of homemades, and we are going to review the basic ways and techniques for creating crafts.
Here is a list of the schemes we will use today:
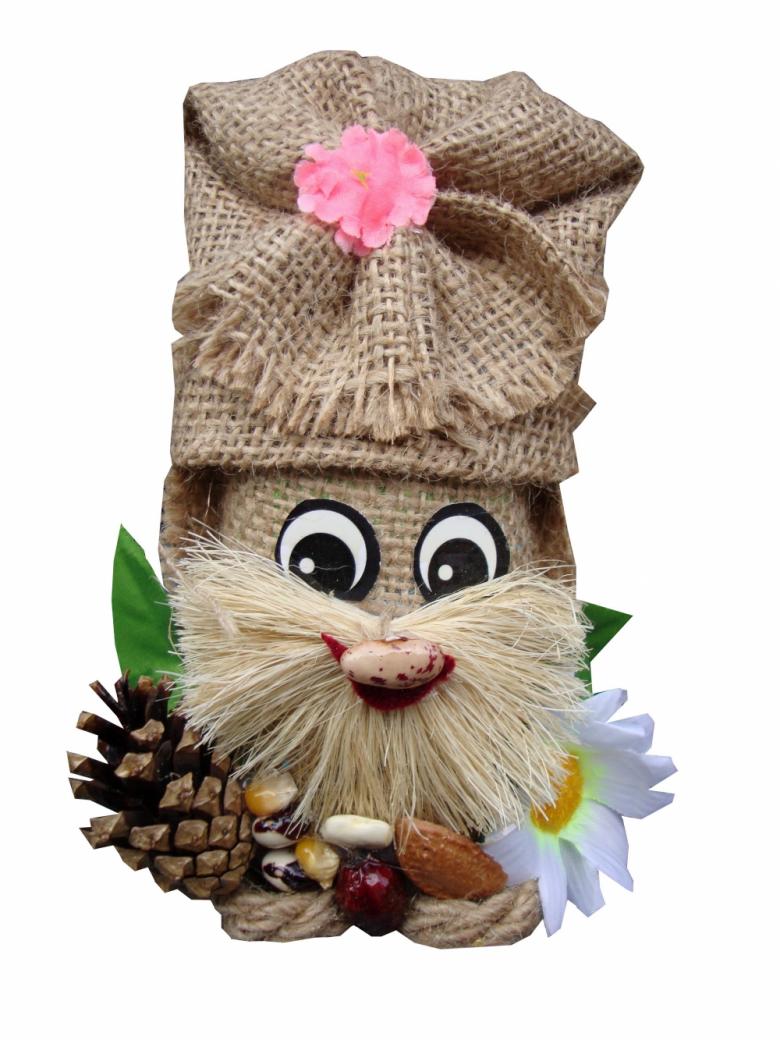
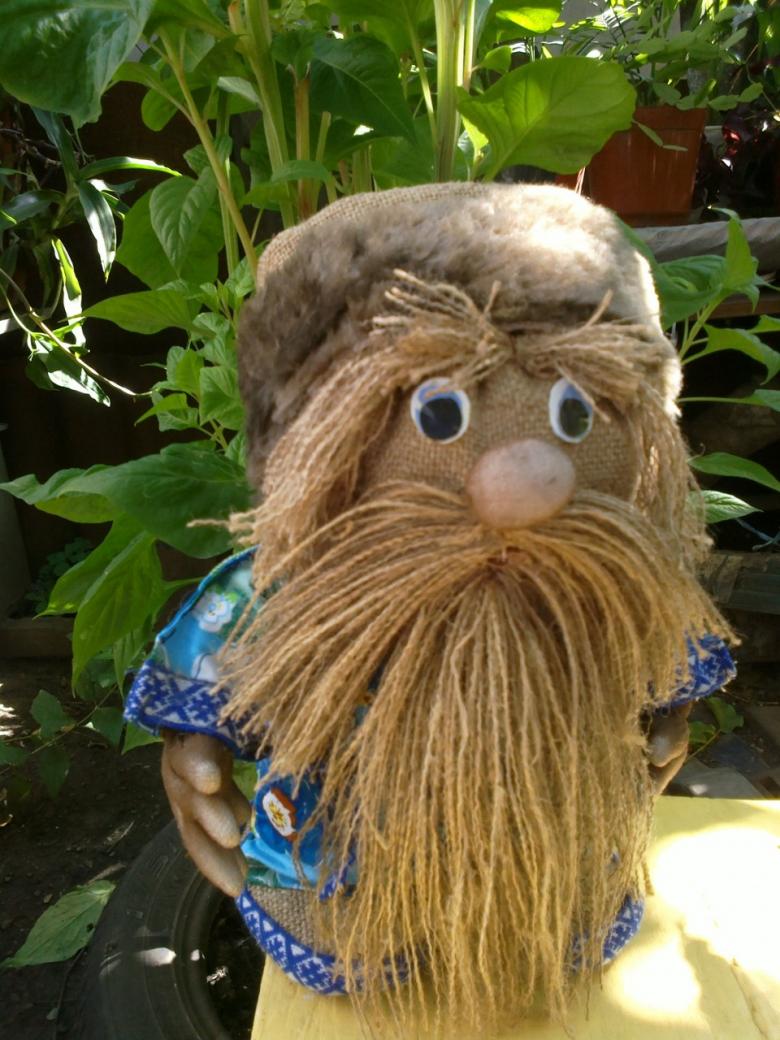
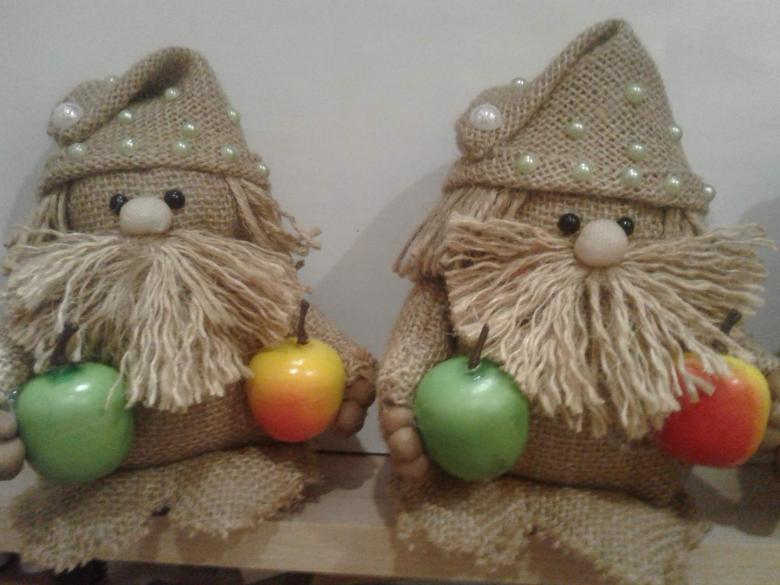
- A househunter made of burlap and filler.
- Figurine of burlap on a jar base.
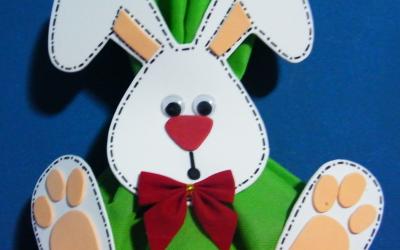
- Handicraft made of cardboard.
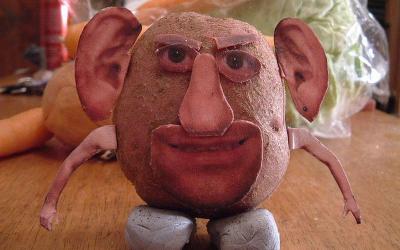
- A house wren from plasticine (we could not omit this option in any way, as, our kids must also participate in the creation of a new collection of handicrafts).
- Kuzya from thread (we use a traditional name, as it is customary in Russia).
Master classes on making crafts with step-by-step instructions
We proceed with a step-by-step tutorial on how to work with the crafts. These instructions will give you a general idea of the process of creating a dowager. But do not forget that you and your imagination can create much more!
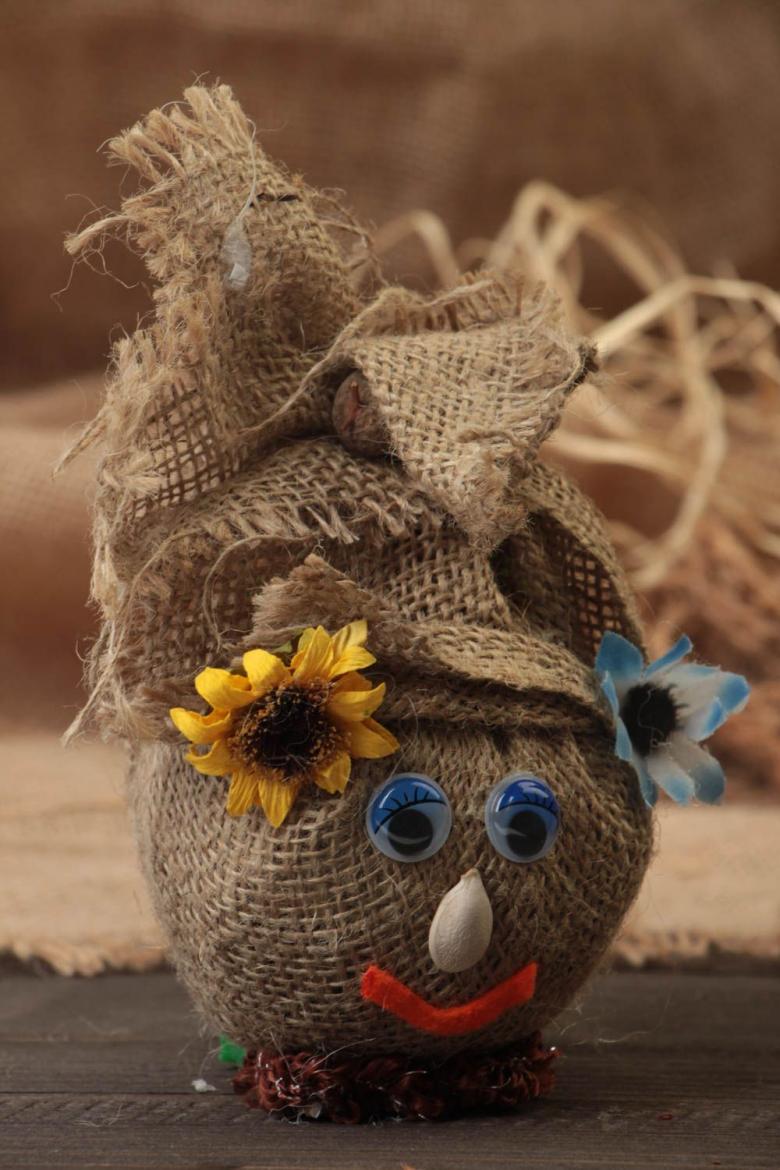
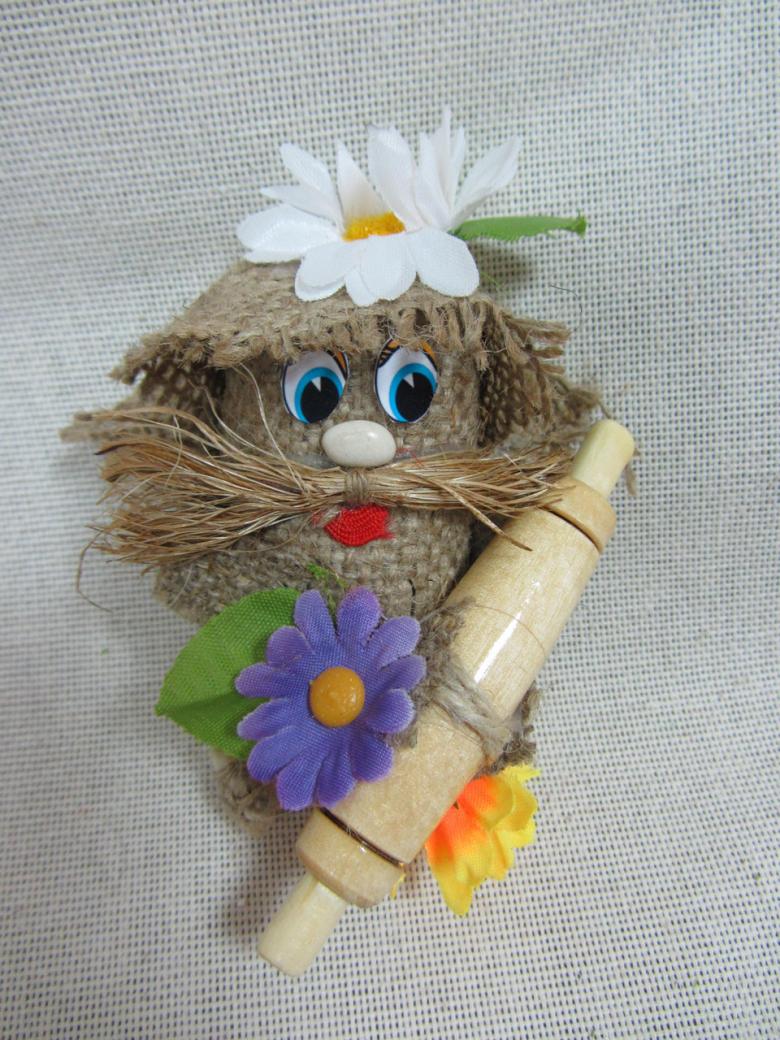
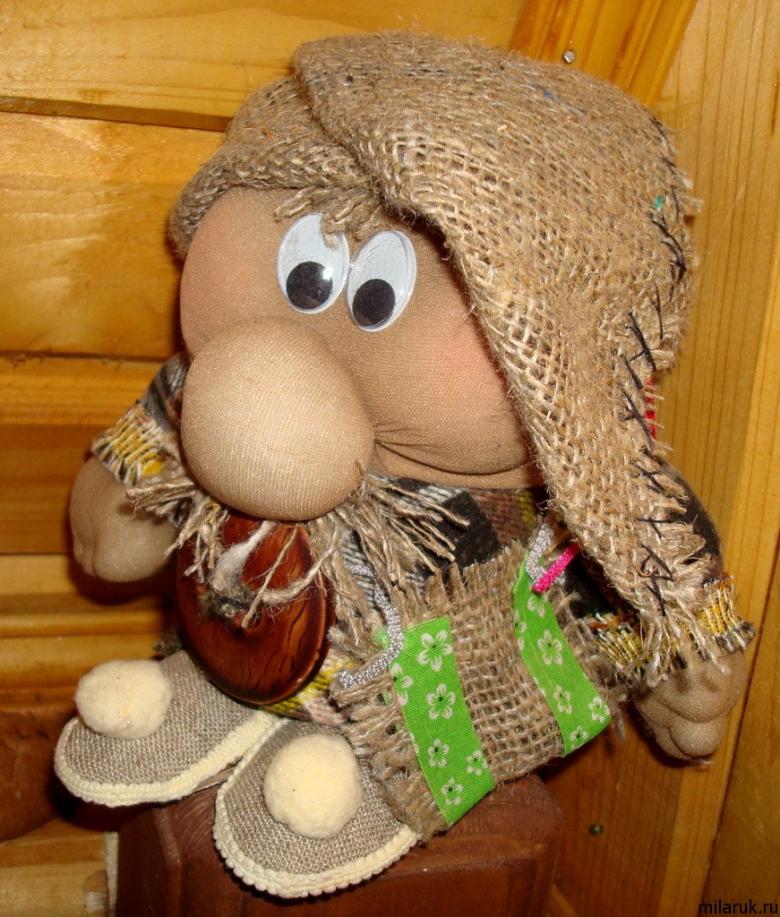
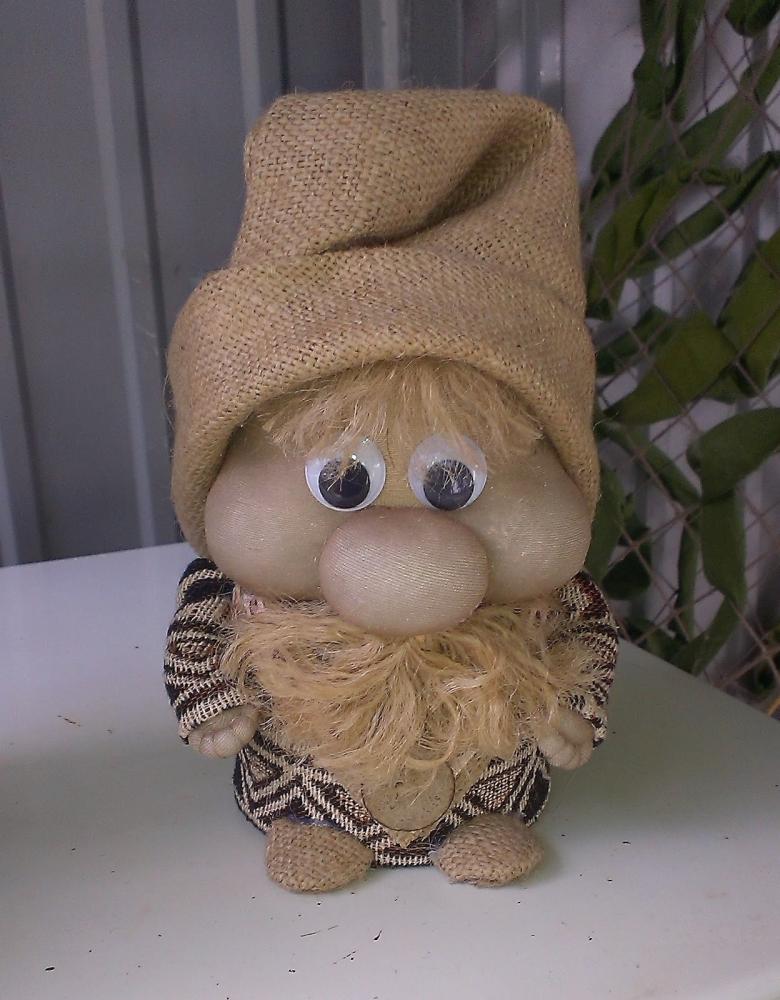
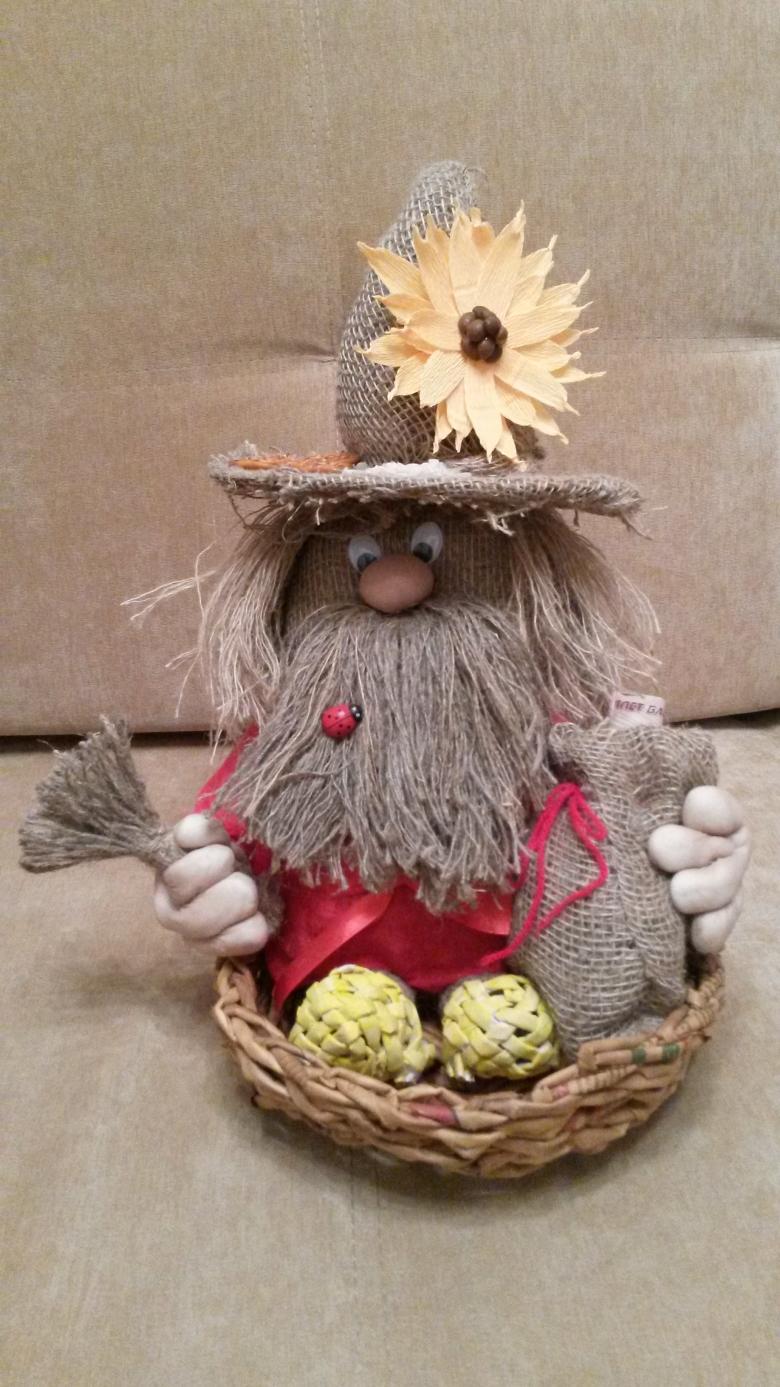
Making a dowager out of burlap and filler
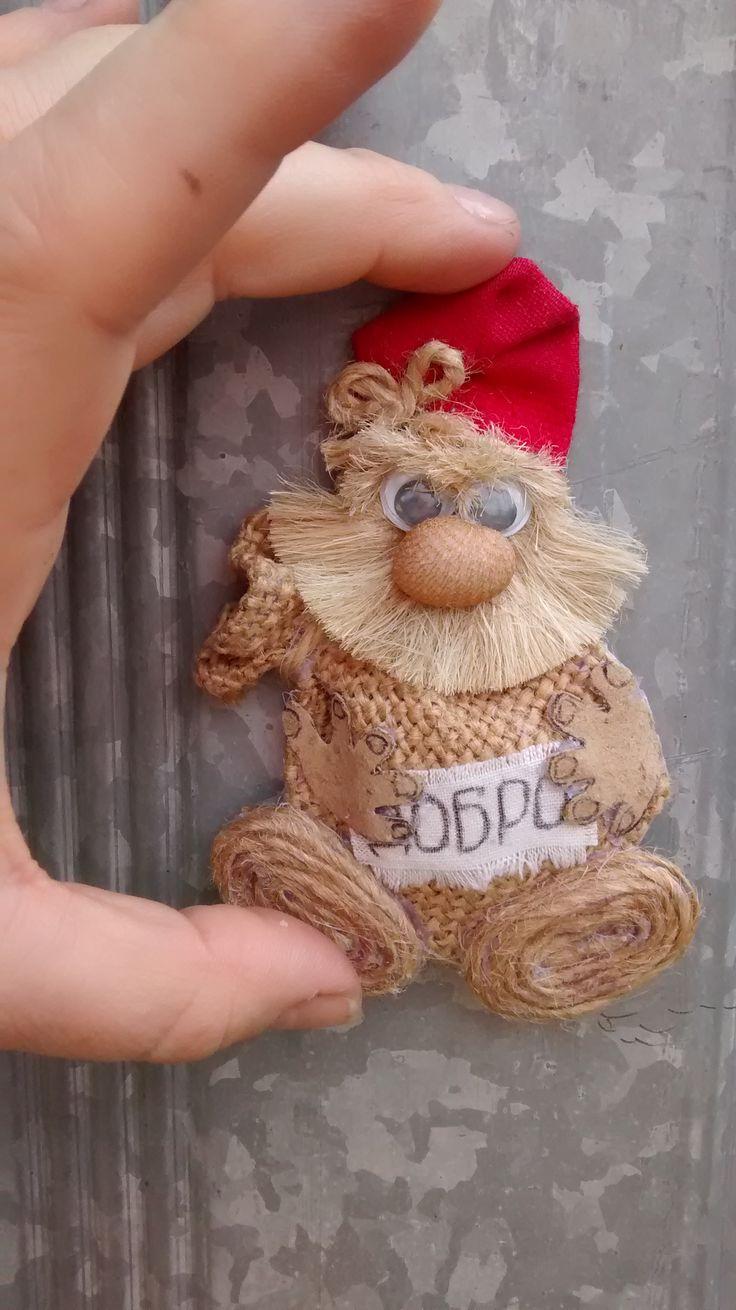
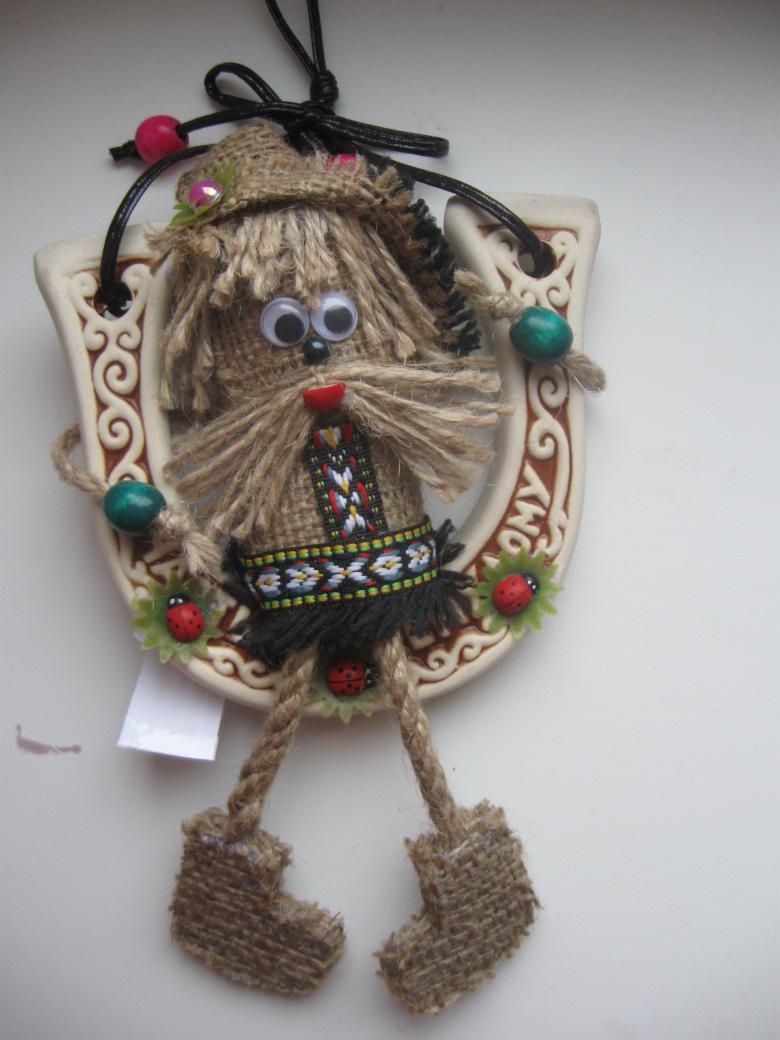
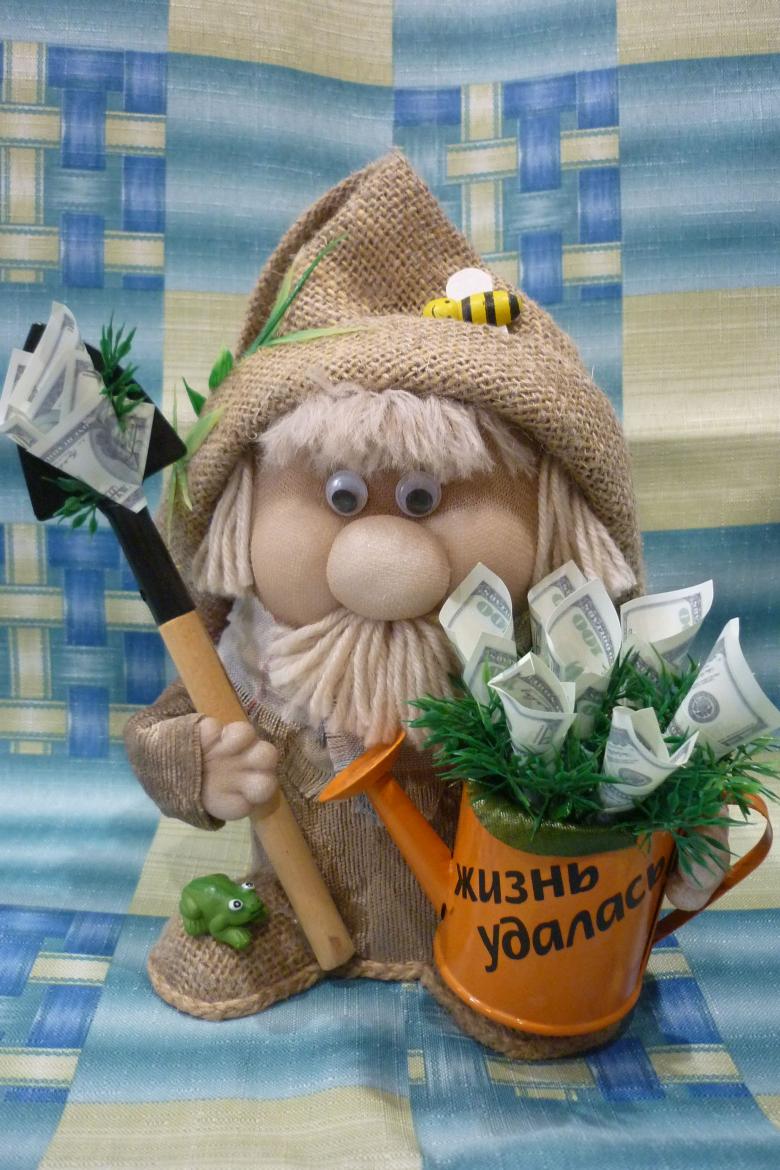
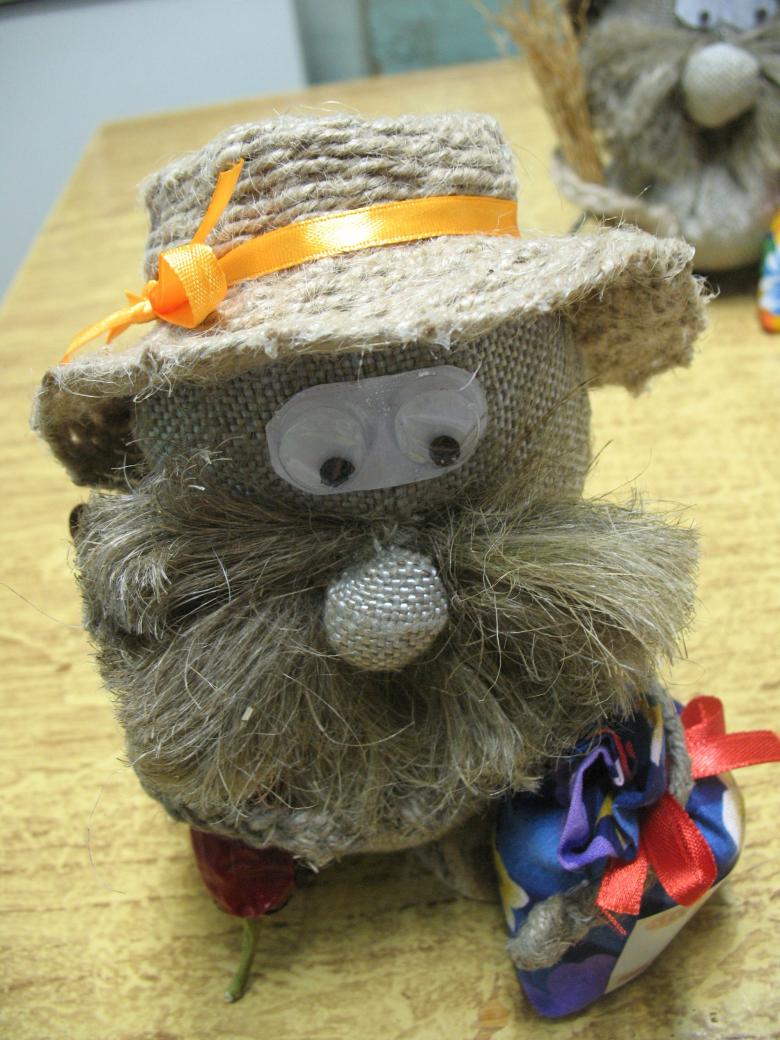
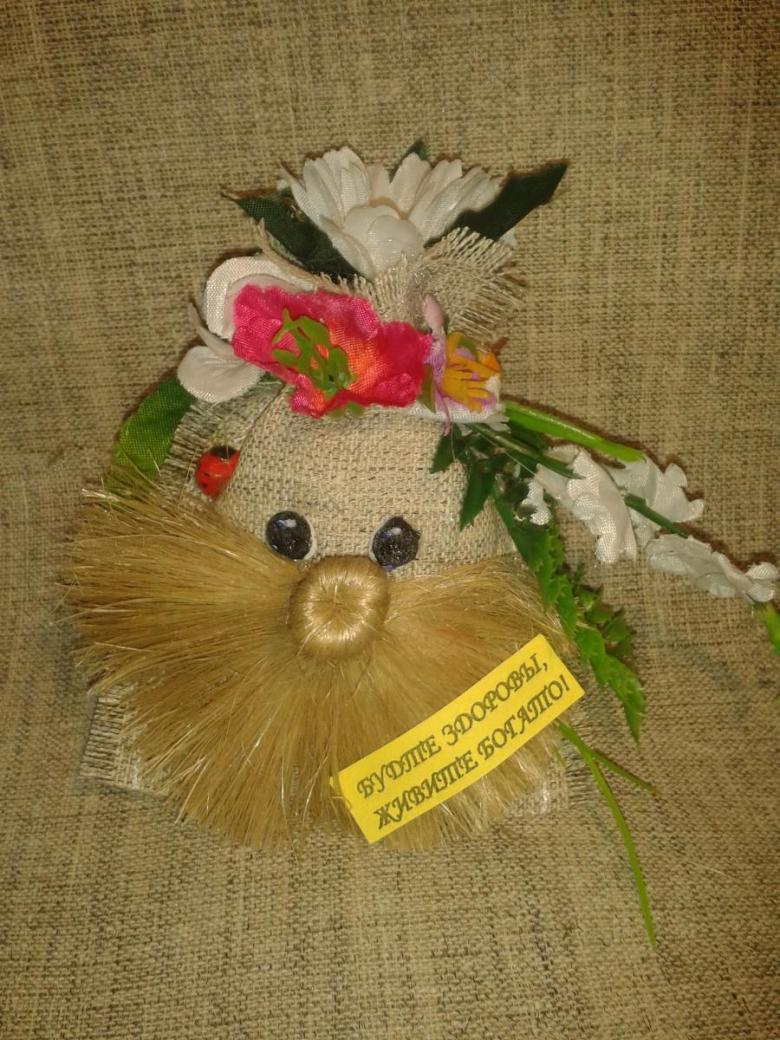
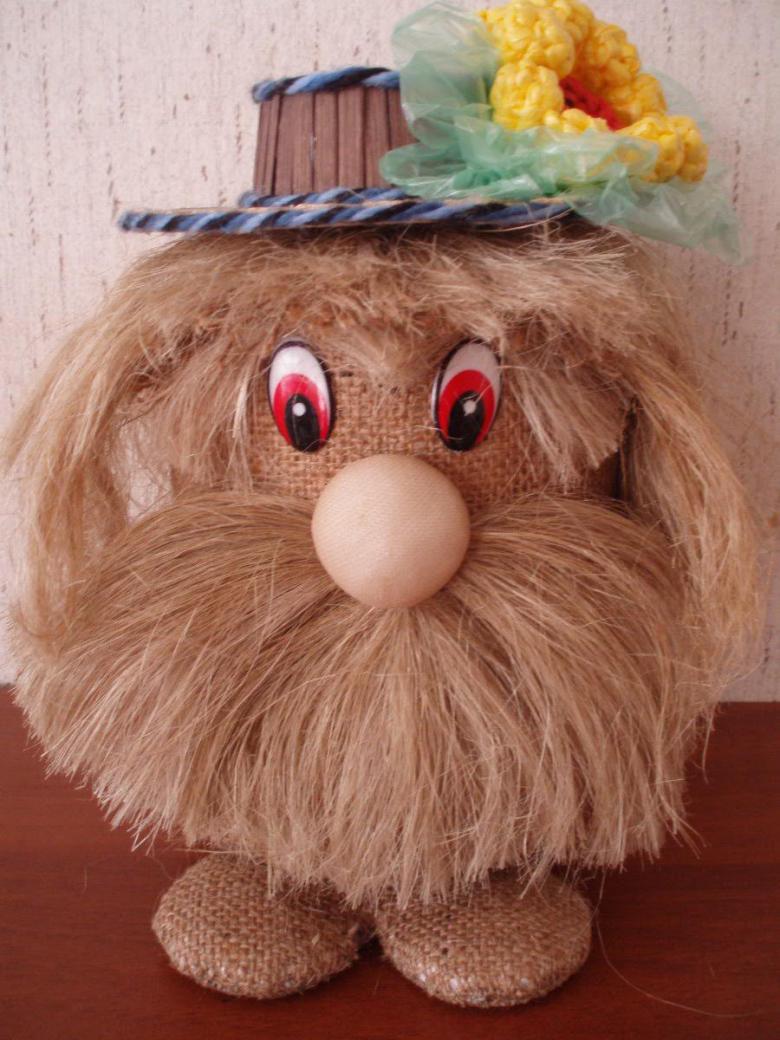
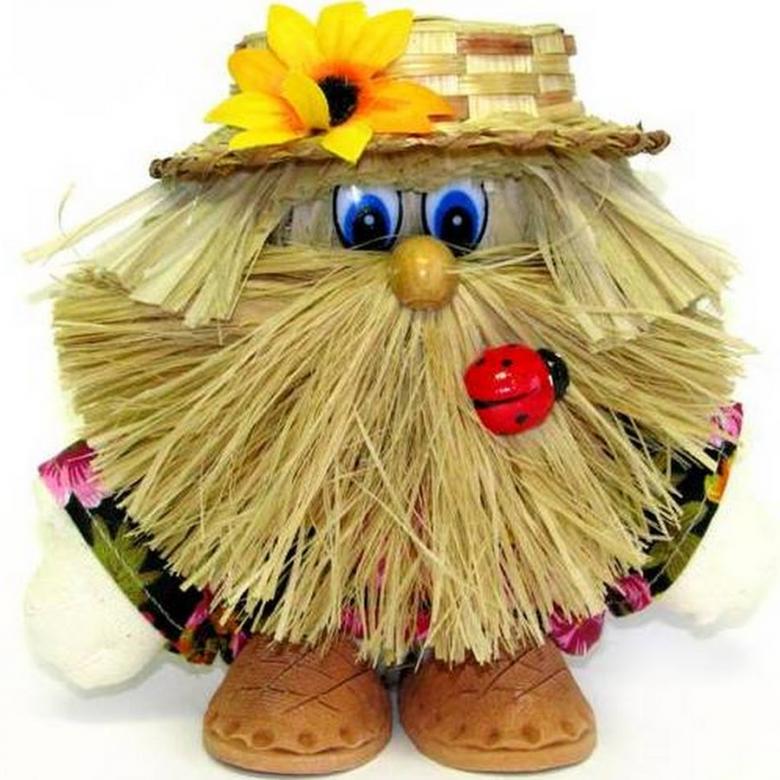
The most common version of the dowager among the souvenir products on the Russian market is a round figure made of coarse cloth.
But, you must agree, it is much more pleasant when this figure is made with your own hands - diligently and with love.
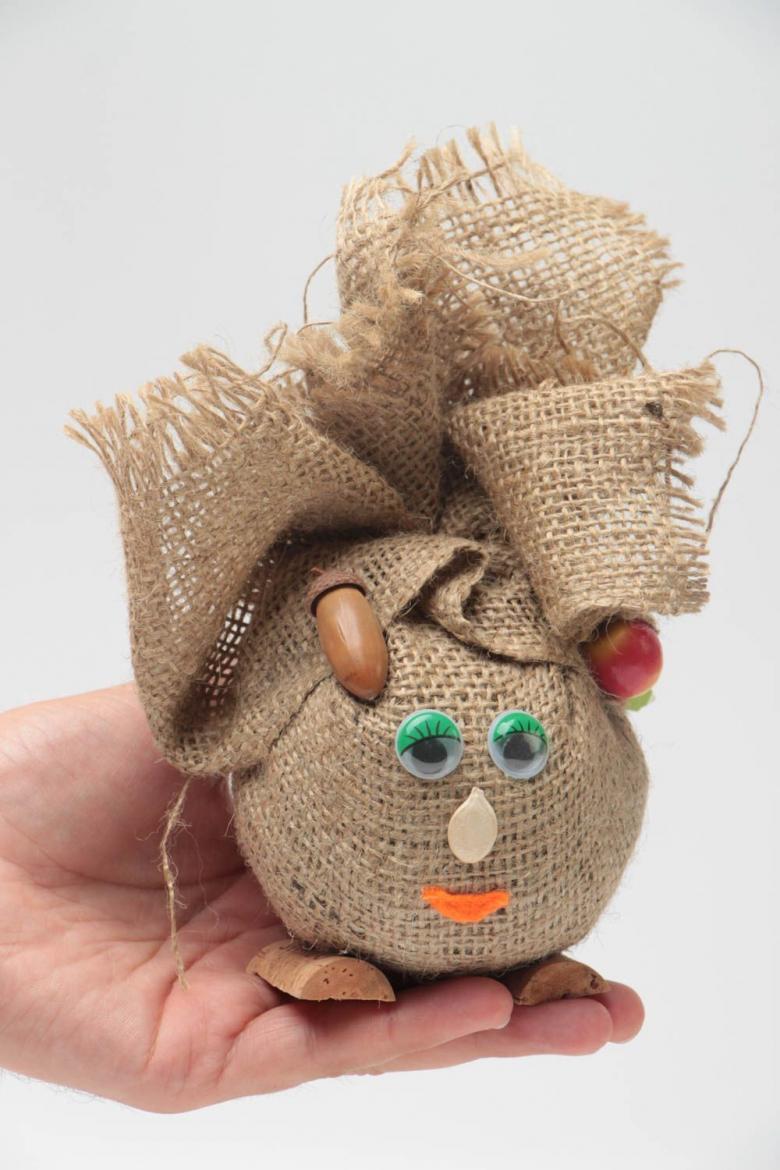
For the work we will need:
- The basic material - burlap.
- Thread and needles.
- Glue and scissors.
- Twine or other strong rope.
- Filling.
- Elements of decor (eyes from soft toys, a hat for the dowager, a scarf).
A step by step schematic instruction for the master:
- On a piece of burlap, draw a circle of large enough size.
- Around the circle sew a series of stitches with large stitches.
- On the inner surface of the stitched material put filler.
- Now you need to pull the stitches "toward you", so that the workpiece took the form of a sack.
- Spread the bag with your hands, loosening the filler. Now our product is shaped like a ball.
- You can safely cut off the extra pieces of burlap, or you can leave them.
- On top we hem the hat (thus we hide the remnants of fabric).
- Eyes sit on the glue.
- In the center of our ball, sew a large bead button, forming a nose. Around the nose you can glue or sew untwisted knitting threads.
- It remains to make the legs.
- To do this, cut out two legs from cardboard and glue them under the bottom of the dowager.
Our protector of the family home and well-being is ready!
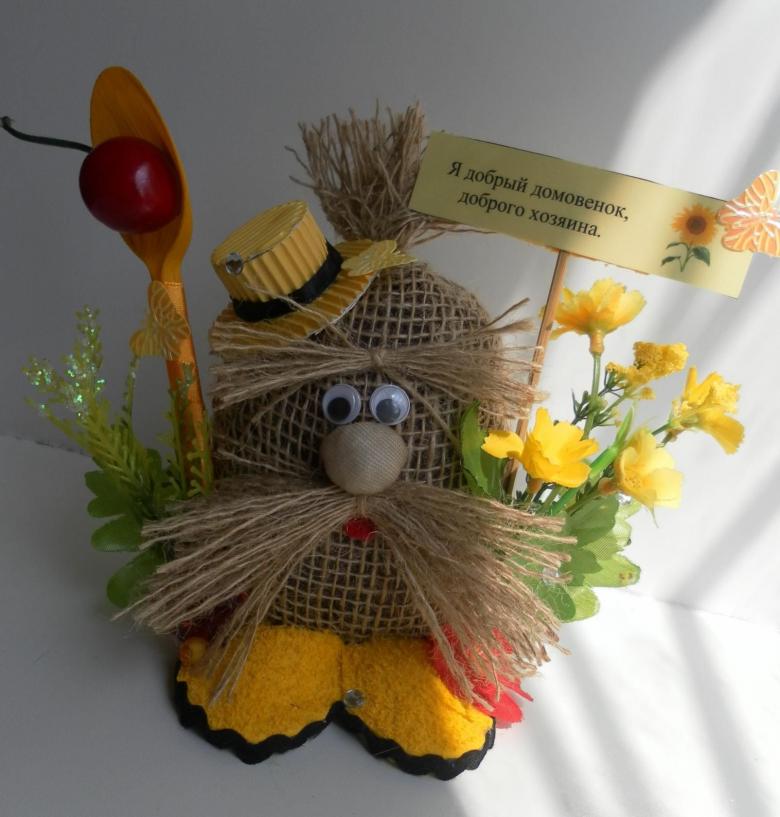
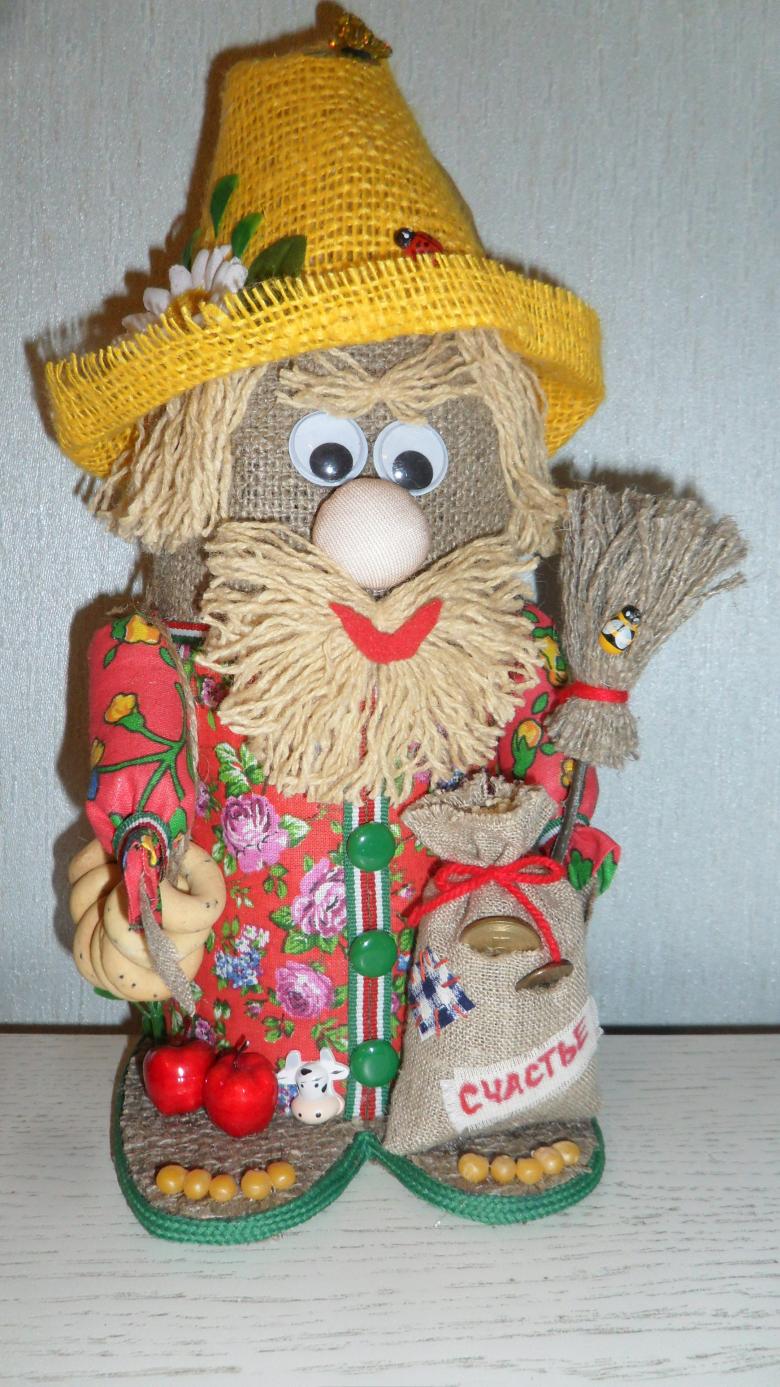
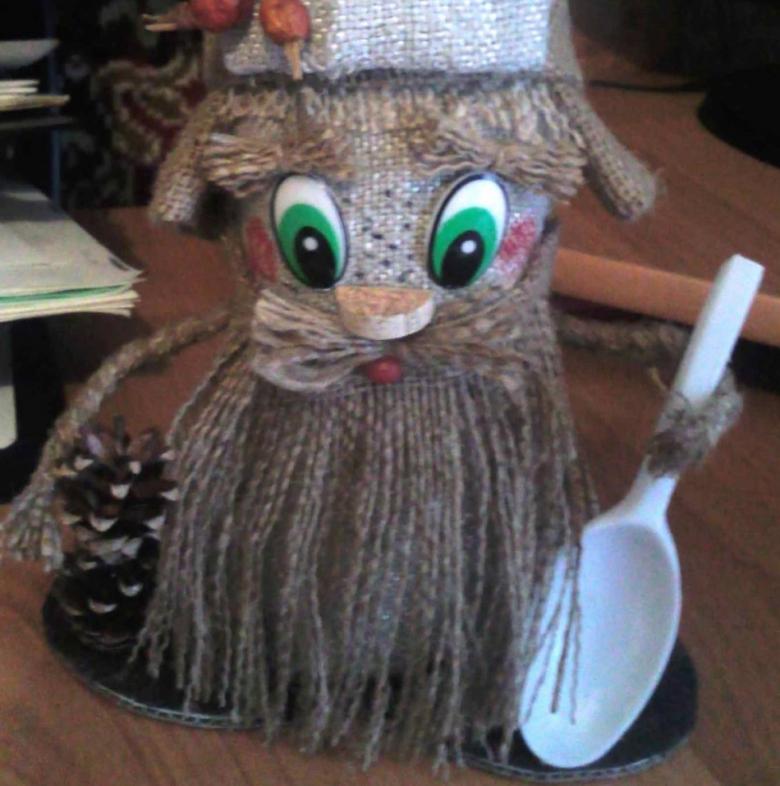
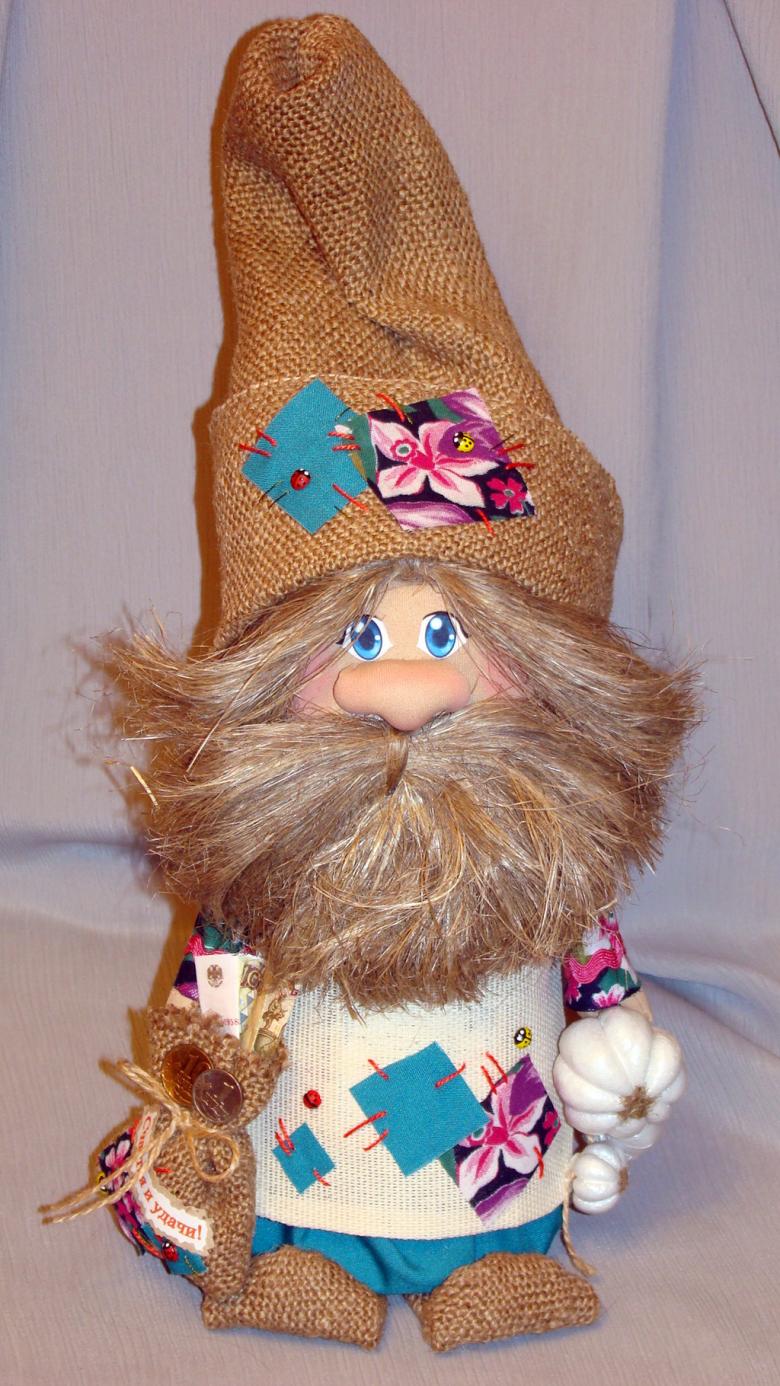
Making a coworker out of burlap and jars
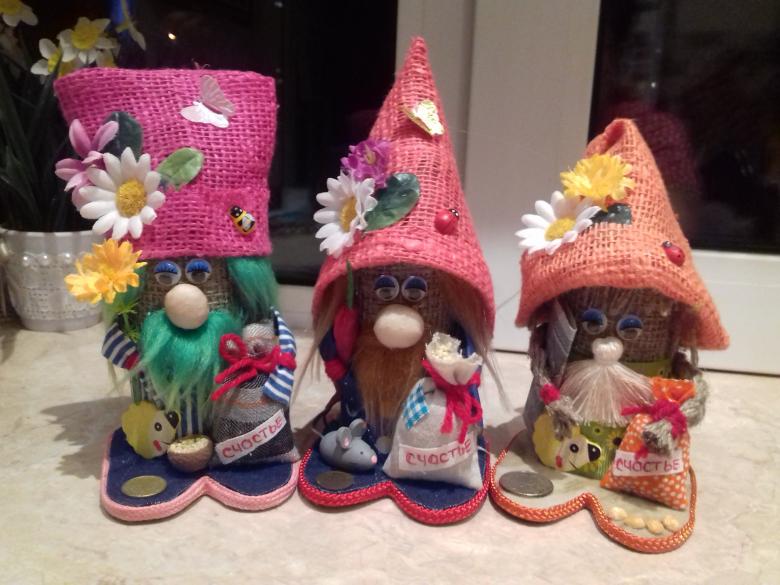
This method is as simple as the previous instruction. The only thing is that, instead of filling, the inner basis will be a coffee or tea can.
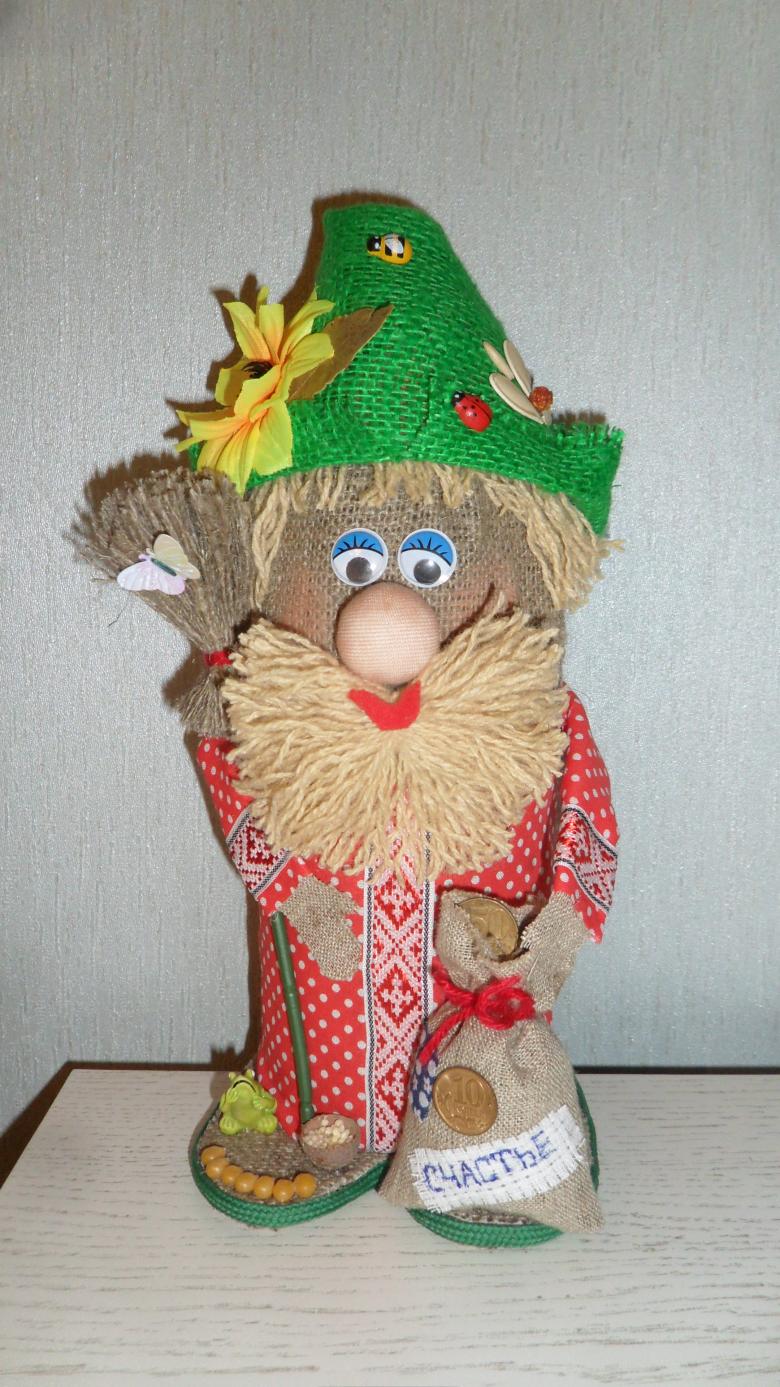
To work you need to prepare:
- A tin can from under the coffee.
- Bagging.
- Glue.
- Elements of decoration (hat, moustache thread, button).
- Scissors, thread, needles.
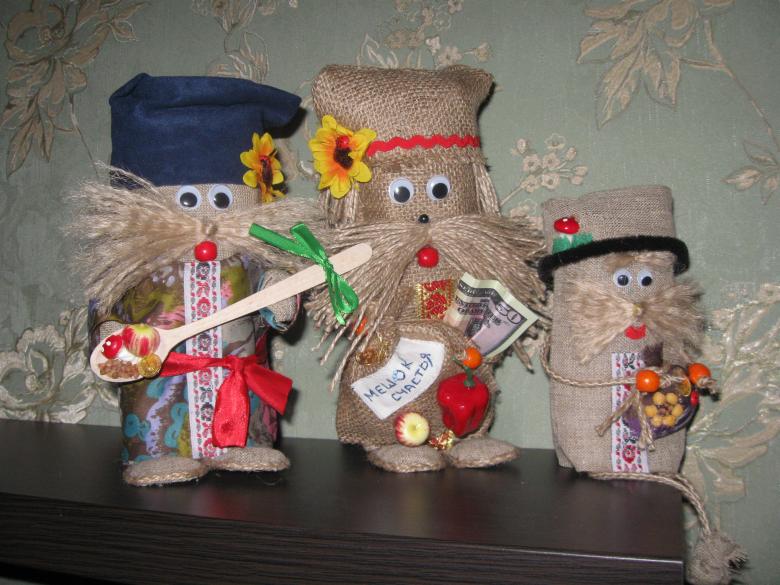
Step by step schematic instructions for the master:
- Place the prepared jar on an unfolded piece of burlap. Estimate how much fabric you will need to fully wrap the base.
- Cut off the excess material.
- Wrap the sackcloth around the jar, tying a strong knot on the top with thread.
- You can glue the connection between the fabric and the base, but it is not necessary.
- Glue eyes on the face of our little cowboy, sew a button-nose. Lace up a hat on his head.
- Add a mustache, using fluffy threads or stiffer material.
- Also accurately cut out feet from cardboard and glue them under the bottom.

This little housekeeper will be more stable, thanks to the flat surface of the bottom.
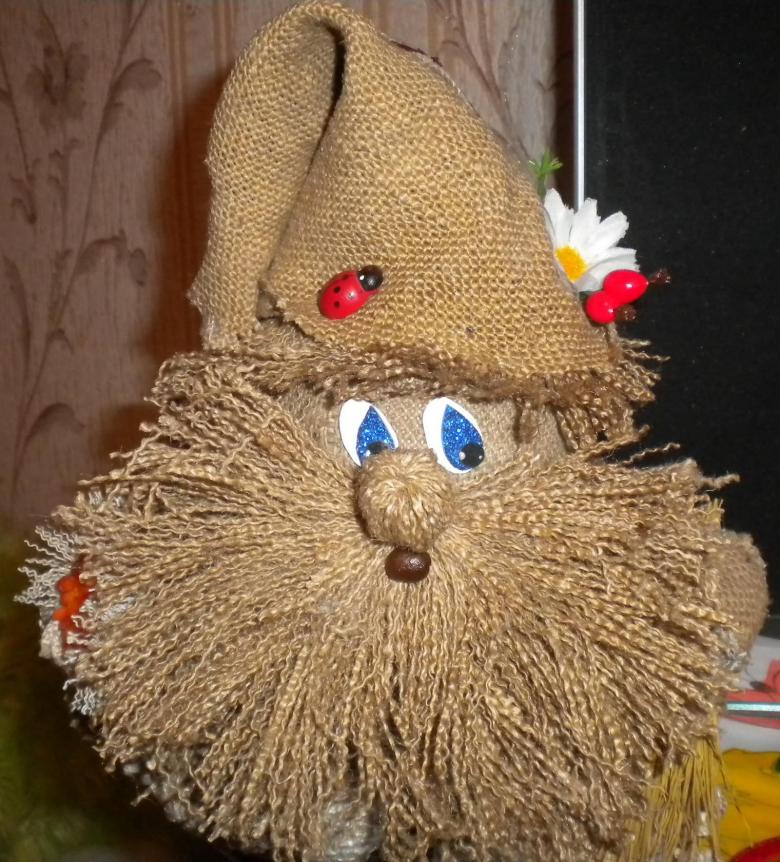
Little housekeeper out of cardboard: bulky crafts
This model of the handicraft will most likely come in handy for those who want to do independent work with the kids. Bright and colorful characters of Russian fairy tales will serve the child as a reminder of interesting activities with his parents.
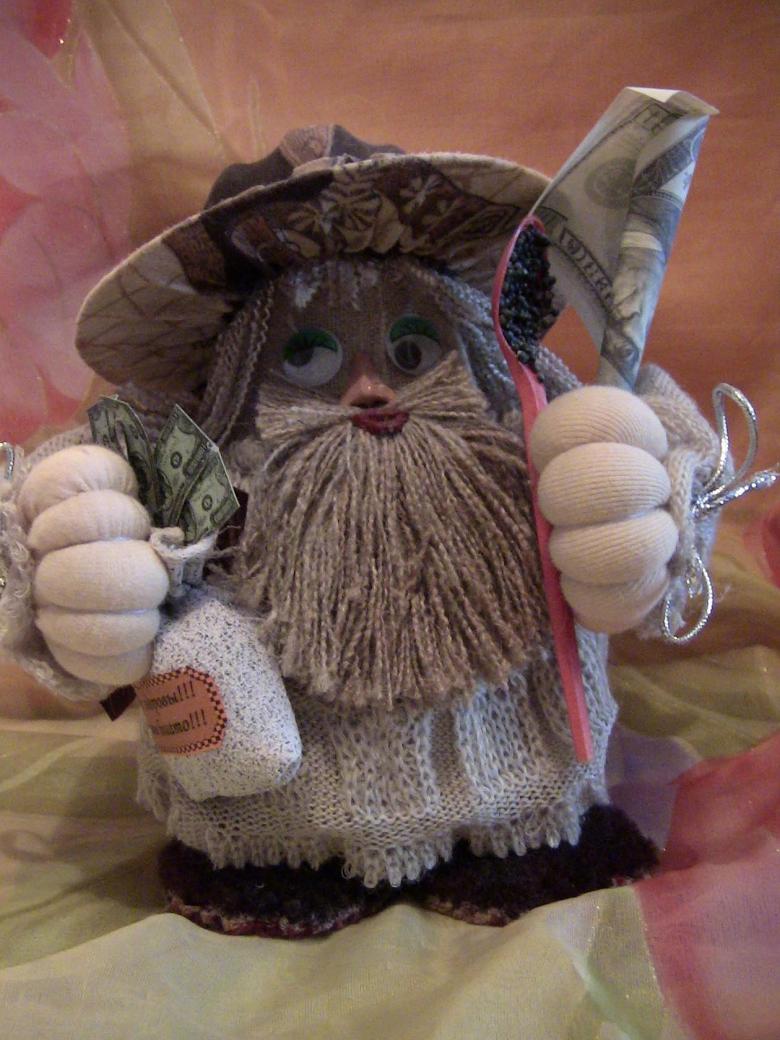
It is necessary to prepare the following materials:
- Templates.
- Colored cardboard.
- Scissors, glue.
Step-by-step scheme-instruction:
- Let's prepare templates. You can find ready-made templates on the Internet and in manuals on needlework. But, in any case, you should know how many and what kind of parts you will need for work. So prepare: arms, ears, legs and eyes - 2 parts, body - 1 part, hat - 1 element. If desired, you can add a tongue.
- According to templates, draw and cut blanks of colored cardboard.
- For the base prepare a small sheet of cardboard.
- Glue the parts on the base.
- Doris draw the pupils with black felt-tip pen.
Little house wren - simple and easy to implement - ready.
A house wren from plasticine
This method is also a basic way to conduct joint activities with children. You can also create a beautiful applique on a base plate to present the work at an exhibition in kindergarten.

For the work you need to prepare:
- Plasticine of different colors.
- A knife to work with plasticine.
- A board for work.
- The base (plastic plate or foam plastic).

A step by step diagram with instructions:
- From pink plasticine mold the head of our little houseboy.
- Roll the red plasticine into an oval shape - this will be the torso.
- The legs can be "shoeed" with boots made of black material.
- The hat can also be molded, but you can use a straw toy hat.
- Attach eyes, nose and mouth on the face.
- If you want to create a full application, paint the base plate green, or draw (if possible) the decor.
- Position the dowager figure in the base. Next, create the figures that come to your mind.

The technique of working with applique greatly helps parents in the development of children's role-playing skills. On the successive creation of characters, you can tell an entire fairy tale or fable.
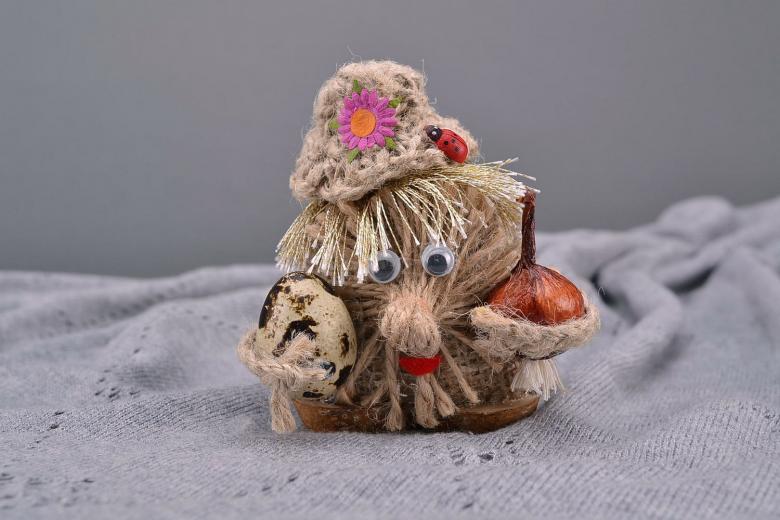
Domovolok Kuzya from threads
For work, we will prepare the following materials:
- Templates for creating details.
- Colored cardboard.
- Sheet-base.
- Yarn of any color.
- Scissors.
- Glue.
Step by step instructions:
- Using templates, draw and cut out cardboard details for the little man: eyes, ears, hands and feet, a circle for the body, a tongue (optional).
- Dab the circle with glue and start gluing yarn threads. Make the threads go from the center to the periphery, and glue the button nose in the center.
- Once you're done with shaping the torso, start the rest of the process.
- Glue the eyes, feet, hands.
- If you prefer, you can also glue and cover them with yarn.
- All the design is transferred to a piece of paper that we use as a base.
- We begin to draw the hat, tracing its boundaries. Next, we glue the straw hat with yellow threads along the contour: half of the threads have a horizontal direction, some have a vertical direction.
- Using a stationery knife, cut off the excess edges of the base. Let the product dry.
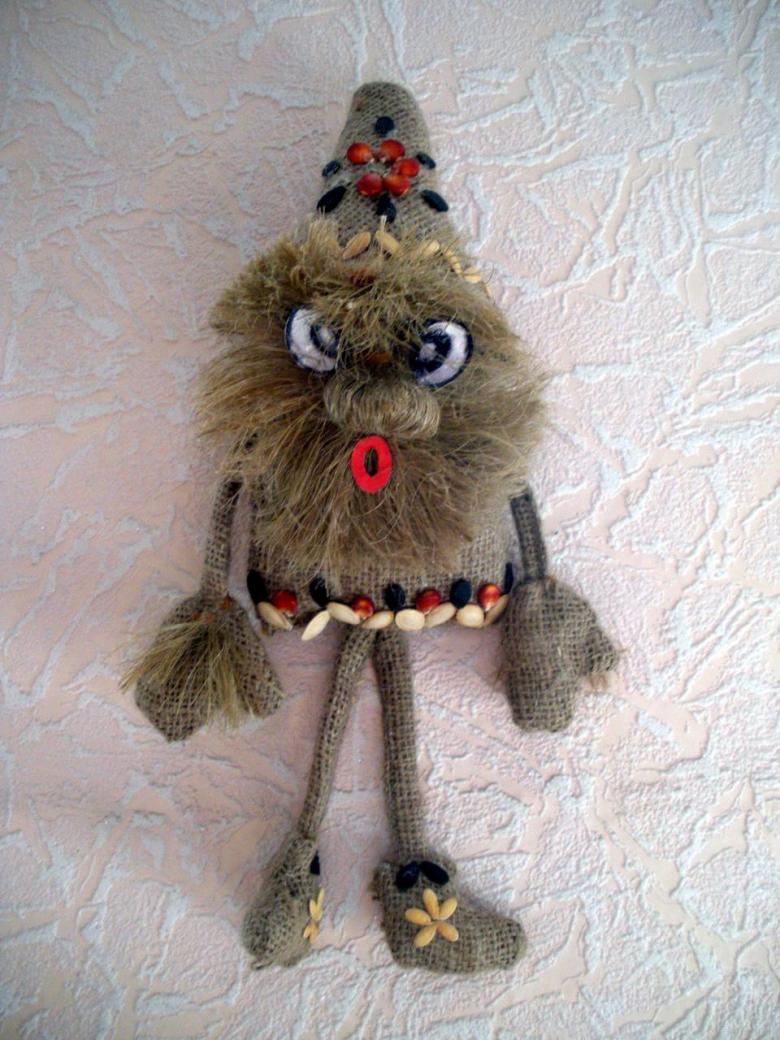
It is a lot of fun to create a dowager yourself. In addition, you get a real talisman for your home, which will protect the peace and sleep of the whole family!


