How to make a keybox with your own hands - simple step by step master classes with examples of photos
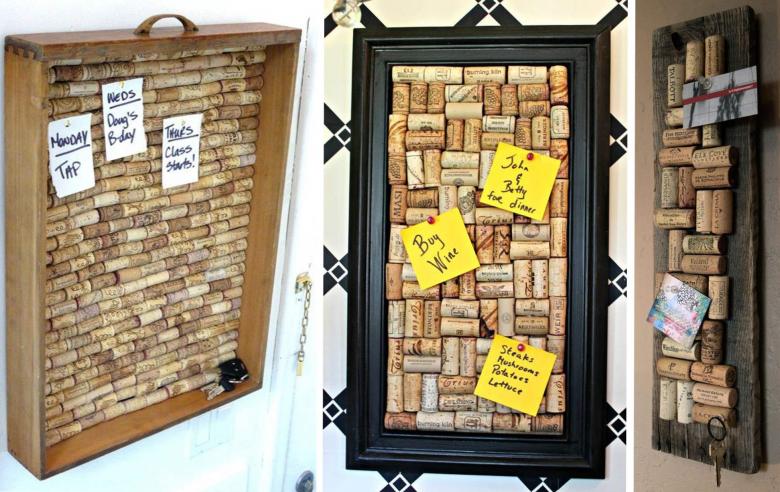
Modern designers offer us a huge range of decorative elements. Various variants of carved hangers, stands and holders for small household items are brought to our attention.

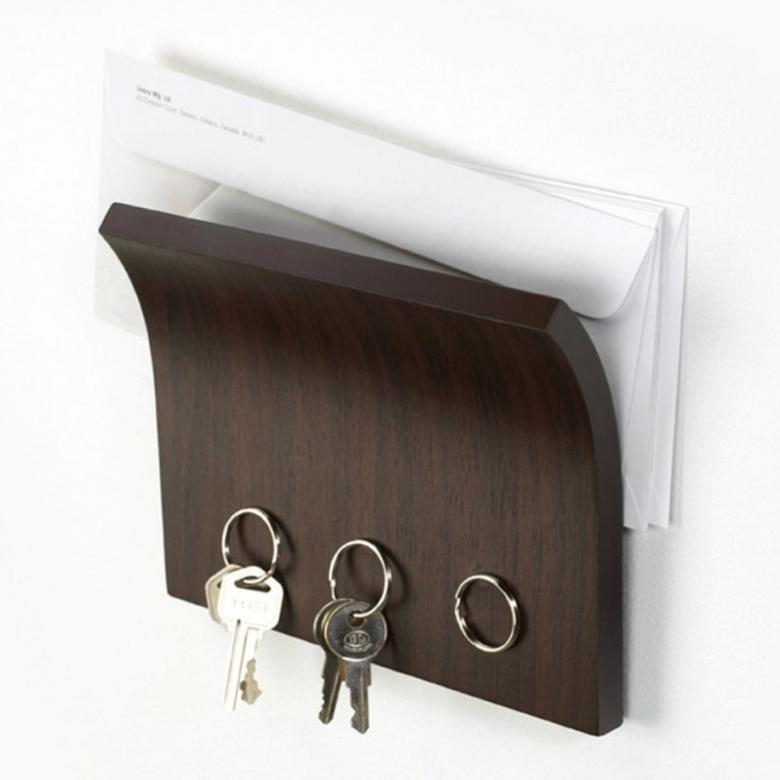
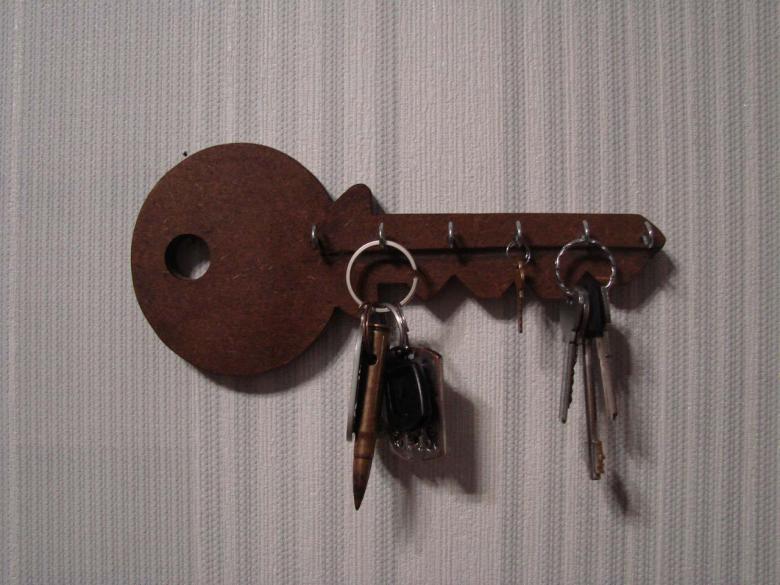
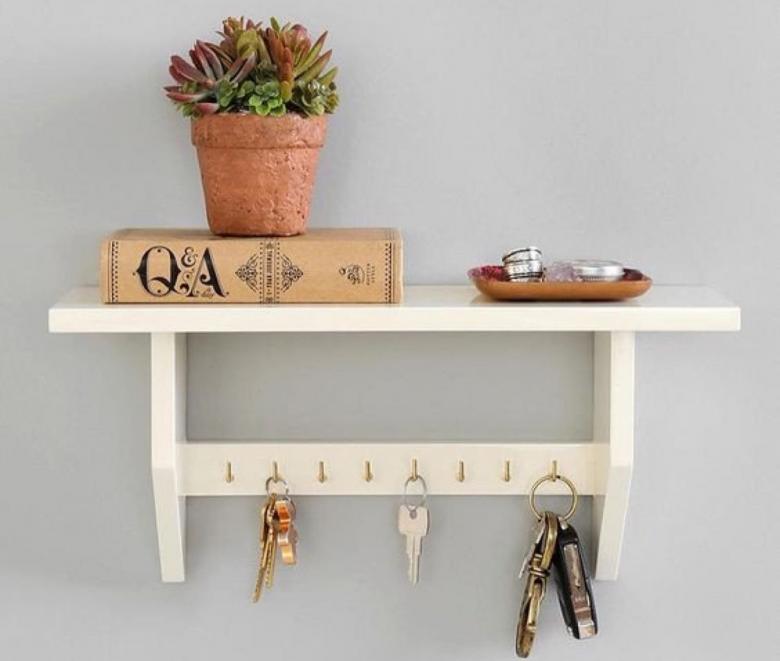
A keychain is a usual shelf with a set of hooks, which you will be offered at any store for a pretty sum. We will help you to make the right choice. After all, the best keychain is a keychain made with your own hands!
What we know about key boxes
If you are not yet familiar with this accessory, then this list of models is for you:
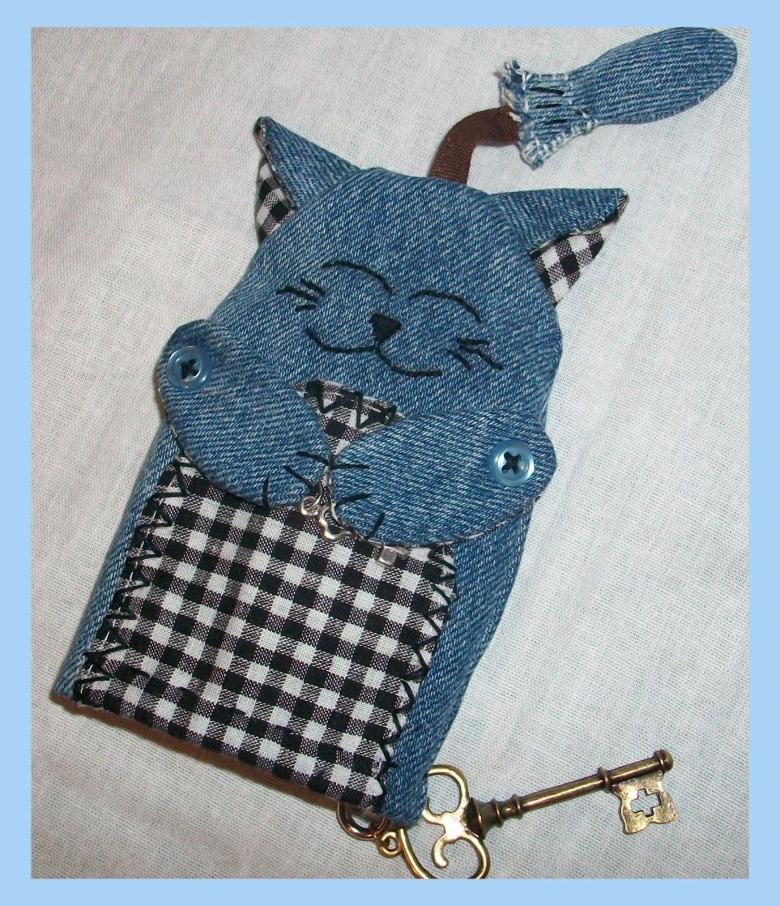
- Pocket Key Holder. This is a standard wallet that has sections for keys.
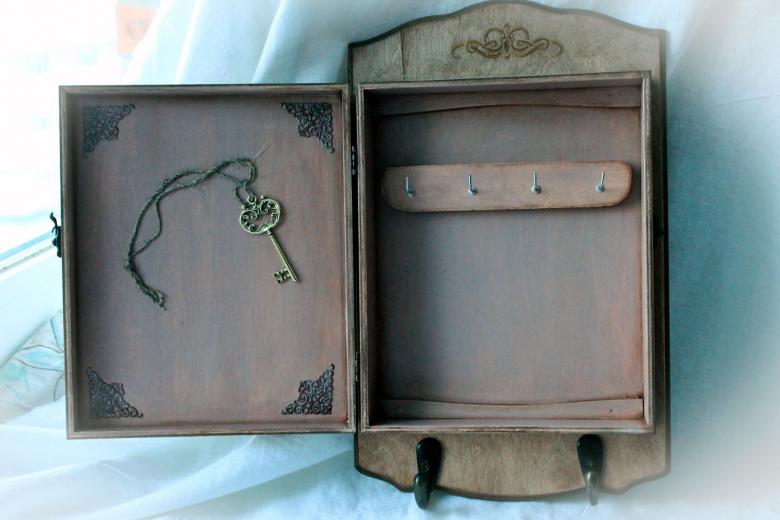
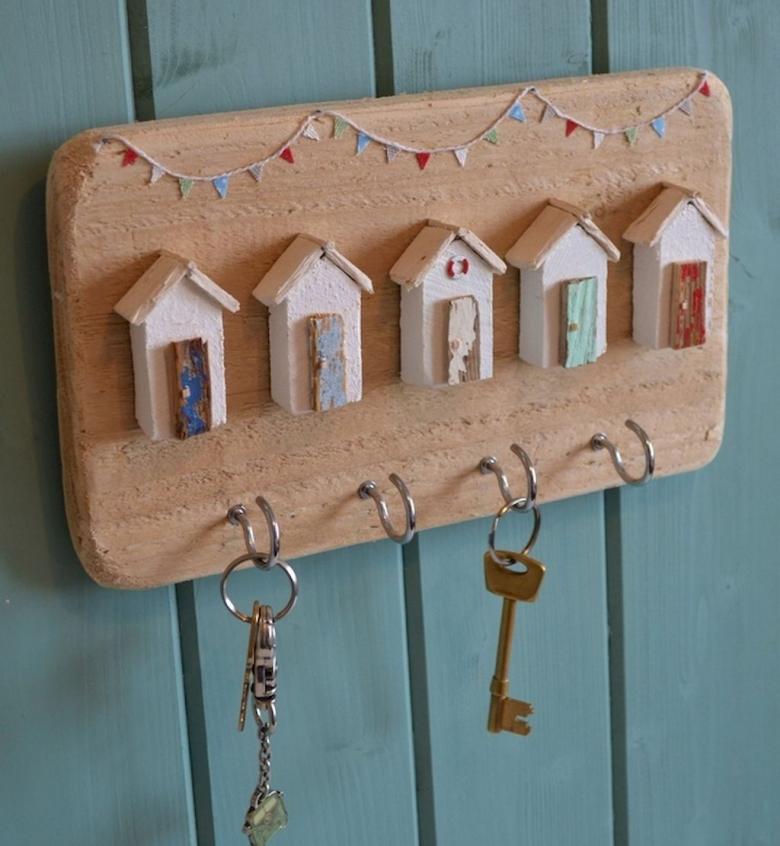
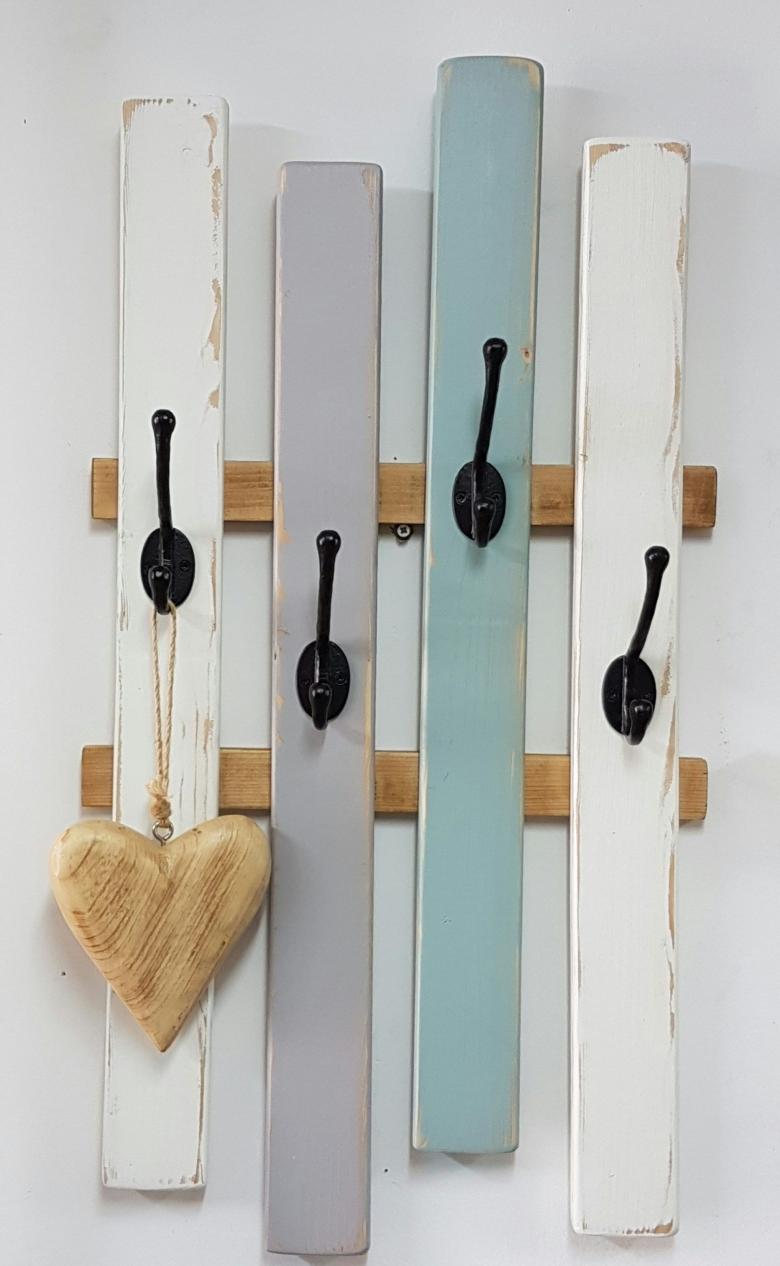
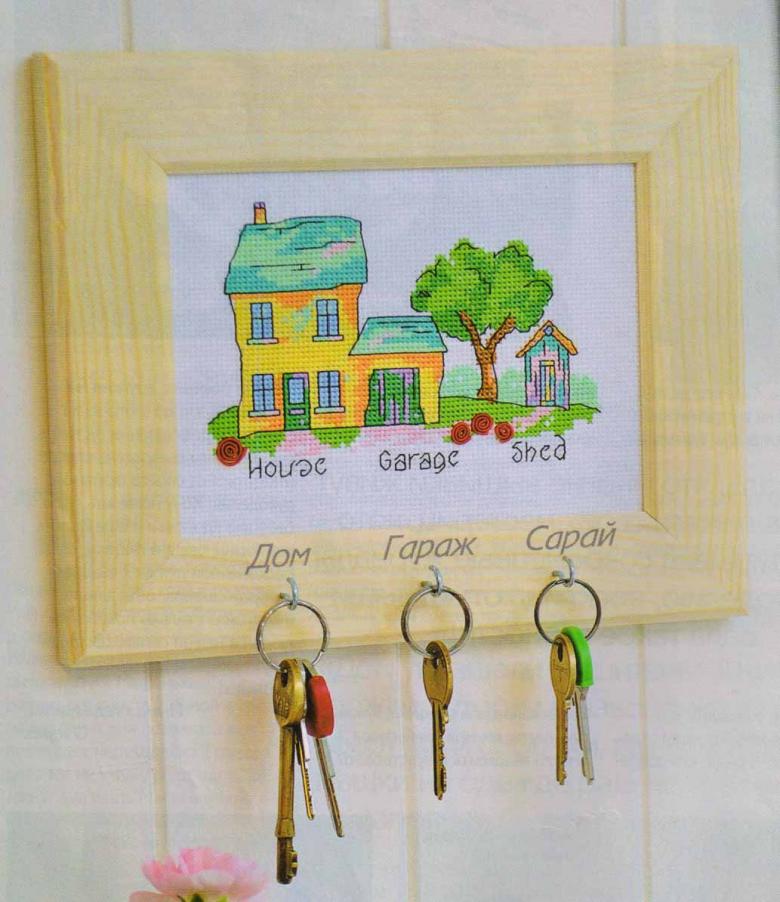
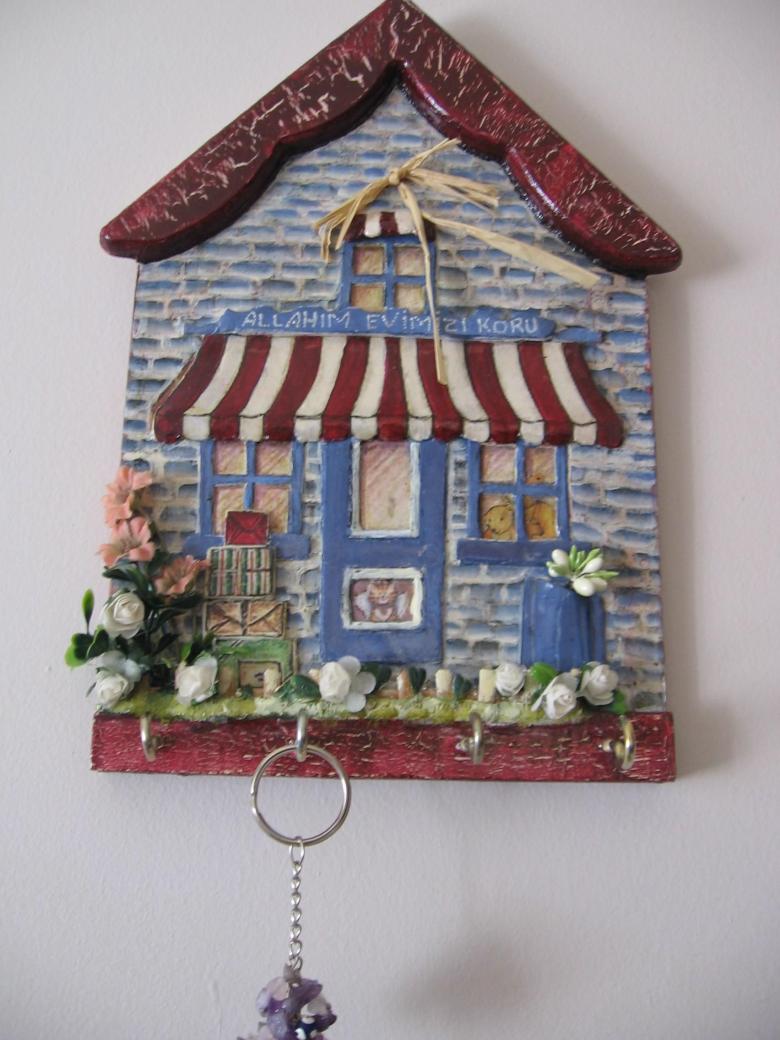
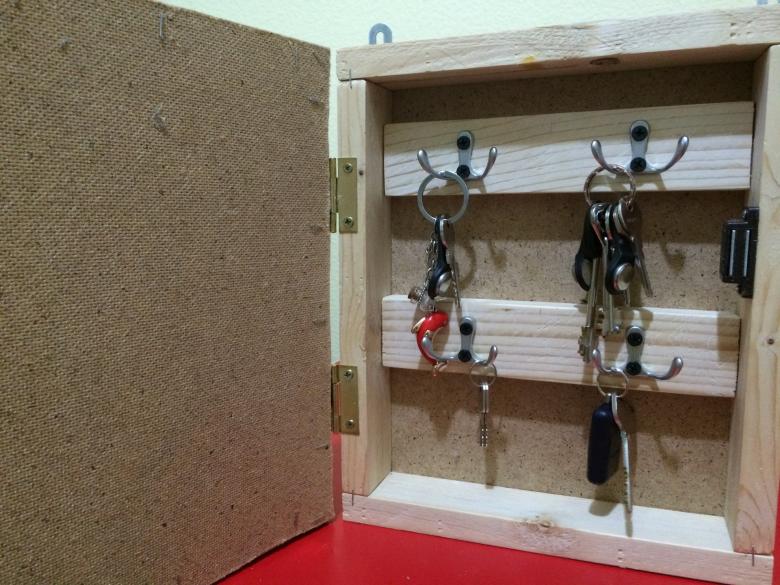
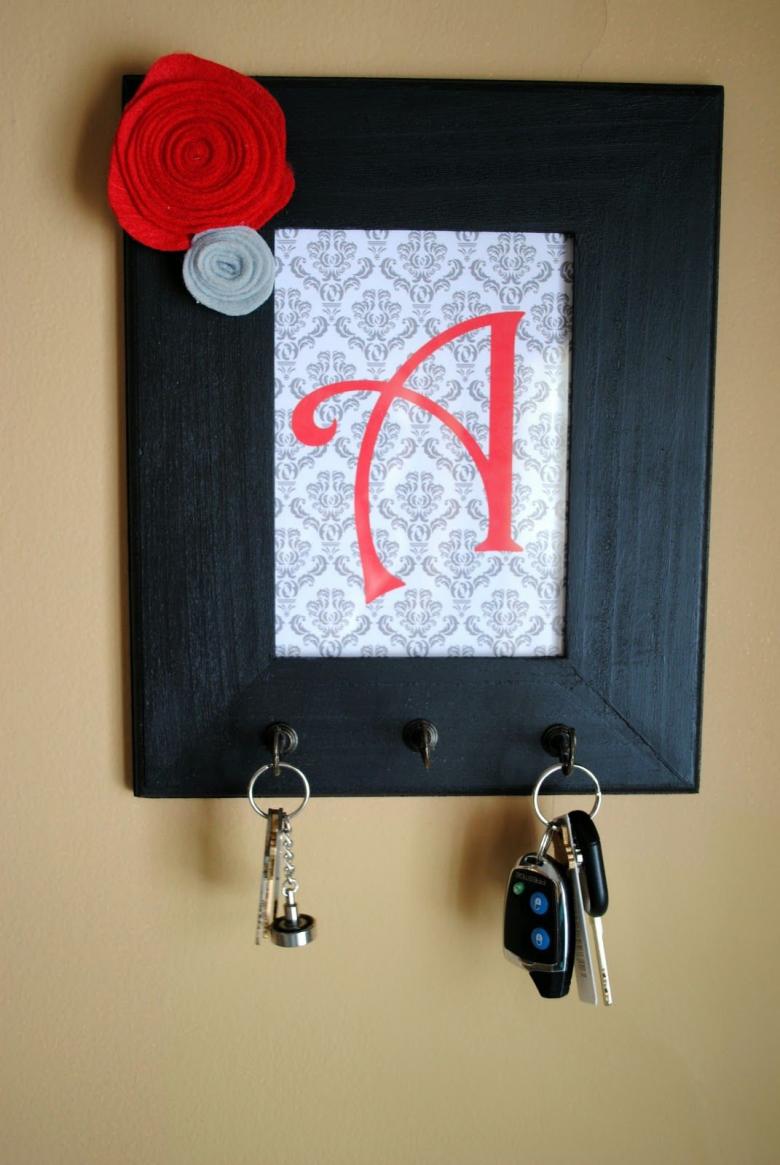
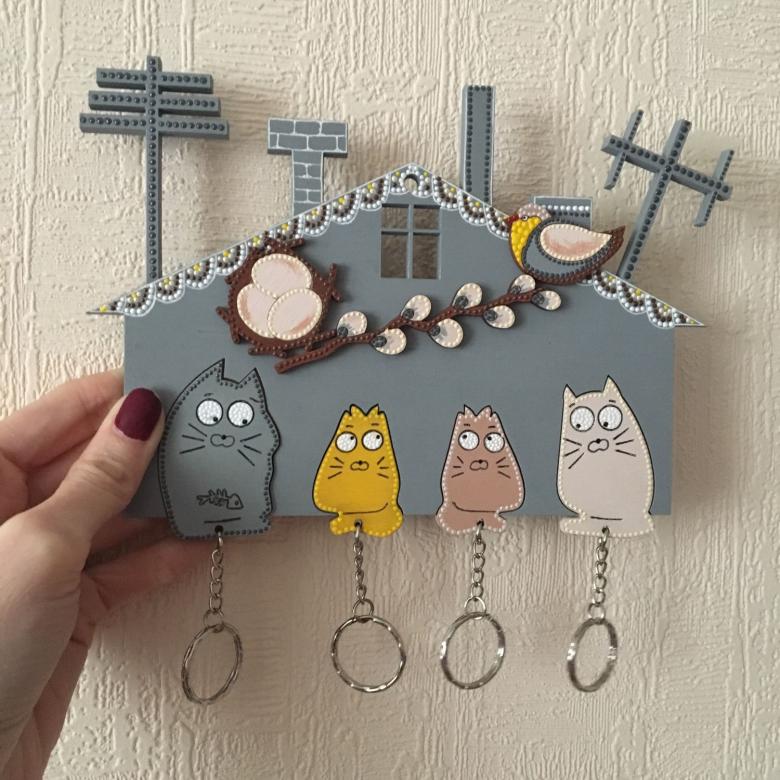
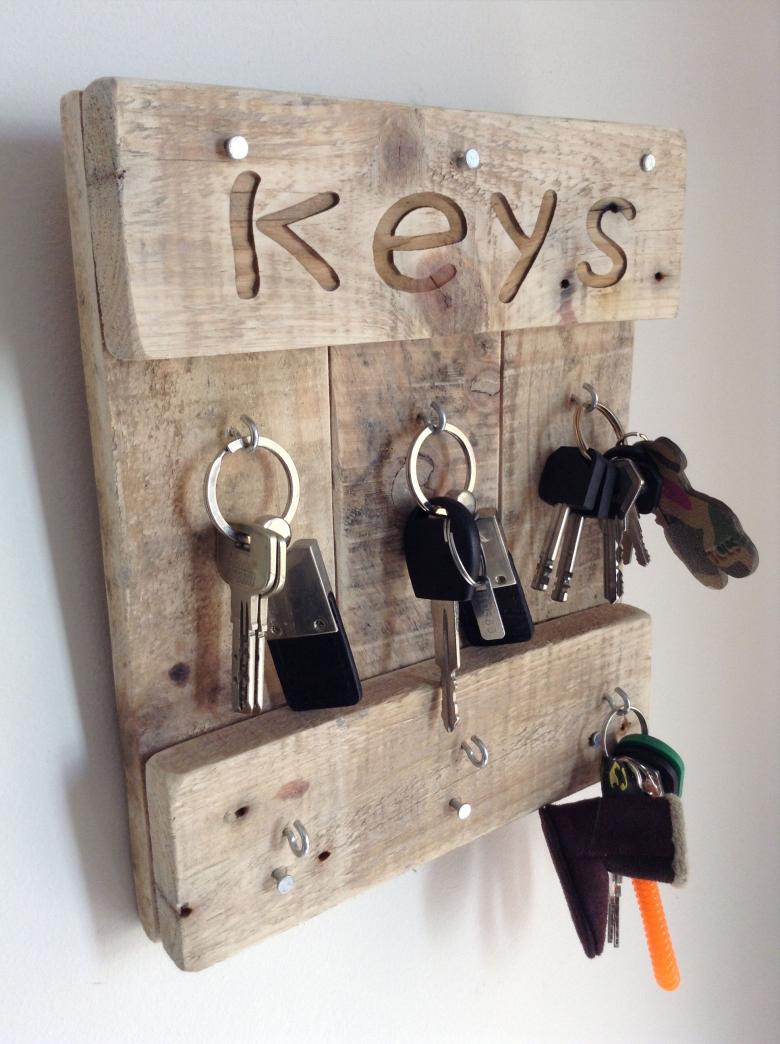
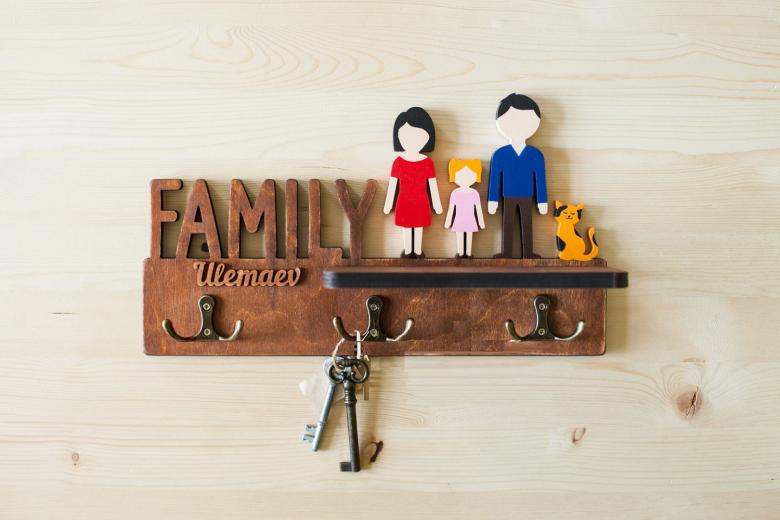
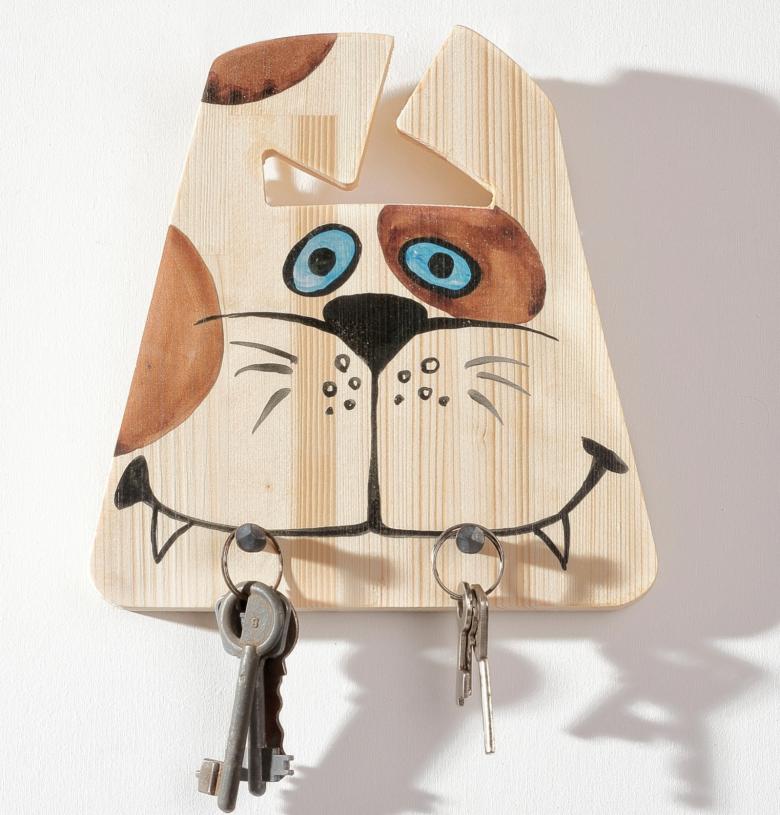
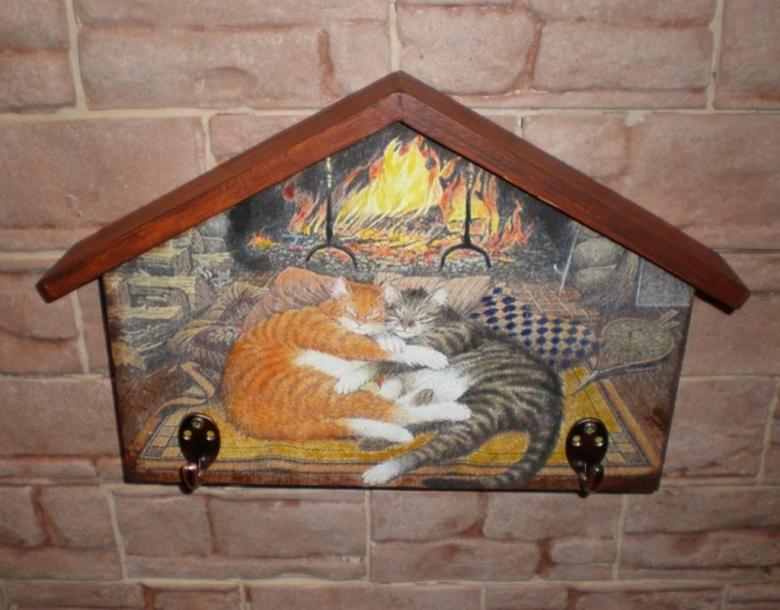
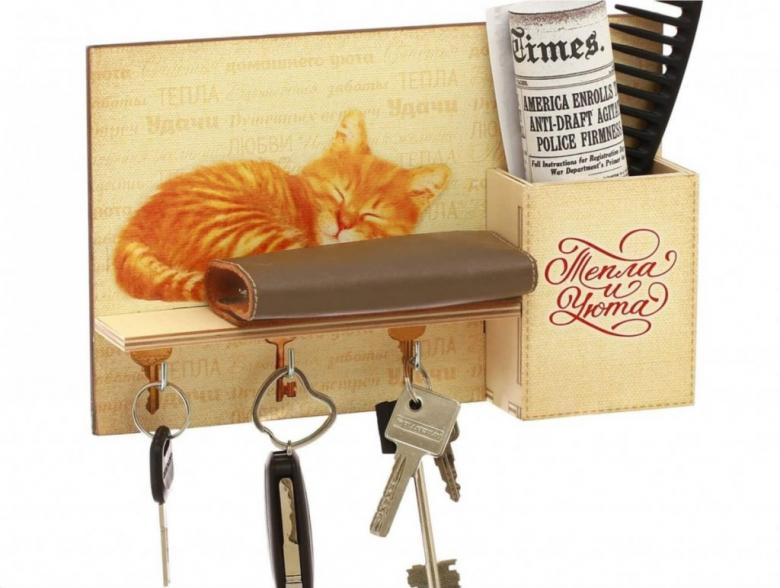
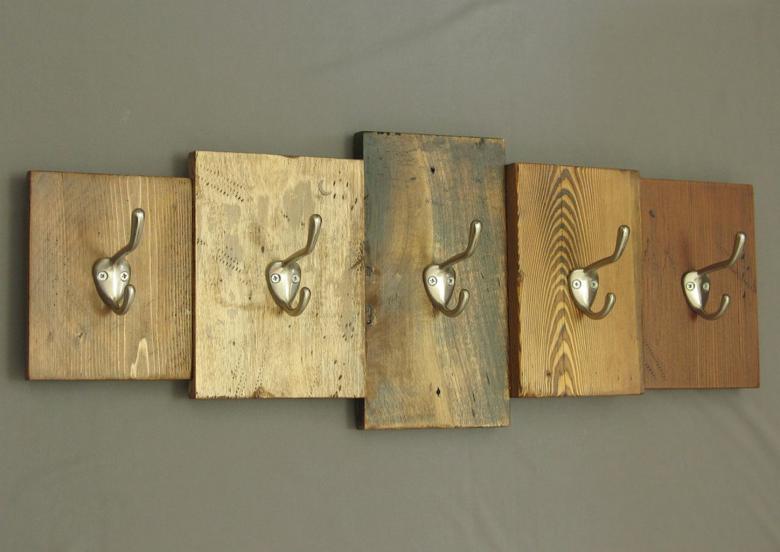
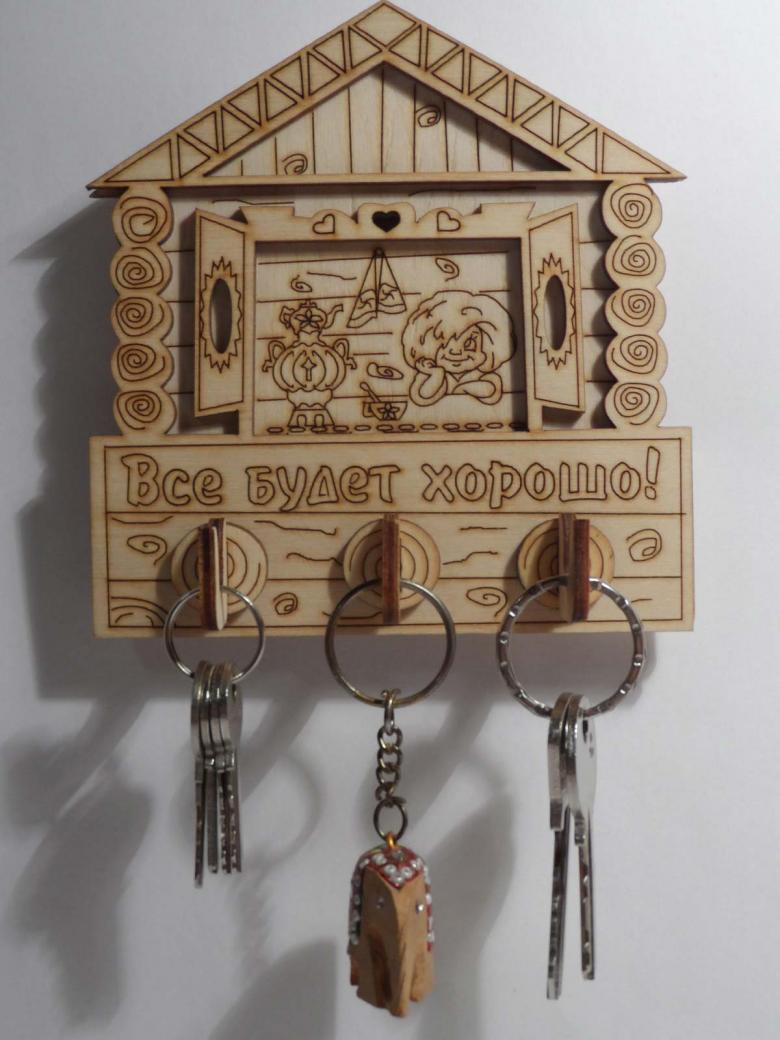
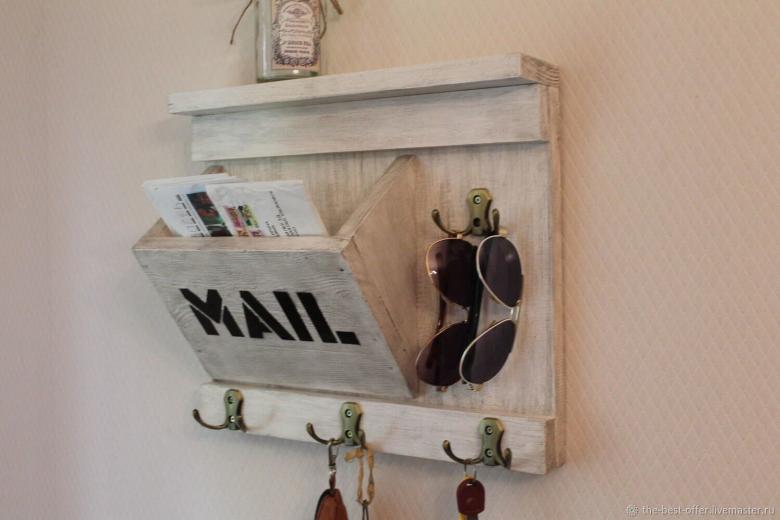
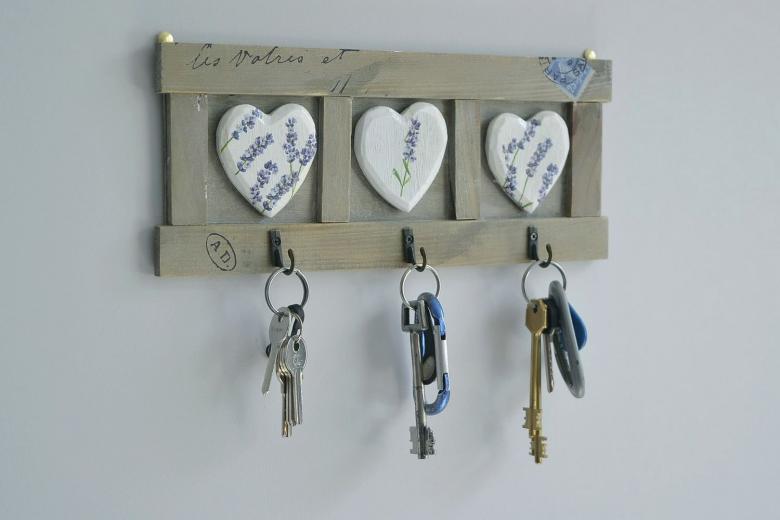
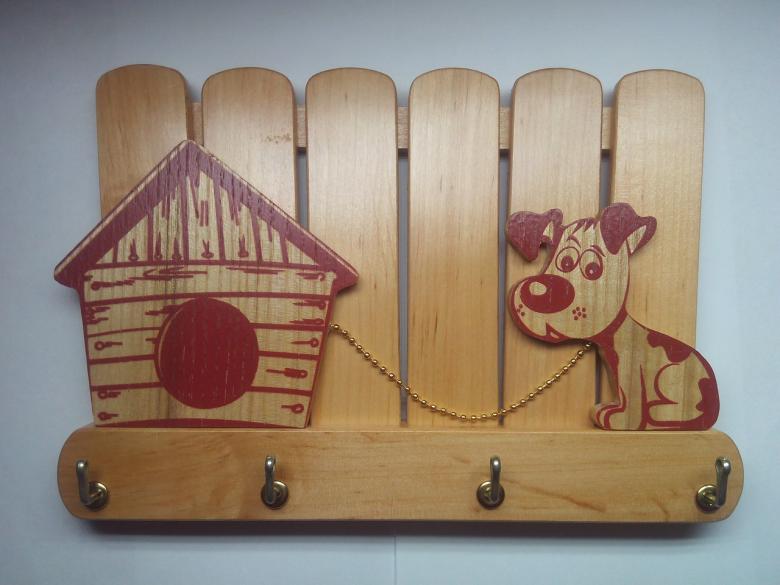
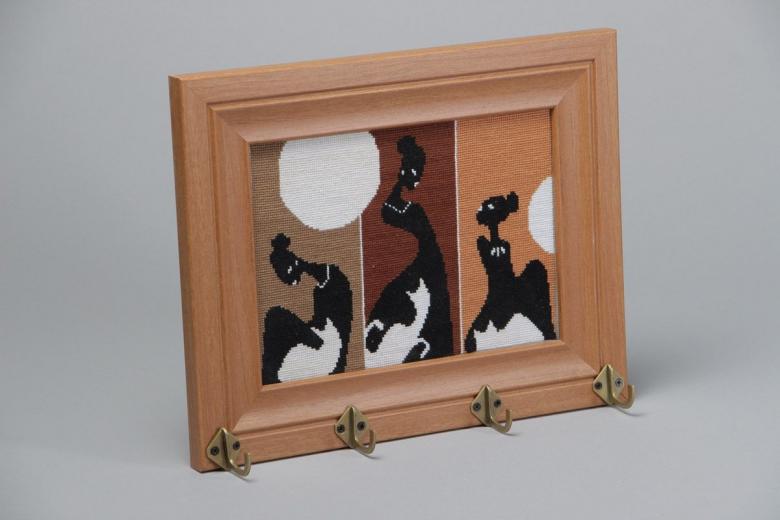
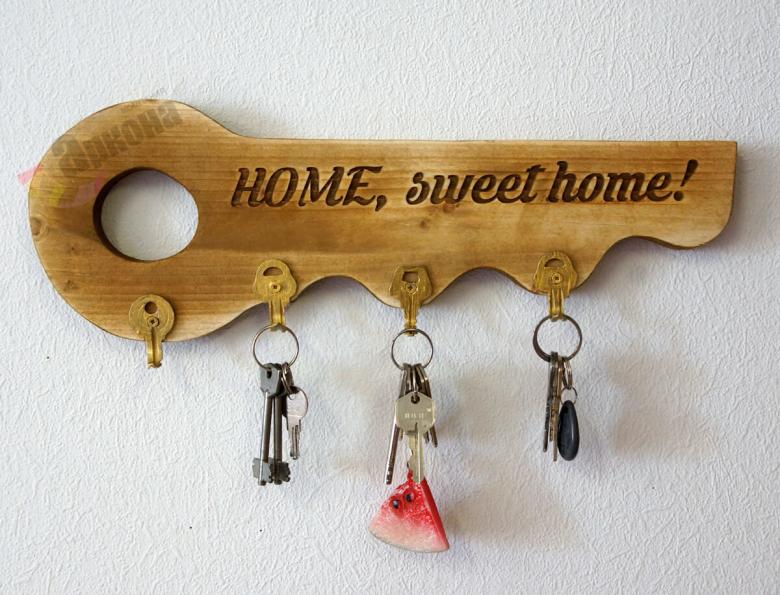
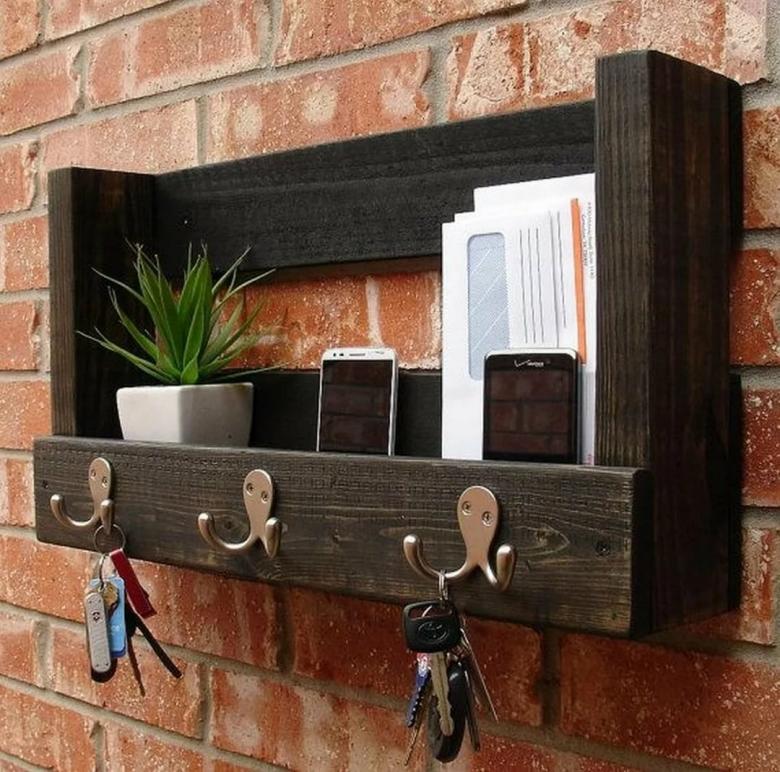
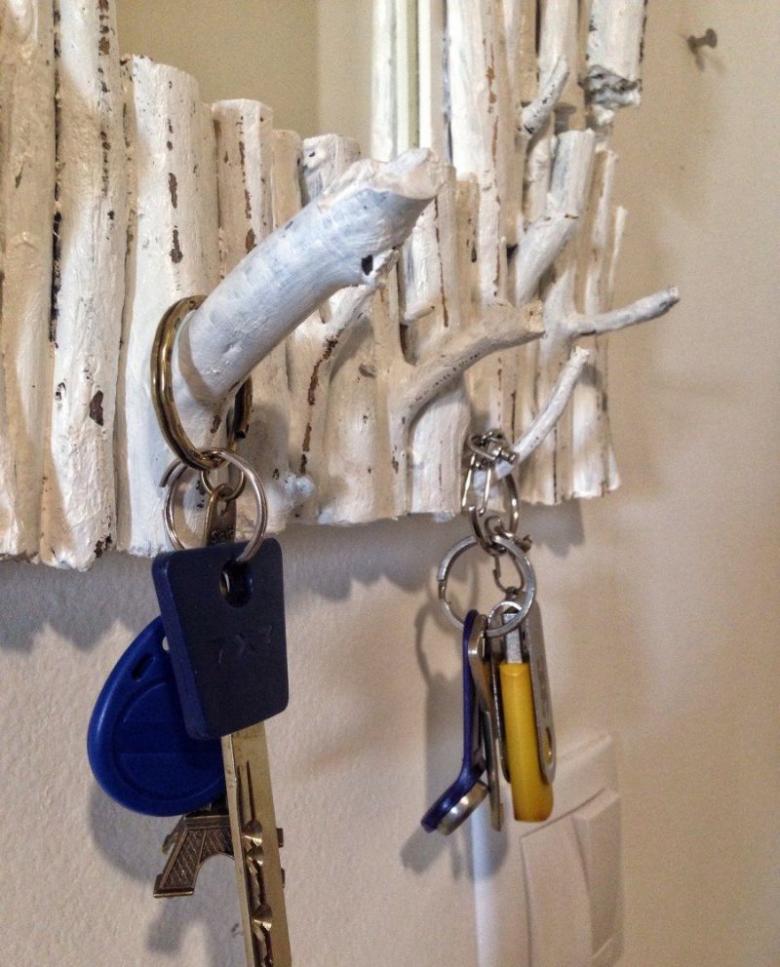
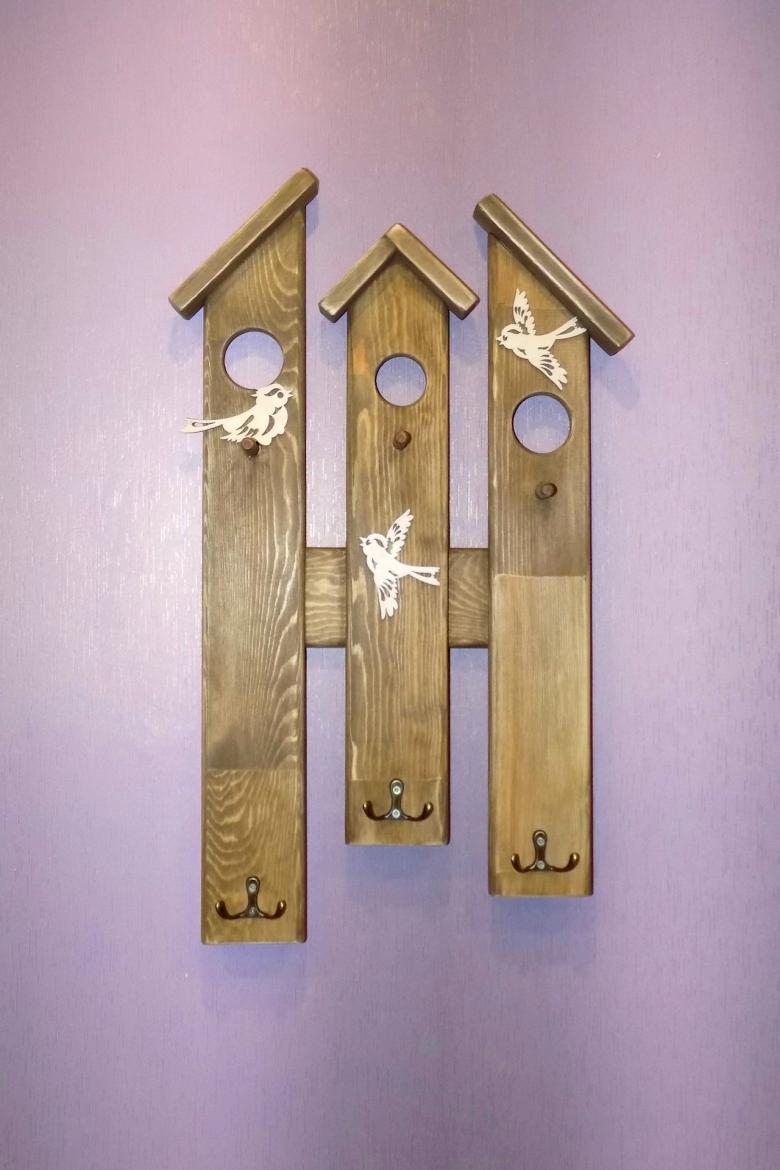
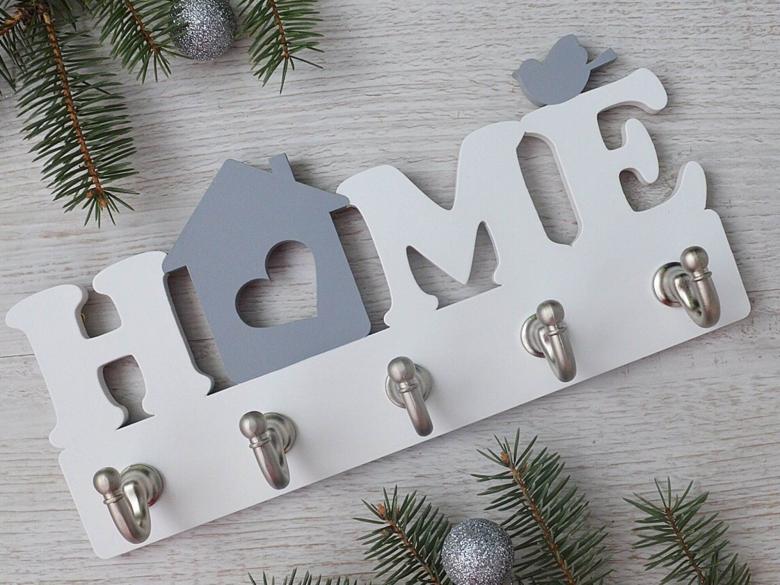
- Wall version of the product. The most famous model, which is found in most homes. Place such an accessory usually in the most prominent place, equipped with a large number of hooks. Also for visual effect, wall models are decorated with paintings, bright stickers or paints. This allows any family member to quickly find their keys.
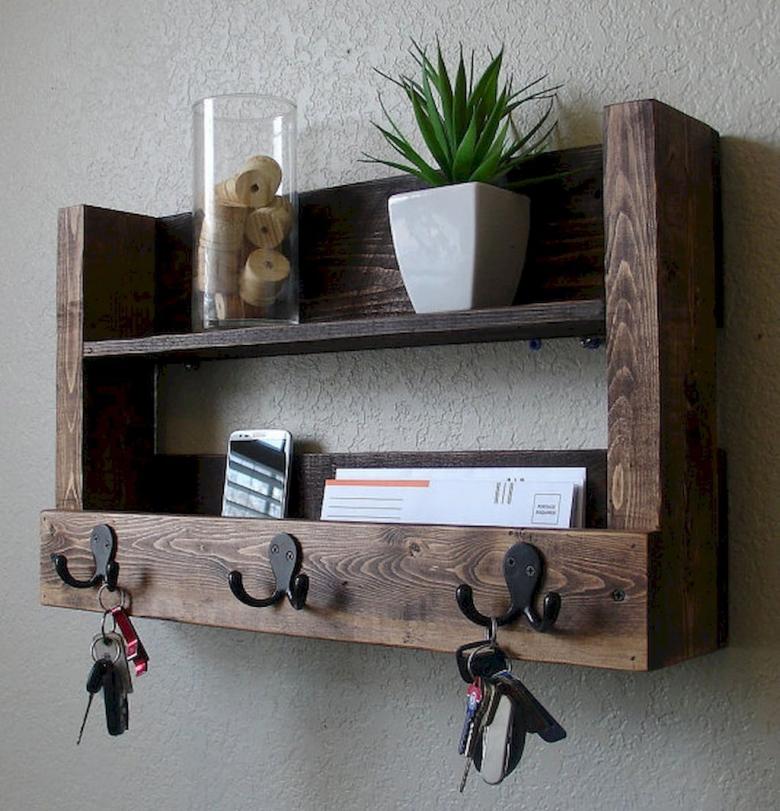
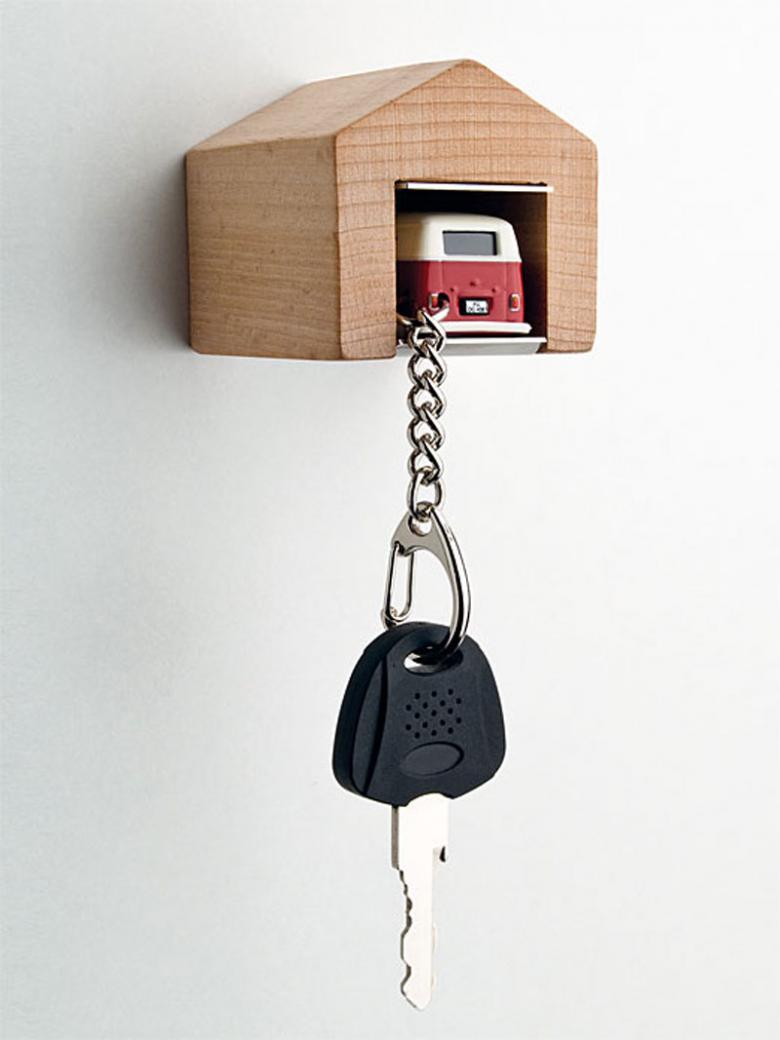
- Desktop model. This option is acceptable in homes where either there are no young children, or they have reached an older age. Such keypads are placed on bedside tables, coffee tables or kitchen shelves. As a variation of the table model there is a herringbone keychain, bottle, candlestick. There are many creative approaches, ideas constantly arise and come to life.
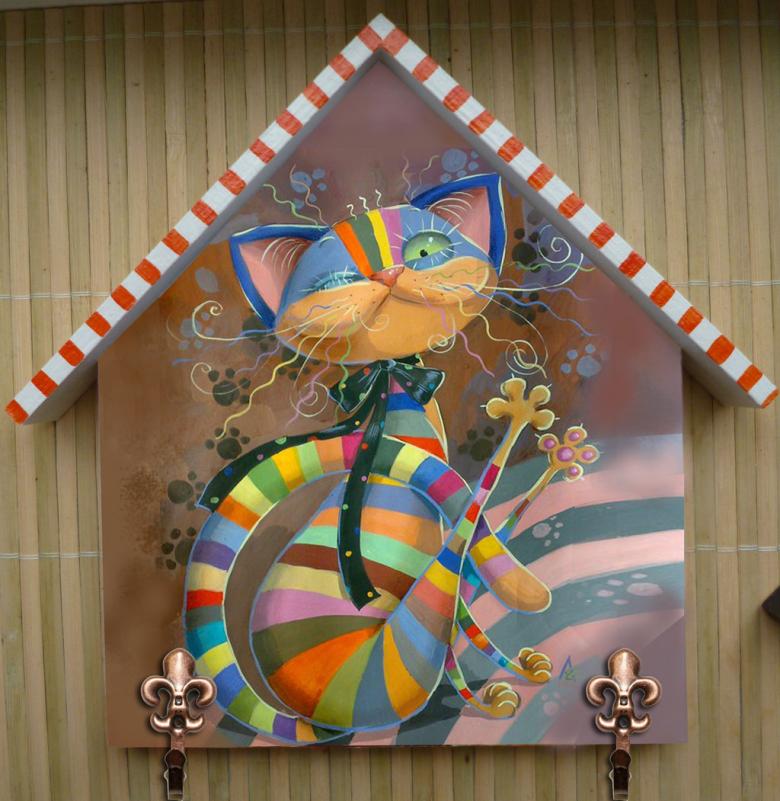
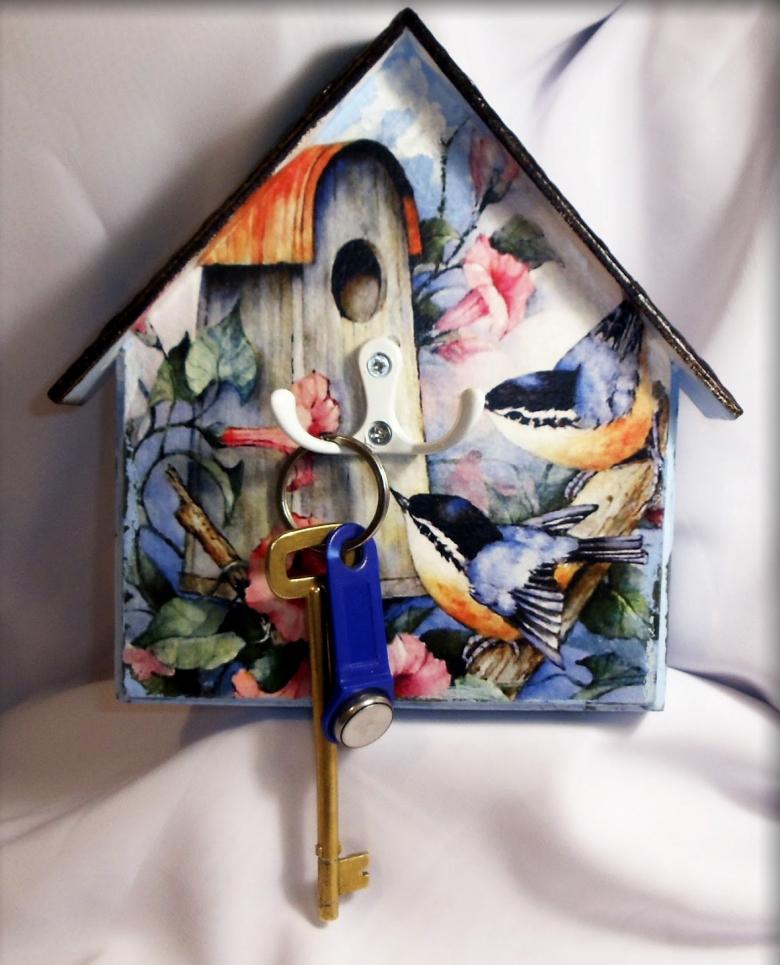
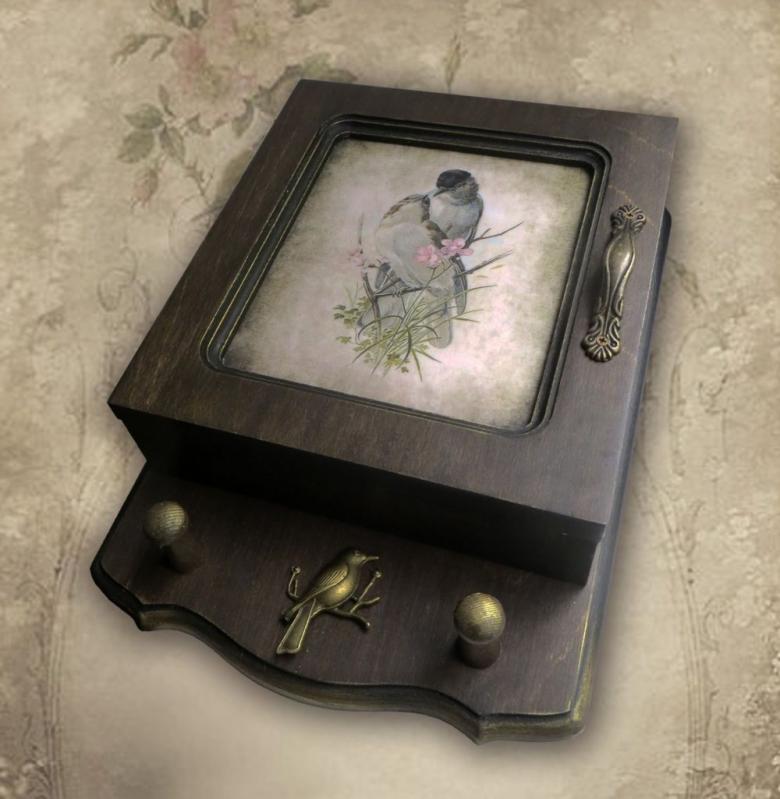
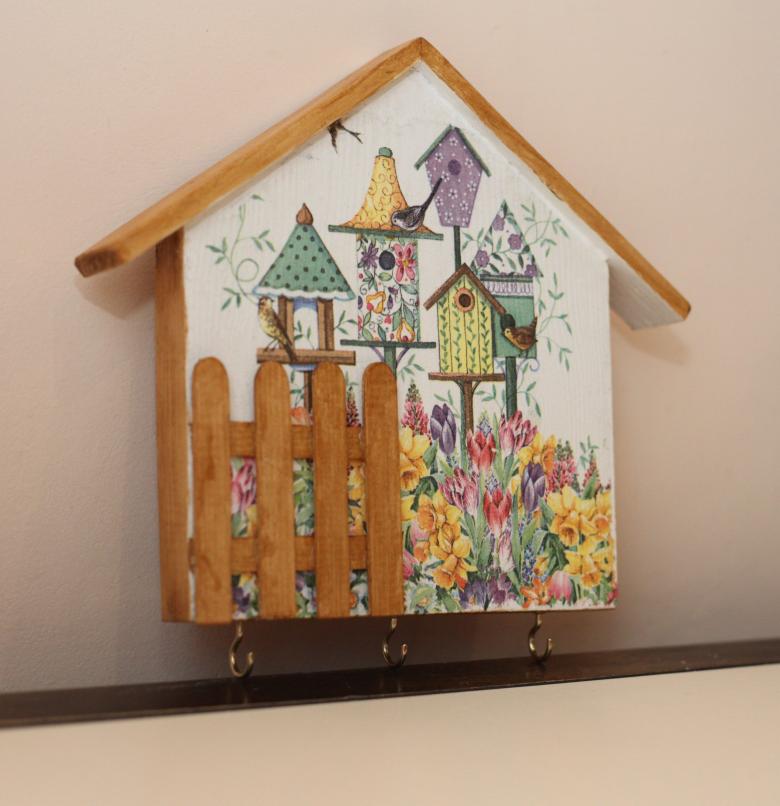
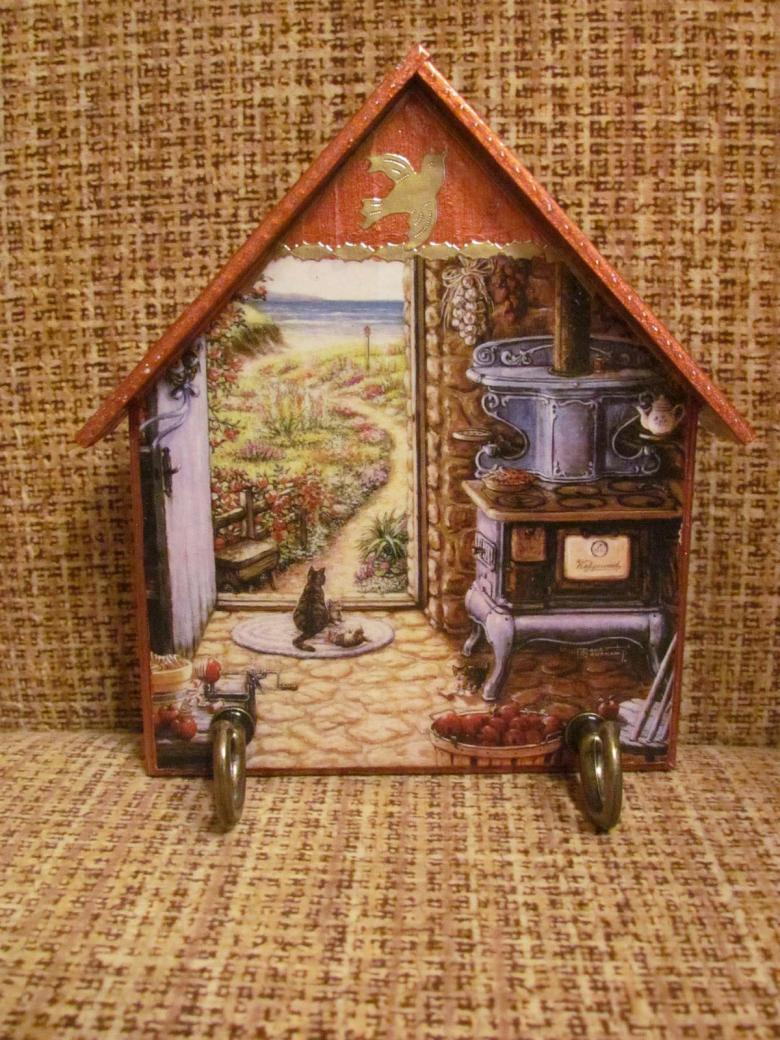
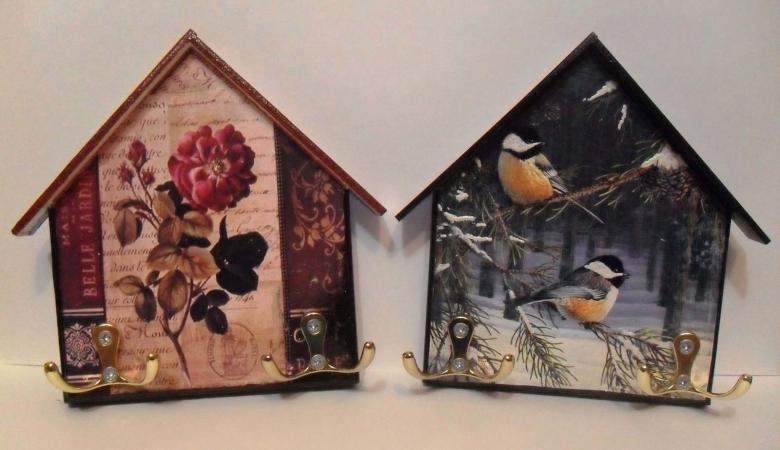
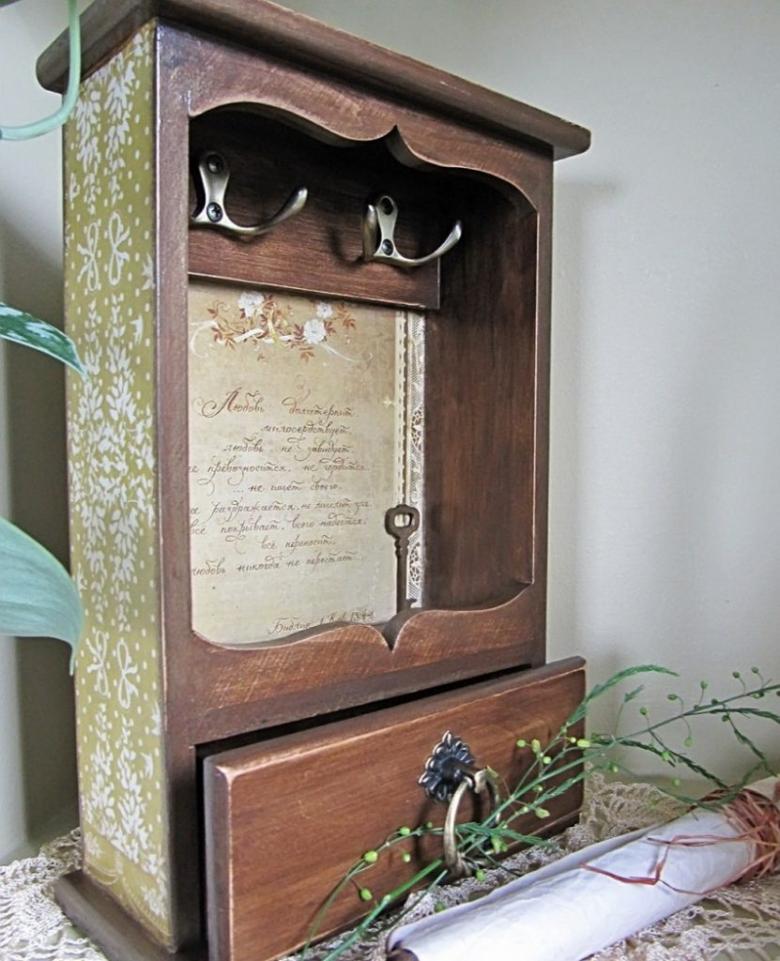
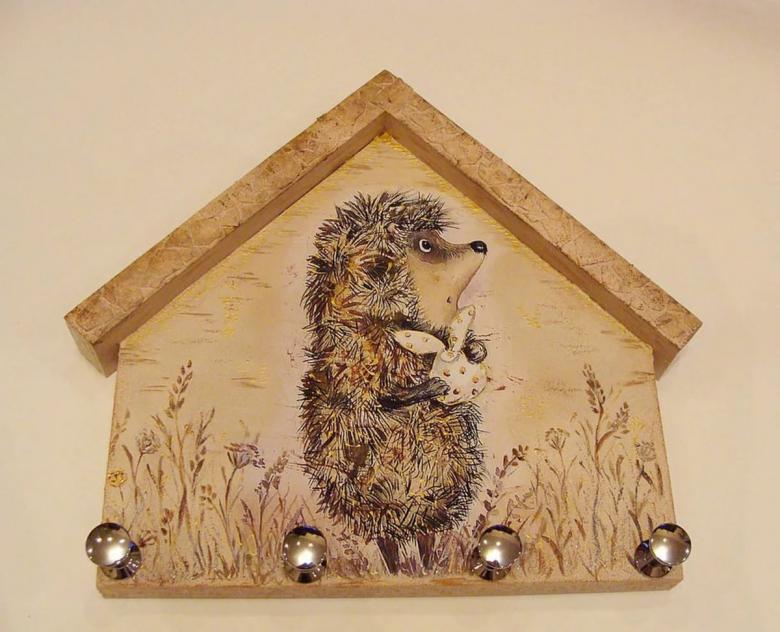
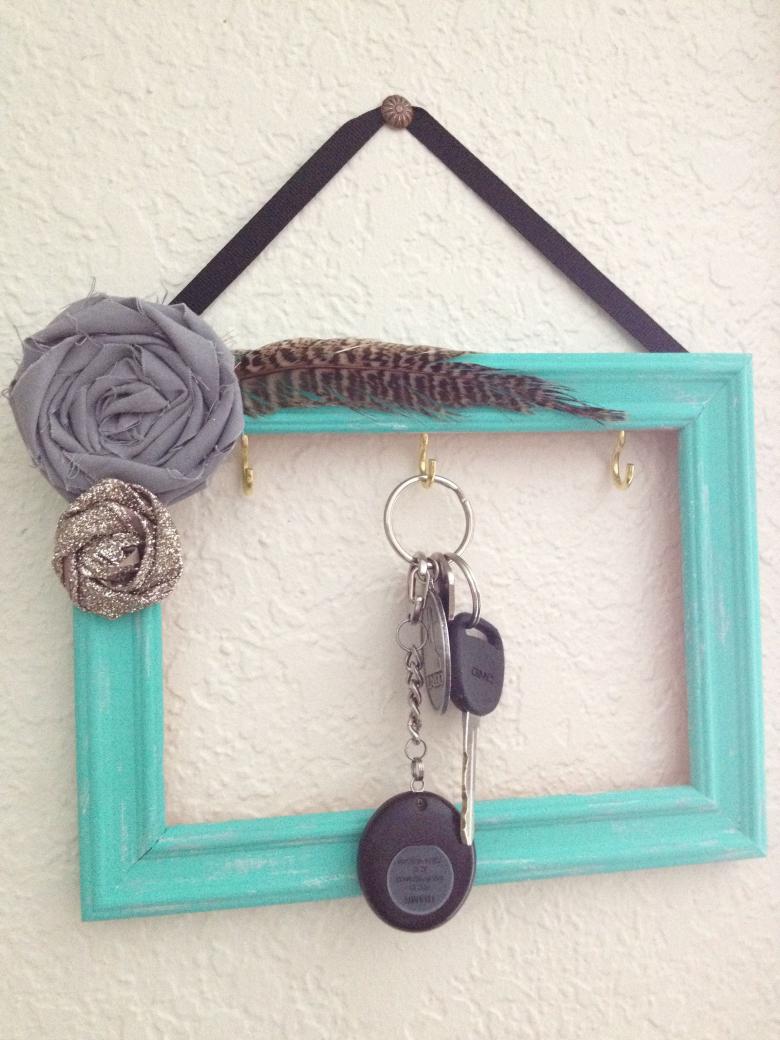
- Decoupage decor. It is safe to refer this keybox to the variants of wall models. Here a huge role is played by the imagination of the author and creator.
What materials can be worked with when creating a keychain:
- Glass. Decorated glass bottles, produced in special ovens, are often used to make table key boxes.
- Plastic. The model "herringbone" most often has in the basis of the usual toy plastic Christmas trees with modifications from the master.
- Metal. This option is more common in large institutions where there is a mass turnover of keys.
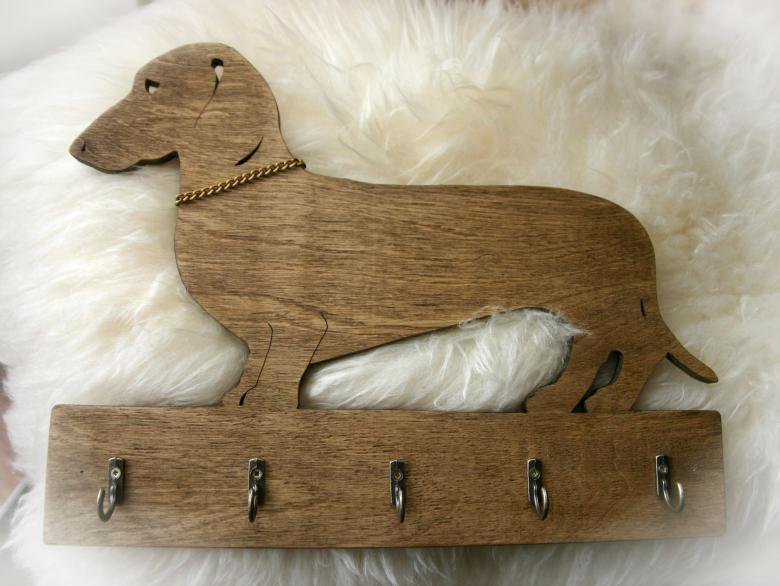
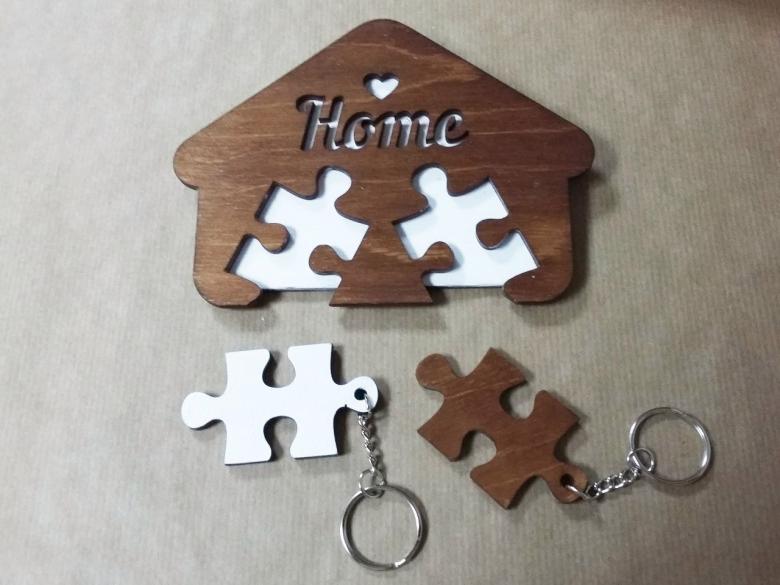
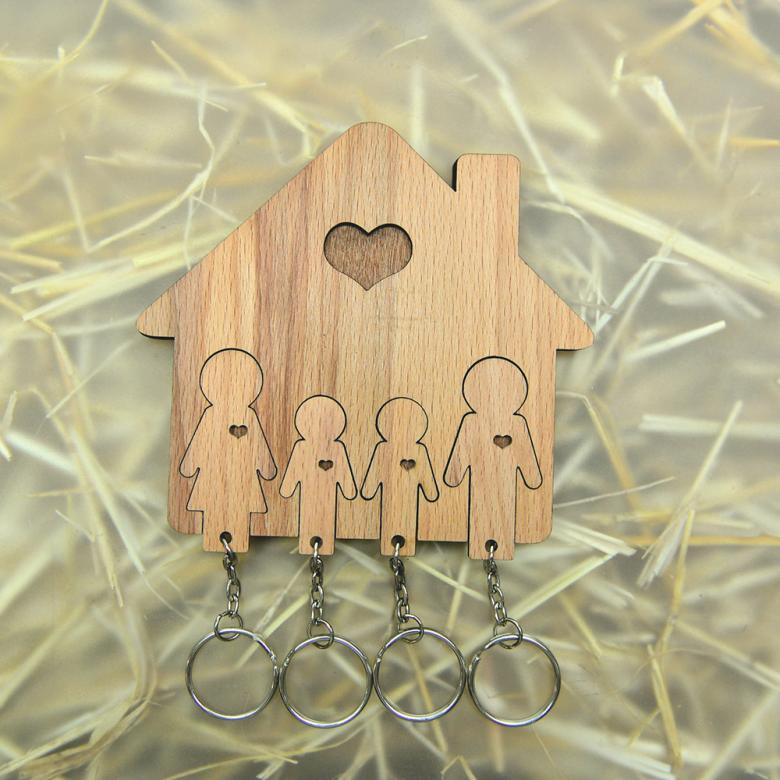
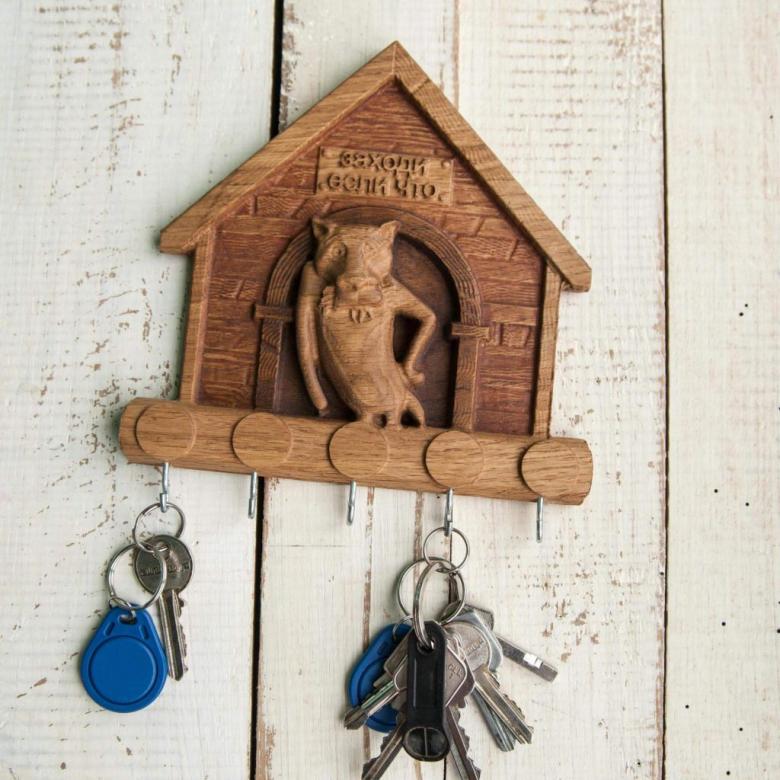
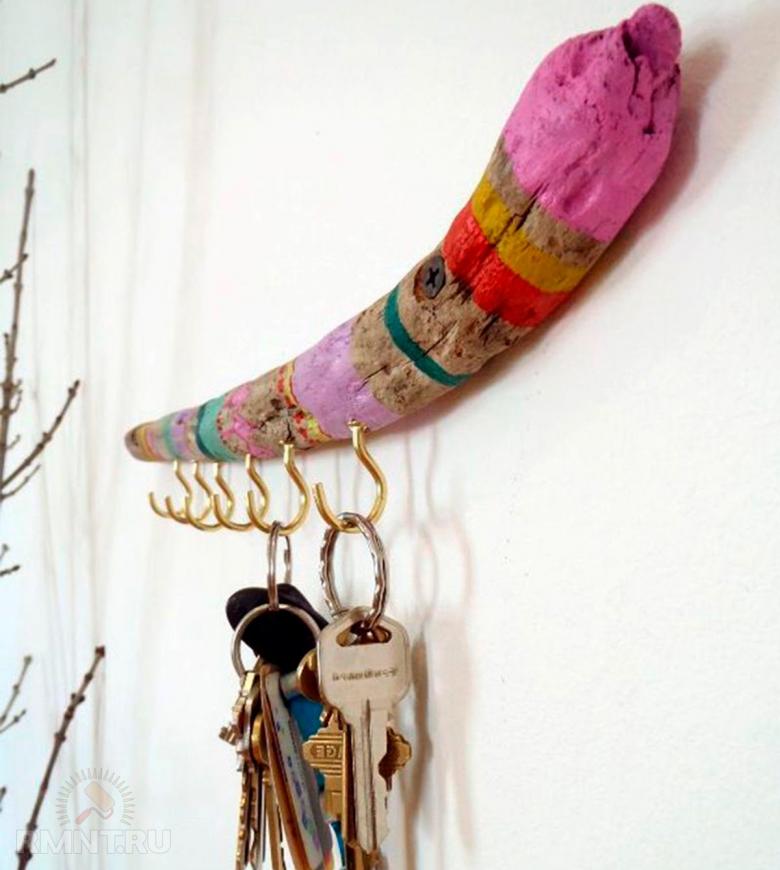
- Wood. The most decorative and creative models are created exactly from wood. In the process of work the models are subjected to firing, cutting, burning and painting. Masters are thinking more and more diverse approaches to add elegance and novelty to their products.
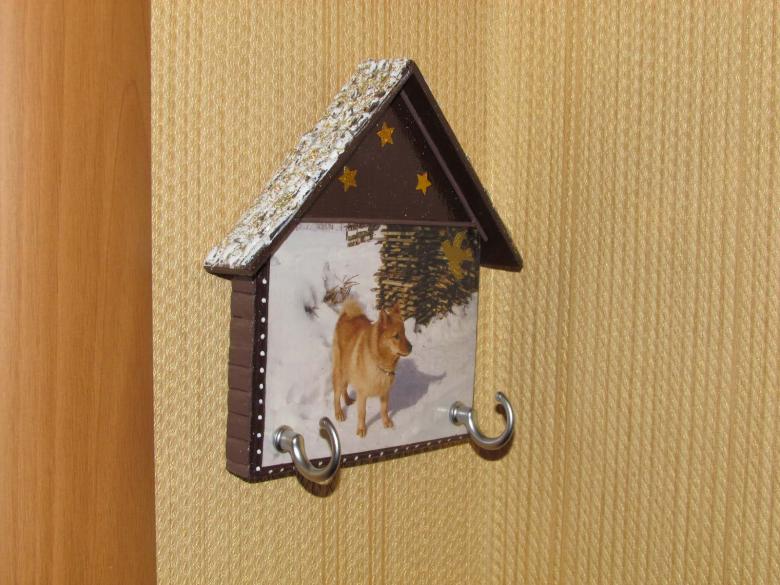
- Cardboard. Most often used in work with children. Children's keypads are options for creative extracurricular activities. In addition, a child can place such a model in his room, and it will properly fulfill its purpose.
- Leather. This material is used both to create a mini purse and to create the actual key chains. In the work apply elements of decor, rivets, buttons.
Master-classes with step-by-step instructions
We make a keybox from cardboard
We open a series of master classes with creative work with children. For work we will need:
- Dense cardboard.
- Glue.
- Paints, brushes.
- Scissors.
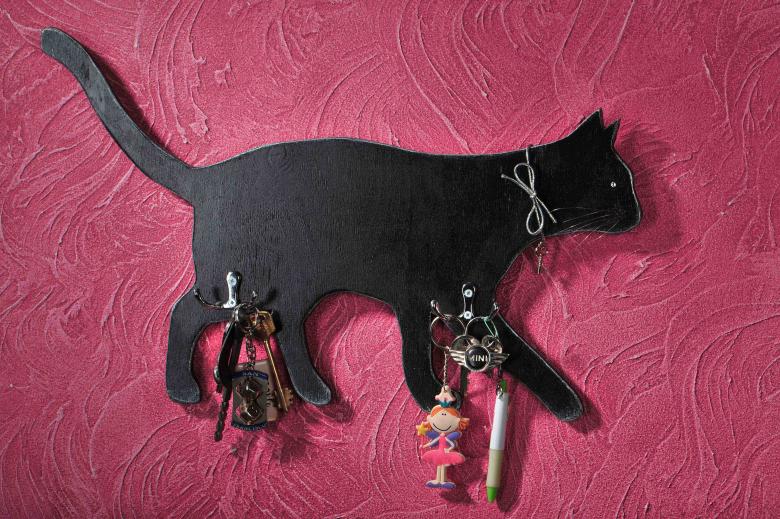
- A template-figure animal (a cat, a dog, a turtle - your choice).
- A set of miniature hooks.
A step-by-step schematic guide for the master:
- Work with the blank. Let's prepare a template that we have chosen. Let it be a turtle. From heavy cardboard cut out on the layout of the two figures.
- Glue the two blanks together (cardboard, even heavy, is not stable material).
- Let's paint the turtle in green. We leave the workpiece to dry.
- On the legs and on the carapace we make small diameter holes with an awl. We put the hook tips inside, screw a nut, a washer or any other locking device on the back side of the workpiece.
- It remains to attach a loop (use wire, strong thread, fishing line), and our keychain is ready.
Model in the decoupage-decor style
This version of the work is distinguished by elegant forms and bright colors. To work, we will need to prepare:
- Workpiece-base made of plywood.
- Resistant glue.
- Scissors.
- Acrylic paint.
- Sponge.
- Four-layer napkins with the selected pattern.
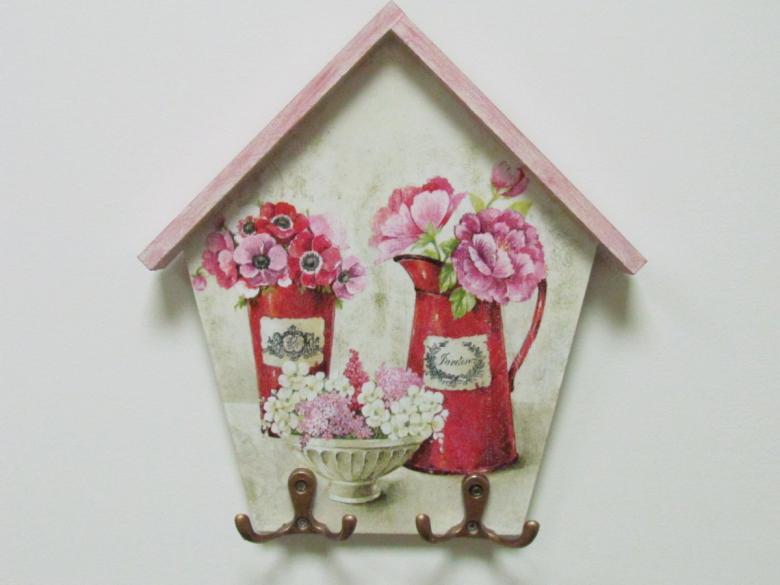
Step-by-step schematic instructions for the master:
- Using a sponge, cover the workpiece with acrylic paint. The use of foam rubber, rather than a brush, allows you to create roughness on the future keychain. The picture will look much more natural, which implies the chosen style of decoration.
- Let the product dry.
- If necessary, cover the workpiece with additional layers of paint.
- To apply the pattern, we use only one, the most superficial layer of the illustrated napkin. To do this, warm the product with an iron and separate the desired layer of paper.
- We glue the napkin to the plywood. We use glue, which we apply only along the edges and along the thin threads from the periphery to the center.
- On top cover the product with clear varnish in 6-7 layers.
- In the selected places form the hooks, and then the product is again covered with varnish.
Hang our model in a prominent place and never lose your keys!
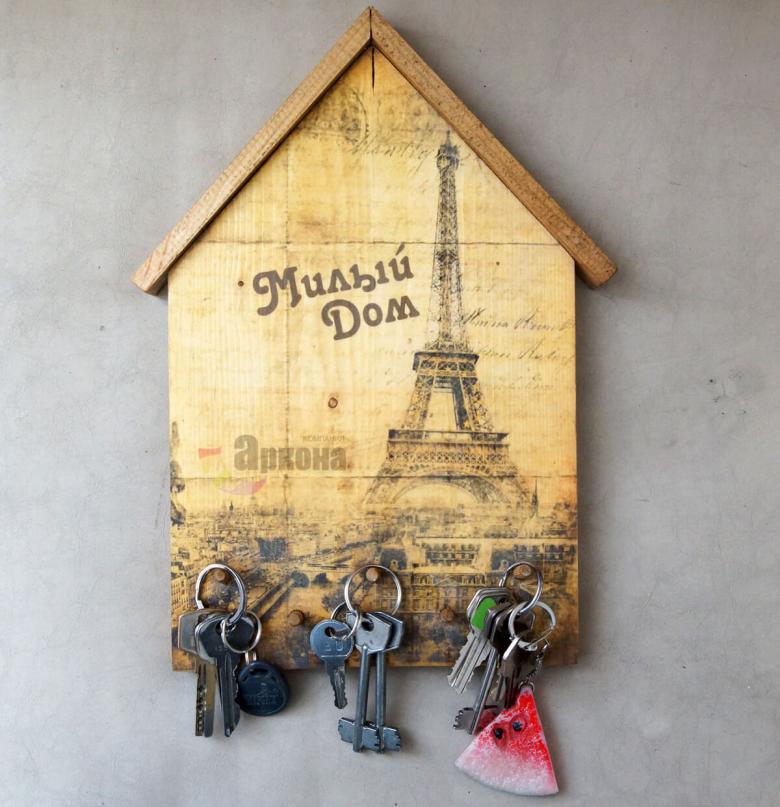
Wooden keychain without hooks
Extremely interesting model, and now we will get acquainted with it. To work we will need:
- Workpiece: a wooden bar 20*15 cm.
- Transparent varnish.
- Stain.
- Brushes to work with varnish and stain.
- Jigsaw or woodworking chisel.
- Wire for loop forming.
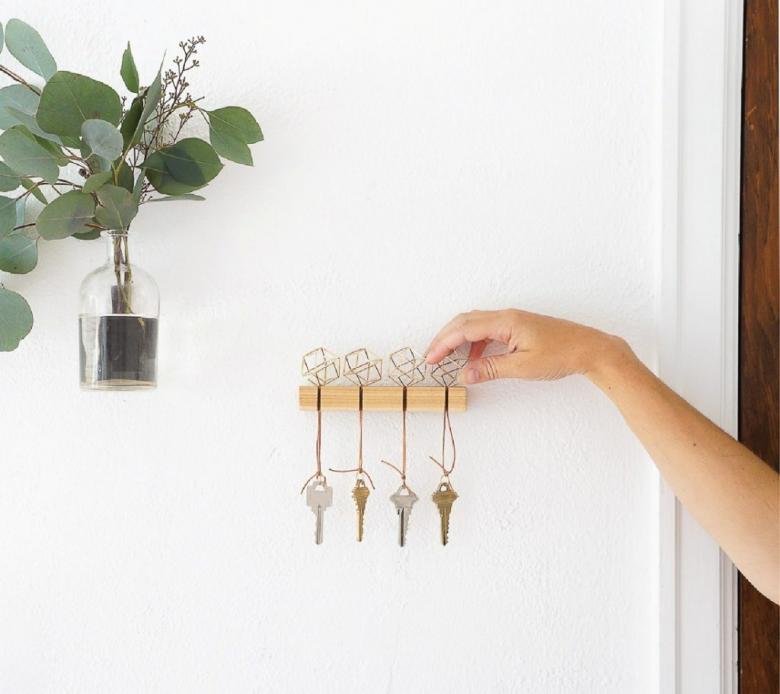
A step-by-step diagram-guideline for the craftsman:
- Ask your husband or make a billet yourself. We need to cut horizontal grooves 1-1.5 cm deep, the channel of which will go not just deep, but also down. This modification will allow us not to use hooks. The keys are simply inserted into the furrow without falling out of it.
- Let's make 5-6 parallel channels on our workpiece.
- The edges of the piece should be smoothed, using a planer or sandpaper.
- Once we get rid of all the roughness, let's cover the workpiece with a layer of stain.
- After the piece dries, we apply two or three coats of transparent varnish.
- Let's form a loop and hang the key ring on the wall.
- If you have skills in woodcarving, or can use the services of a master, complement the model with a skillful carving. This can be engraving, signatures of family members, your symbol-talisman. After completing the decoration, varnish the product again.
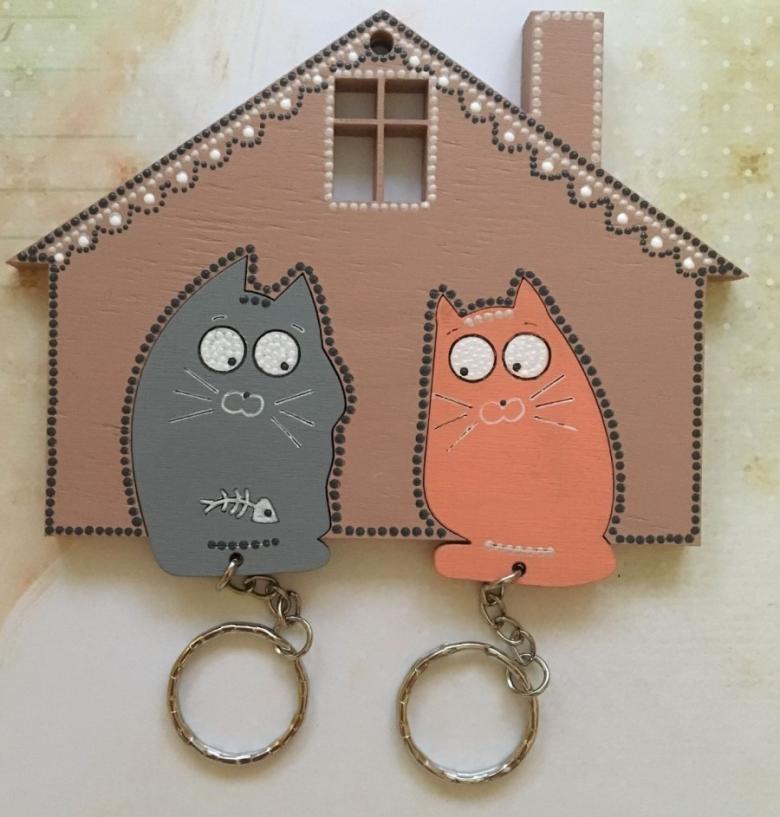
Wall keychain-bottle
The model we are about to meet will find its place on the bedside table or on a shelf in the living room. For the work we will need:
- A shaped glass blank, created in special ovens (such products are used for fusion).
- Wooden base.
- Resistant glue, brushes.
- Clear varnish.
- A set of hooks.
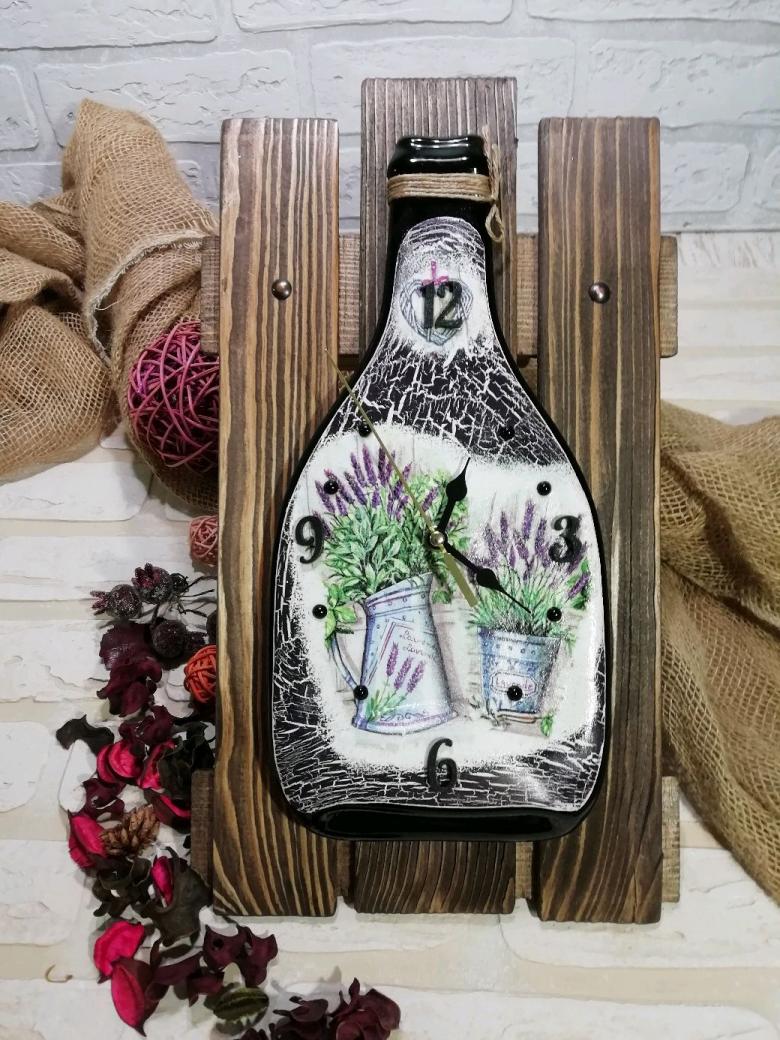
Step-by-step schematic instructions for the master:
- Work with the wooden base. Get rid of roughness, varnish. We leave the area on the contour of our "bottle" free from varnish. Glue the glass piece, using very strong glue.
- Coat the piece with clear varnish on all sides.
- When the product dries, we form a row of hooks along the bottom edge of the keychain.
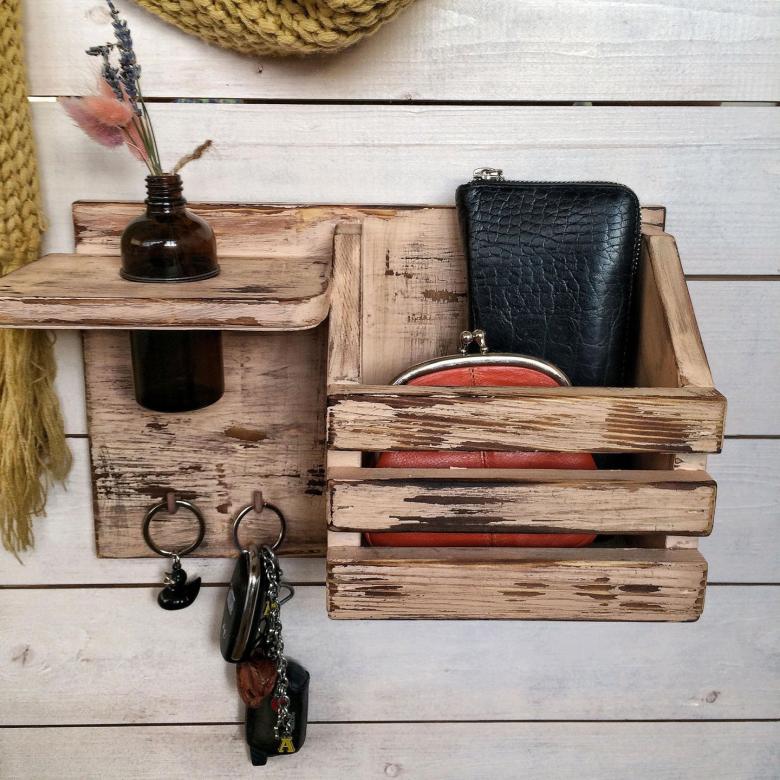
A keychain is an original invention for the whole family. Presented models not only decorate your home and fill it with unique style. Key boxes allow you to bring a note of order and grooming in your family nest. And the model, created with your own hands, will be a pleasant reminder of the work done.

