Beadwork: calculation of beads and how to correctly read schemes for beginners
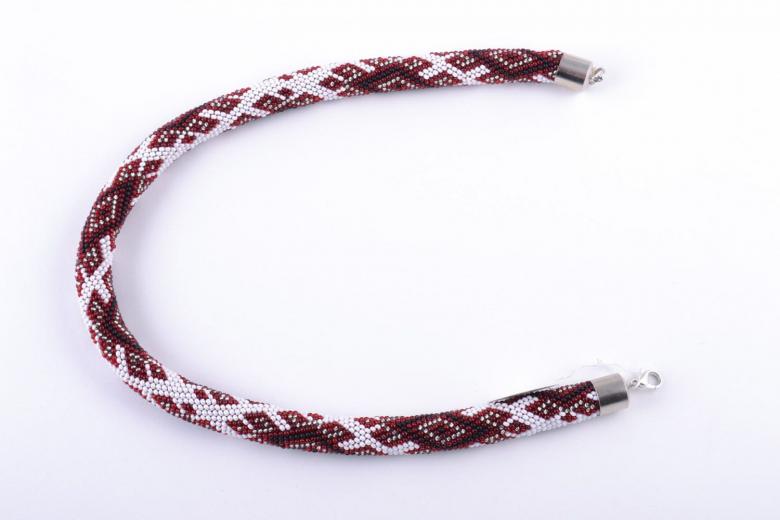
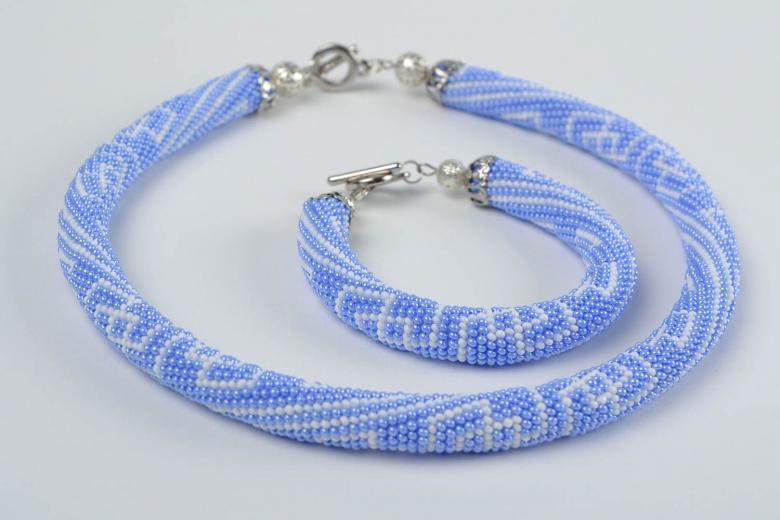
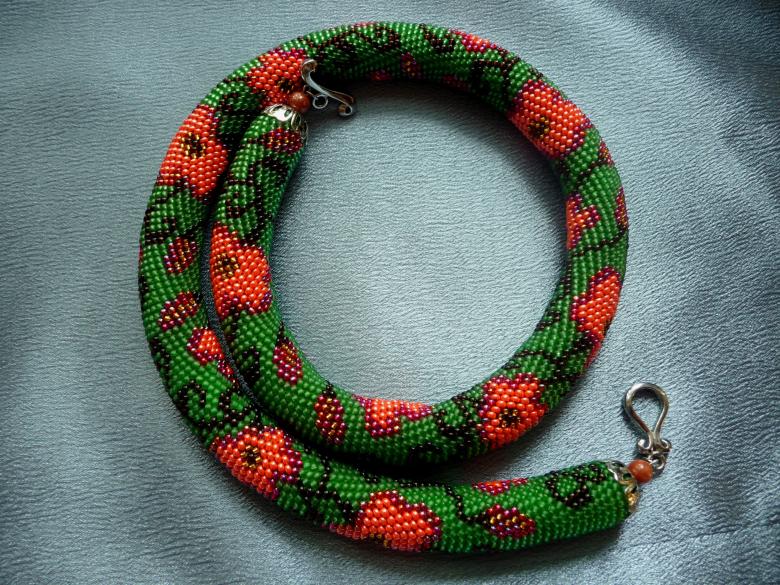
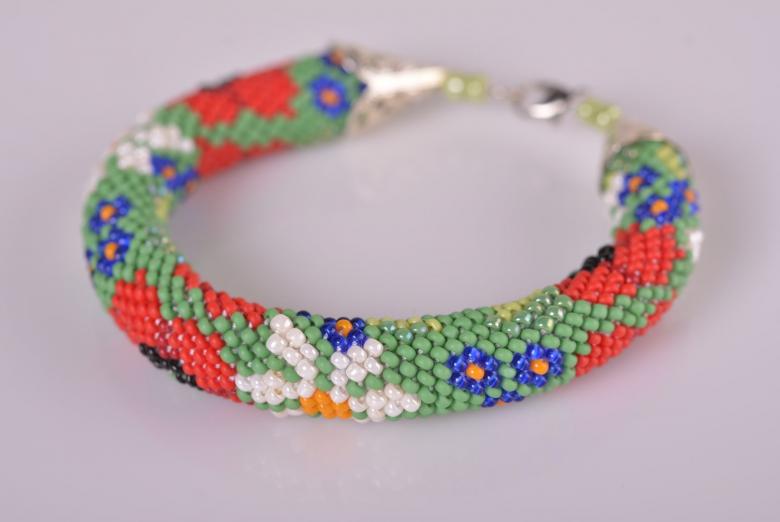
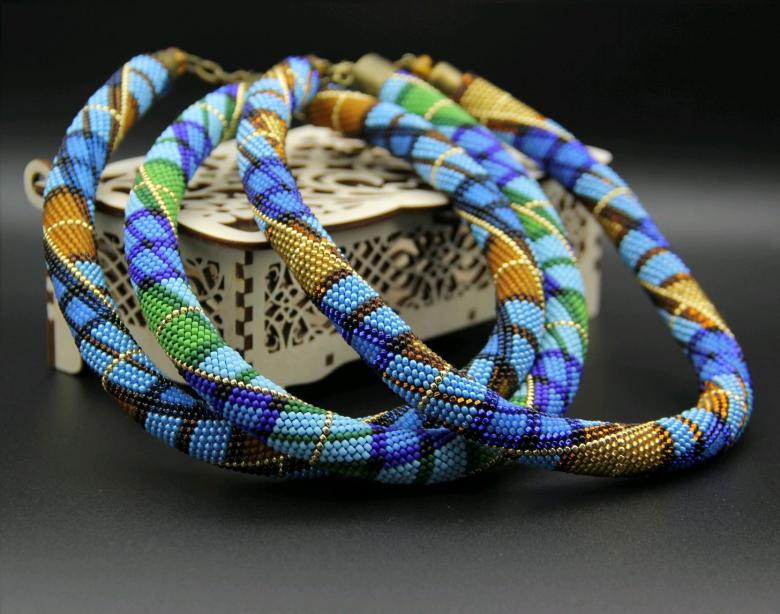
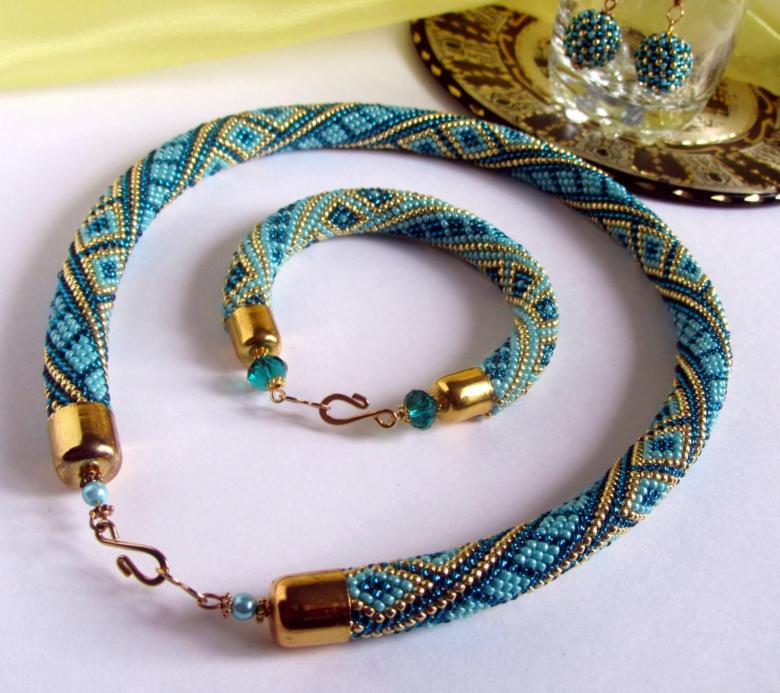
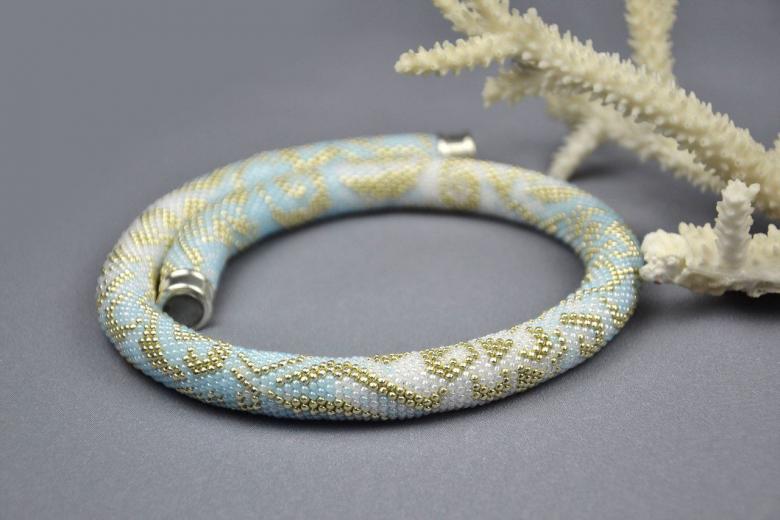
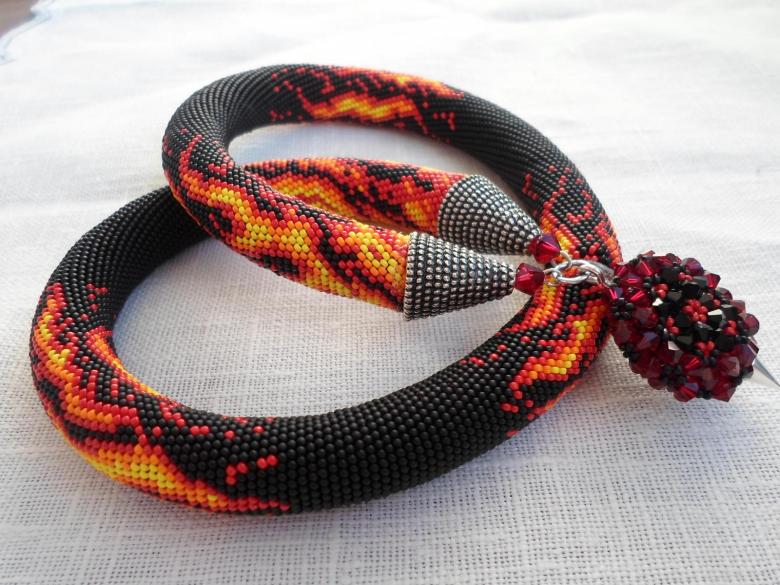
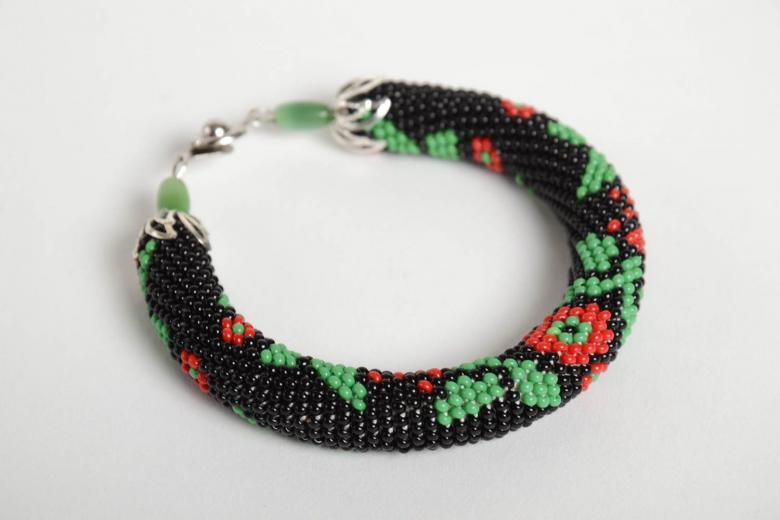
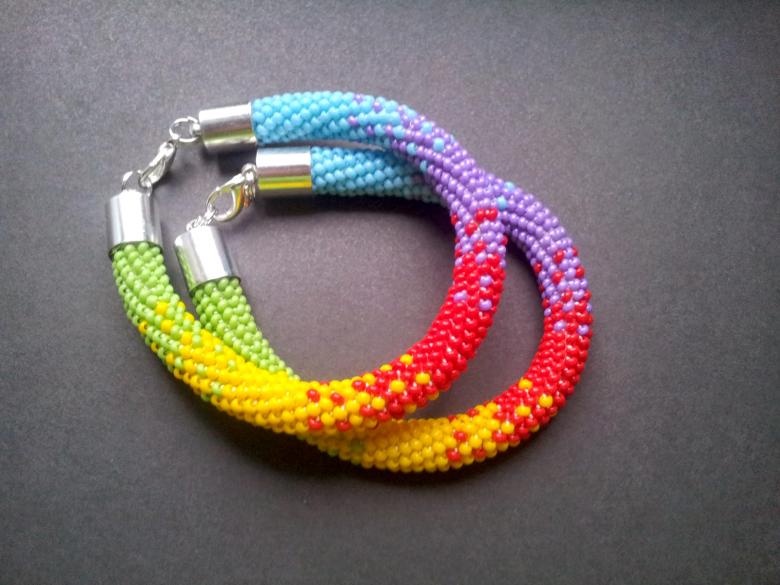
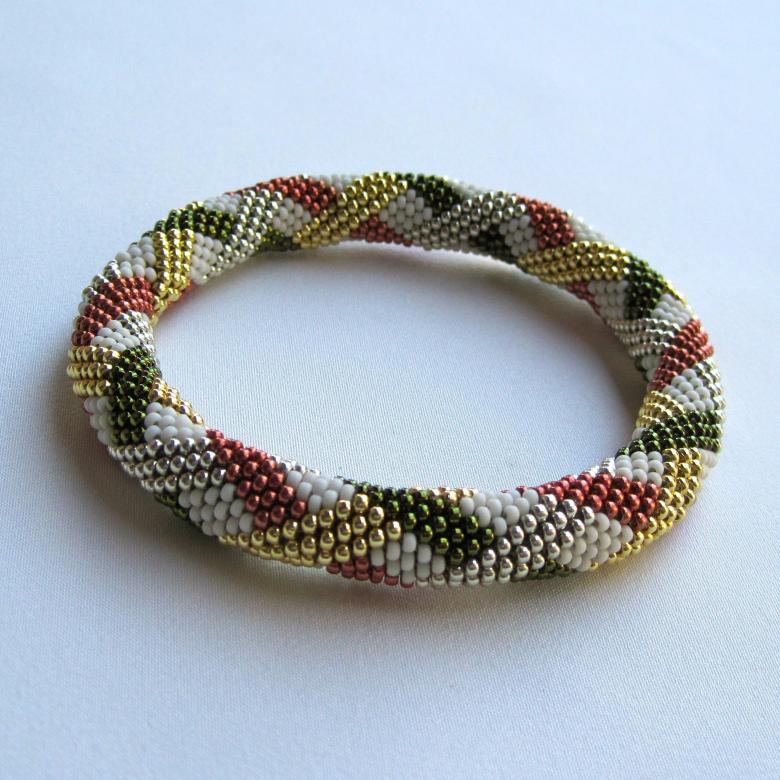
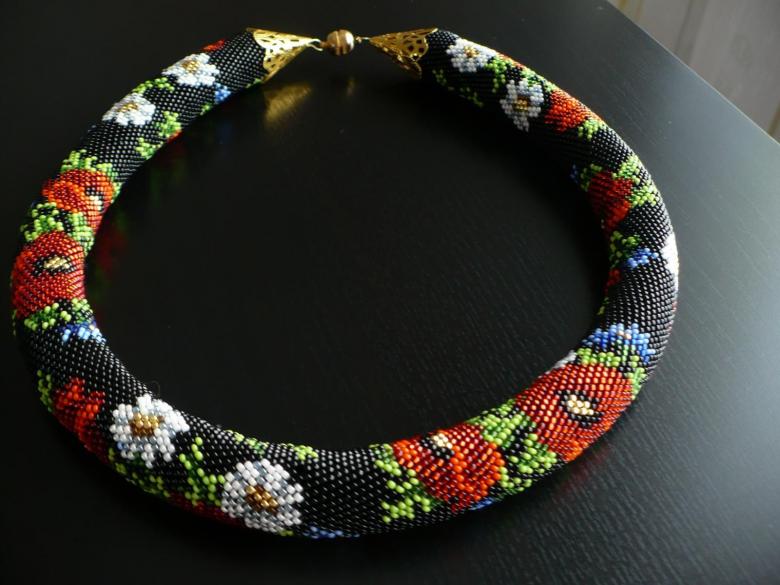
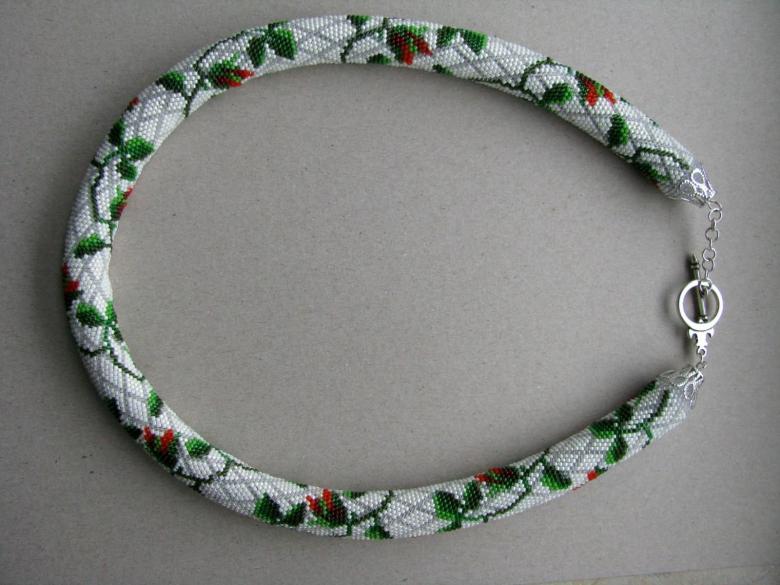
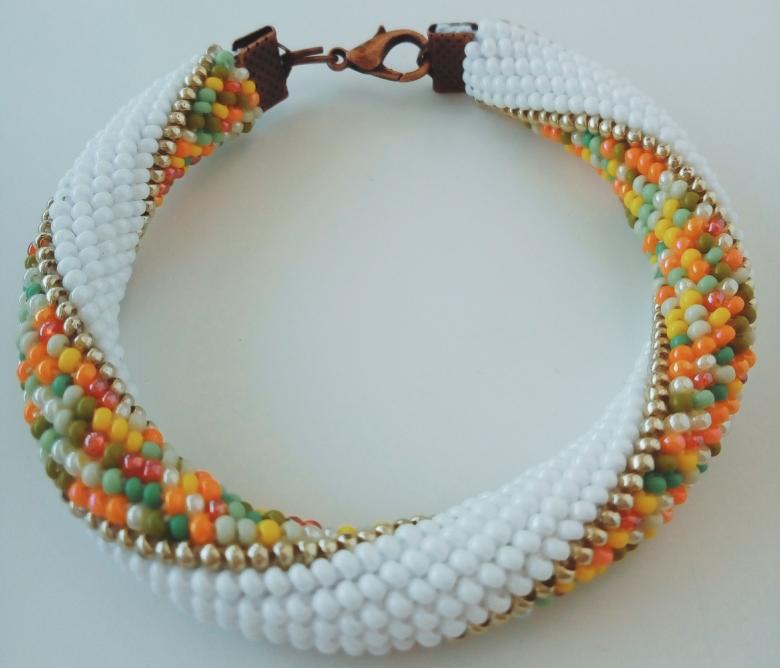
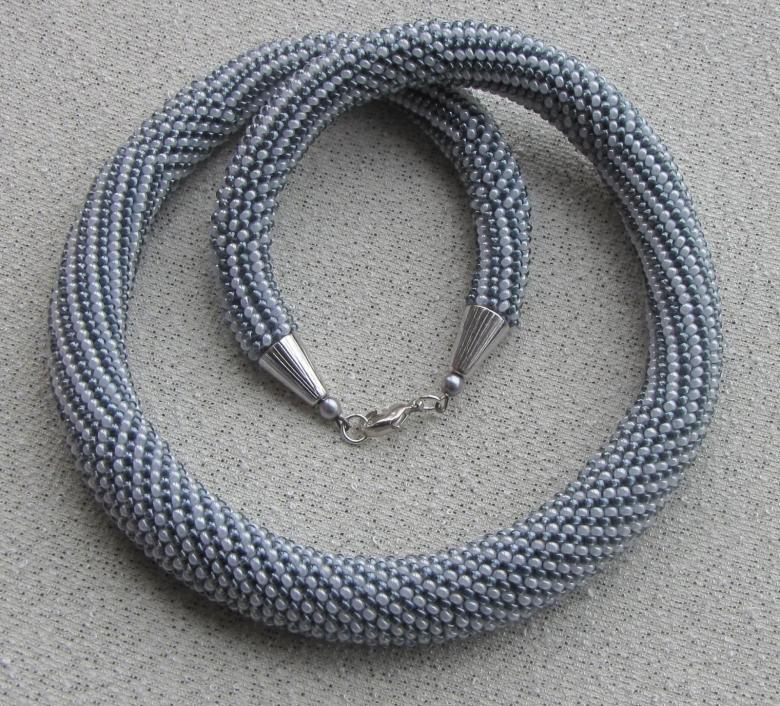
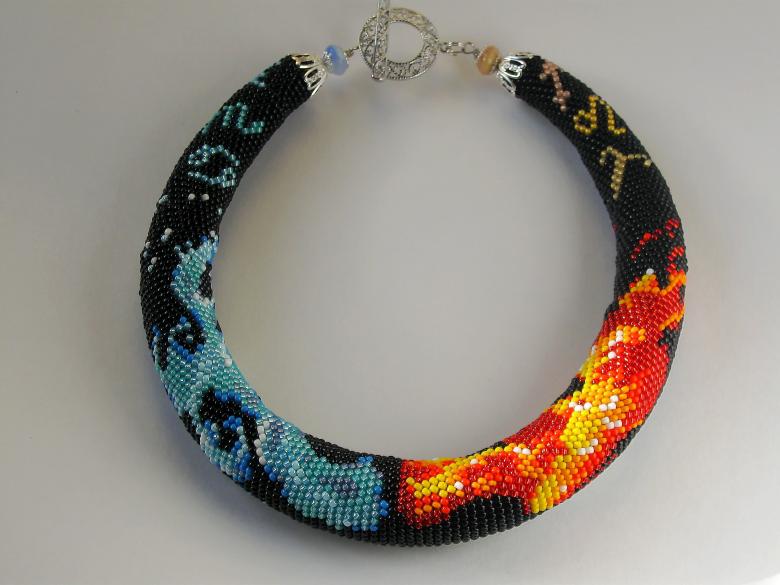
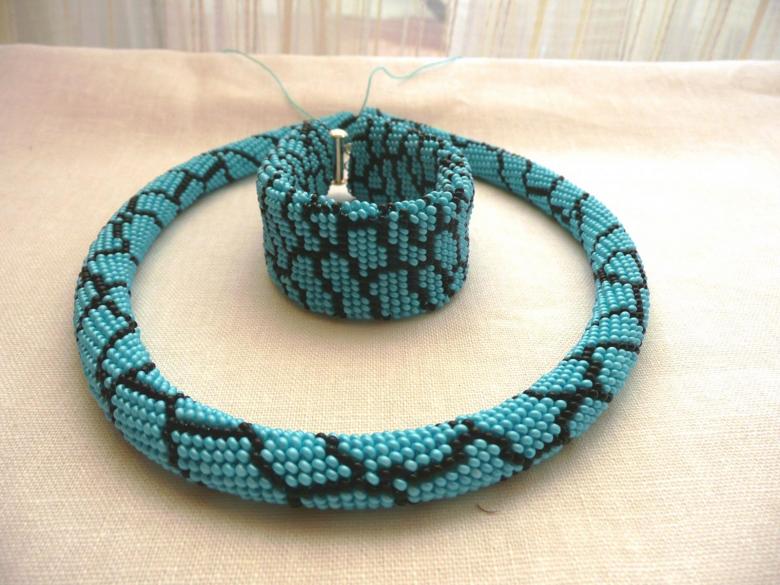
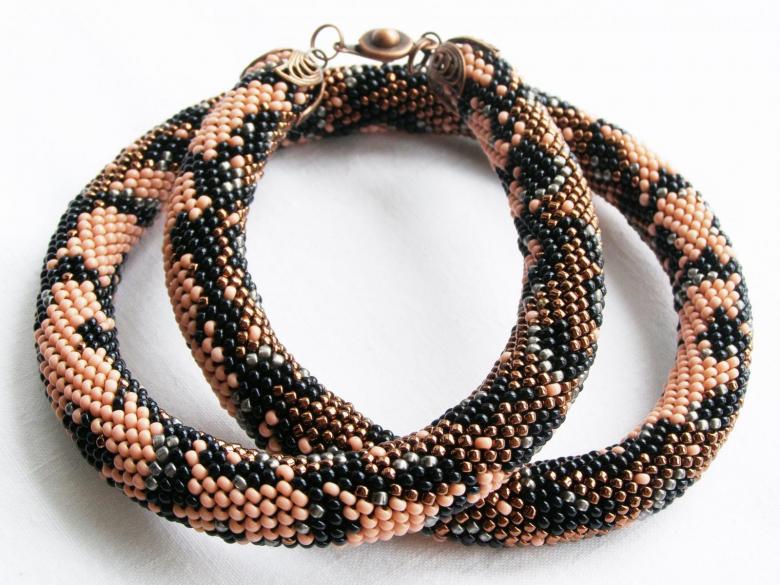
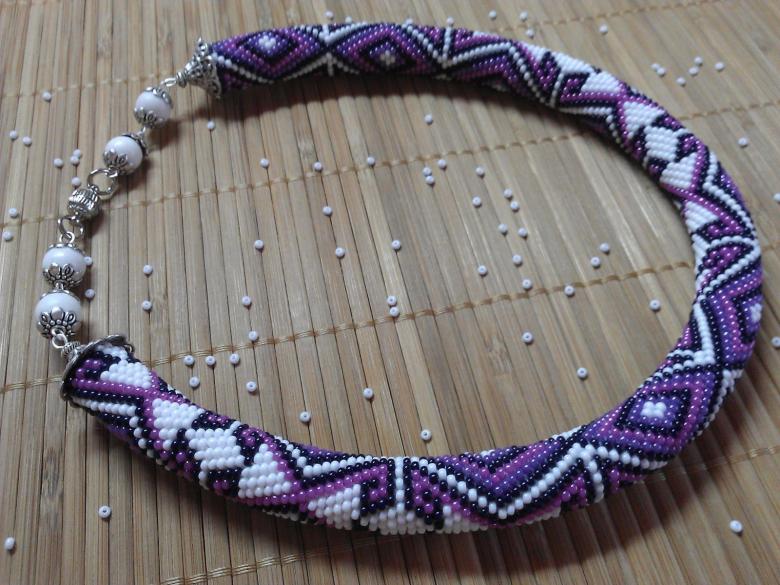
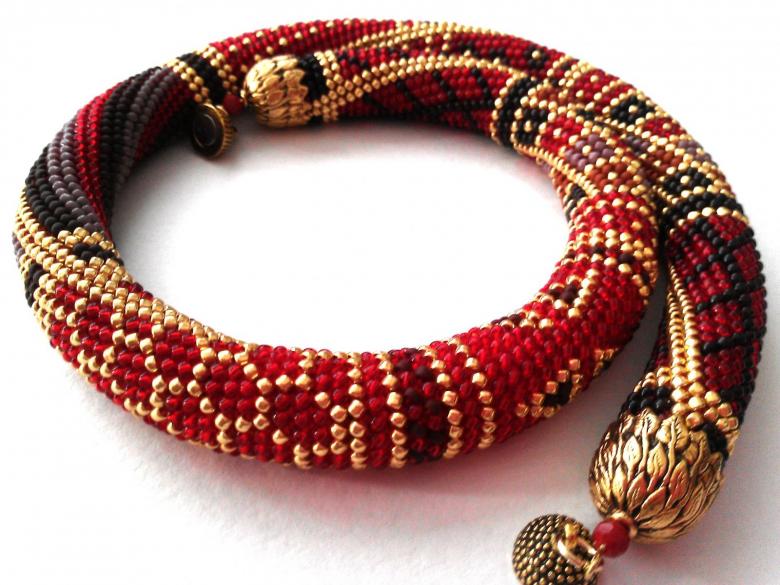
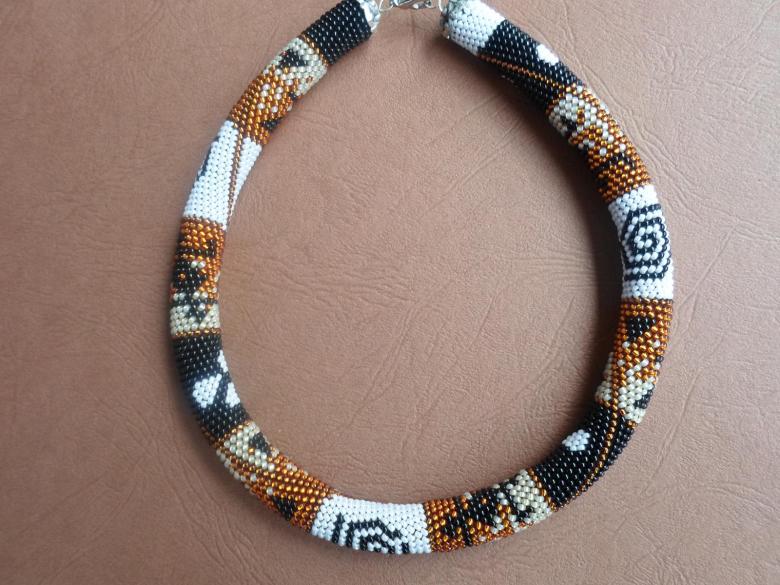
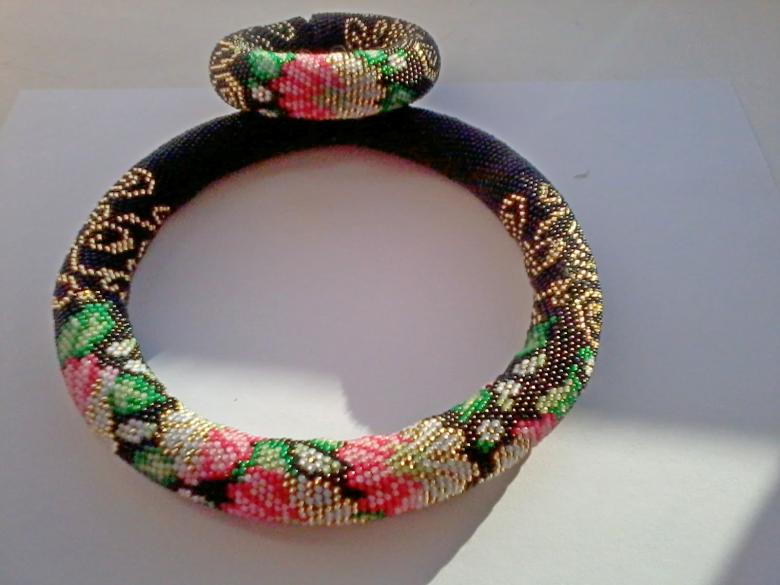
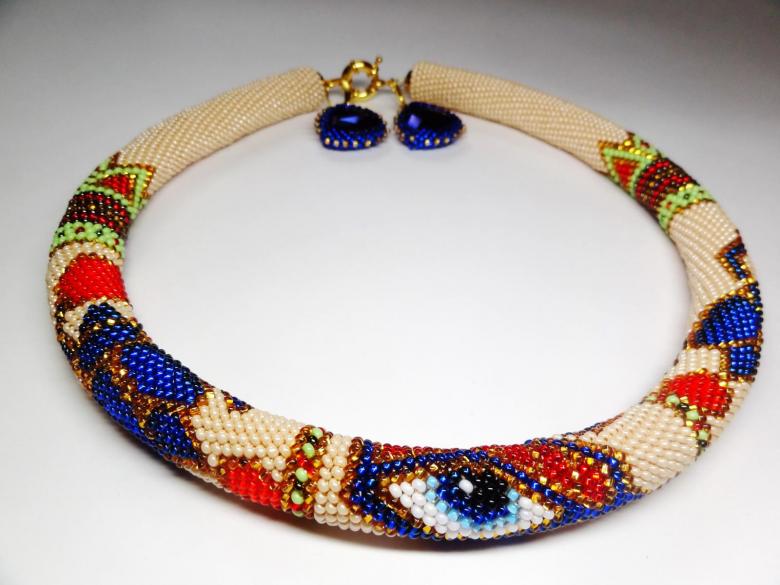
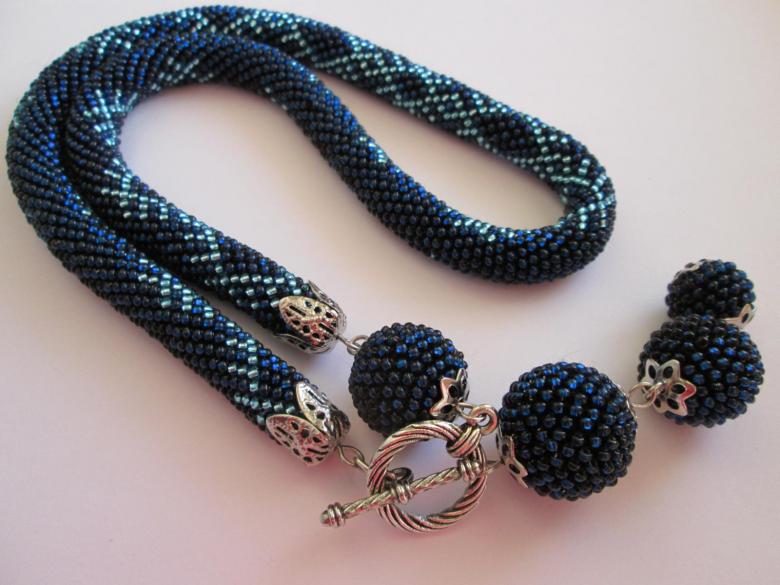
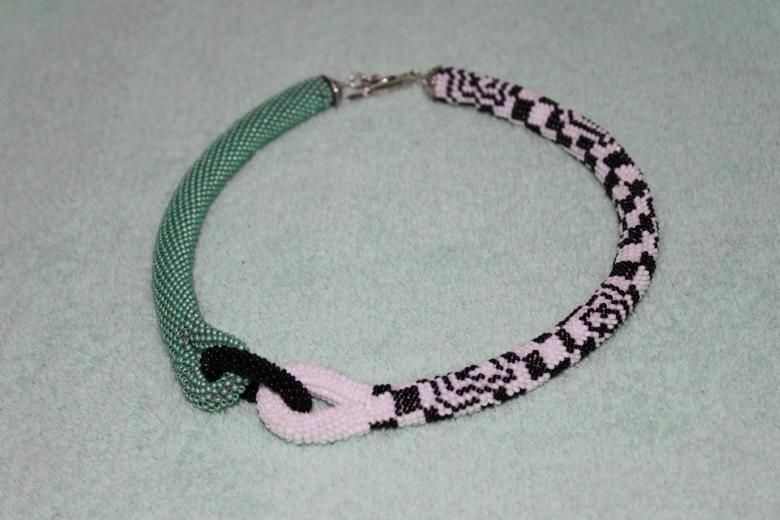
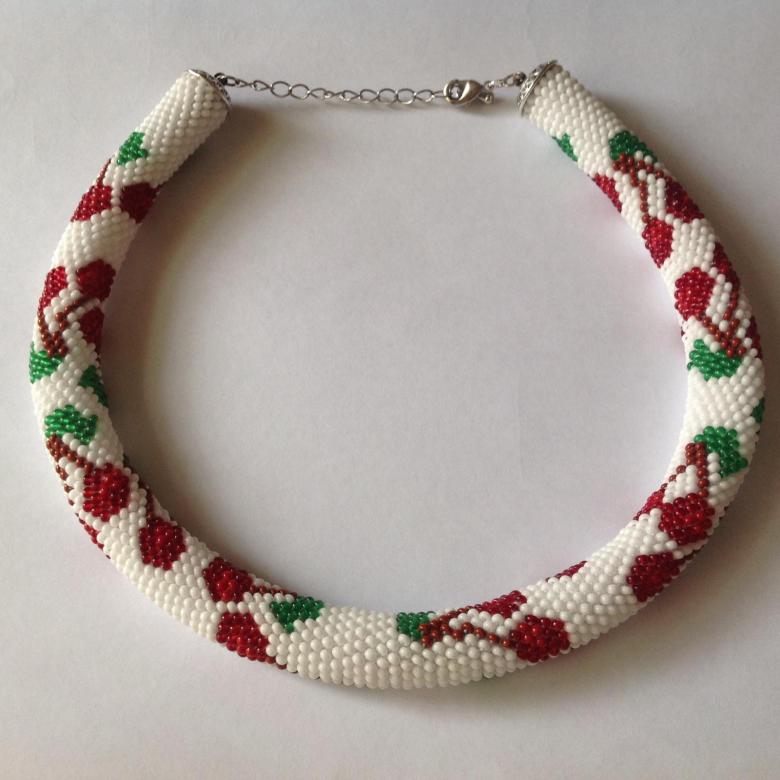
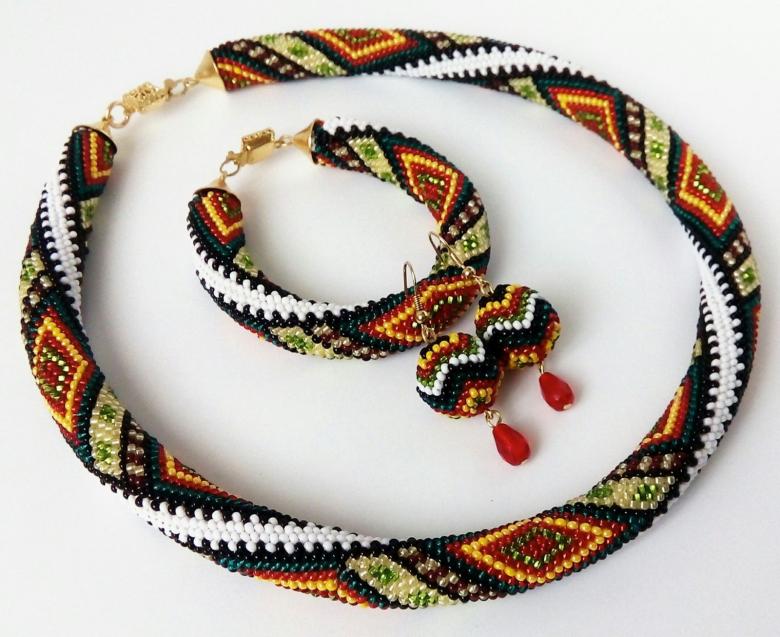
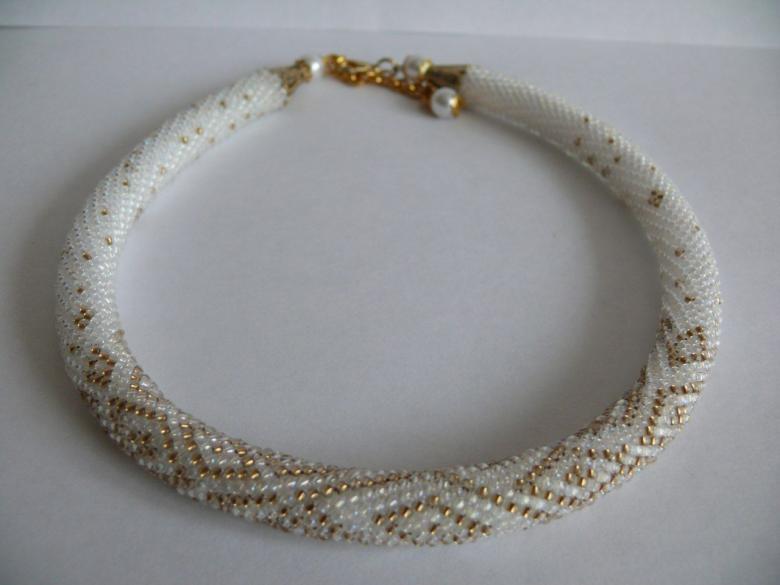
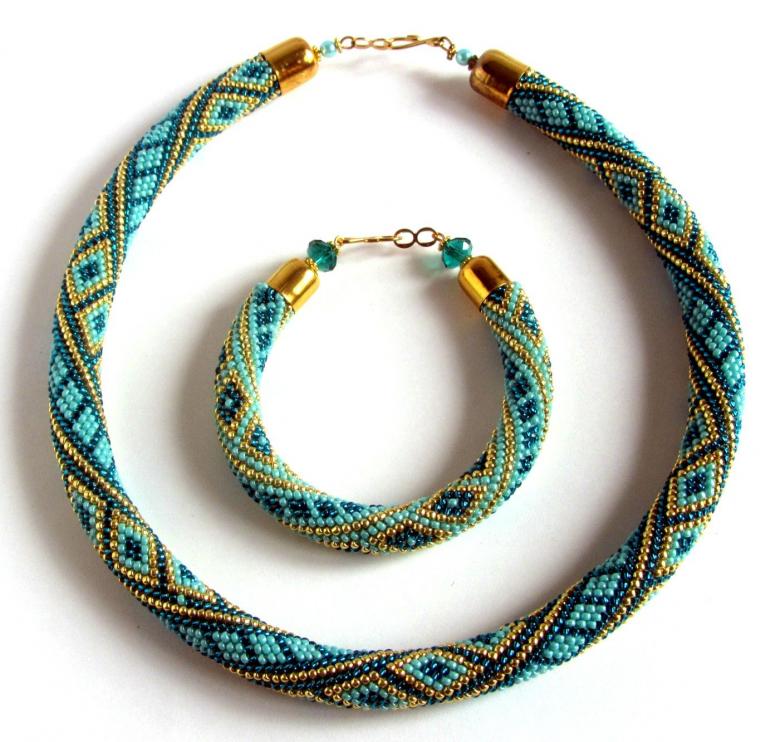
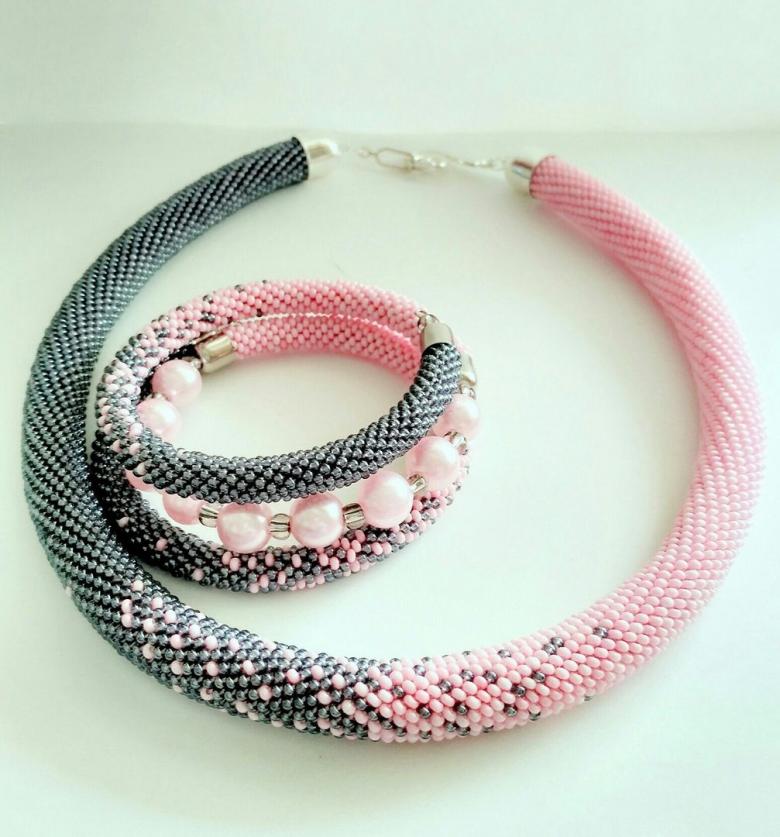
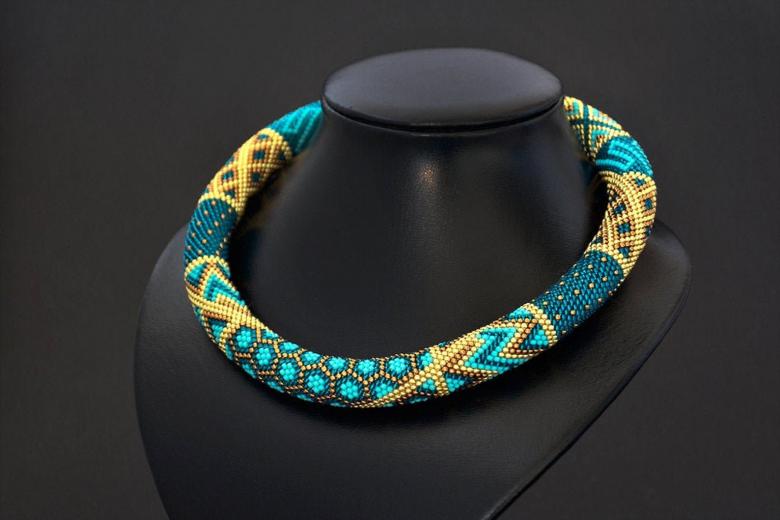
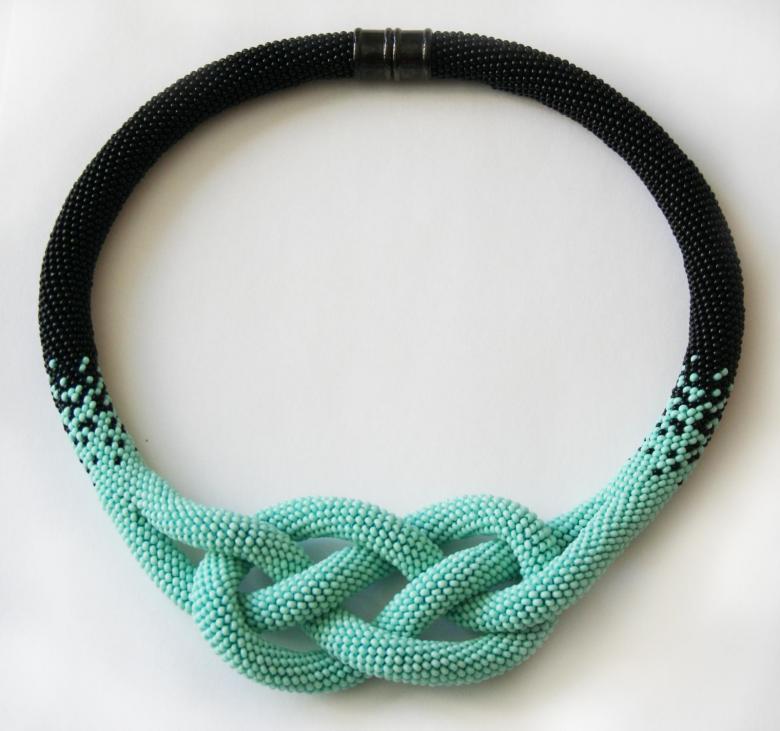
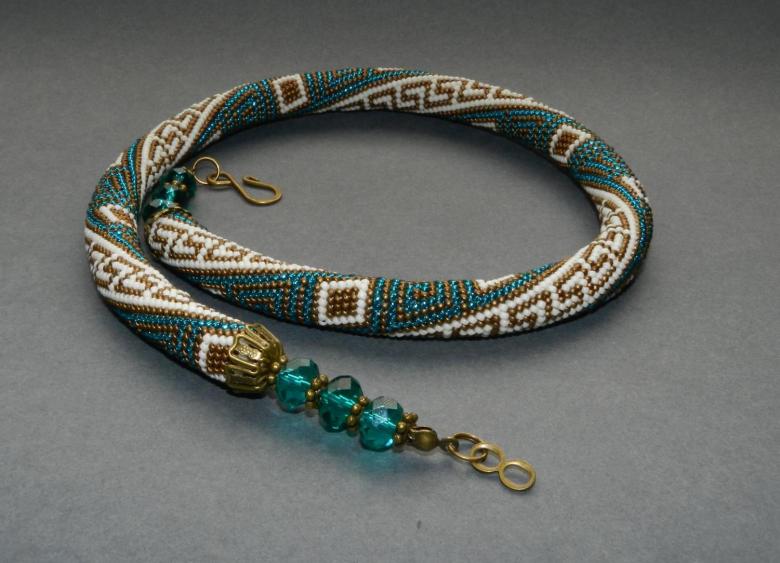
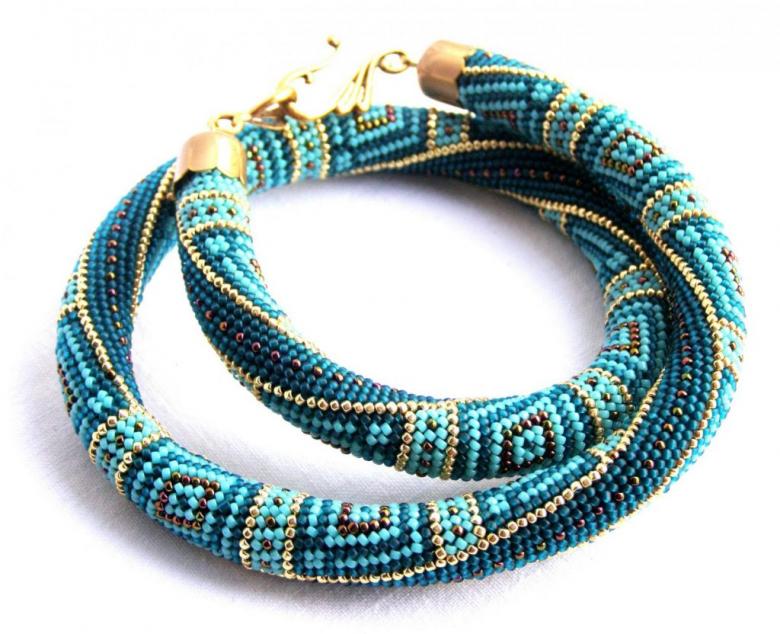
So, today we are going to talk about beadwork, namely about a very popular and beautiful version of jewelry - a tourniquet.

Beadwork for beginners can turn into a problem: what you see in the picture and what the worker is holding in his hands is not similar to one another. Beading does not seem complicated, but actually requires practice.
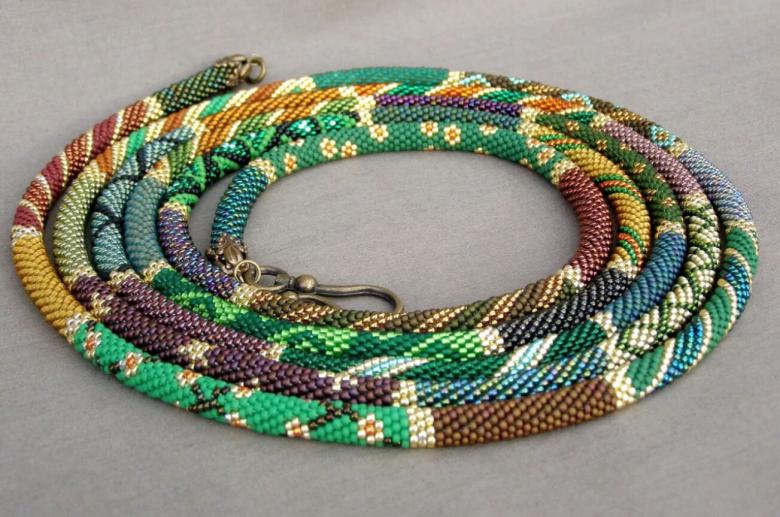
Figuring out how to weave a beaded bundle, remember that it requires some skill, both in holding the hook correctly and in tensioning the thread. And as with any other skillful work: the further you go, the easier and more beautiful it is. Don't be discouraged if things don't work out right away, you've only just begun!
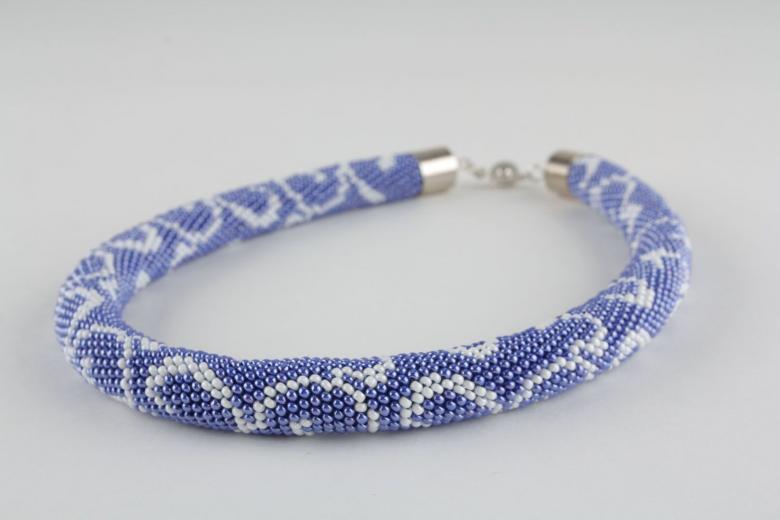
Necessary materials
In order to begin, you need:
- beads;
- thread;
- needle;
- hook;
- paper clip;
- accessories;
- wire cutters and pliers (for installing fittings).

Beads
To make a bead string by crochet, it is better to choose round beads - so they will be easier to fit into an even row, forming a beautiful, "readable" pattern, and the product will look neat and professional even for novice craftsmen.
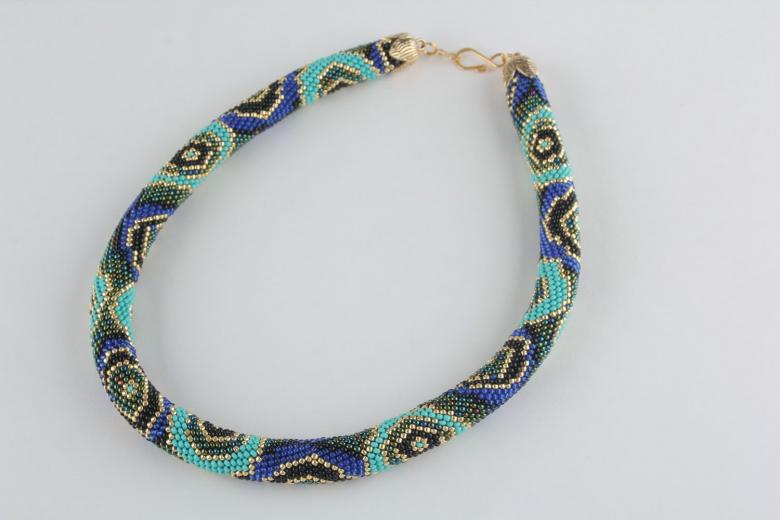
When choosing beads, pay attention to the number on the package - the smaller the number, the larger the bead. The smaller the number, the bigger the bead. This may have a great influence on the final result of the beadwork.

Bead Thickness
The first thing to decide is how thick your harness is going to be. For the novice craftsman, it is better to turn to thinner pieces, as they hold their rounded shape more easily.
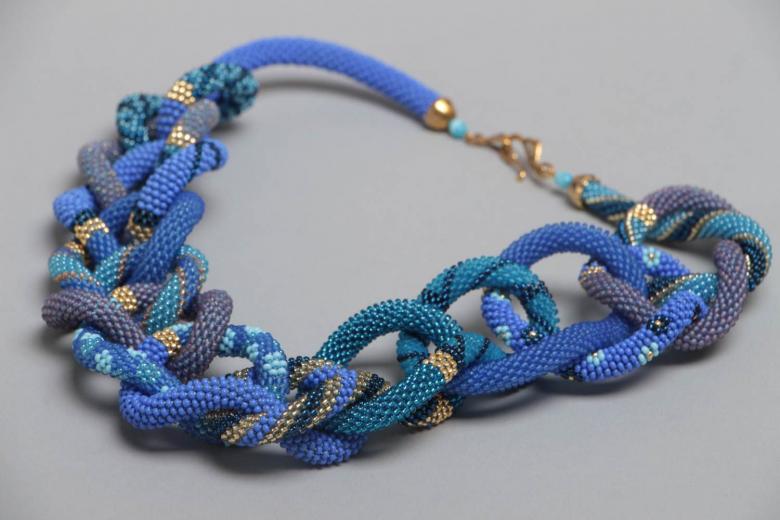
Pay attention to lariats - jewelry that does not close in a circle. Such a braid can be fixed on the neck in an original way, which will emphasize your creative nature and thinking outside the box.
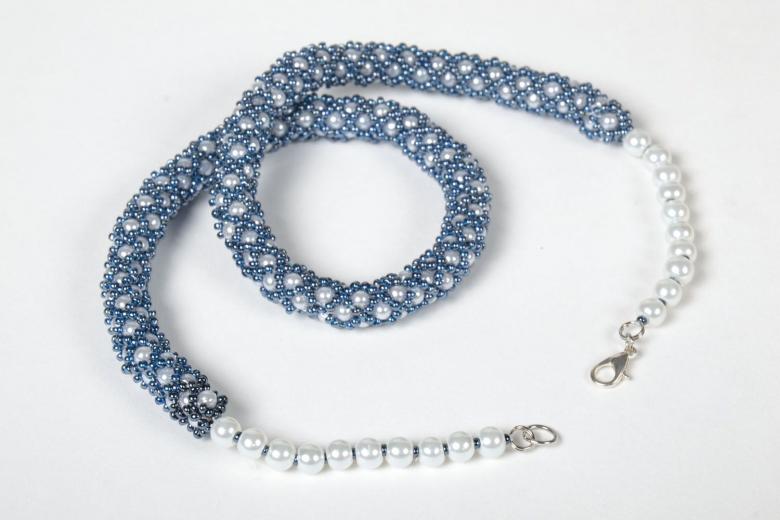
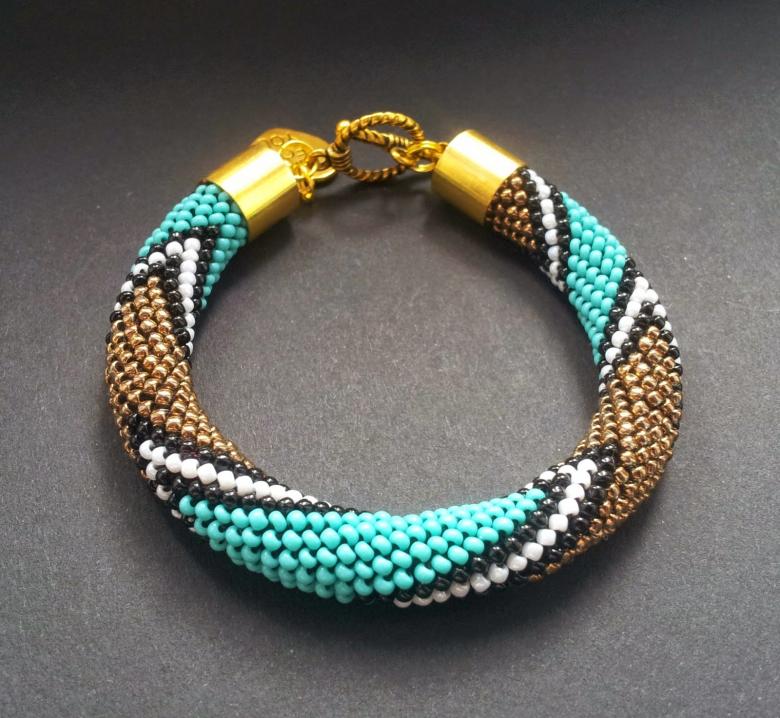
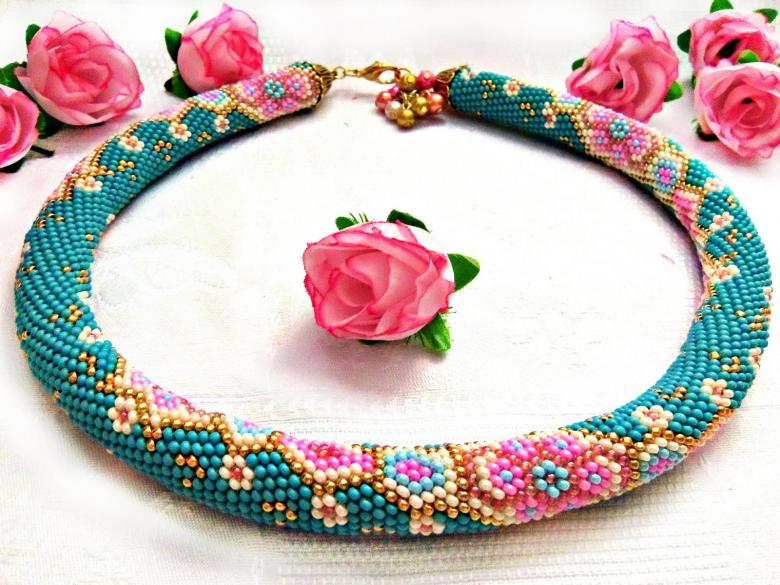
If you decided on a thick tourniquet, remember that the work will be painstaking. This is where you will find a huge variety of complex patterns. A thick tourniquet makes very effective bracelets, while a thin one looks elegantly like a necklace.

The most popular is still the medium thickness braid. It combines an uncomplicated performance and a variety of patterns. As a rule, three colors are found in a medium-sized harness, which allows you to create different patterns.
However, if you are taking on the case for the first time, try to knit a bundle of one color.
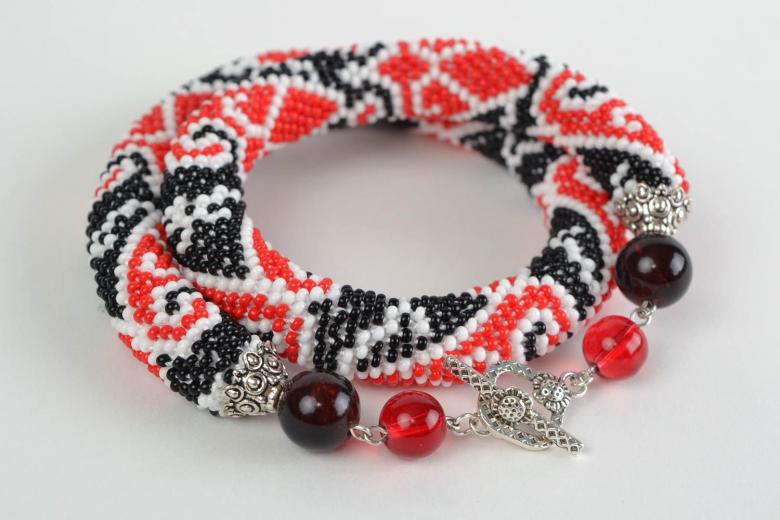
Thread
There are quite a few options here:
- Iris.
- "snowflake" thread.
- "Canarias.
- "Violet.
- Monofilament.
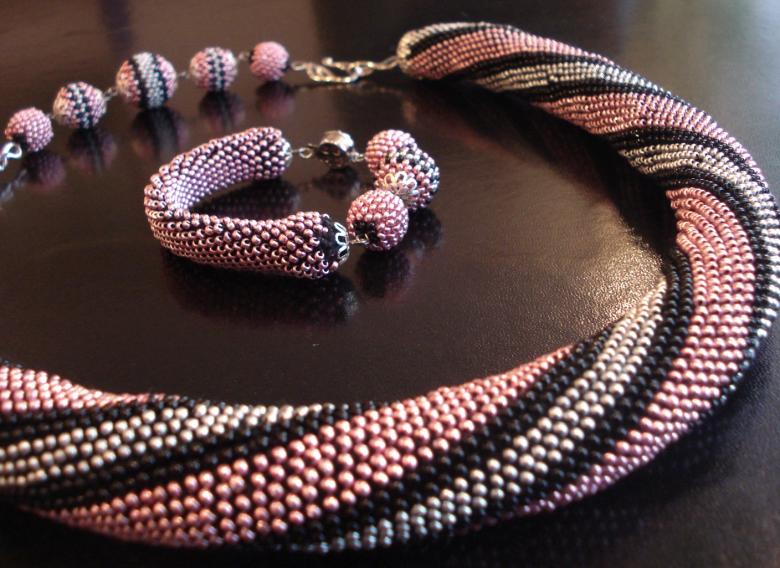
In fact, you can use any sewing thread that you are sure is strong. If the thread is too thin, you can fold it several times. Otherwise, choose a thread that you feel more comfortable with.
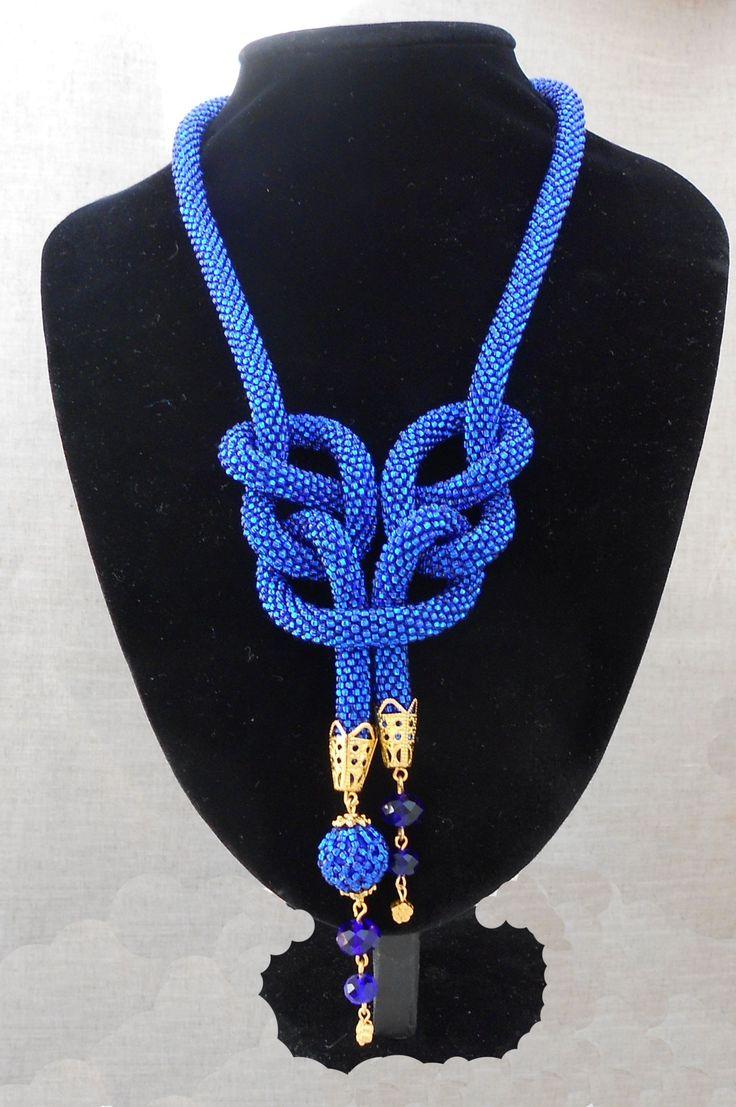
Try to match the thread to the color of the beads, so it will be less noticeable, which is especially important if you have chosen transparent beads. However, it's not an iron rule: many people like the effect created by a thread of a contrasting color to the beads.

For beginners, light threads that are easier to see loops on - white or beige - will be ideal. Remember that in the beginning you need to achieve accuracy and precision, and then already start experimenting.

Needle
There are no unimportant details in beading. The needle will affect your speed, and the comfort of your beading. Many craftsmen use a 10cm needle.
How to read schemes?
Schemes of beaded harnesses are amazing in their variety, but first you need to learn how to read them. The main thing is to remember all the symbols, and then the diagrams will immediately stop looking as intimidating as before.
The diagram shows the order in which the beads must be threaded to get the pattern.
The diagram will tell you how many beads make up the pattern, this will help you in your calculations.
Here are some of the notations that are used in the diagrams:
- Draft - position of the beads in the weaving process
- Corrected - turn of harness
- Simulation - The look of the finished product.
There are squares on the right side of the diagram - this is the diagram of how many beads you need to put in and in what order. The beginning of the scheme is the left column, the scheme is read from top to bottom.

How to calculate the number of beads?
To calculate the number of beads you'll need, use the formula:
A*B=C
A - the length of the piece
B - number of beads in a row (in a braid).
C - the length of the string.
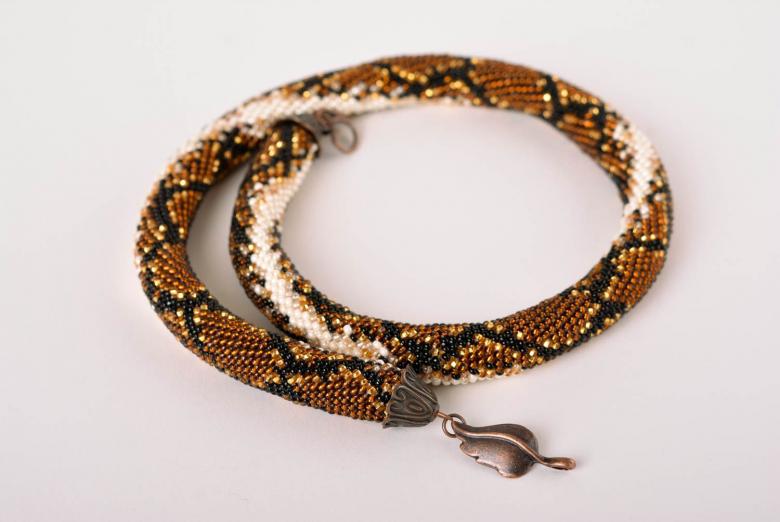
If you feel like you still haven't figured it out, find a master class on weaving a beaded harness online, and the man on the screen will explain it all to you. Look carefully at the pictures, as they say, it's better to see once.
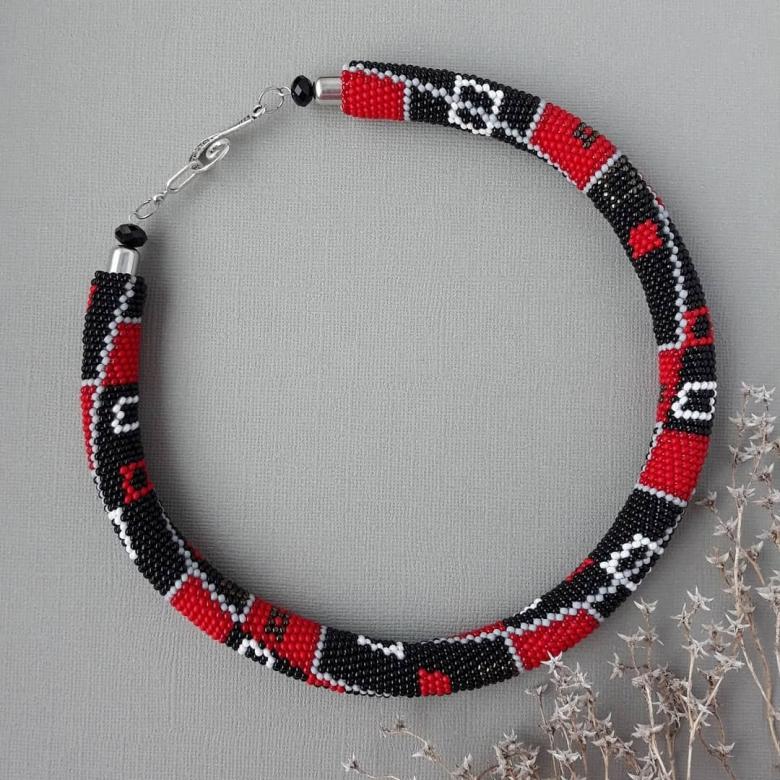
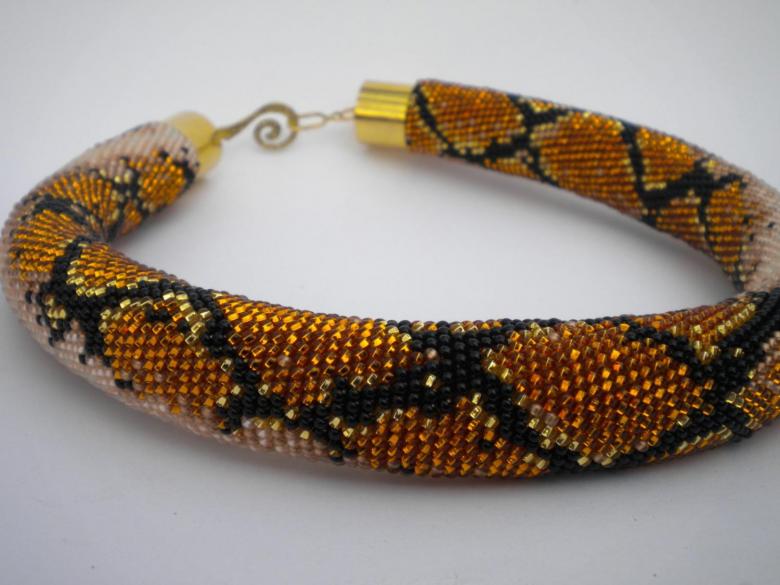
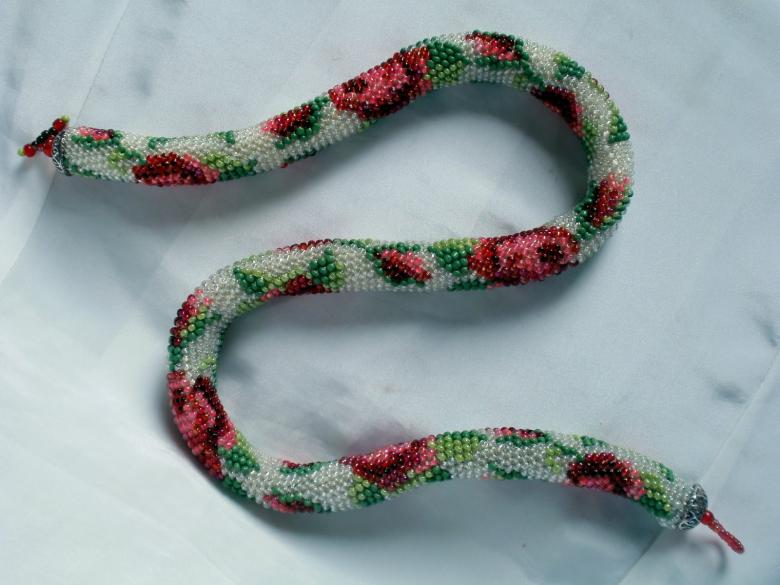
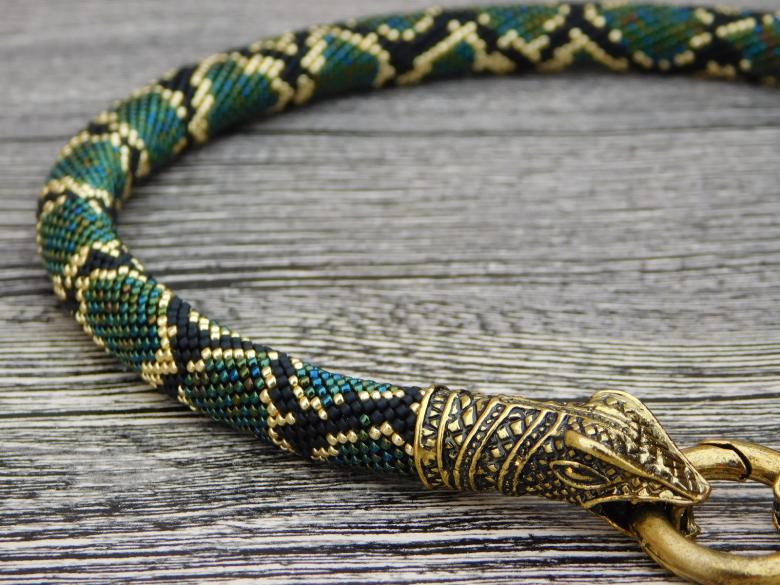
The "snake" braid
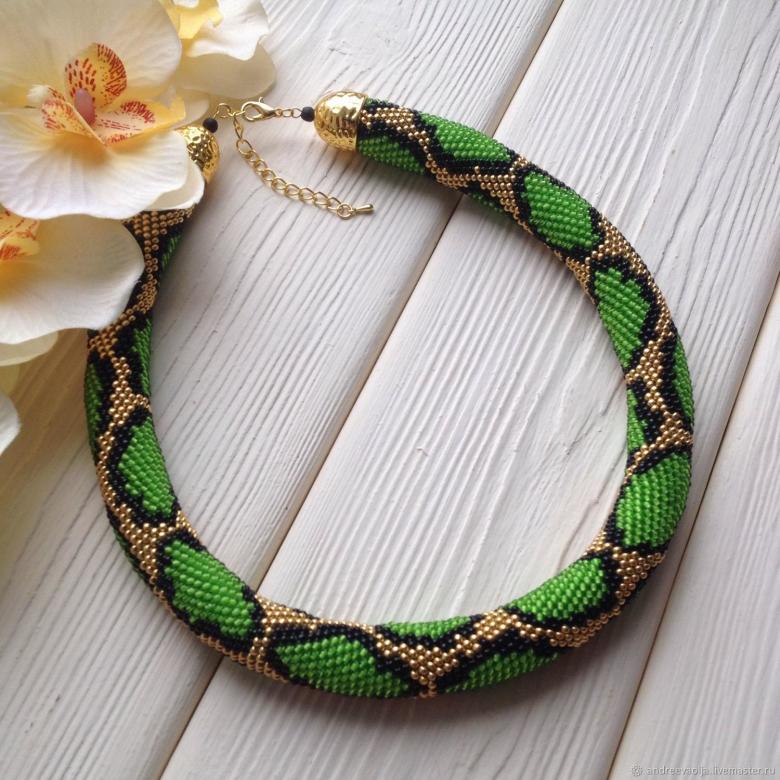
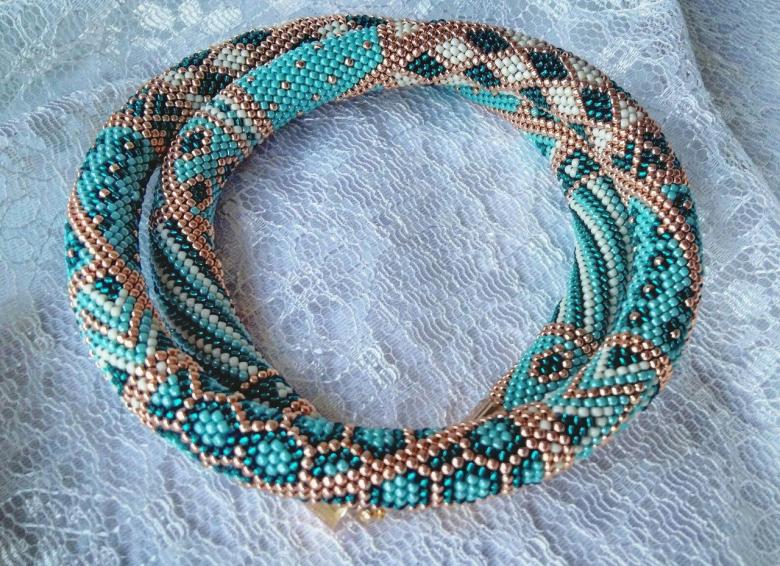
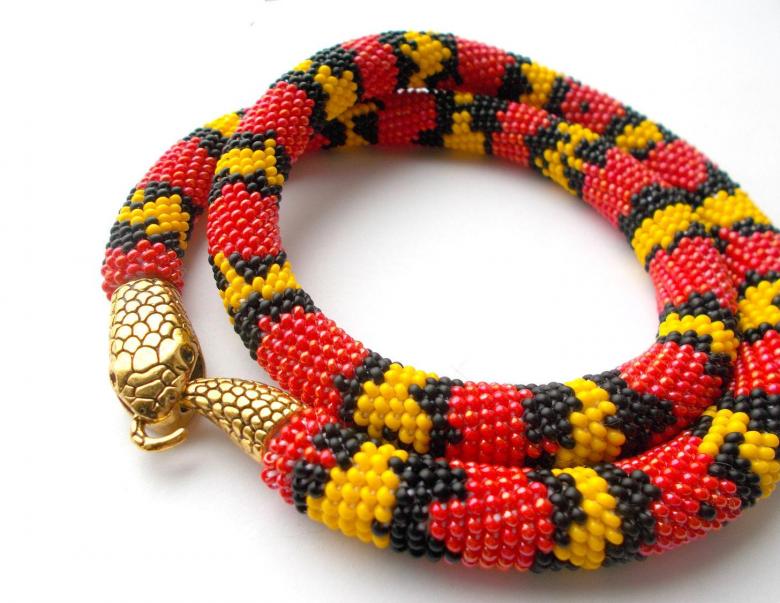
So, having figured out how to read the schemes, you can get down to work: weaving a bead loop. In front of the master there is a huge number of beautiful patterns and schemes. Perhaps you will be attracted by one very bright and stylish kind of harness - a snake.
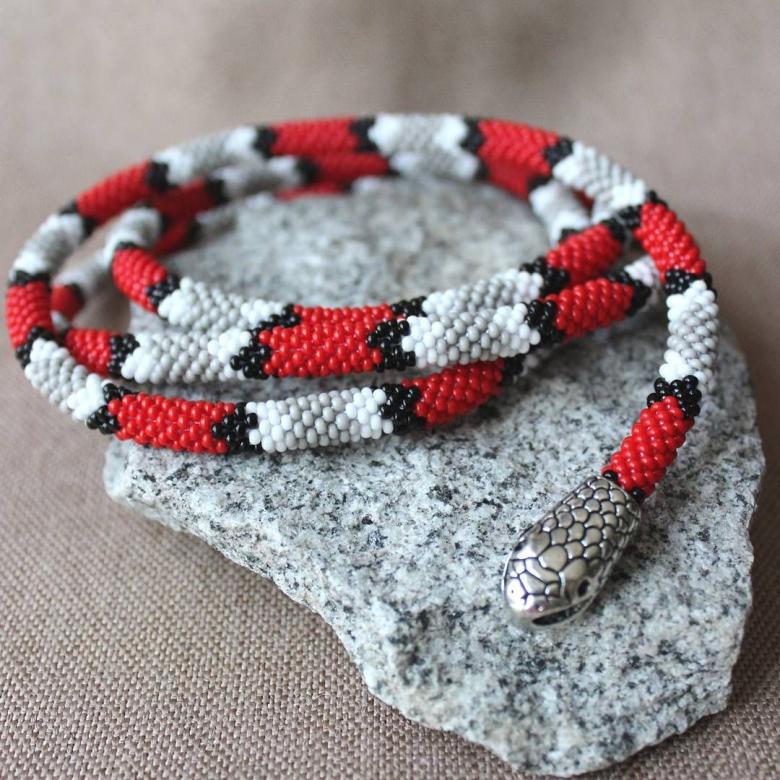
The schemes of snake bead harnesses are amazingly diverse. On the Internet, there are patterns that can be used to reproduce the pattern of snakes that actually exist in nature. The choice of "pet" is up to you.
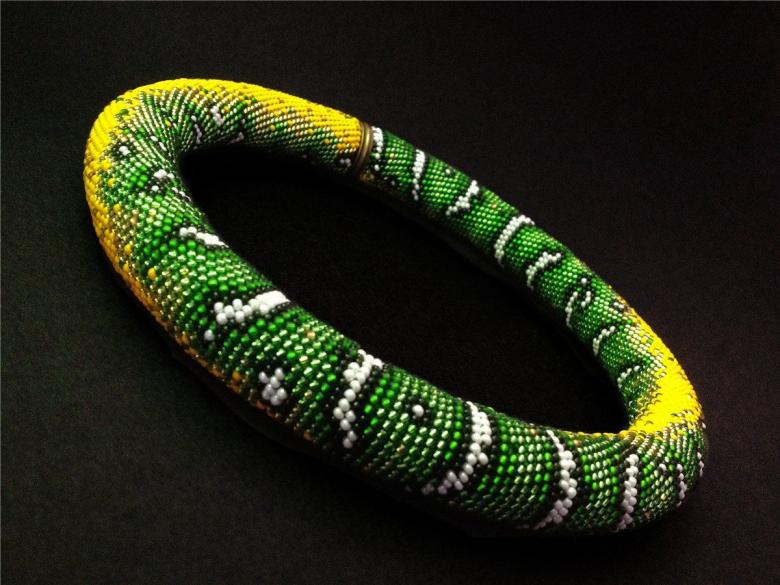
How to knit?
To achieve such a harness, air loops are used.
Important! For your product to hold its shape, make sure that the knitting is dense and even. Then the body of the "snake" will be beautiful and dense.
Scheme of actions (to make it easier, pay attention to the photos):
- On the free end of the yarn leave a 15 cm long piece of yarn.
- Knit the beginning loop, leaving it without a bead - with it you will join the row into a ring.
- Knit the next 12 loops with beads.
- Close the ring with a connecting post.
- From the right side, pull up a loose bead, thread the hook into the first loop of the starting row.
- Pick up the thread, pull it through the two loops.
- Repeat this for each row.
- After a few centimeters, you will see how the pattern appears. From here on it will be easier.
- When the pattern ends, all that's left to do is to knit a few more rows without beads, reducing the number of loops.
- Secure the fittings.
After the first work, do not stop and master other types of harnesses, such as openwork weaving. Experiment with colors and patterns. Beadwork can become your favorite kind of beadwork!
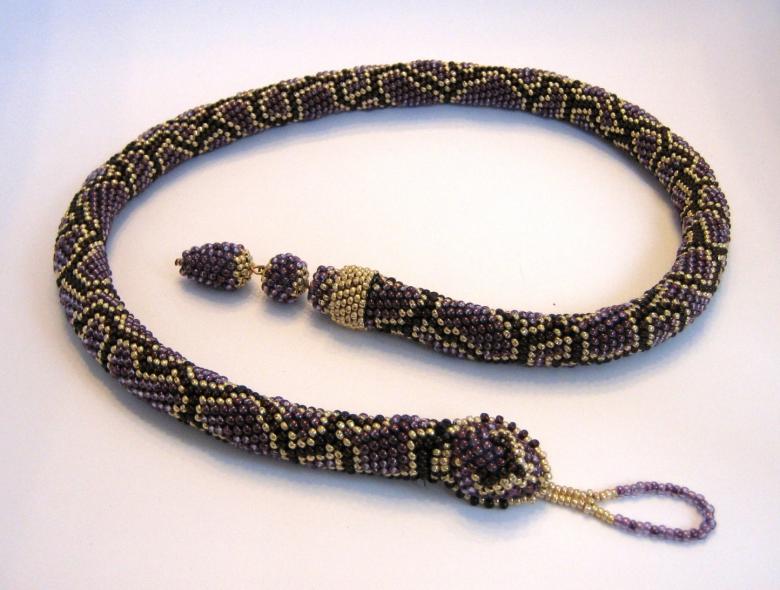
In the case of beadwork, the principle applies: "Easier said than done". Let the complicated patterns of beaded plaits not frighten you, the result is worth your efforts!
