How to make a book by your own hands - a selection of interesting ideas and photo examples
Are you a creative person and want to create your child's first ever book? Doing an assignment for school or wishing to make an original gift to a loved one? This article will help to make your plans come true, because it has step-by-step instructions for creating developmental, ordinary and gift books.
Developmental book for kids
In bookstores or children's stores, in markets, you can find cardboard books with fairy tales and bright pictures.
All of these are exercisers for little gums. Babies chew on these books at home with pleasure, but they seldom get a genuine interest from them. Of course, the mother storyteller shows the child the characters and explains that the hen says "ko-ko-ko," and the cat "meow.
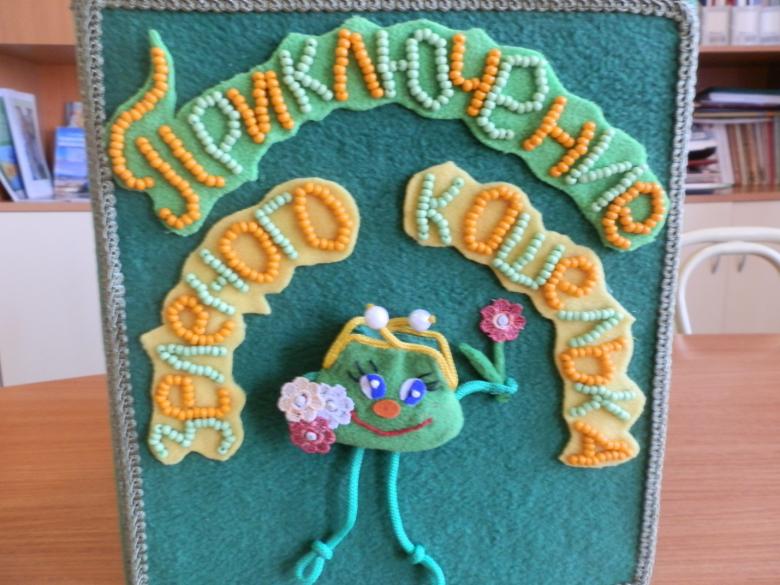
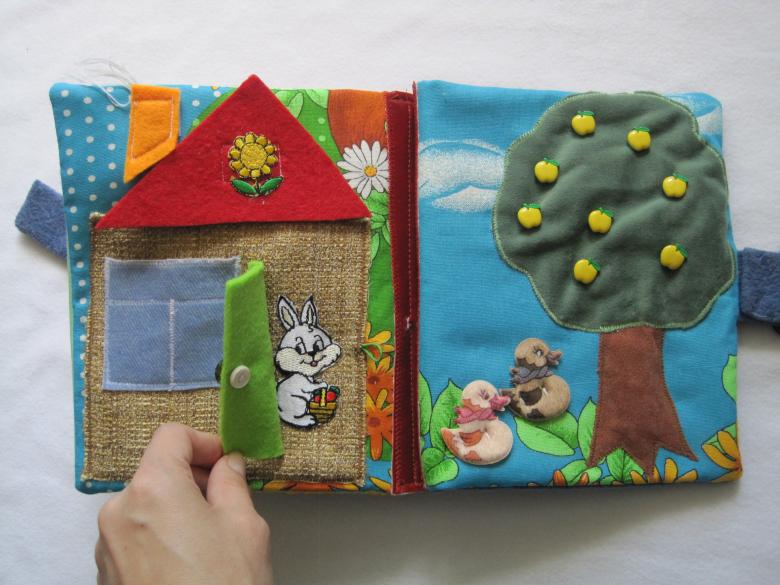
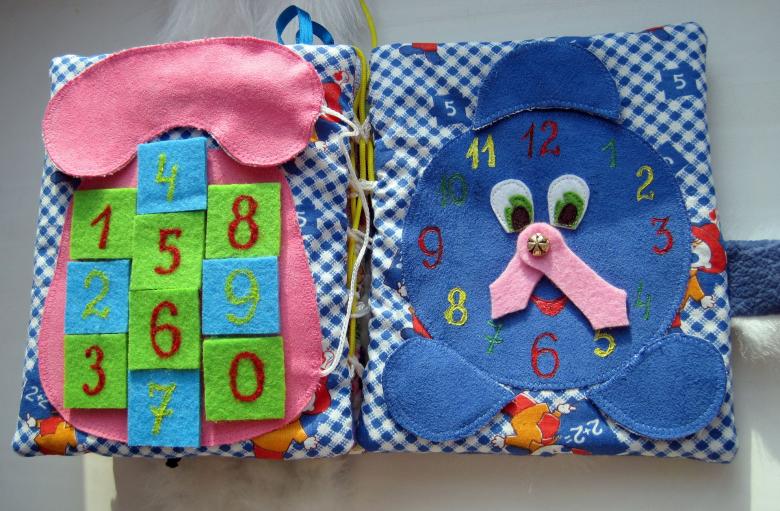
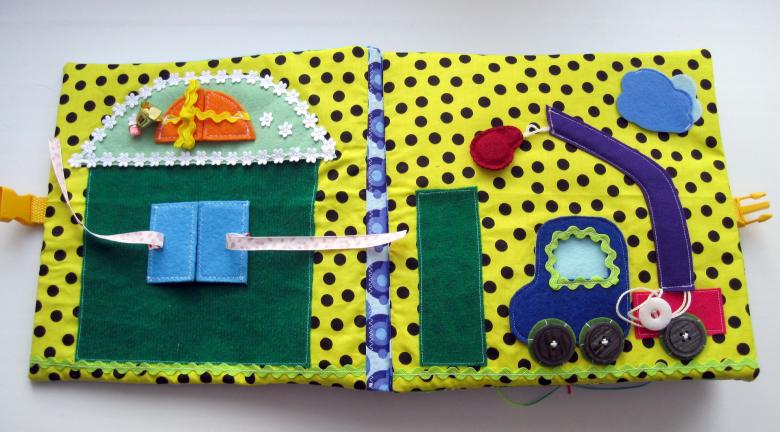
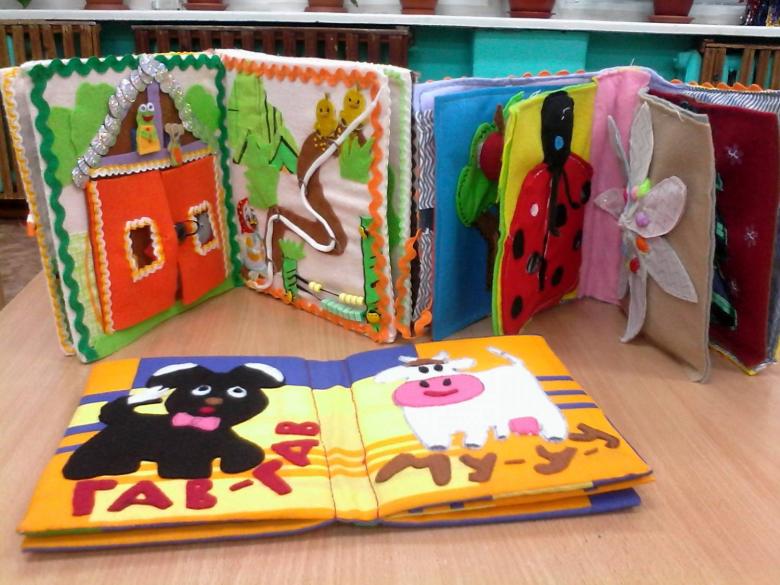
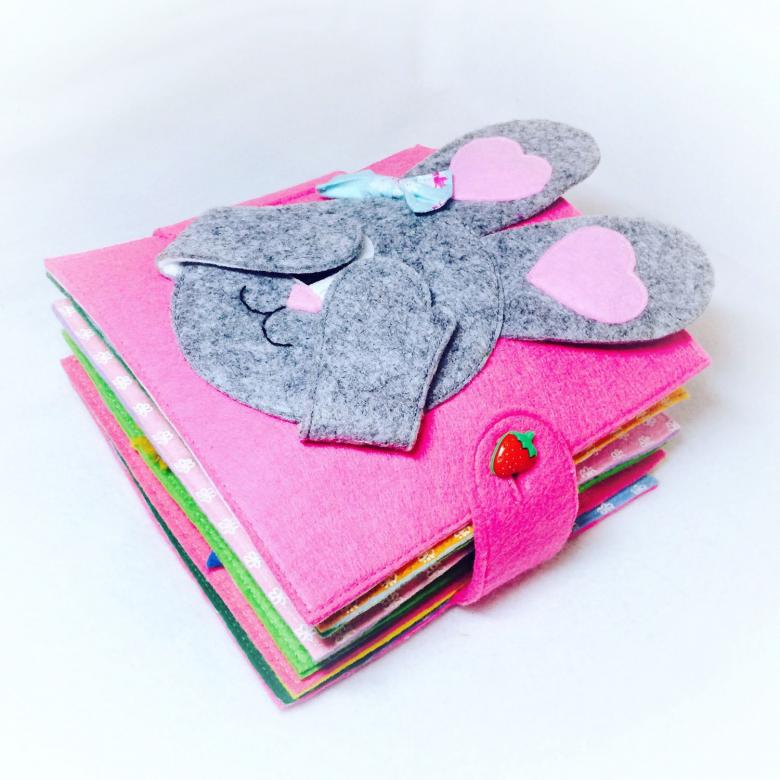
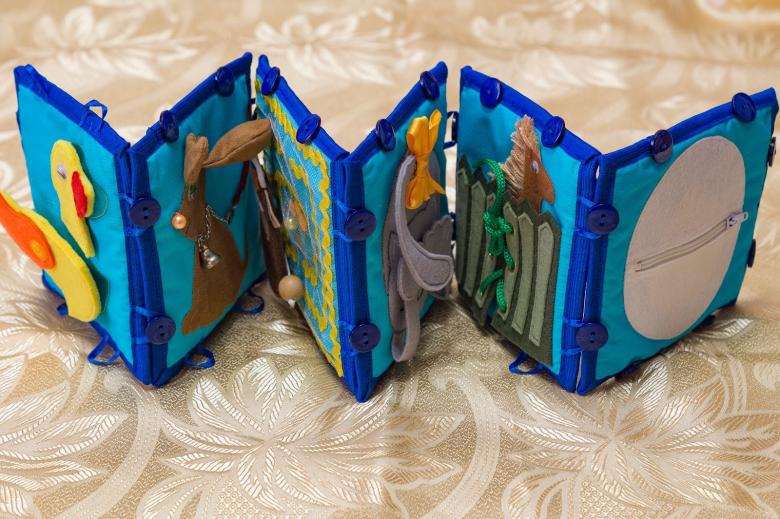
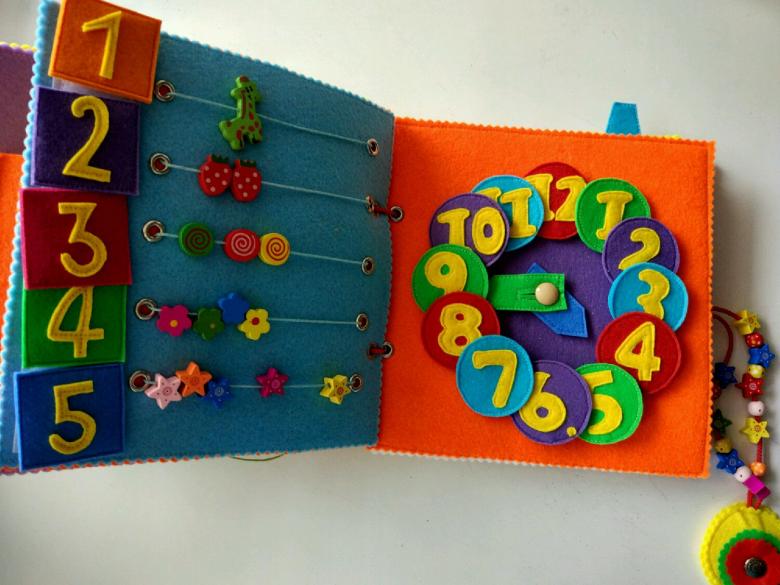
Like a kid listens and hooting, but he is so eager to try the knowledge. At this age, they want to reach out and touch, feel. So let's keep the restless kids busy. The most interesting thing for a child is the new sensations. He can feel the wool, rough textured fabric, twirl the buttons, pull the strings. The long-suffering cardboard nibbles will recede into the background, giving way to exciting games that:
- develop fine motor skills;
- color perception;
- imagination;
- attention span.
In the creation of this book, two ways are given - a simpler quicker and a longer one. This way you can optimally calculate your forces and time for making.
The 20 minute method
We will need:
- a cardboard book about Kolobok;
- soft and hard felt in brown, orange, and gray (you can find it in a needlework store or order it online);
- scissors;
- Silicone glue Santi.
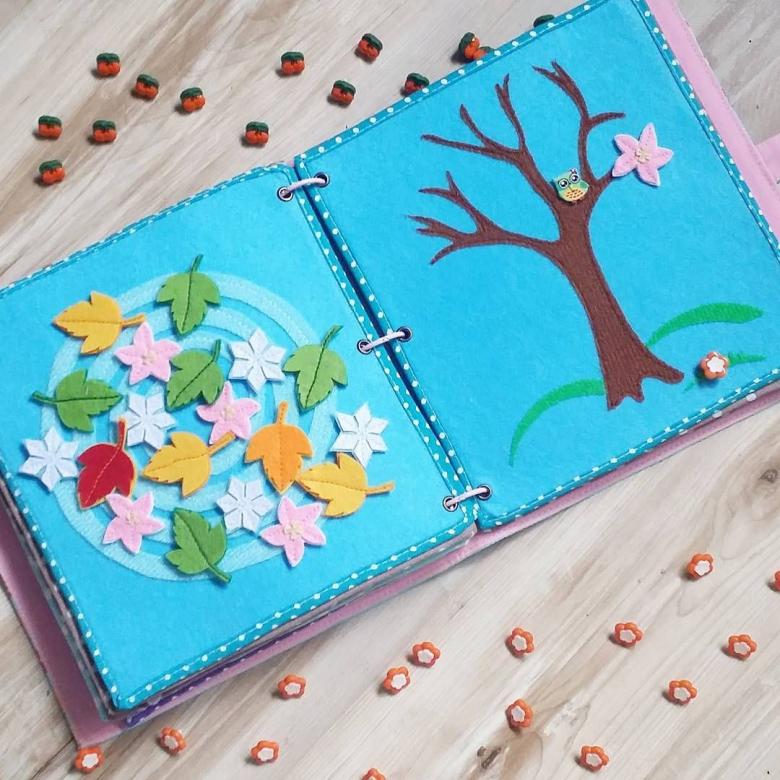
Instructions:
- We cut circles or ovals from felt, focusing on the characters of the fairy tale. Fox can cut an oval tail of soft felt, a bear - round brown belly, a wolf - a gray tail of stiff felt.
- Bring the characters of the tale by gluing details of felt with silicone glue. The drying time for the craft - 40 minutes, after which you can play a fairy tale with your child.
- Each animal in the story a child can touch and "placate". The end depends only on your imagination. For example, you can glue a live, healthy kolobok of yellow material on the other side of the cover. The fox became ashamed of her deed and spit out the kolobok at your baby's request. Somewhat similar to homemade theater.
Note: Any cardboard book can be transformed in this way.
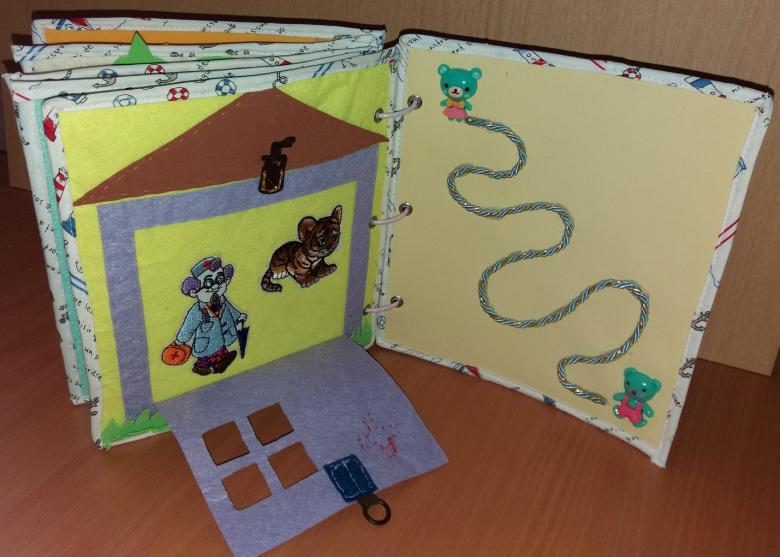
Method from 1 hour of work
The time it takes depends on how good your sewing skills are. To create the base of the soft book we will need:
- heavy cardboard;
- Silicone glue (you can use a glue gun);
- fabric;
- foam rubber (sold in construction stores).
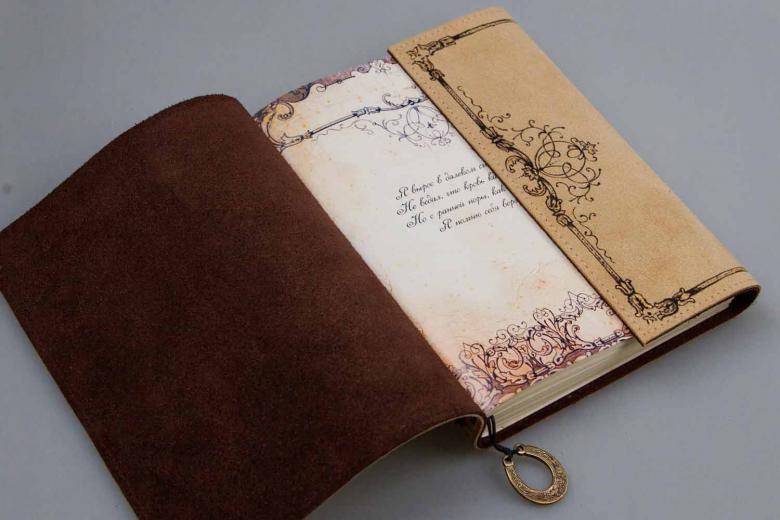
For decorations, use:
- ribbons;
- Velcro;
- buttons;
- buttons;
- cut out figures from felt.
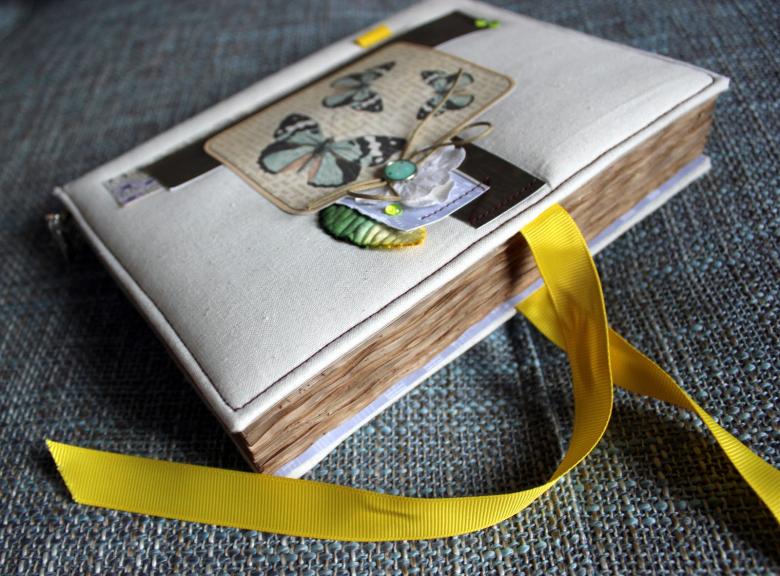
Instructions:
- From cardboard and foam paper, cut 6 squares with sides of 19 cm.
- From the fabric make 6 patterns with the parameters 21x21 cm.
- Glue the foam to a piece of cardboard and put the fabric on the piece. It is desirable to wait until the glue dries.
- Fold in the corners of the fabric, then the sides and fasten them with glue. The result will be a square.
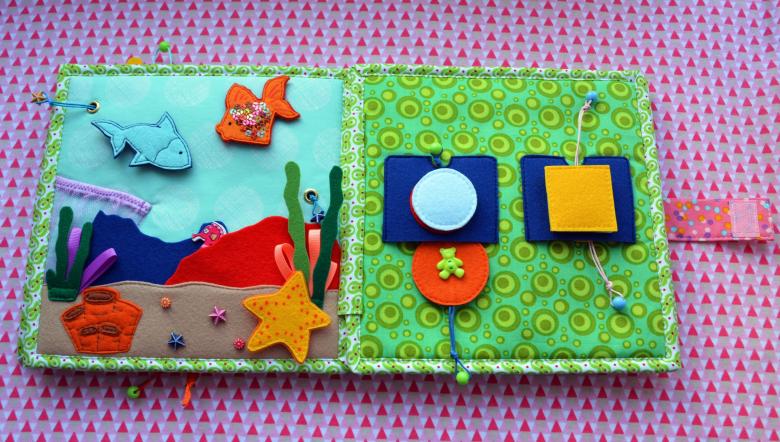
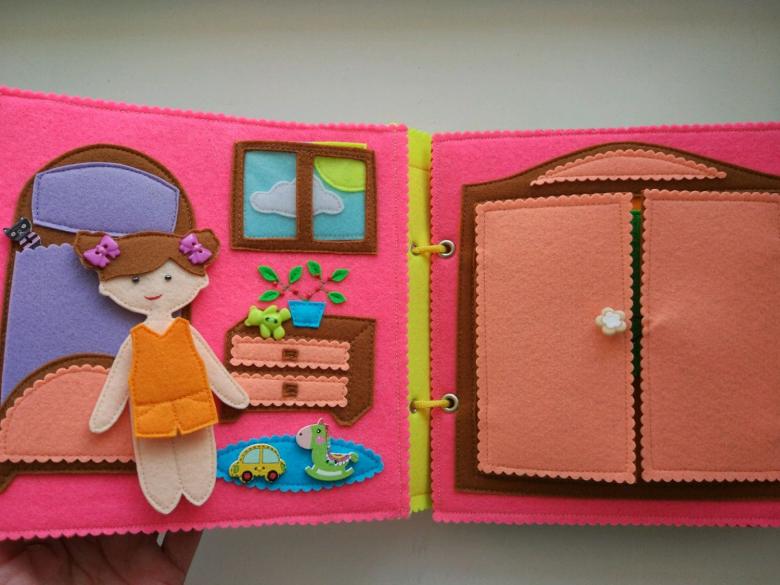
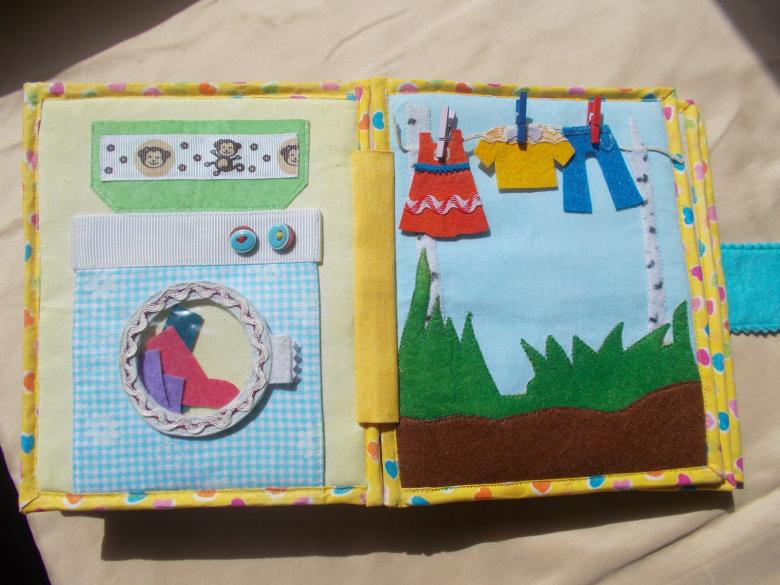
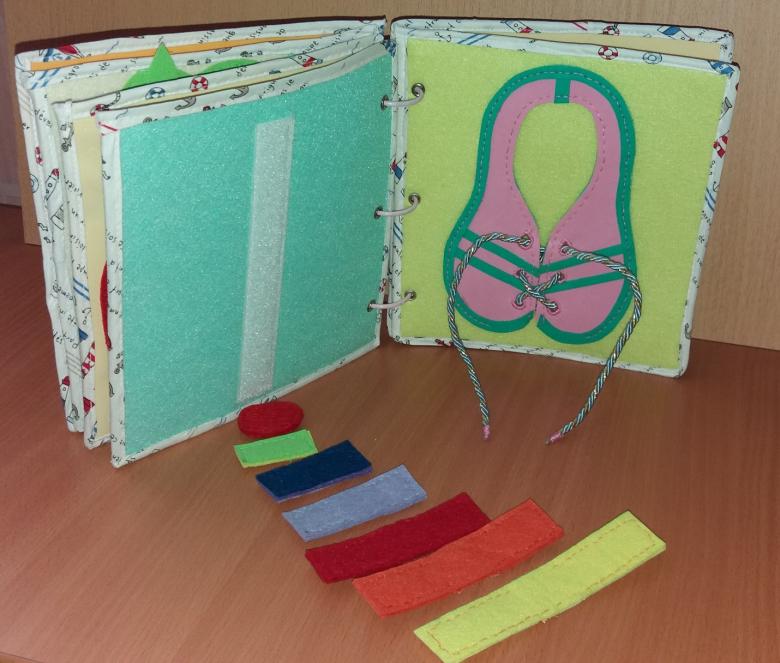
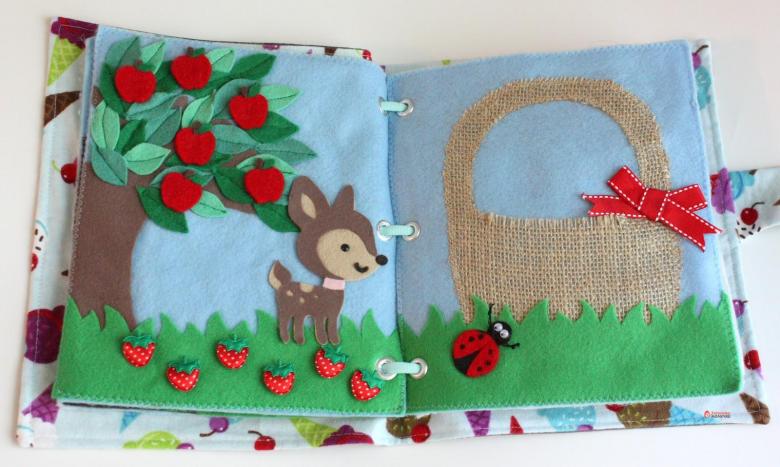
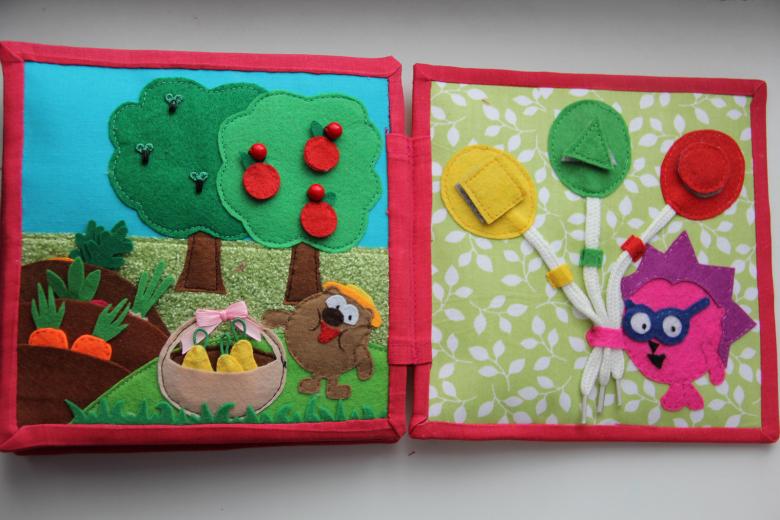
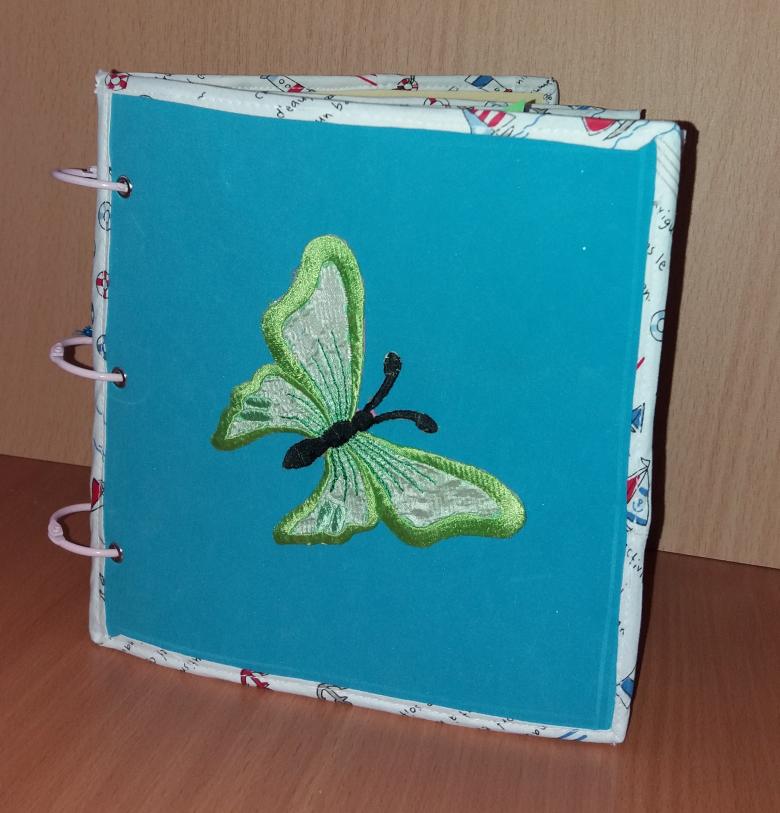
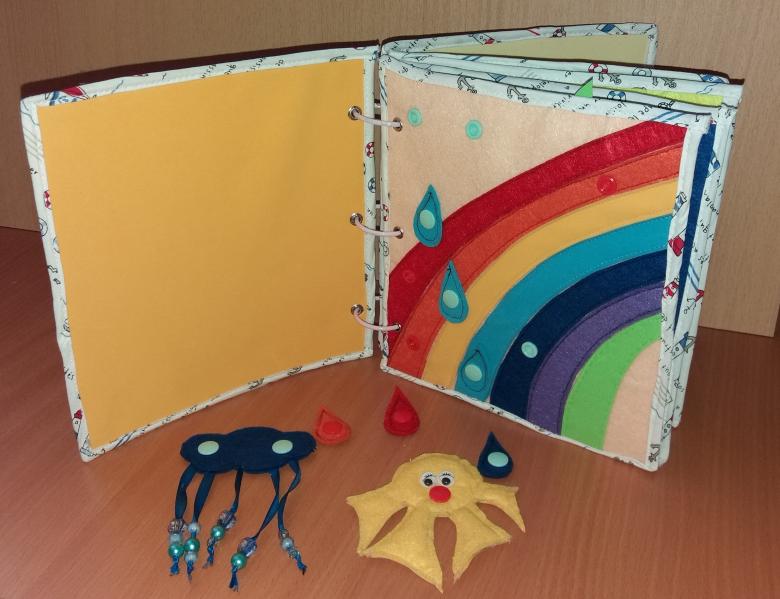
So make all the subsequent pages of the book. They differ only in decorations. On the first page you can sew a landscape of felt - for example, the blue clouds of soft felt and a square of green grass from the hard.
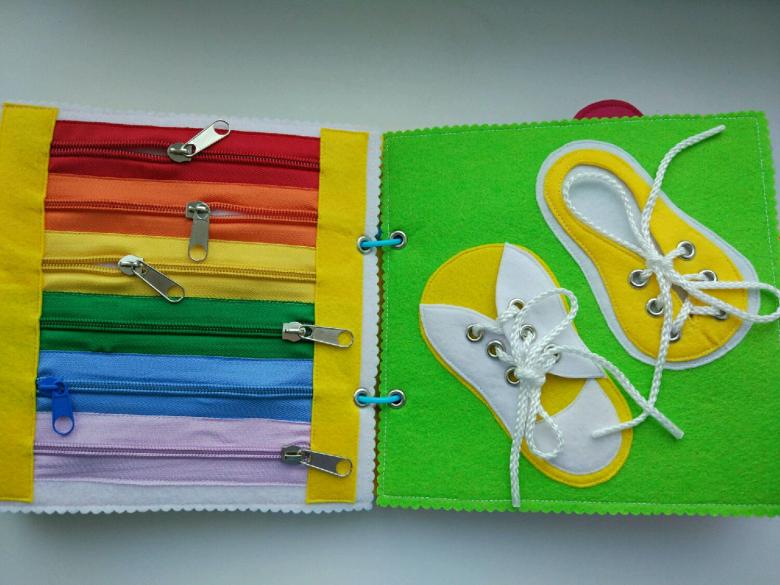
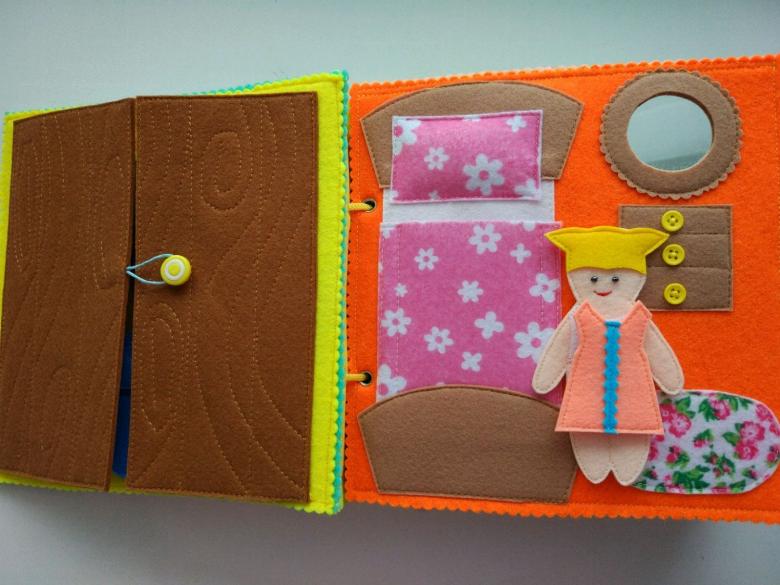
You can create underwater life or a vegetable bed. In this way, your baby will learn animals, vegetables, and their colors. Place anything in the book, just don't forget about the new details. Add buttons, beads, zippers, fabrics.
Standard Book
To create a standard book, you will need:
- A3 sheet of paper;
- glue;
- scissors;
- needle;
- thread;
- heavy cardboard.

Instructions:
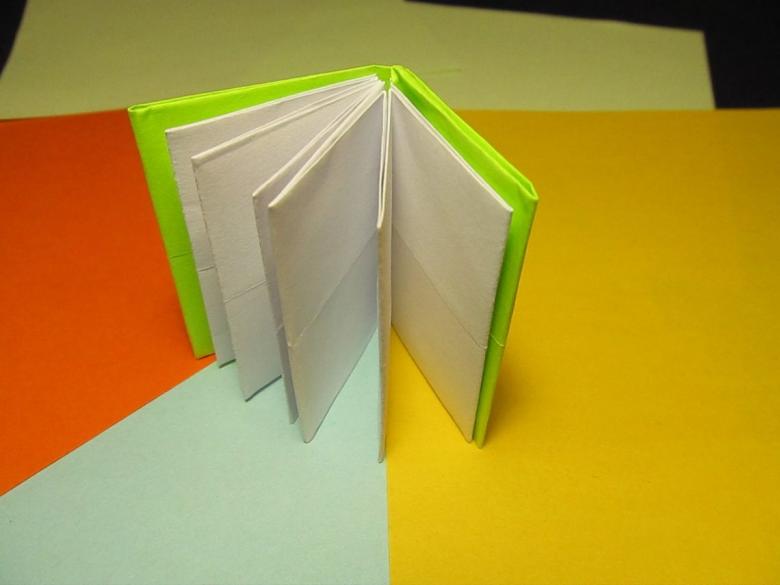
- Print out the text from Word. It should be aligned by width and have an indent for stitching - 1.5 cm minimum. Pages are two per sheet and numbered. Staple or staple the sheets together.
- Put the double sheets on top of each other and glue them together, remembering the order of the text.
- Place something heavy, such as an encyclopedia, on the stack of glued papers.
- Apply glue to the folds of the sheets, where rows of holes are made for stitching. Place a fabric bookmark, preferably chintz, on the glue. Then again under the weights.
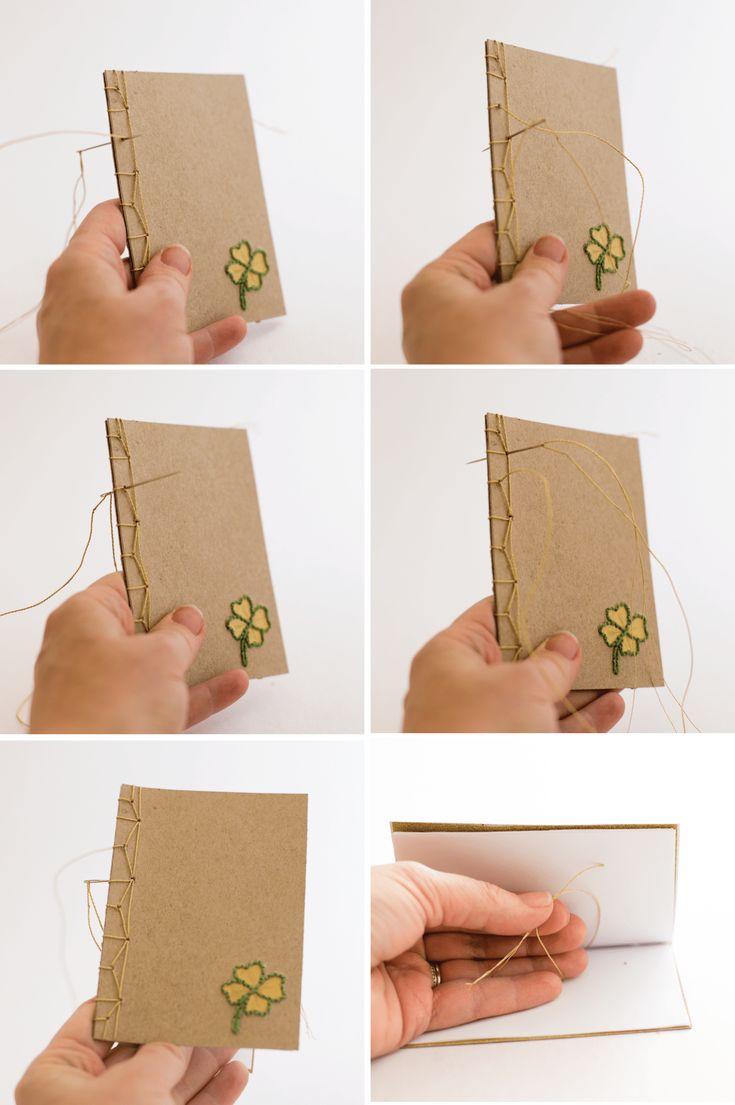
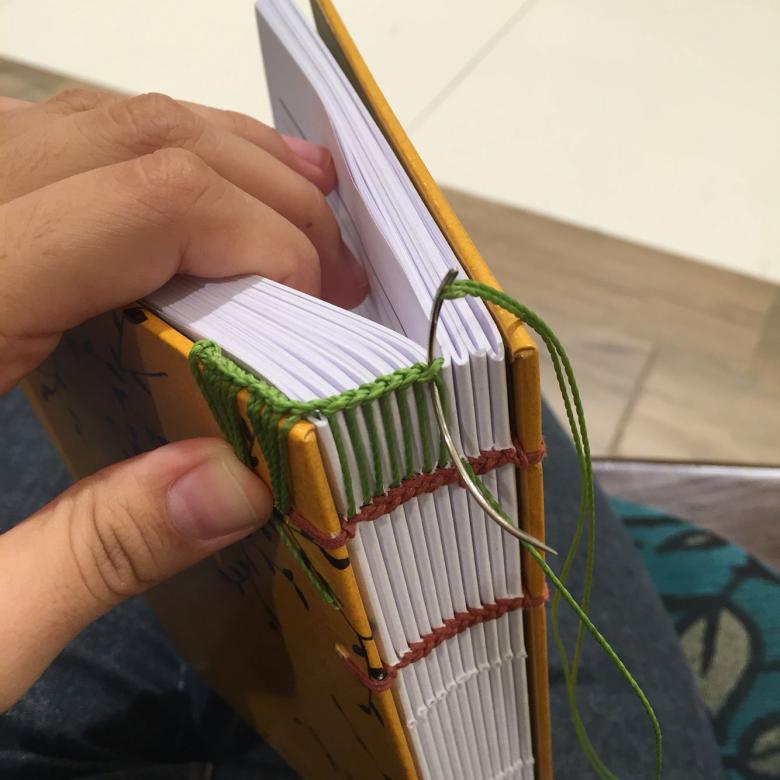
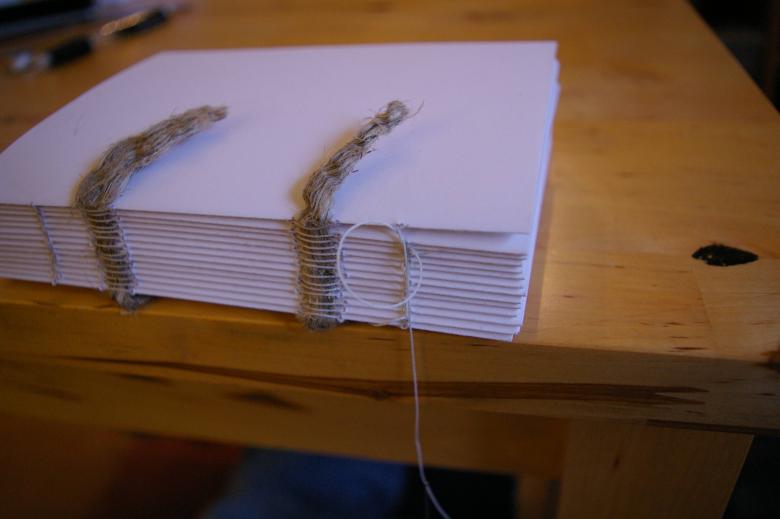
- After the work dries, you can make the binding for the book. To do this, the sheets are sewn to the fabric, and each individually. The construction is left to dry overnight.
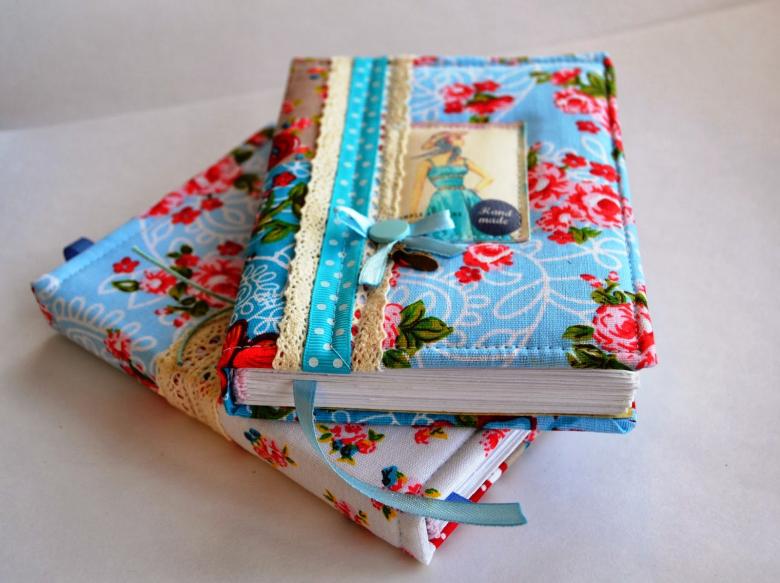
- The last thing is making the cover. It is made of two sturdy rectangles of cardboard and a strip for the end of the book. The strip is cut from an ordinary cardboard. The rectangles are glued together with cloth. Then the paper core is wrapped in the cover. The flyleaves are made from an ordinary sheet of A4. You can throw out the production waste in the form of cardboard remnants.

A book with an interesting cover
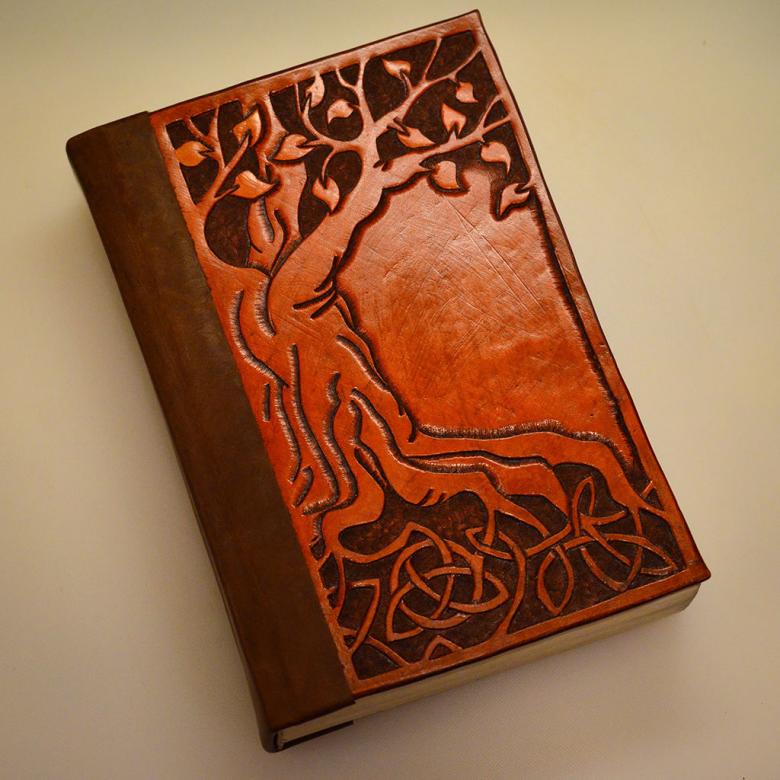
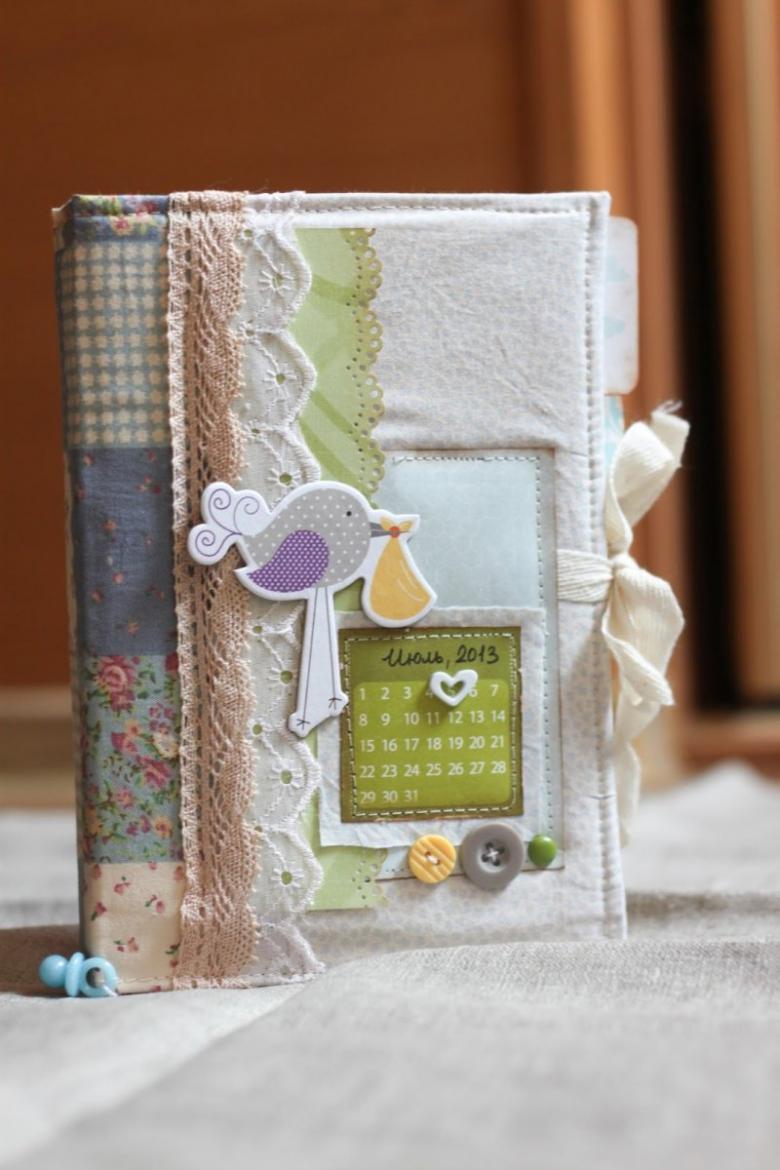
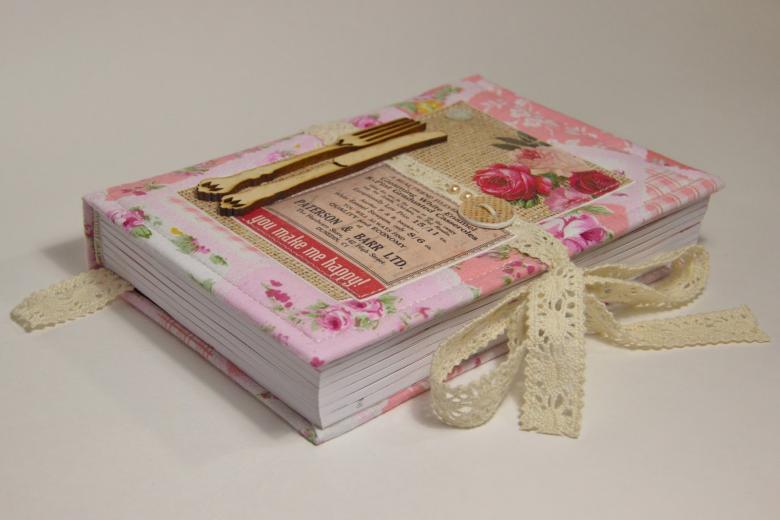
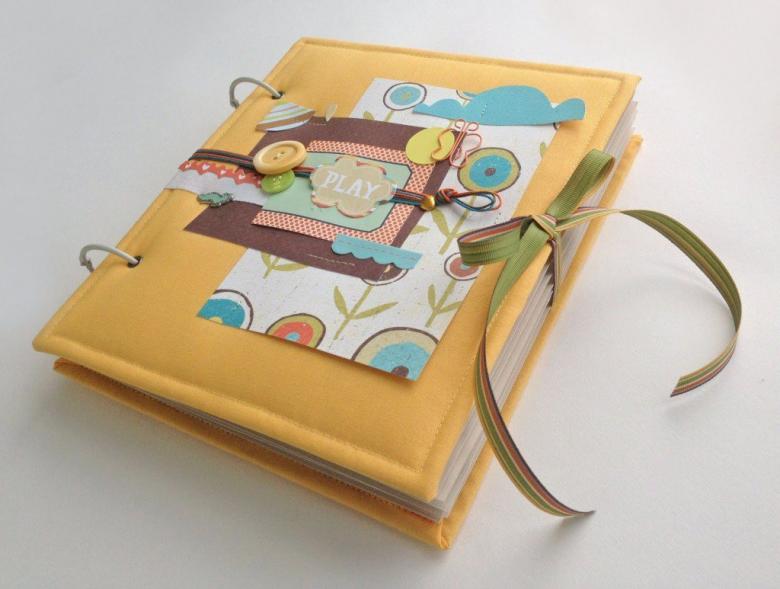
Provided that you know how to draw, you can create a stunning cover with acrylic paints. Can you imagine how spectacular a reproduction of Van Gogh's "Starry Night" would look? Of course, you could also cover the cover with a photo from the printer, but only if it's high resolution.

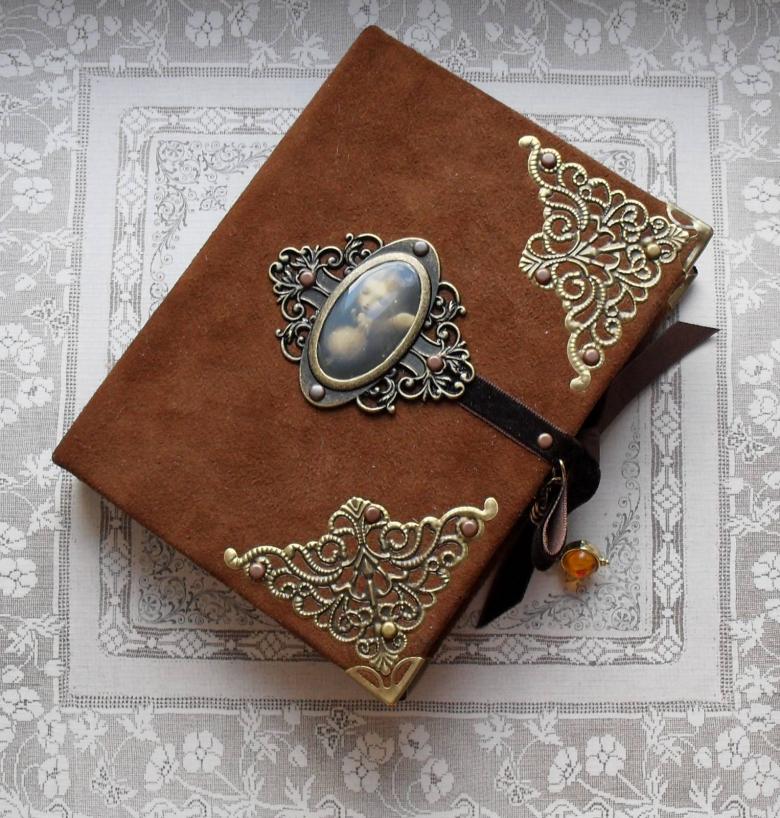
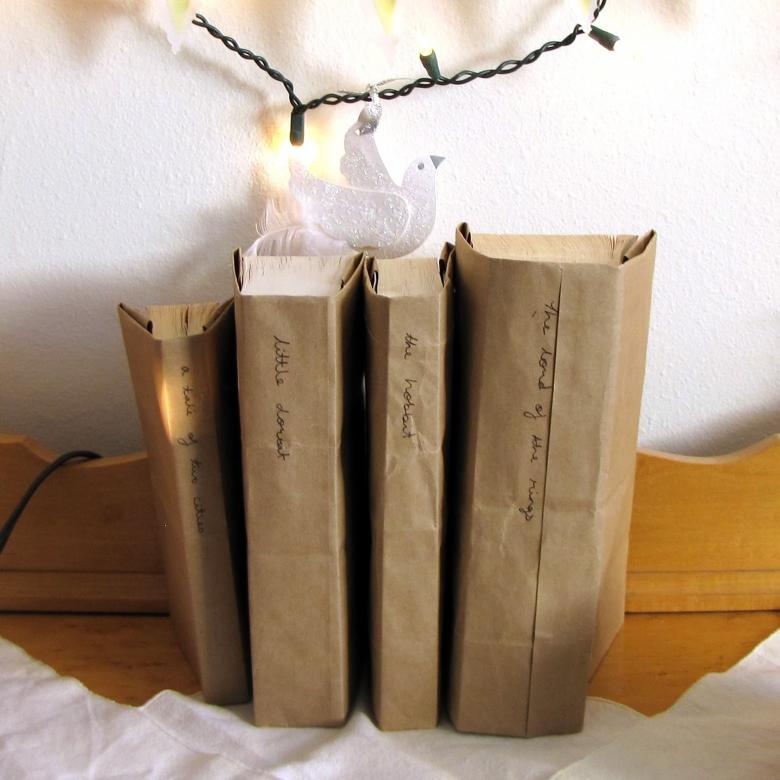
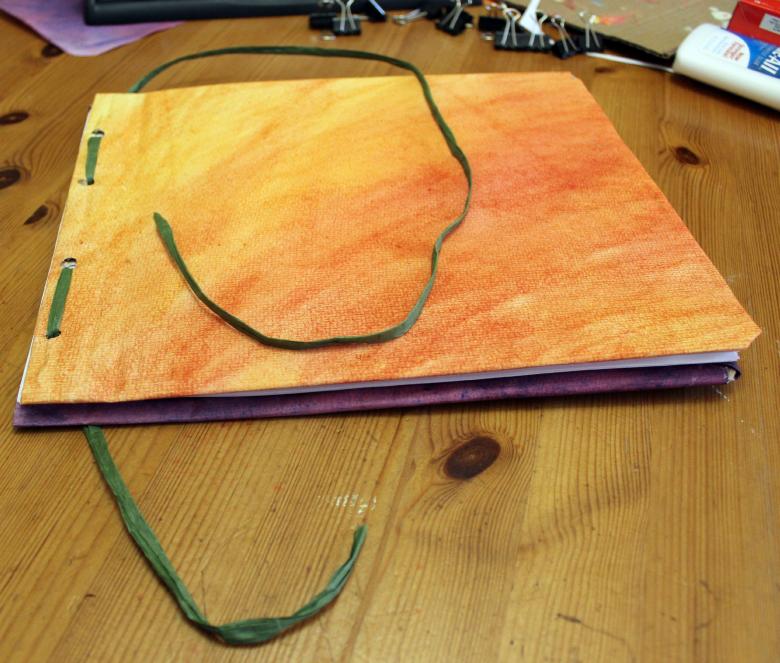
Textured brown paper like the kind used for envelopes also looks interesting on a homemade book. It's easy enough to make a cover like this: you need a pencil and a ruler to measure it out. The sheet of paper should protrude over the book so that there are corners that can be bent. Everything else is cut off and the corners are bent.
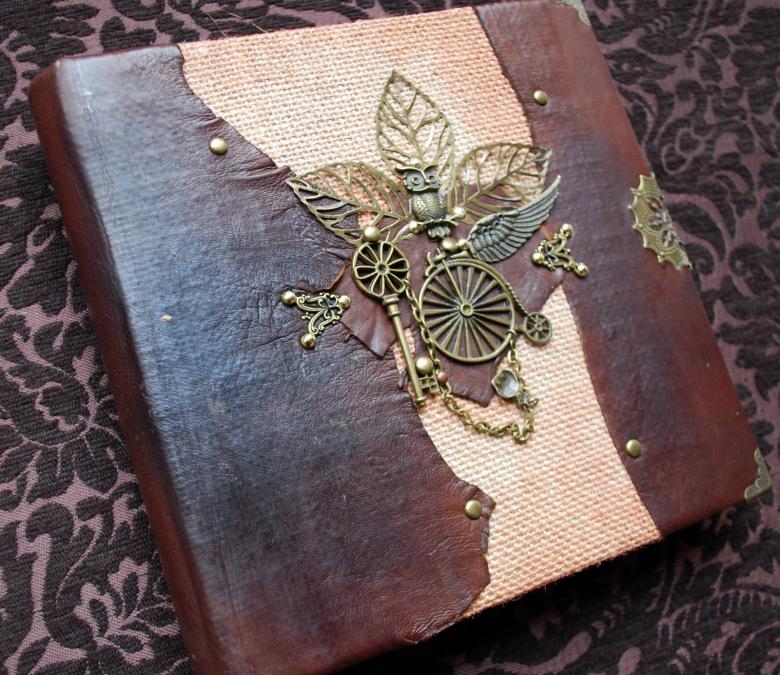
You are limited only by your imagination
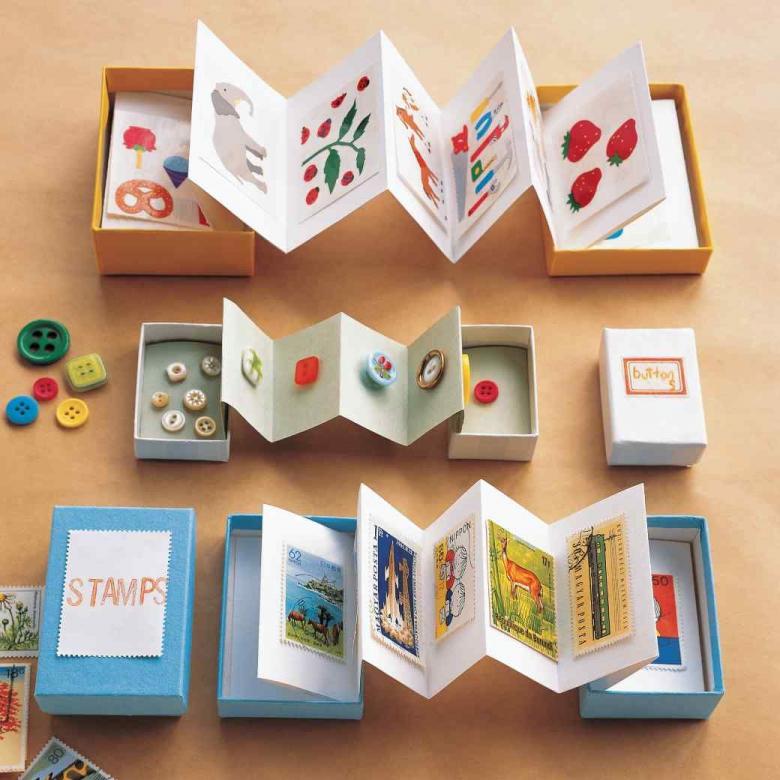
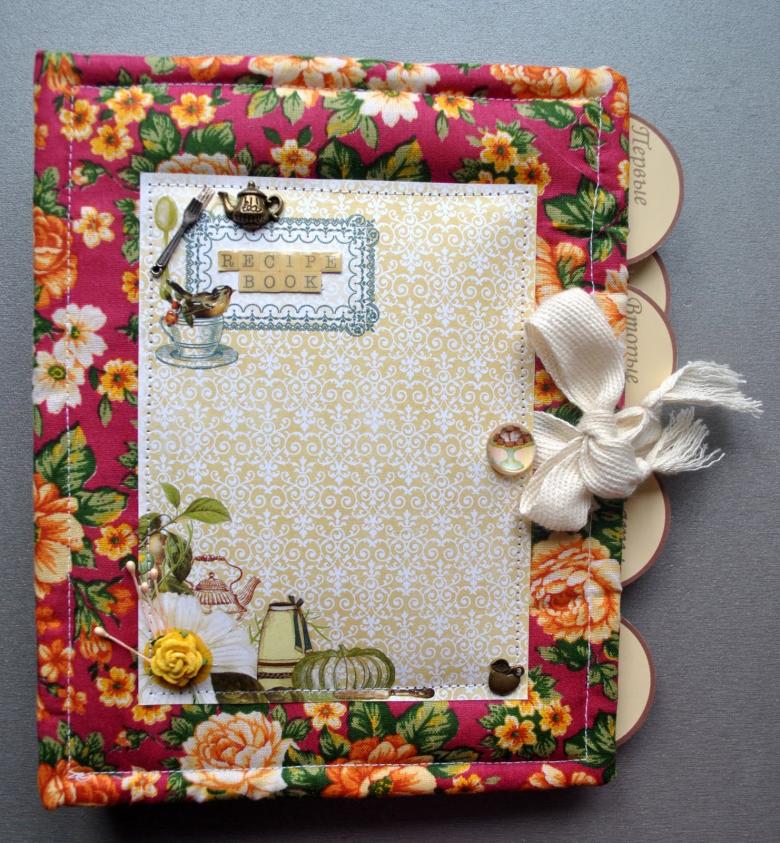
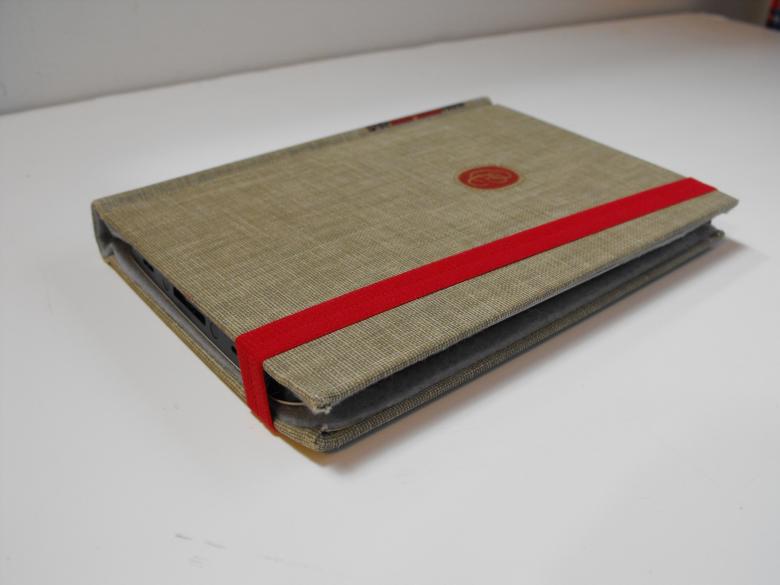
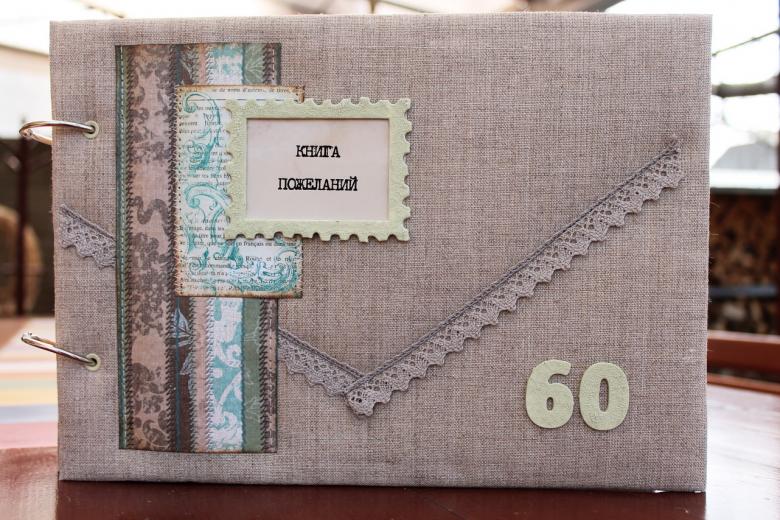
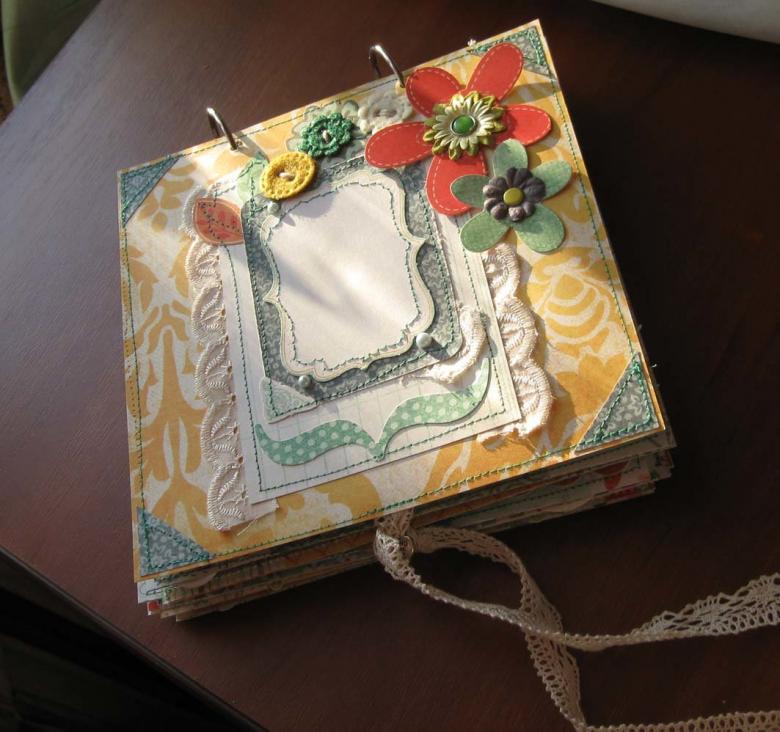
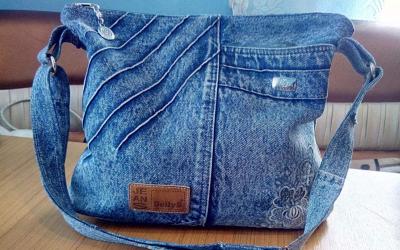
As you can see, you can make books that are different in composition and purpose - paper or soft felt. Each method leaves room for imagination. You can create cute soft worlds for your child or unusual books dressed in envelopes with rock art, seals, stamps. Theoretically, a book can be wrapped in anything, even curtains, tablecloths, jeans.

