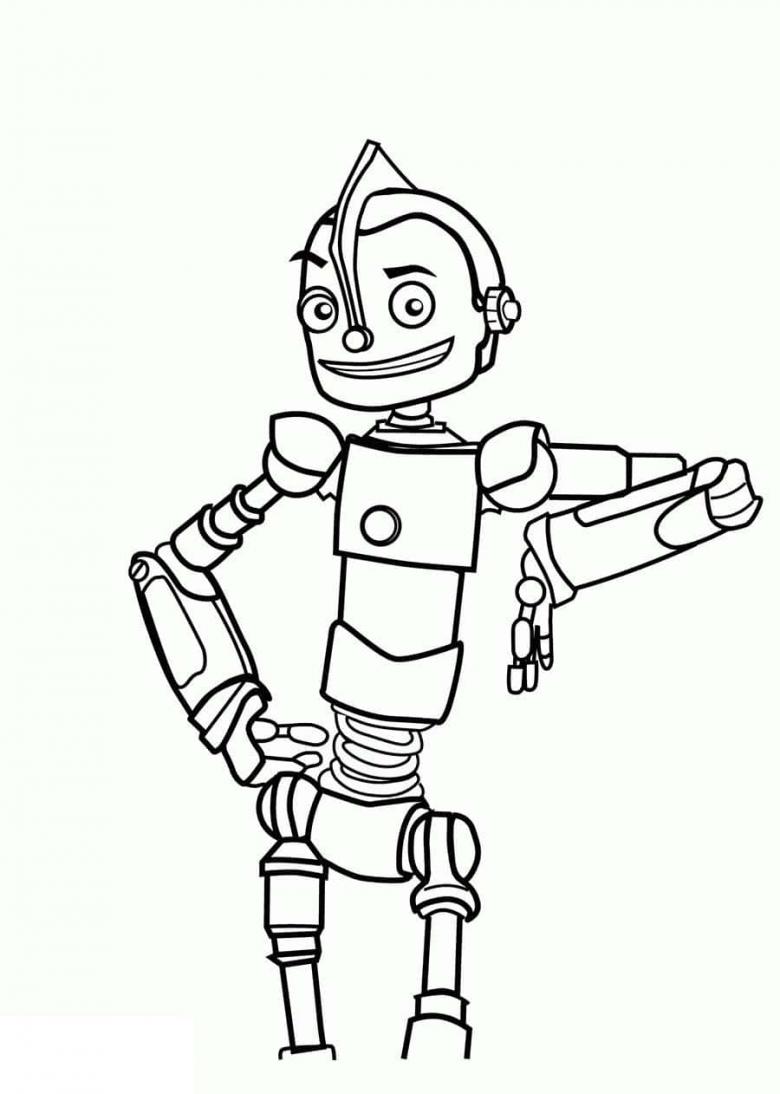
How to Draw a Robot - Step-by-Step Pencil Drawing Master Classes
A variety of robotic characters are often found in cartoons and enjoy a certain popularity among children. In addition, cartoon characters are replicated in the form of comic book characters and children's toys. At the heightened interest in these characters can be played if, in response to a request to buy the child another robot to offer to work.

Interested in the child, you can start by making a simple drawing of a primitive robotic device. A step-by-step lesson will help you cope with more complex characters as well.
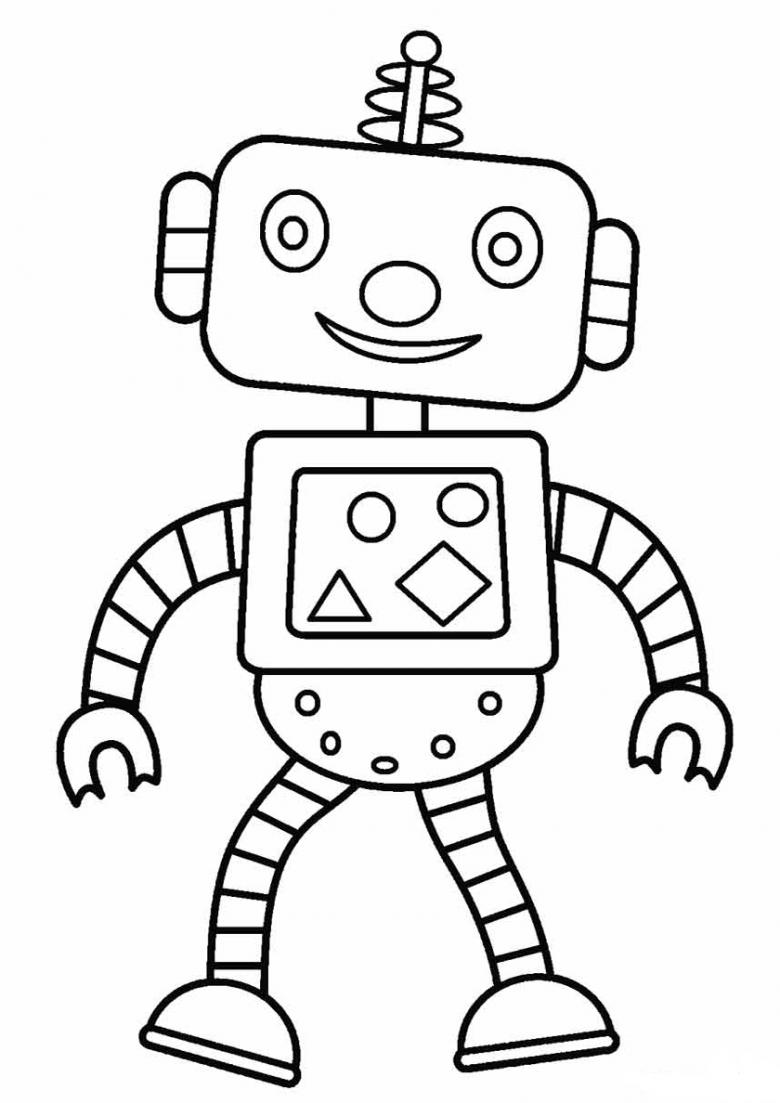
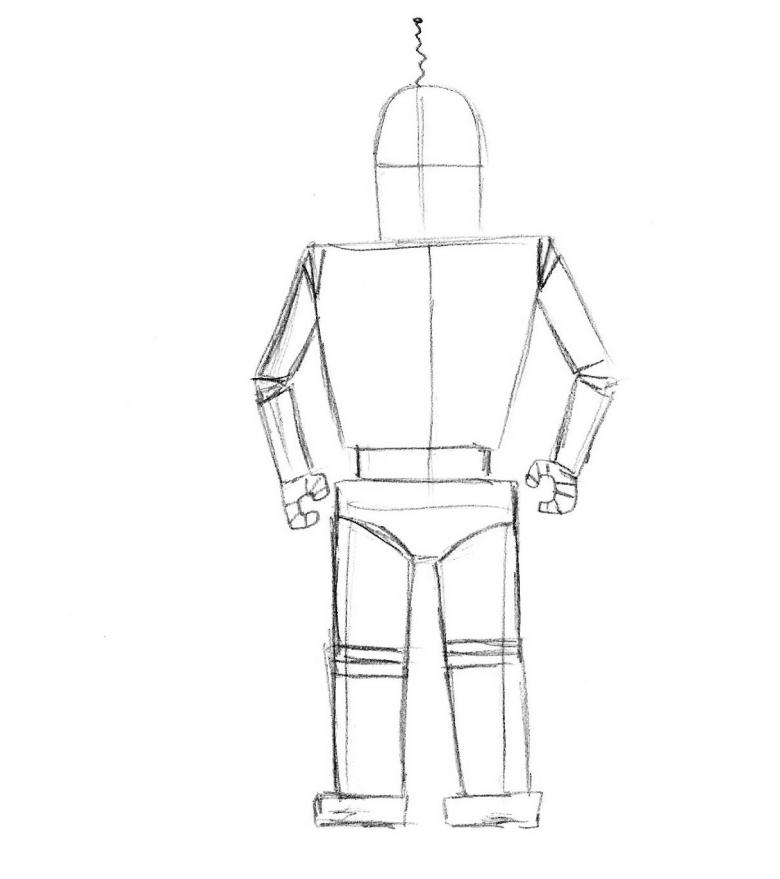
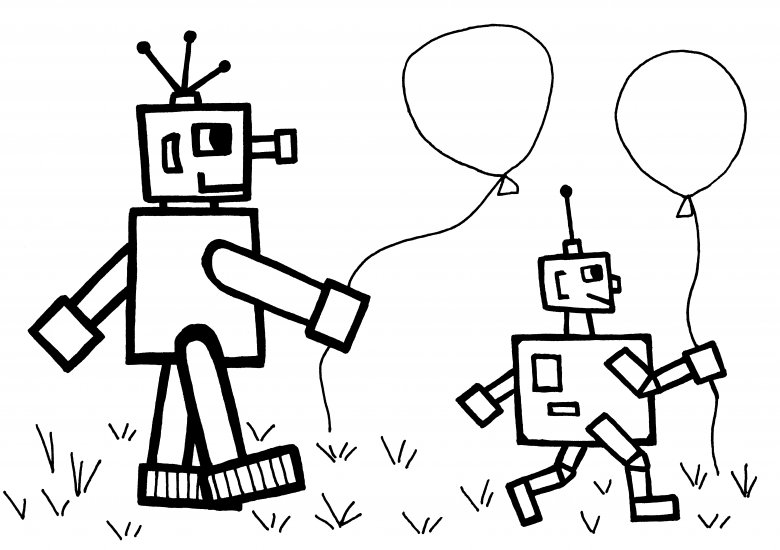
Kind robot
Such a character will not leave a child indifferent and will help teach him the basics of drawing.

For the lesson, you need to prepare:
- a sketchbook,
- colored pencils or felt-tip pens.
Order of work.
- At the top of the future drawing you need to draw two vertical sections at a short distance from each other, then connect them with parallels. This is the head.
- Below this element it is necessary to draw the torso in the form of a square, it is connected to the head with a pair of small verticals.
- Inside the large square must draw a smaller square.
- Above the head a pair of small segments at an angle and connect them with a figure in the form of an ellipse.
- Work out the "face" of the character, to indicate the ears.
- Hands-manipulators attached to the body with small arcs, grabs on the limbs can be done in the form of stylized horseshoes.
- The body and other parts of the design can be detailed by adding screws, marking the joints.
- Make the legs-supports in detail.
- Use colored pencils or felt-tip pens to color the character. This can be done in any form.

A simple drawing will help a child take the first step in mastering the art of artistic representation. Gradually, the task can be made more difficult by adding new details to the character in the next drawing.

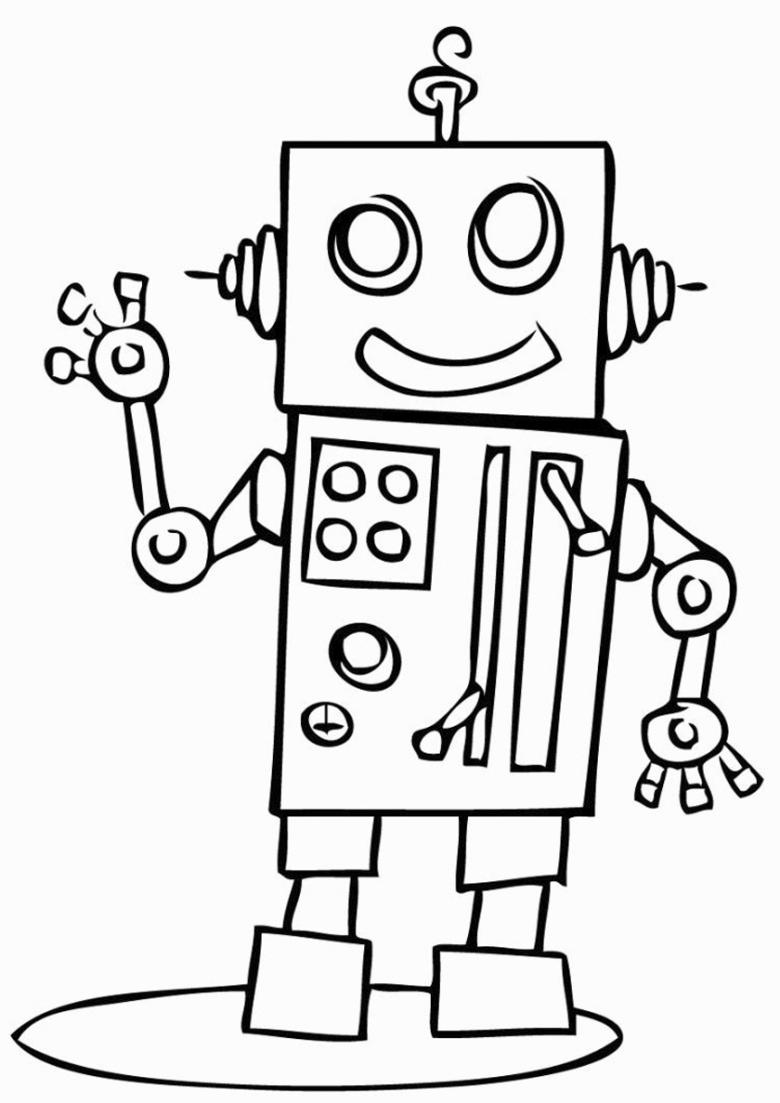
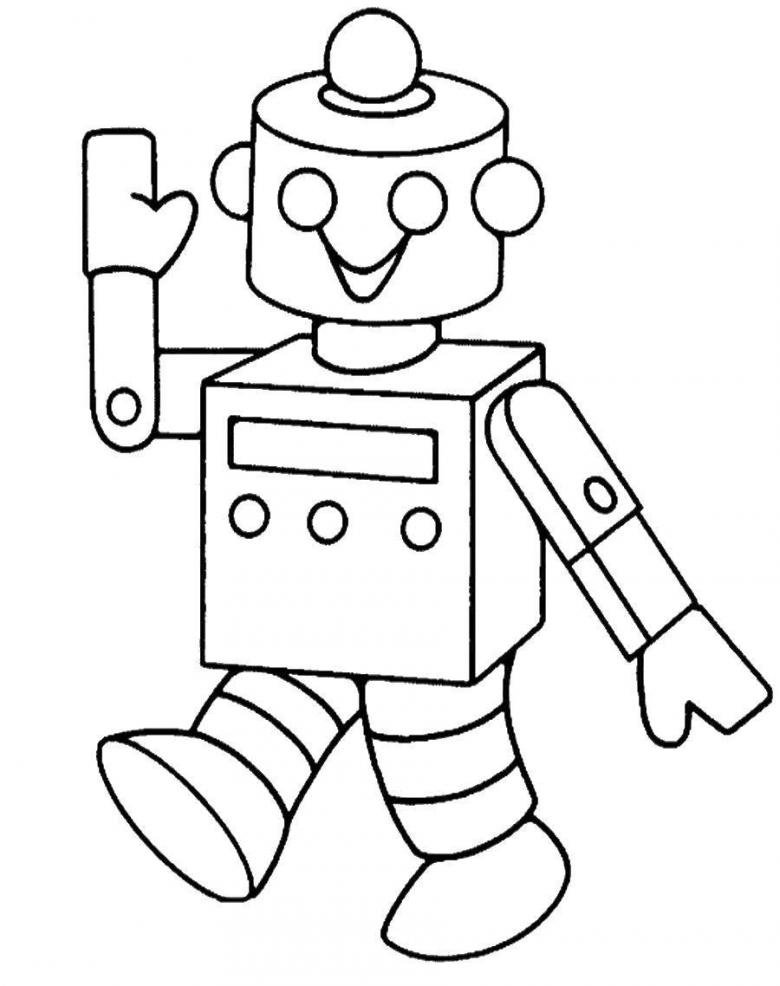
Funny robot
More complicated in the performance will be the following robot, for the image of which other principles are applied.

For work it is necessary to stock up:
- a sketchbook,
- pencils or felt-tip pens.

Order of work.
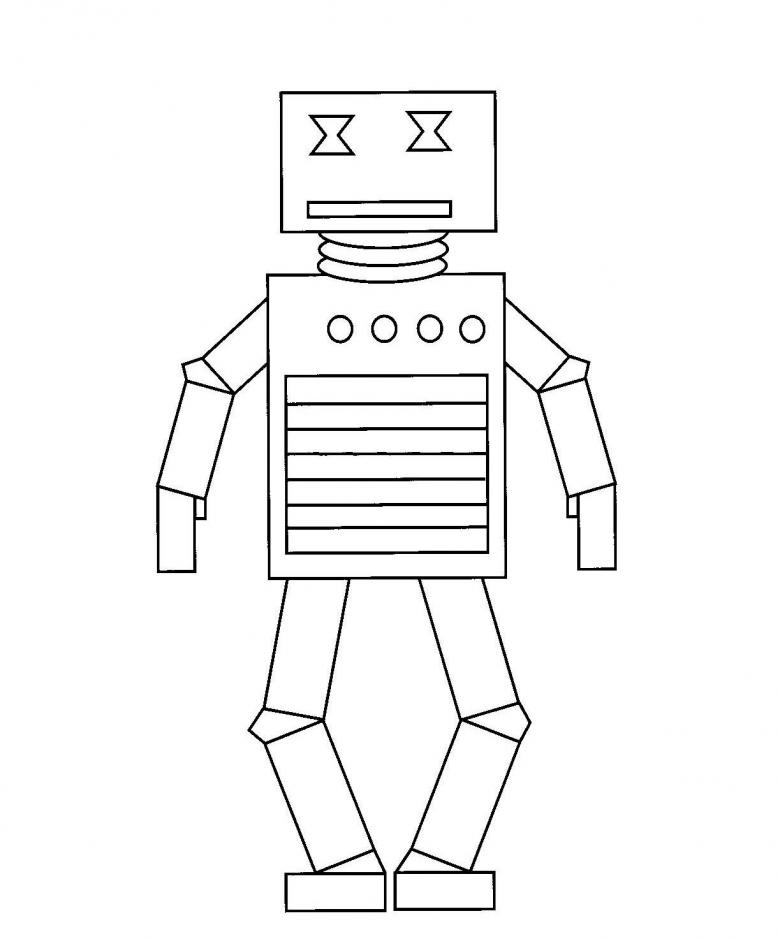
- Find the center of the sheet at the top to mark a circle of medium size. A little lower duplicate element with a similar semi-oval, connect the parts. We get a cylinder-head. Drawing detail, forming a face, ears, the antenna on top. On the face show a wide smile.
- Below draw a rectangular body, giving him with additional sections of the volume.
- Add a neck, connecting parts of the body.
- Arms can be designed in different positions: one down, the other up and bent at the "elbow.
- It is not difficult to depict the grips and manipulators as mittens.
- Detail elements of the body by drawing bolts, rivets, control panel.
- Lower extremities with oval lines can be depicted as round, detailing them.
- Color the robot with felt-tip pens or pencils.
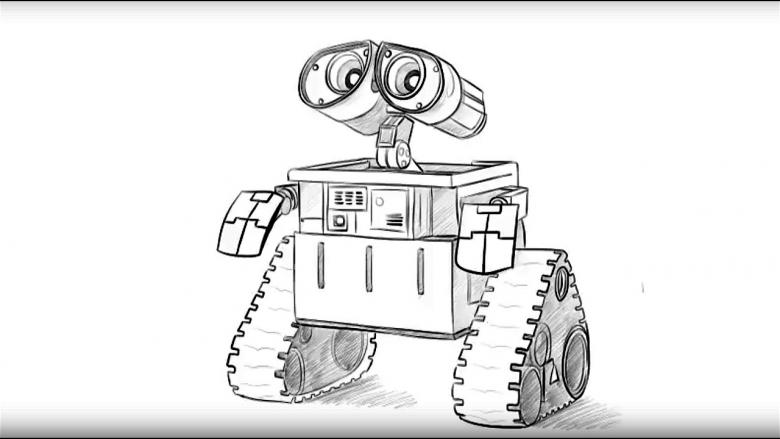
Robot Wall-E.
A step-by-step mastering of the drawing technique will allow you to gain good experience and move on to more complex creative tasks.
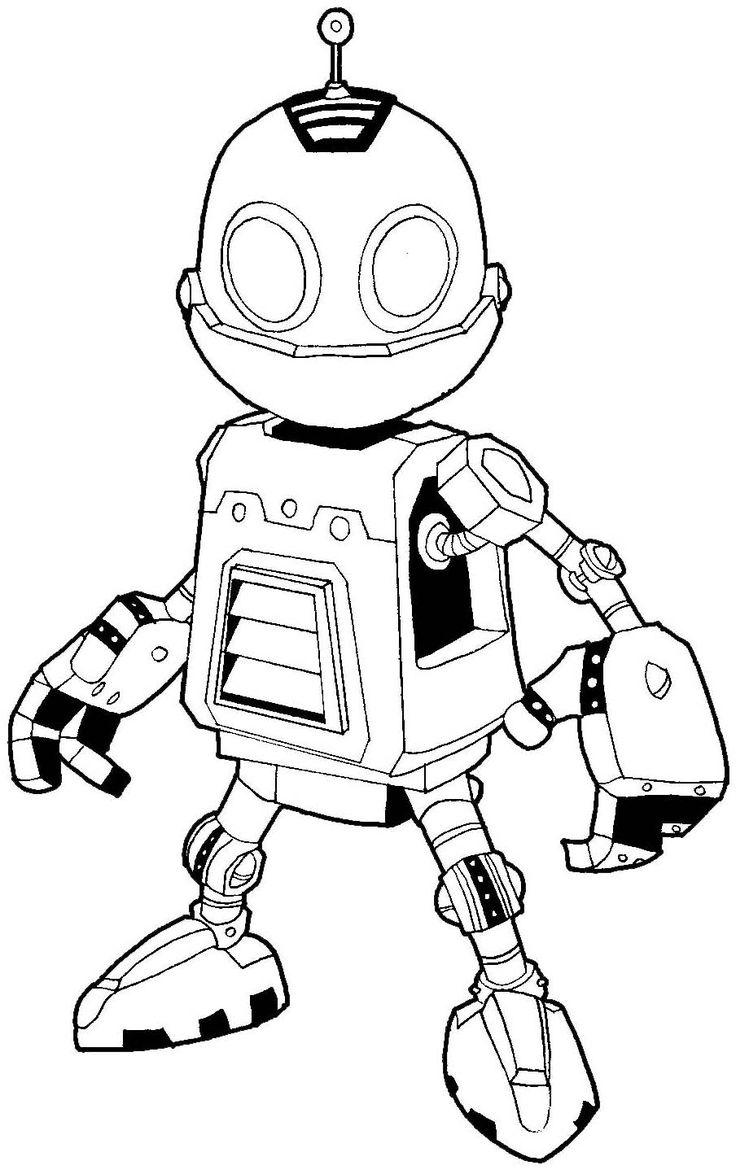
For the class you will need:
- a sketchbook,
- a simple pencil,
- A box of colored pencils.

Procedure.
- Mark out a sheet of paper, identifying the middle.
- At the top of the sheet outline two drop-shaped shapes, connecting them with a crosspiece. Duplicate the elements, giving them volume. This is the optics-eyes of the robot.
- Below depict a rectangle.
- Connect the optics of the machine with a rectangular body, depicting a rail with a hinge connection using straight lines.
- Make the rectangular body volumetric with additional straight segments.
- On the side of the body, depict the hand-manipulator. Detail it and draw the paw-gripper.
- Draw the second limb-grip.
- In the lower part of the body, draw triangles, rounding their tops. These are tracks for moving the character.
- Draw the elements of tracks and rollers.
- Complement the body straight lines to detail the image.
- Color the details.

Drawing is quite complicated, so you need patience and eraser. Attention to detail will help to cope with the task and learn to draw complex devices.
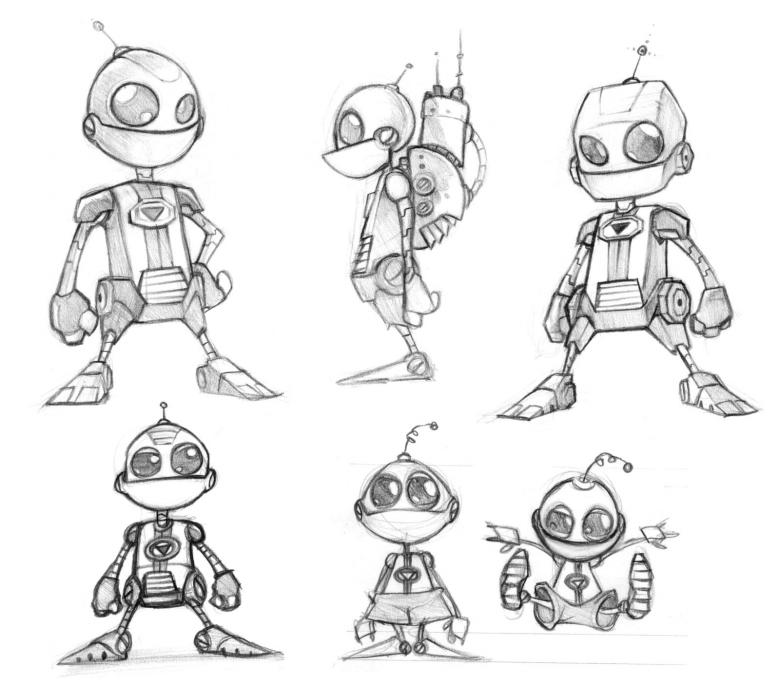
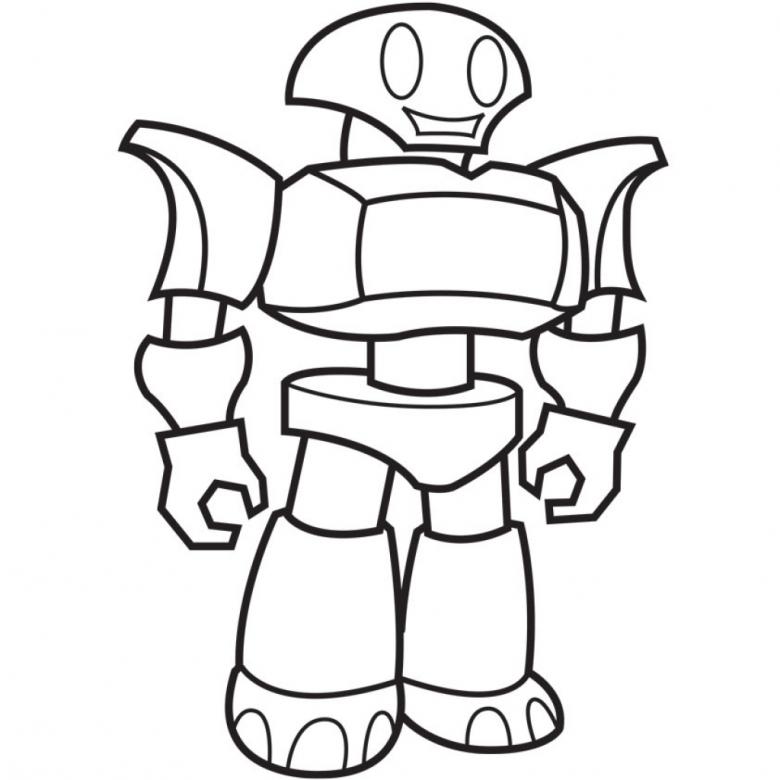
Beimax in armor.
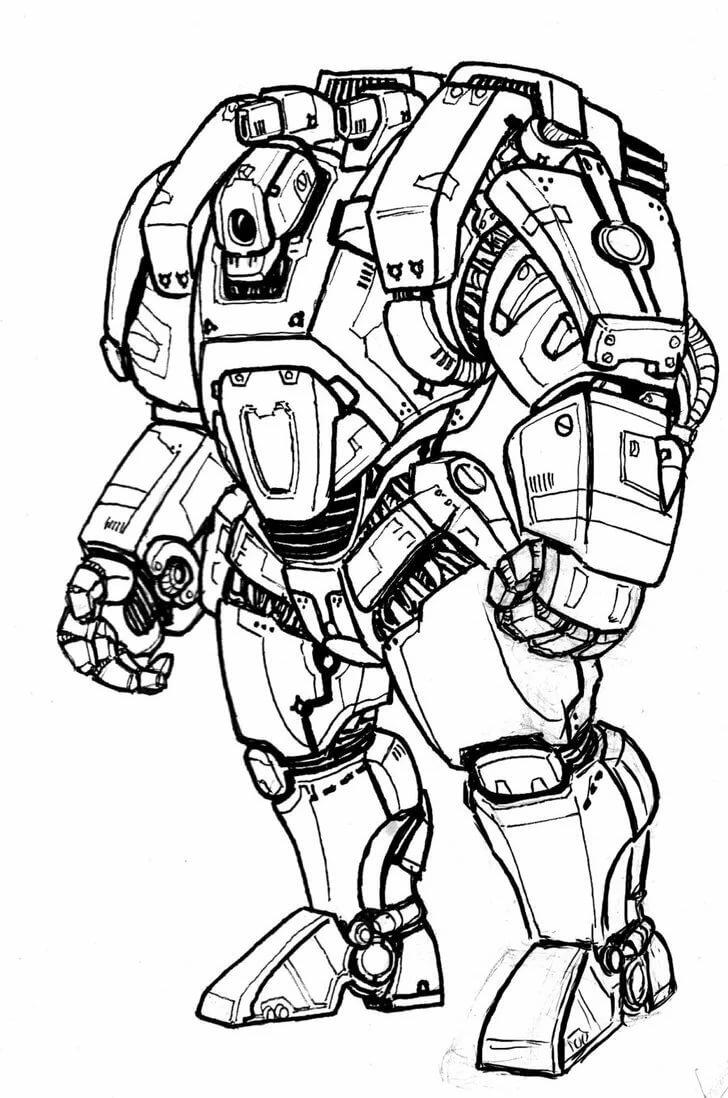
Using a step-by-step drawing of this character, a child will learn how to draw popular robot transformers. The image scheme involves demonstration of combat power, so you should highlight the torso and limbs of the robot in the drawing, and depict the head not very large.
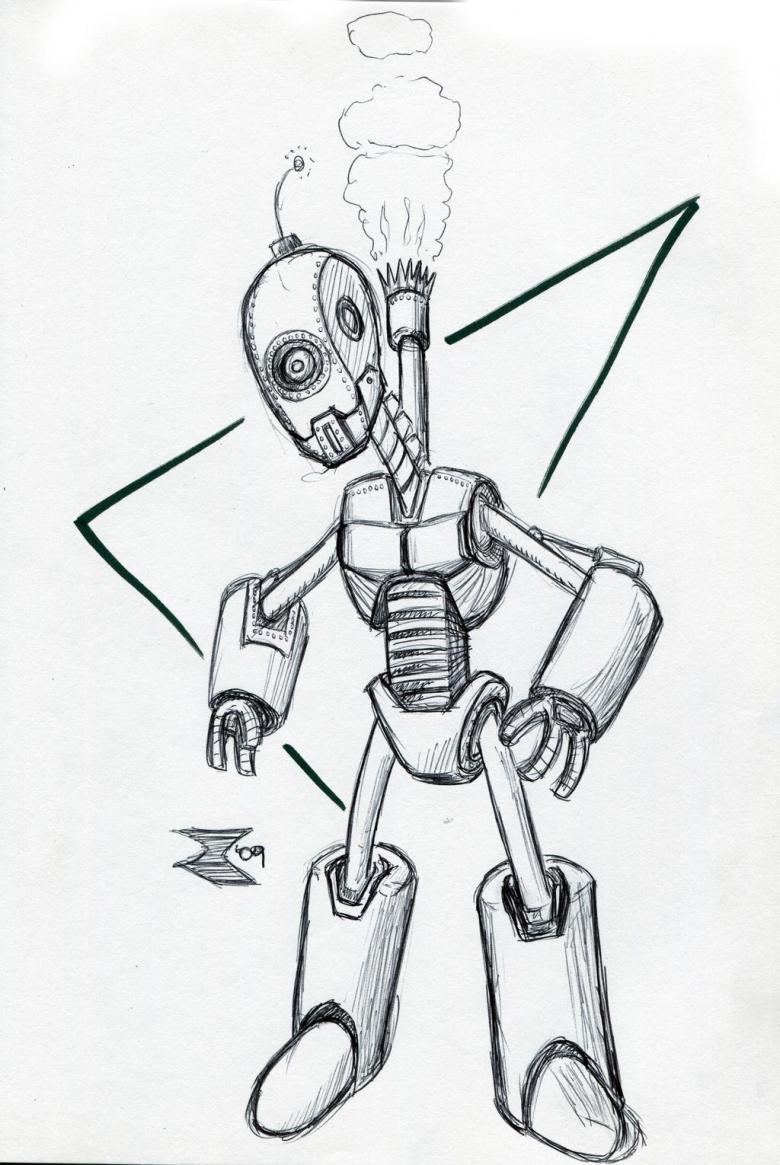
For the work you need:
- A scrapbook sheet,
- a simple pencil and an eraser,
- felt-tip pens or colored pencils.
Robot, which has a minimum of small parts, you can paint.

Procedure.
- Determine the middle of the sheet and draw the head in the upper part. Immediately portray glasses on the face of the robot.
- Straight line of shoulders slightly bend at right angles.
- Oval lines indicate the forearms powerful combat robot. Doris and detail the upper limbs.
- Visualize three-dimensional torso.
- Draw the character's legs, showing his strength.
- Paint and color.
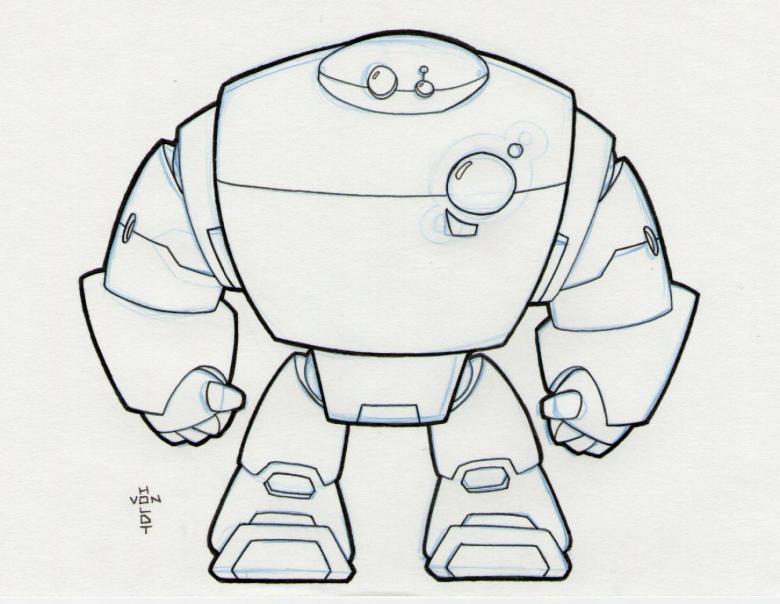
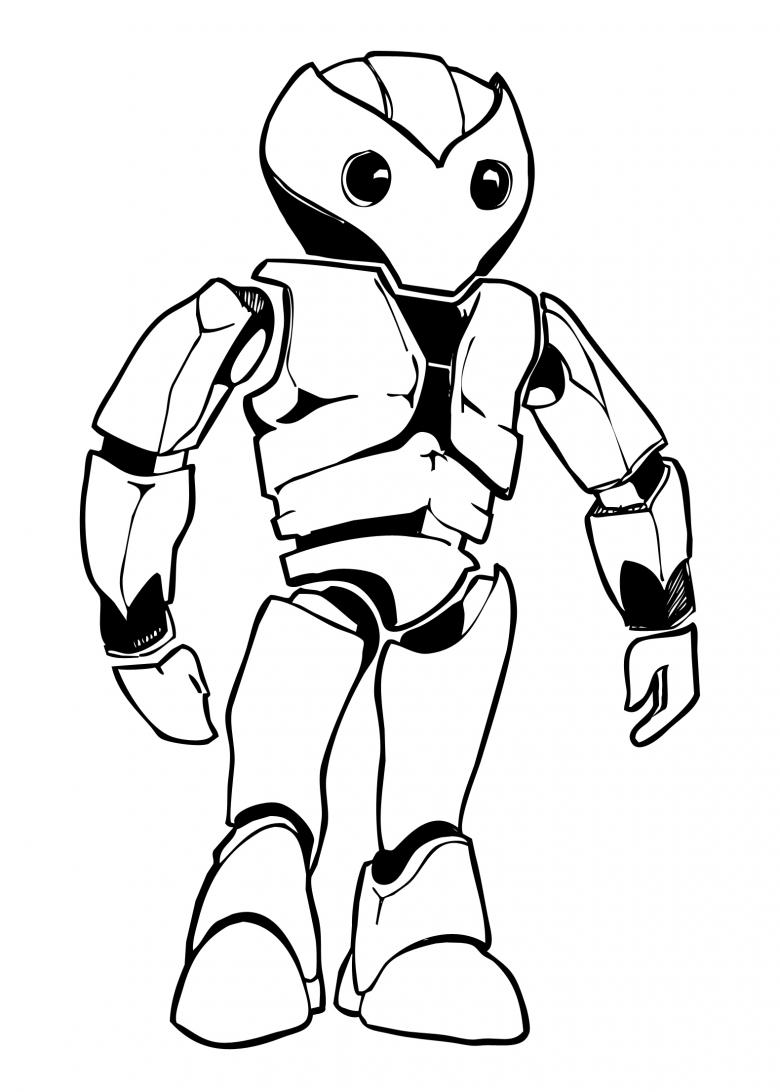
Blacktop
Having practiced on not very complicated images, it is time to take on more serious tasks.
Armed with the same drawing tools, you can try to depict another cartoon character.
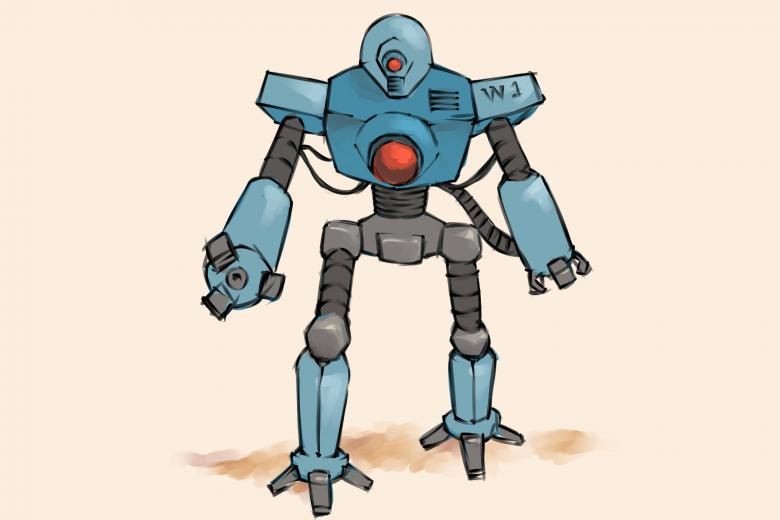
Order of work.
- Drawing begins with an image of a muzzle-mask using small vertical sections and corners.
- Having drawn the mask, it is supplemented with a helmet and neck.
- Using angled broken lines to depict the character's torso, providing it with all the necessary fine details.
- Particular care is required to depict the limbs. Requires detailed transfer to paper all the details, respecting the proportions.
- Details and elements of the connections are depicted using straight and oval lines.
- In the lower part of the body to depict a triangular protection with a narrowed bottom. If possible, transfer to the drawing all the details and connections on the robot's body.
- Shade the bottom of the character's helmet in black, trace the outline of the robot and color it.
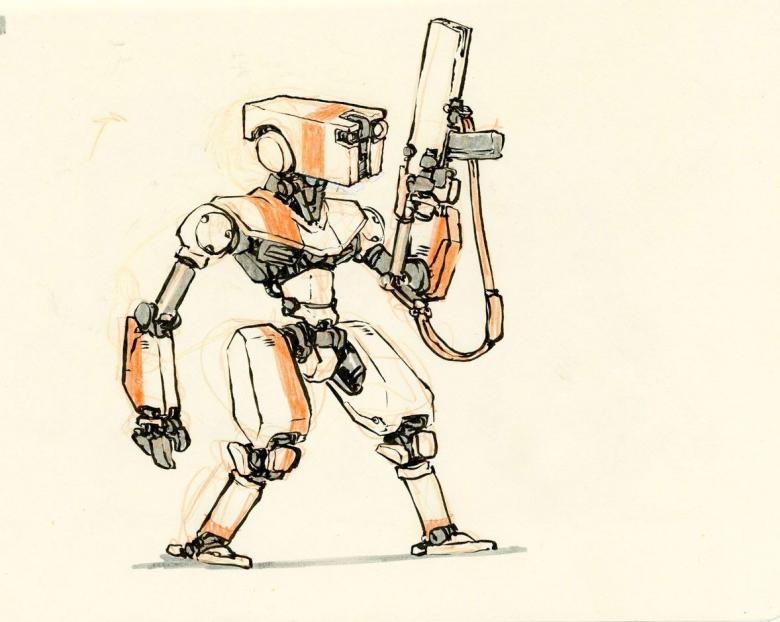
Learning to depict various robots on paper is not difficult if you start with simple drawings. Gradually it is possible to pass to the realization of more complex tasks.
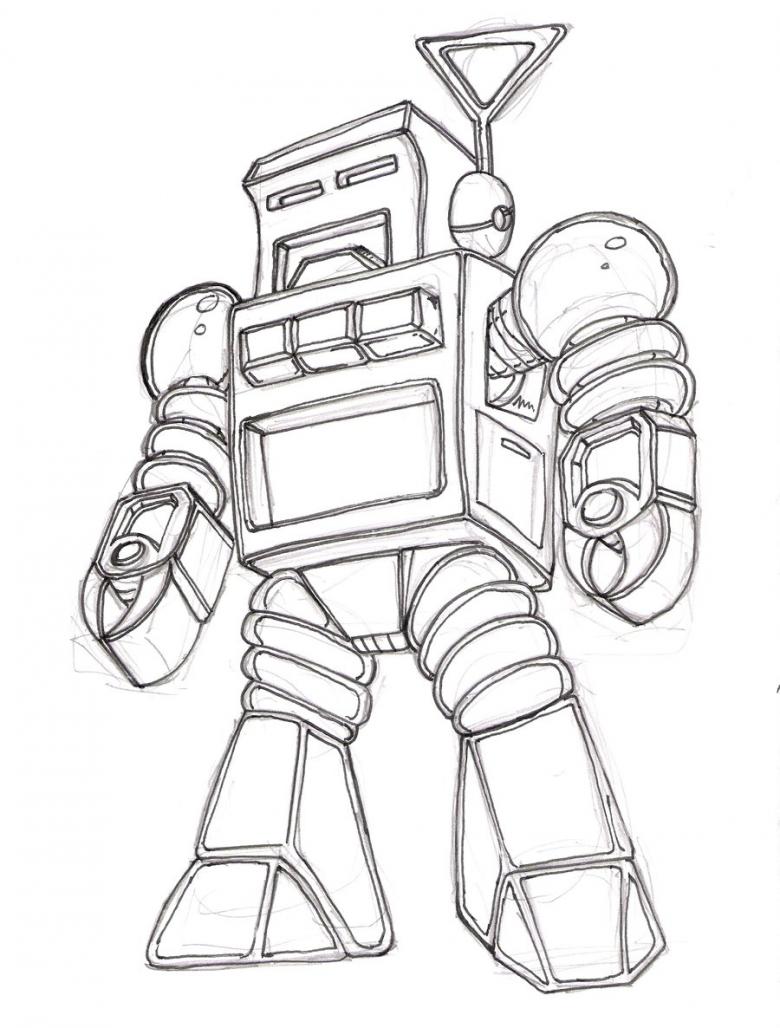
You can draw robots with a simple pencil, pen, felt-tip pens. The drawing can be colored or decorated with shading.


