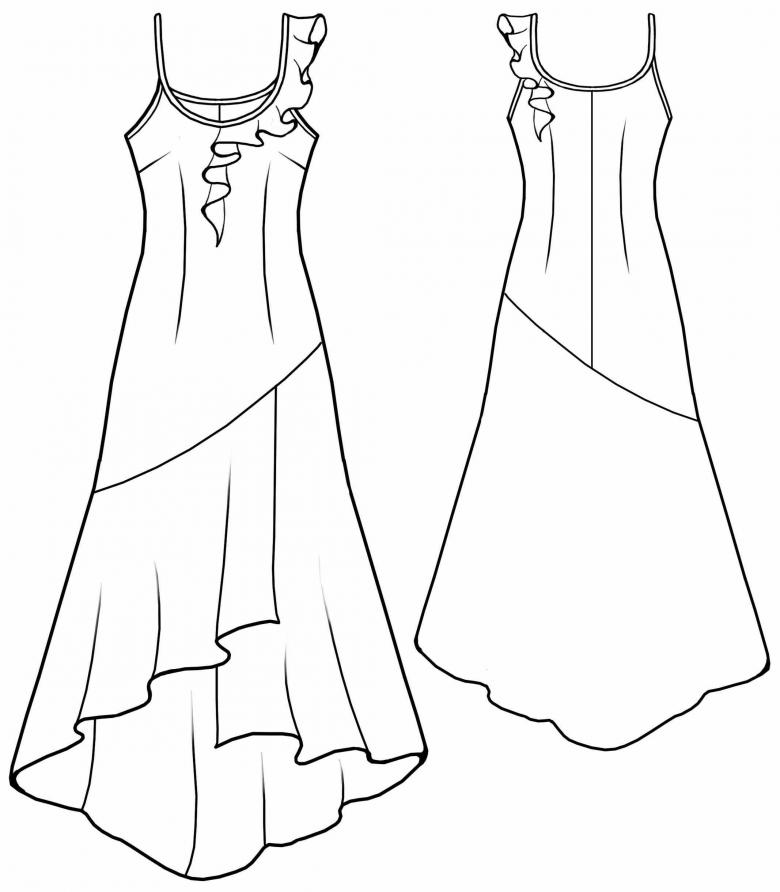
How to draw a dress - detailed instructions for drawing different kinds
Many parents help their daughter in any creative endeavors. This also applies to drawing. The prepared material describes step by step the different ways of depicting a dress. The sketch is usually drawn with a simple pencil, and then colored with colored pencils and pens.
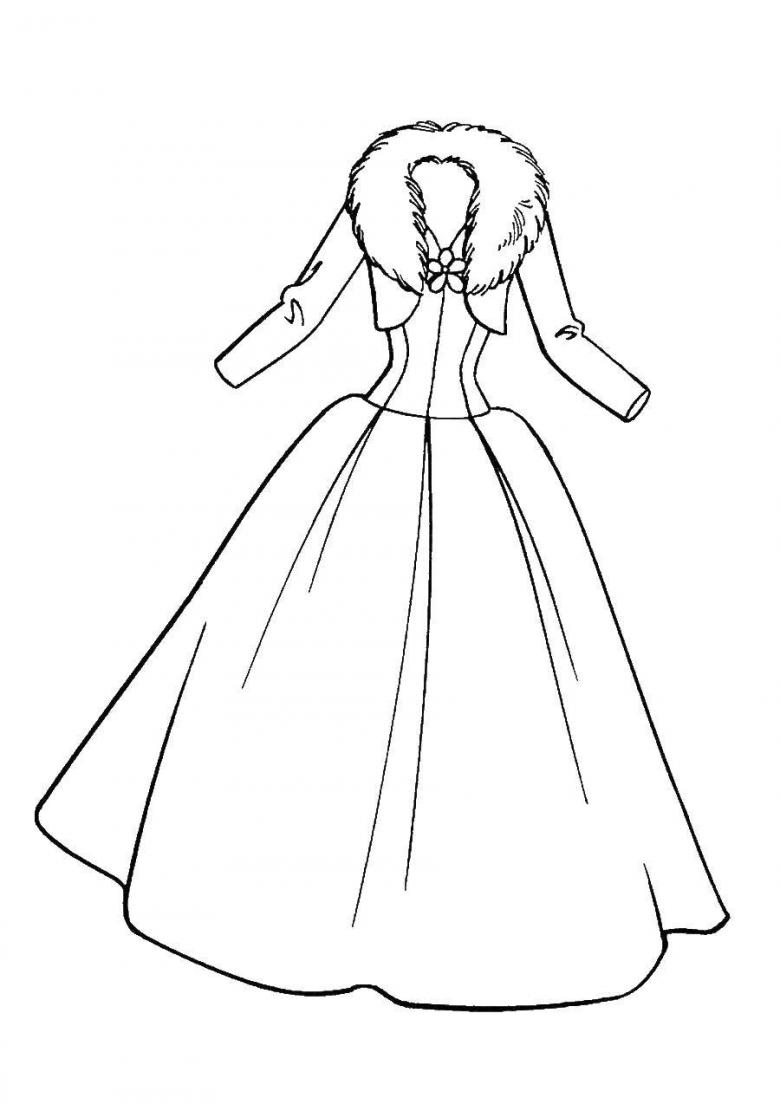
Initially it is possible to draw a graceful stamp, which will flaunt a bright or delicate dress with lush flounces. After reading our master classes, you will have the opportunity to create your own fashion on a simple sheet of paper.
Necessary materials
- A simple pencil (for drawing objects with a clear outline);
- An A4 sheet of paper (the base);
- An eraser (will be able to erase erroneous details);
- A set of colored pencils (to paint the basic elements);
- A set of colored helium pens (highlighting outlines).
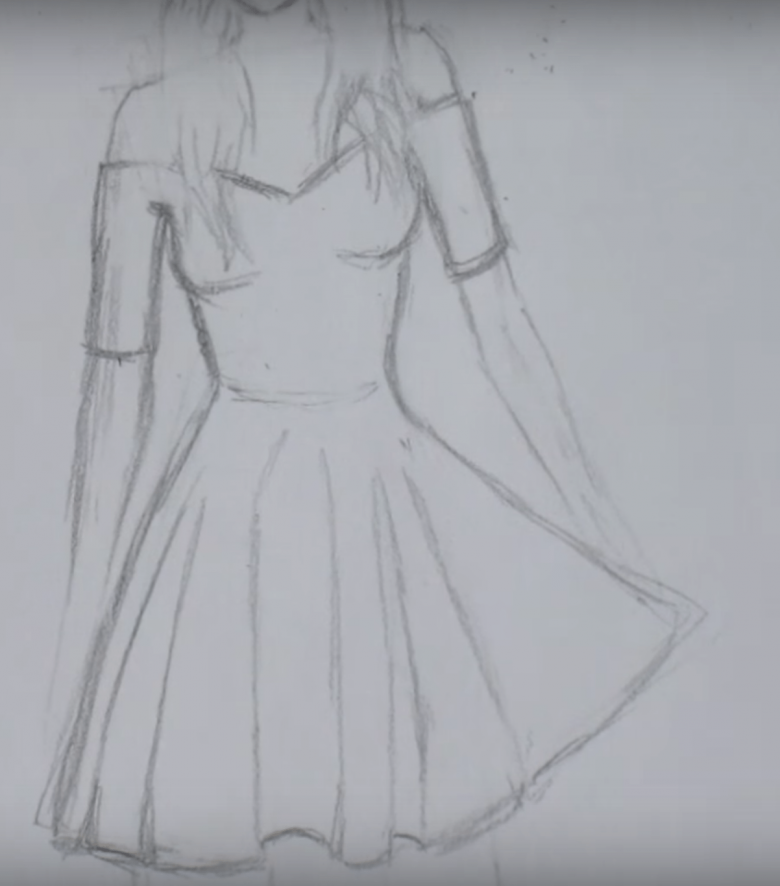
And now, let's move on to the most interesting thing - the study of the step-by-step instructions for drawing the princesses' outfit from fairy tales. We offer three detailed tutorials for beginner artists.
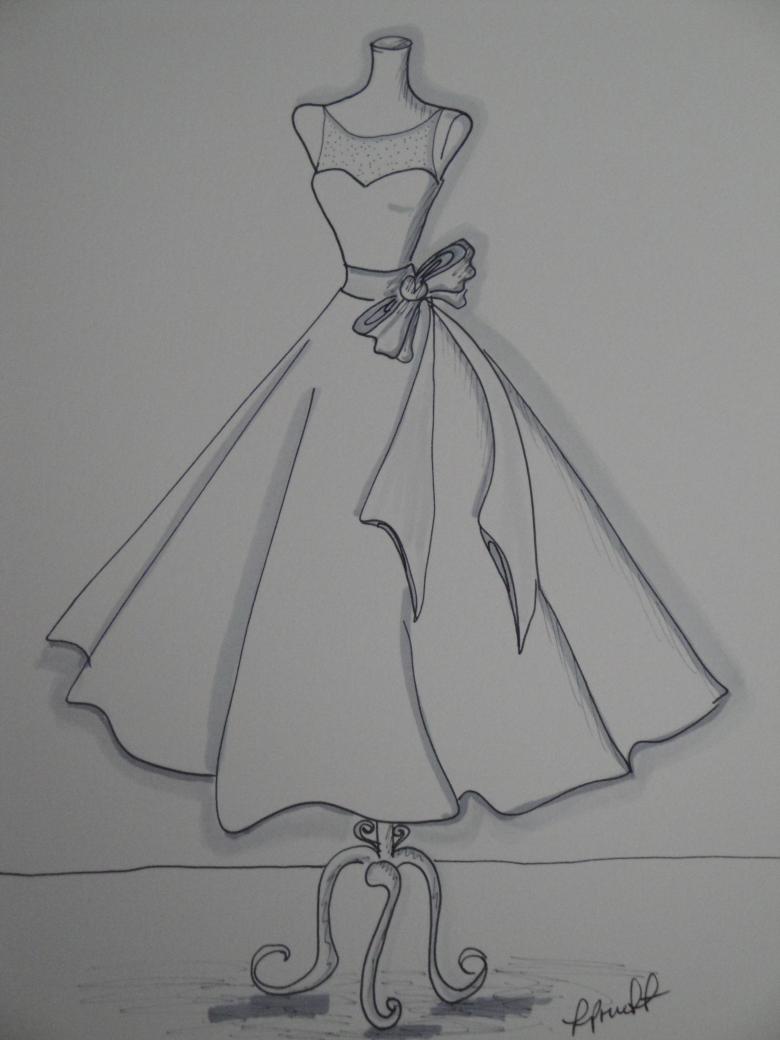
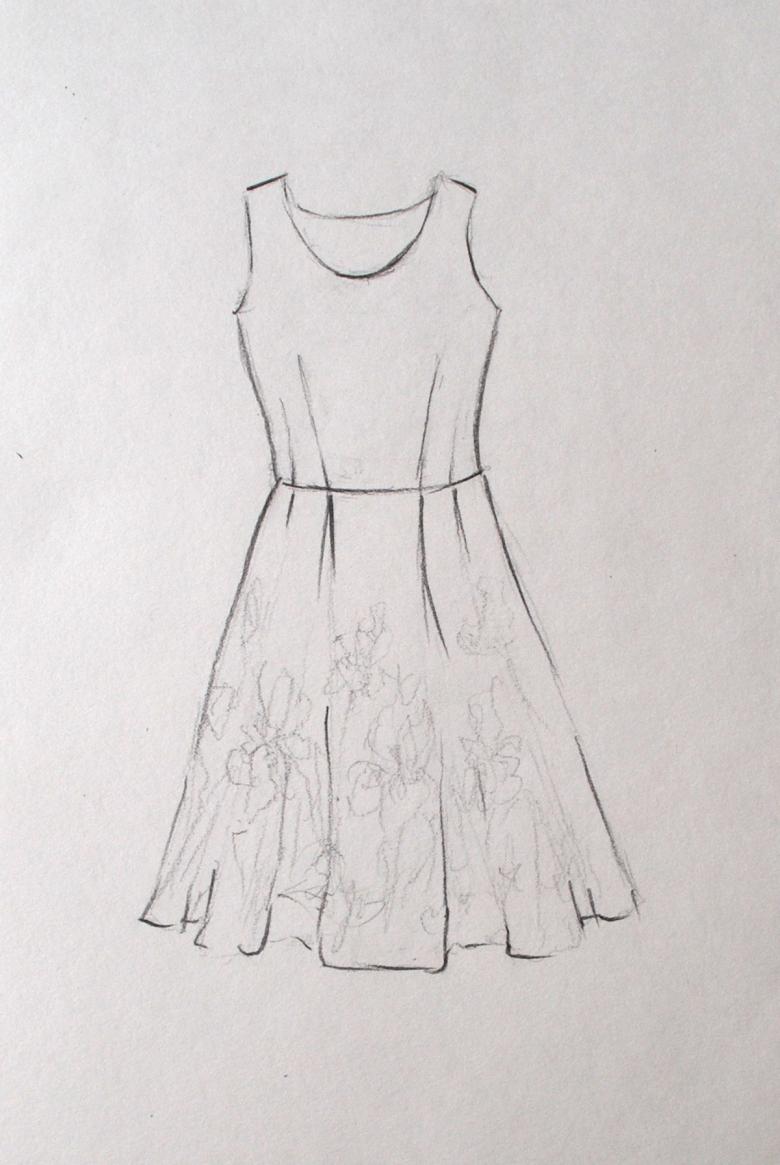
Step-by-step guide to drawing a dress #1
- First, analyze and outline the location of the drawing on paper (it's best to choose the center so it doesn't feel noticeably shifted up and down).
Tip: Start drawing and coloring from the top down, not the other way around.
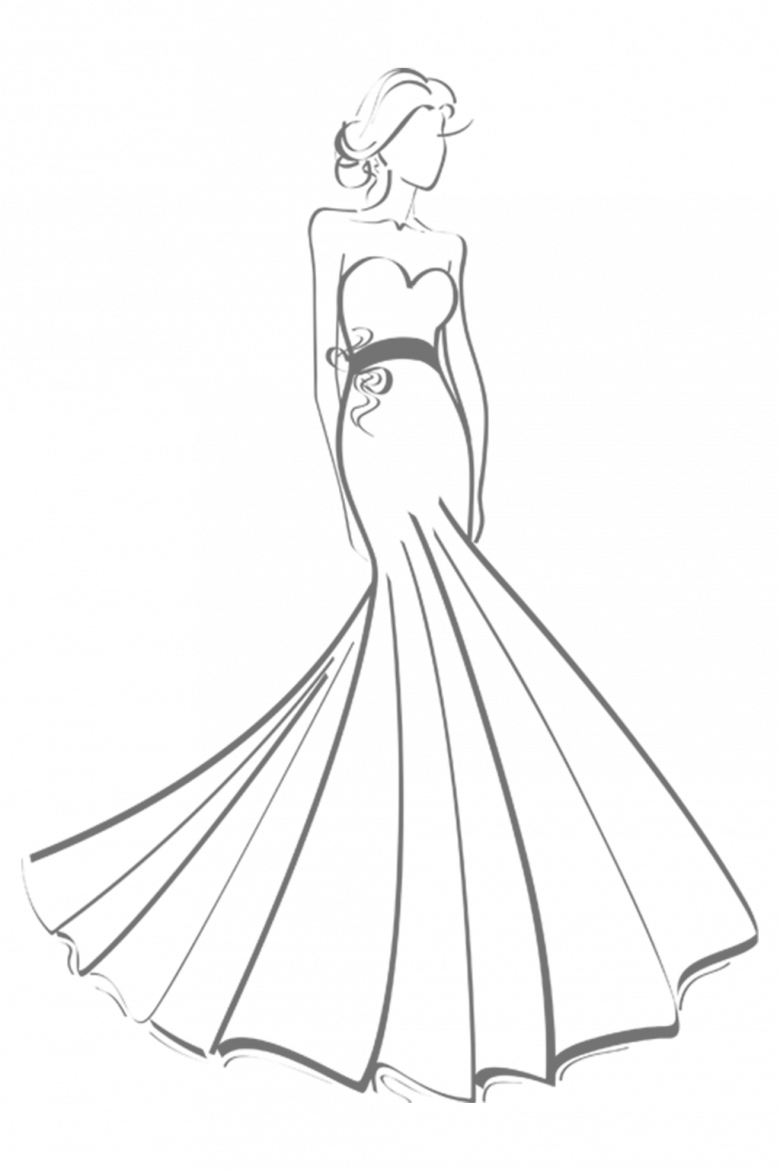
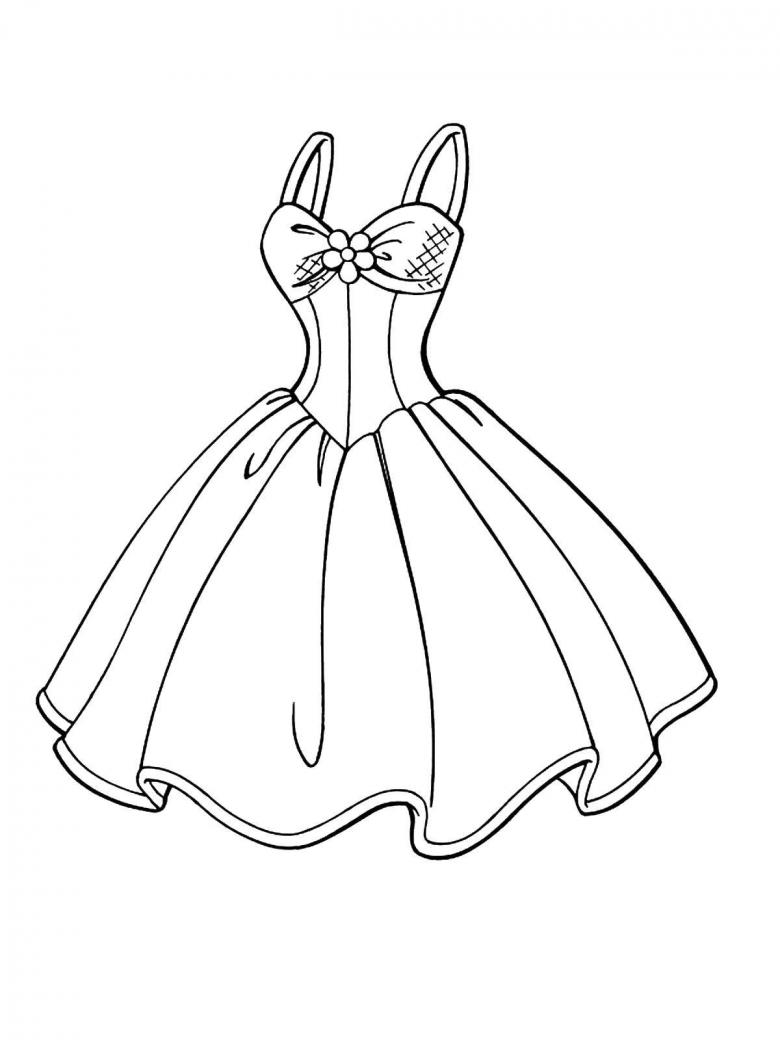
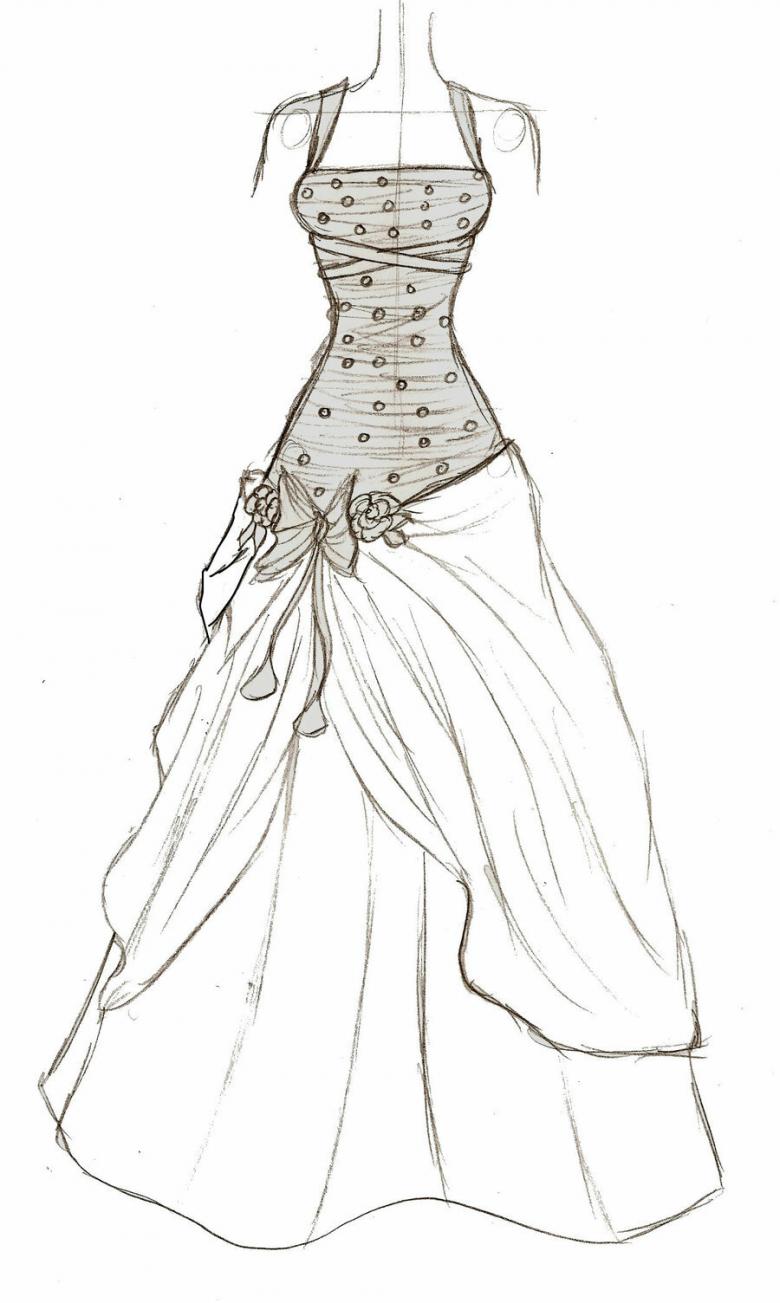
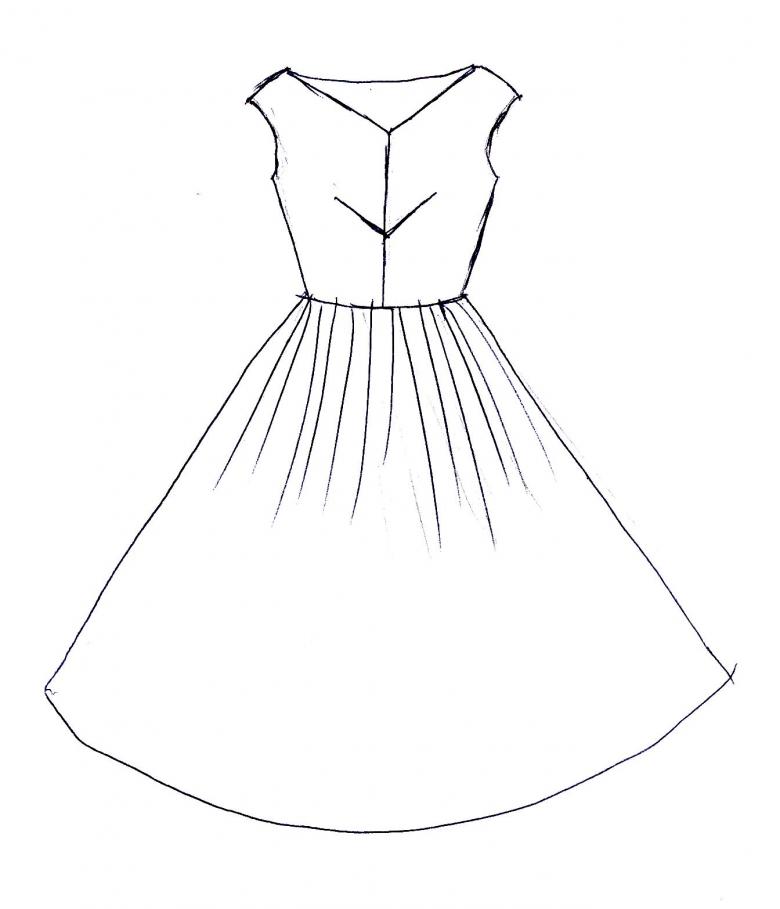
- Next, draw a V-shape that will form the model's neck. You will need to draw two straight lines that join together. This looks like a so-called "tick". Extend one line to emphasize the top of the dress.
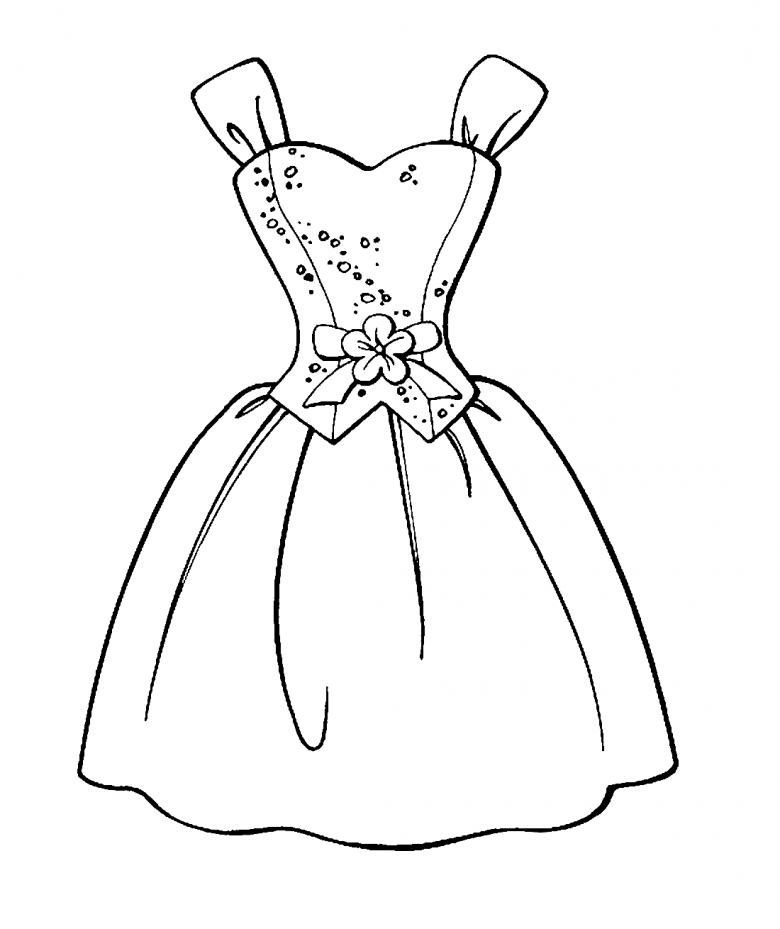
- From these two lines draw lines to the left and right from different sides. You will end up with wide straps - the frame of our outfit. To achieve an elegant silhouette, you need to depict two curved lines leading down. The bust is corrected with small strokes.
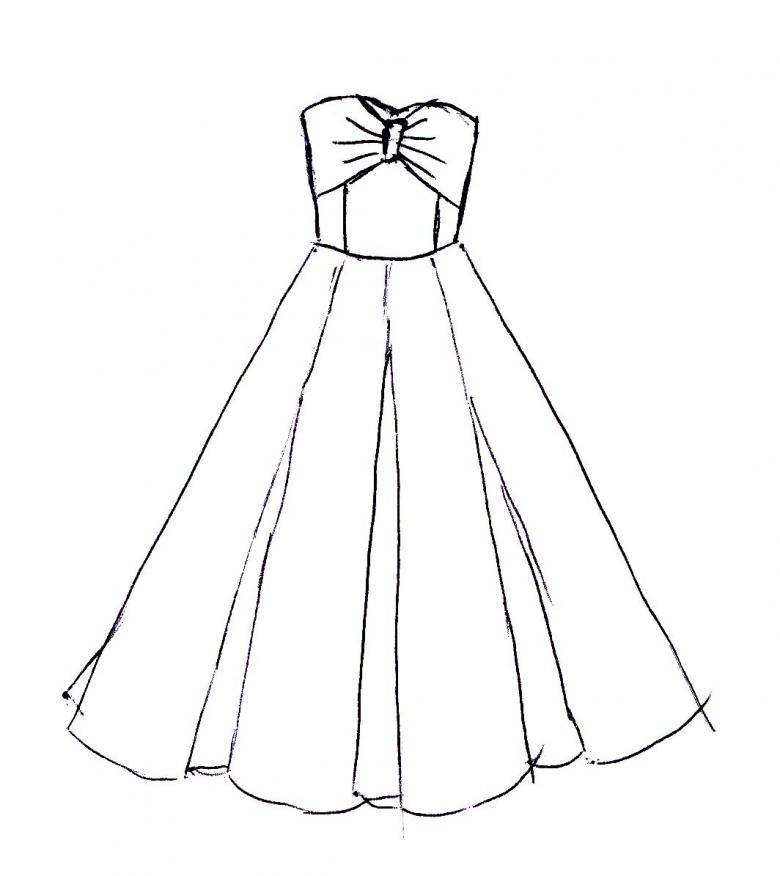
- The next step is to draw the waist. For this, draw 2 straight lines vertically and horizontally to create a small rectangle.
- Stitch on each side of a long line that will outline the scale of the skirt. Connect the resulting lines with each other in a chaotic manner to get a curved hem skirt.
- Now it remains to give a little realism to the resulting sketch. Add pleats - long vertical strokes at the bottom, as well as small pleats under the chest, which will emphasize the figure.
- You can decorate the belt with a bow in the middle. To do this, draw an oval in the middle and draw two lines crosswise. Then add some pleats.
- Down the two air ribbons that will go straight from the middle of the bow. You need to draw 2 chaotic lines that need to be enclosed between each other.
- Decorate the sleeves with wavy lace. At the top of each wide strapline you should draw wavy lines.
- If desired, the young artist can widen the sleeves by adding some pleats.
- If the dress is planned in the style of fairy tales (for example, Cinderella), then near the neckline you can add lace ruffles. Draw them in the same way as the sleeves: outline wavy lines.
- The next step is to remove unnecessary auxiliary lines with the eraser.
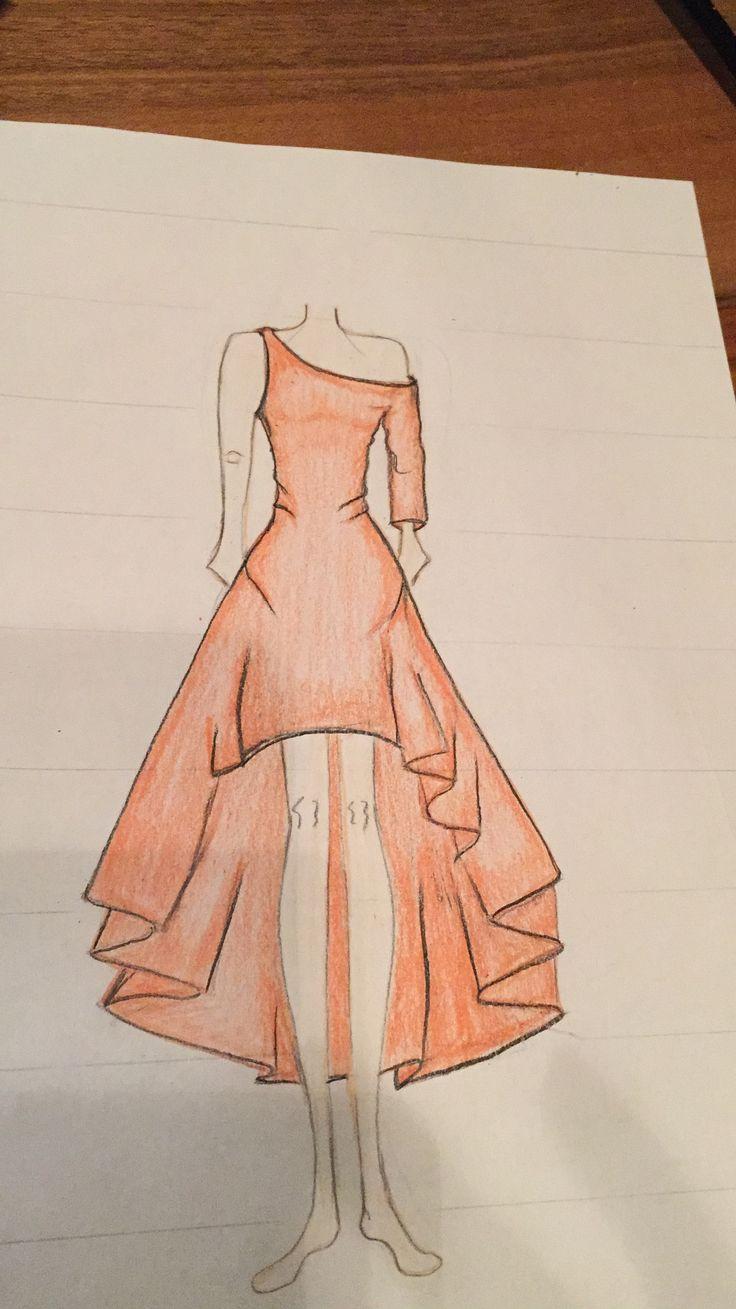
- The final step is to paint each element with colored pencils. The choice of colors depends entirely on the child's imagination. The resulting drawing is supplemented with decorations, the head and torso are drawn, or simply left as a sketch of the dress.
Detailed instructions for creating dress #2
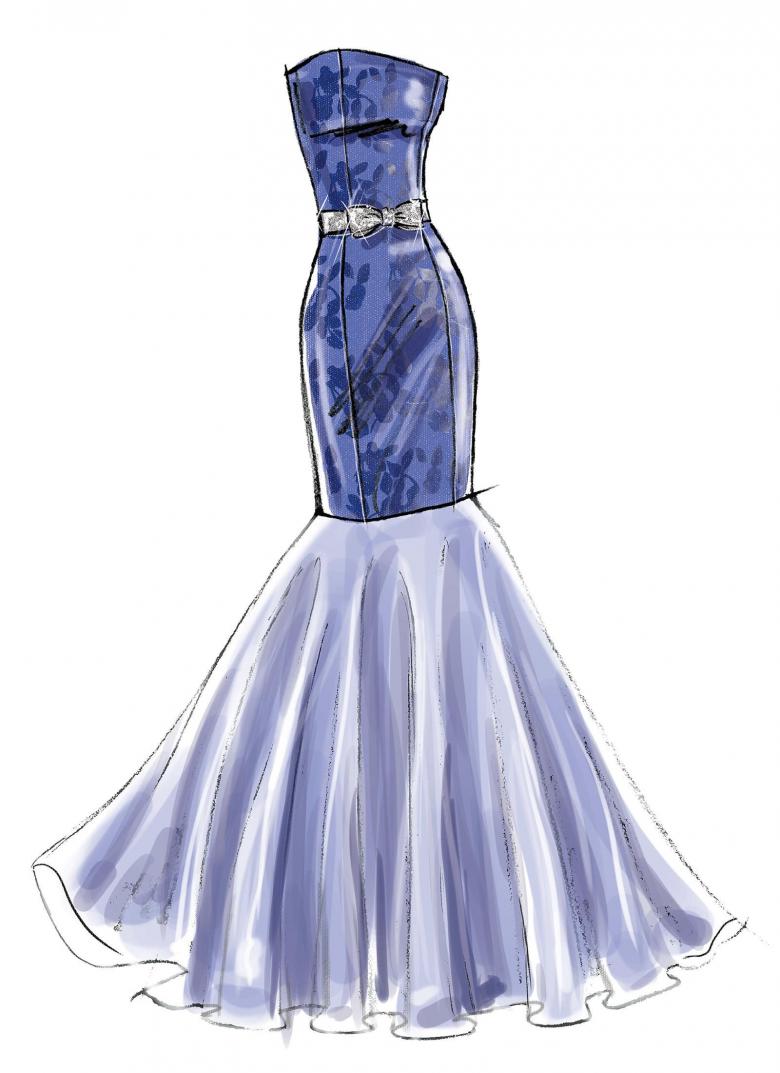
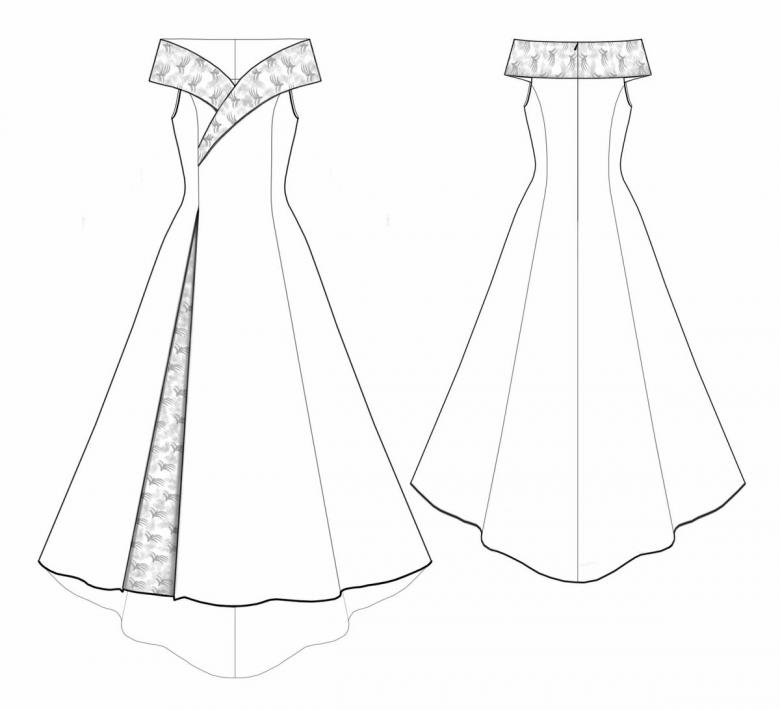
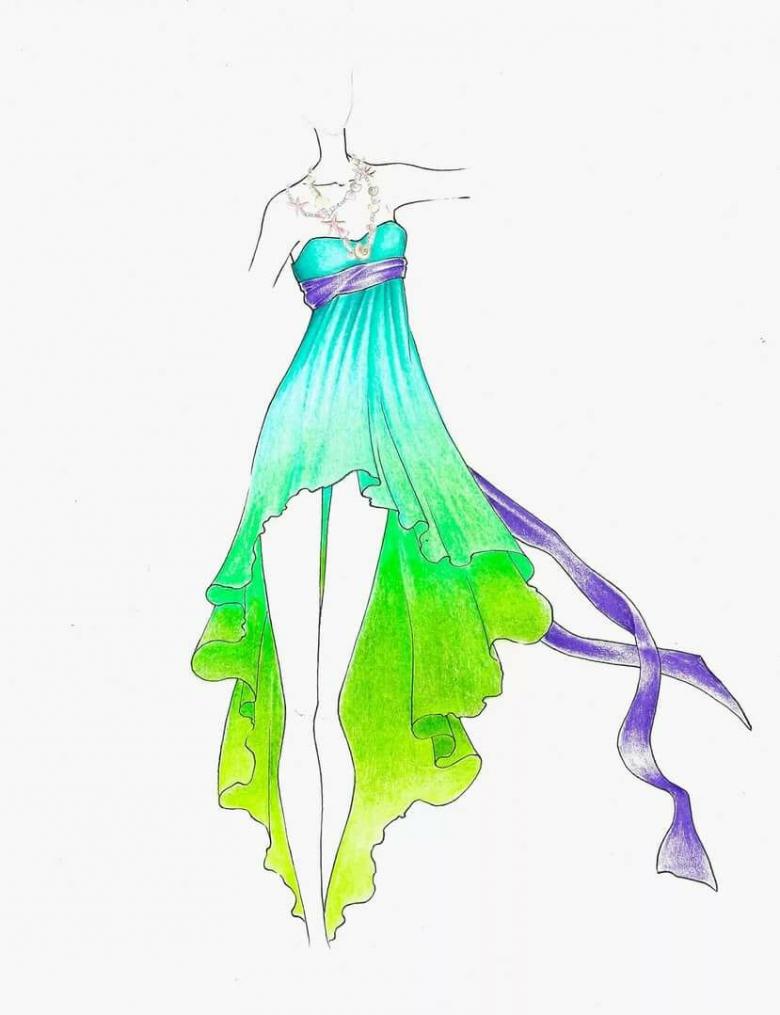
The second master class will describe the evening version of the dress, which can be easily and simply depicted on a piece of paper by anyone.
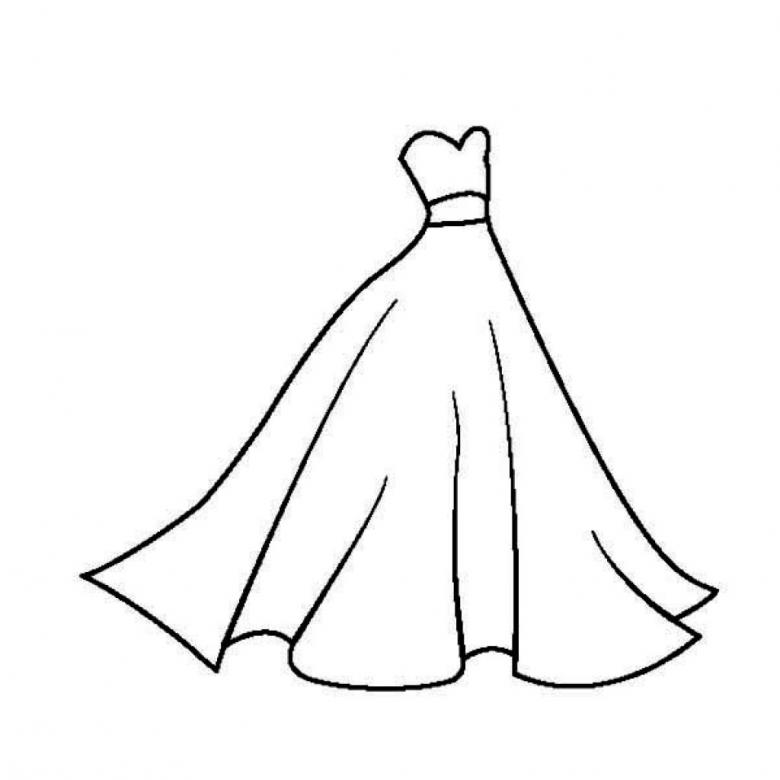
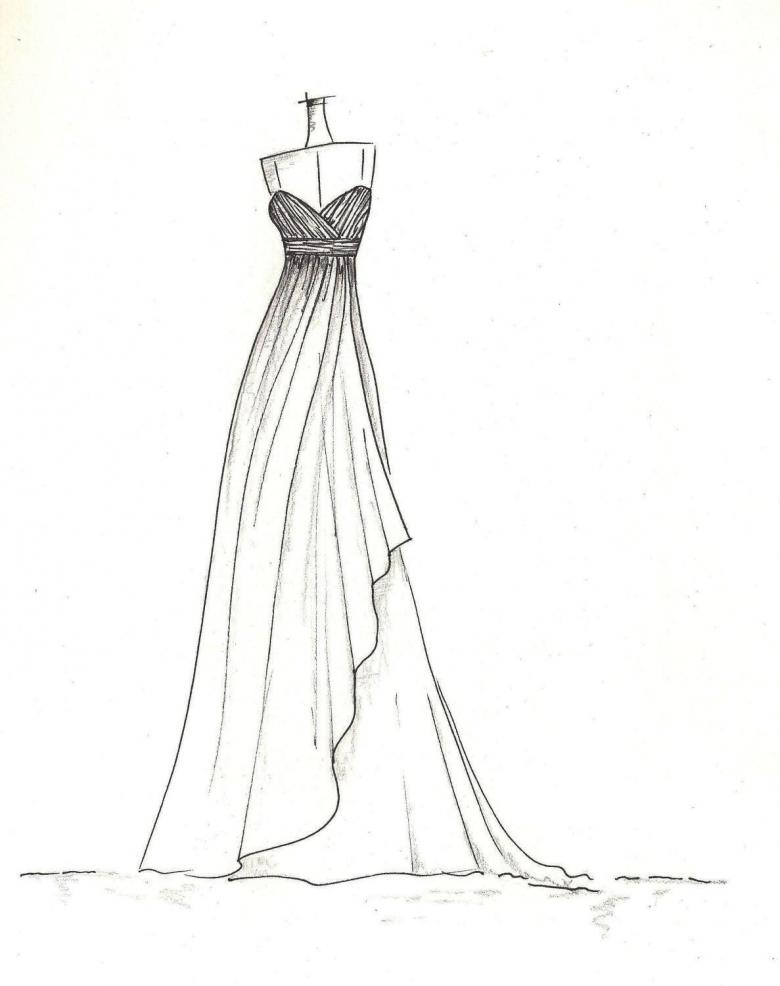
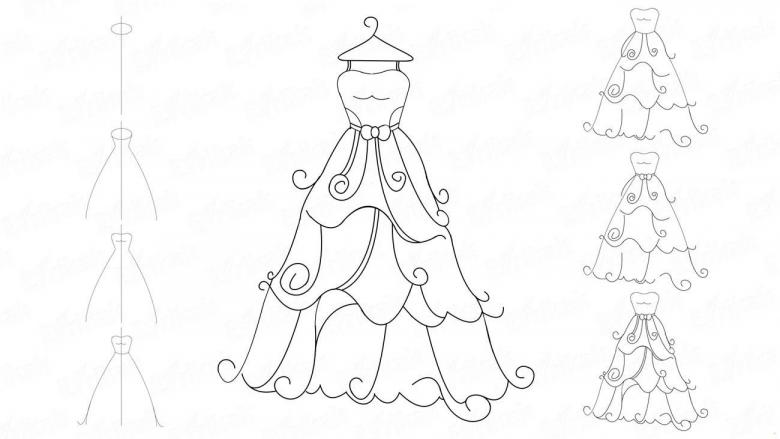
- In this case, we need to start with drawing the postmark on which our outfit will hang. The postmark represents a hanger with a small thickening in the middle. The sketch is usually drawn with a simple pencil, and outlined with a black pen. We draw thicker lines at the top and thinner at the edges. In the middle there should always be a hook.
- Then we draw thin straps on both sides and a shapely bodice neckline. To give volume, we mark the back of the model with a slightly curved line.
- We shape the waist. For this we draw two strokes, tapering to the belt line.
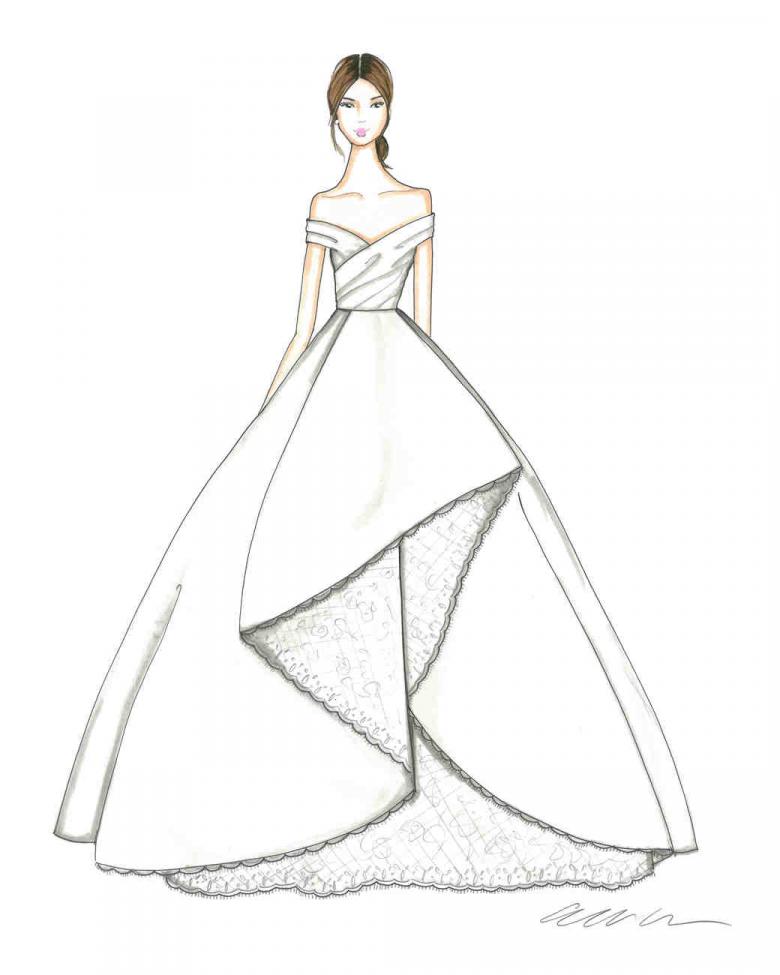
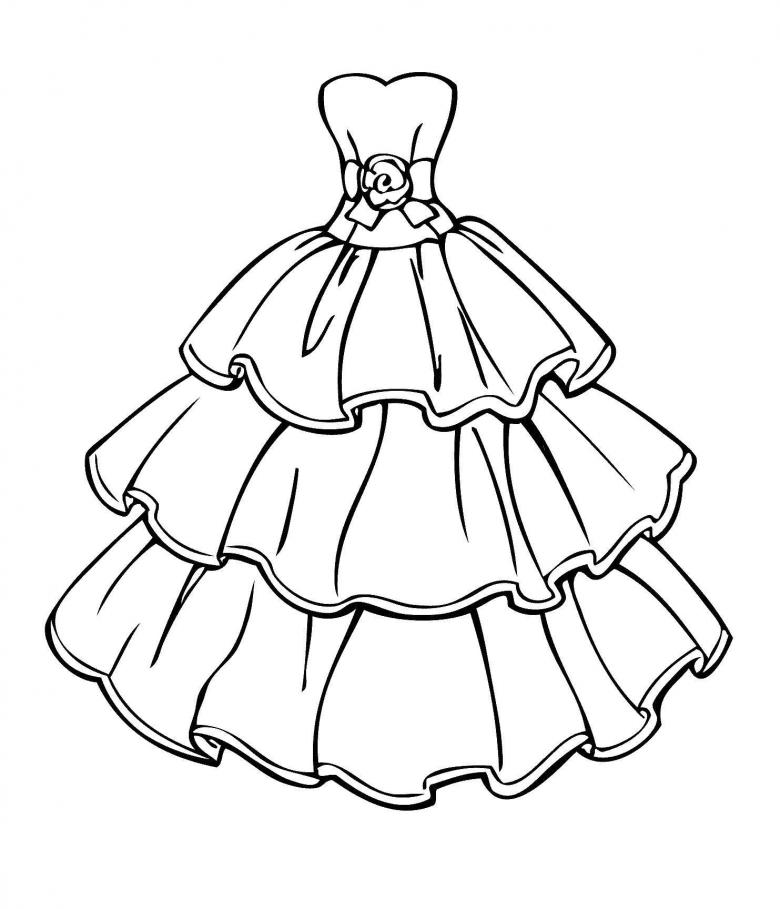
- From the waist we draw a ball skirt in the shape of a bell.
- To emphasize the beauty of the dress, draw a final curve. Additional creases should be added and the inner side should be marked.
- Now you can begin to paint the chic evening gown for the girl. The basic tone choose a calmer tone (for example, sky blue or light purple). Usually artists paint over the entire dress, and later make an accent on the bright details. You should not press down hard on the pencil, draw smoothly.
- The rest of the elements are drawn bright by circling with colored pens.
- A good idea is to add beads or netting, a belt and other additional elements. Beads can be scattered throughout the entire outfit: draw circles of different sizes.
- Now the dress is ready. Include your imagination and you will have a beautiful outfit for the bride, birthday party or any other celebration. By changing the color palette, fittings, decoration and appearance, the artist will be able to develop their creativity.

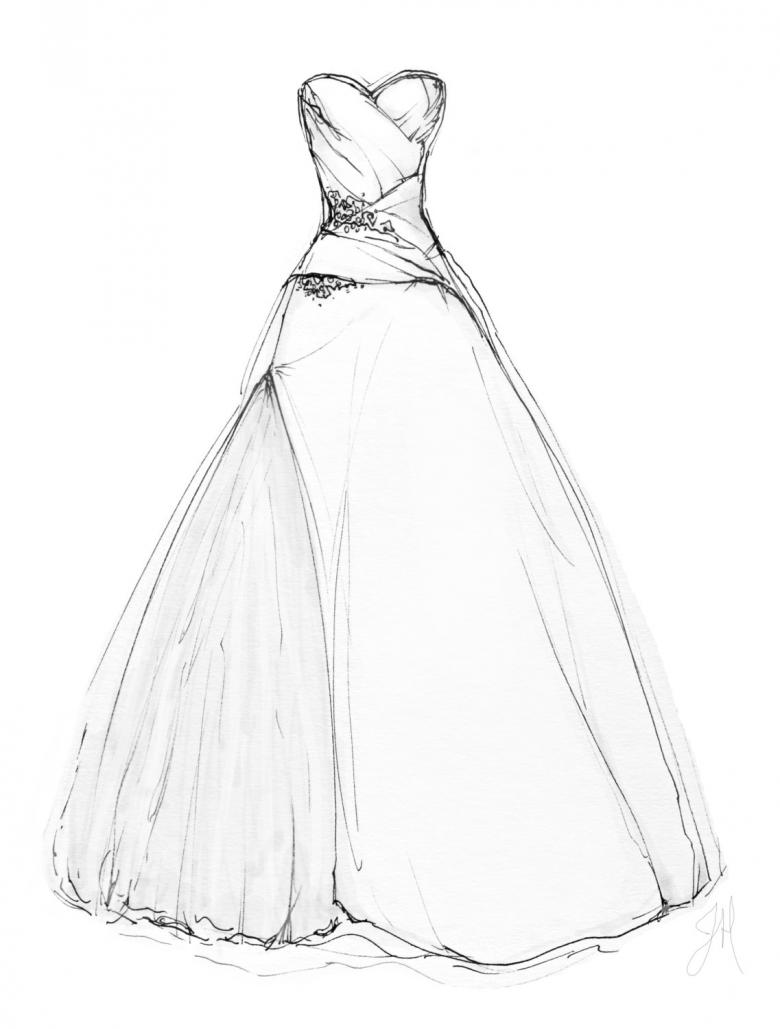
Dress Drawing Lesson #3
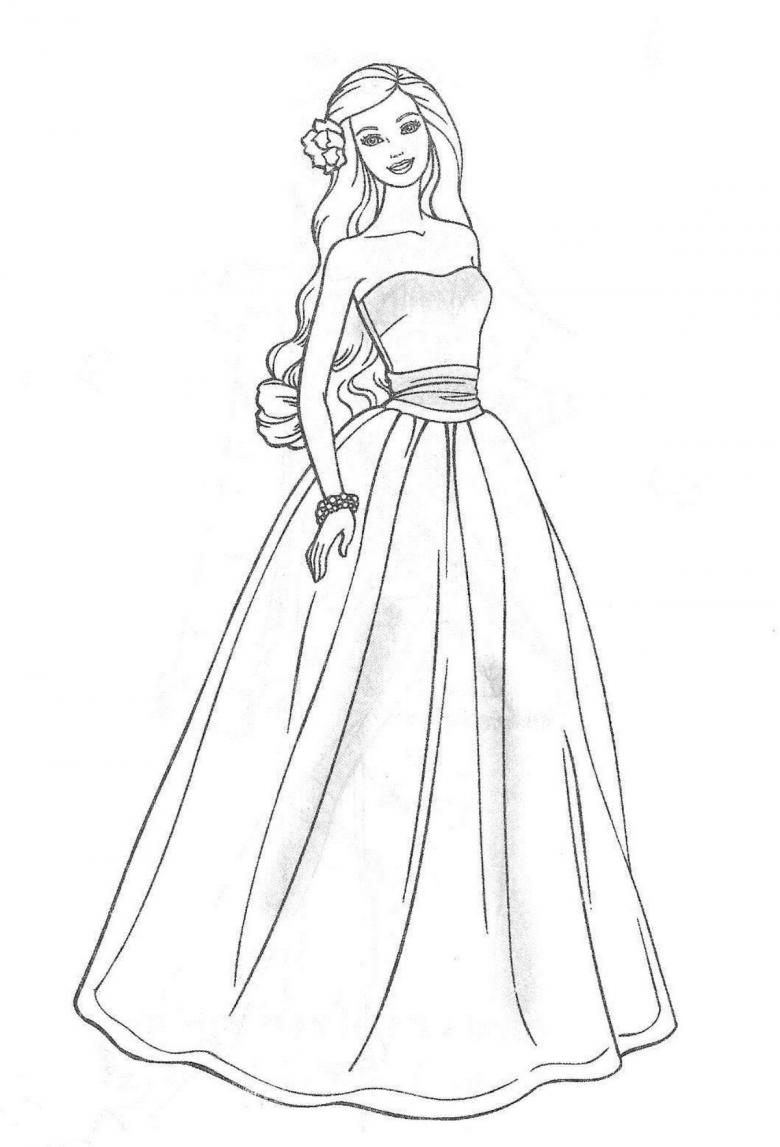
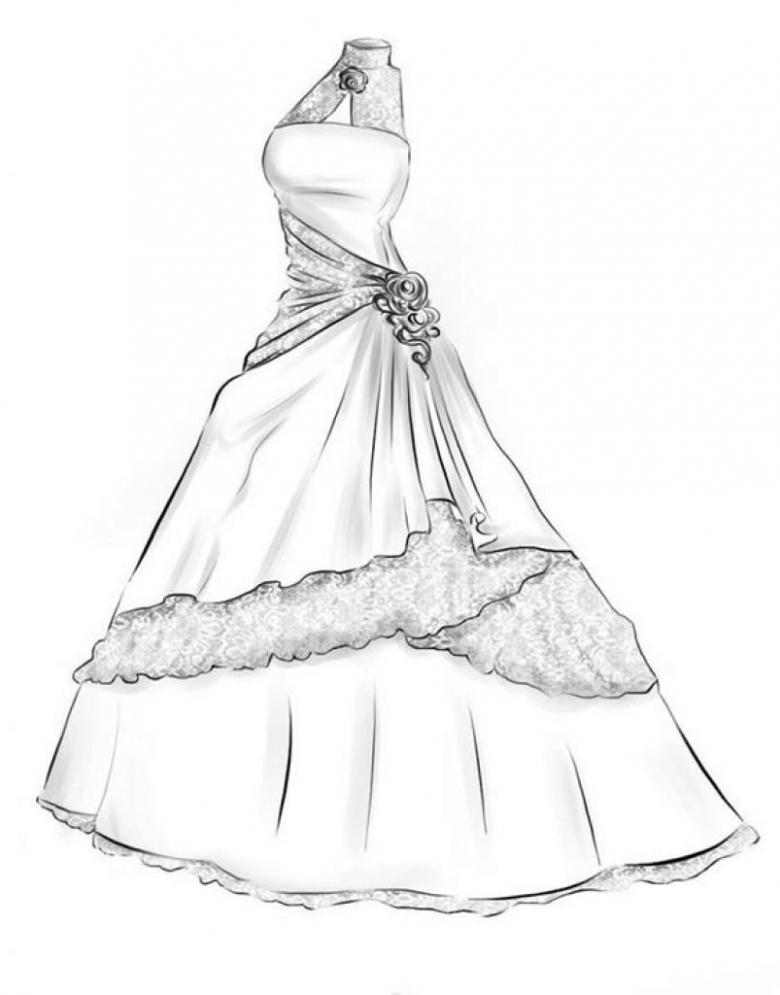
The third instruction will help you learn in detail how to draw an evening gown for a doll or a real person.
- Let's start with the simplest one - the image of the base of the figure. Since it is very difficult to draw without observing some proportions. Outline a vertical line and draw an oval on top, which means the top part. Remember that all auxiliary lines should be drawn with a simple pencil without pressure.
- From the oval, draw two curved lines that will give shape to the fancy dress for the princess.
- Our ball gown will be sleeveless and strapless, so let's proceed to mark the chest. At the top, just below the neckline, you should draw two curved strokes, resembling a "tick".
- The next step is to remove unnecessary lines with the eraser (vertical line and part of the oval).
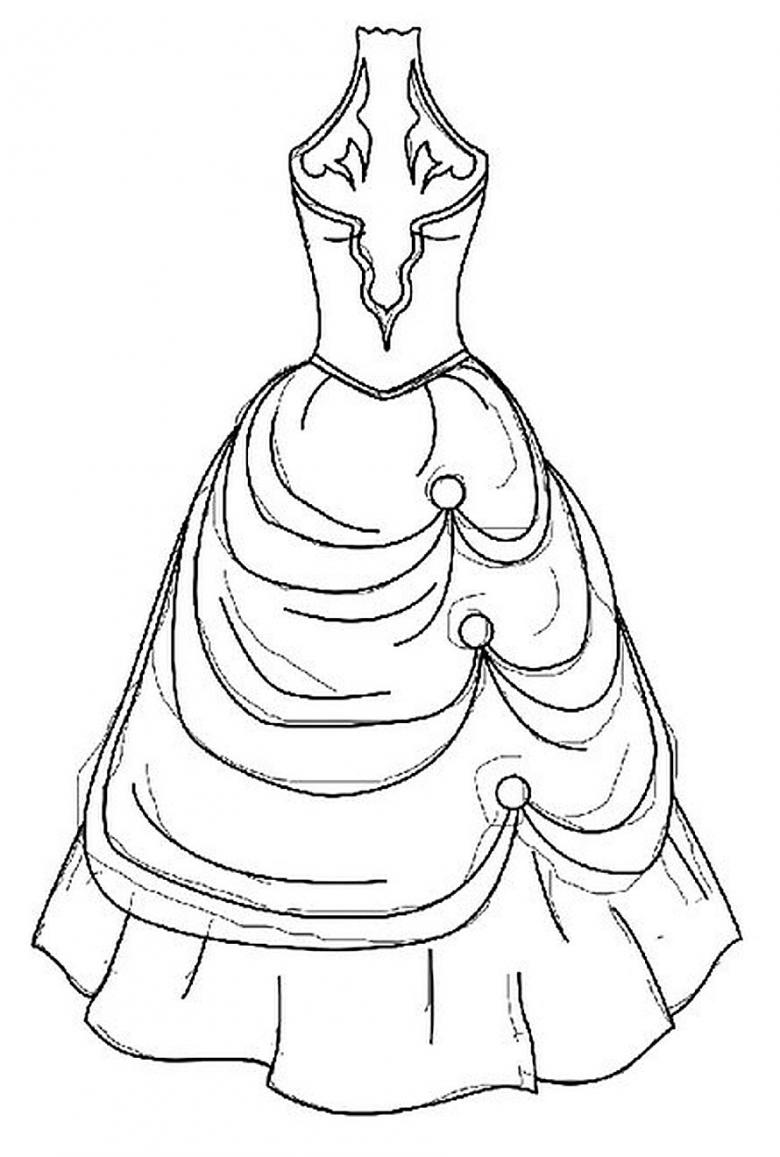
- The design of the skirt depends entirely on the preferences of the creator. Add monograms at the bottom of the skirt. To do this, draw smooth curves and swirling lines.
- If desired, you can decorate the dress with a small bow on the side of the waistline. Draw an oval in the middle and draw two lines crosswise. Then add some pleats. The bow will be very handy.
- In this case, there are no traditional options or rules for color selection. Each dress can be a different color. For example, pink or yellow tone. Play with the colors.
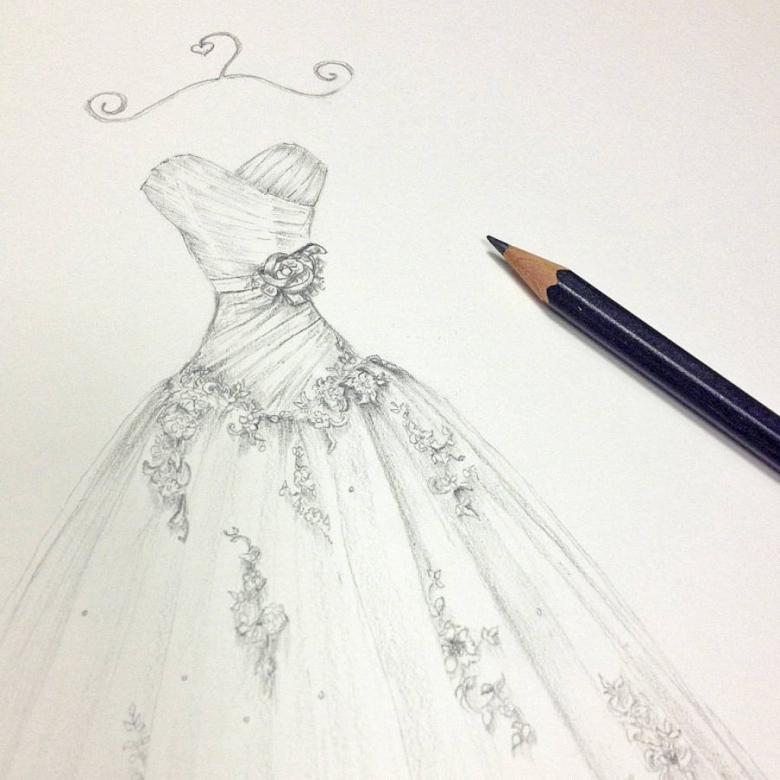
Thus, after reading our step-by-step lessons, once again you can make sure that each step of drawing a dress can be performed even by a child. We hope that the recommendations and tips will help you in the future. Create with pleasure!

