How to draw a gun in pencil step by step - smart tips, easy master classes, beautiful photo ideas and examples
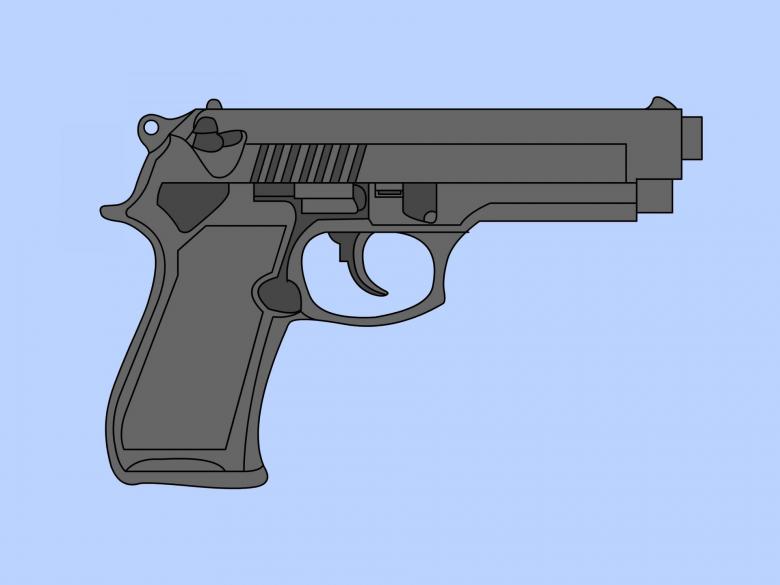
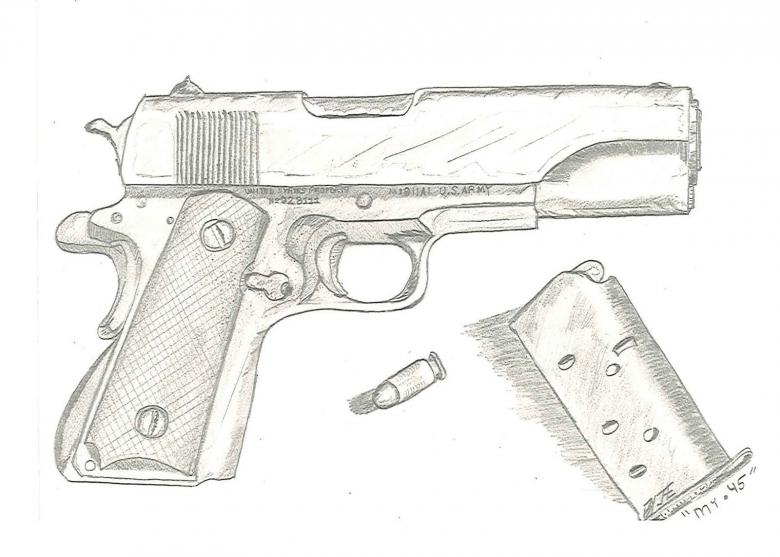
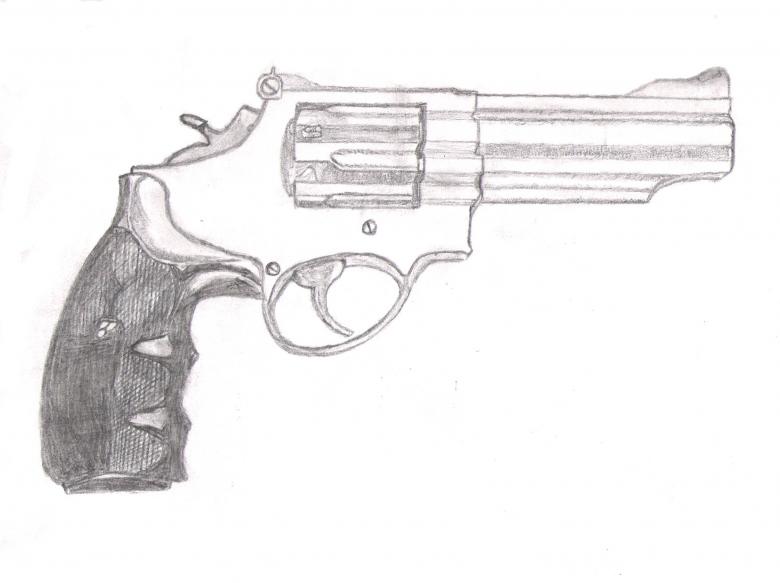
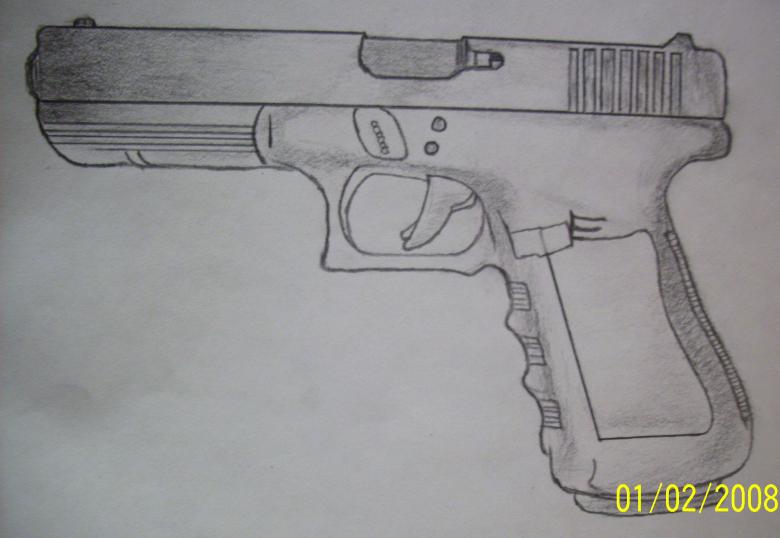
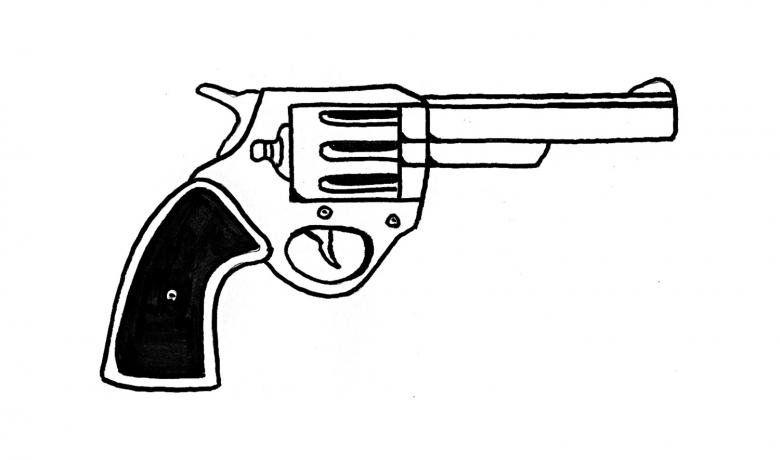
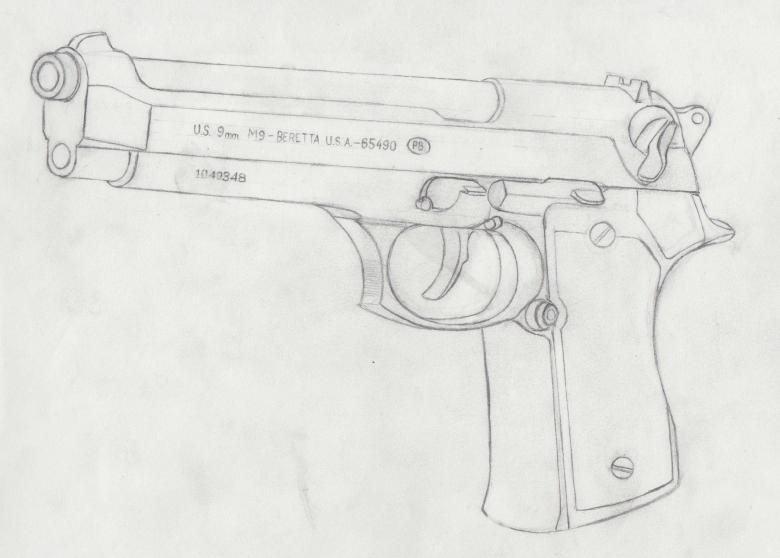
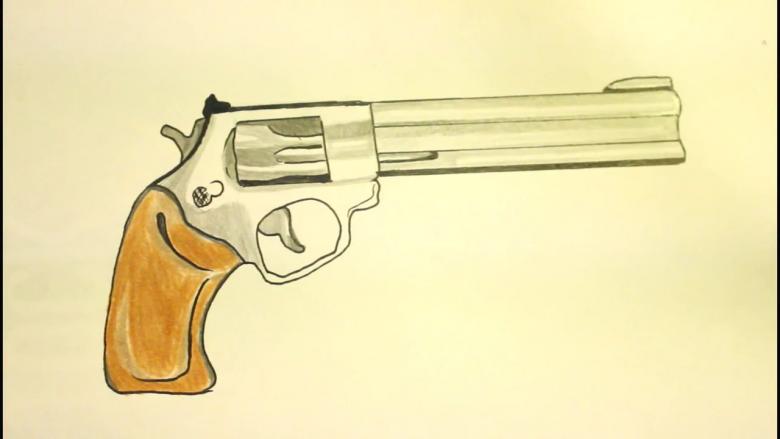
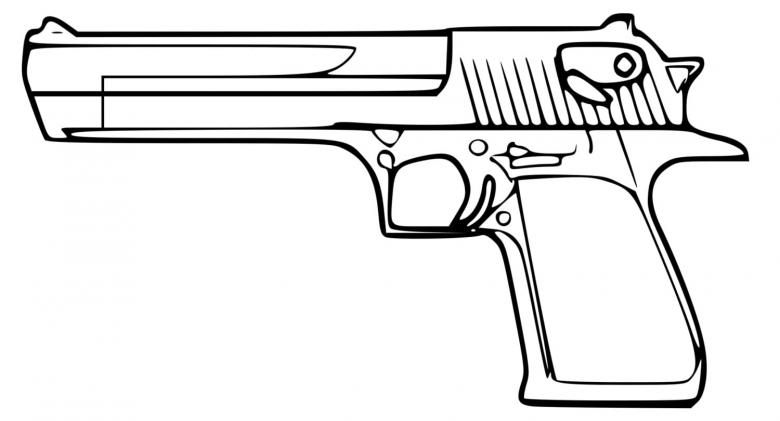
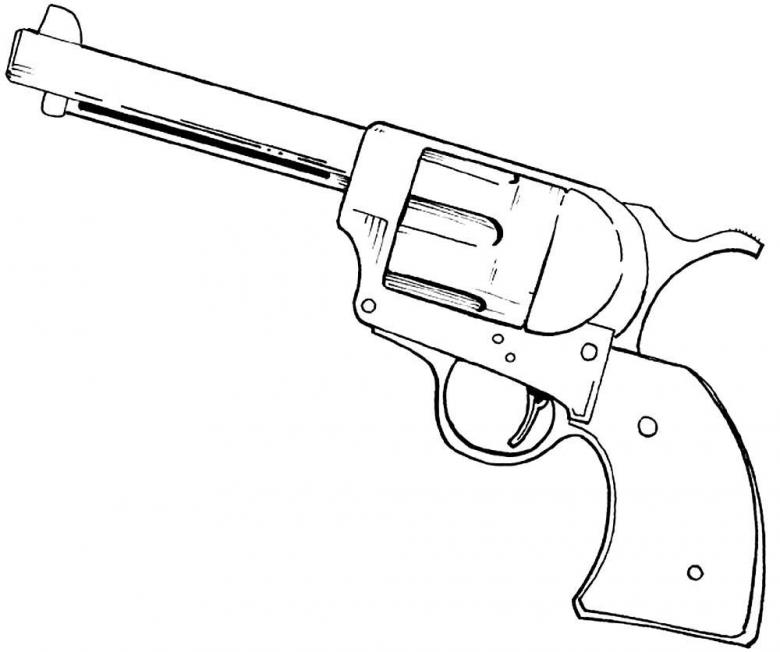
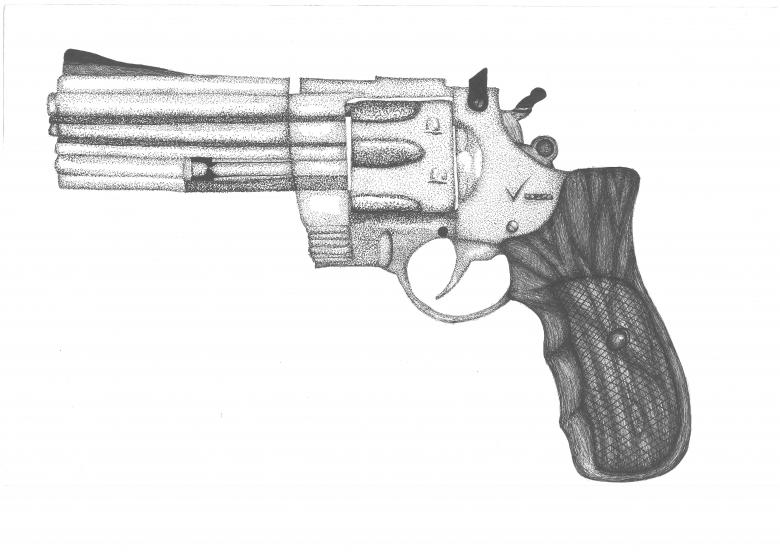
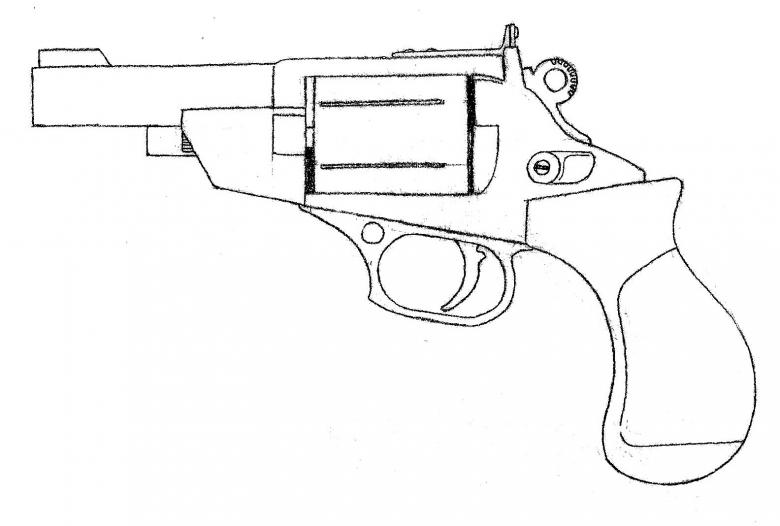
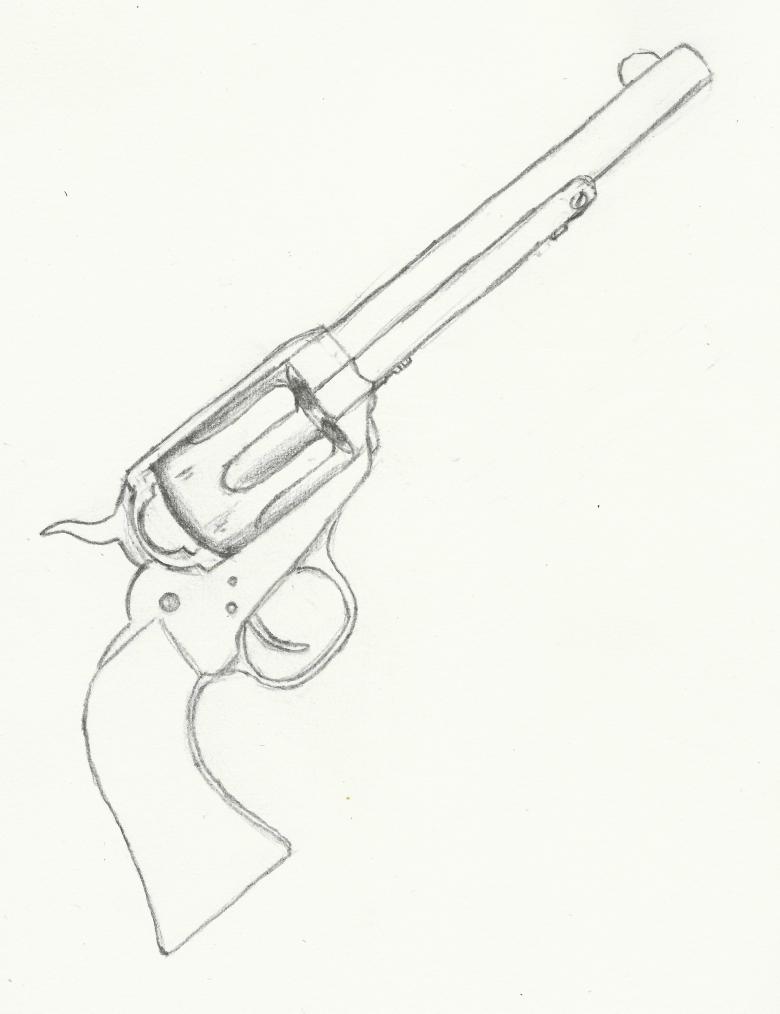
For boys who are passionate about drawing, you'll probably want to know how to draw different types of weapons, including a gun. In order for the image to turn out as believable as possible, we recommend carefully reading the article and in the actions to follow the specified recommendations.
Necessary materials
Before you start doing the drawing, you should prepare the materials:
- Simple pencils of different hardness. Those marked H with or without a number are pencils with a hard lead, the higher the value of the number, the harder the pencil. It leaves a weak line. Marking with the Latin letter B is a pencil with a soft lead. The size of the number indicates the intensity, but in this case the softness and boldness of the lines created.
- Hard and soft eraser.
- Ruler.
- Suitable paper for sketching, in case a graphite pencil is used.
- Set of colored pencils in appropriate shades of gray-brown.
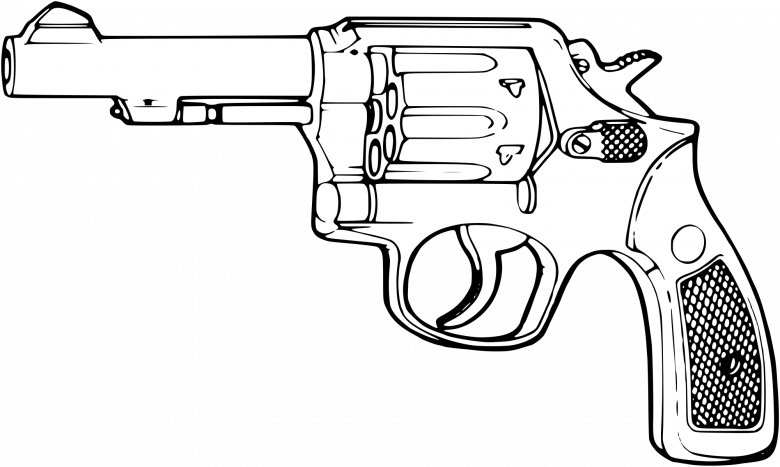
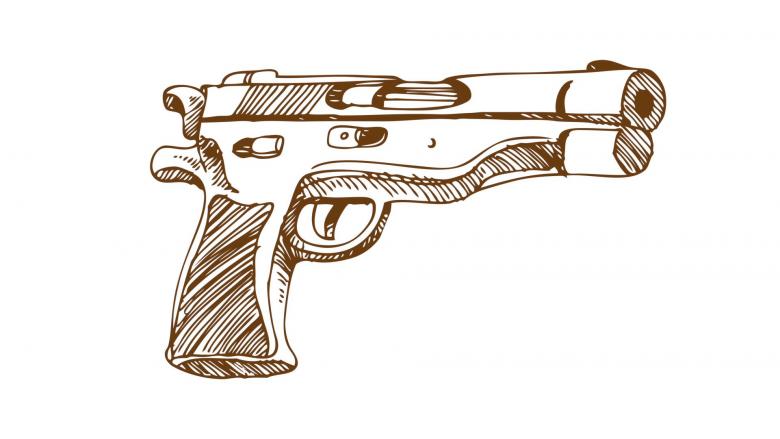
Elementary version of drawing
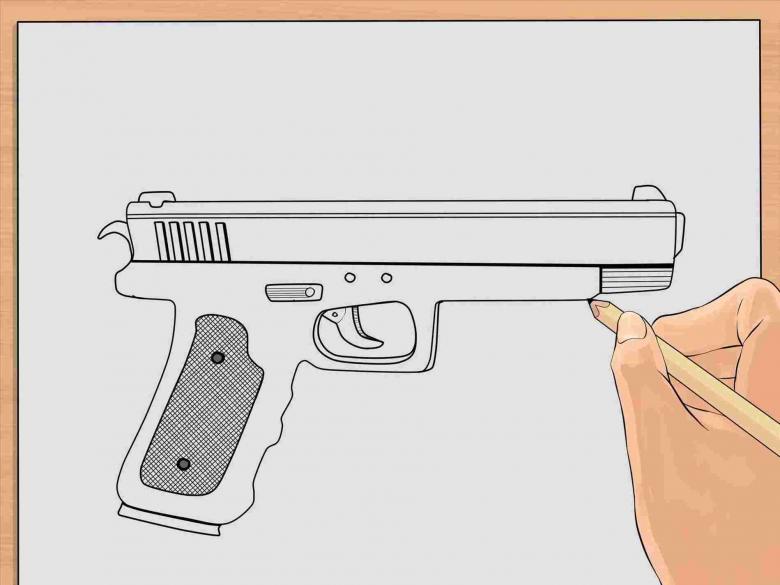
A simple drawing will suit those whose hand is not set firmly and whose acquired skills are insufficient. In this case, it is necessary to perform the steps step by step:
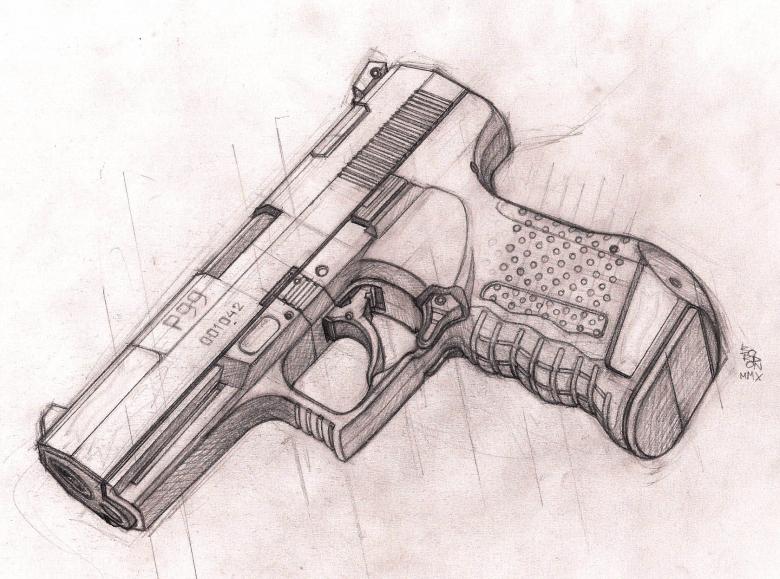
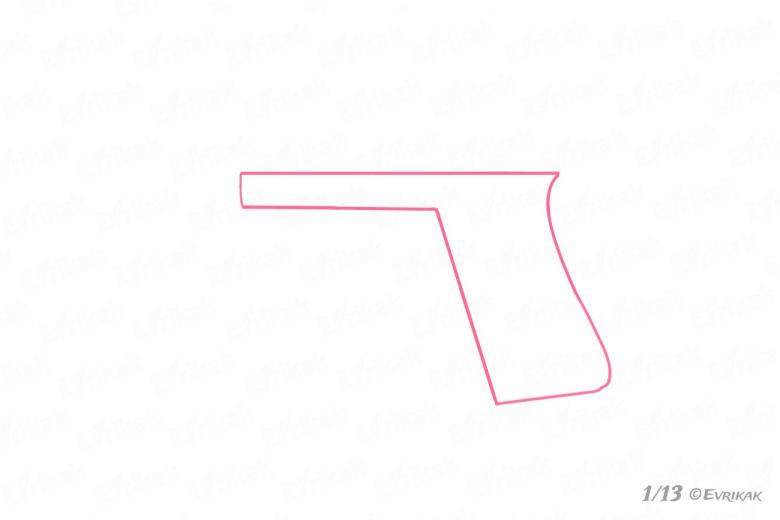
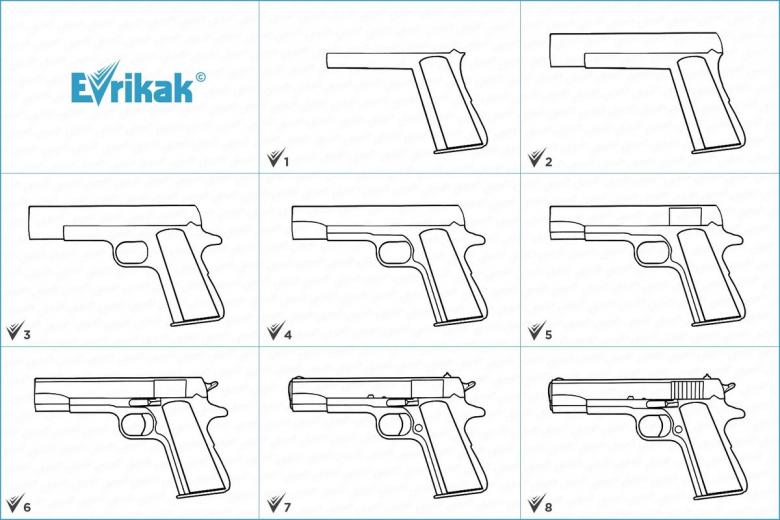
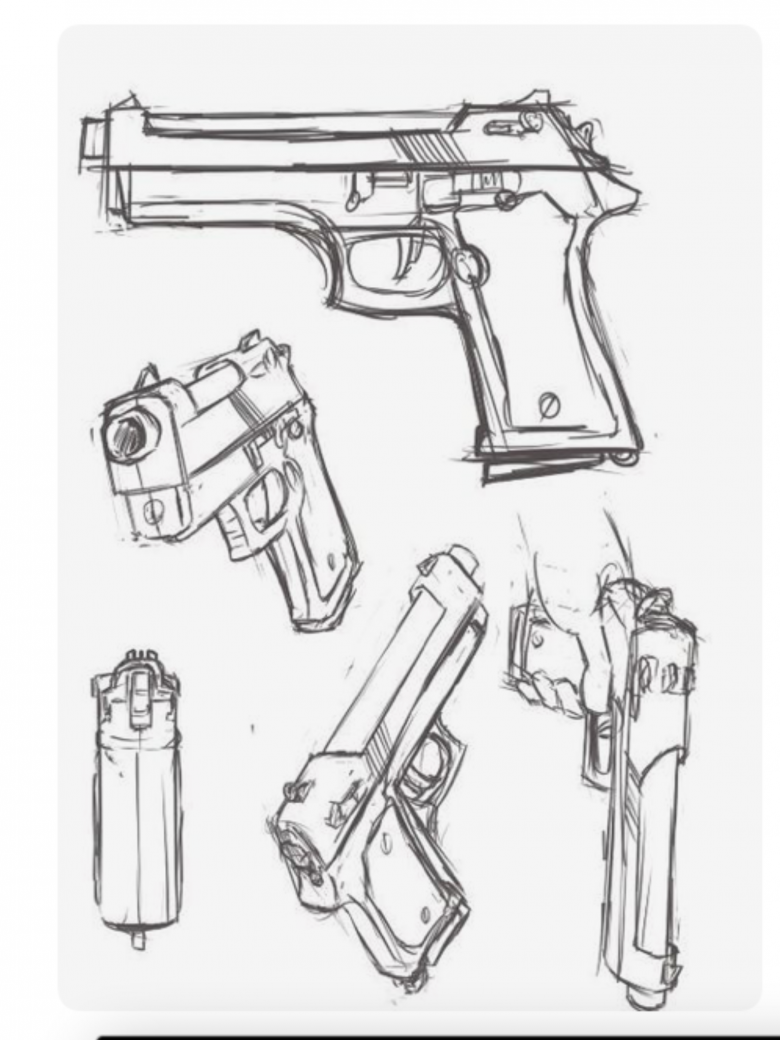
- Simple lines are made marking the barrel and the handle perpendicular to it. It should be taken into account - the weapon will look better if held not in profile, but slightly inclined at an angle. In this way, even a simple image will seem more three-dimensional and realistic.
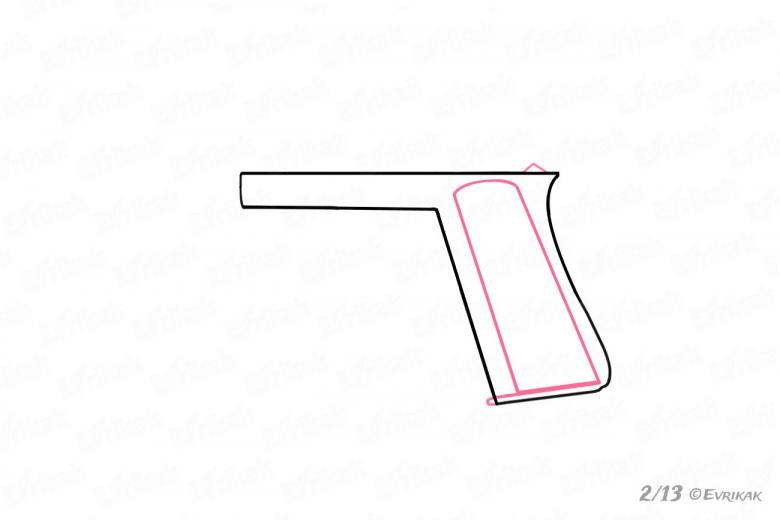
- When drawing the handle, do not forget to draw the trigger.
- Use a soft pencil to draw the muzzle, which is slightly narrowed in the part of the discharge channel for the bullet.
- Draw the slanting lines of the barrel and redraw the fly.
- Then draw the side part of the product, not touching yet the handle with the trigger. The detailing is carried out by drawing the strokes located in the central part.
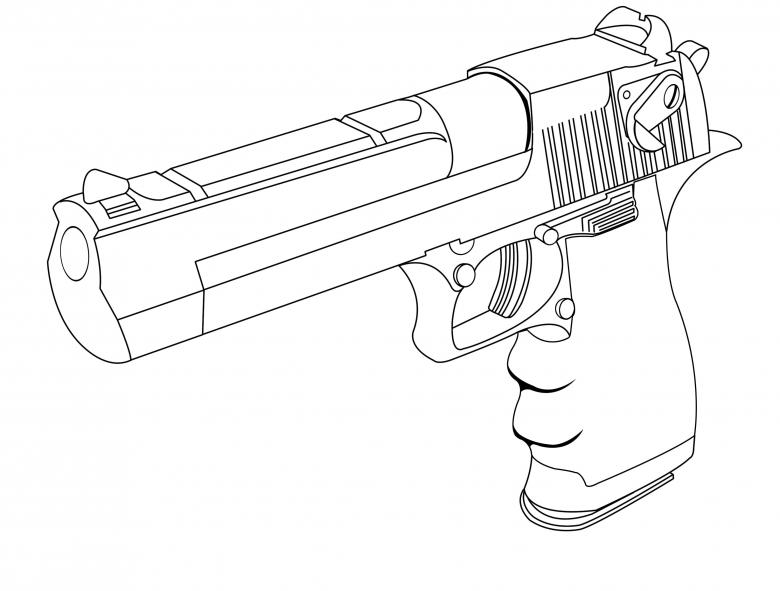
- Gradually we make our way to the back of the barrel, detailing the elements. It is necessary to take into account 1 main point - it is the rule of perspective. When two parallel trunk lines are drawn, they should taper slightly between each other. Thus, in this part, the gun will seem more distant from the observer, while the muzzle will be turned towards the drawer at an angle.
- Start drawing the bolt. The back plane should be flat and the front plane should have a slight slope.
- Next we move on to the elements of the handle. It should be connected to the main barrel. As the contour lines are drawn, start detailing.
- Once the elements are ready, once again draw contour lines, erasing strokes and details.
- After that, you can proceed to coloring or leave it as a pencil sketch.
If there is no feeling of keeping straight lines, it is possible to make a drawing on cellular paper. This will greatly simplify the process.
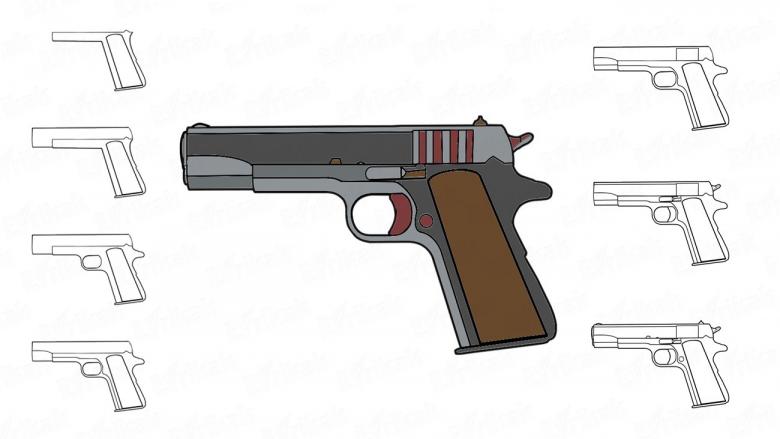
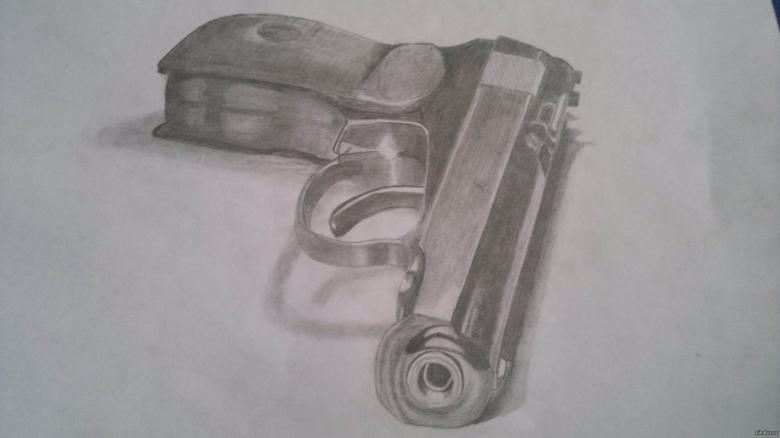
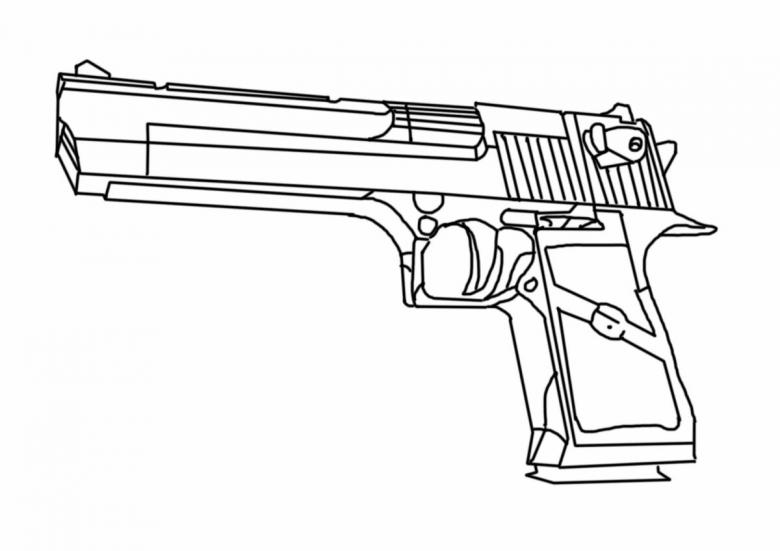
Drawing a Makarov pistol
To draw a Makarov pistol, you need to use the following lesson recommendations:
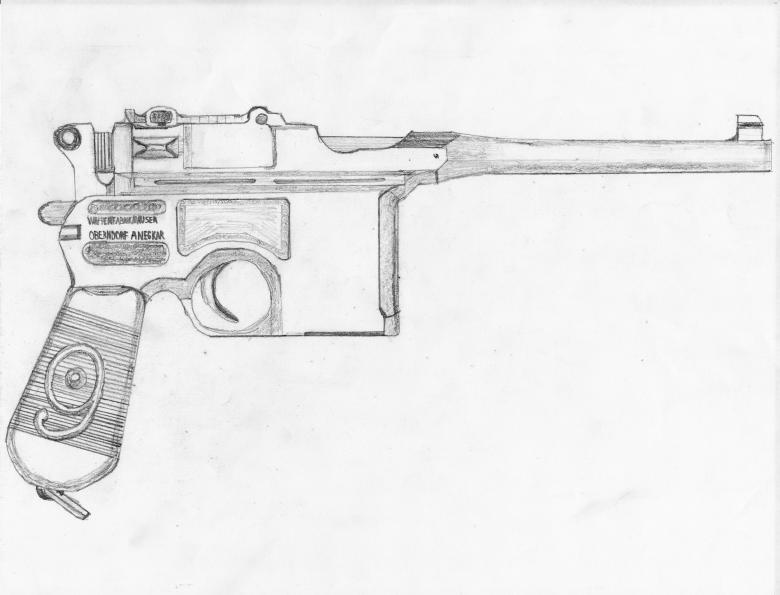
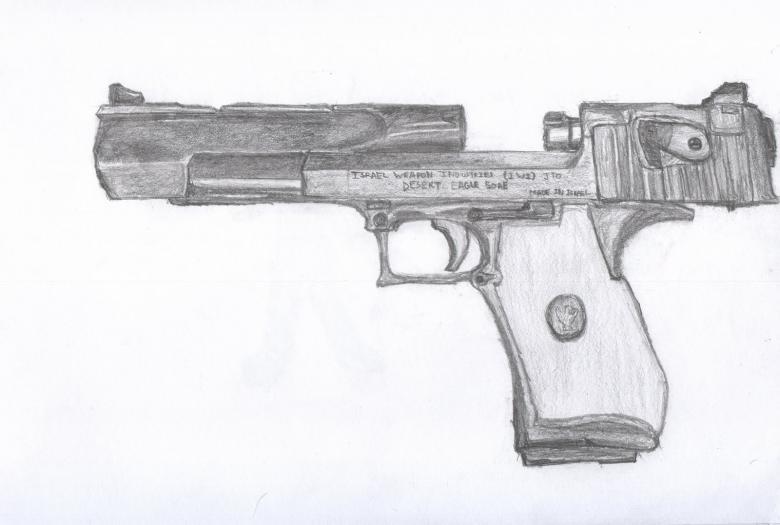
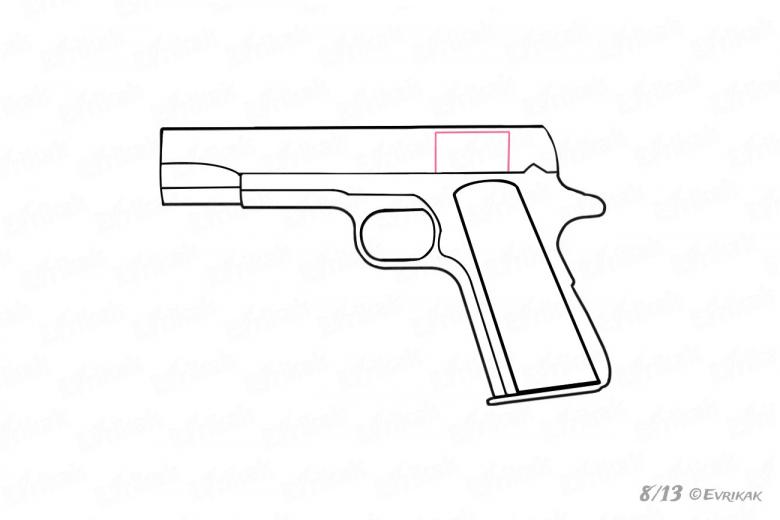
- Draw the outlines with a simple pencil and draw the image in profile. So you can use a ruler to make sure everything is as parallel and flat as possible.
- The barrel is two straight horizontal parallel lines. But the handle should not be vertical, but at a slight angle.
- In the inner connection we draw the trigger and its hinge.
- We make soft rounded lines with the remaining elements of the design. The pressure is low, so that it would be possible to correct the lines and the drawing would not be spoiled.
- After the basic elements of the design are finished, we put a diagonal hatch on the handle in both directions, as it should reflect the real grooves on the product.
- On the barrel, approximately opposite the handle, there is a small element between two auxiliary horizontal lines, on it draw a vertical, slightly sloping hatch.
- Behind to draw a round side and do not forget to perform on it zigzags, to give a shaped appearance.
- Let's proceed to coloring. The handle is made in brown shades, except for the front end. It, as well as all other elements, that is, the barrel and the trigger are made in gray-graphite shade, imitating the metal of which the weapon is made. It is possible to give the gray shade a slightly olive or greenish tint. This will contribute to even greater naturalness.
- If you follow all the recommendations, the drawing turns out quite well detailed and it is not difficult to recognize a real weapon in it.
Technique pixel
This is a fairly simple option, as you should use paper in a cell and the principle of the image, which contains pixels. In this case, you need to do the following steps:
- Take the checkered paper and outline the main points that will be located on the outline. If this is difficult to do, you can overlay one image on top of another and mark the edges.
- Then start sketching the squares that will form the outline. You can do them at once with a fairly dark color that imitates metal.
- It is not necessary to make smooth lines. They can be docked by touching only the corners of diagonally placed squares.
- In this case, the image looks like a too enlarged photo, which "gives the grain" - pixels.
- Fill the interior elements with whatever color you like best. It is not necessary to keep it natural and natural, as such a gun will look toy-like.
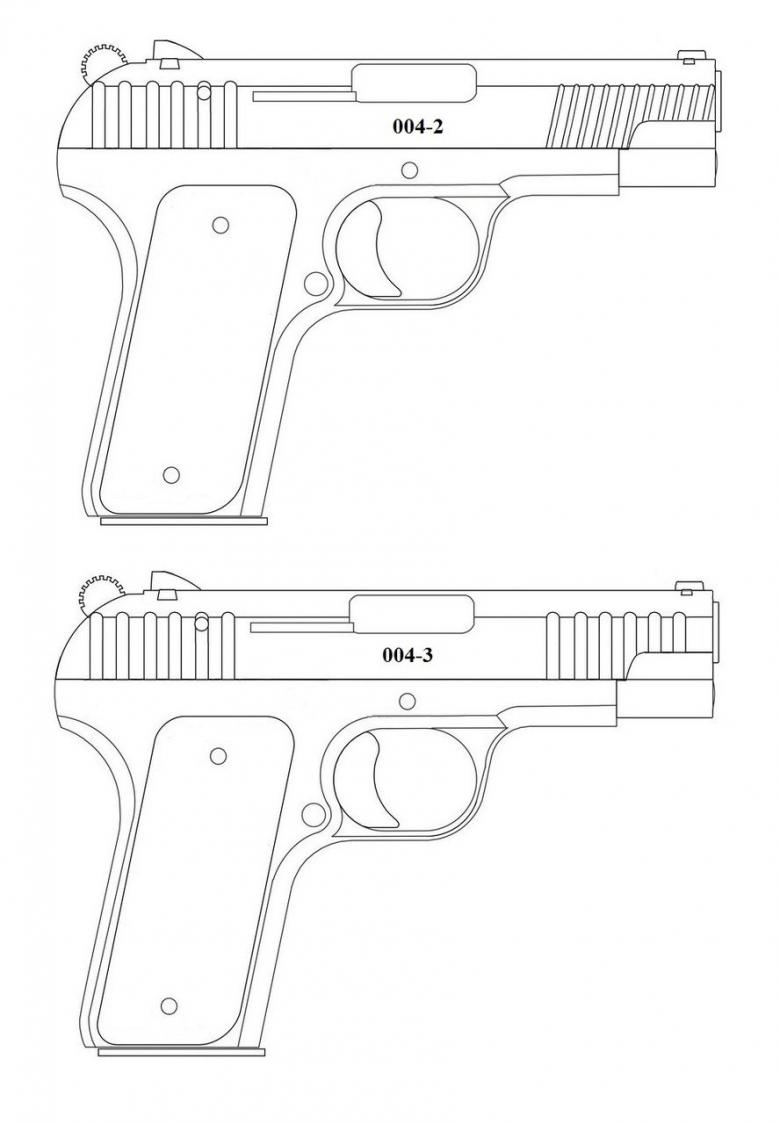
Such a pixel Stars technique can be performed even by a child, explaining the principles of image construction.
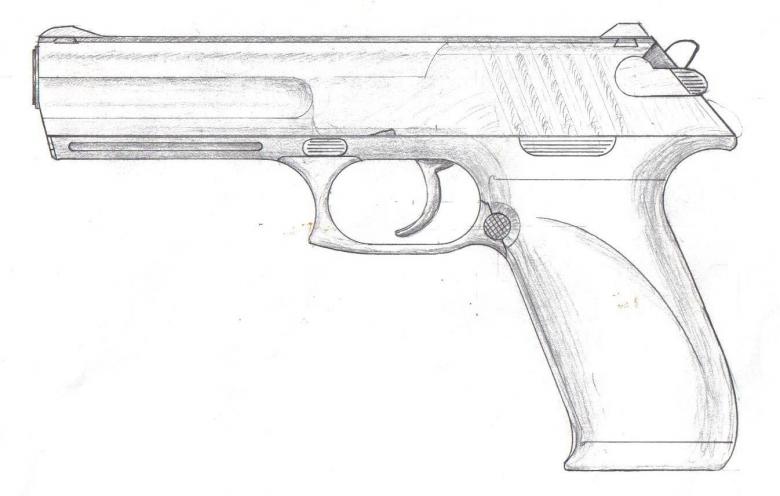
If you use the recommendations provided, you are sure to get what you need. So with a little effort you can achieve praise - bravo you did it!

