How to draw a forest step by step with pencil and paint - examples of drawings and steps to create a drawing of the forest
Drawing nature is loved by artists, depicting a variety of landscapes. Often in landscapes you can find the forest, which in each artist has its own character and distinctive features.
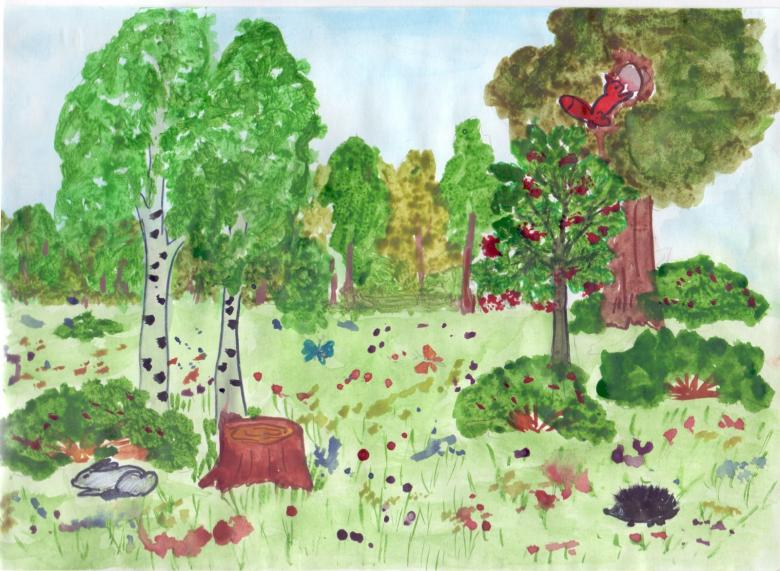
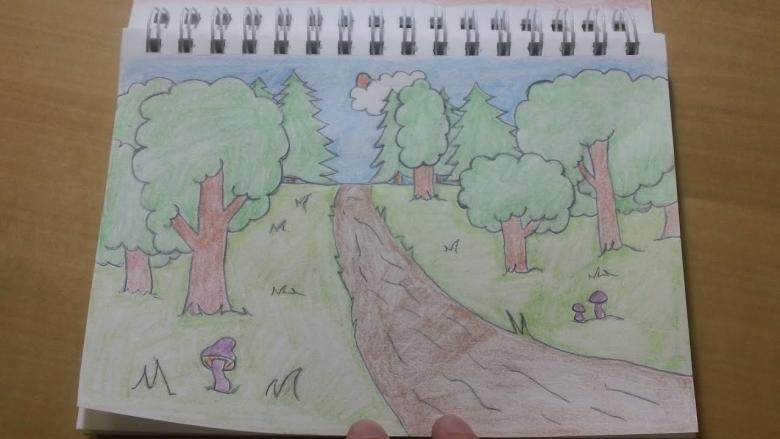
Parents can give their child a lesson in drawing a realistic forest with a perspective. In this way, a sense of the space of the forest thicket is created. After learning to draw one tree, the child can master the rule of creating a sketch of the forest thicket, using a standing pencil, ruler and eraser.
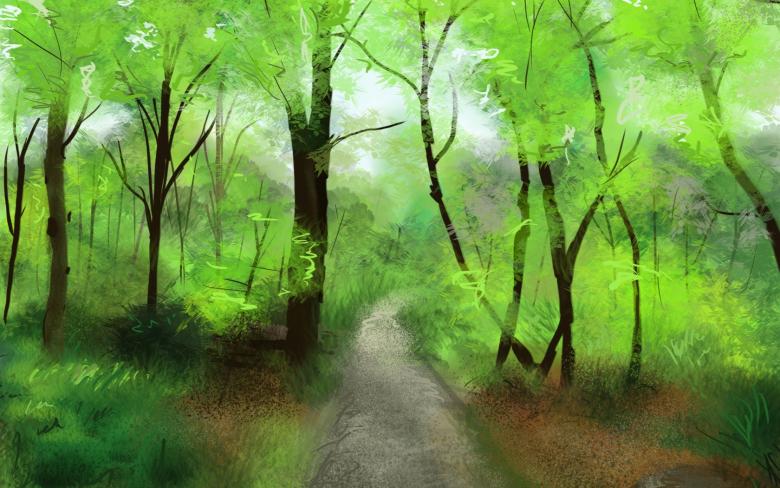
Before drawing trees step by step, it is necessary to decide what time of year will be depicted in the landscape. For teaching, choose a simple landscape with a few trees. When the child learns to draw it, it will be easier for him to depict a dense thicket.
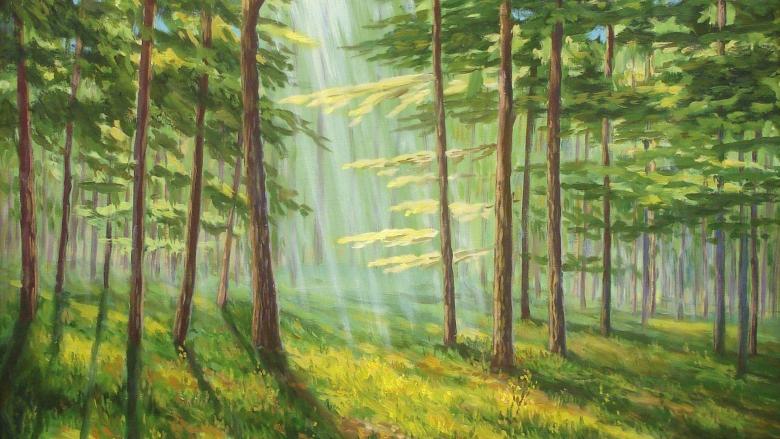
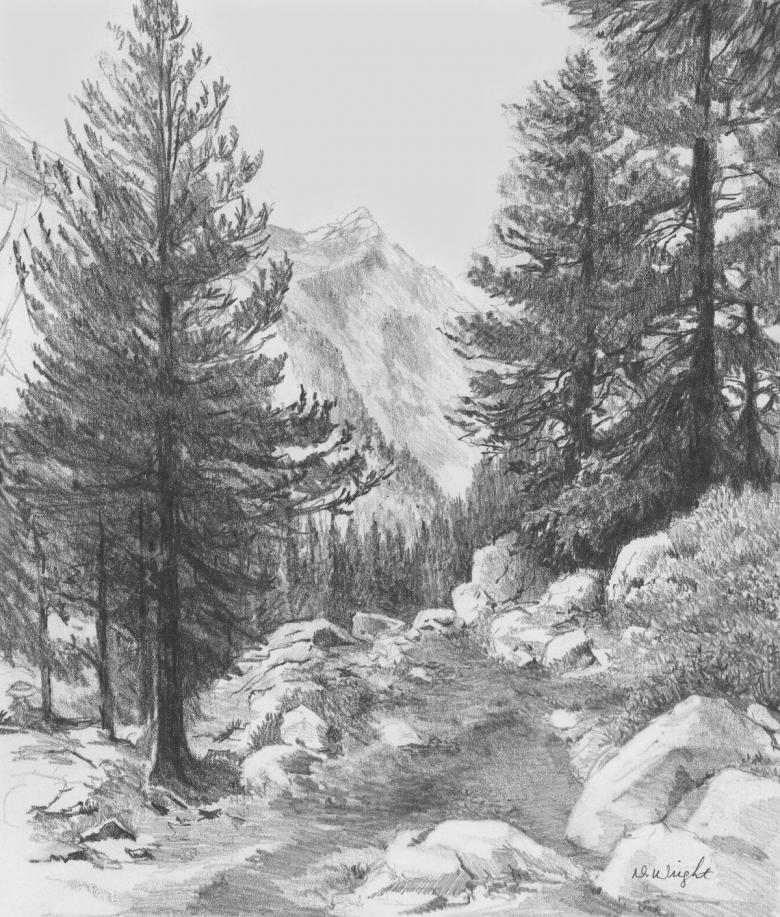
Experienced masters can work not only with paints, but also with a simple pencil, creating with the help of light and shade the texture of the bark, leaves and needles. It is not easy for children to create a winter, autumn, spring or summer forest in gray, using light and shade, so kids should be offered to decorate the drawing with watercolors or gouache. Older children can learn to draw the forest with a simple pencil,
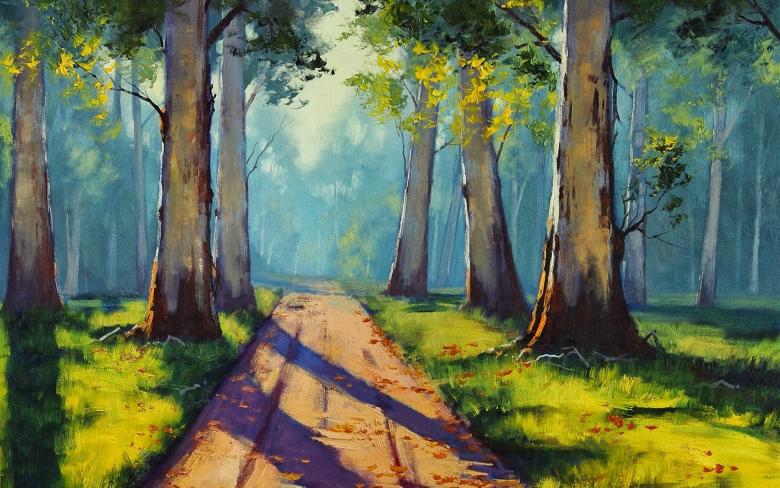
If the child learns to work with a simple pencil, learn how to sketch a forest in a step-by-step manner. During the lesson, the child should learn to apply strokes with a simple pencil, with which the picture will turn out volumetric and expressive. By mastering the technique of drawing with a simple pencil, one will be able to create beautiful forest landscapes.
Getting ready to work
For the work you need to prepare:
- Textured paper for drawing with watercolors;
- A lead pencil with different hardness: 2H, 2B, HB, 2B, 4B, 6B;
- An artistic drawing eraser called a blotter.
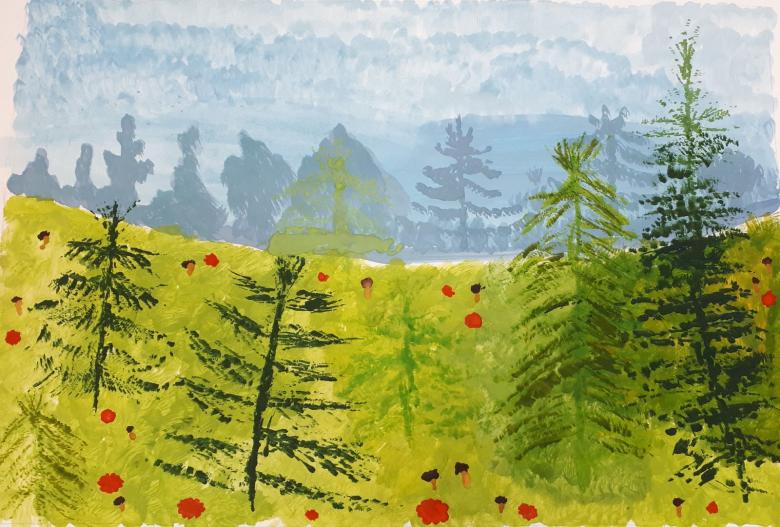
How to draw a forest with a simple pencil
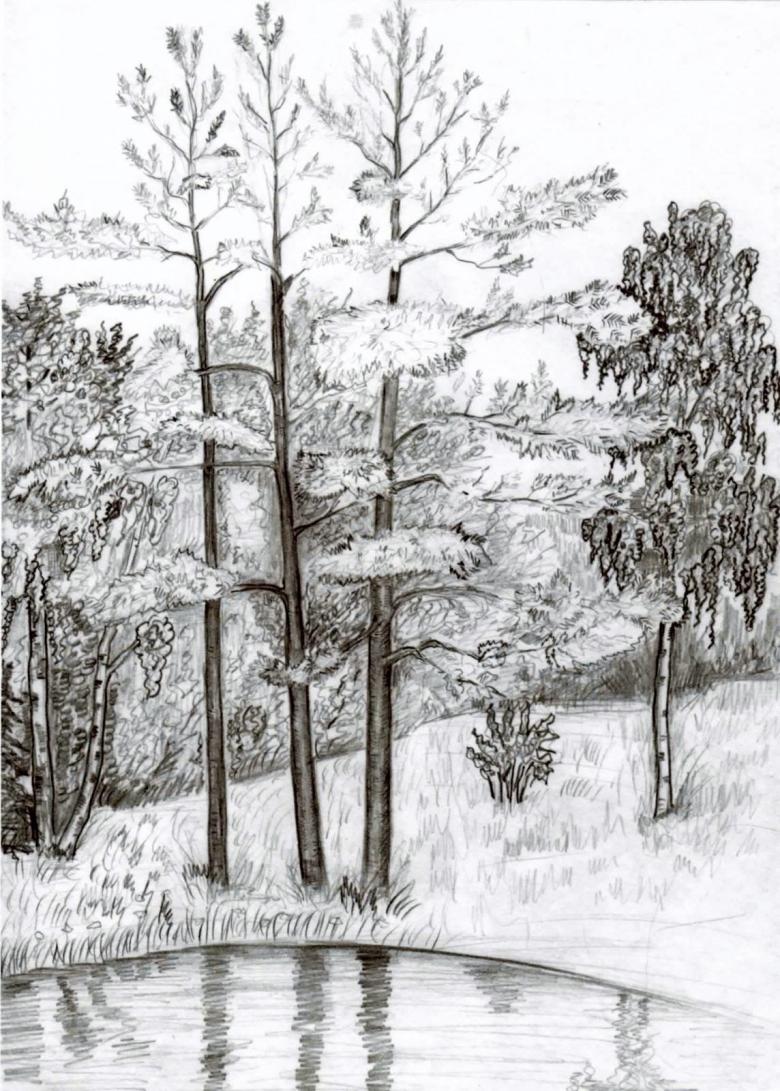
When working with an ordinary pencil, it is necessary to create the outlines of trees with strokes of different tonality. Then the trees will turn out volumetric. Strokes need to be drawn in different tonalities, thanks to which the image will not become flat.

During the lesson, the child should learn:
- Creating texture with pencils of different hardness and methods of creating light and shade, with which to show details on trees, bushes and grass;
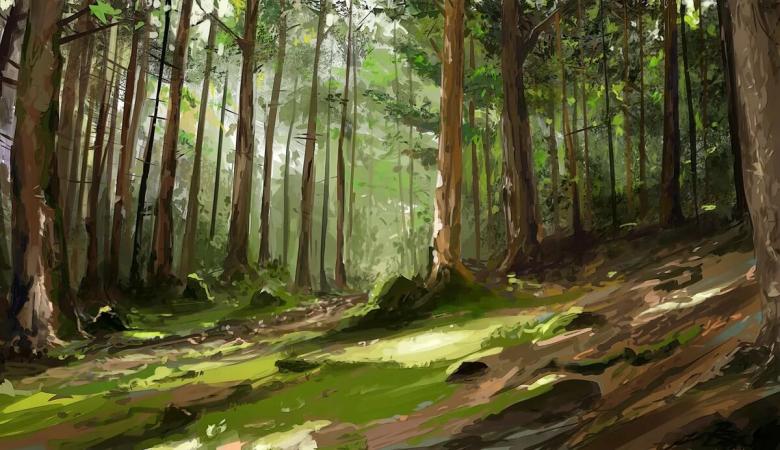
- Creating a geometric perspective, in which nearby trees are large and distant trees are small and above those in front of them;
- Depicting an atmospheric or airy perspective by depicting pollen, dust particles, and droplets of moisture;
- Use of color rendering to create perspective, with the nearer trees in the drawing appearing darker and clearer and the farther trees lighter, less clear and less detailed.
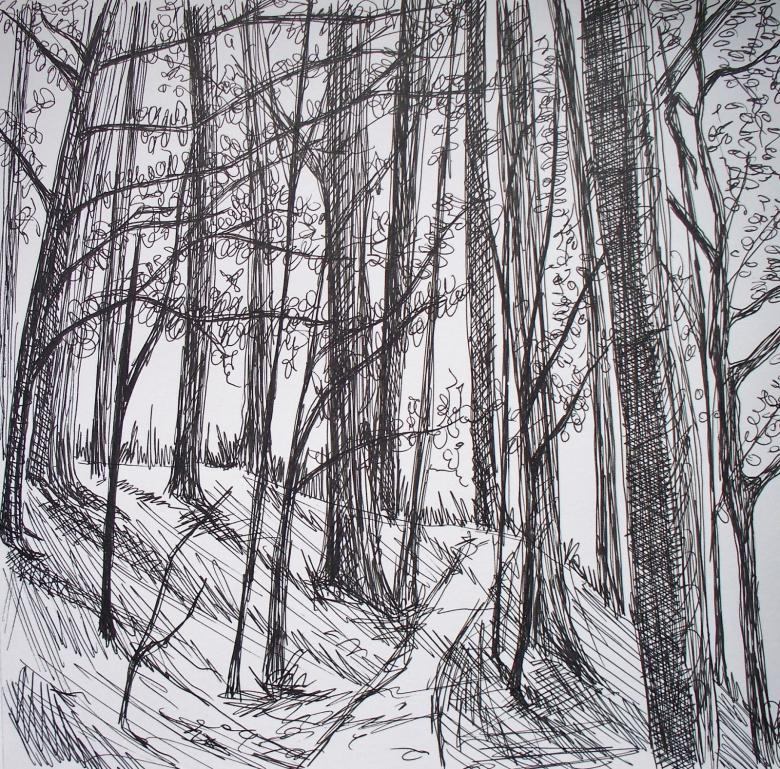
Composition.
The work consists of the following steps:
- The number of trees that will be in the drawing is determined;
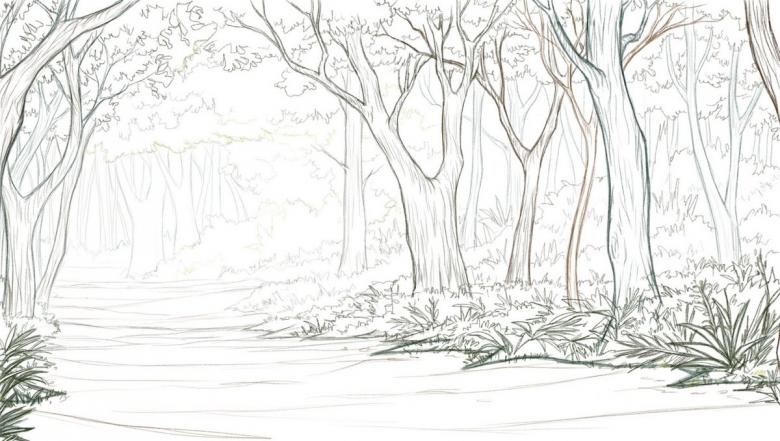
- Trees are depicted schematically: the ones in the foreground are more three-dimensional, those farther away are more delicate. The farther the tree stands, the thinner it should be. For the convenience of placing trees in perspective, each trunk should be numbered so that the first one turns out to be the thickest, and the farthest one - the thinnest.
- trees in the forest in perspective can stand behind each other, then the trunk is marked with only one line;
- mark the grass and bushes in the lower plane of the drawing.
Compare the sketch you created with the original in the workshop to verify that all the trees are correctly positioned when you create perspective.
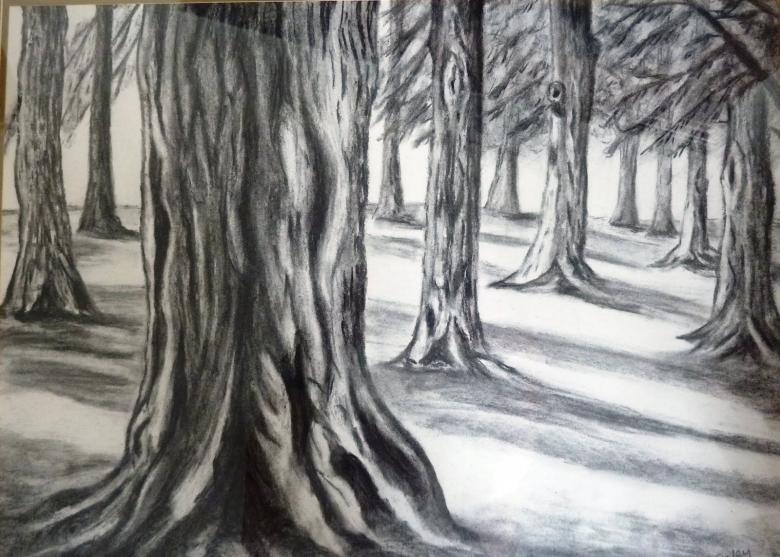
Creating Texture
Use special strokes applied to textured watercolor paper to create a three-dimensional image of tree trunks, branches, and leaves. When applying shadows, you should use circular movements of the pencil, holding it so that the strokes are applied by the side of the lead.
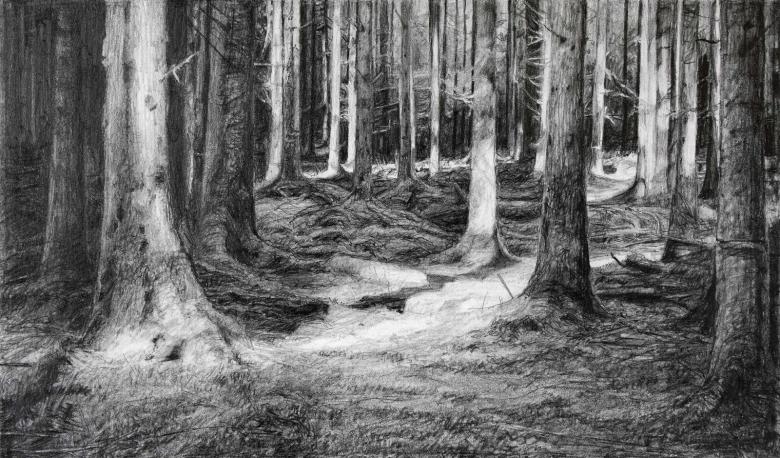
When working with texture it is not necessary to press too hard on the pencil, otherwise the surface of the paper will be spoiled. You will not be able to create a three-dimensional bark texture on a smooth surface.
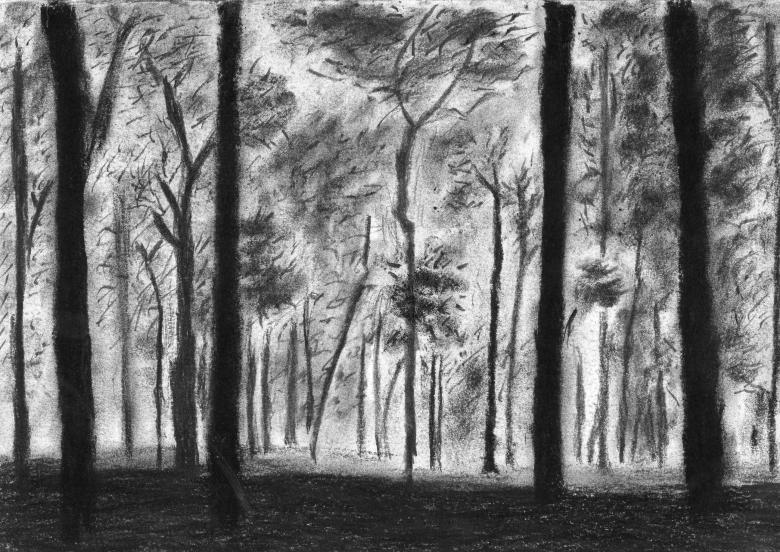
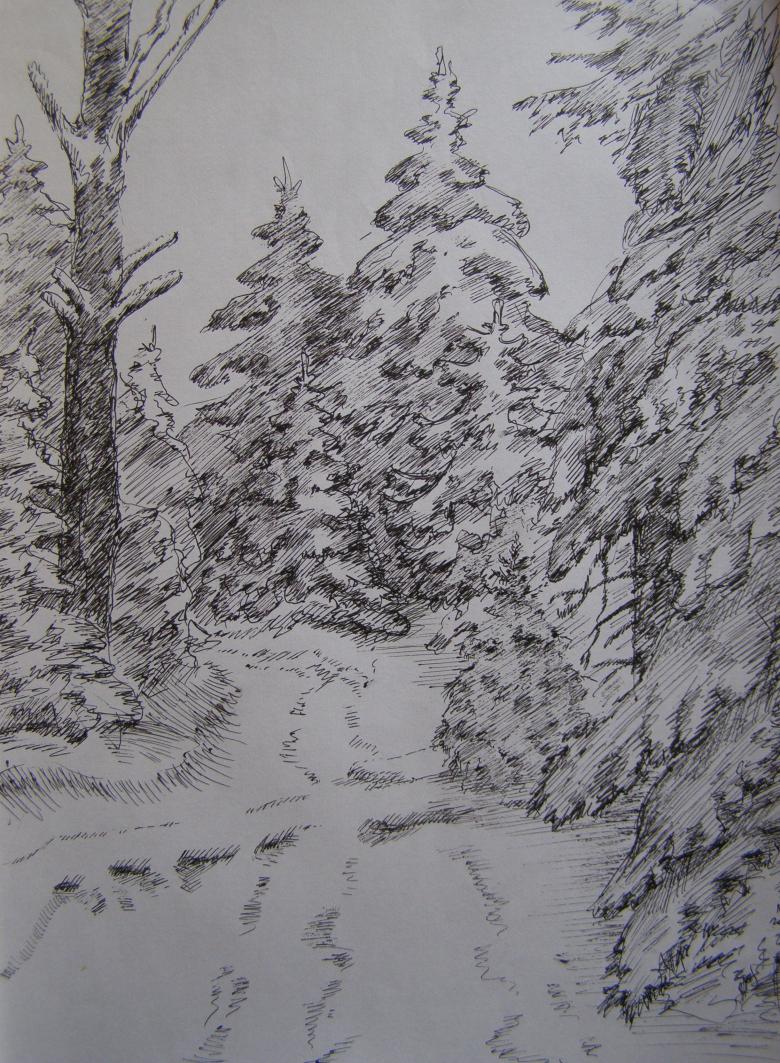
When drawing the contour of the trunks, not a straight line is used, but intermittent strokes of different configurations. Light sections of paper should be left in places where light falls on the trees and in the gaps between the trunks, thus creating a sense of atmospheric drawing. The texture of leaves, bark, and grass is created with scallops. Shading with circular pencil strokes.

Textured shading is applied to the bases of the front trees. They will later be grass and small vegetation. All trees, except for the first one, should be darkened with a pencil with a lead of suitable softness.
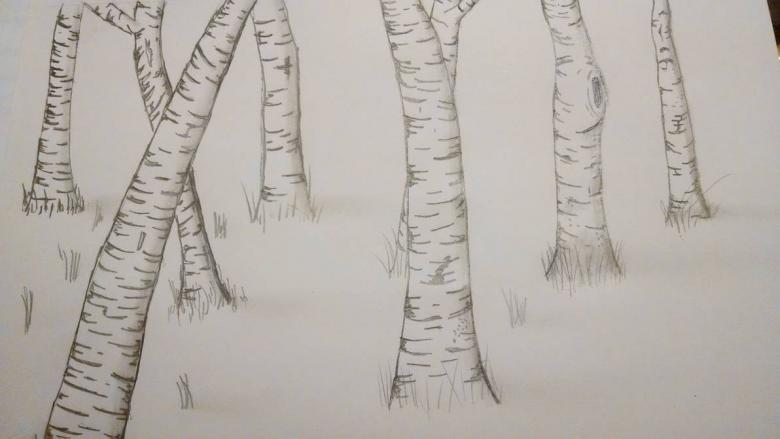
Then you need to increase the contrast on the trunks and draw the branches at the top of the plants on all trunks. They can grow either up or down.

Shade the trunk of the largest tree, marked with number 1, using the softest lead. You need to add more contrast and shading on the dark side of the trunk, using surface texturing techniques. All the trees in the foreground should be drawn clearly. The further away the trunks are, the less clear their outlines and the texture of the bark and branches should be.
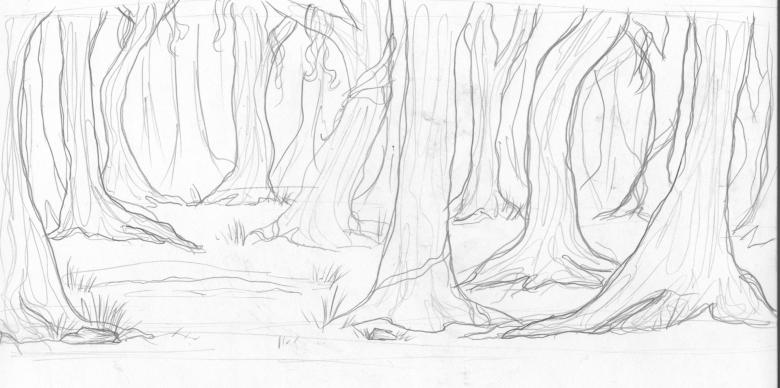
Master class for drawing a forest in watercolor
A child can also learn to draw nature in watercolor. Such an activity helps to develop:
- a sense of color;
- abstract thinking;
- fine motor skills;
- a sense of space and harmony.
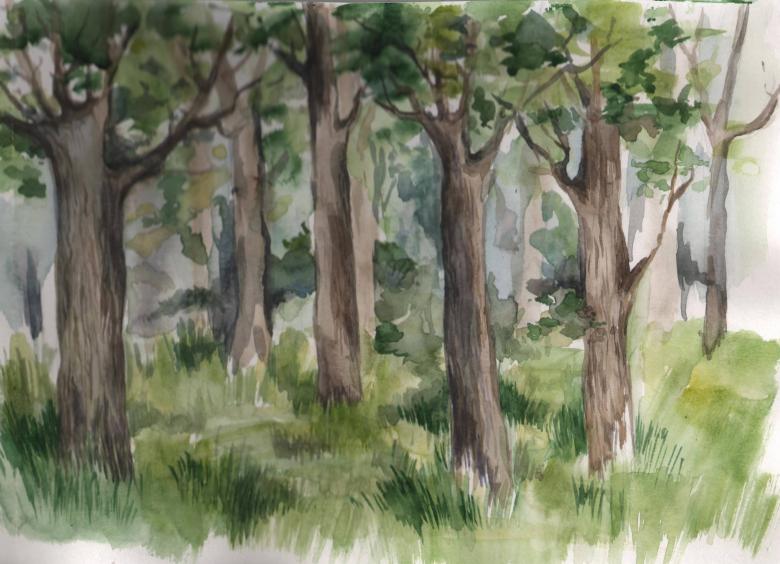
To paint a picture of a winter, autumn, spring or summer forest with watercolors you need to create a sketch with thin lines so that a shadow does not appear on it. The work should be carried out according to the same algorithm as when creating a sketch with a simple pencil.
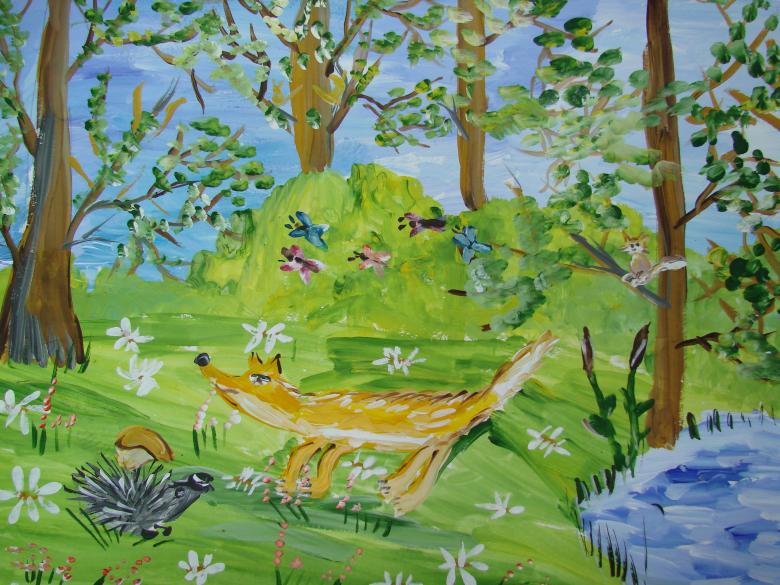
After sketching you need to moisten a sheet of watercolor paper with water and let it dry a little before starting to paint.
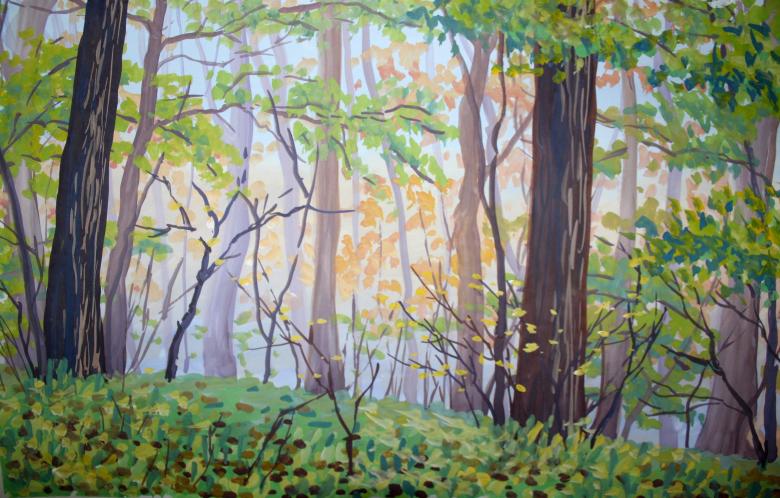
When using watercolor, several techniques can be used to create the desired texture of the drawing:
- wet-on-wet;
- dry on dry;
- dry on wet;
- wet on dry.
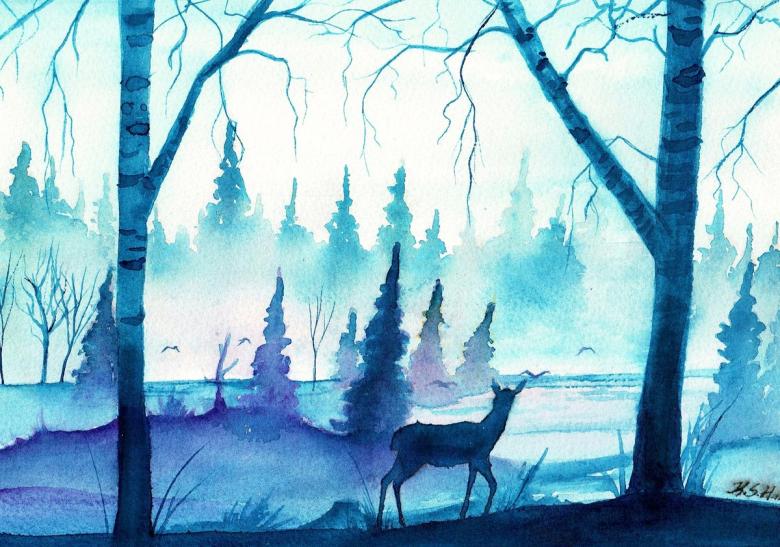
After that, the sky in the upper part of the sheet is created with paints with selected shades of cobalt and ultramarine. It is better to draw the edges of the clouds with a diluted shade of burnt umber.
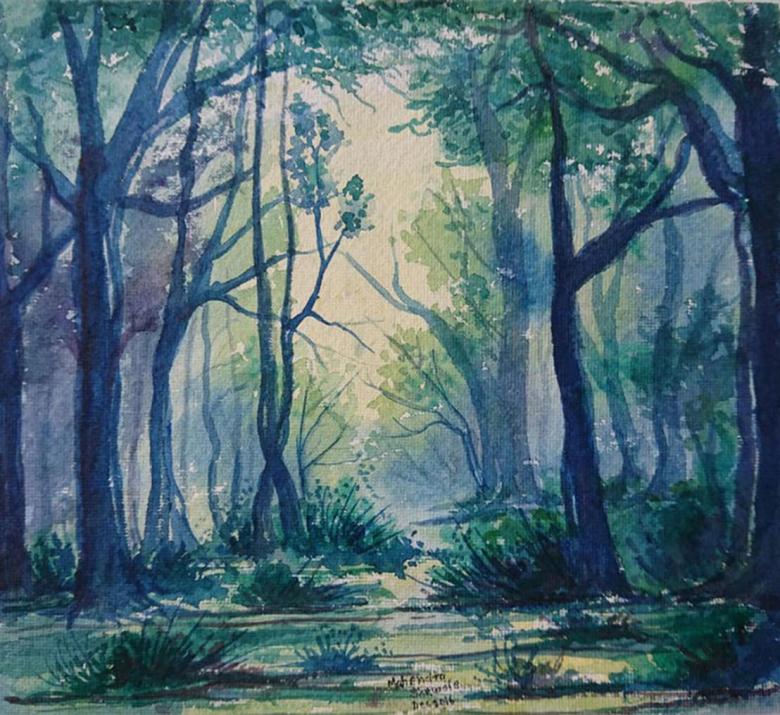
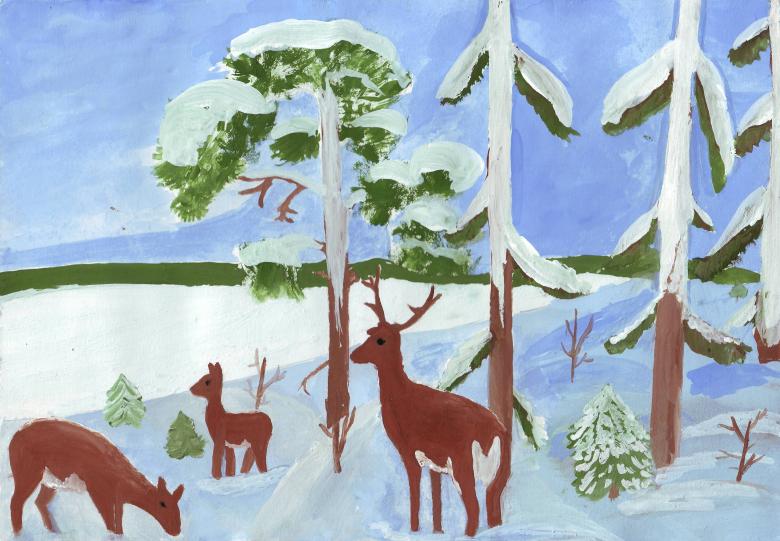
After that, you should move on to the bottom part of the drawing, in which the grass is drawn with jerky and sharp movements in the foreground. The foliage is drawn with colors corresponding to the season chosen for the drawing. If a winter forest is depicted, the branches of deciduous trees will be bare, and only the needles will need to be painted, choosing green shades for them. White paint on evergreen conifers to paint the snow, adding blue shades to it.
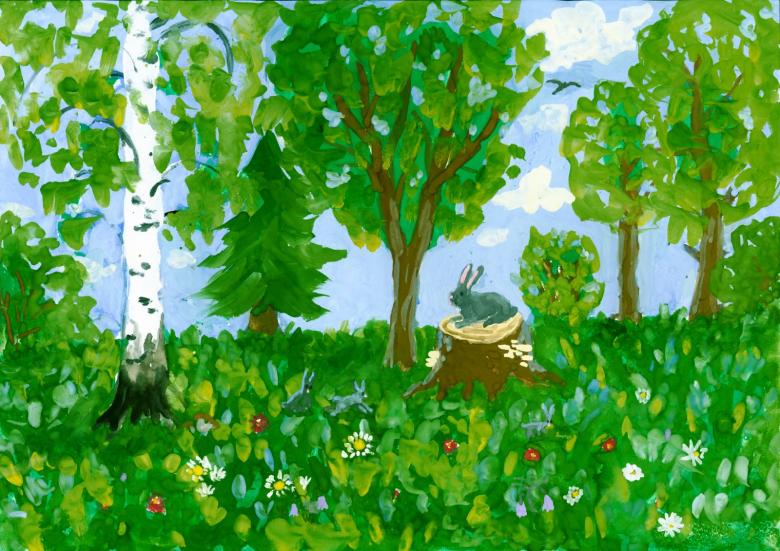
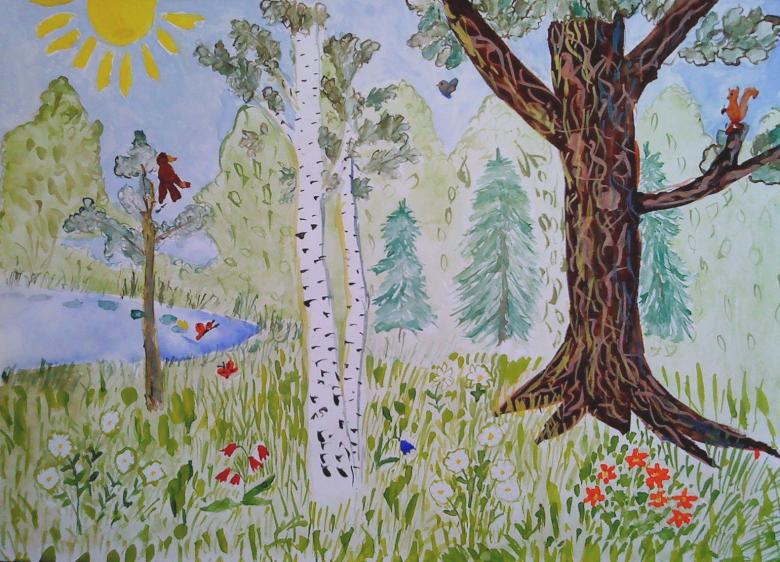
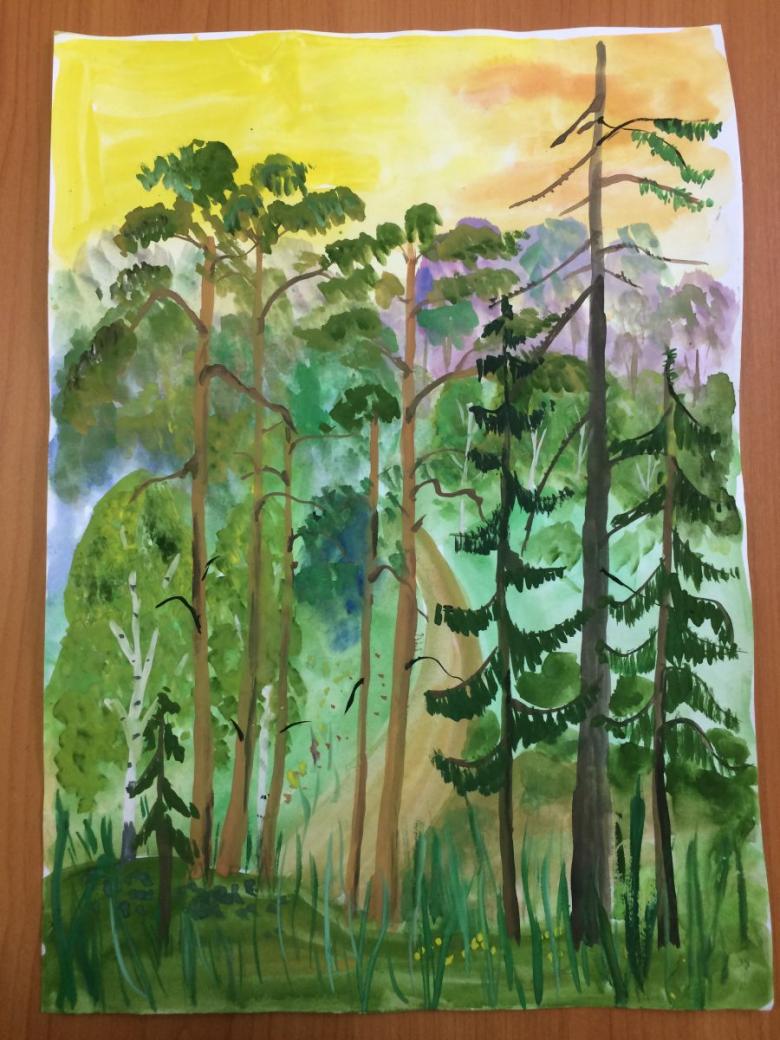
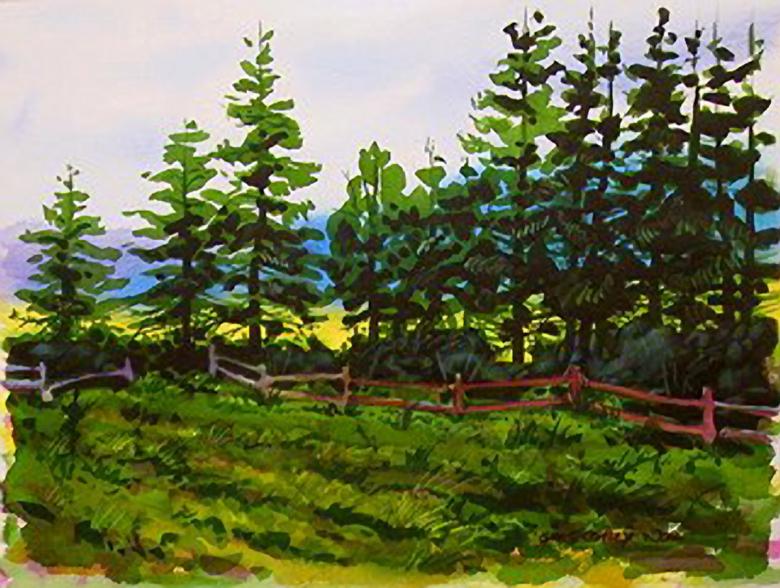
Shades of green and brown are used for summer and spring forests. In the fall forest, foliage is painted in bright yellows, reds, and oranges.
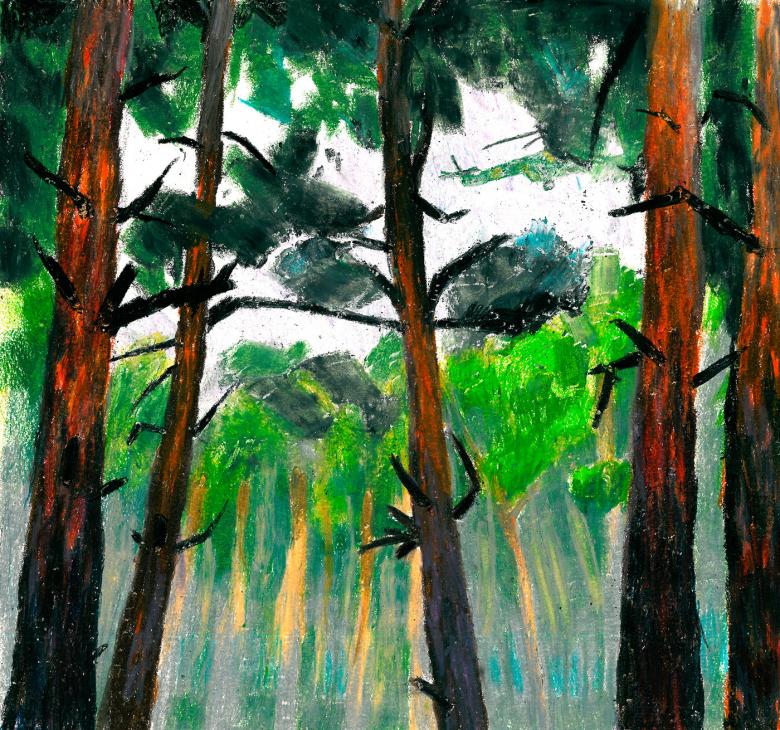
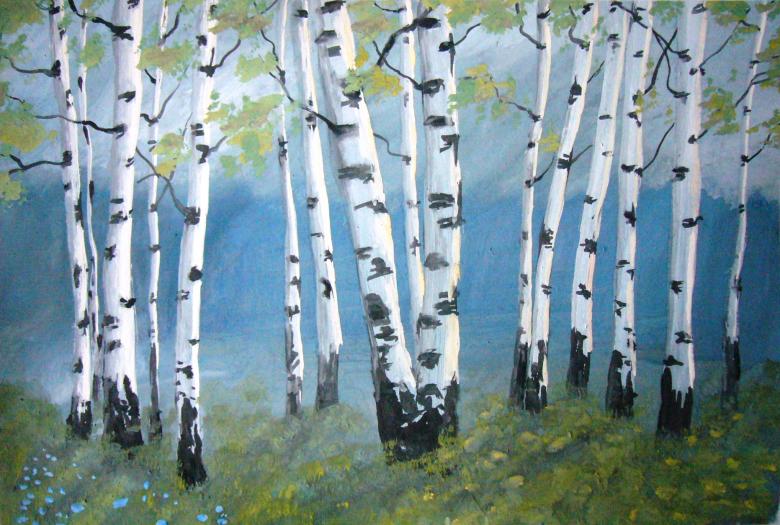
Trees are painted in brown colors, dividing those trunks that stand in the foreground more clearly and illuminated, and blurring the silhouettes of distant trunks. Instead of watercolor paints, you can use gouache, which is diluted with water to create light and transparent shades.
The finished drawing is dried and framed.

